
Paul has decided to weave a “Babiche” pattern on his canoe seats, using paracord instead of rawhide lacing. He picks a “Blue Camo” paracord colour pattern.
I do some research on the internet and find a diagram on Mike Elliott’s (Author of “This Old Canoe”) web site.
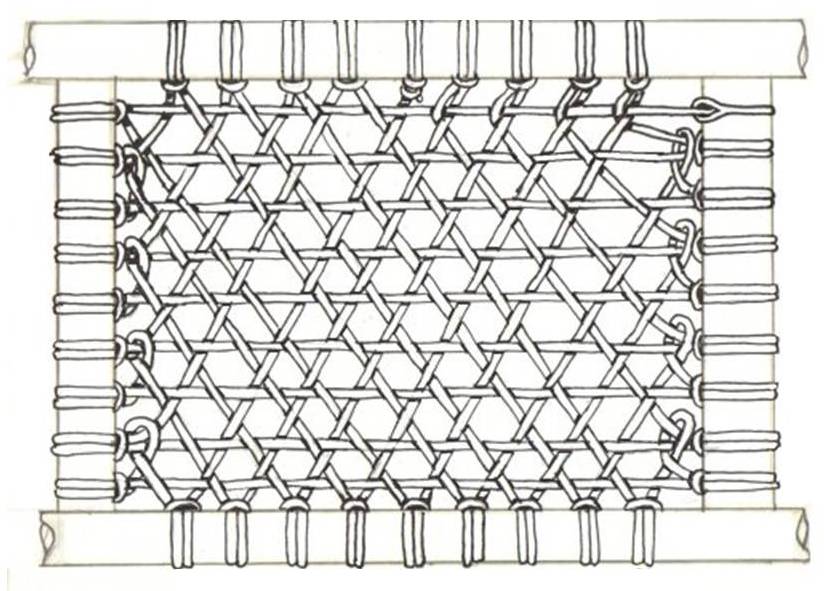
Babiche weaving pattern from: https://canoeguybc.wordpress.com
Mike also describes how to weave a “Babiche” seat in his book, “This Old Canoe”, pages 83 to 89, using rawhide lacing.
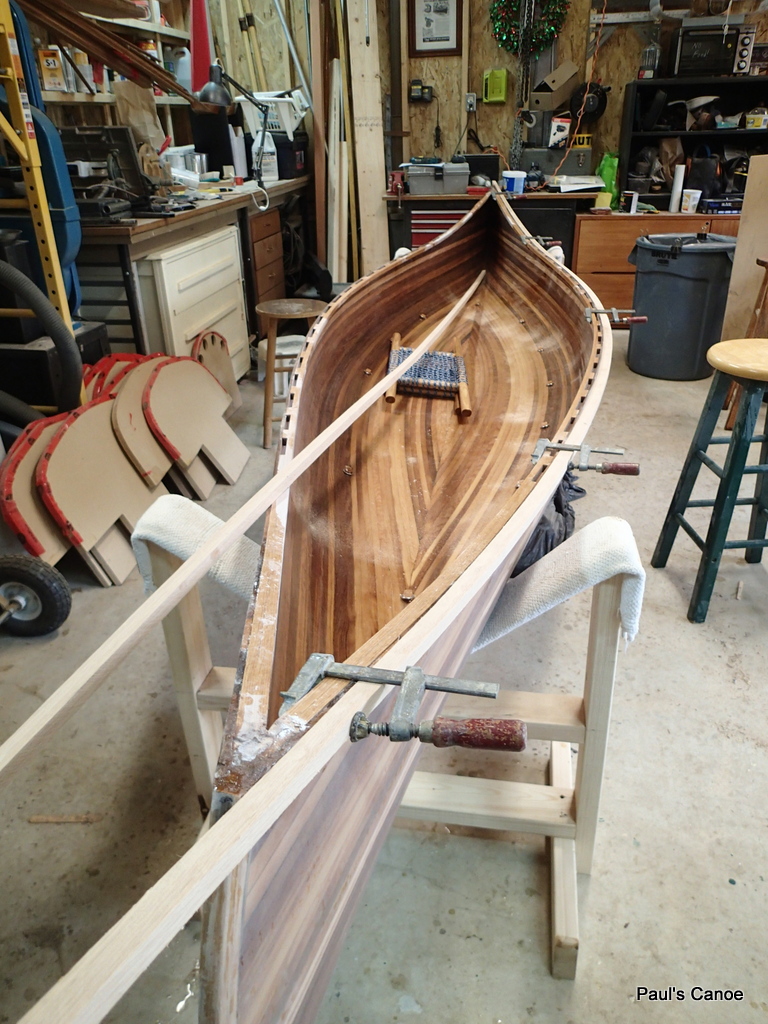
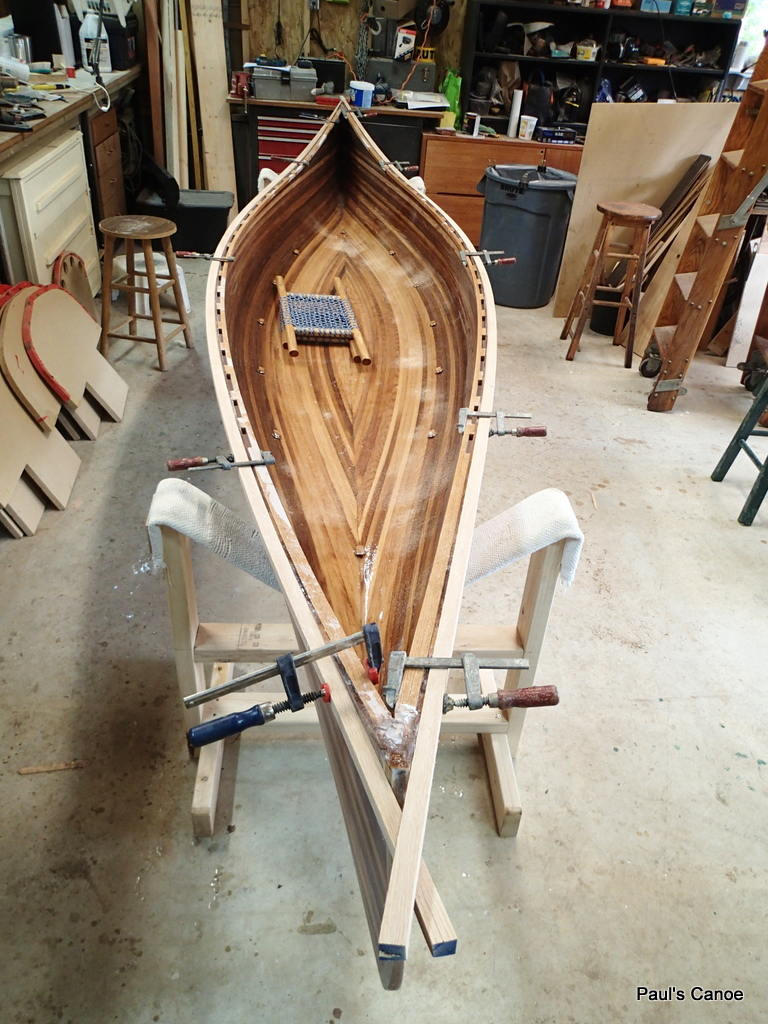
I test out the pattern on the stern (smaller, 10 by 10 pattern) seat:
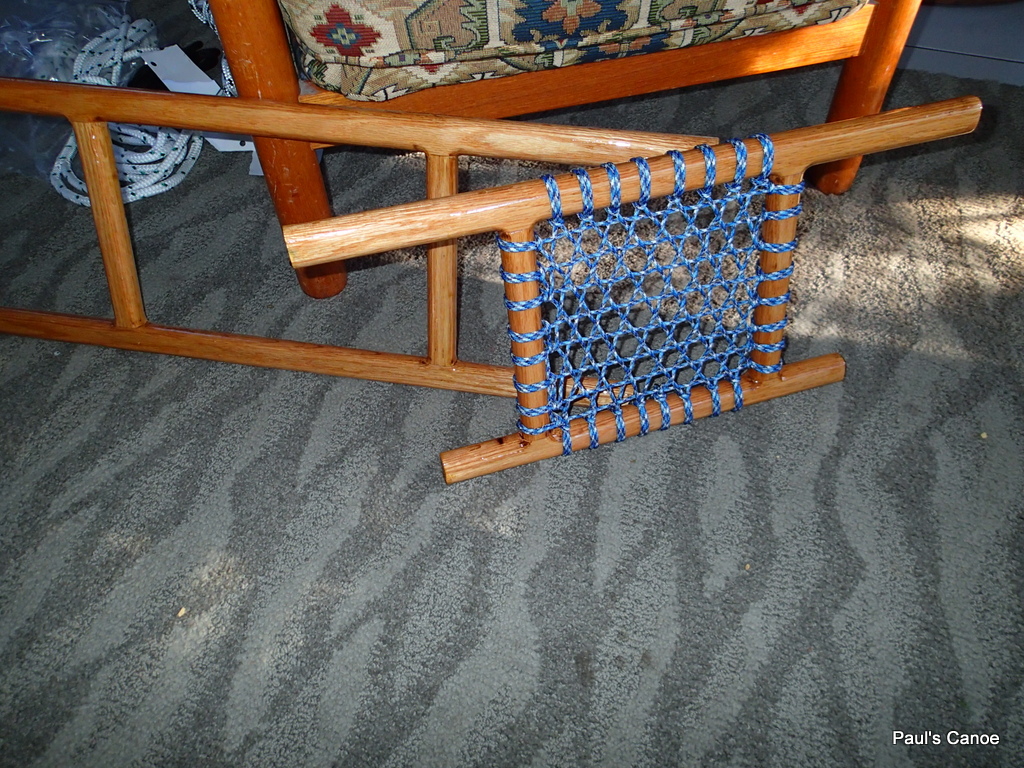
Stern seat laced up…only a few minor “goofs”.
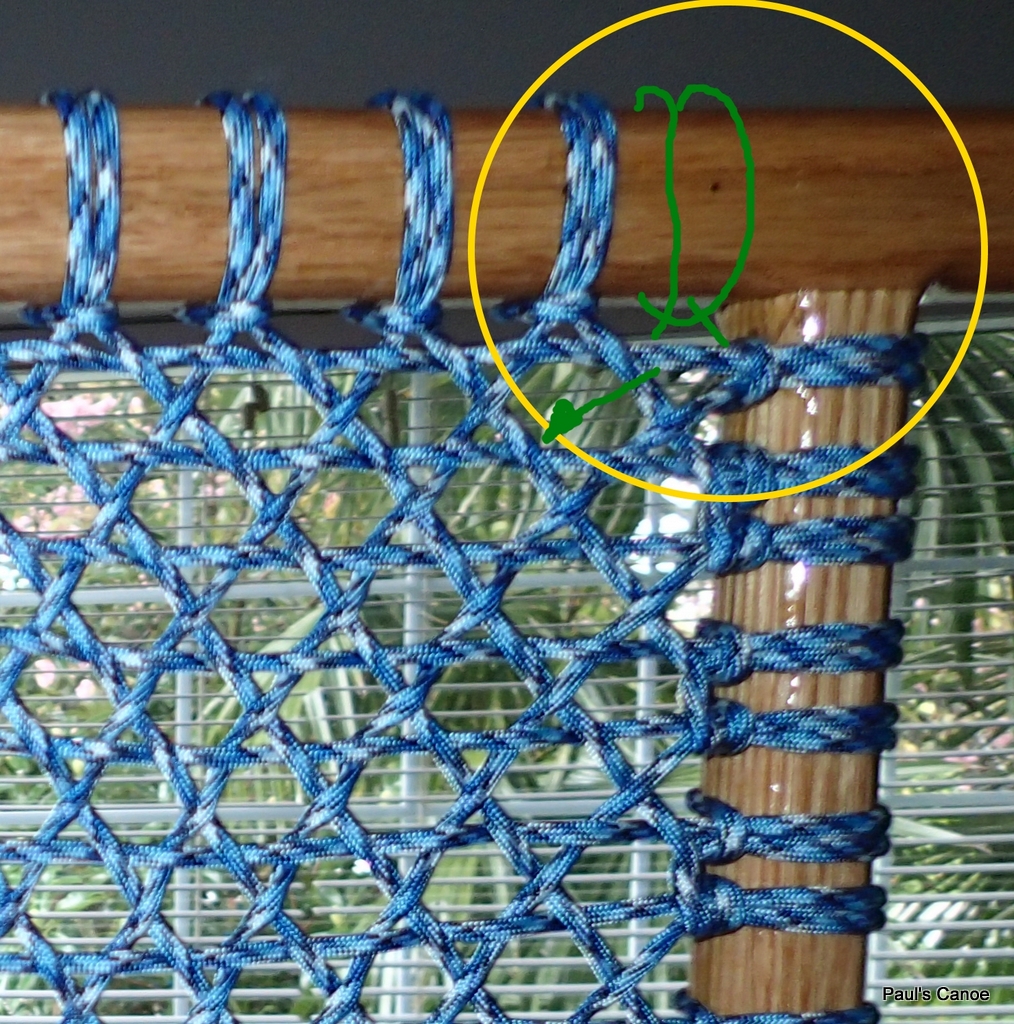
I have made a few minor mistakes in the weave.
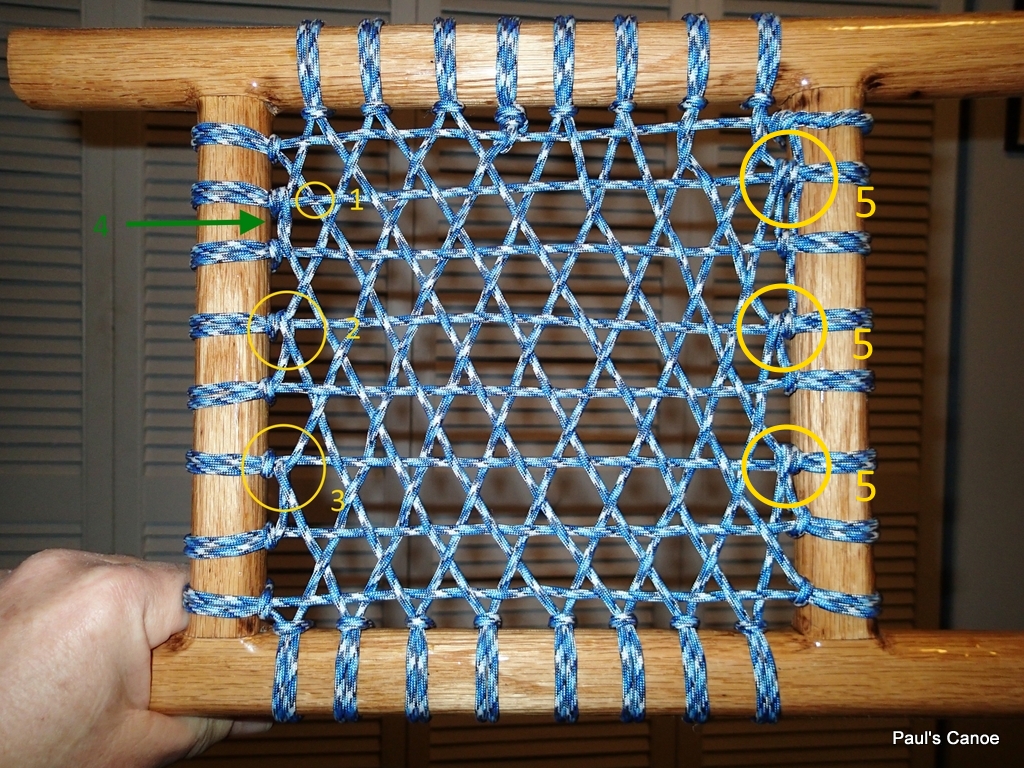
Seat mistakes.
Mistake #1- should have gone over the horizontal strand, not under.
Mistake #2- should have gone over, around the horizontal and diagonal strands and then under the horizontal strand, not over, as I did at #4 arrow.
Mistake #3- same mistake as #2.
Mistakes #5- should have gone around under and down the left verticals.
I think that I have learned something from this and try the larger bow seat.
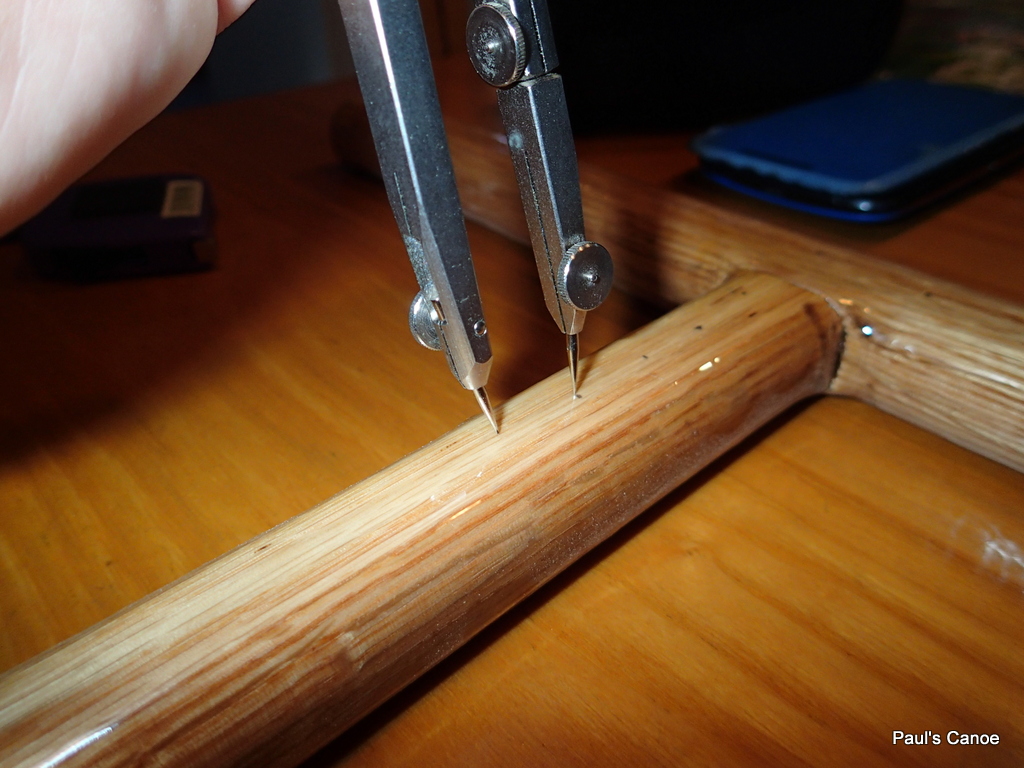
Marking the seat.
There should be an equal number of strands going vertically and across the set. I decide on twelve (one every inch) for across and every 2/3 inch for the vertical. I use a pair of dividers to mark the seats.
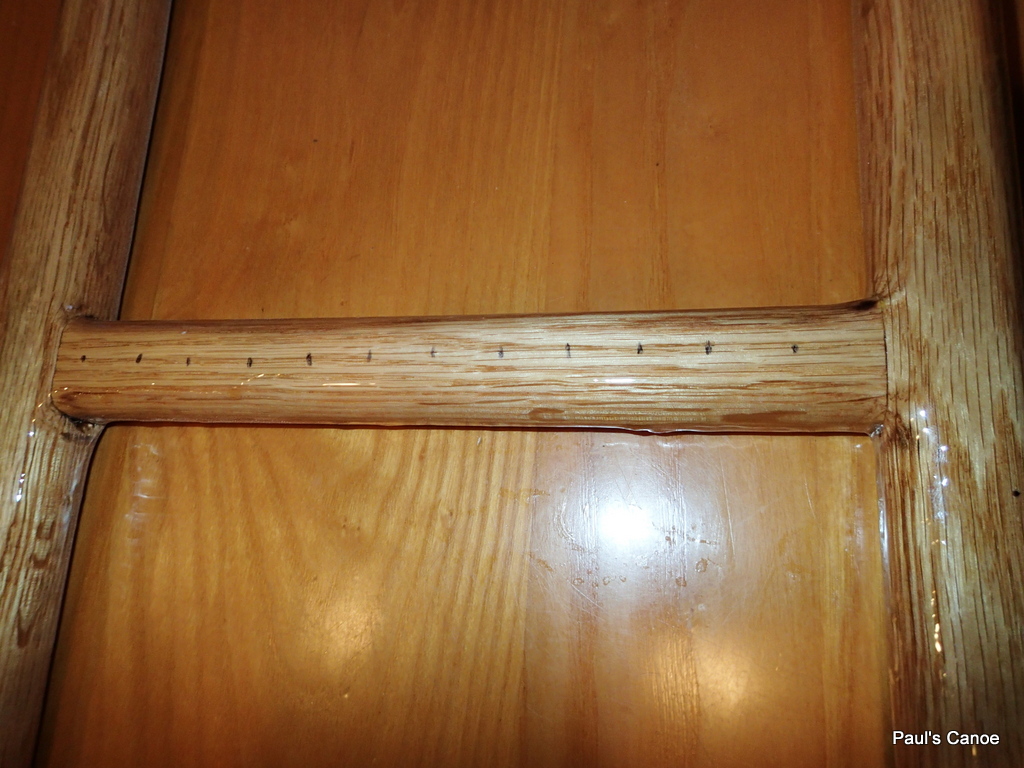
Felt pen dot where the strands go.
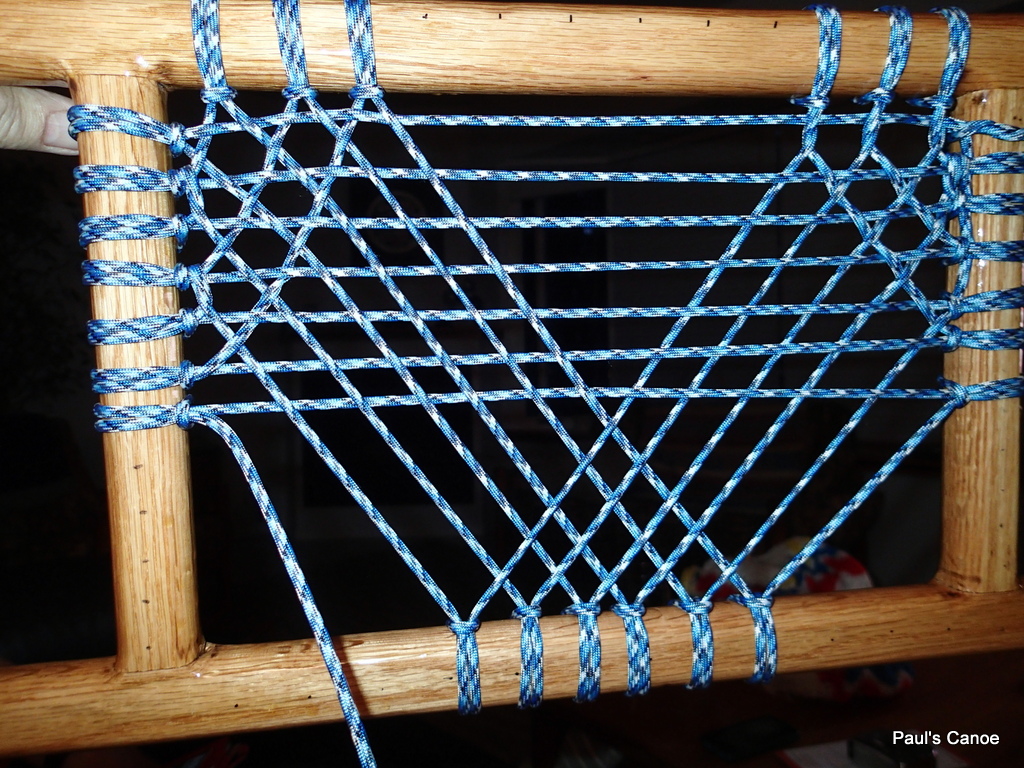
With my strand locations marked, I begin to weave the seat.
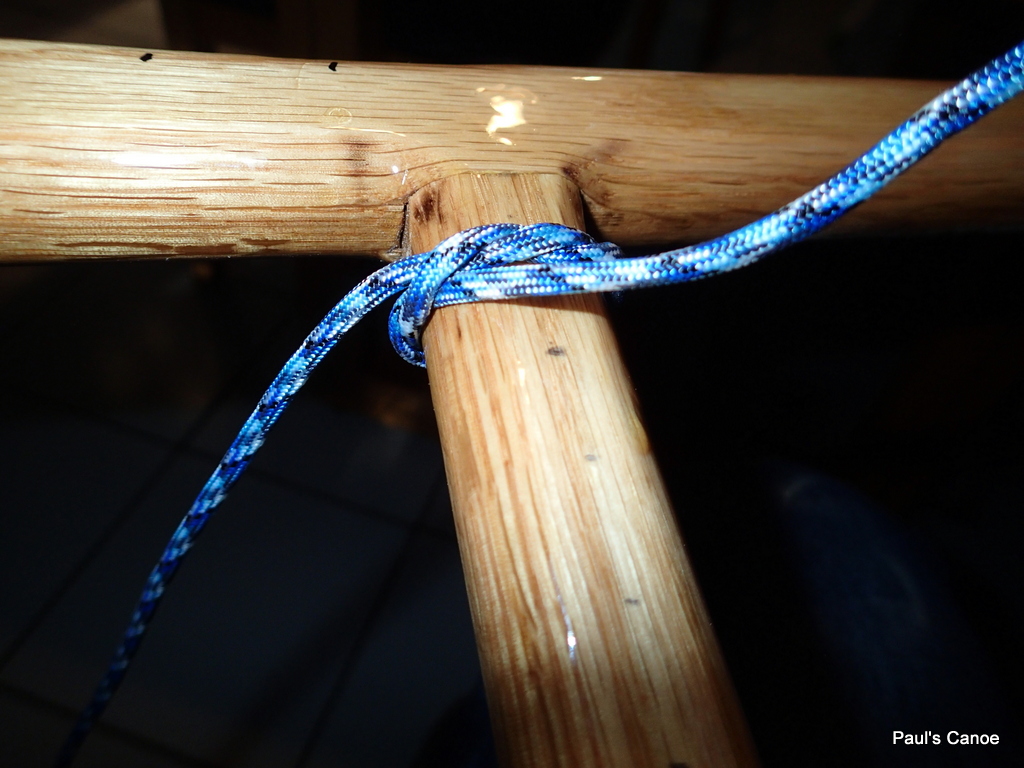
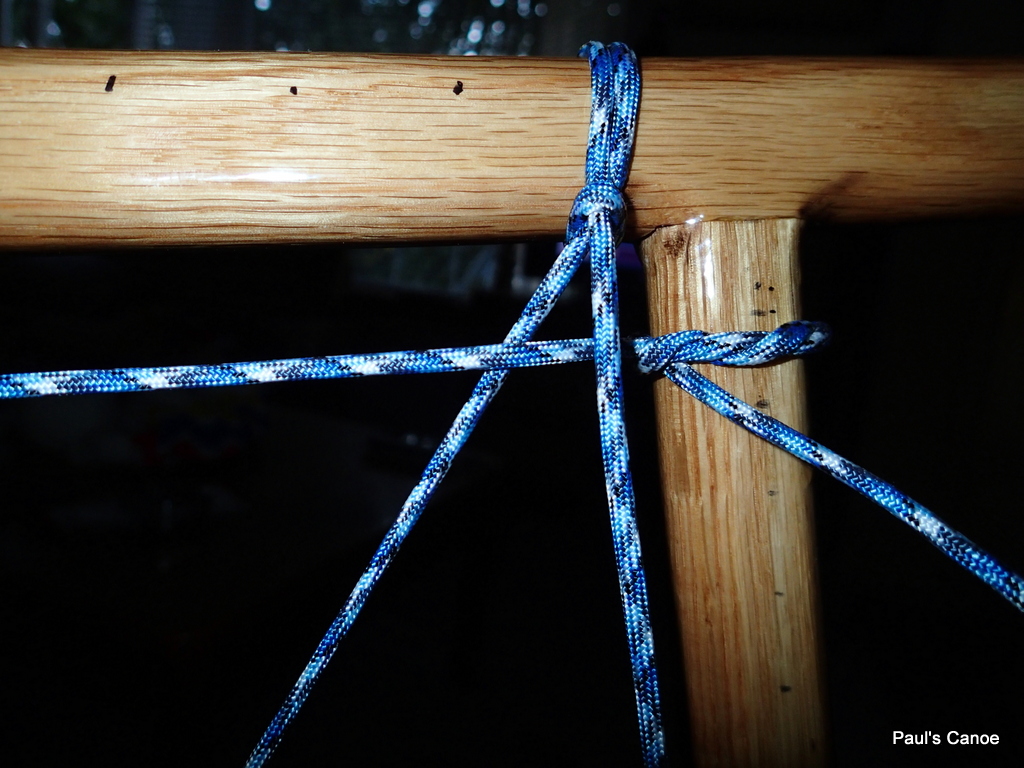
First knot.
You only use three knots…a Hitch to start, a whole wack of Lark’s head knots and a few half-hitches to finish. The pattern consists of three strands. The horizontals, the vertical slanting to the right, and the verticals slanting to the left. Basically you go across and then down and up again in a “V” shape:
Pulling the paracord through for the first horizontal strand. Pull it tight!
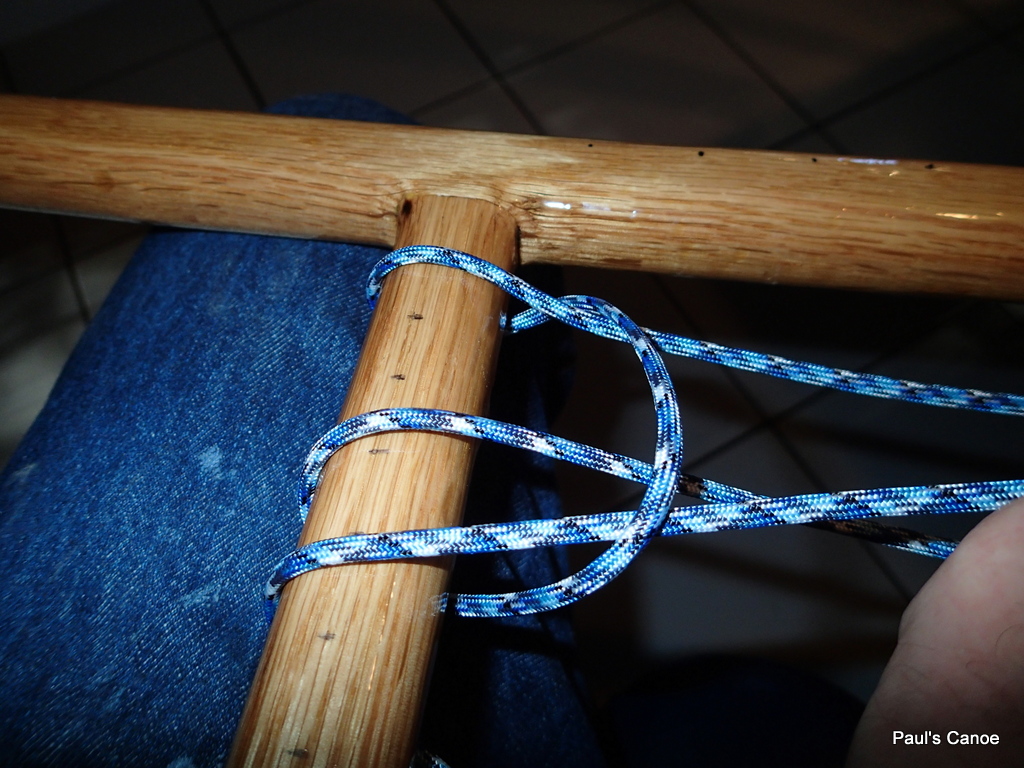
I am using about seventy-five feet of paracord. The stern seat (10 by 10) took almost sixty feet. From across, you go down to the middle of the seat. Pull the paracord tight after every Lark’s head.
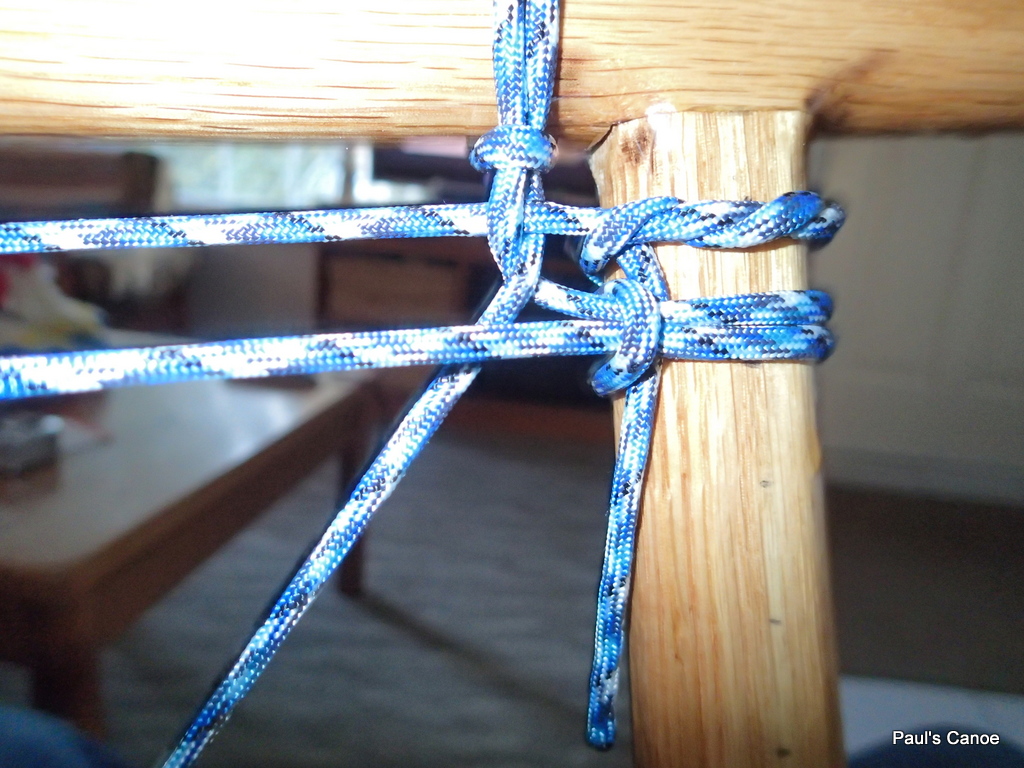
Larks head know at the bottom of the “V”.
Then back up again to the top.
Lark’s head at the top of the “V”.
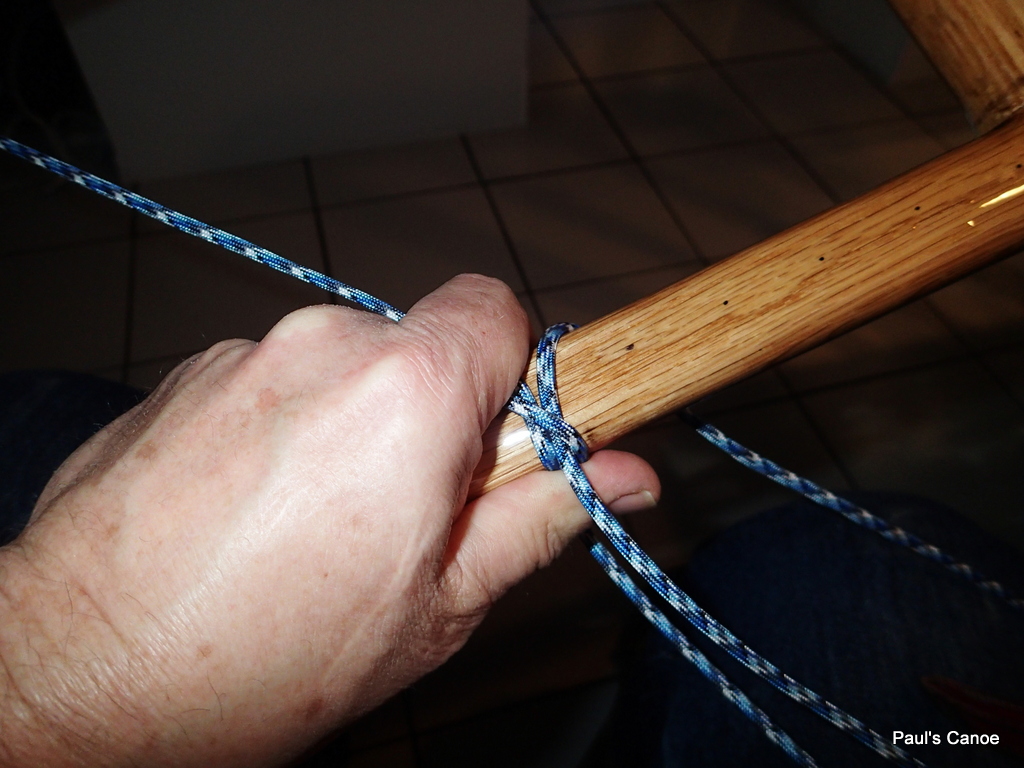
CHECK your work to the diagram!!!! This is a five to six hour job and you do not want to have to un-weave very far to fix your mistakes!!!!
Second horizontal.
I have tucked the extra paracord from the first knot under the Lark’s head.
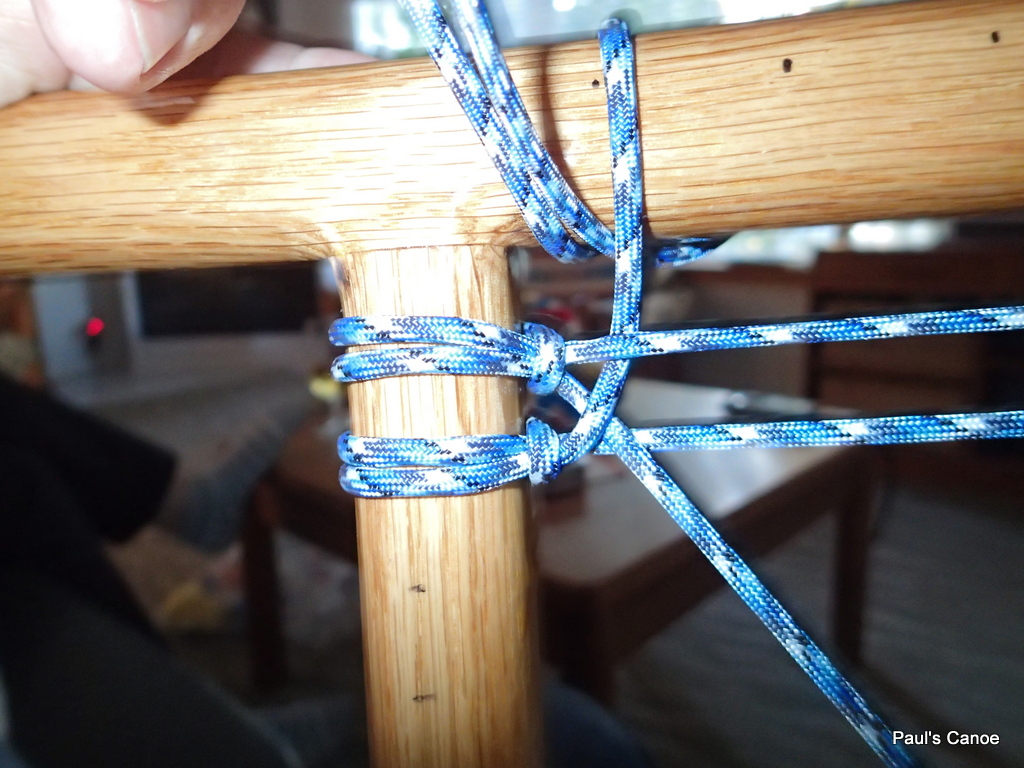
To the top rail then down.
It takes a while to train your eye to spot mistakes so check against the diagram after every pass.
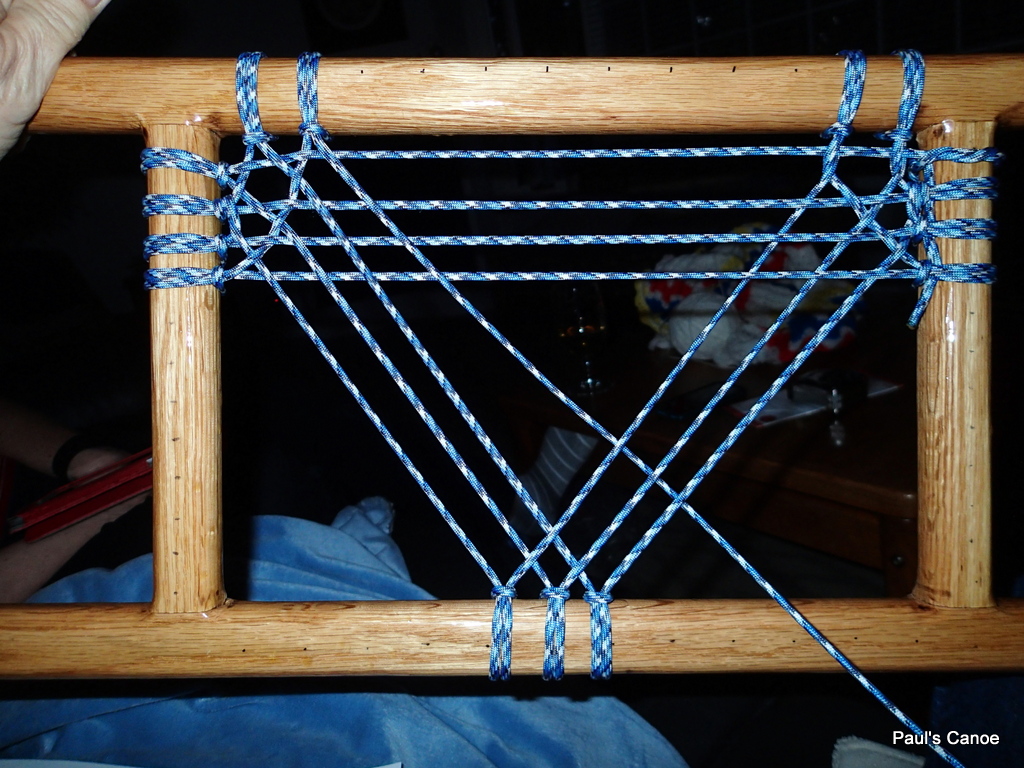
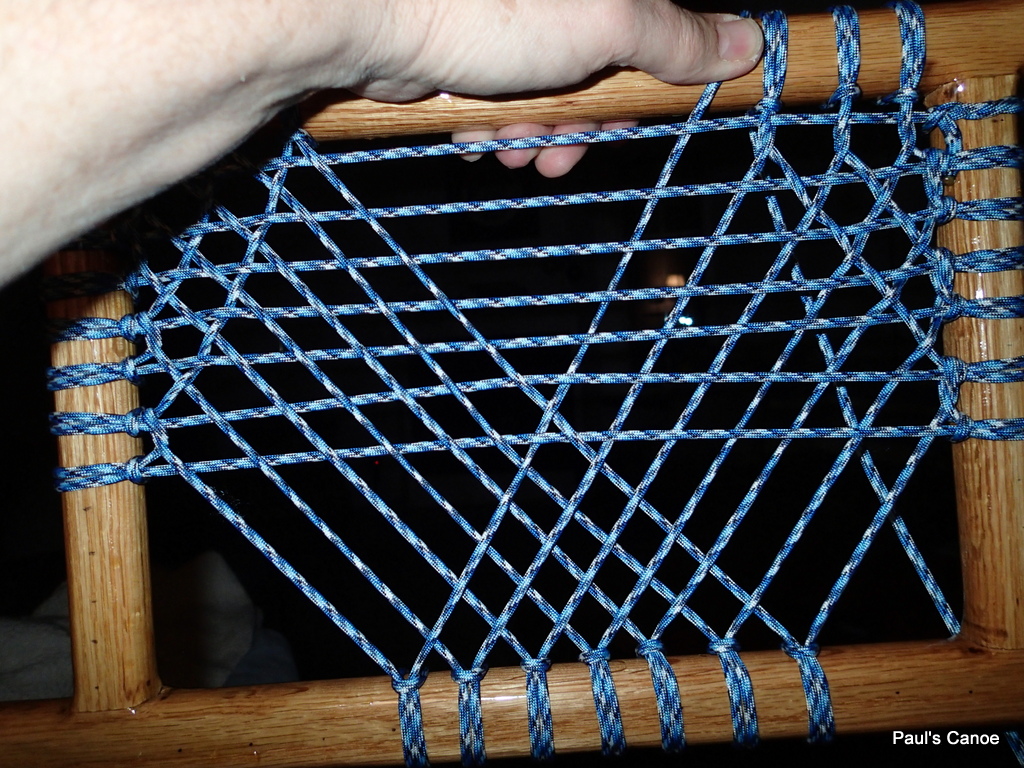
Wide angle look at the “V” pattern.
The up-going to the left “V” arm go under the up-going to the right “V” arms and over the horizontals. The up-going to the right “V” arms go over the up-going to the left “V” arms and under the horizontals.
As you progress, there is less paracord to pull through but more weaving to be done.
The real weaving is starting…
The weaving in the centre begins…
The Lark’s head knots do move a bit on the seat frame. Put them back where they belong. Remember to pull every strand as tight as you can.
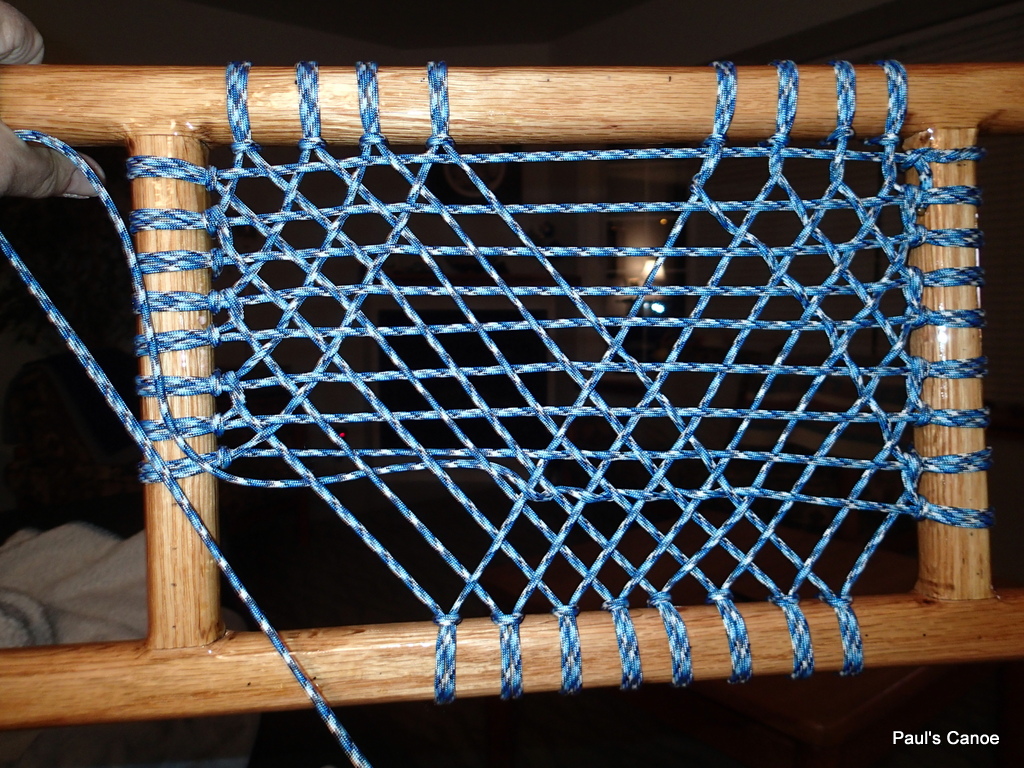
Carrying on with the pattern.
Another problem begins. pulling the paracord through the weave begins to put a real “twist” into the cord. I have to stop after every pass and shake the twist out.
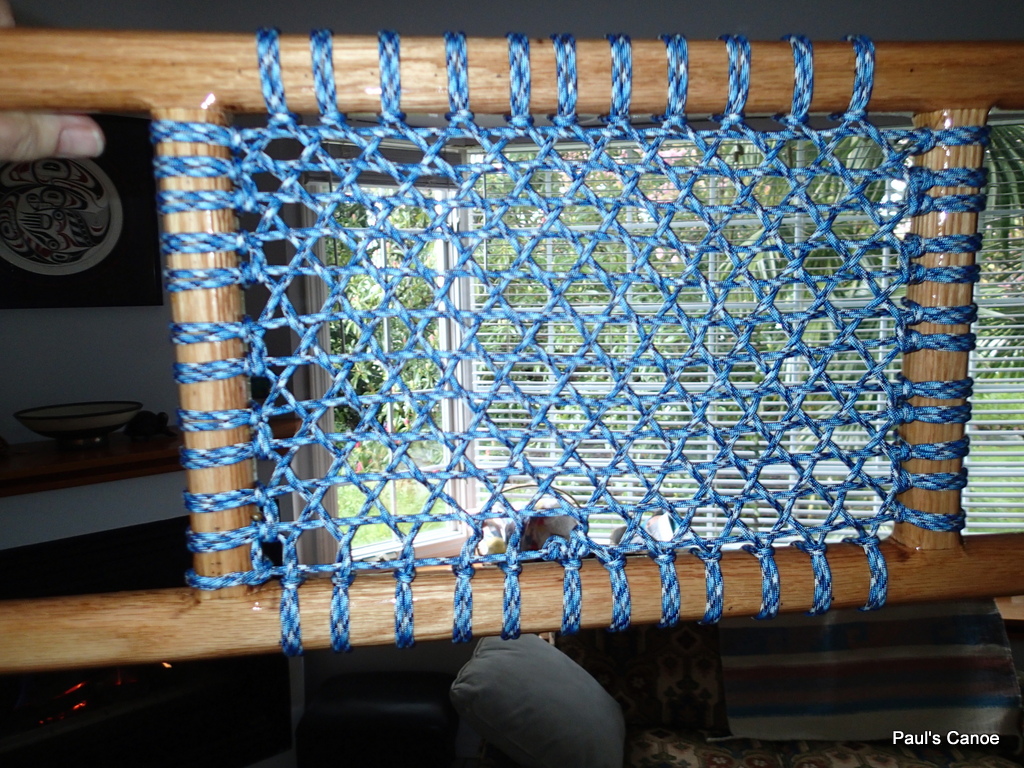
After two movies in a Space network “Avenger’s” movie marathon.
The next day I find my mistake……see the dot? There are only eleven Lark’s heads on this side of the frame.
Should have gone up and aground then down….
I have already trimmed the paracord…it is now too short to fix this. Paul will have to live with it. Maybe I just will not tell him.
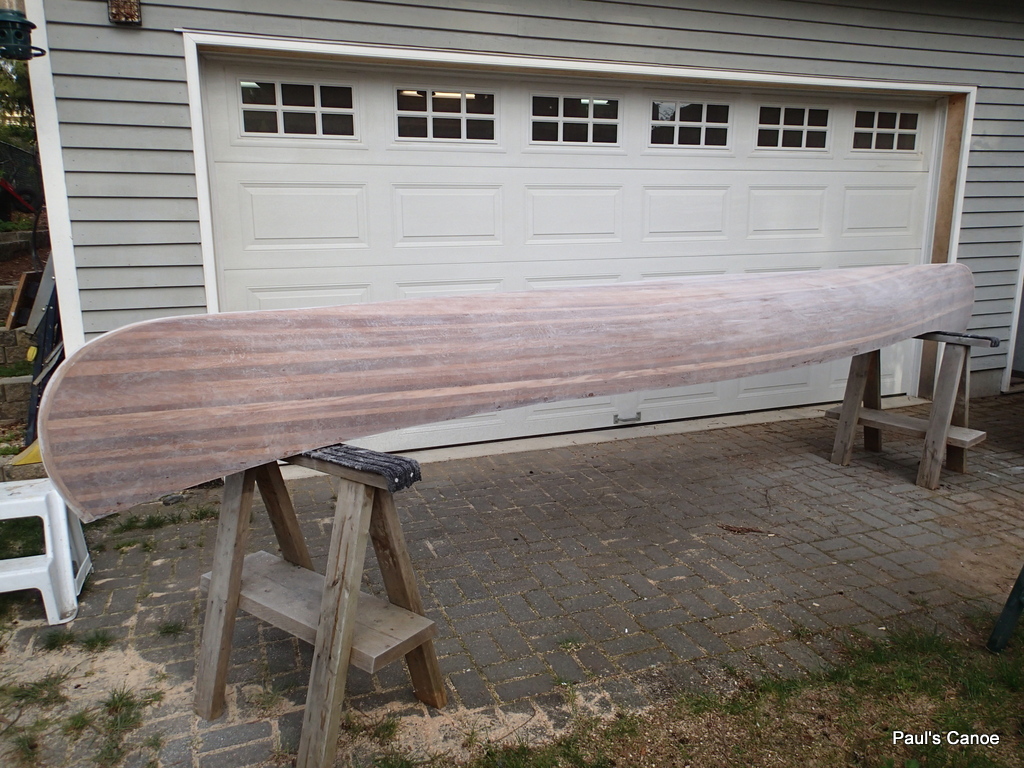
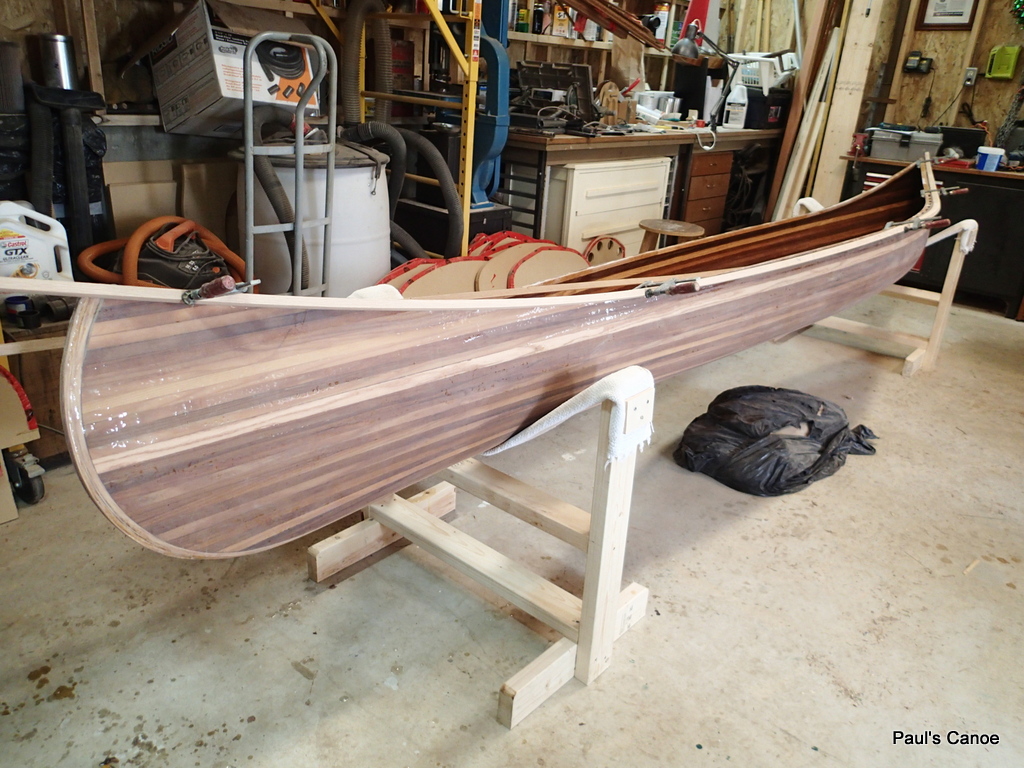
Time to do something I cannot mess up…Sanding the outside of the hull for glueing on the outside gunnels.
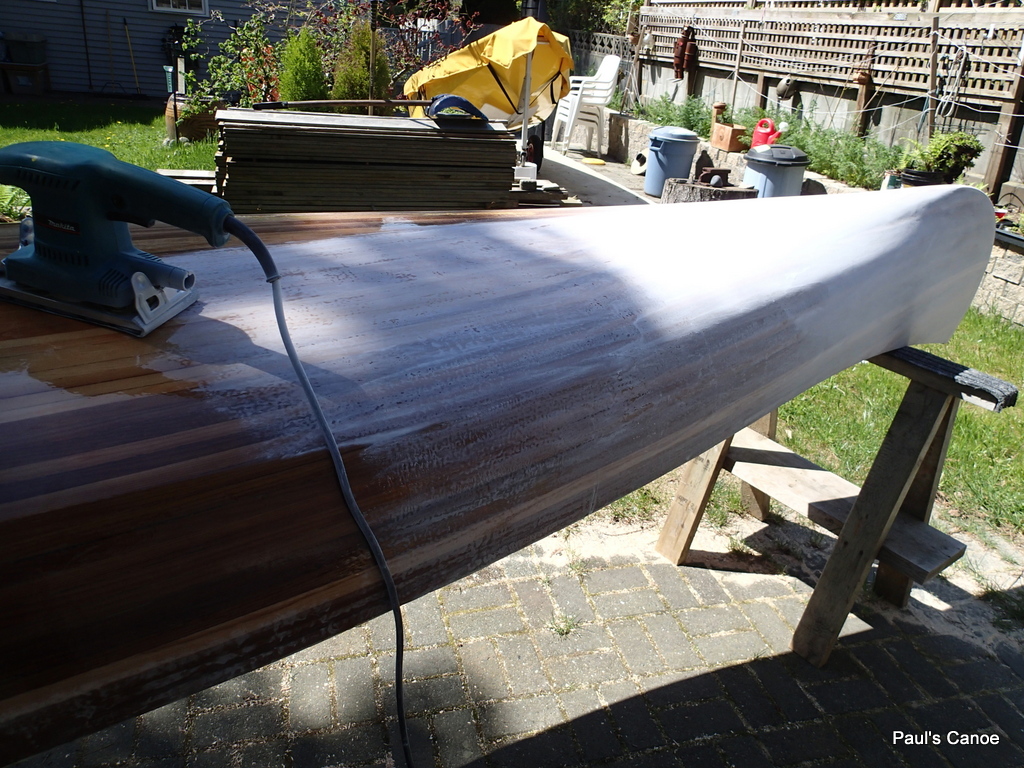
Starting to sand. #120 grit.
We were quite careful not to get any drips or runs in the final fill coat. Time to sand the hull really smooth for the varnishing and glueing on of the gunnels.
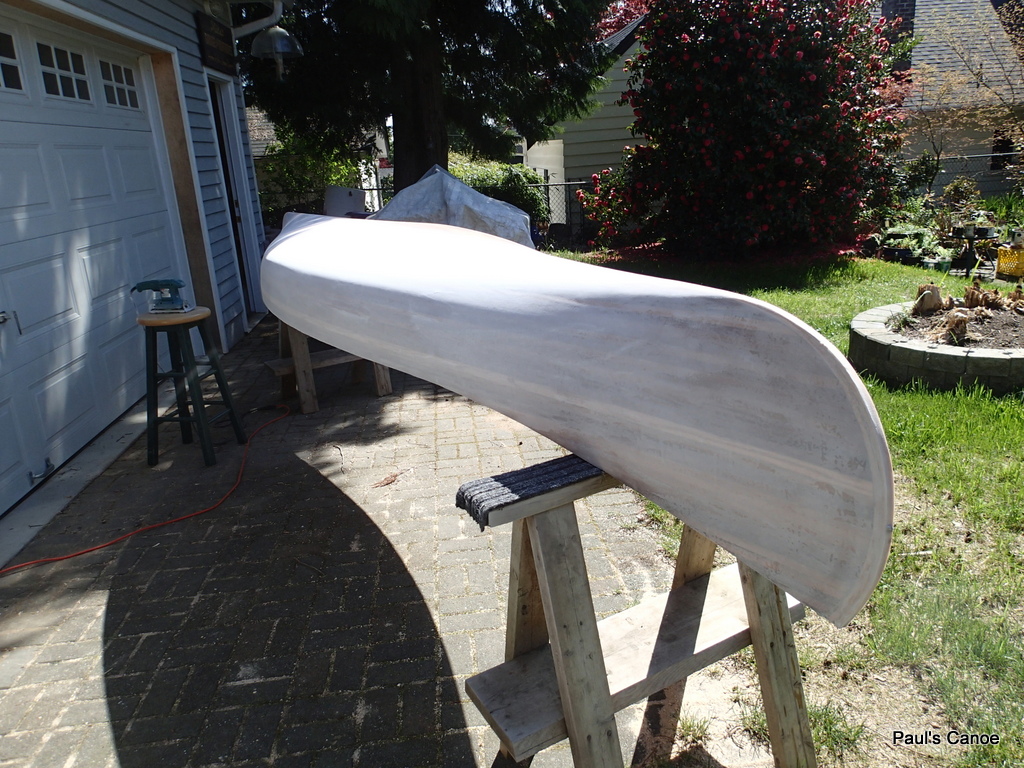
East side of the canoe sanded.
I am going to finish with 240 grit.
Ready for the 240 grit.
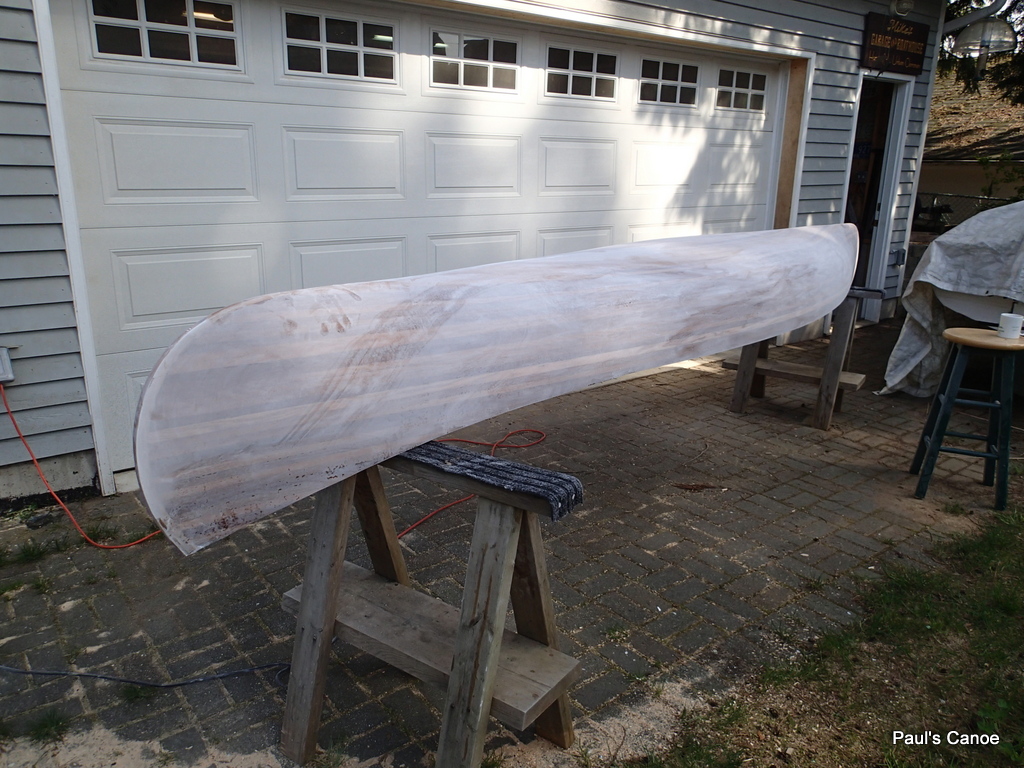
The hull ends up pretty smooth.
The 240 grit sanding dust is a little finer….
I give the canoe a wash…she looks pretty good. If I only had some 400 grit wet/dry sandpaper!
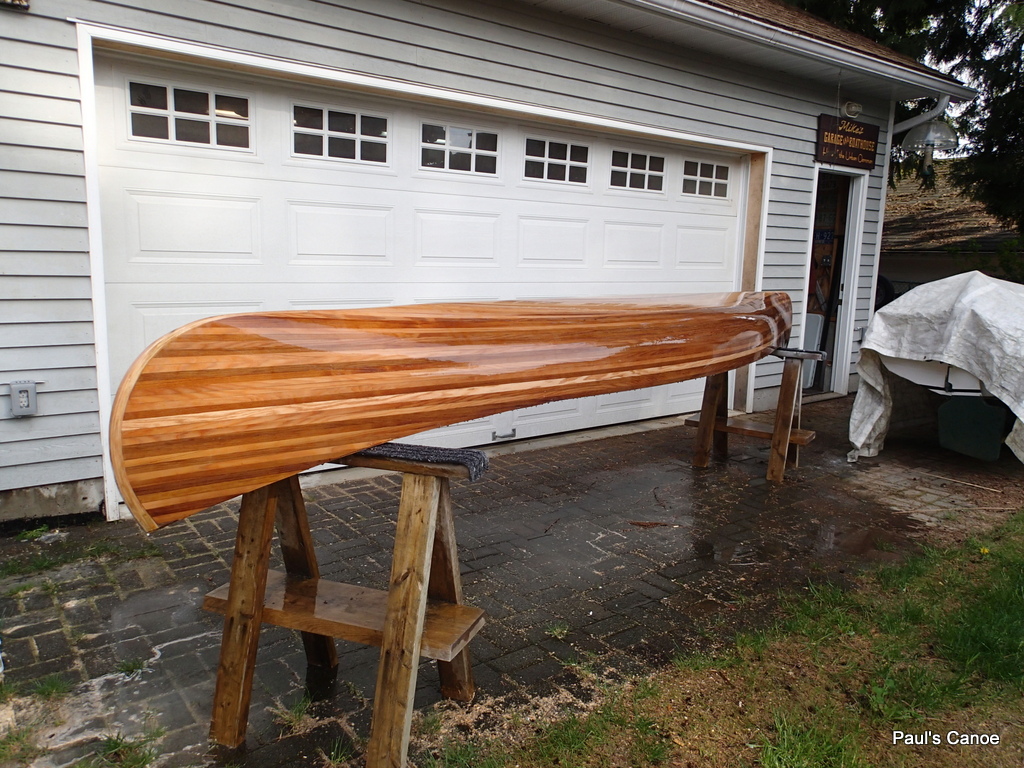
Ready for the gunnels and maybe some varnish.
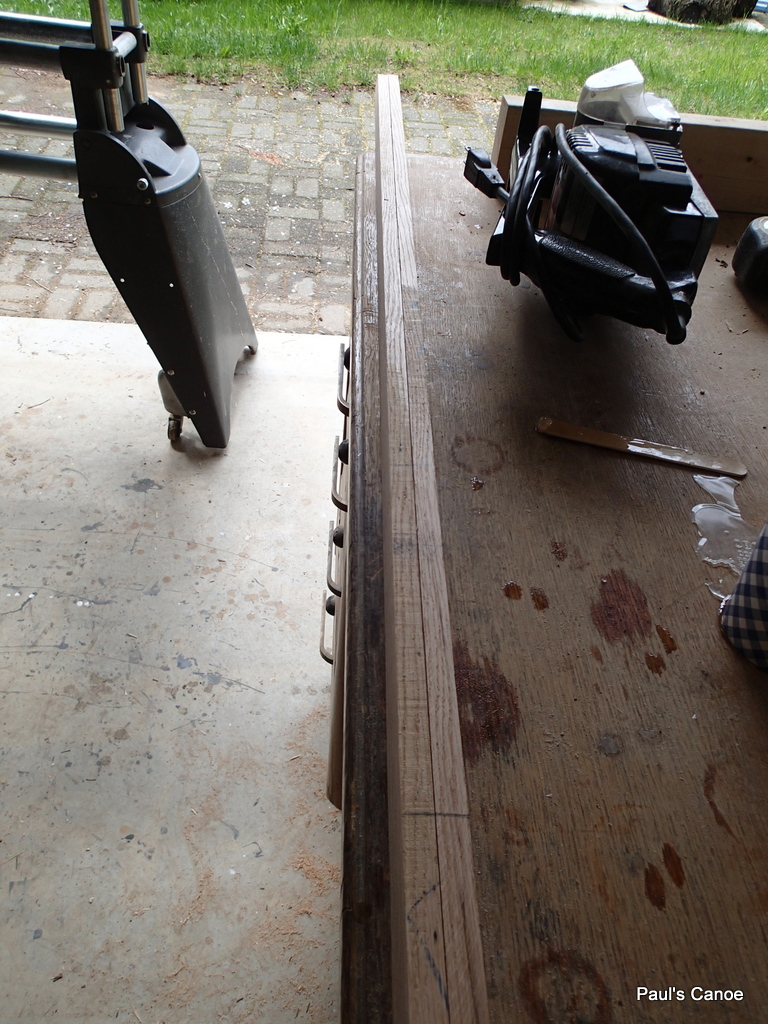
Time to work on the gunnels.
On the Weekend, Sunday, we taper the outside gunnels. The taper will be ¼”, the gunnel will go from 1″ wide in the middle to ¾” wide at the stems.
Tapering the gunnels.
We need four passes for the planer to get a ¼” taper. We measure and put a planer mark every nine inches. Paul planes the gunnel, and then smooths out the taper with the belt sander.
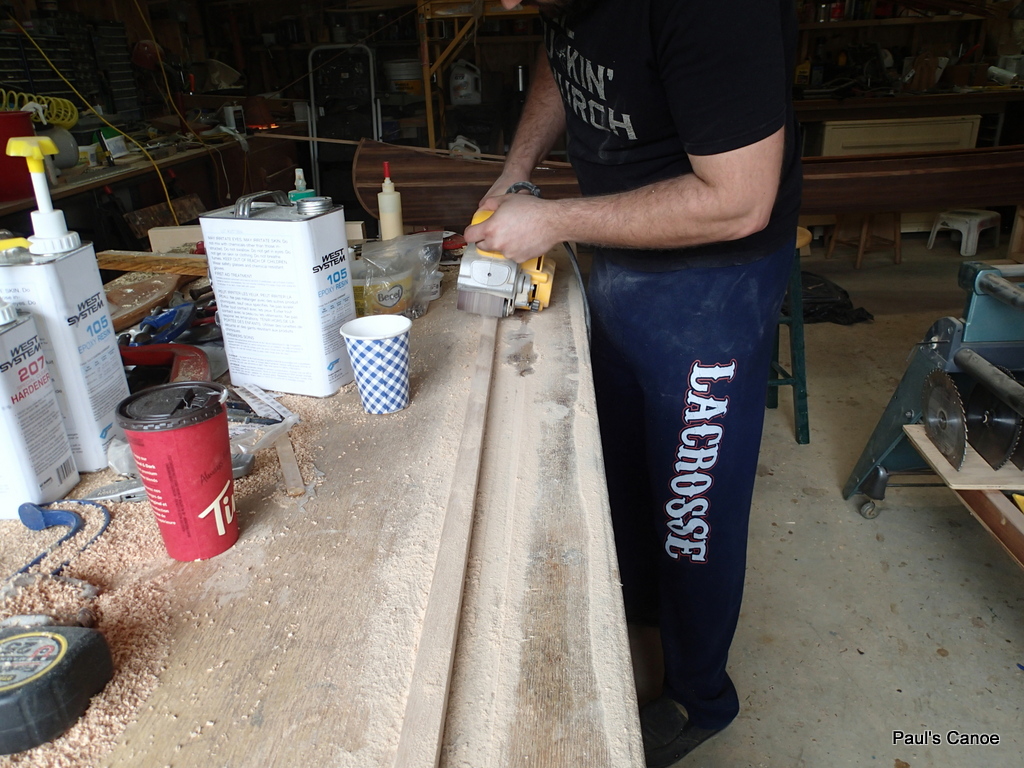
Where the planer starts a cut, there is a “hump”. Paul sands the “hump” smooth.
We take the gunnel over for a “test-fit”
Test-fit West gunnel.
Paul eyeballs the fit to see if the taper is sufficient. Does the gunnel look too wide? Is he happy with it?
Paul likes the way it looks. The outside gunnel is ⅛” wider that the inside gunnel.
We clamp on the East gunnel. Paul is happy. The width of the gunnels fit his hand for carrying. After we glue the gunnels on, we can still plane off a little if he then decides that they are too “thick”.
Gunnel test fit.
Paul will sand off the sharp edges after the gunnels are glued on.
We do not have enough time to epoxy the gunnels on. The weather is supposed to be much hotter in a few days. ‘Poxy evening!

Almost done!,
Mike
