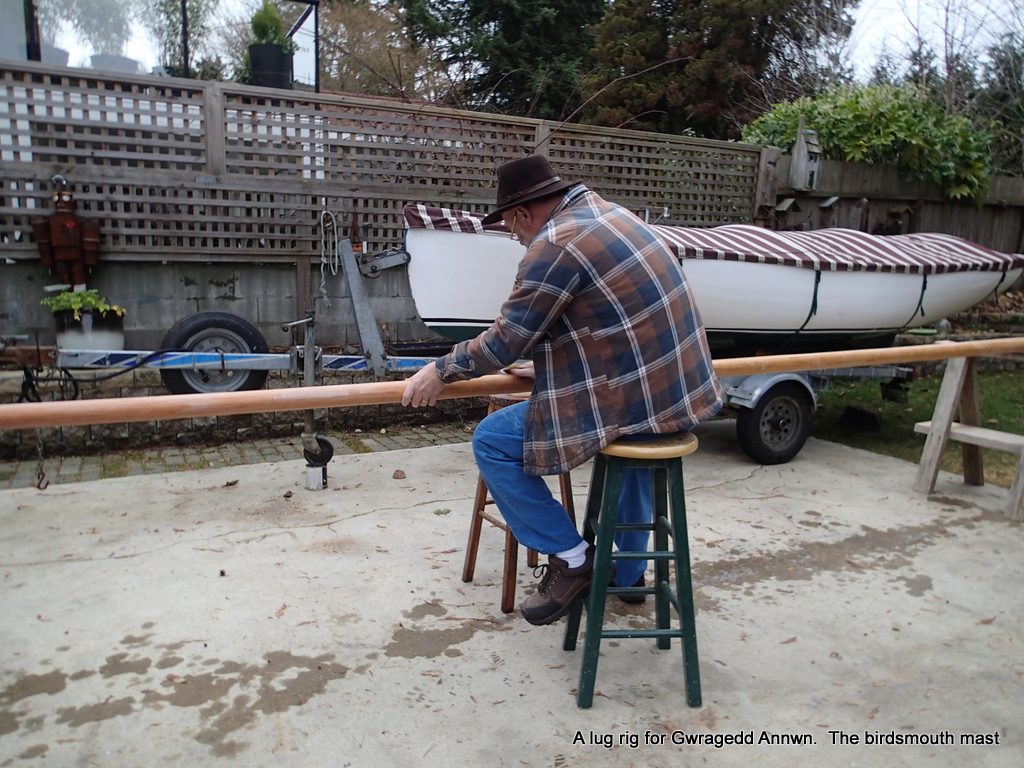
We have had over 20cms (almost 8″) of rain at the house. It has been very rainy and more rain is predicted. I decide to wet sand the mast tomorrow. Well, it is now tomorrow and it is supposed to rain all day today. I was all set up to wet sand the Mast and Masthead plug today in the rain. Would you not know it…no rain today, but the temperature is just over 13° C today.
I have a margarine container with some hot water with a little dish soap. I really want the varnish to stick to the mast, so I am making sure that the mast has a good bonding surface…the soap will wash off any “Anime Blush” that there may be on the mast.
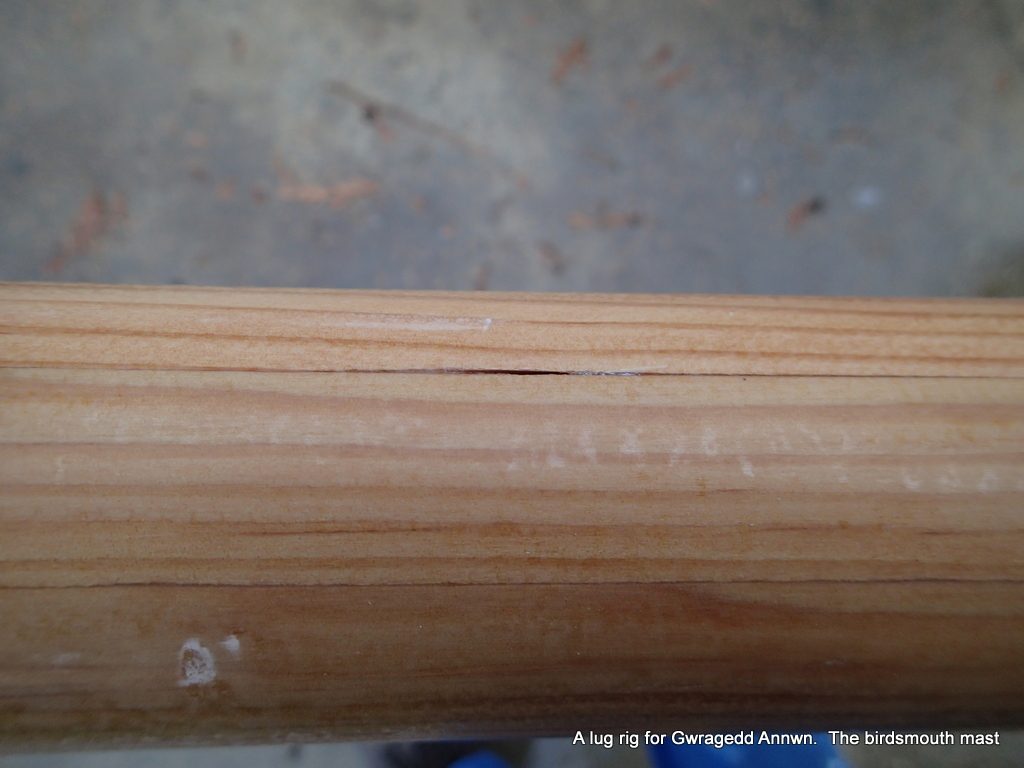
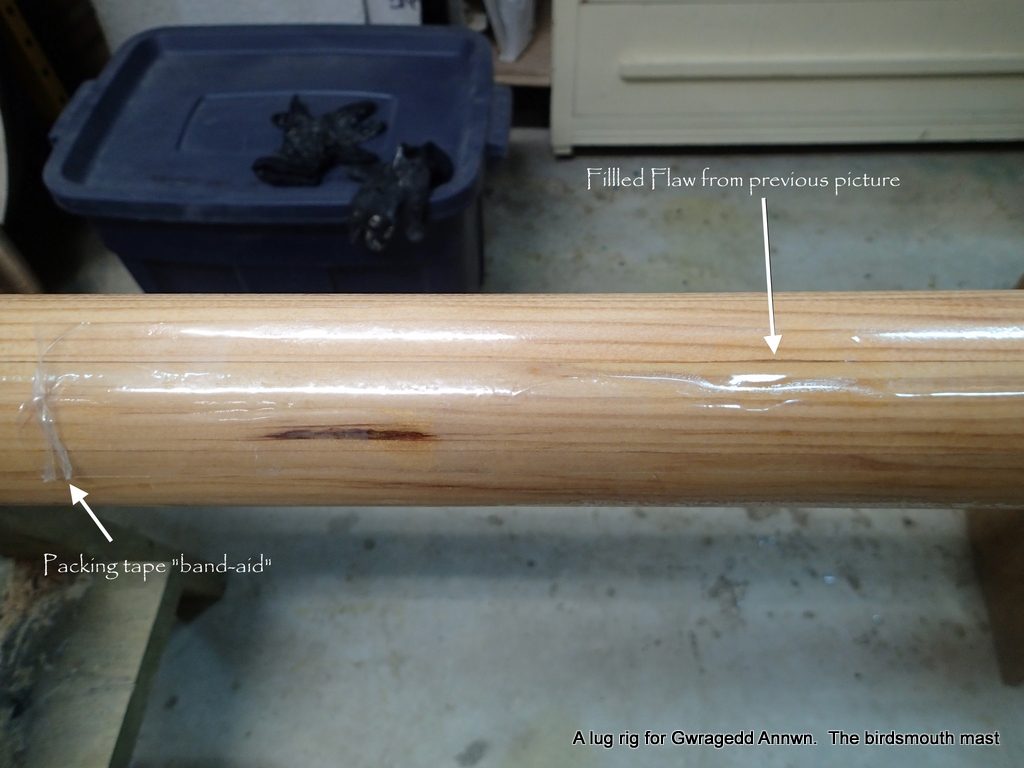
Well, there is a change of plans. I am going to fill a few minor flaws that I have found while sanding. I will live to varnish another day.
I mix up a small amount of epoxy and a touch of sanding dust and go around the mast, filling the few flaws that I have found. To keep the epoxy in place, I put a piece of packing tape over the epoxy. Sort of like a band-aid.
Well, this is a change of plans. I decide that since I cannot varnish the mast until the epoxy cures, I might as well go all the way with my other “idea”. Generally, the base of free-standing masts are reinforced on the inside, as there is a lot of stress placed on the mast base while sailing. I am going to wrap my mast base with epoxy & cloth to reinforce it. This will also keep the mast from being damaged where it goes through the mast partners (the thwart). I will still leather the mast at thwart level (about 16″ up) to reduce chafing.
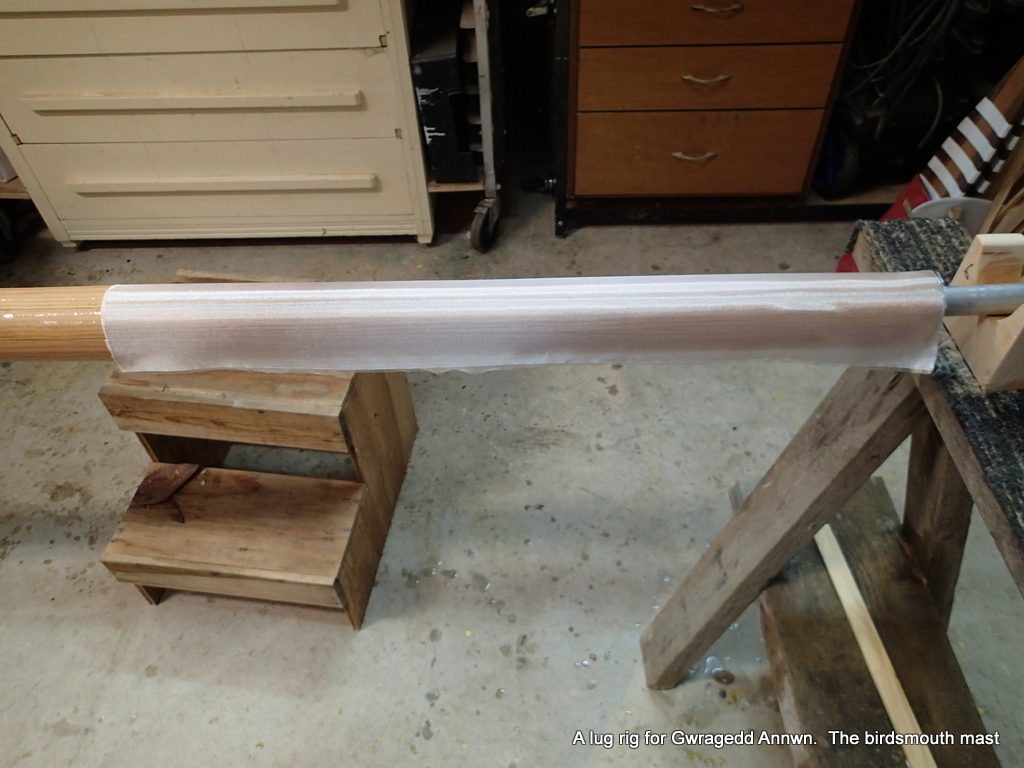
I used 6oz. cloth left over from “Paul’s Canoe build”. I am putting epoxy & cloth from the mast base to about 27″ up.
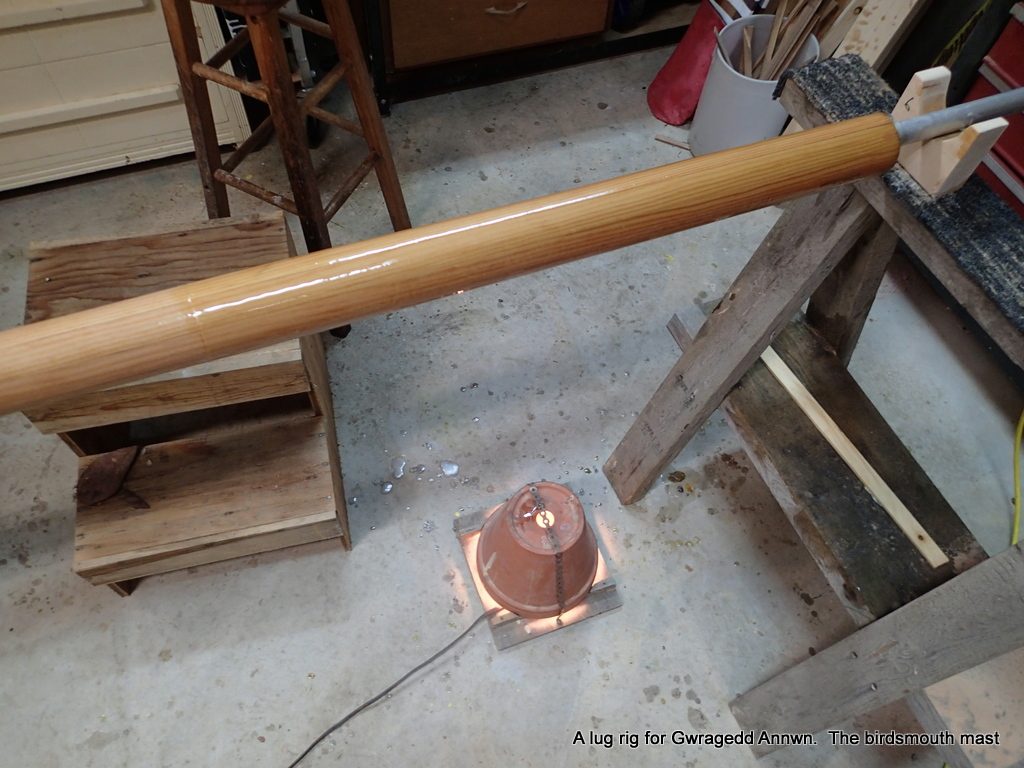
I intend to wrap the Mast/Masthead plug joint with silver reflective tape when I am done. Hopefully I can wet sand the mast base, the filled minor flaws and start to varnish tomorrow.
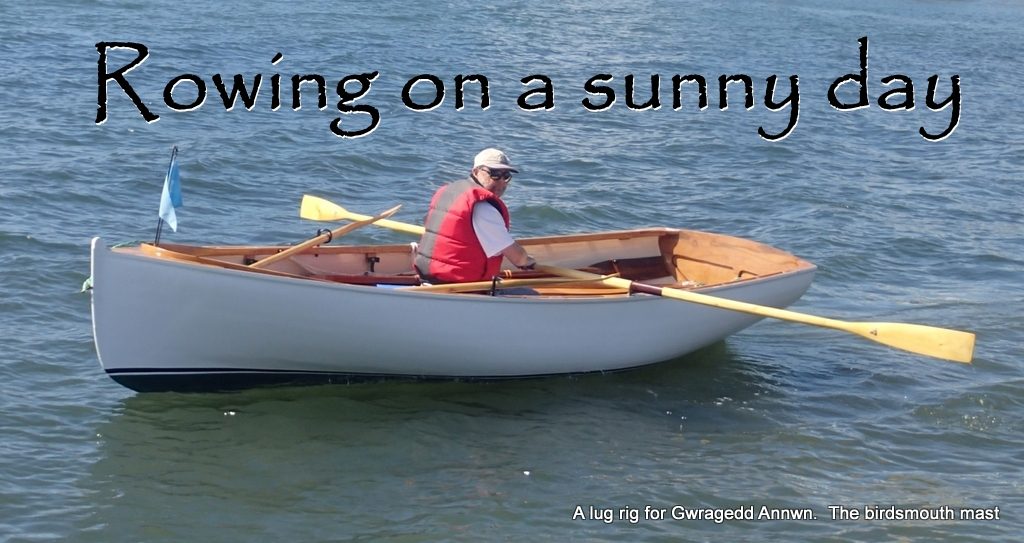
Good rowing to you,Image
MikePublishedMaking a birdsmouth hollow mast for Gwragedd Annwn part IV is now live.
What’s next?Post addressView PostCopy LinkAlways show pre-publish checks.
