
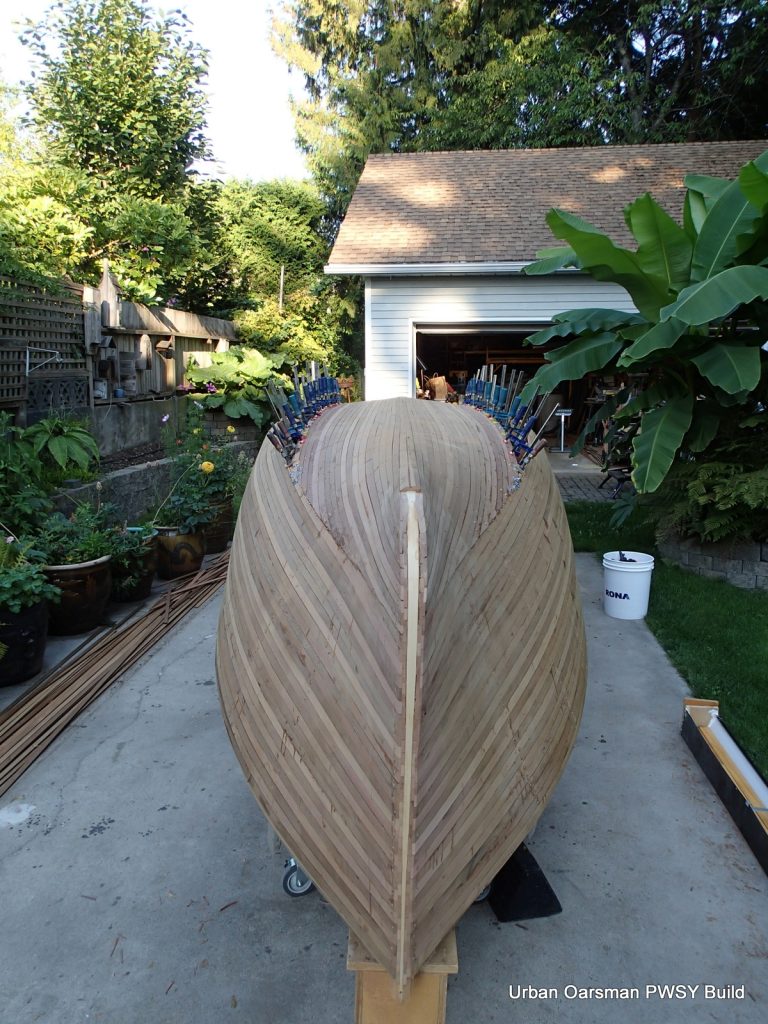
Episode II. Planking.
After my failure to plank the PWSY diagonally, on the advice of my boat building friends, I decide to double strip plank the boat, one strip overlapping another. The advice is that 1/4″ strips will be too light for a boat 16+’ long. I have a lot of 1/4″ cedar strips. The strips are not bead and cove. The problem was that they are old and dirty. I would have to plane them down to get a clean gluing surface. With double diagonal planking, that would not be a problem. I could plane the strips to 3/16″ and end up with a 3/8″ thick skin. Now I am going to plane the strips down to 3/16″ and then overlap them. a 3/8″ skin, with double overlapping strips should be strong enough.
The double overlapping strip construction will take a long time. I can only do one strip at a time. The issue is the glue drying time and clamping.

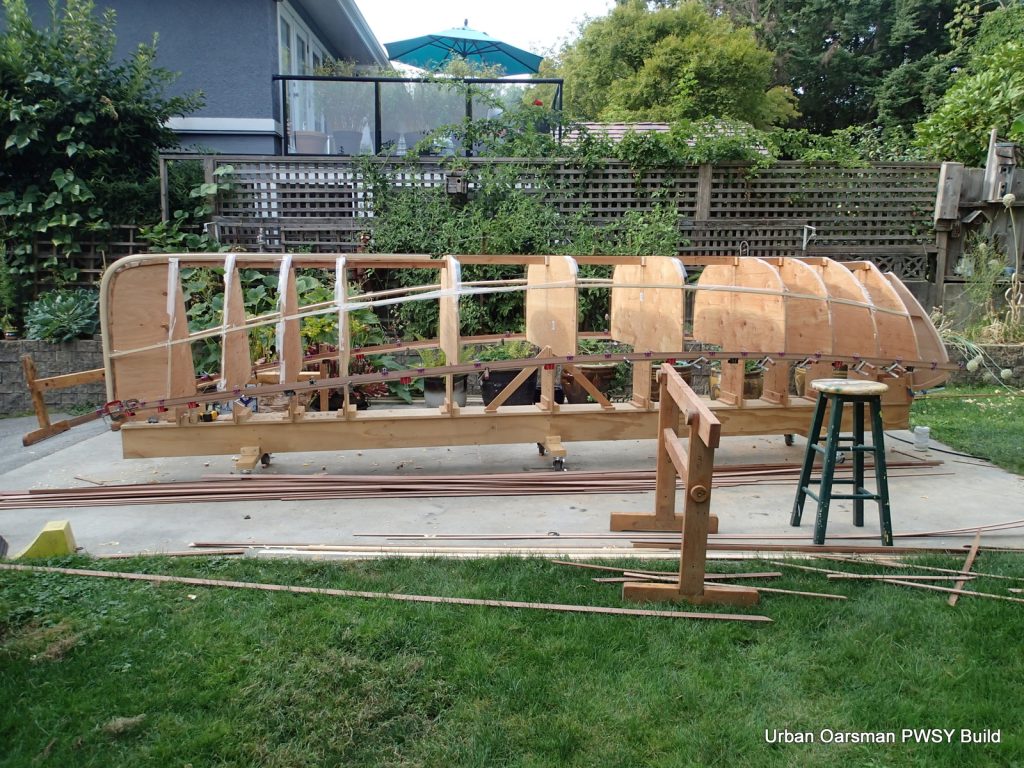
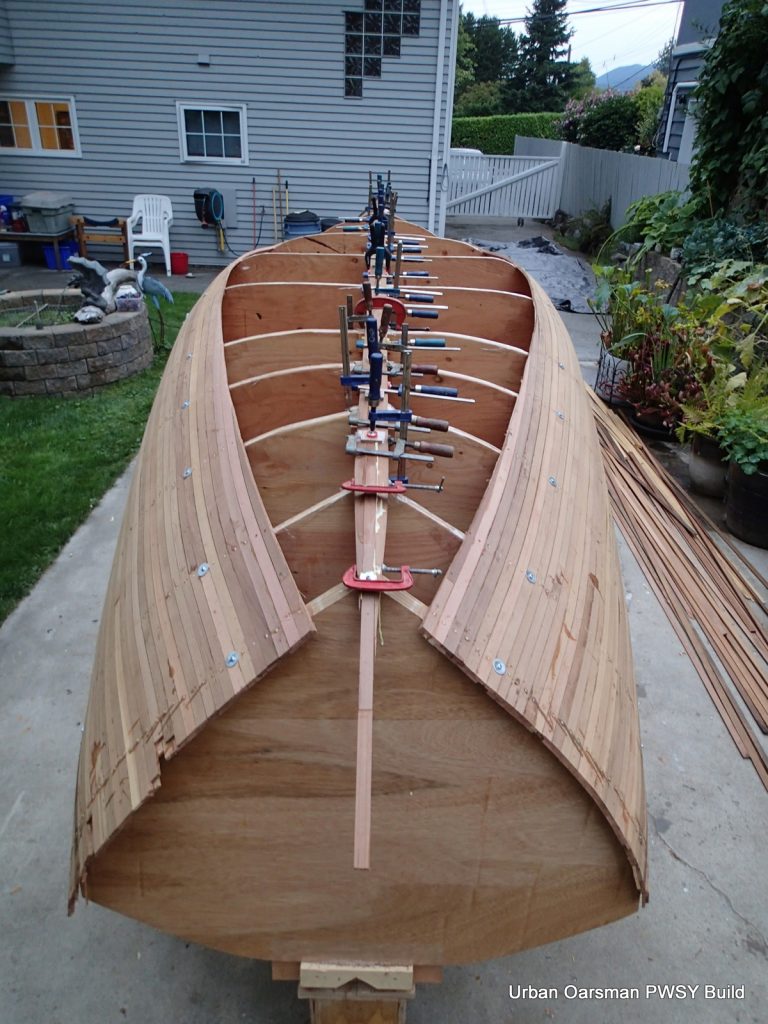
So this is what I am doing. Bulldog clips are used for clamping. The two mating surfaces are generously coated with Titebond II. At each station mold I use a screw with a washer to clamp the strips to the mold. Multiple bulldog clamps hold the strips together between the station molds. The glue needs about two hours to set up enough for the clamps to be removed for the next two strips. I am lucky to get in four strips a day at this rate.
At the end of the first stripping day, I have four inside strips and three outside strips done.
I am making progress. After the strip has dried, I remove the screws and plug the holes with bamboo dowels (bamboo skewer pieces).
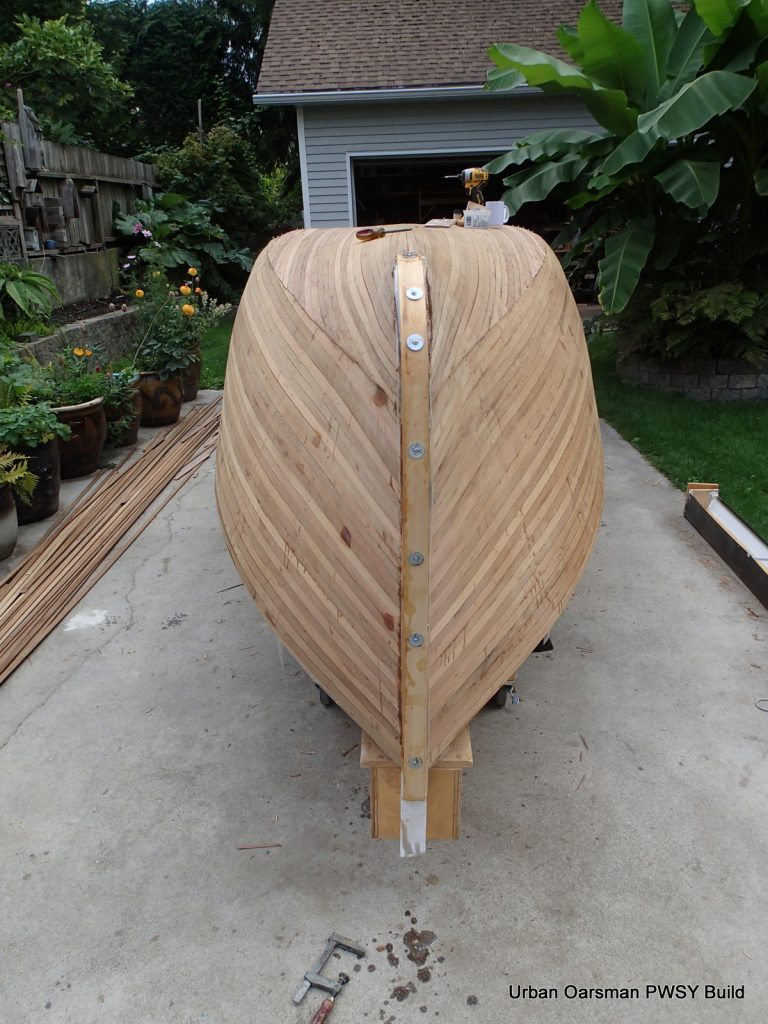
At the transom and the bow, I use bamboo skewer pieces that go into the inner keel and that go into the transom to “peg” the strips in. All the other screw holes are just plugged with short strips that do not go into the station molds.
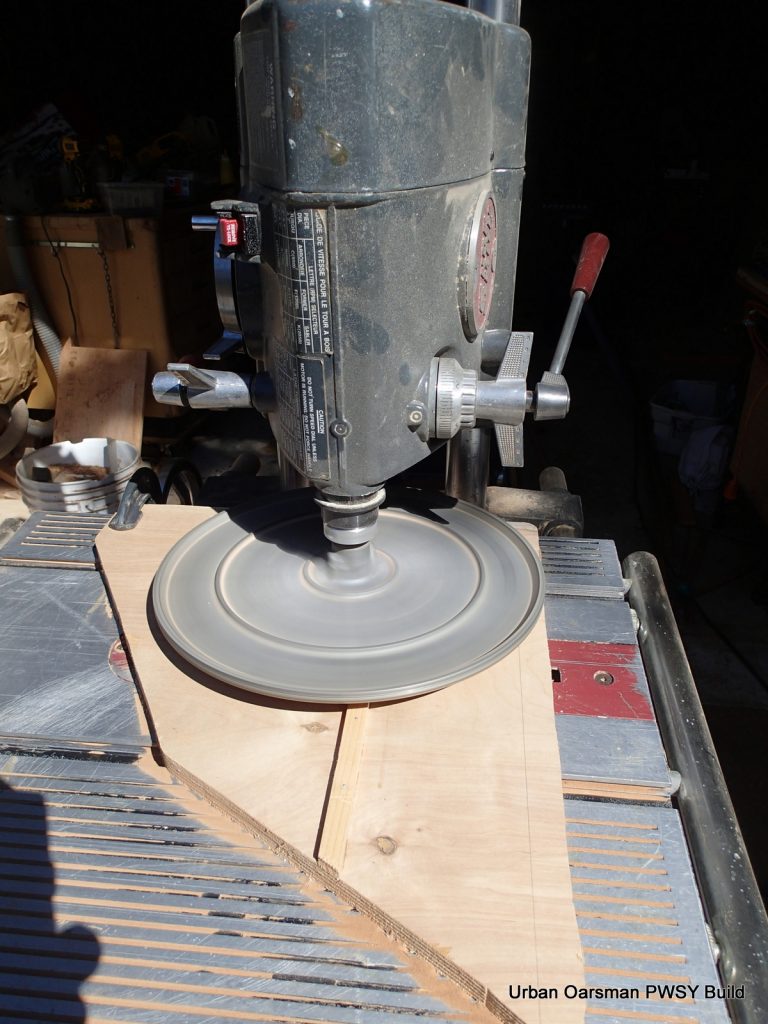
With a 16’+ boat, the strips need to be just over 17′ long. This is my 12 to 1 scarfing jig on my Shopsmith. With 12 to 1 scarfs, I do not have to worry about spacing out the scarfs on the boat. A strip with a 12 to 1 scarf is as strong as a whole strip. The table is set at about 10° and the scarfs are a little over 2″ long.
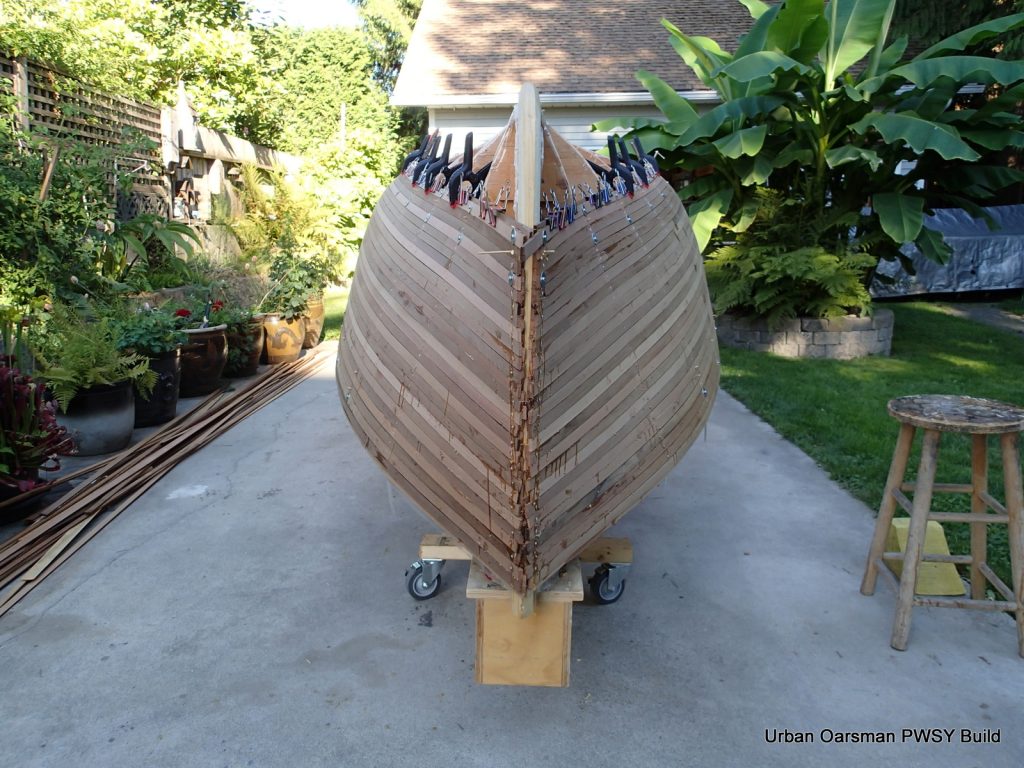
Getting to the point where the strips will not take the bend easily.
The transom is held on only by the strips at this point.
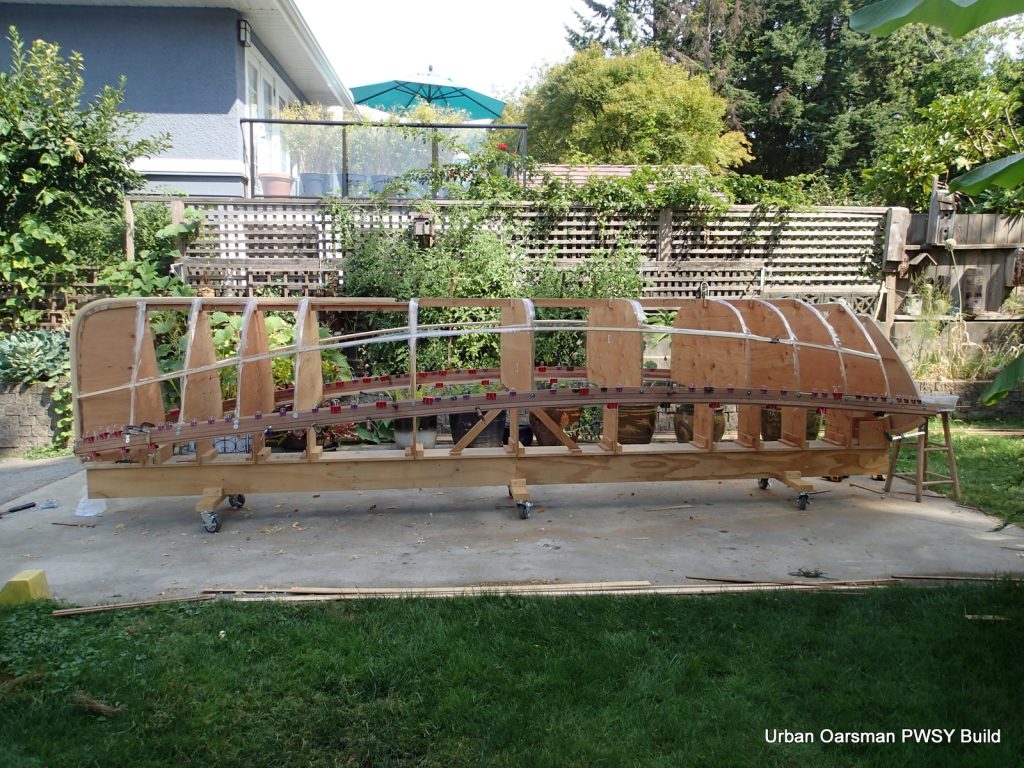
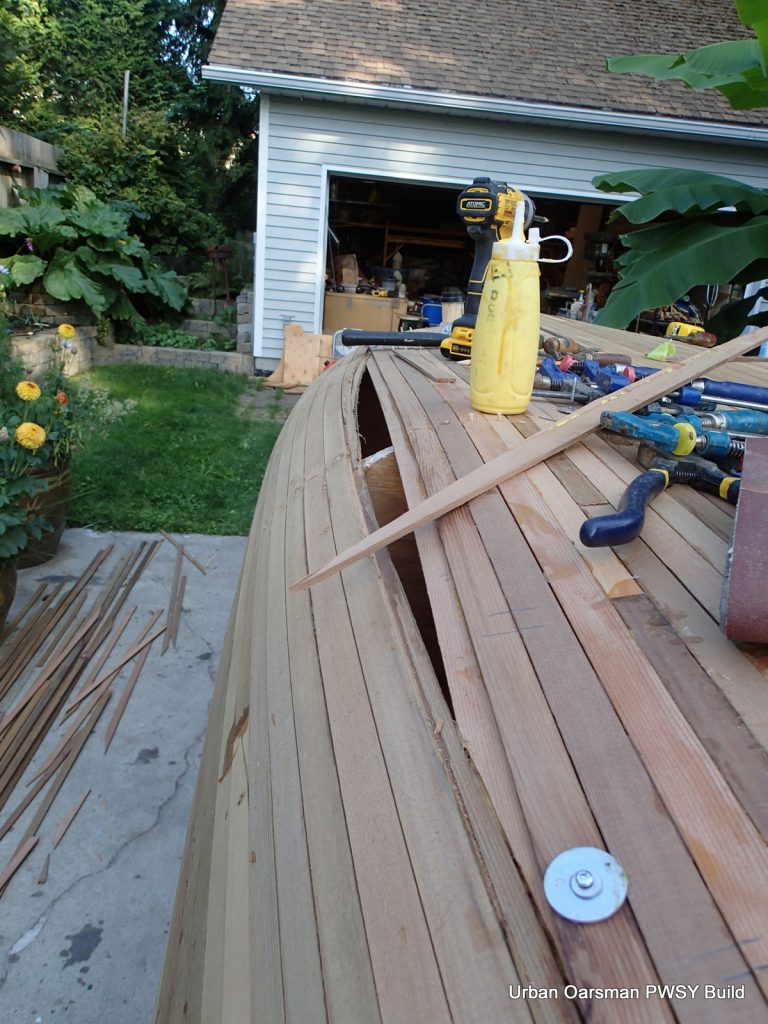
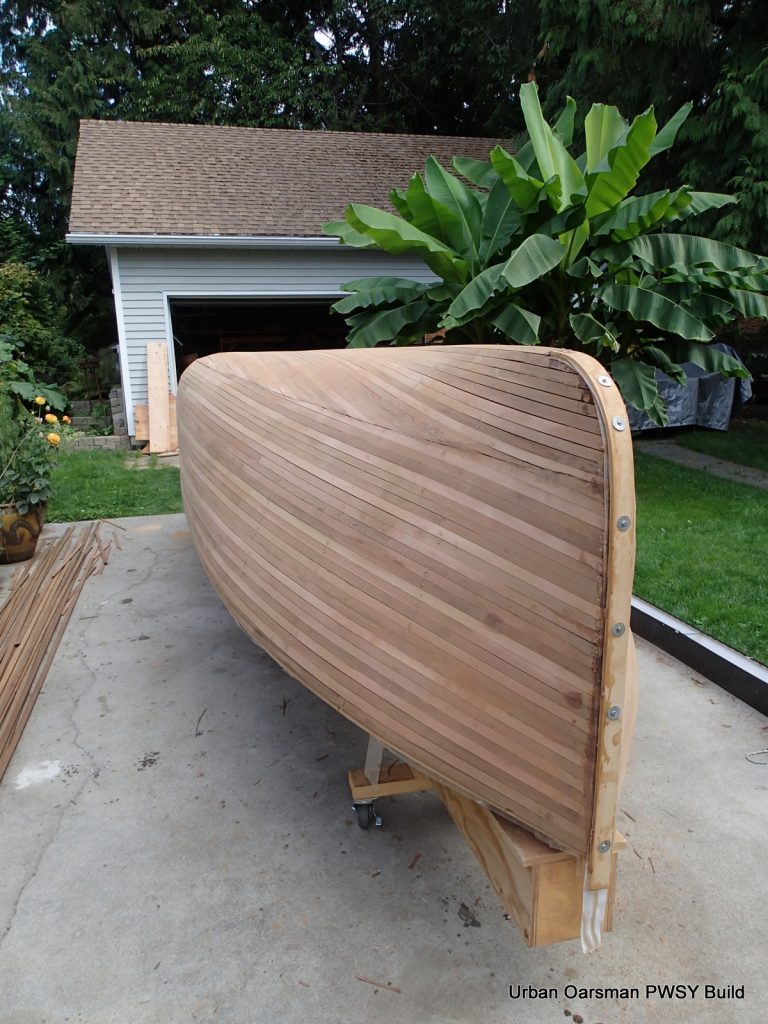
Using a batten, I cut the planking along a smooth line to make the “Football”. This line is where there is too much twist in the strips for them to lie flat on the station molds. So the strips I now put on from the keel down will lie flat on the forms. I did some distructive testing on the planking I cut off. I was really pleased with the how well the strips glued…better than 95% adhesion. The wood failed before the glue joint. This was where there was the most shape in the hull. With the really “twisty” bits cut off, I am filling in the “football”. The middle of the boat is really flat.
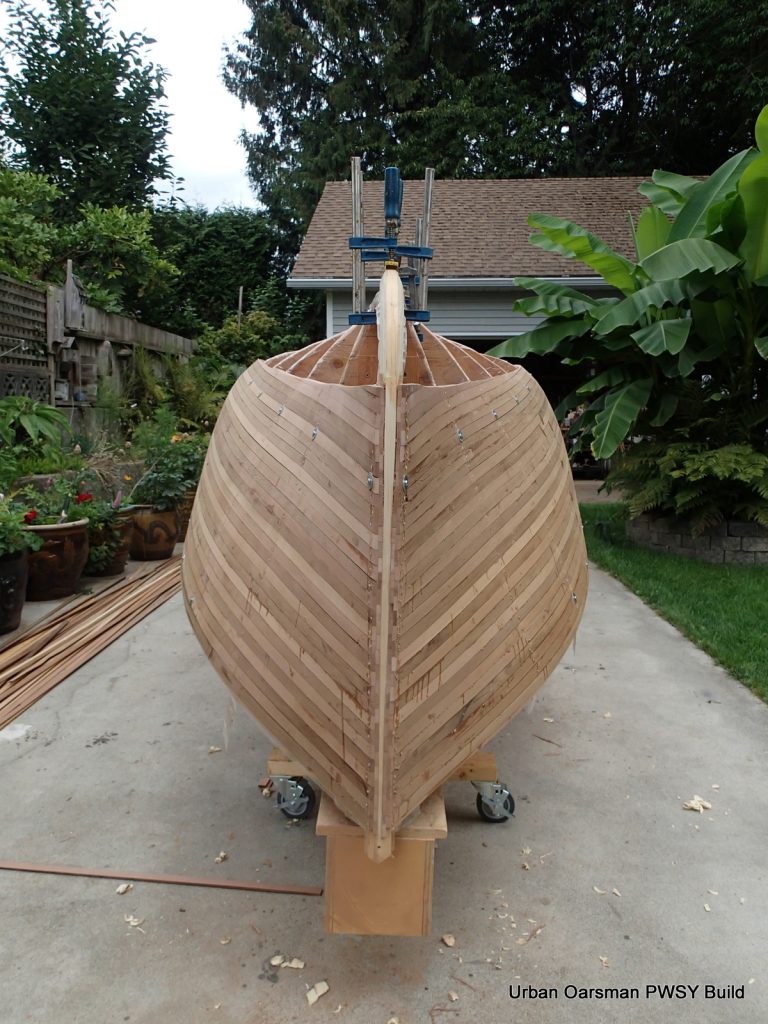
The first three strips go on. They are glued to the inner keel and the transom.
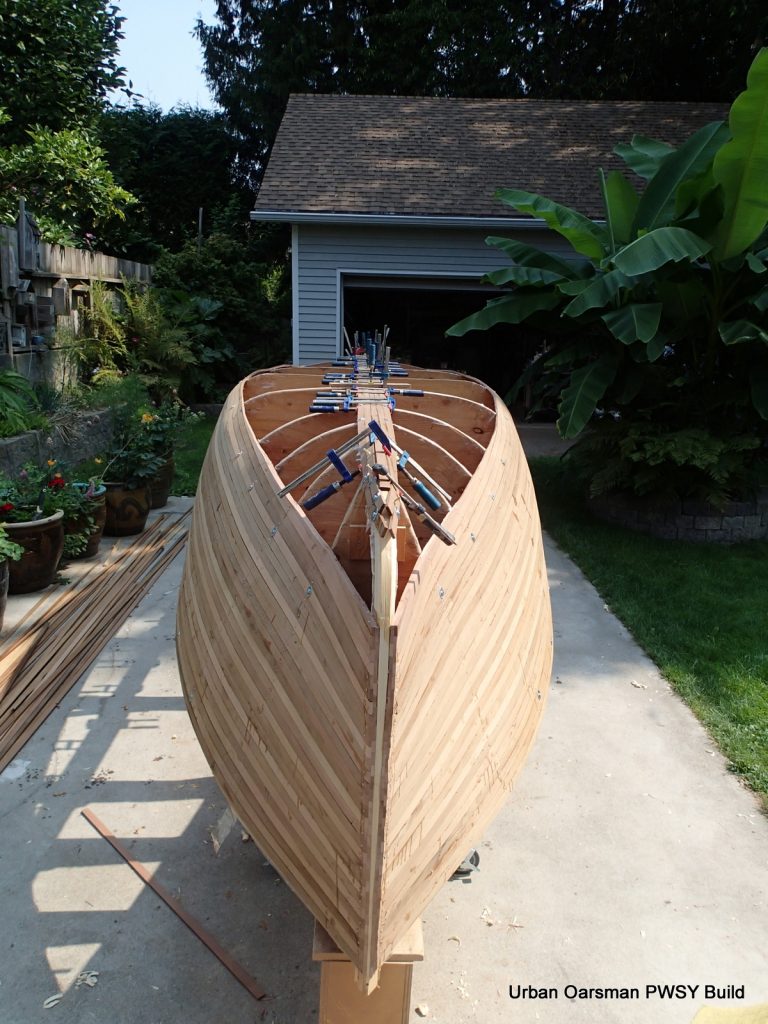
So now I am filling in the “football”. The middle of the boat is really flat.
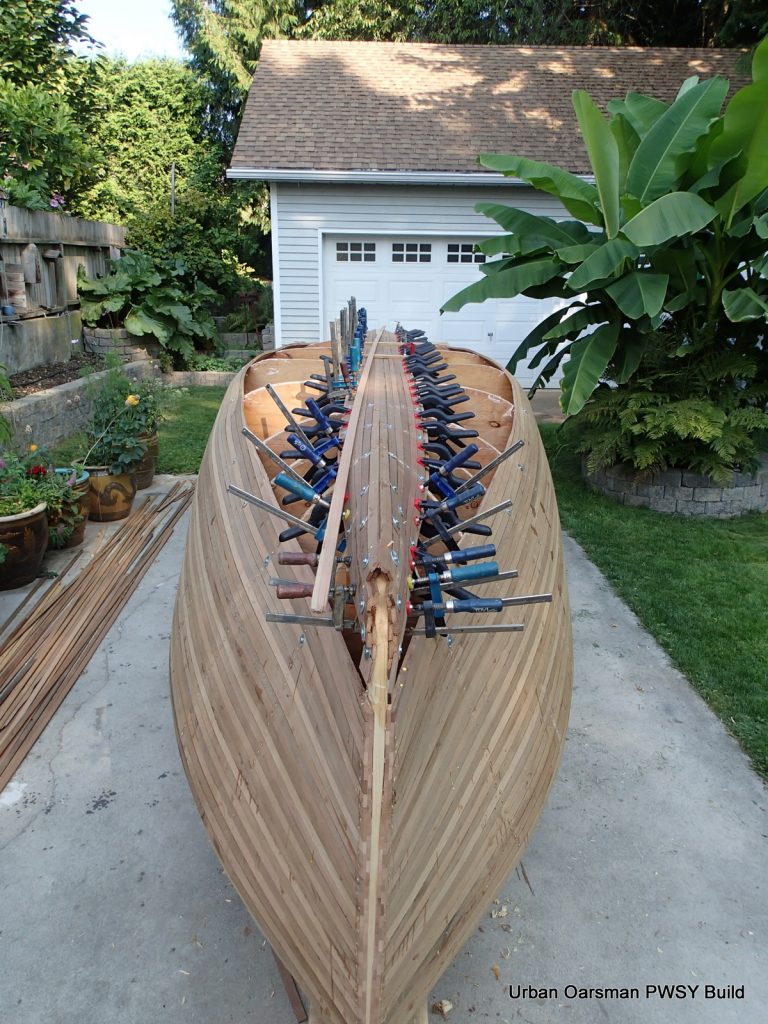
To keep the planking as flat as possible, I am using cross pieces and screws to keep the planks against the station molds.
The yellow cedar strip is where the inboard rudder will come through the hull later.
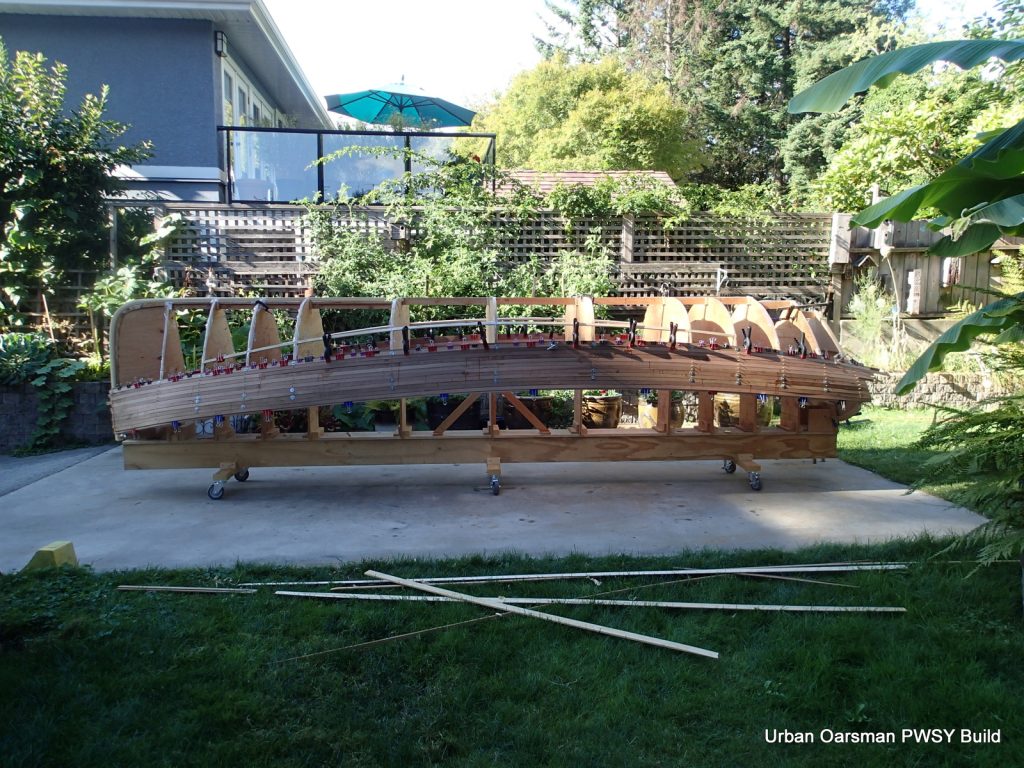
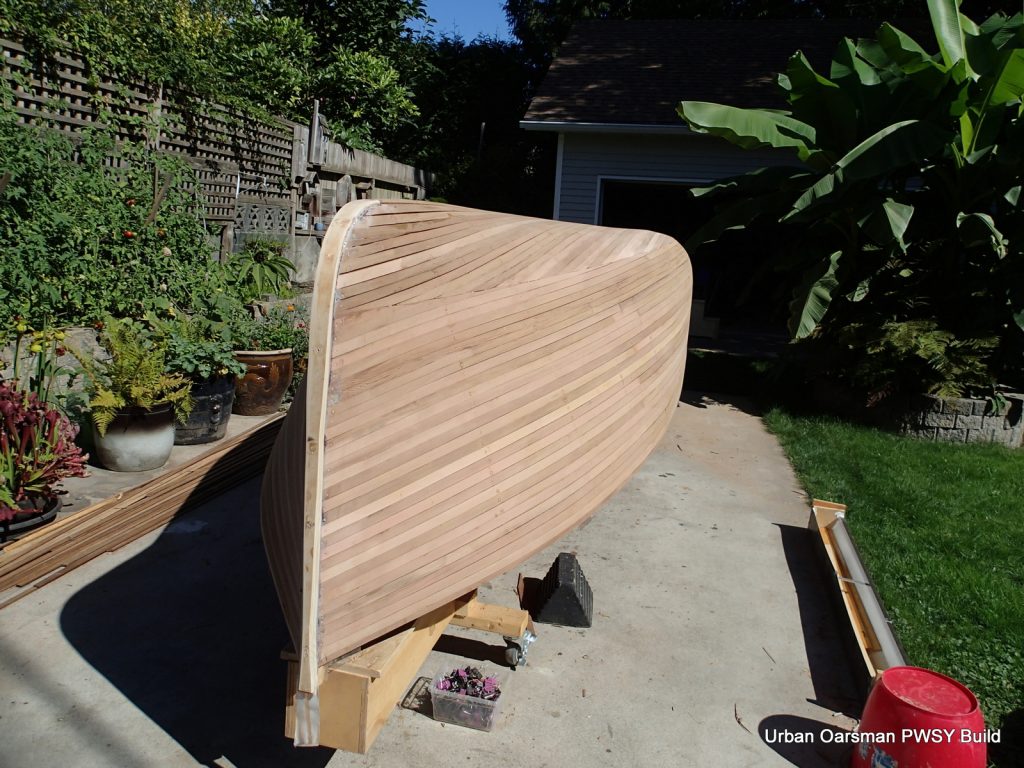
As the “Football” fills in, the strips become shorter.
Only a few strips to go.
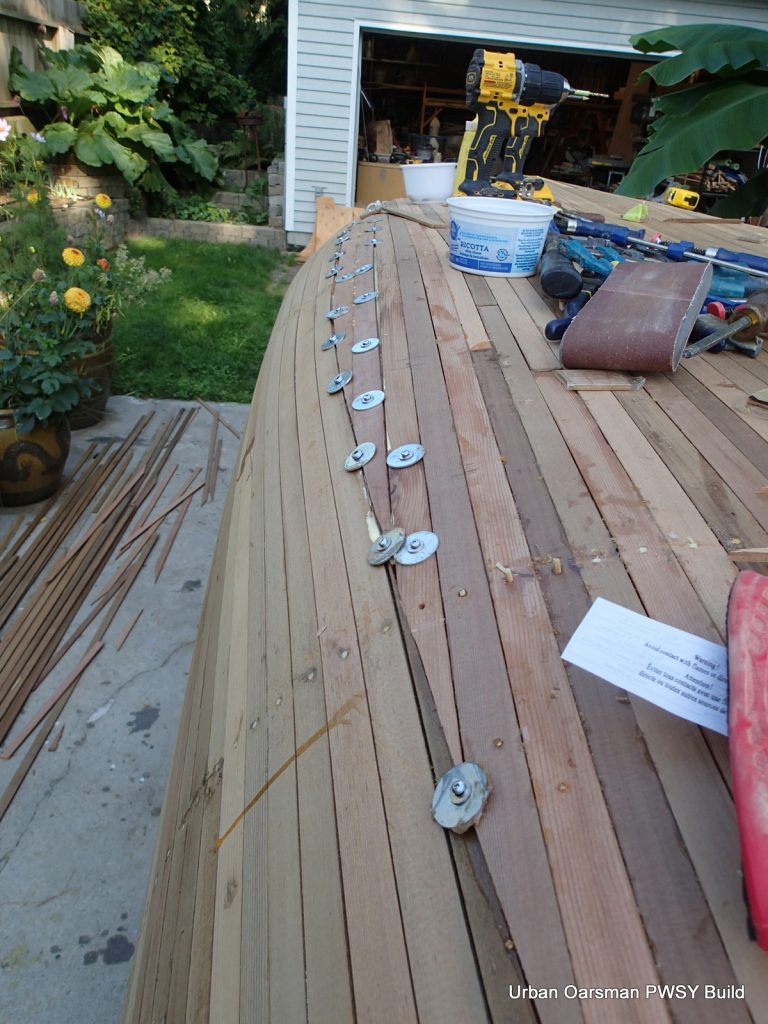
For the last few strips, the clamps will not fit anymore. It is all screws and washers. I buy thinner screws for this part. Note the two-washer set-up.
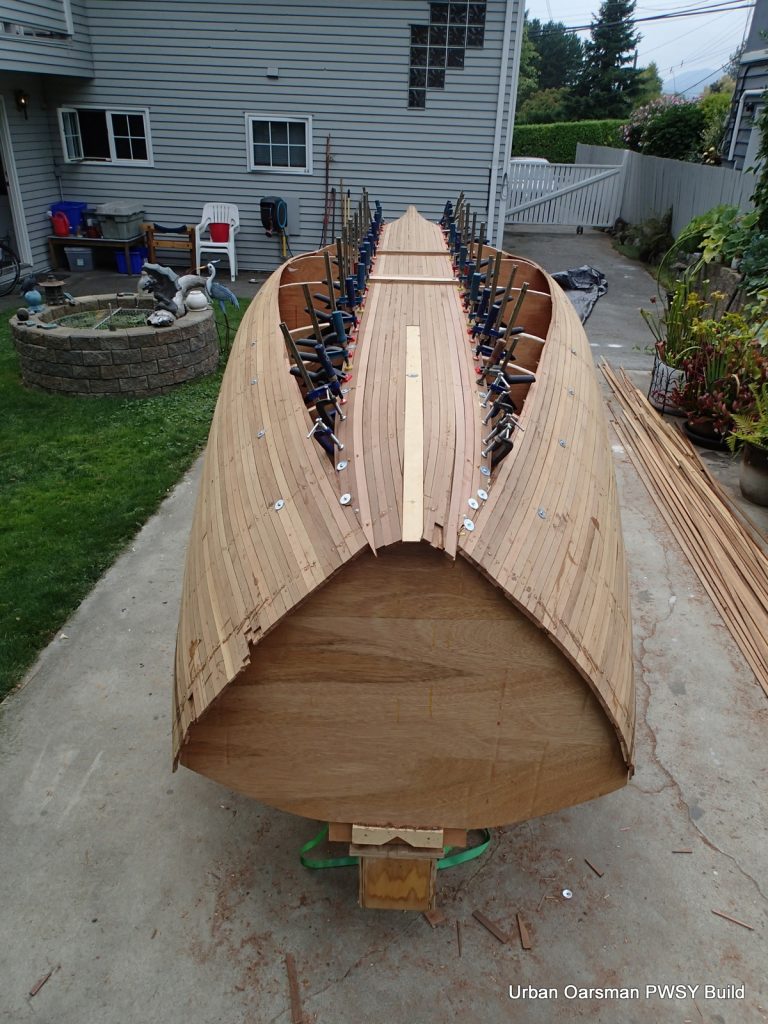
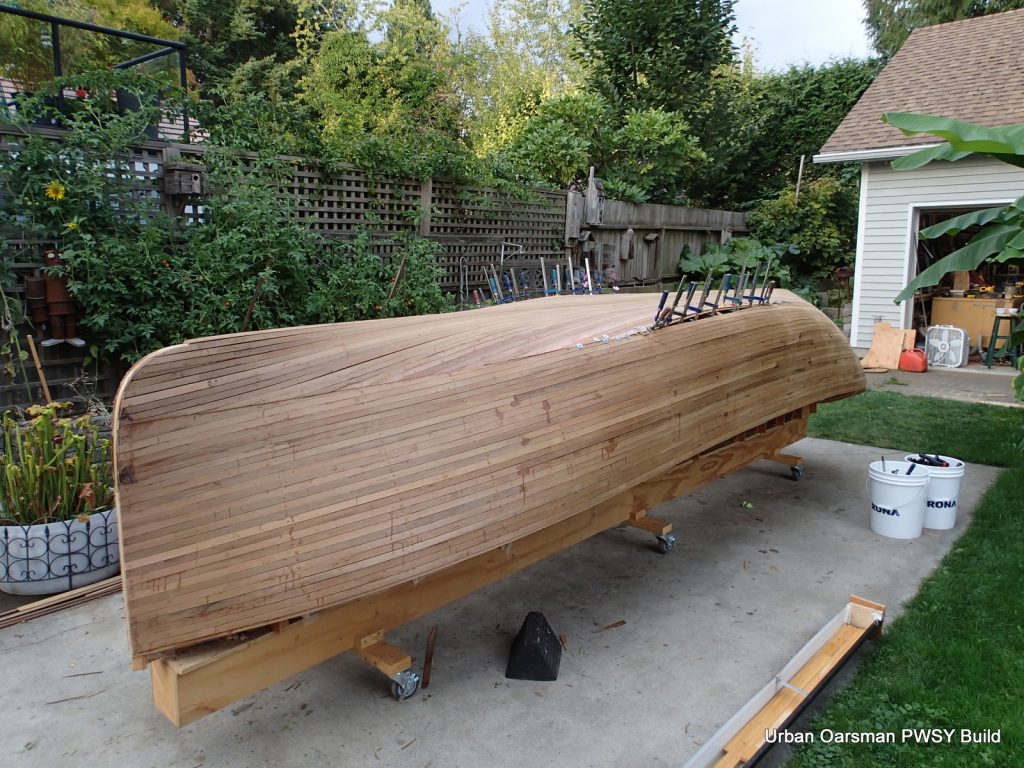
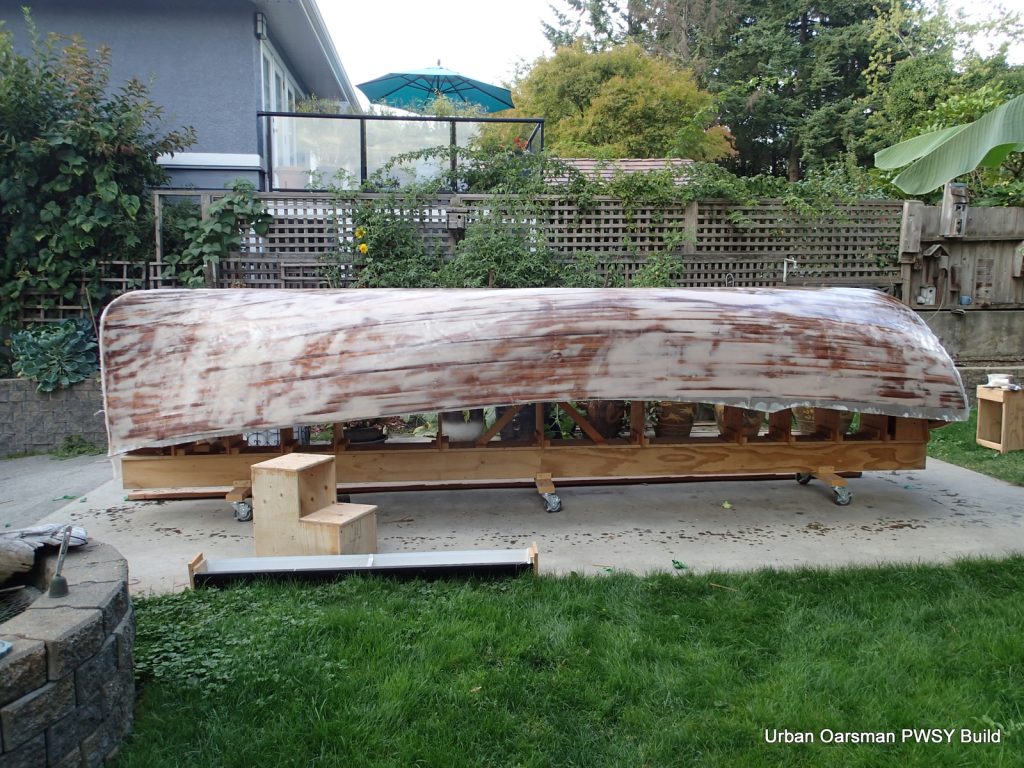
The planking is done. I will fill any gaps with fairing compound.
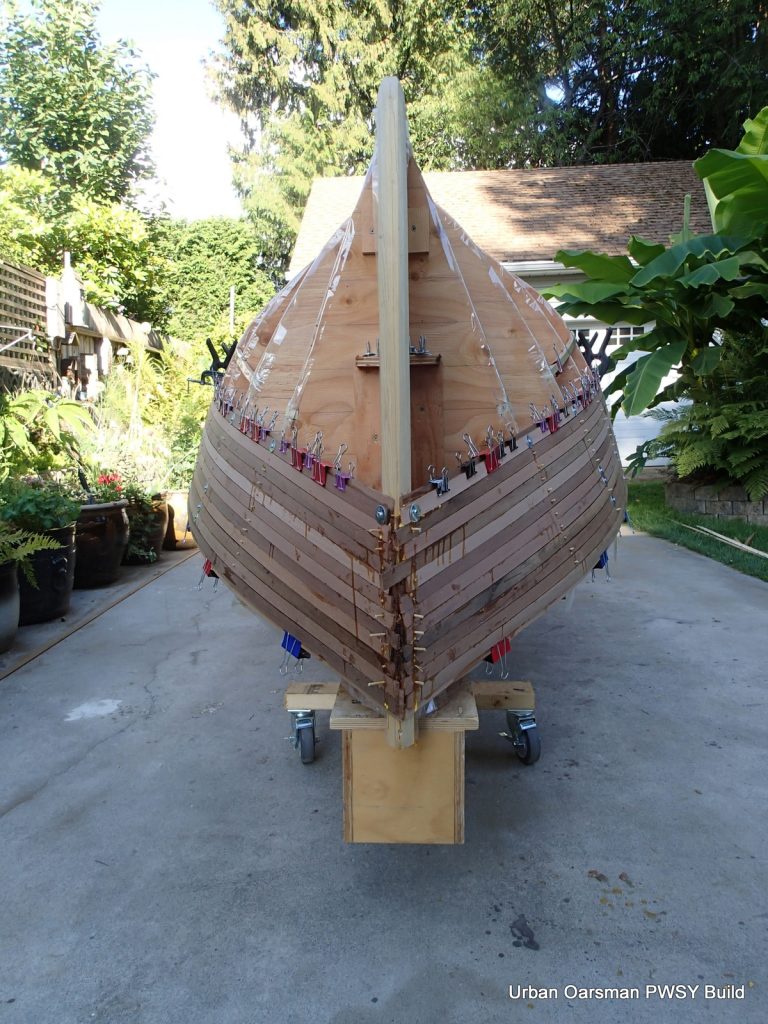
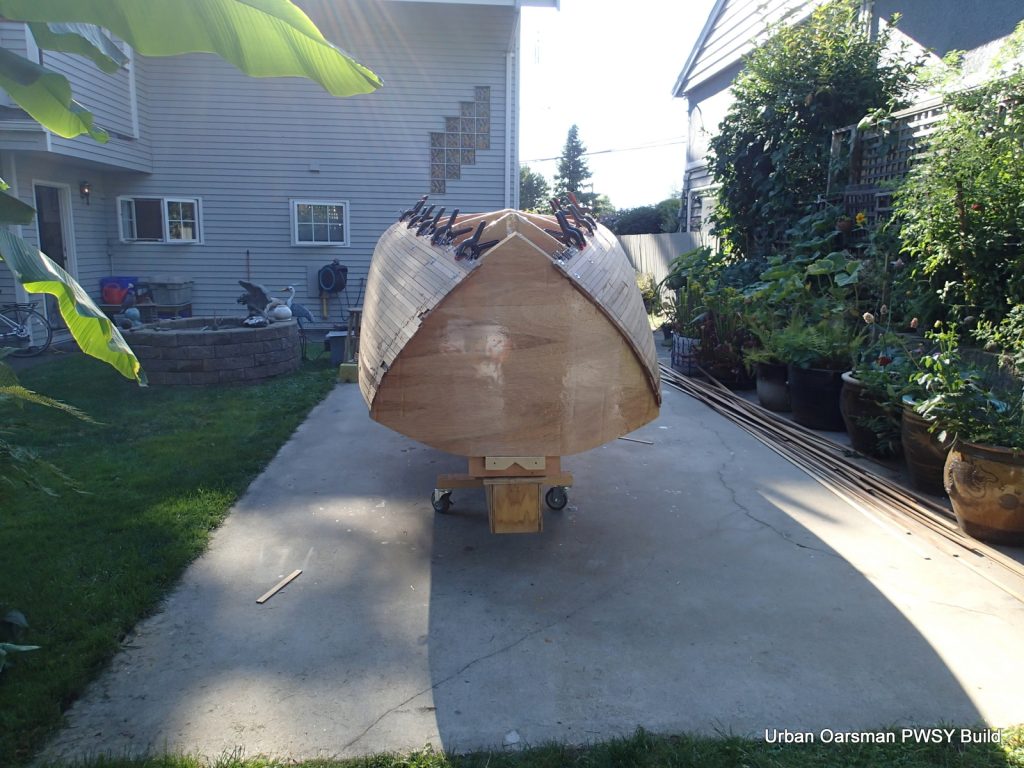
I decide to cover the ends of the strips with a few laminations of 1/4″ yellow cedar. In this case, I use epoxy and cloth to glue the laminations on.
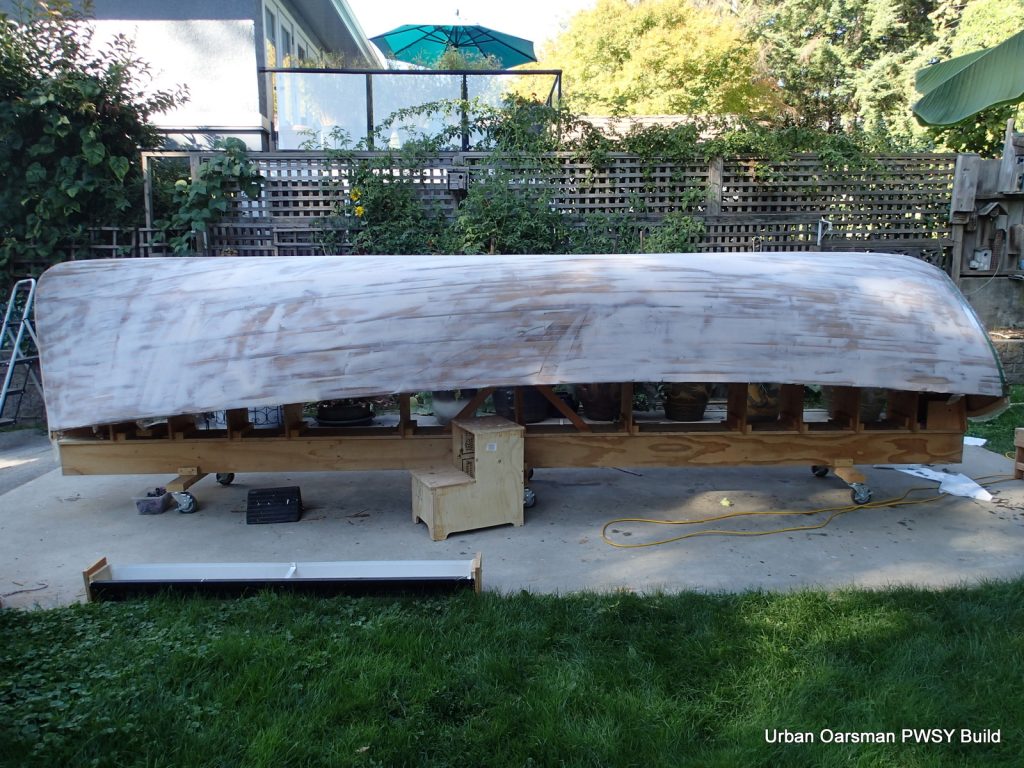
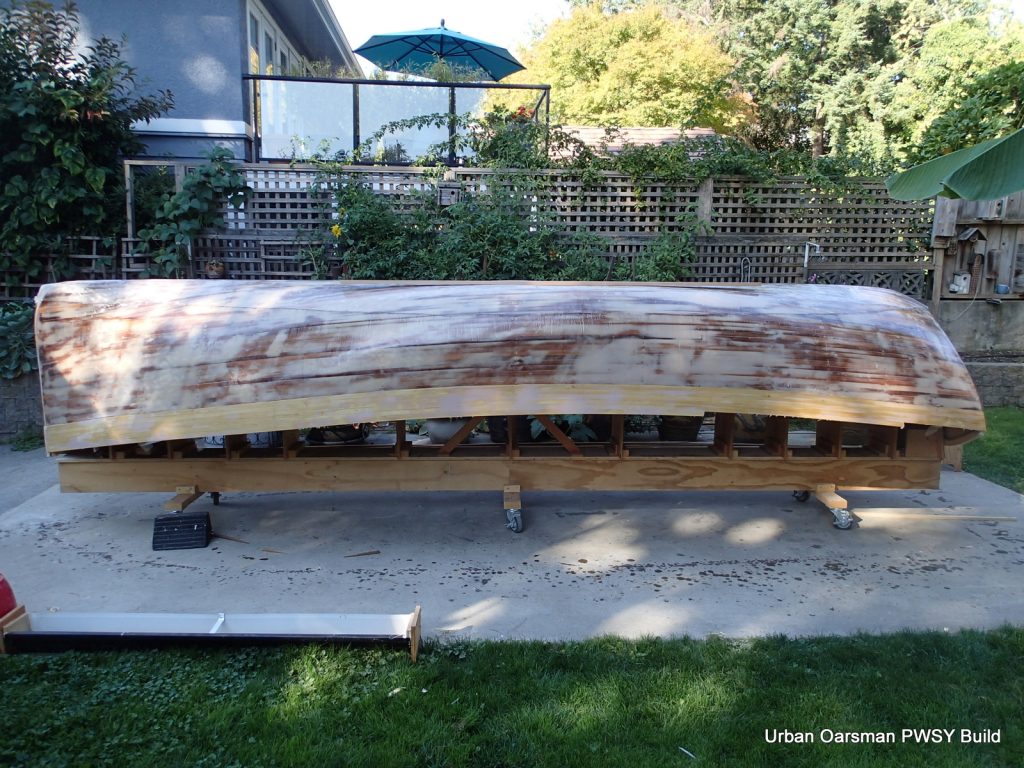
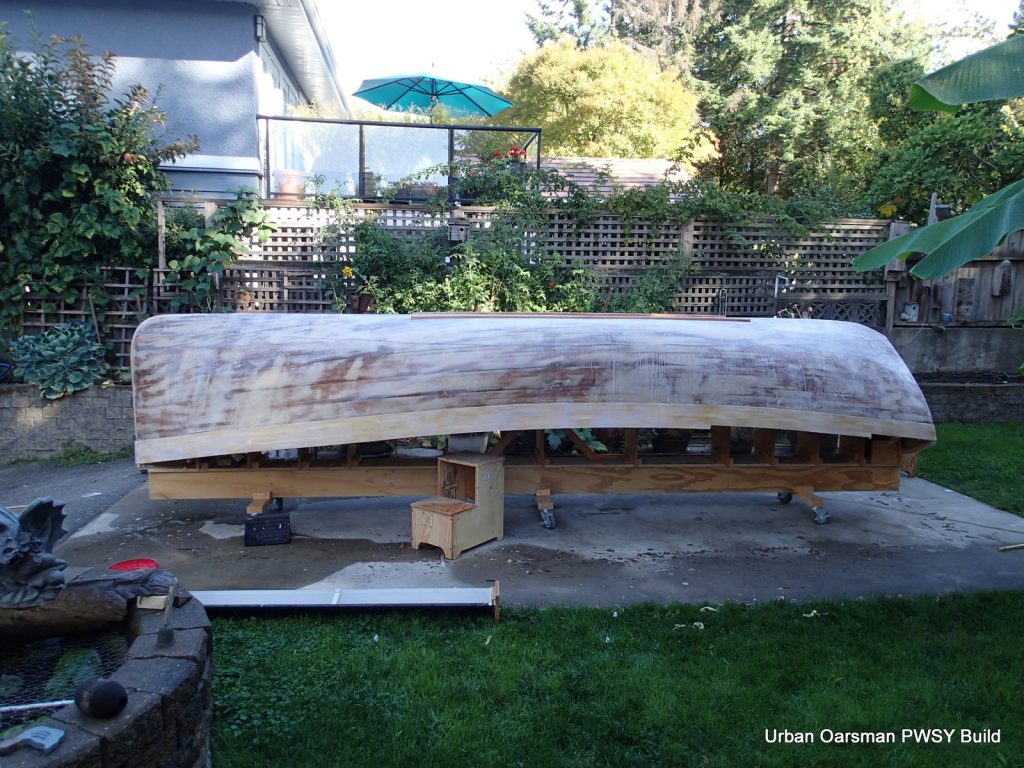
With all of the wood on the hull, fairing begins. I decide to rough sand the hull first, then I will use the fairing compound.

The last strip is glued on…and it is only a 1/2 strip.
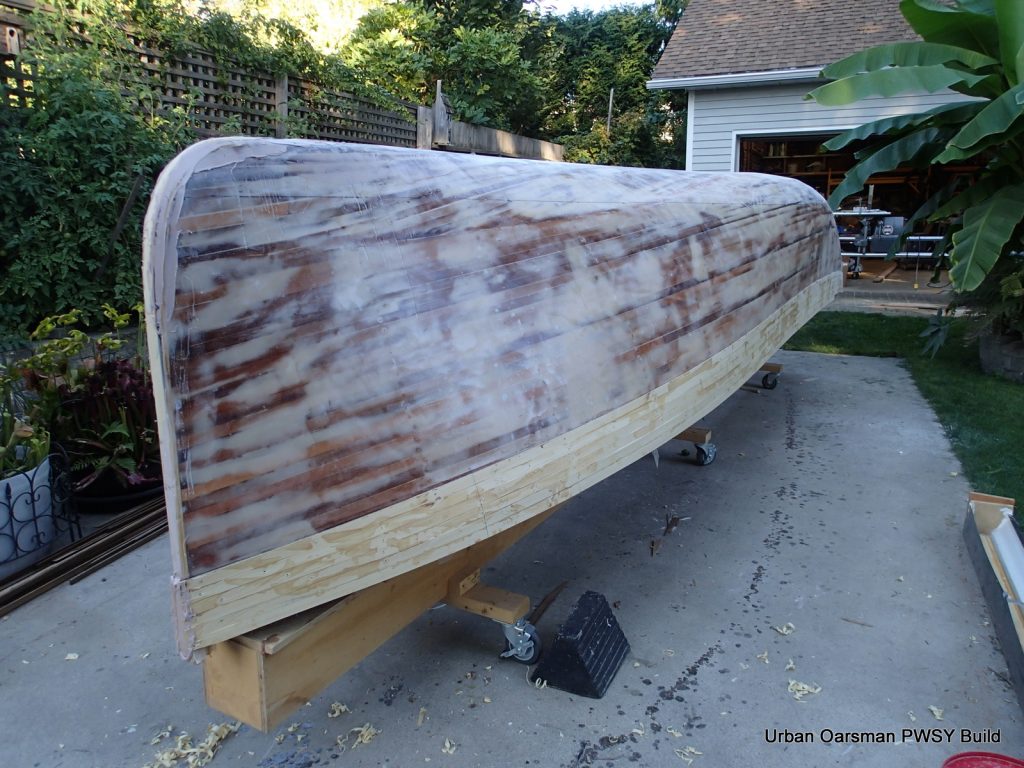
There is a lot of sanding to do. The more I do here, the smoother the final hull will be. Do not want to be able to see the stips when I am finished.
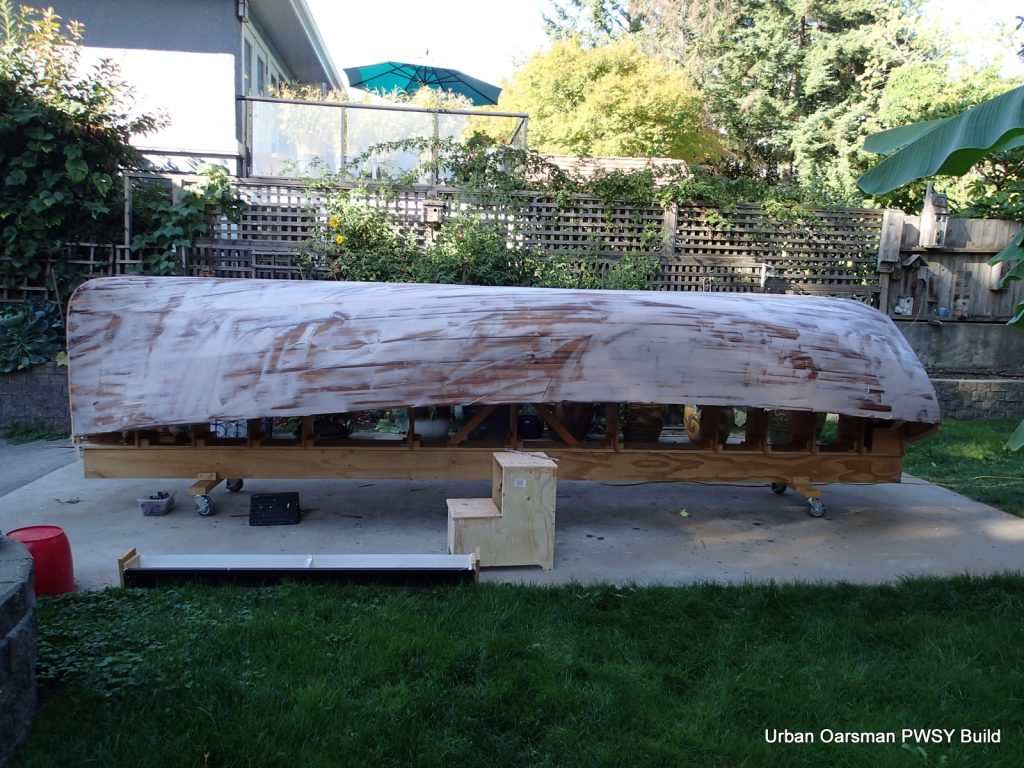
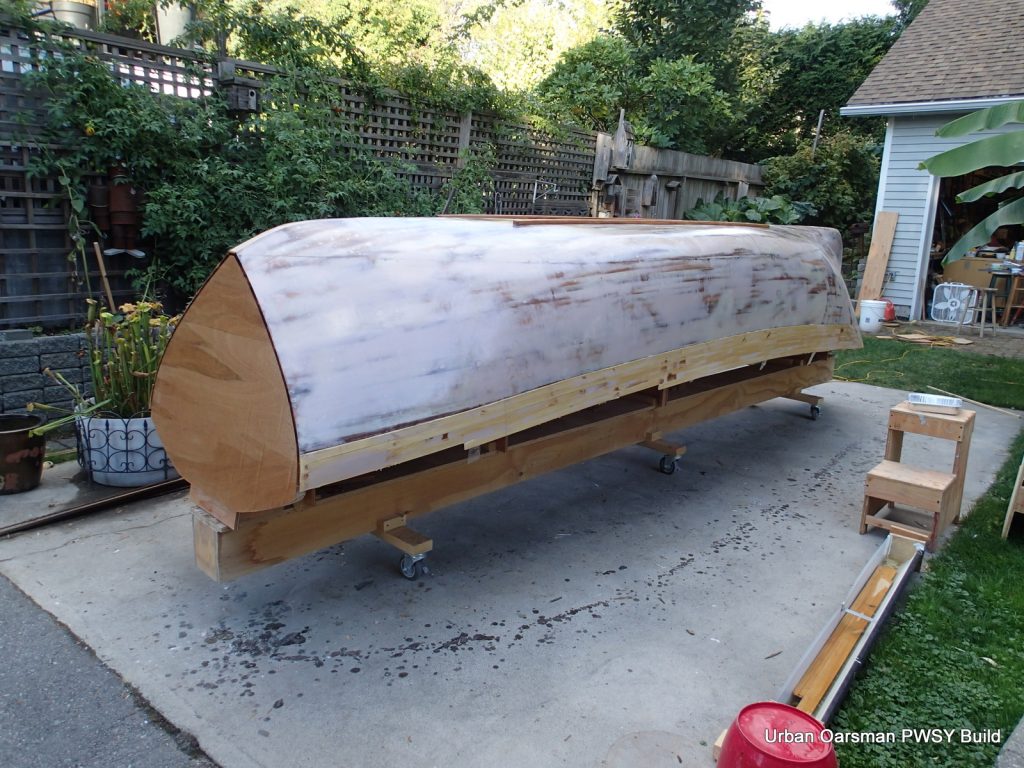
I used this Quikfair stuff from System Three. Sandable in three hours. I found it very hard to mix properly. It has a peanut butter like consistancy and I found it hard to measure accurately. This left me with some areas where it did not cure completely.
It does sand easily.
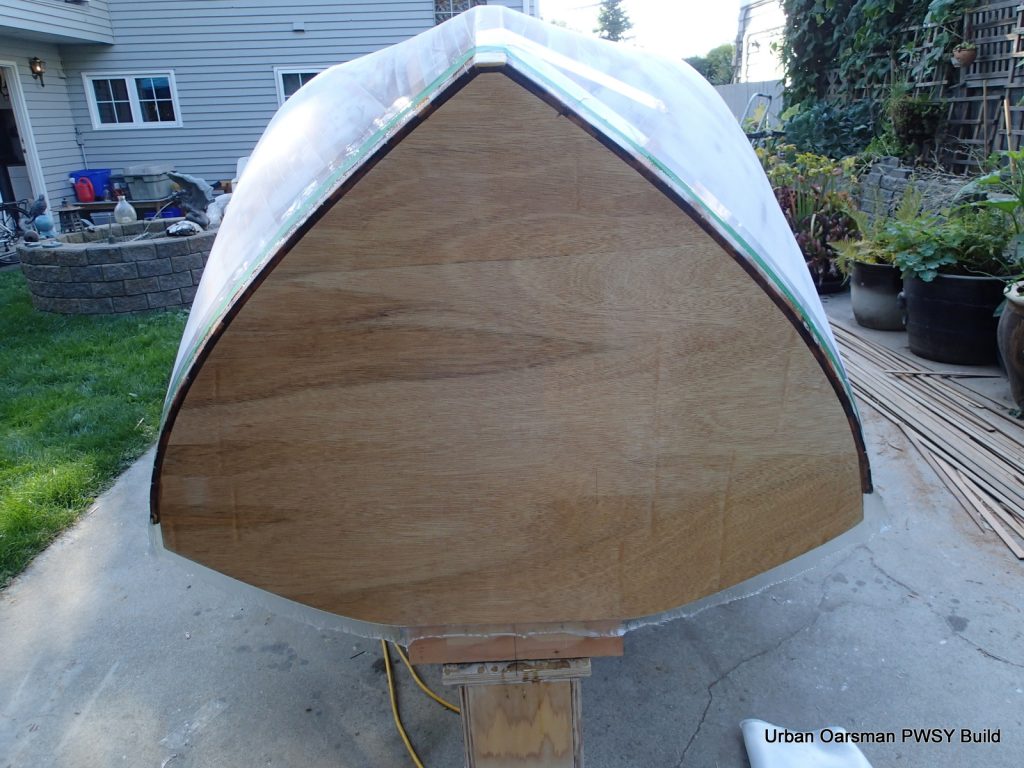
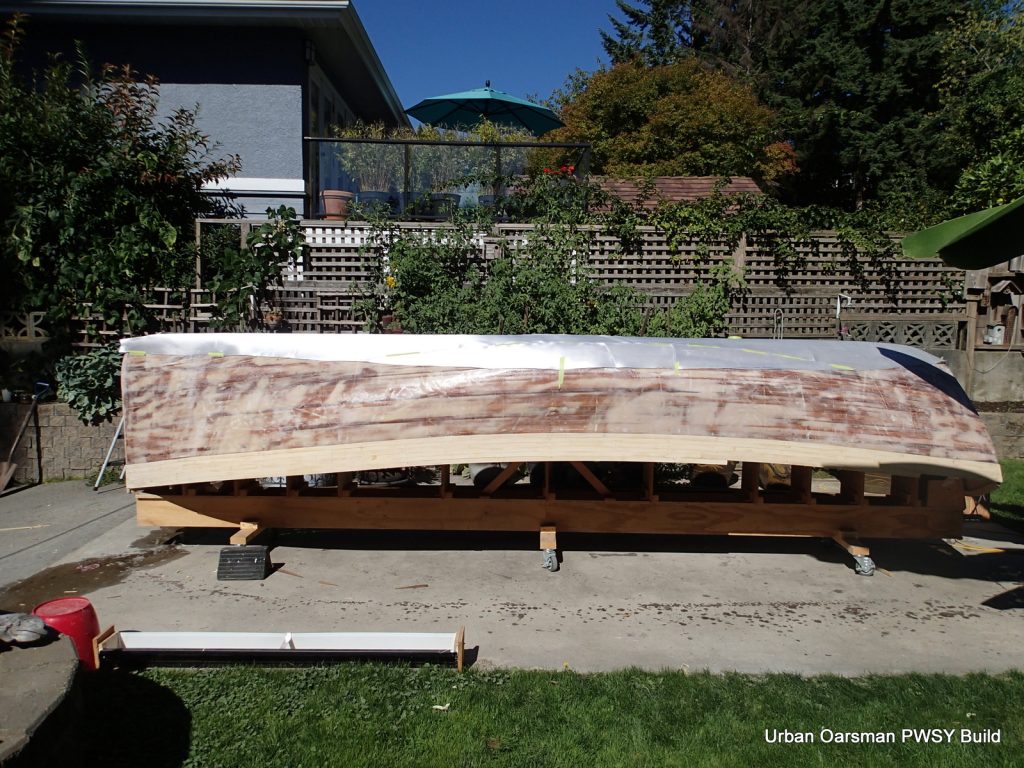
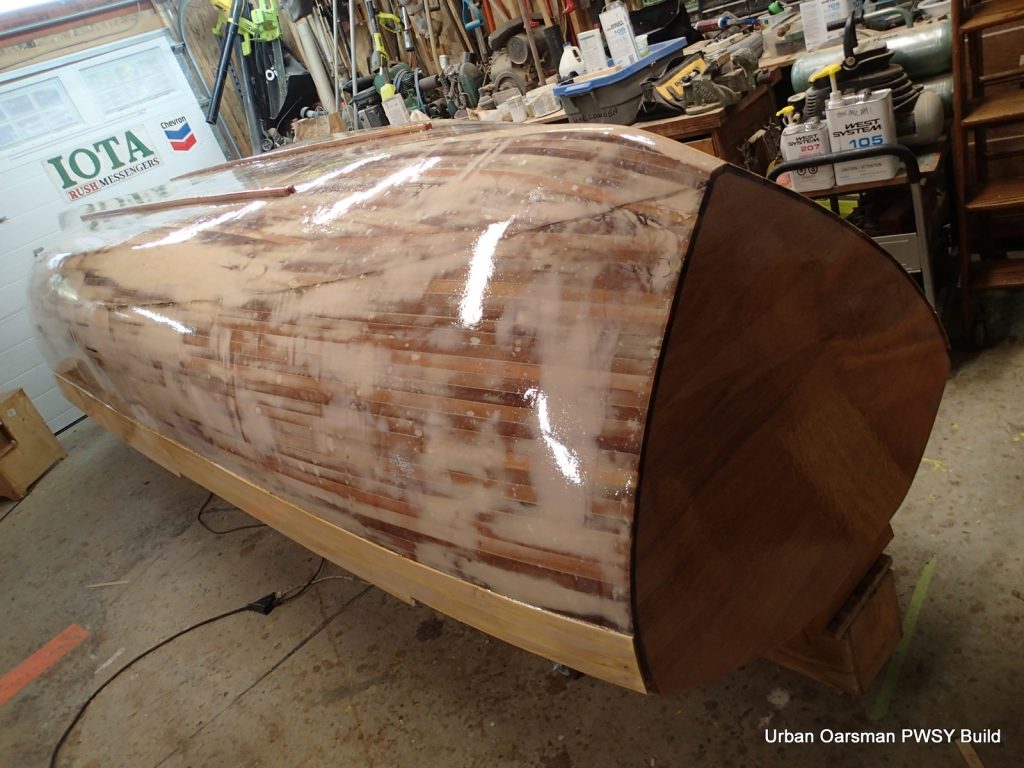
With the hull sanded smooth, it is time to coat the hull with epoxy and cloth. I used 6oz. cloth for the transom and I will use 9.6oz. cloth I got from Ian of Great Northern Craft on the rest of the hull. The cloth has a very heavy weave.
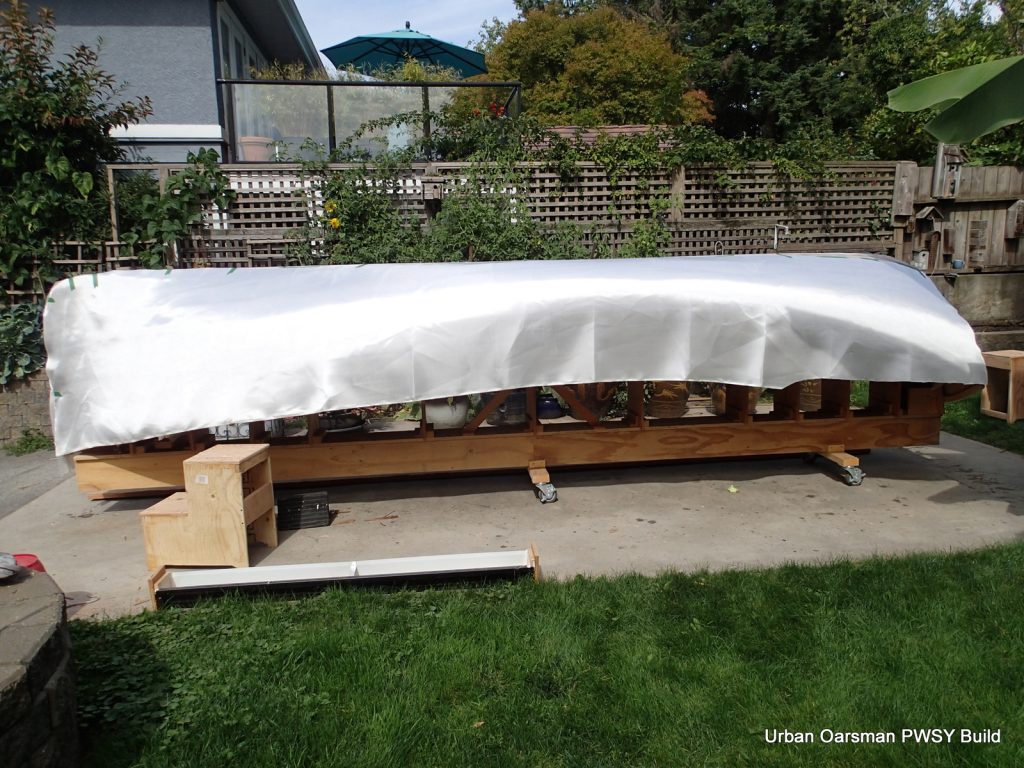
I am using some masking tape to hold the cloth on the hull.
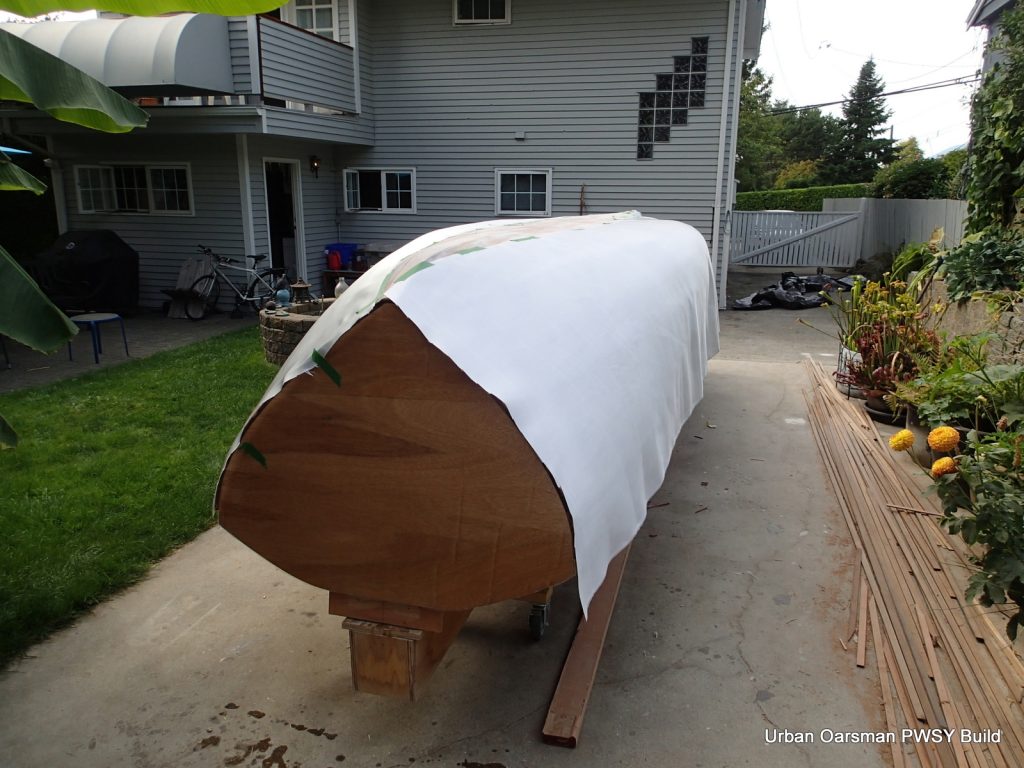
I do not overlap the transom. I over lapped the transom cloth onto the hull earlier.
I filled in “Football” with some scrap pieces. I had a very hard time working out all of the bubbles in the cloth because the cloth had such a tight weave.
I have marked where the water line should be. I will put another layer of cloth on, doubling the cloth below the waterline. I have glued on yellow cedar strips to make the 1/8″ thick wale specified in the plans.
Fitting the double layer of cloth…Time for the epoxy.
I wanted to get the grounding skids fitted before taking the hull off of the station molds to keep the shape from shifting.
With the grounding skids on, the hull is sanded smooth again and given another coat of epoxy. There are three coats done.
I have brought the hull into the shop for priming and the first coat. This will keep the paint from attracting bugs.
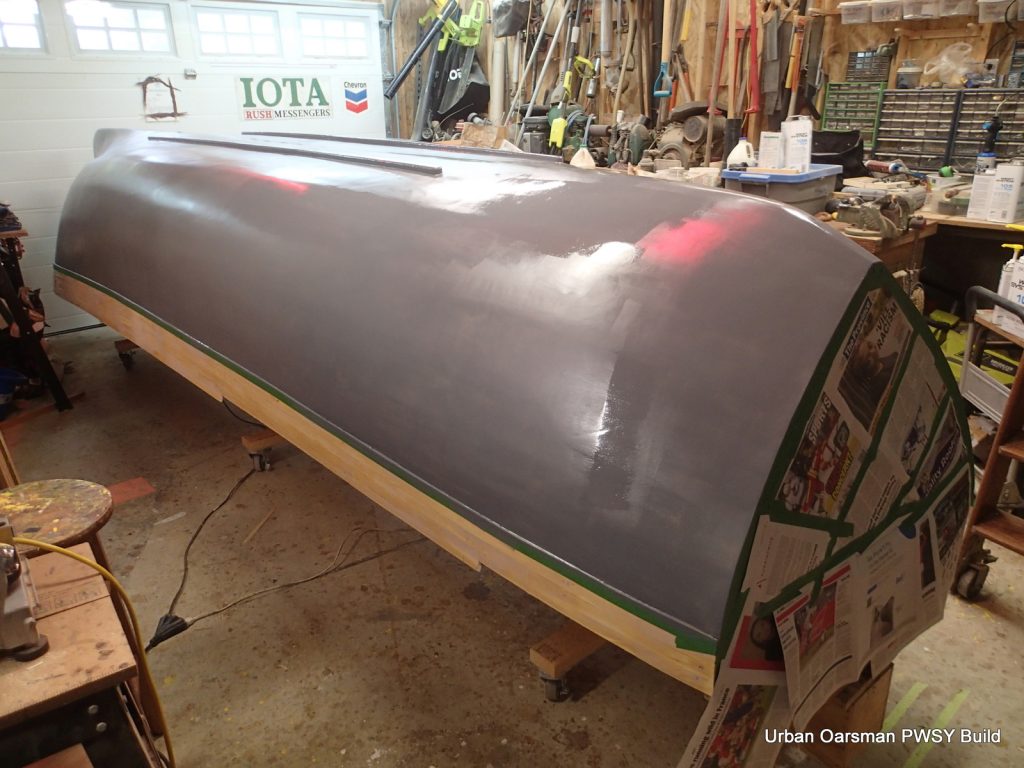
Interlux grey primer.
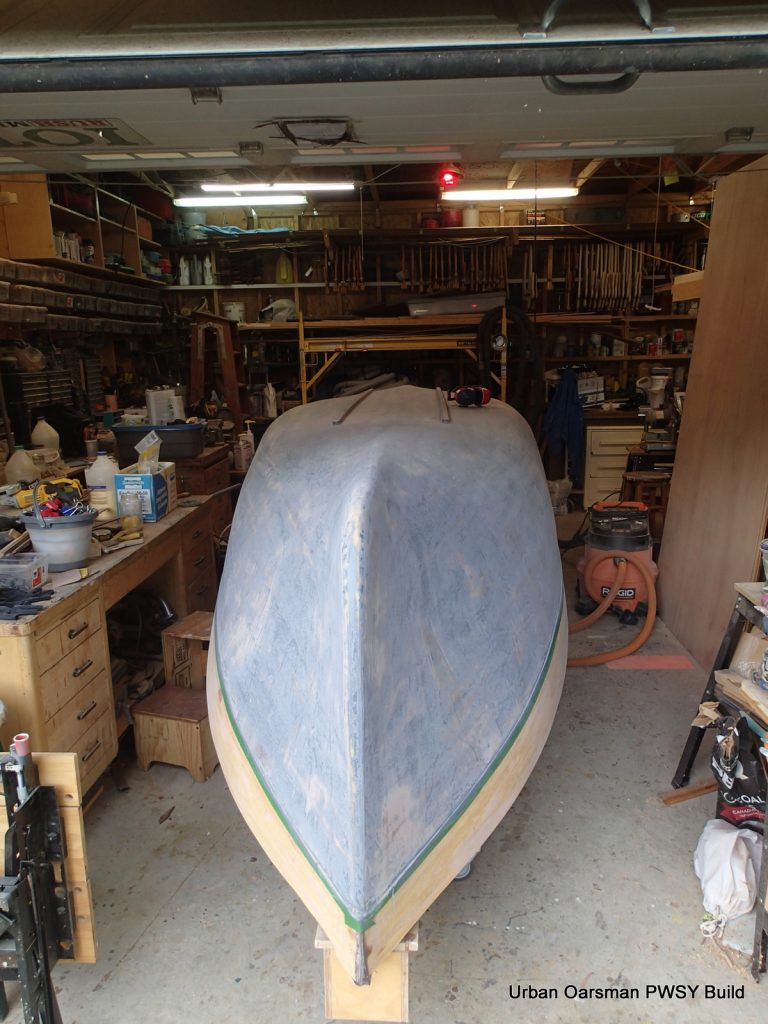
And of course, most of the primer gets sanded off.
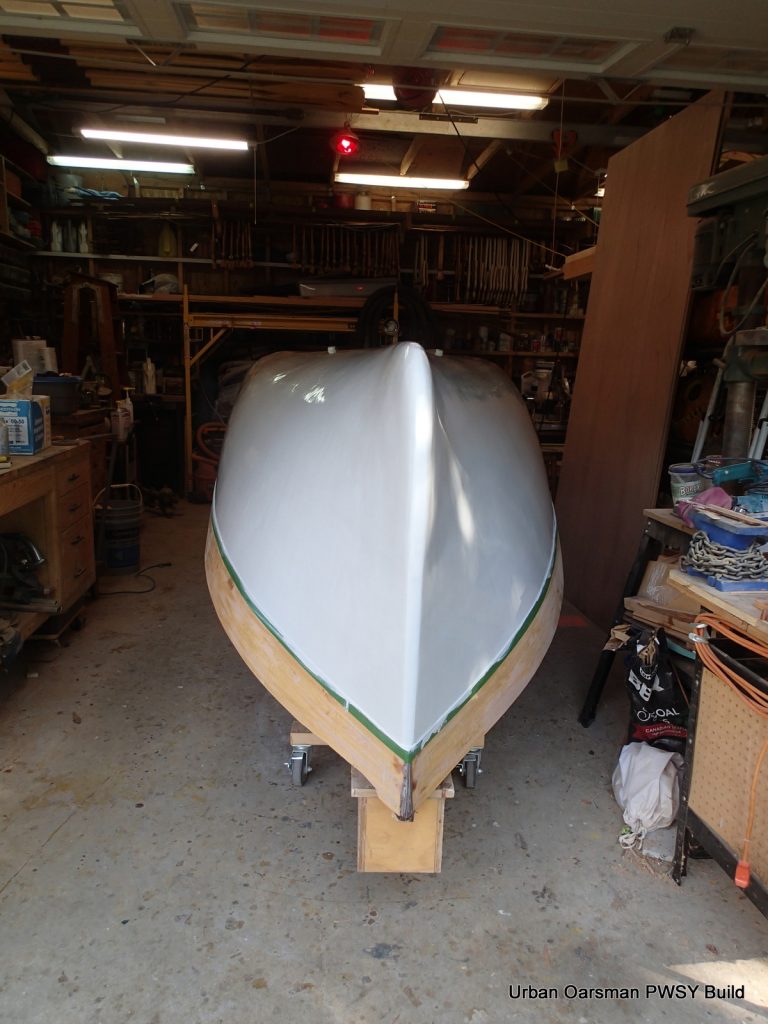
The first coat of Interlux Seattle Grey. Now I can leave the hull outside, even in the rain while I work on other pieces in my shop.
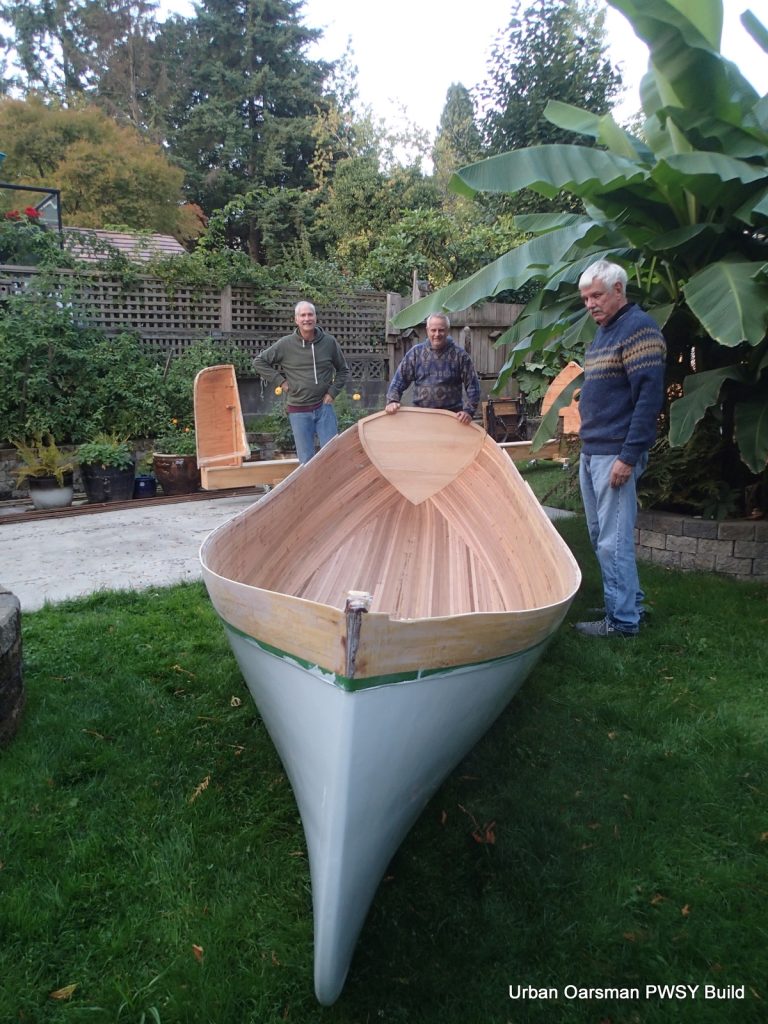
My flip crew of Ian, Matt and Dan help me take her off of the strongback.
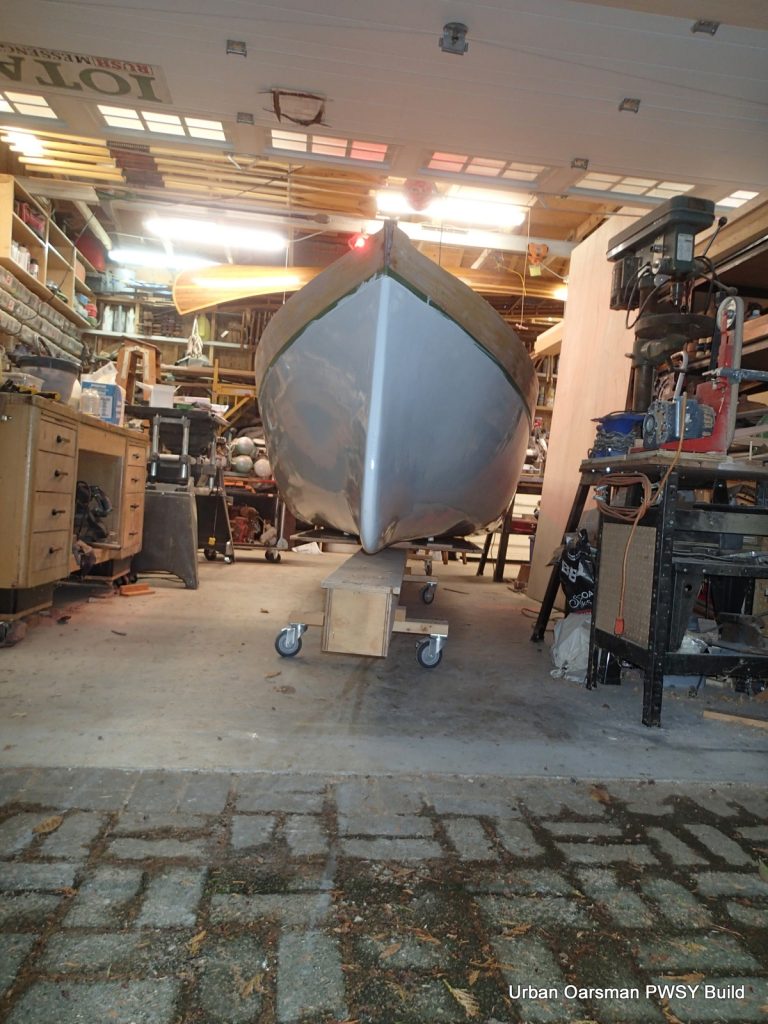
The hull goes back into the shop. she is too high on the strongback…I will make a lower cradle for her.
In the next instalment, I will install the bulkheads and epoxy and cloth the interior.
Mike
This entry was posted in Under the Keel….. Bookmark the permalink. Edit
