
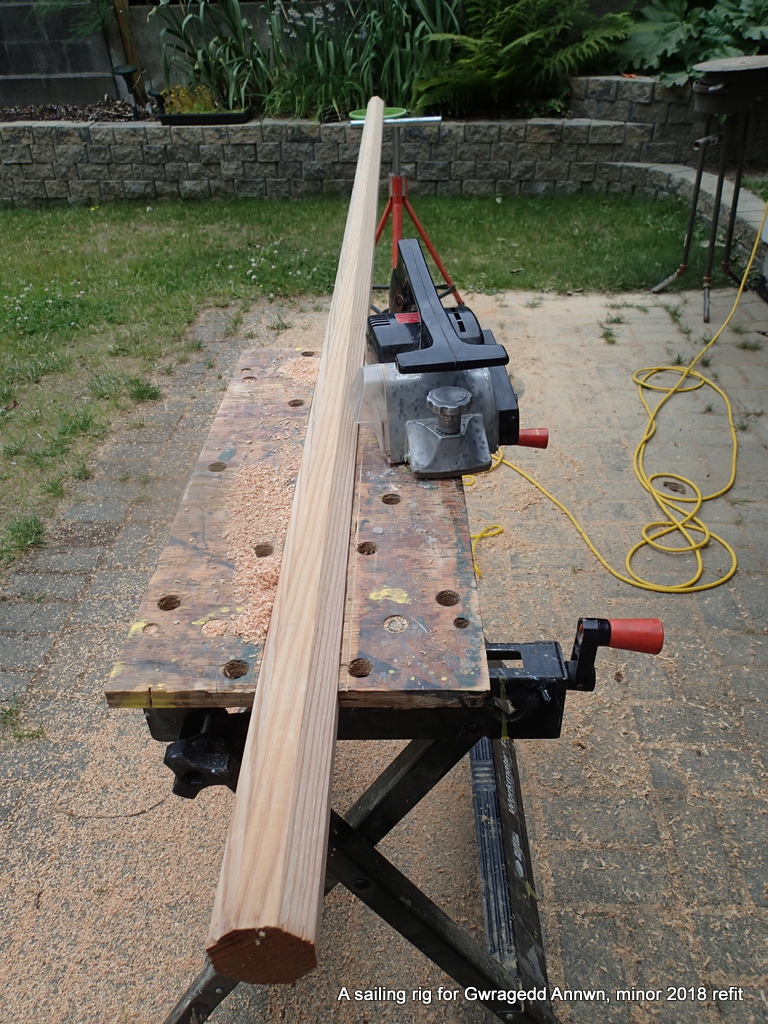
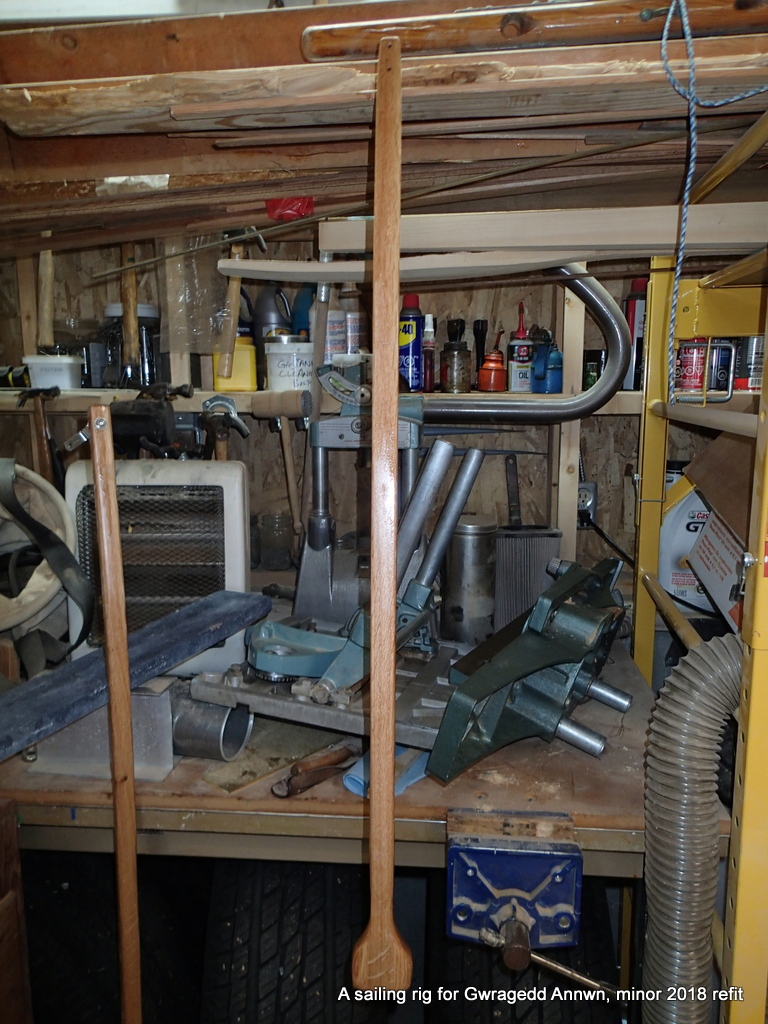
The first step is to buy a clear, straight piece of Douglas fir for the spar.
3½” by 3½” Douglas fir for the spar.
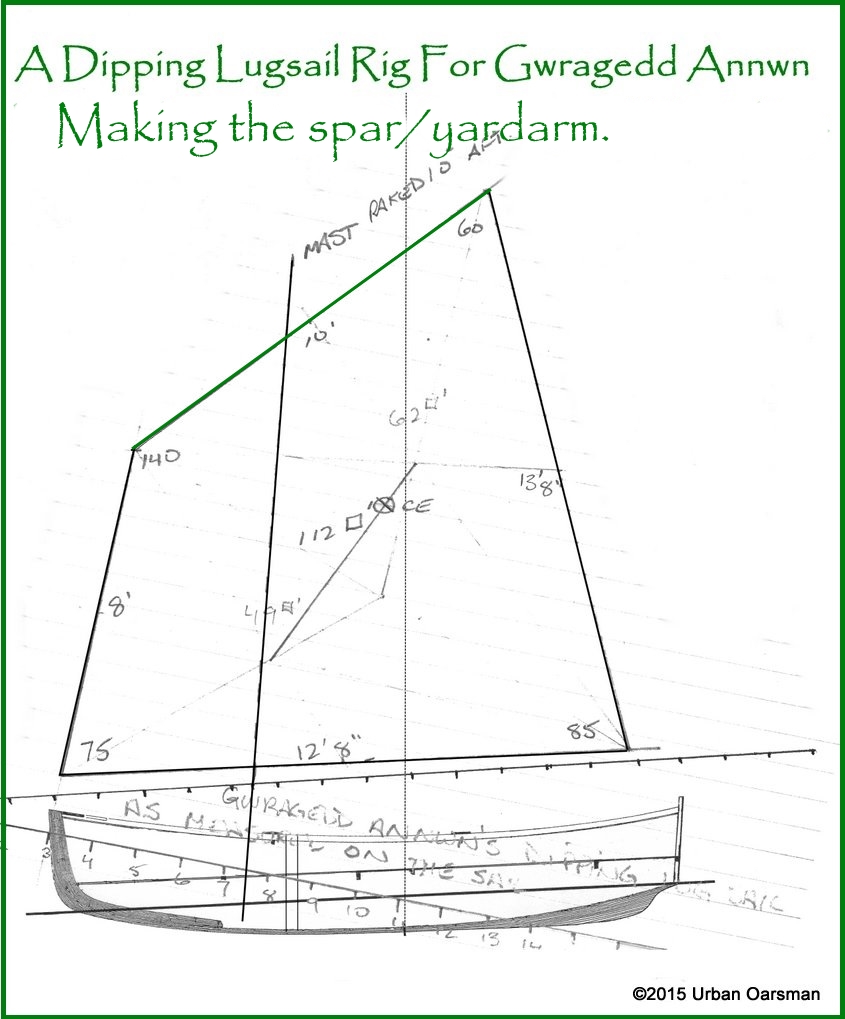
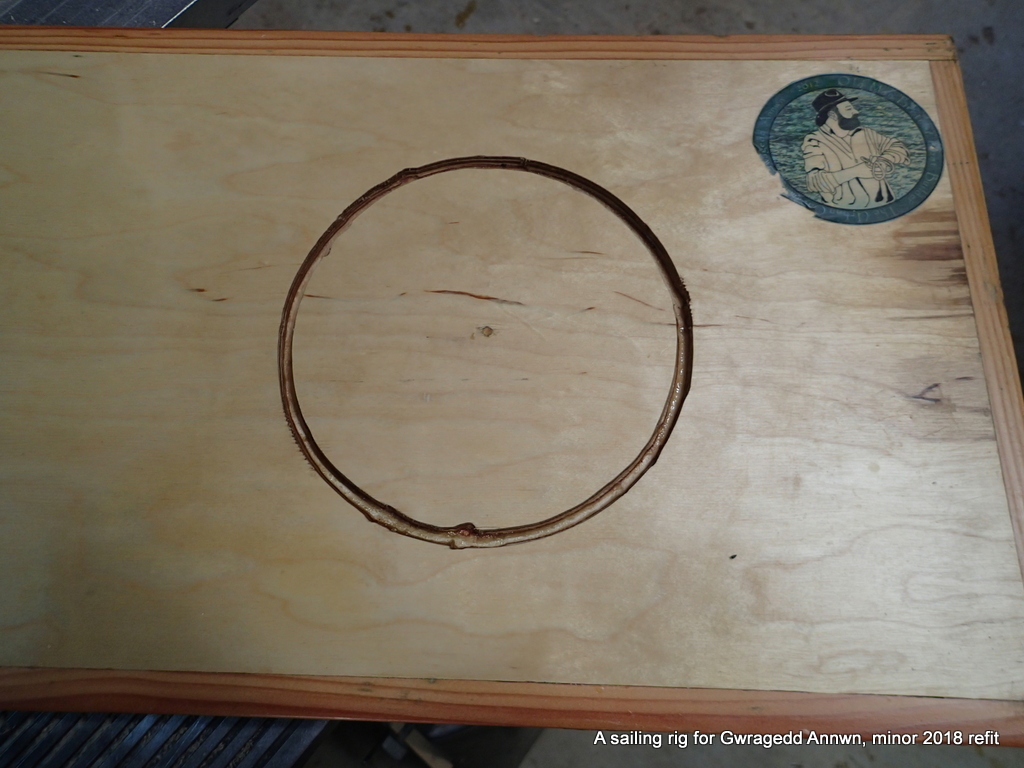
The yardarm needs to be a little over 10′ long…this piece will be long enough.
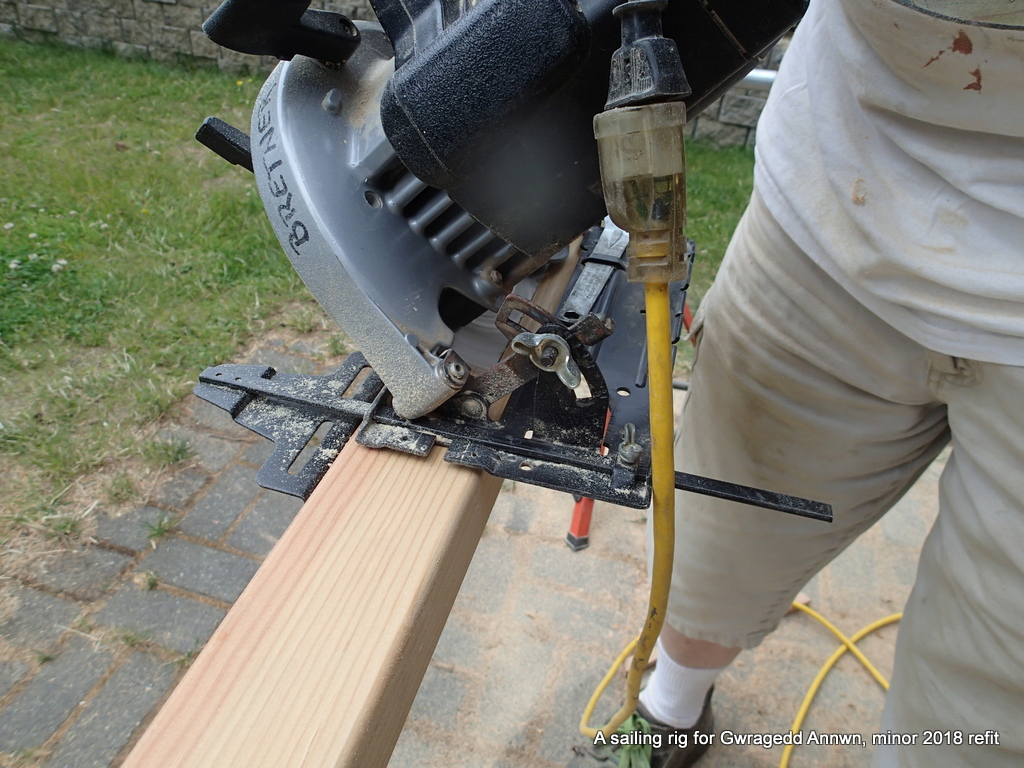
Step one is to knock off the corners and go to eight sided.
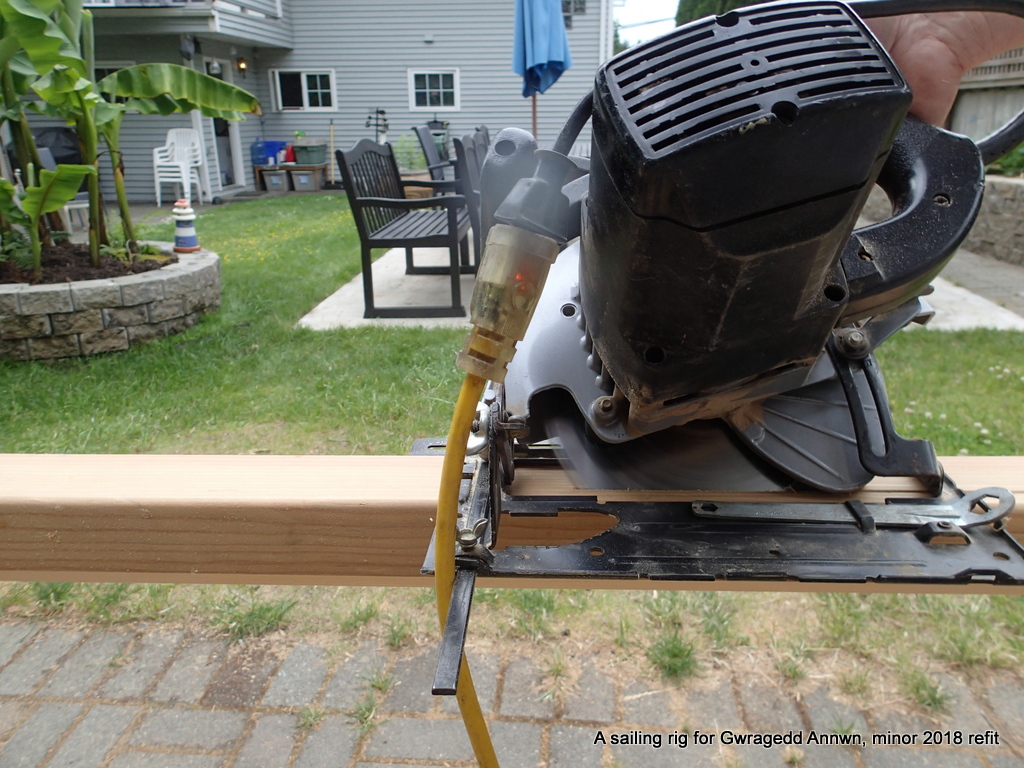
I use the circular saw guide to cut off the corners.
I will use the power planer to make the spar sixteen sided.
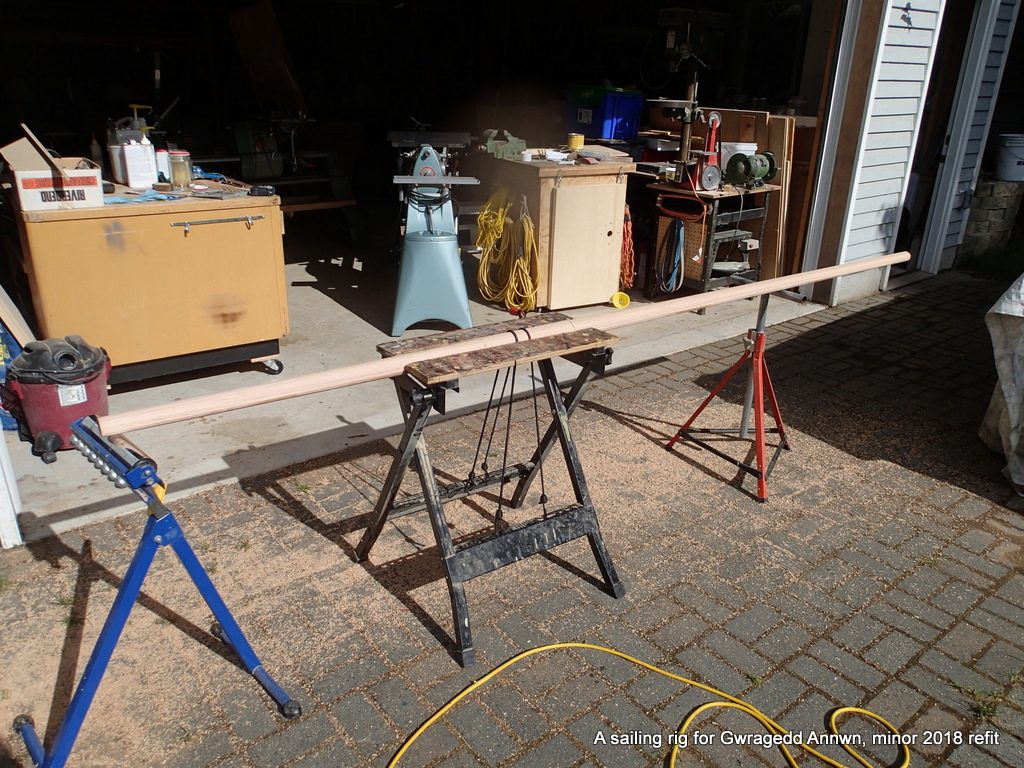
I use some shock cord and my workmate to hold the spar for power planing, rotating the spar after each pass. I can move the shock cord enough to get the planer past it on each pass.
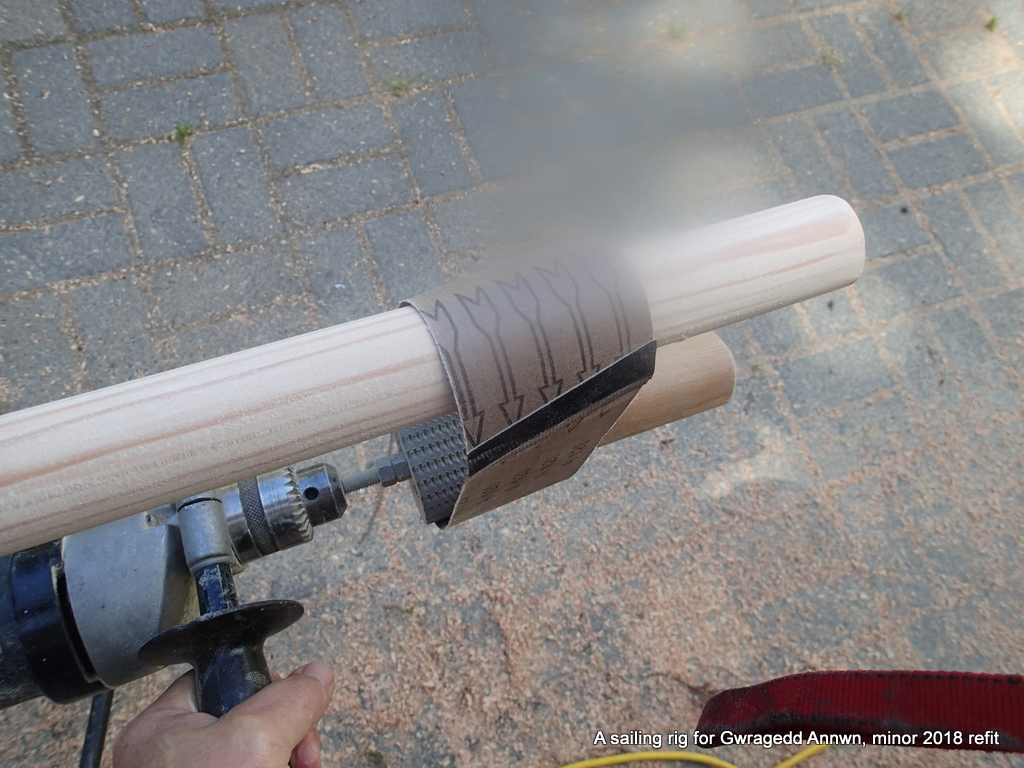
After the rough rounding, (16 sided then 32 sided) I use my sanding jig to fully round the spar.
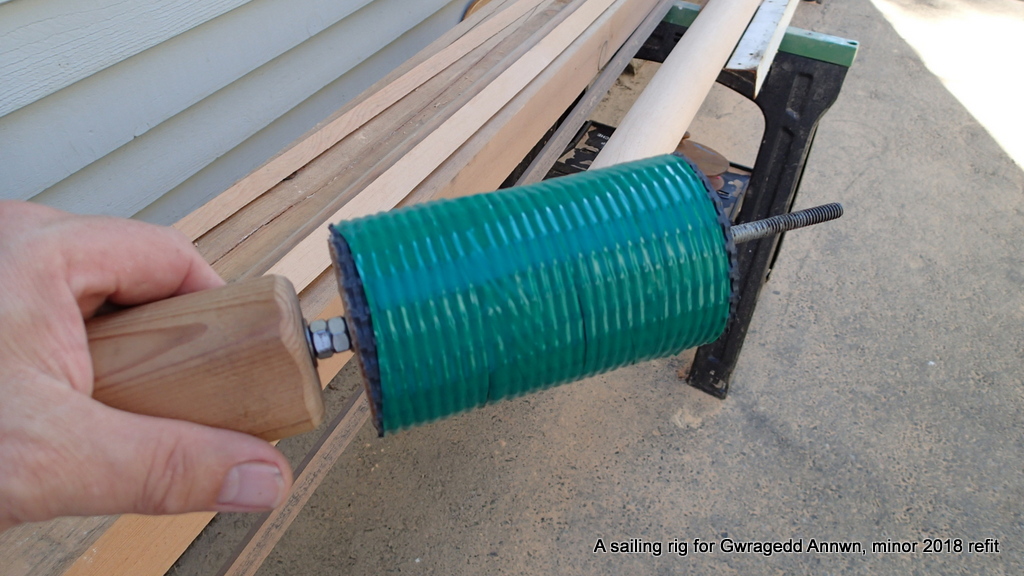
A sanding belt and this driving wheel chucked to a drill complete the sanding jig.
If you go to my “A Sailing Rig for Gwragedd Annwn…The Mast” post, you can see how I make the jig.
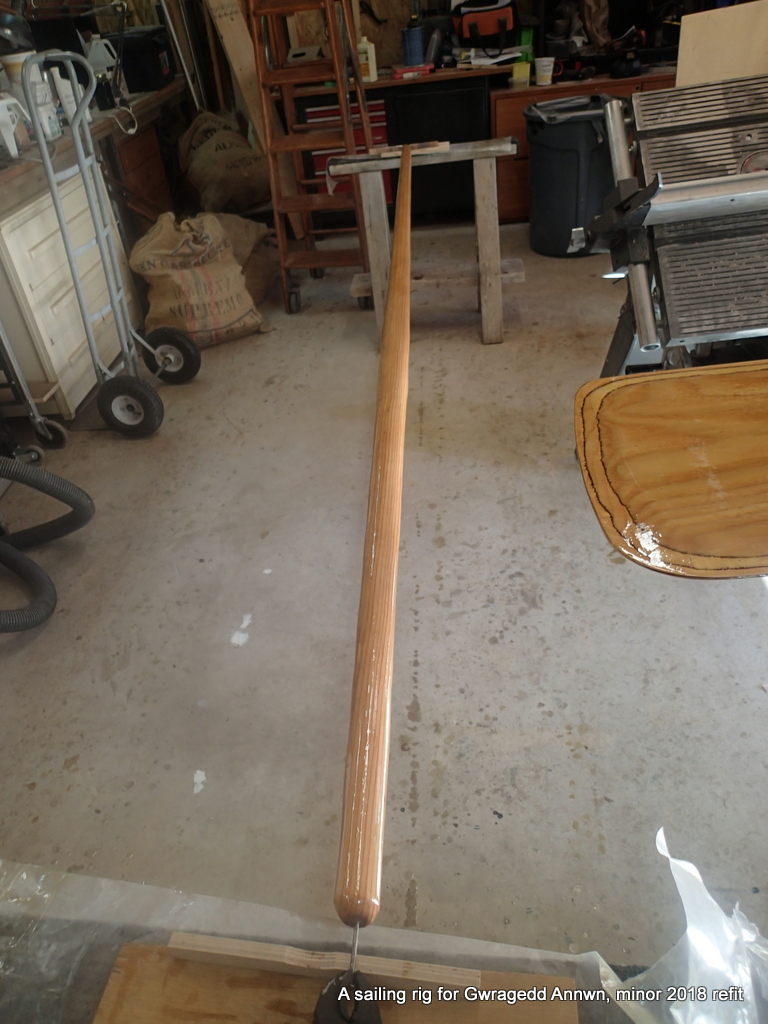
finished spar with a few (7! soon to be eight) coats of varnish.
Now, on to the Mast:
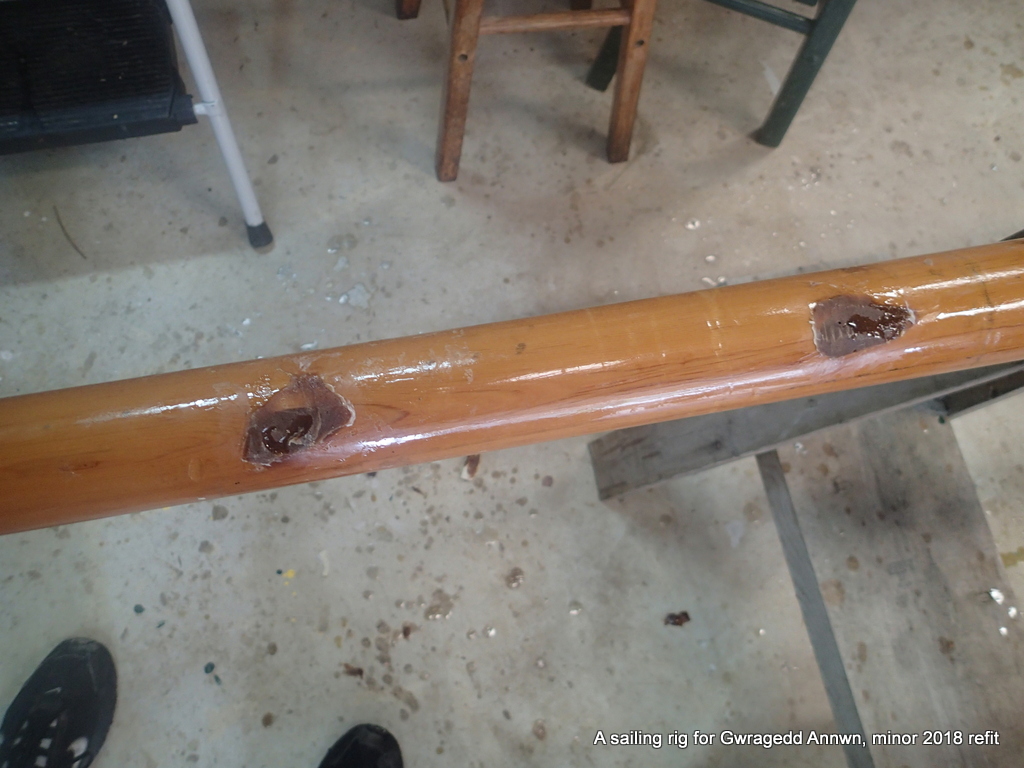
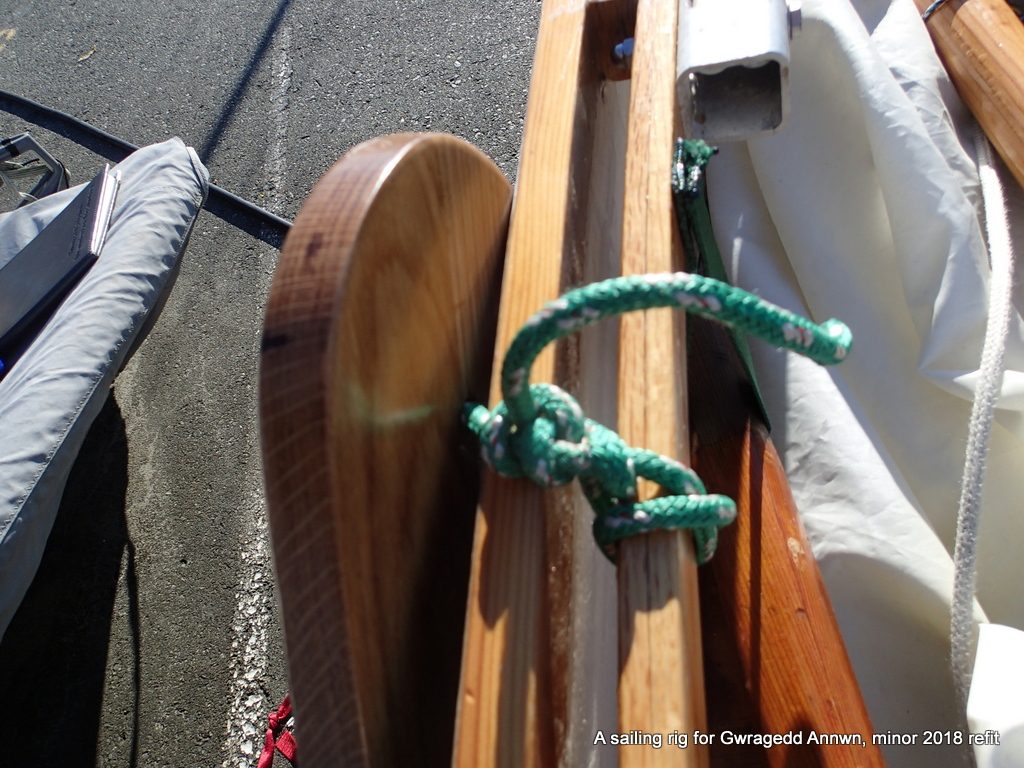
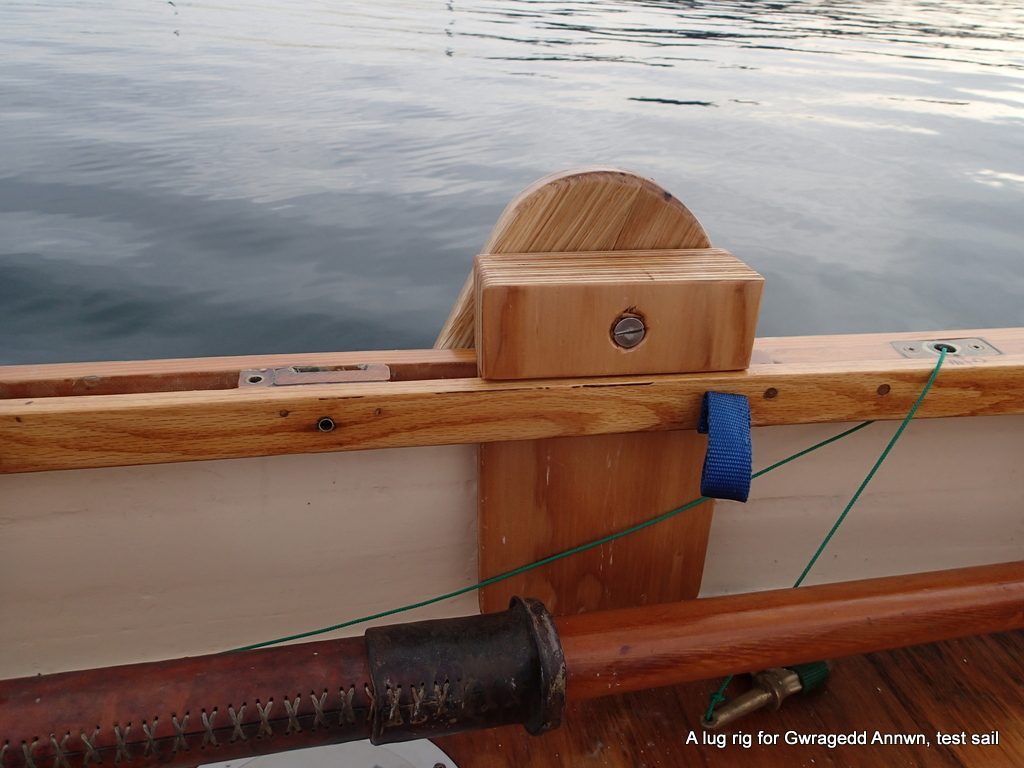
Two unsuccessful dumb sheaves need to be filled for the new cobbled together lug sail.
The new dumb sheave is drilled into the mast and is faired smooth.
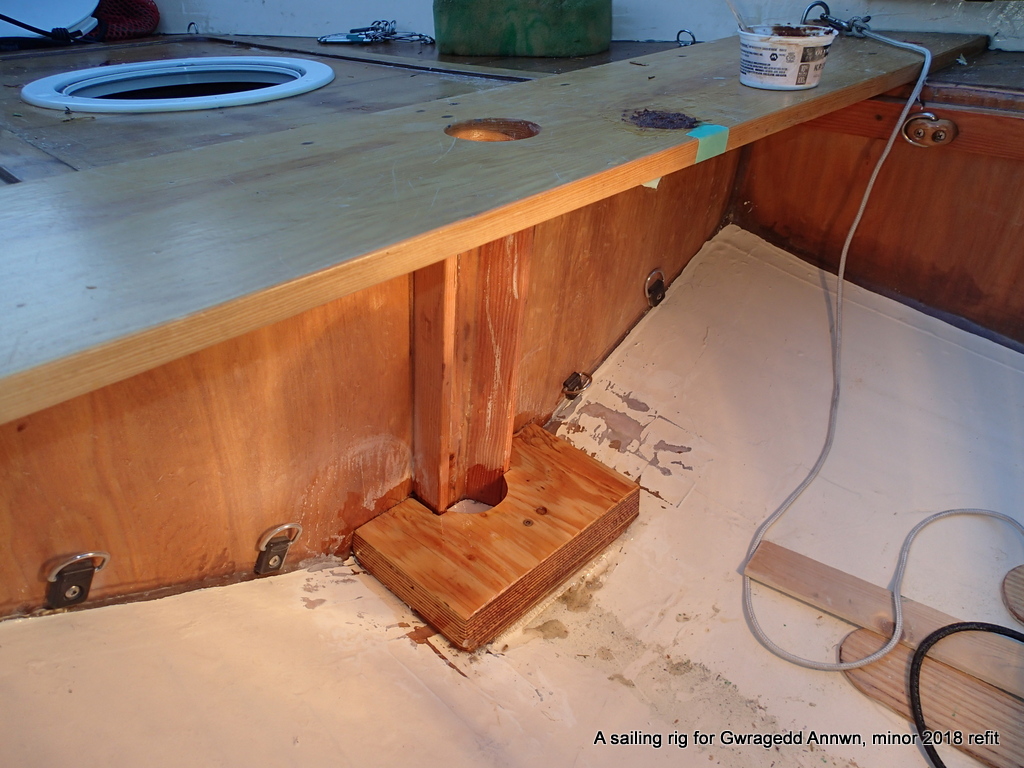
Fitting the mast step base.
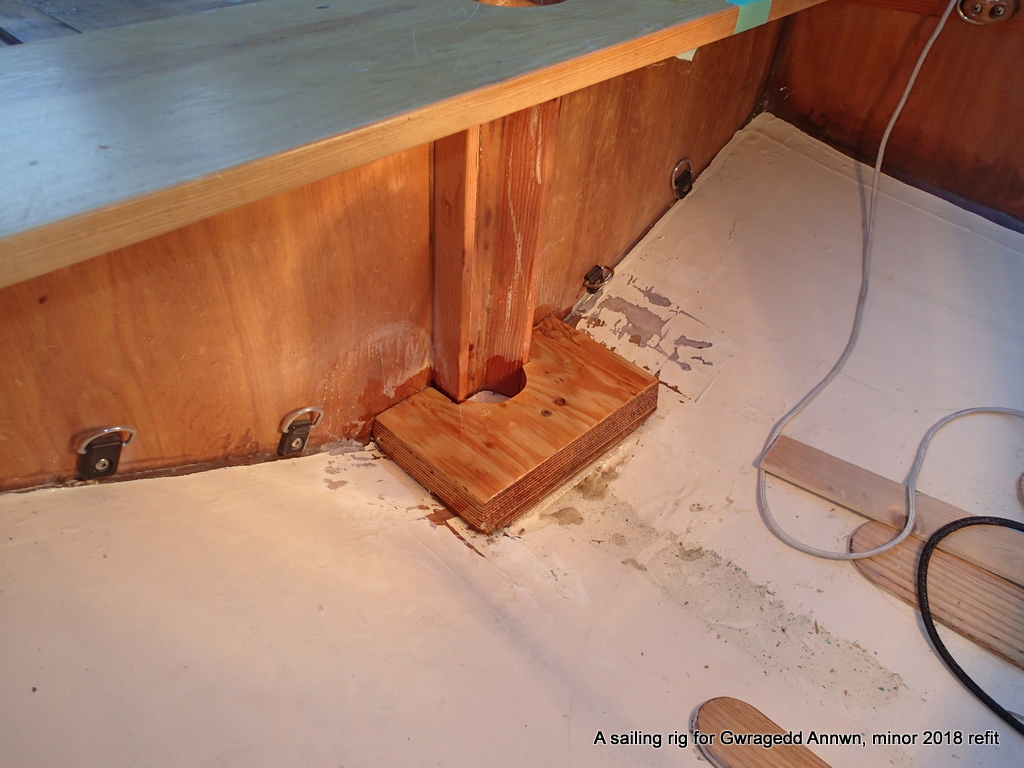
The base is epoxied to the bulkhead and onto the keel. It is also screwed to the bulkhead from the inside and into the keel.
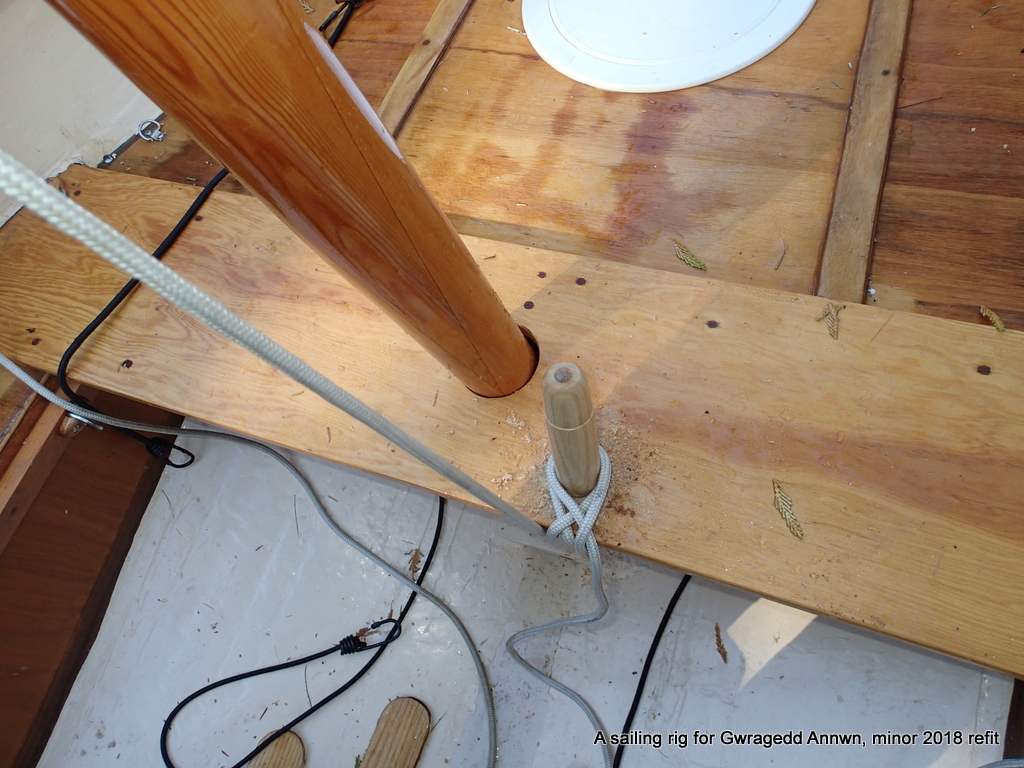
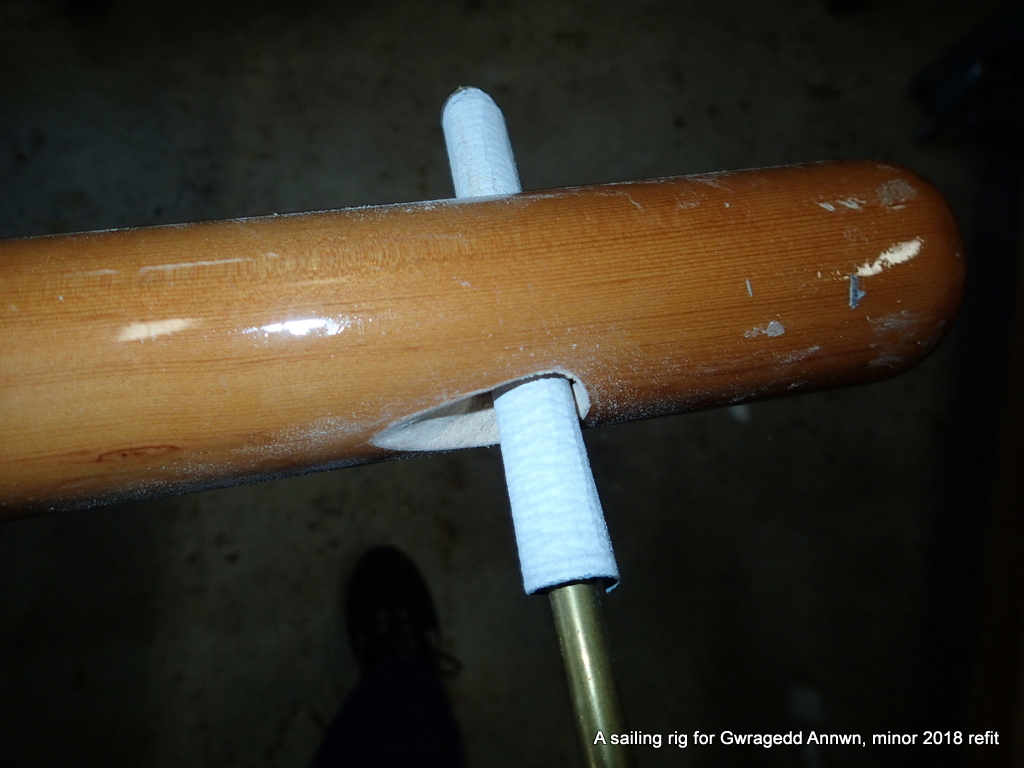
I will line the mast hole in the thwart with leather later.
The first time I made the belaying in hole too large. I filled the hole with epoxy and re-drilled it.
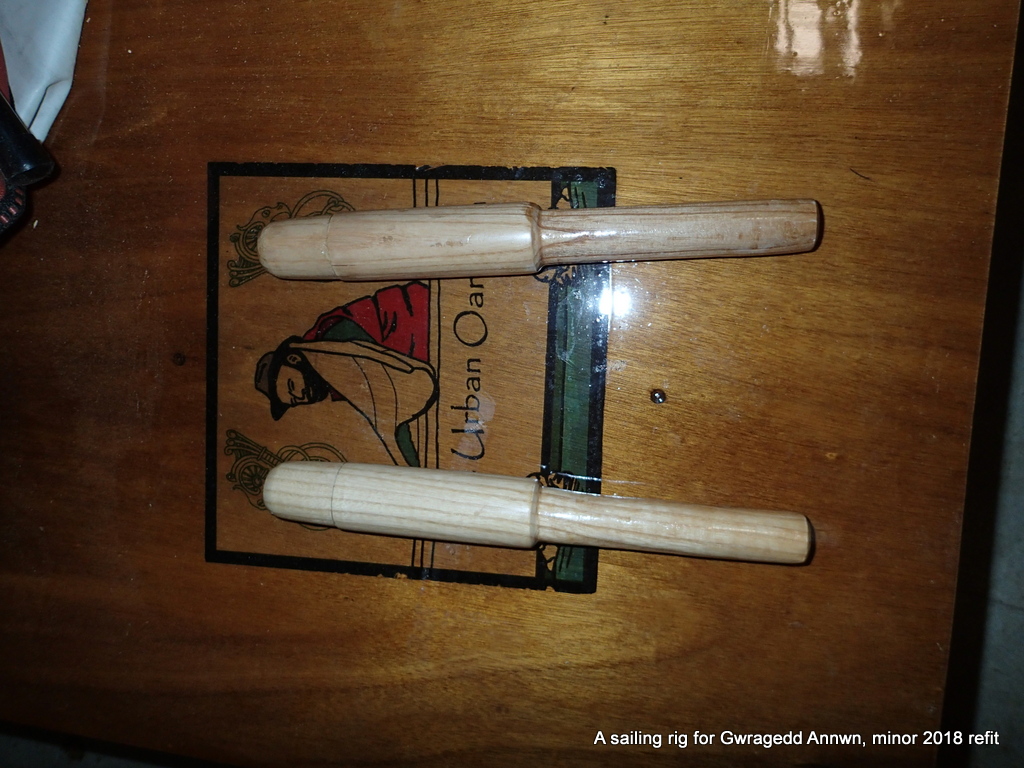
The two belaying pins, made from surplus gardening tool handles.
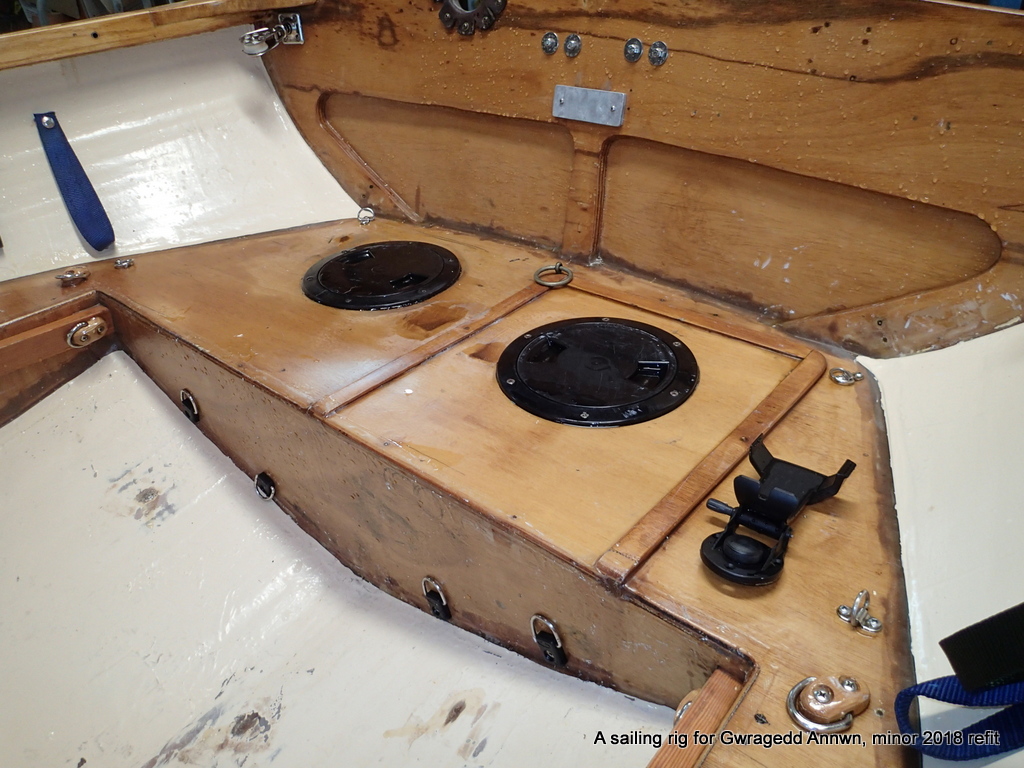
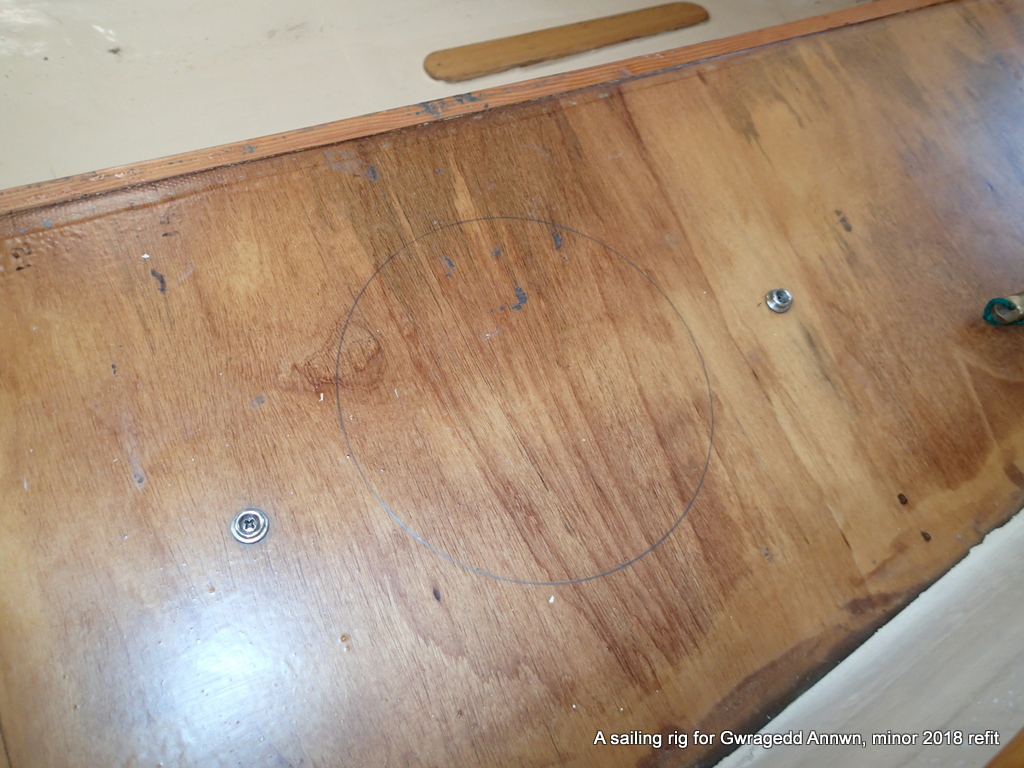
I am going to add inspection ports to all of the buoyancy tanks.
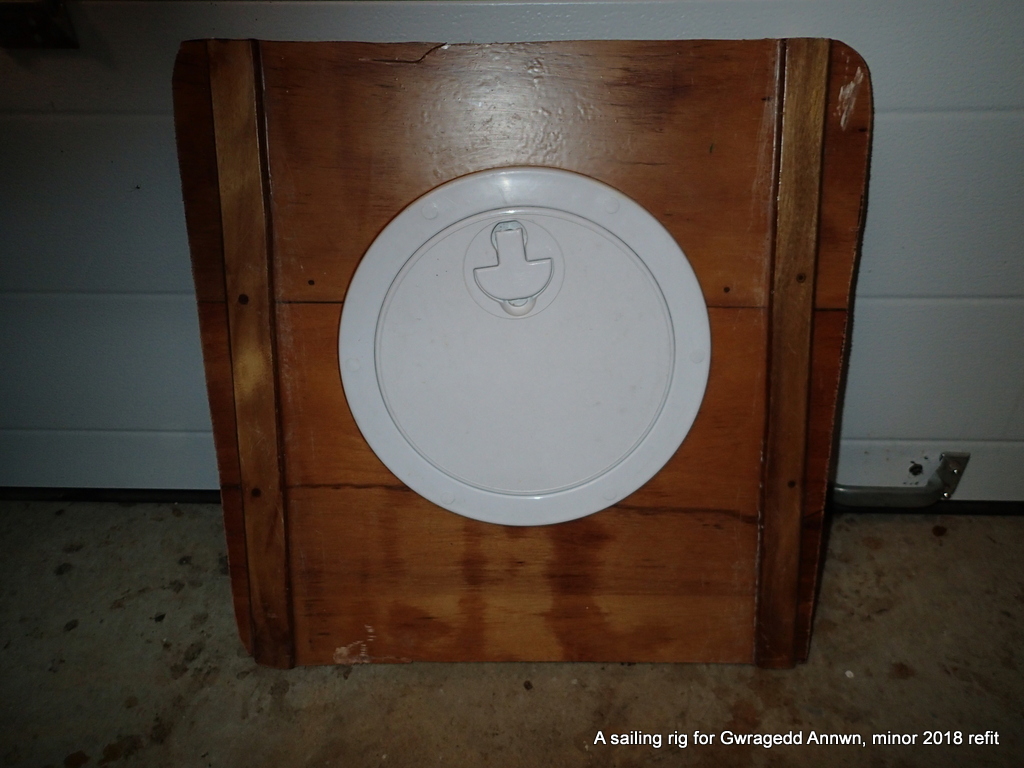
New inspection hatch on the port side of the stern tank
Starboard inspection hatch marked out for cutting.
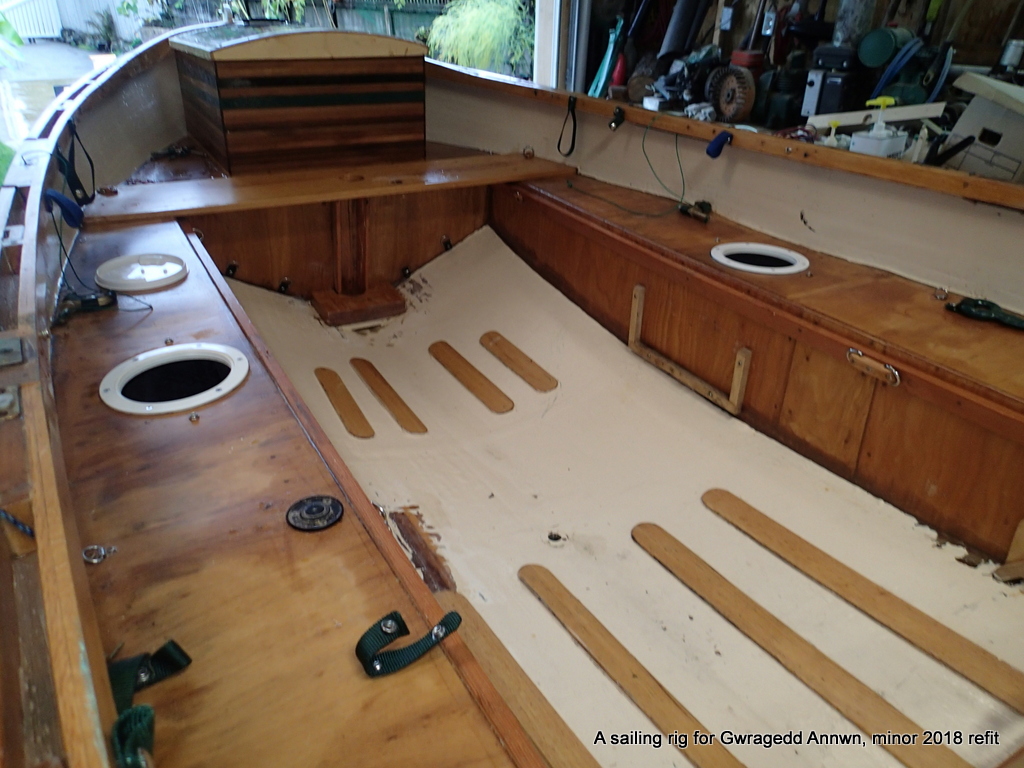
Inspection hatches fitted and glued in with sealant & screws.
From cruising experience, I decide to take out the forward inspection hatch and replace it with the deck box. This will give me greater access to the dry storage in the forward buoyancy tank.
Forward deck box being used as a cutting guide. I traced around the bottom of the box.
The old inspection hatch cut out for the installation of the deck box.
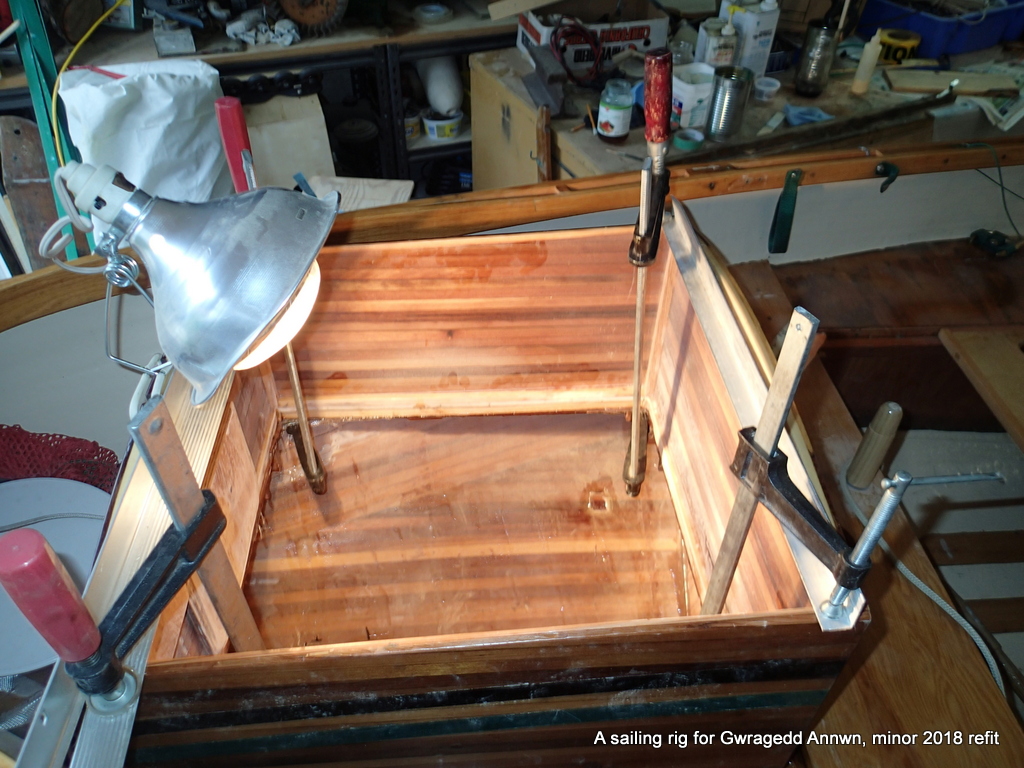
Bow storage box, bottom cut out, epoxied into place. Heat lamp to help curing.
I us my small router to cut a circular grove into a thwart for my stove.
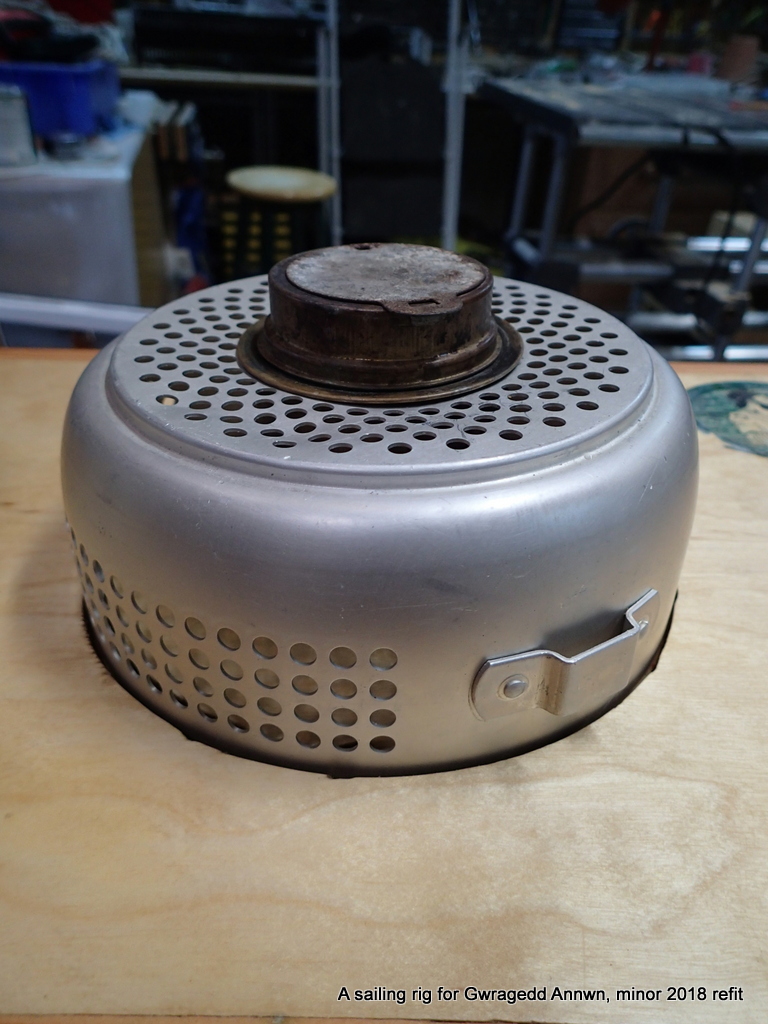
The base of the Trangia stove fits perfectly. Now I can cook at sea!
My wife bought the Trangia stove new almost 40 years ago. (and has used it on a lot of hiking trips since then!) Still works like a charm. Boils fast, simmers slow. A great stove. (You can still buy them from MEC…they do not offer the “kettle”option any longer but, you can order a kettle from the manufacturer) Now, I can take the thwart, flip it so the groove is on the top, put the stove in it and start cooking. The thwart will fit anywhere along the two buoyancy tanks.
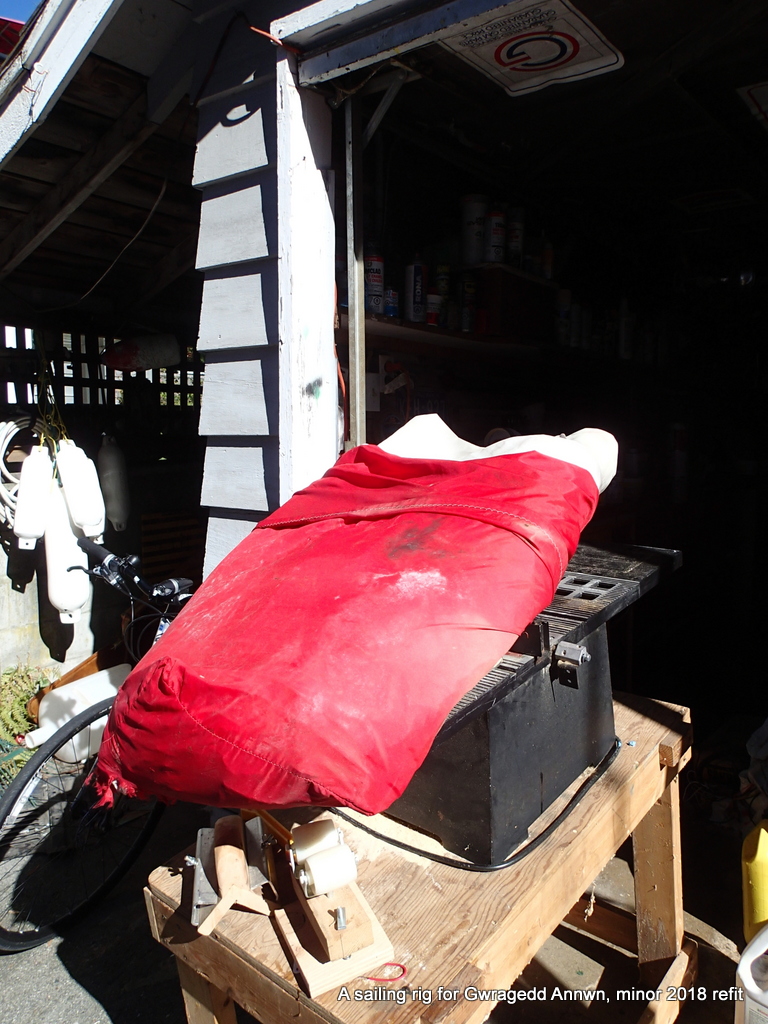
Old big jib sail I bought off of a friend years ago…Too bad he had cats!
I bought a old Elna sewing machine because it could sew through six layers of sailcloth from the jib.
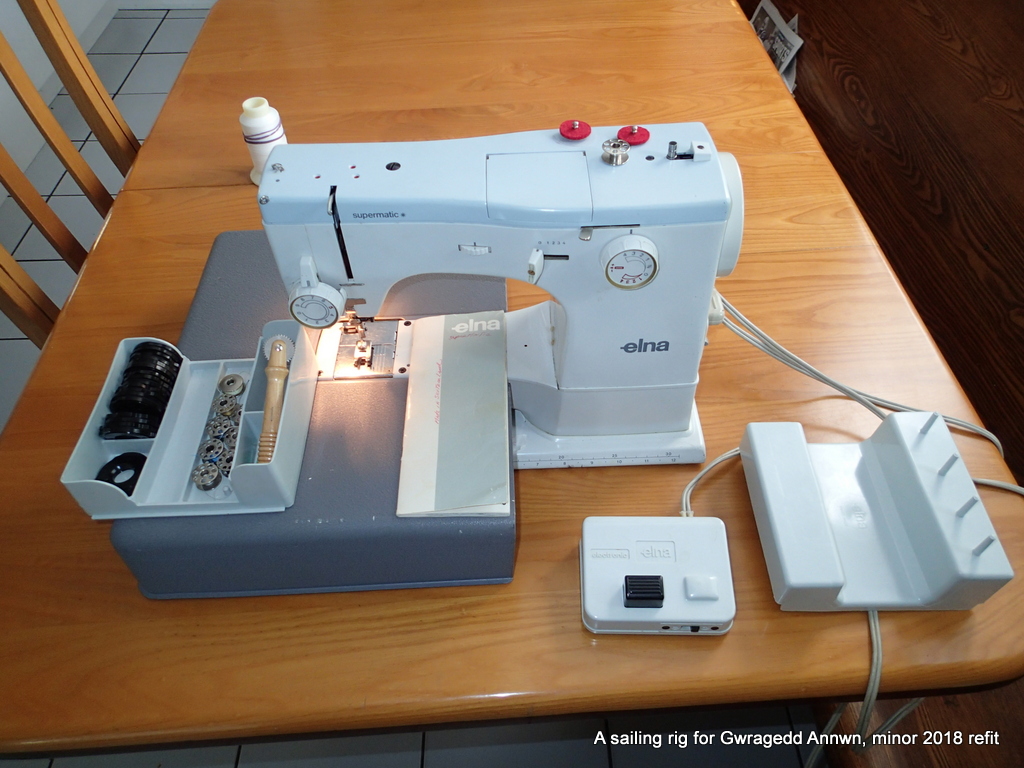
The Elan sewing machine I used to sew up the cobbled together Lug sail. I cut the top and bottom off of the sail and hemmed it up using the Elna. I kept the bolt rope in the sail, sewing it to the top, The bolt rope was already in the luff and I sewed it into the foot of the sail. The black disks in the tray allow me to do very fancy stitching…I only straight and zig-zagged.
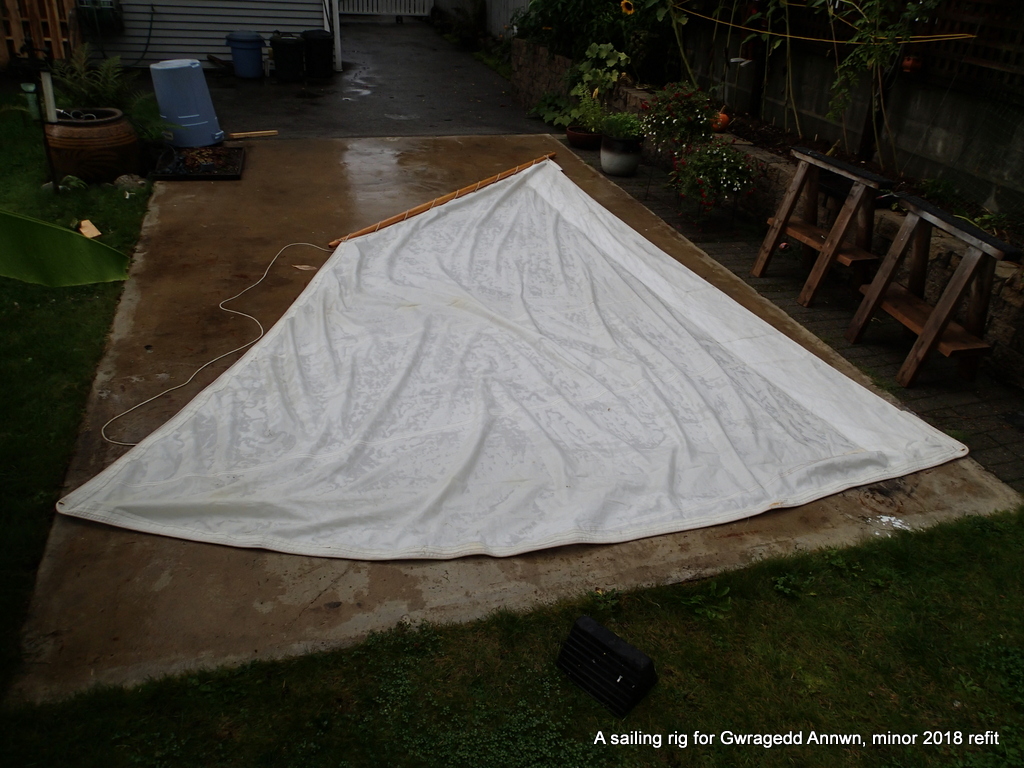
In this photo, you can see that this is a jib with the top and bottom cut off and hemmed.
I put eyelets every foot or so along the top edge. I kept the rope luff on the sail and sewed it to the top and foot of the sail. I guesstimated the curve to go against the yard.
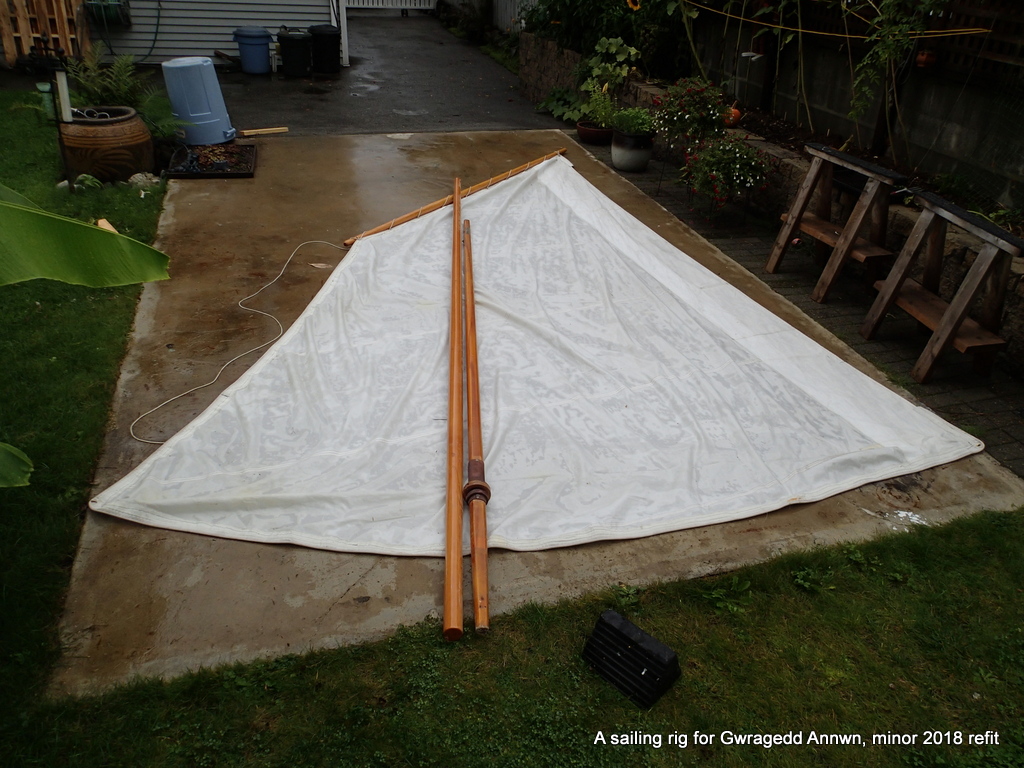
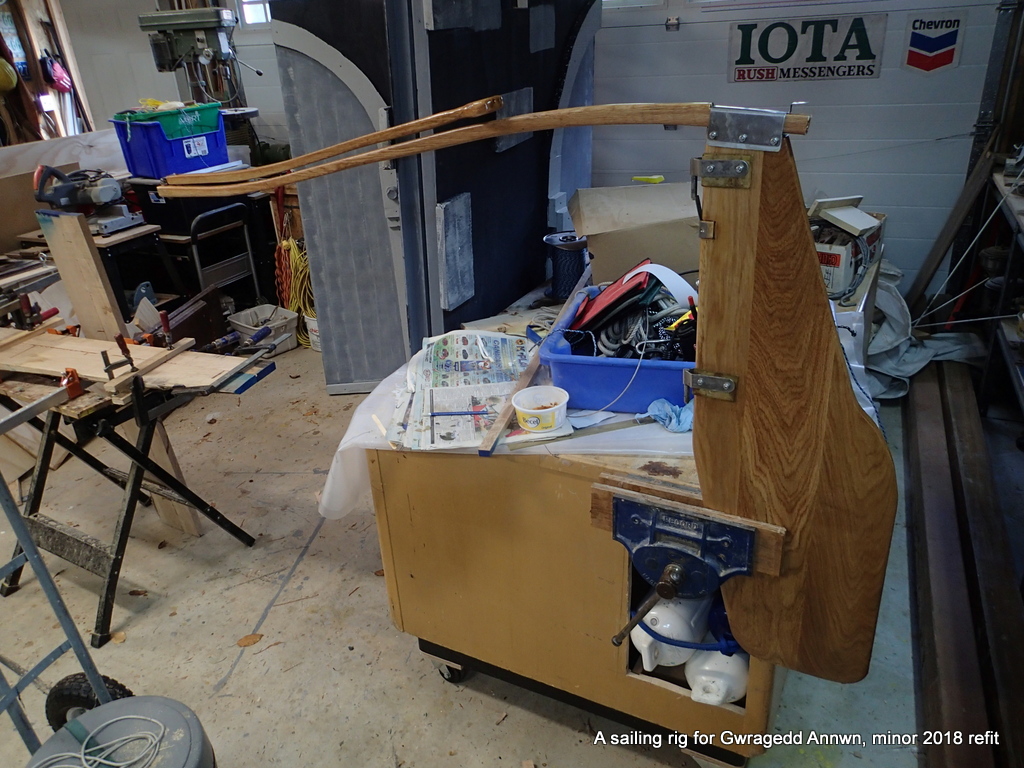
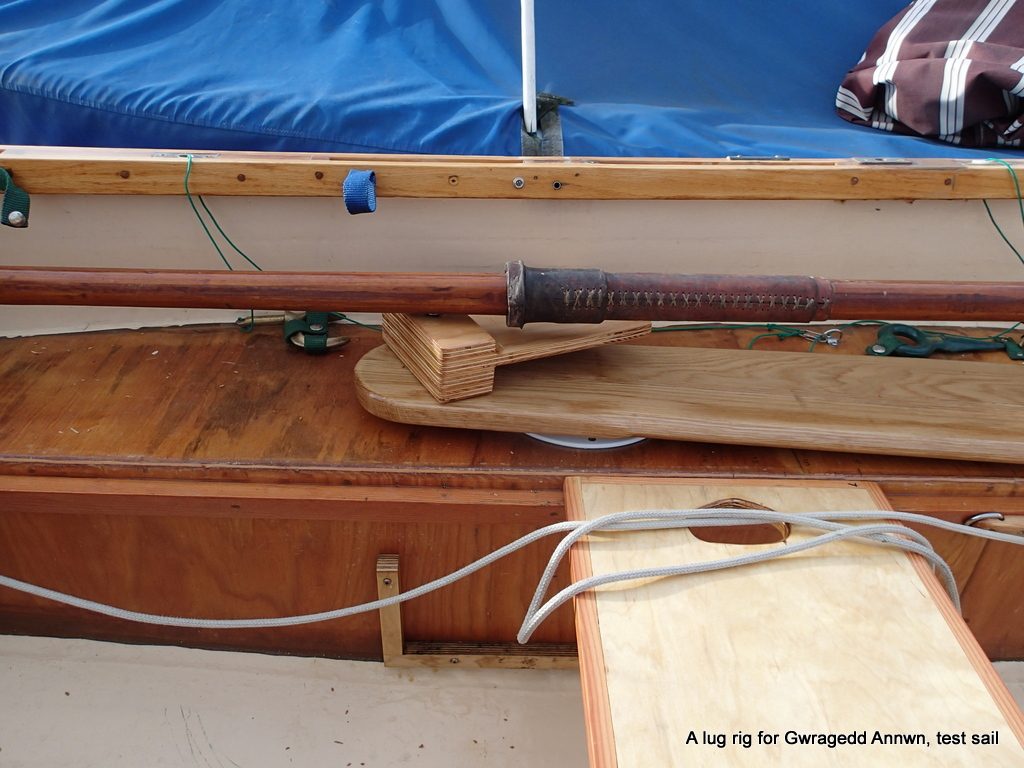
Fitting the mast to the sail.
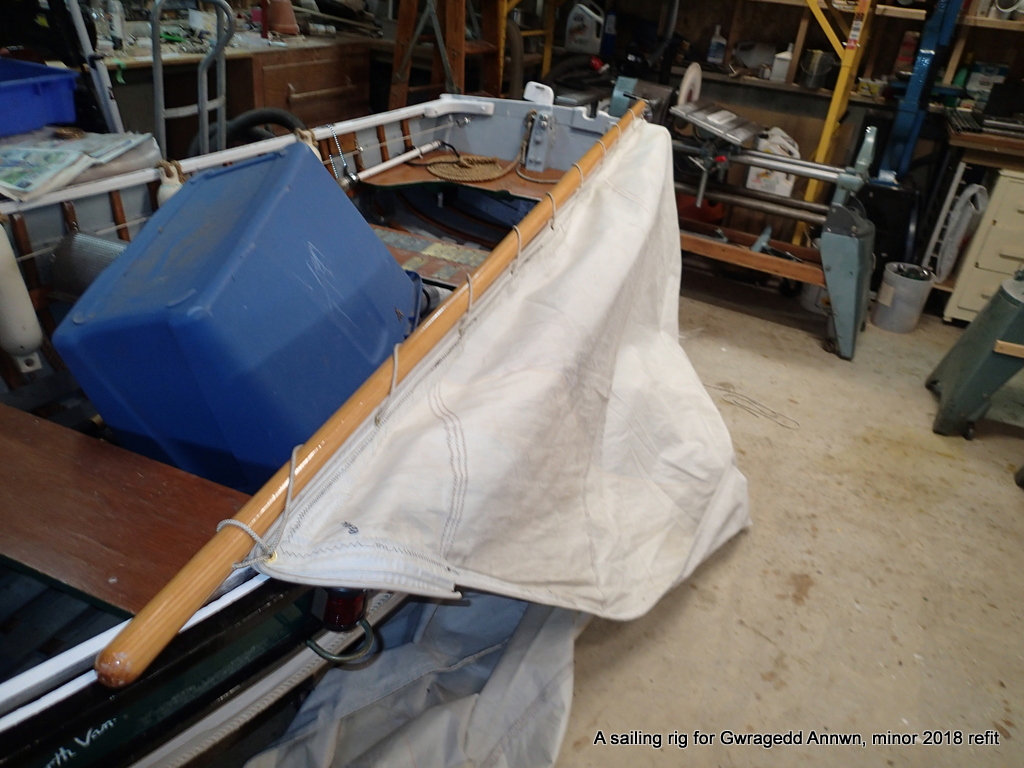
Lug sail laced to the yardarm. (sitting on my other boat, “Snowdrop” a clinker Turner lifeboat)
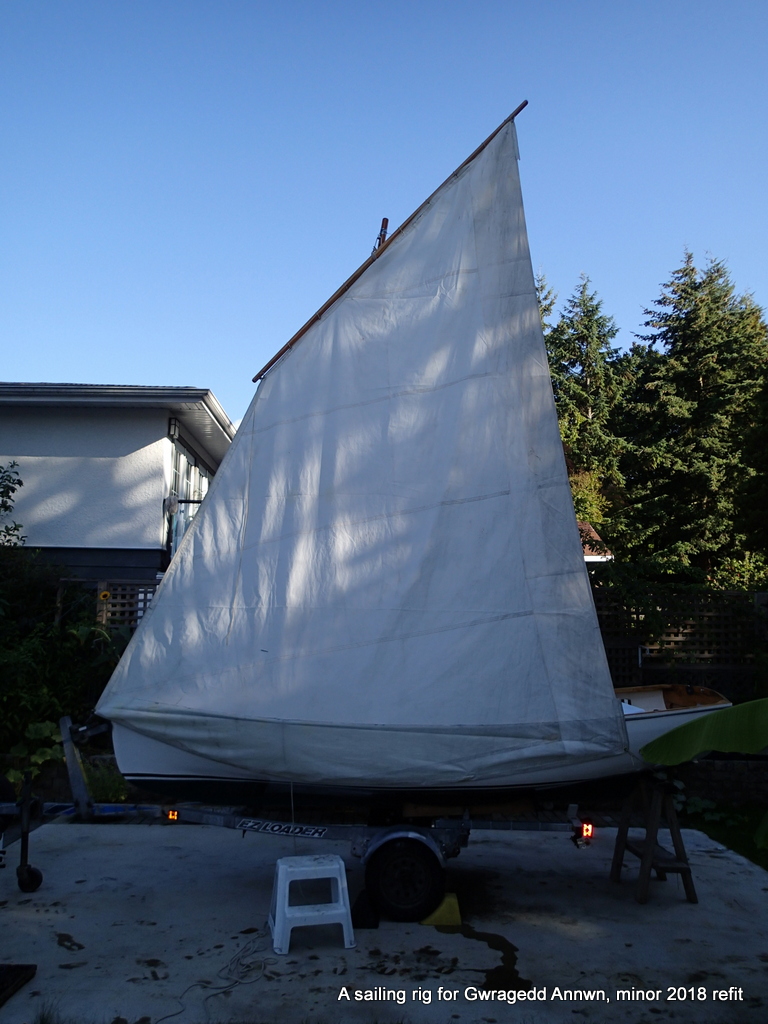
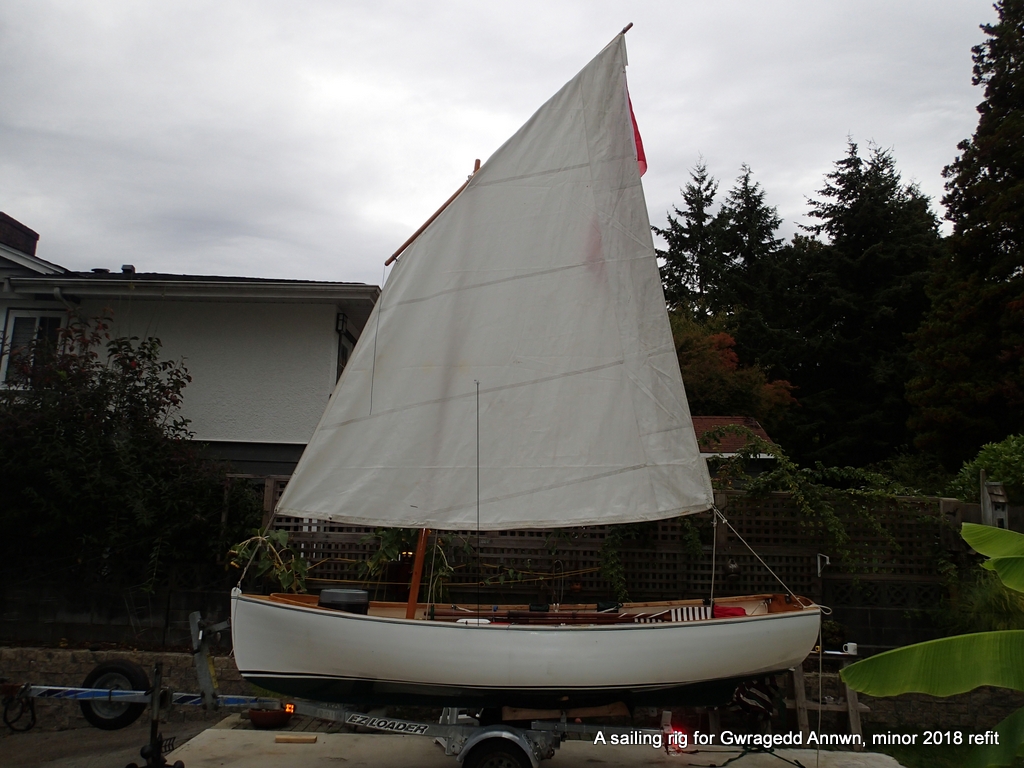
OK, so I hoist the lug sail and see how well it fits!
Looks a little too long, I need to cut off some of the bottom or get a higher mast.
I mark and cut off some of the sail at the bottom and re-hem the sail.
You can see in the photo where I have marked the centre of effort of the sail.
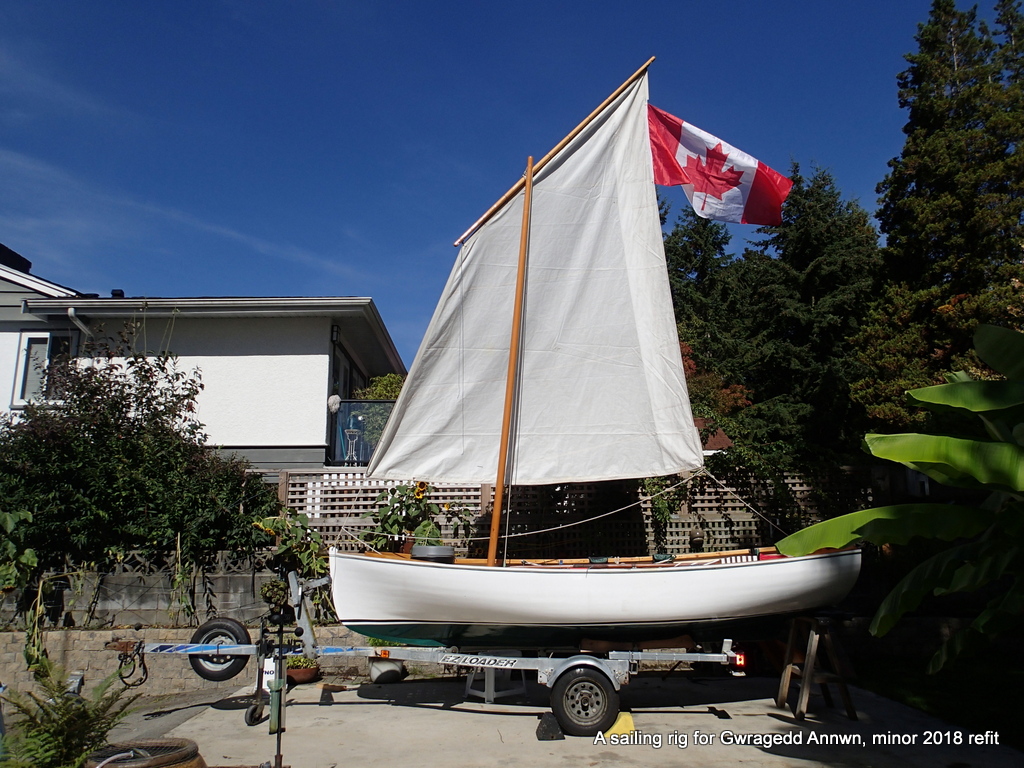
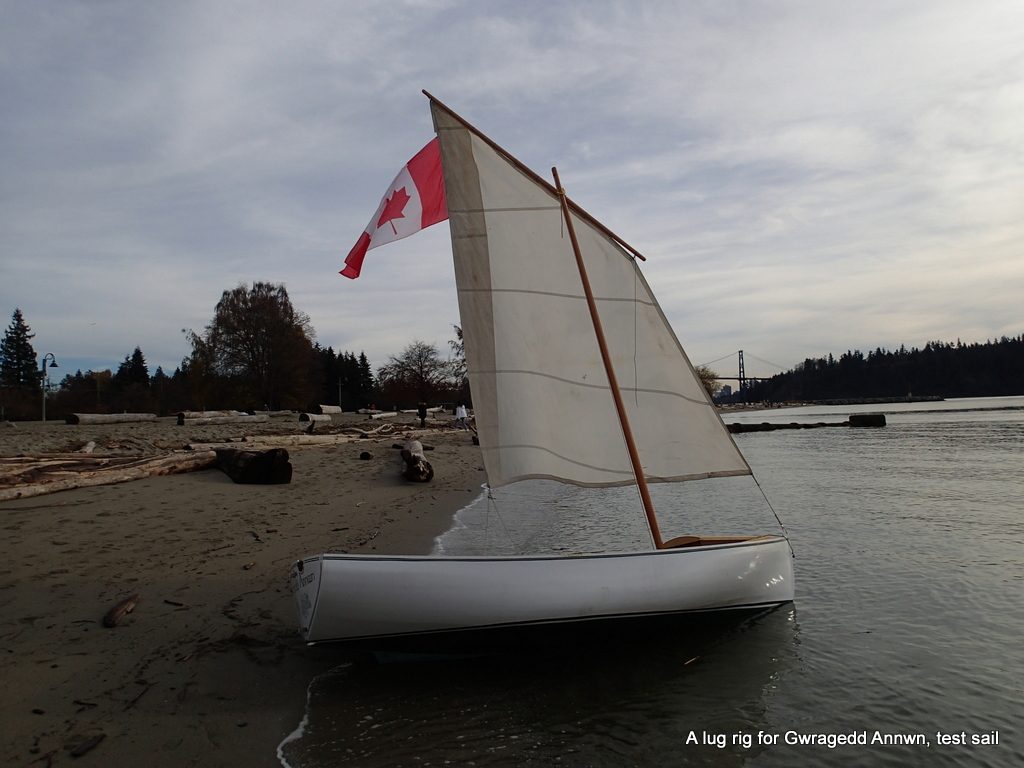
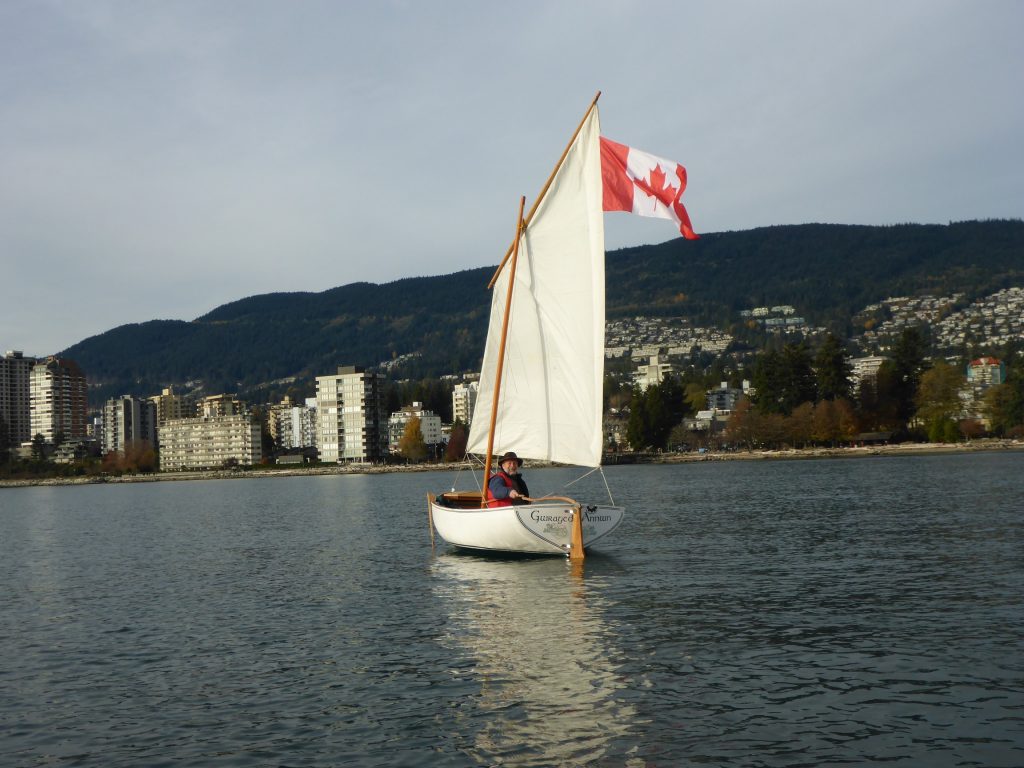
Here is the final sail fitting, I have sewn on a Canadian flag. The sail is now about 85 square feet.
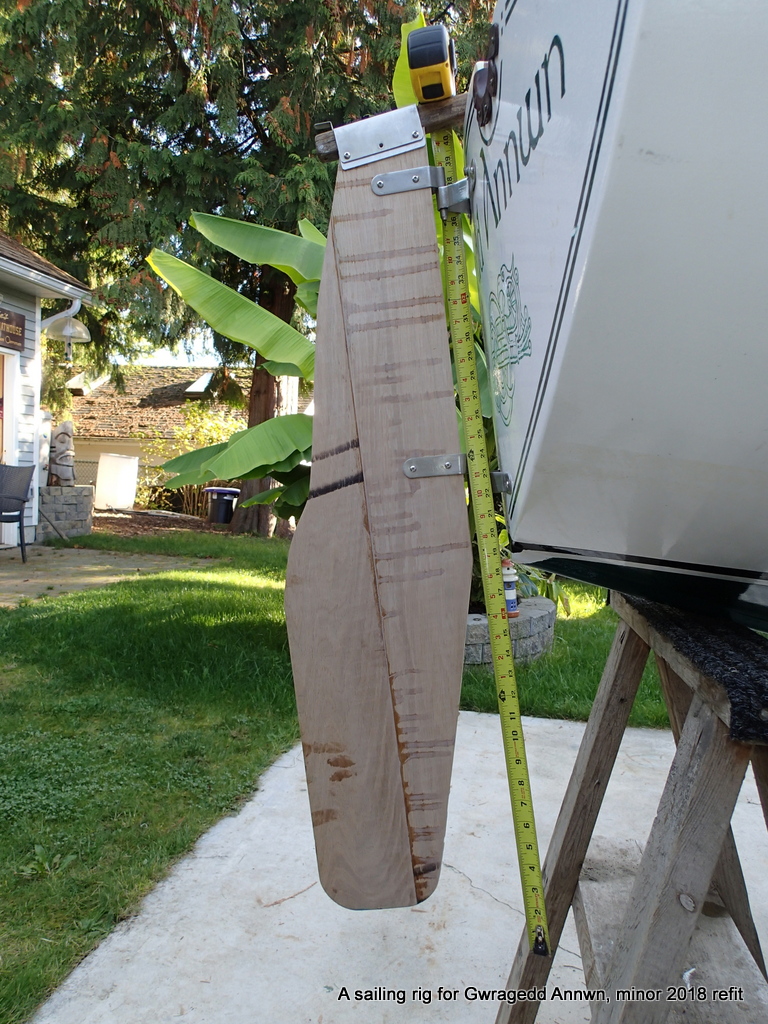
I still have to make a rudder for Gwragedd Annwn.
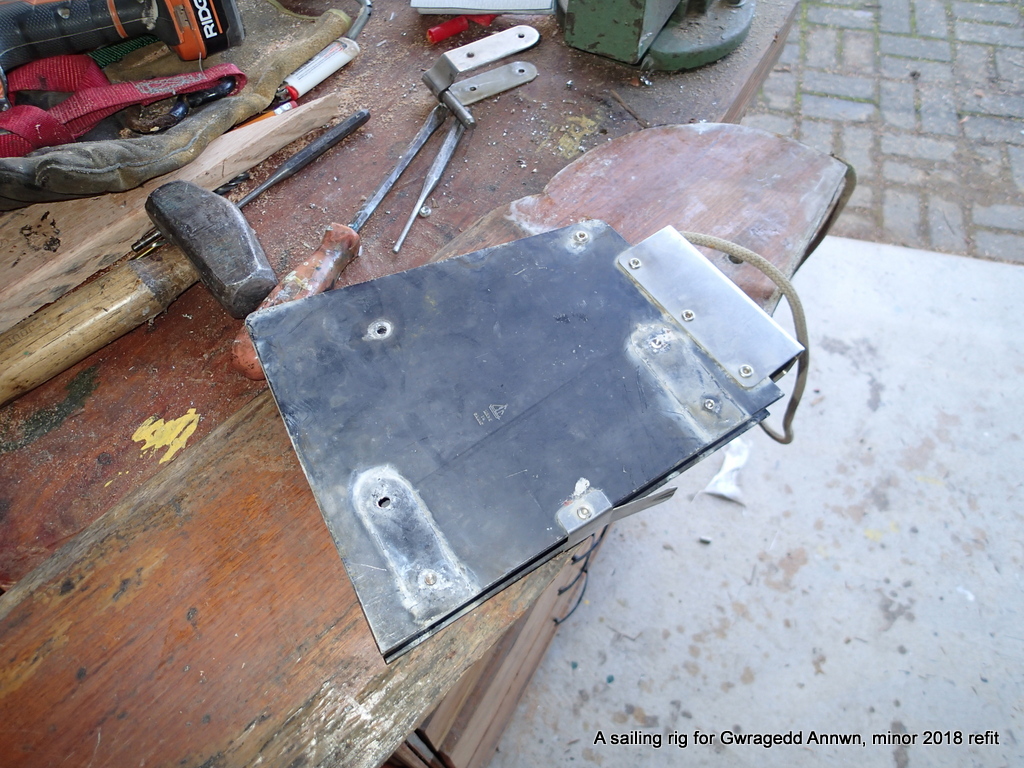
I use a Taser rudder for parts.
Using the Taser rudder as a guide, I glue up some 4/4 oak for the rudder blade.
The streaks you see is the epoxy glue.
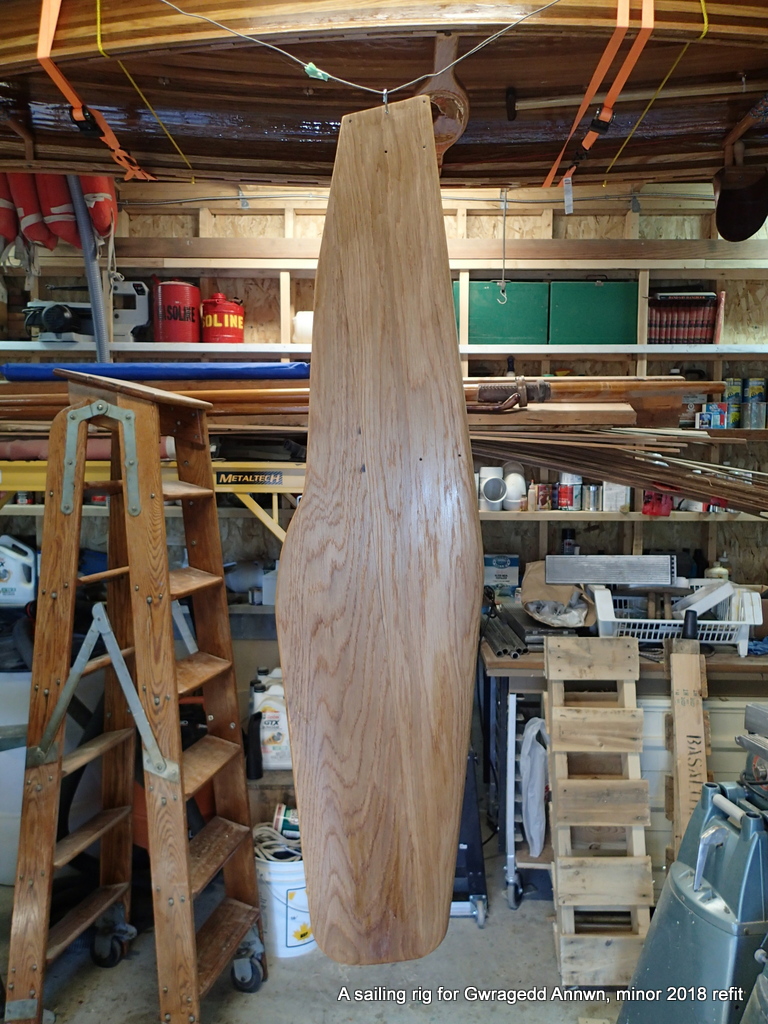
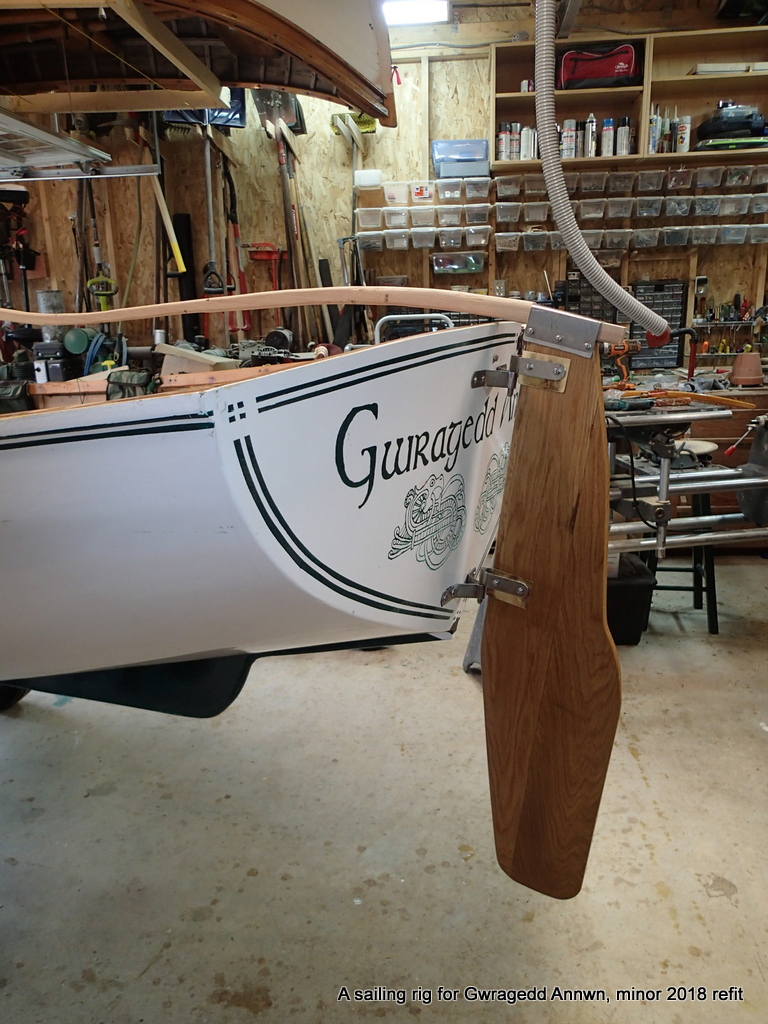
Rudder blank being fitted to the stern of Gwragedd Annwn.
I fit the blank to the stern of Gwragedd Annwn, using the rudder pintles to fit the gudgeons to the transom of Gwragedd Annwn. The gudgeons are bolted to the transom. ( the pintles are bolted to the rudder as well)
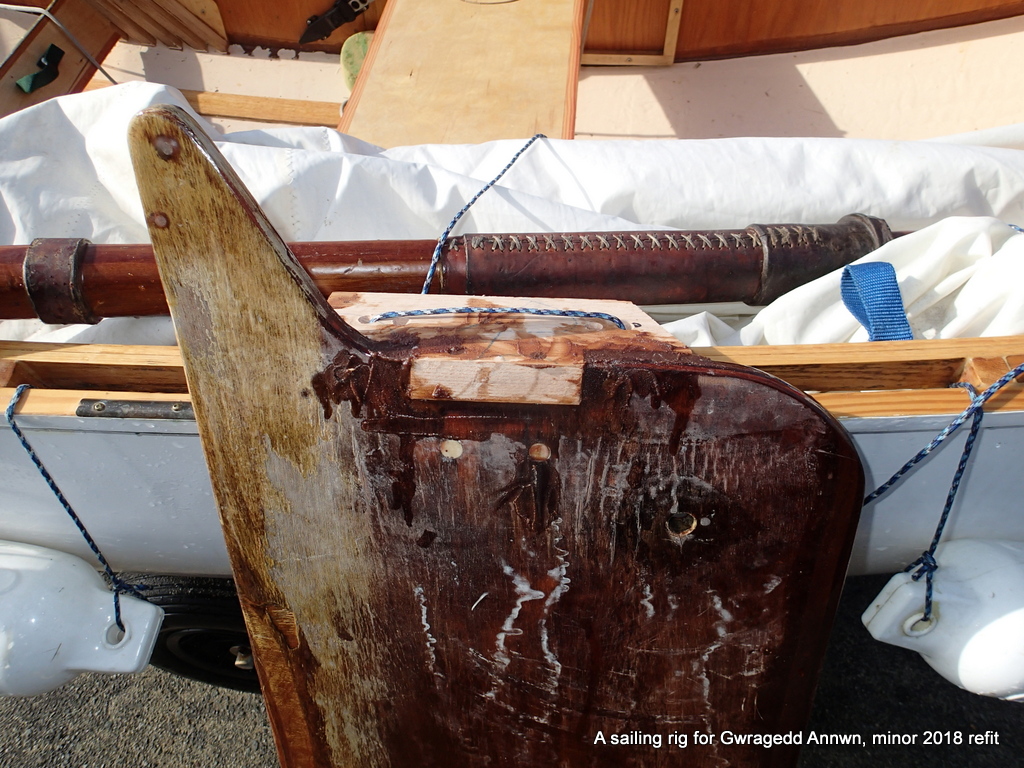
After everything is fitted, I dissemble and varnish the rudder.
I make up a new tiller as well using the old Taser hardware. The hose in the picture is part of the dust removal system in my shop.
Gwragedd Annwn’s temporary “test leeboard”, an old Enterprise centreboard.
I will tie the test leeboard to the gunnel to determine where Gwragedd Annwn’s centre of lateral resistance is and where the leeboards should go.
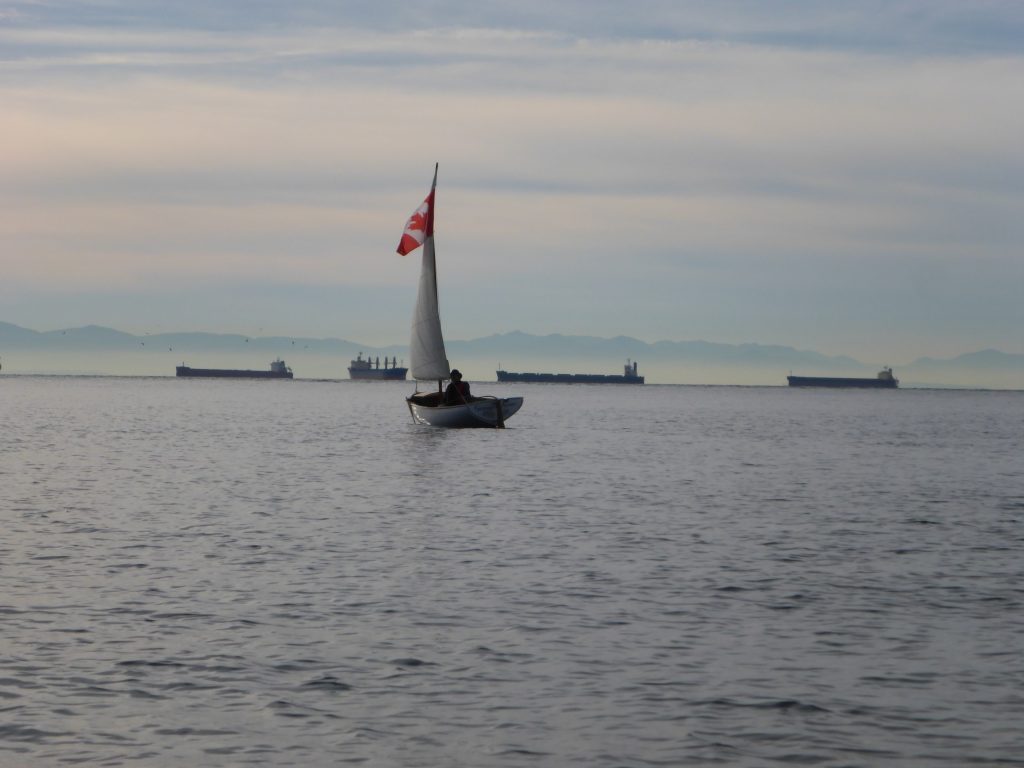
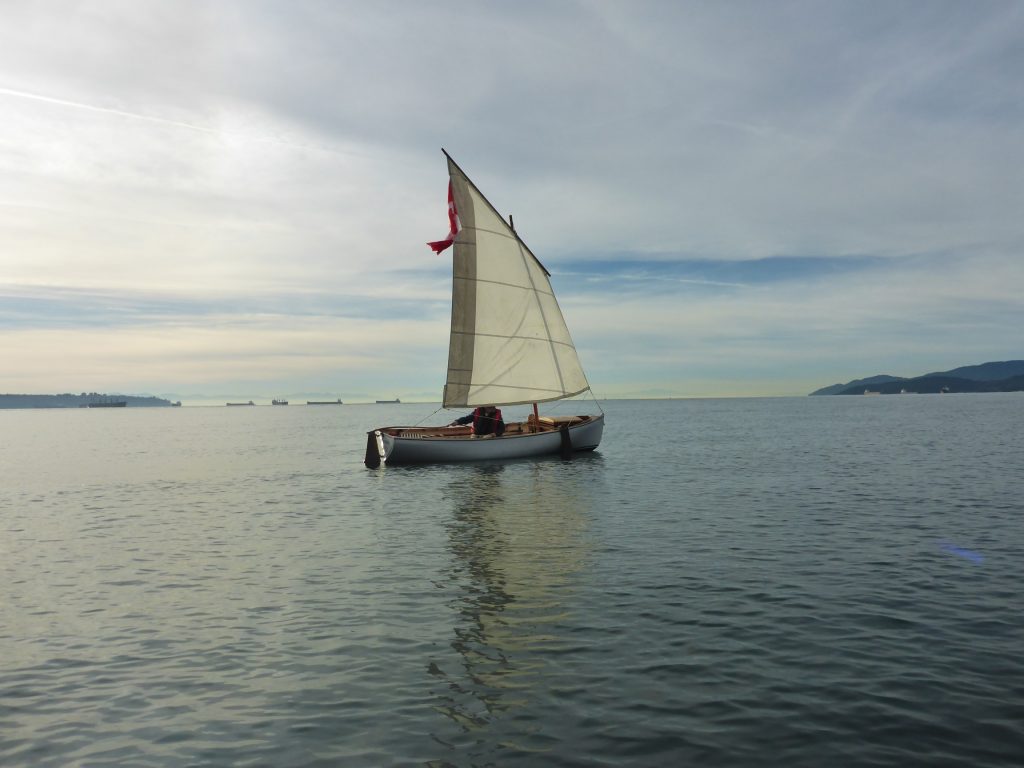
I now have enough done to take Gwragedd Annwn out for a test sail. Will she actually sail well?
I take all of the gear down to the Club, fit it to Gwragedd Annwn and out we go. I forget the camera and GPS. No bailer either. I row her out past the fishing pier and hoist the sail. There is between 5 and 10 kms of wind. I have a bit of a hard time hoisting the sail high enough to keep the luff tension tight. Will have to fix that…a two to one hoist? Theoretically Gwragedd Annwn has enough lateral resistance with her hull shape to sail without a centreboard or daggerboard or leeboards. I watch her stern wake….I can see that she is slipping to leeward. I attach the makeshift daggerboard and try again. This time there is no discernible drift visible in her wake. I move the makeshift leeboard forward and aft to find Gwragedd Annwn’s centre of lateral resistance…where the helm feels best balanced. She sails well, feels fast for the wind speed, and tacks easily. I feel that her rudder could be a little bigger. After an hour or so, I head back to HSC…The sailing test has been a total success!!!
Sadly no photos……
Based on the success of the sailing test, I am going to get a “real” sail made…Sadly, my local sailmaker has retired and his shop is closed. I look for lug sails on line and find that the Goat Island Skiff lug sail is almost the exact same size as my sail, probably within 5% or less. The sails are a deal! I order one from Duckworks in Port Townsend. Most likely will have to make a new taller mast and a longer yardarm. The centre of effort of the sail may be significantly different than my sail so I cannot fix my leeboards permanently. I will have to wait for the new sail, make a mast and yardarm to fit and re-determine where the leeboards should go.
There are things I can work on now…..
I will make the rudder blade bigger…Oh, yea, I have to make the leeboards too.
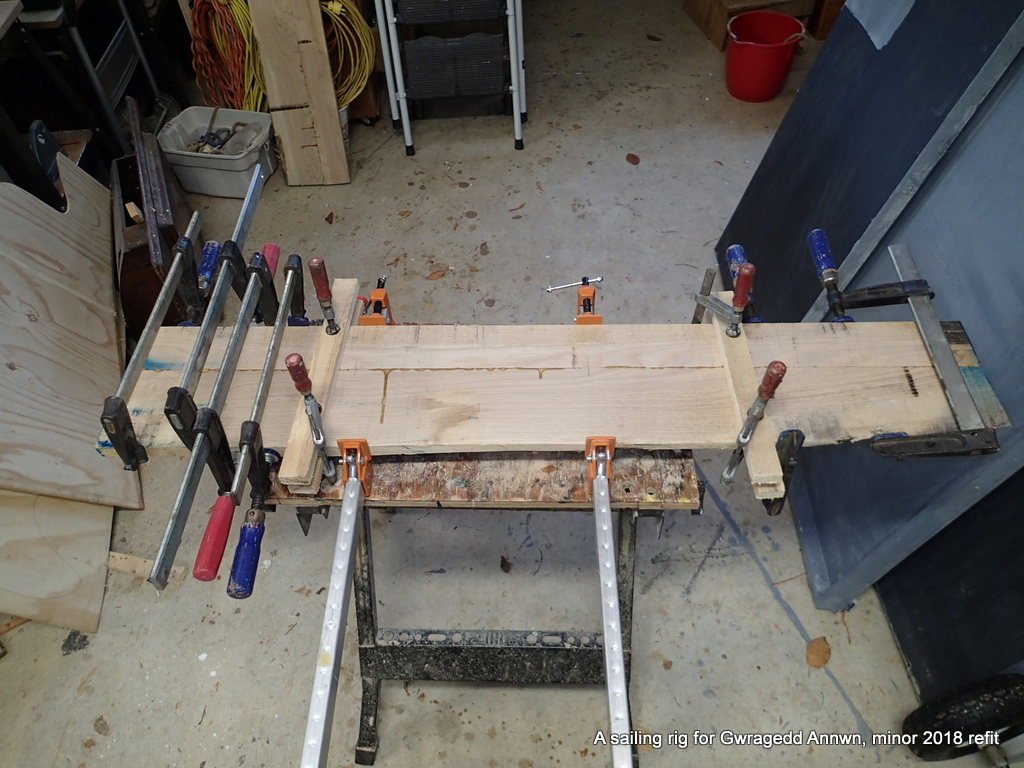
Gluing up the “good” leeboards.
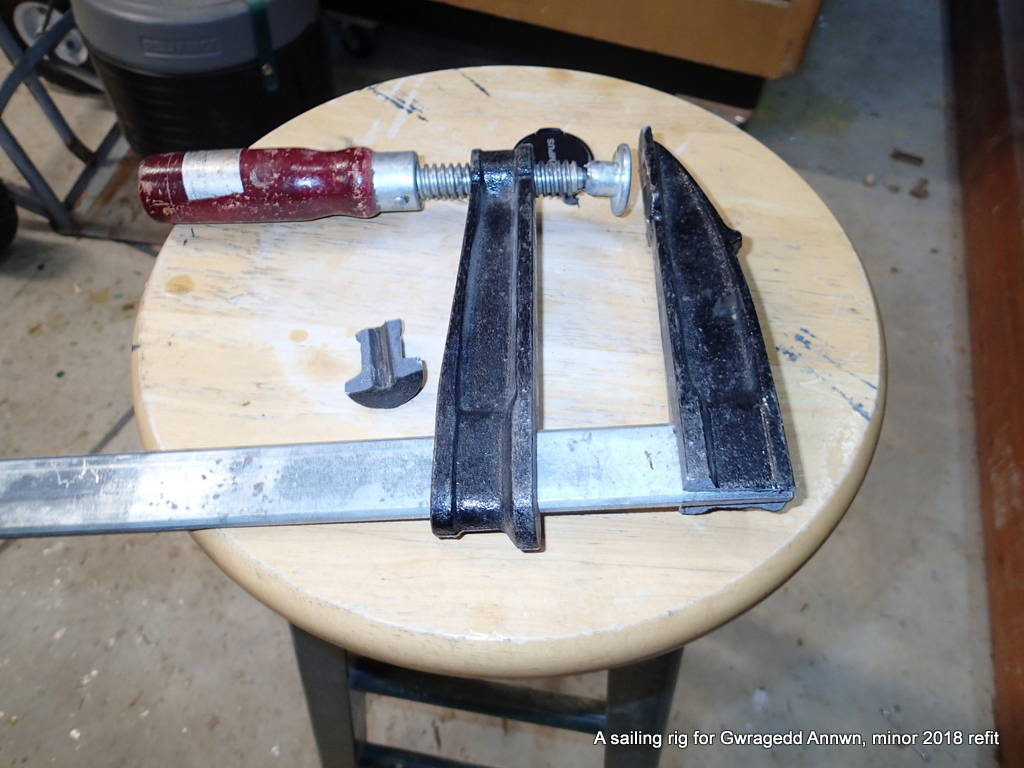
I break a clamp gluing up the leeboards.
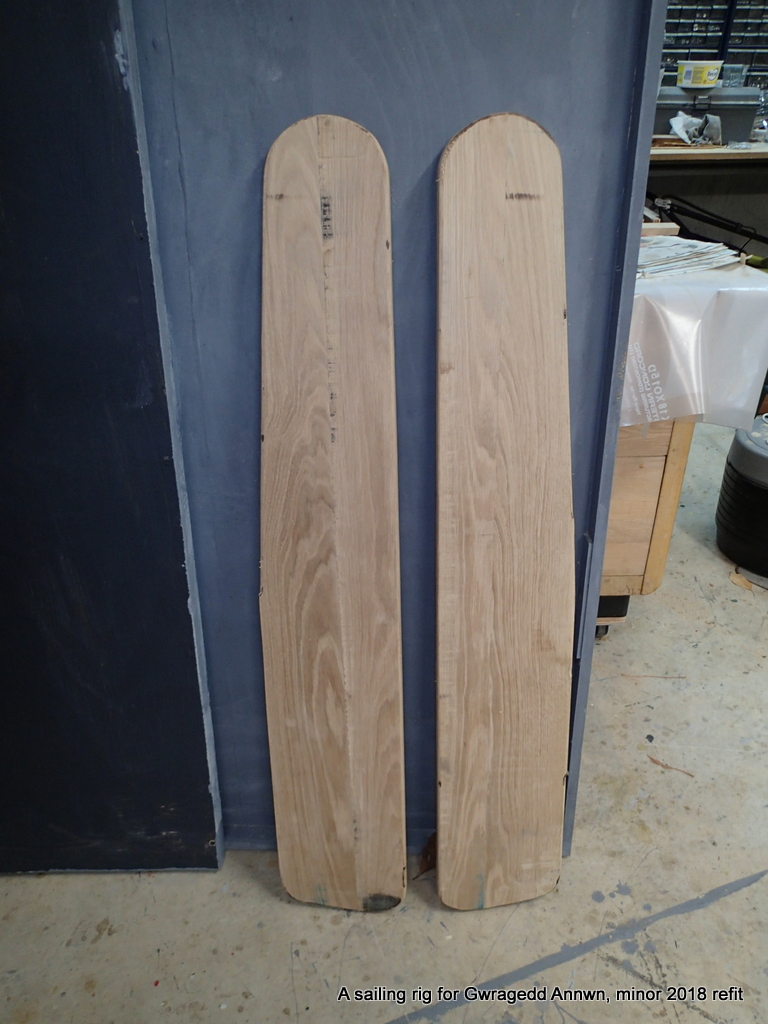
The two leeboards roughed out, ready for foil shaping. The convention is to have the leading edge rounded and the trailing edge tapered about 3 to 4 times as long as the leading edge.
Between the two of them, there will be more surface area in the water than the cobbled-together leeboard I tested Gwragedd Annwn with.
I round the leading edge of the leeboards and taper the trailing edge about 4 to 1. Sand and varnish. (many times)
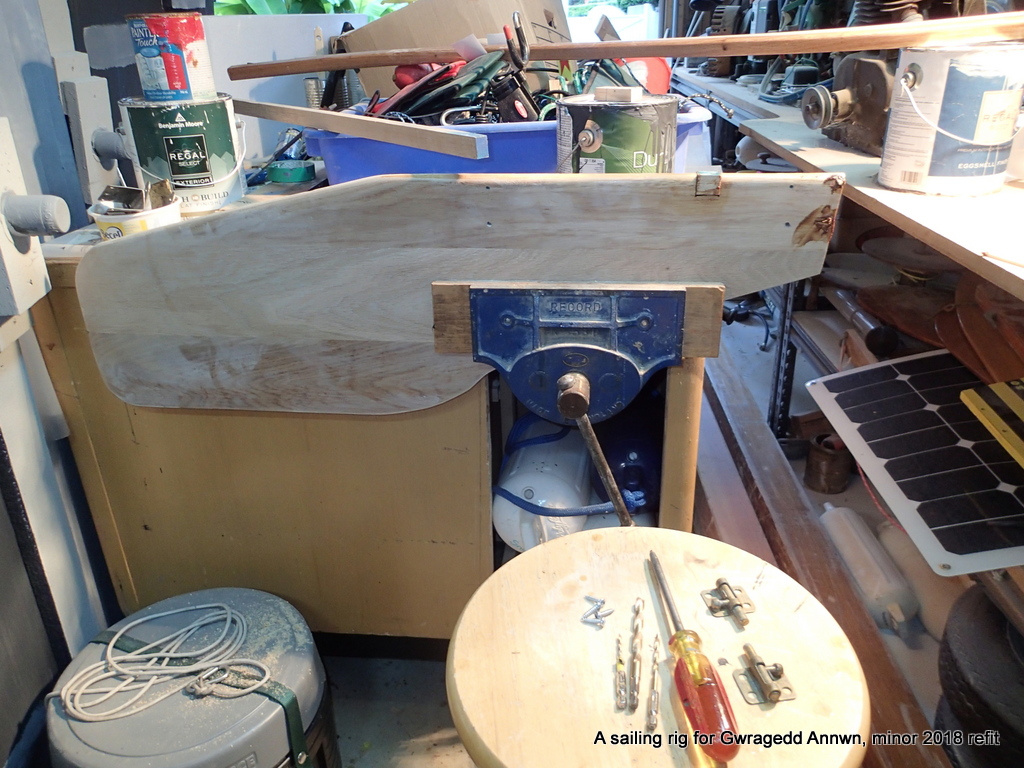
I remove all of the hardware and cut the rudder down the middle and biscuit joint in a middle piece. I also glue in a piece for the rudder hold-down bracket. I am gong to move the tiller bracket , so I fill in the bolt holes with bamboo skewers and epoxy.
The rudder also needs a tiller extension, so I make one.
I have a tiller extension fitting from another boat. Tiller extension fitting in top centre of photo.
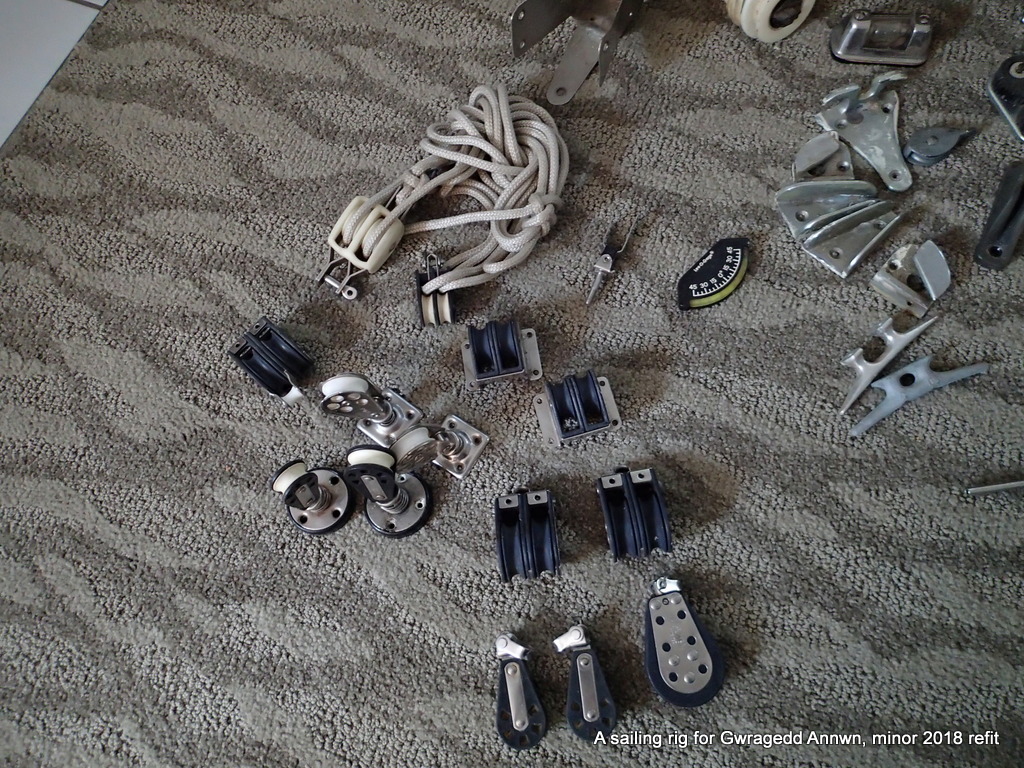
Some of my salvaged fittings.
I cut a tiller extension to mirror the tiller I made before.
Varnishing the tiller extension. Might as well put a few more coats on the tiller as well.
Rudder and tiller final. That is a Halloween decoration castle in the background.
Everything is ready for another test fitting…I do not have the new sails yet, however, I can still do some test fitting…
I take the leeboards down to the Club and tie them onto Gwragedd Annwn.
I have to come up with a better attachment than this…I make a plan!

I stare at the leeboard for a while and come up with this attachment support.
The rope (or could be a 3/8″ bolt) fits through the top of the support. It could be attached to a cleat on the support. I add an additional 3/4″ piece on the outboard side of the support. this will allow me to shape the support to allow the leeboard to parallel the keel and not the curve of the hull where the leeboards are. Again, this will depend on the test fitting.
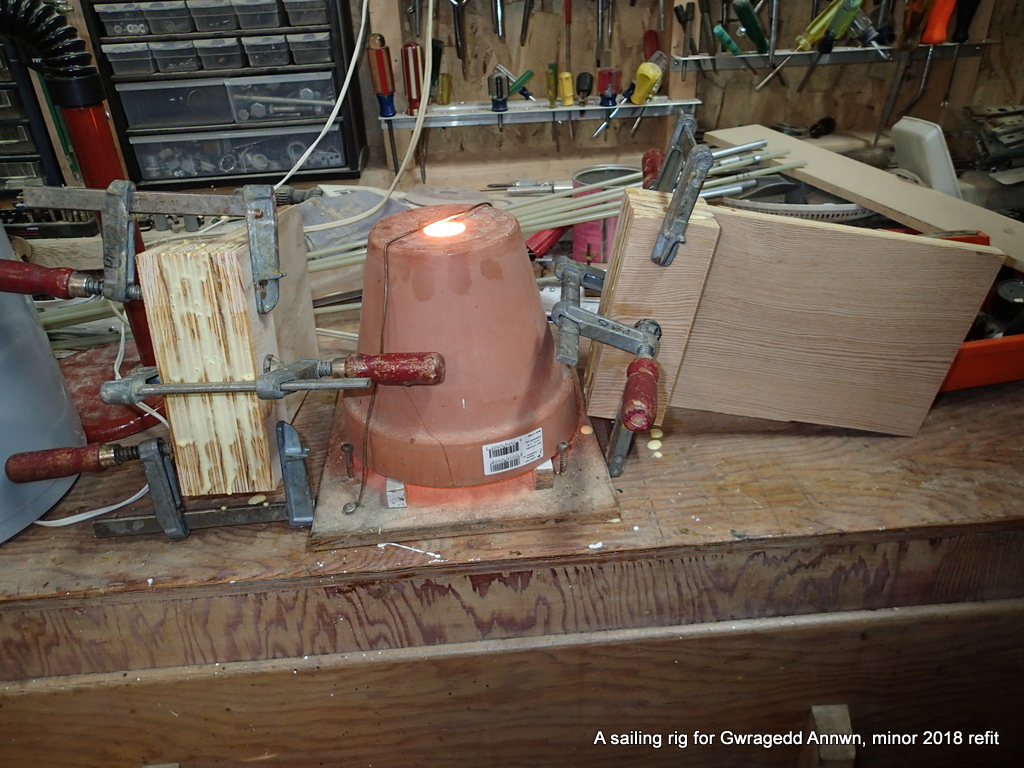
The support blocks glued up next to one of the two plant-pot heaters I use to keep my shop from being damp.
I shape the leeboard supports and give them a coat of varnish, assemble the leeboards:

Expeditions await!!!
Hope to see you on the water soon,
Mike
