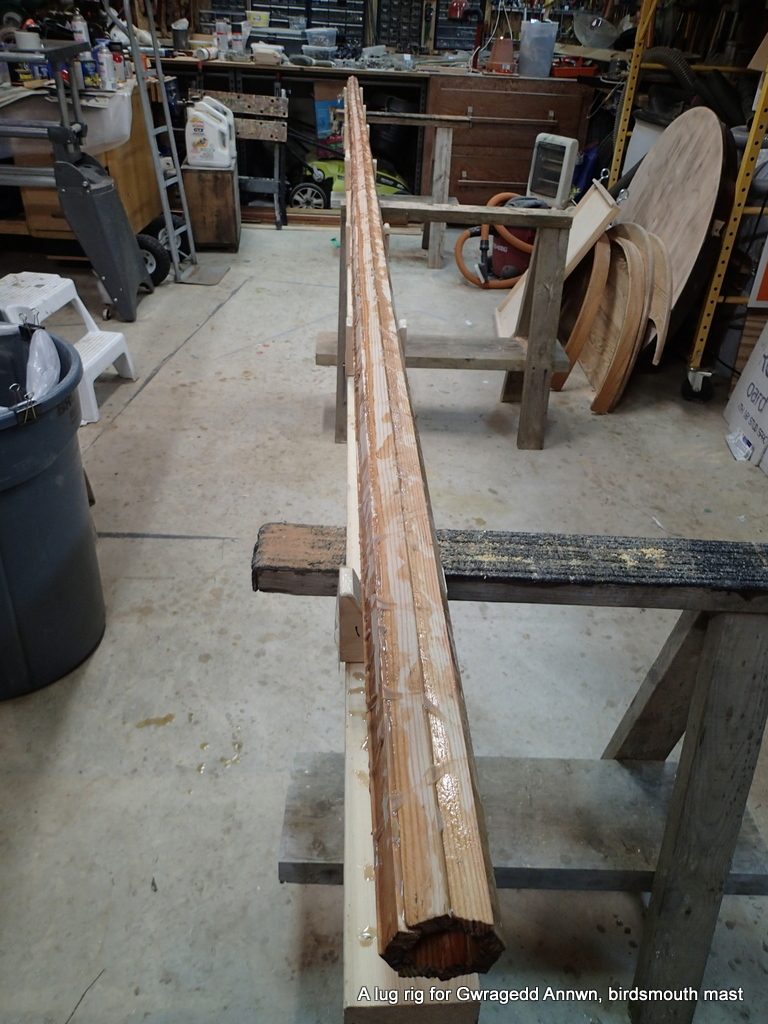
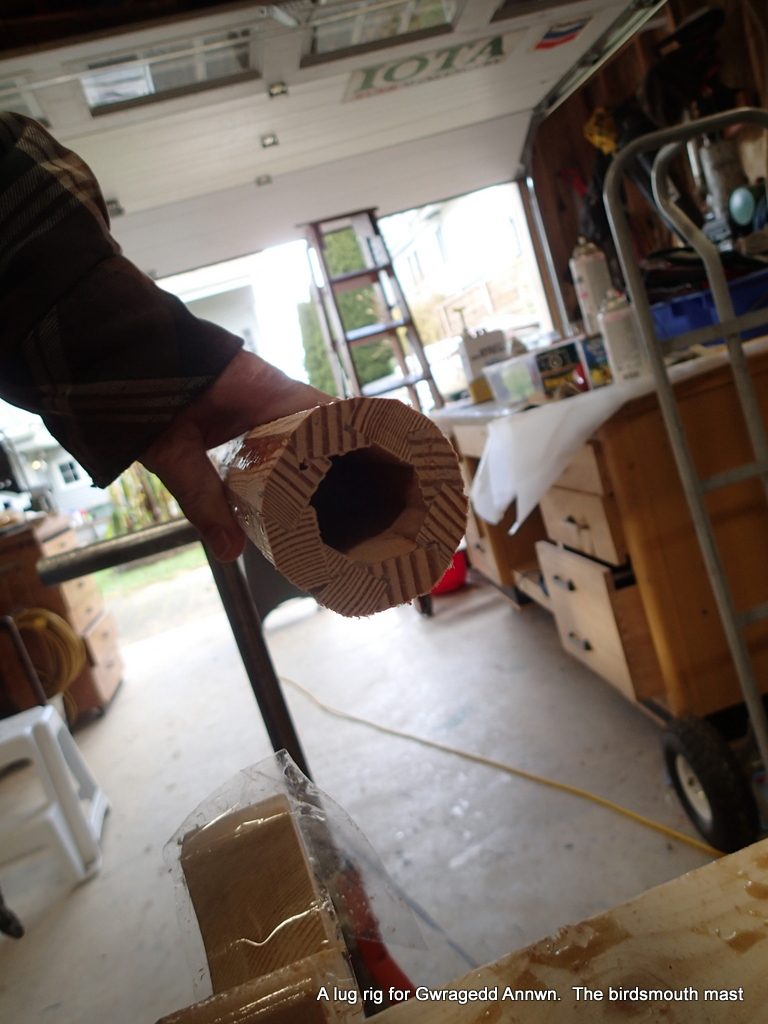
Making a birdsmouth hollow mast for Gwragedd Annwn
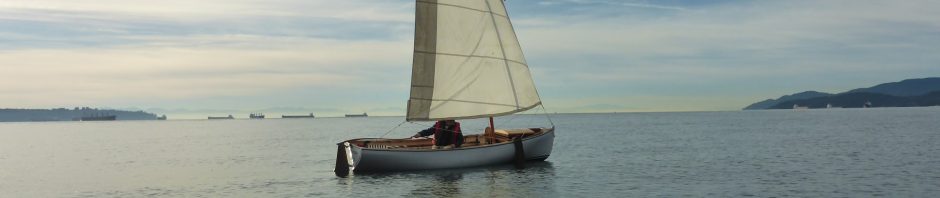
Now that I have done my test sails and found that Gwragedd Annwn is a good sailer, I am going to make a new mast for her…a birdsmouth hollow mast. The old mast is about 2′ too short, the new mast will be over 16’4″ long.
There are a lot of formulas for determining the size of your strips. My mast will be 2½” at the base tapering to about 2″ at the top. I used the one on the Duckworks site. My strips will be a little bigger than ½” by 1⅛”. I will try to get the most out of my Douglas Fir beam. Depending on the test sailing results, I may make a boom for the rig.
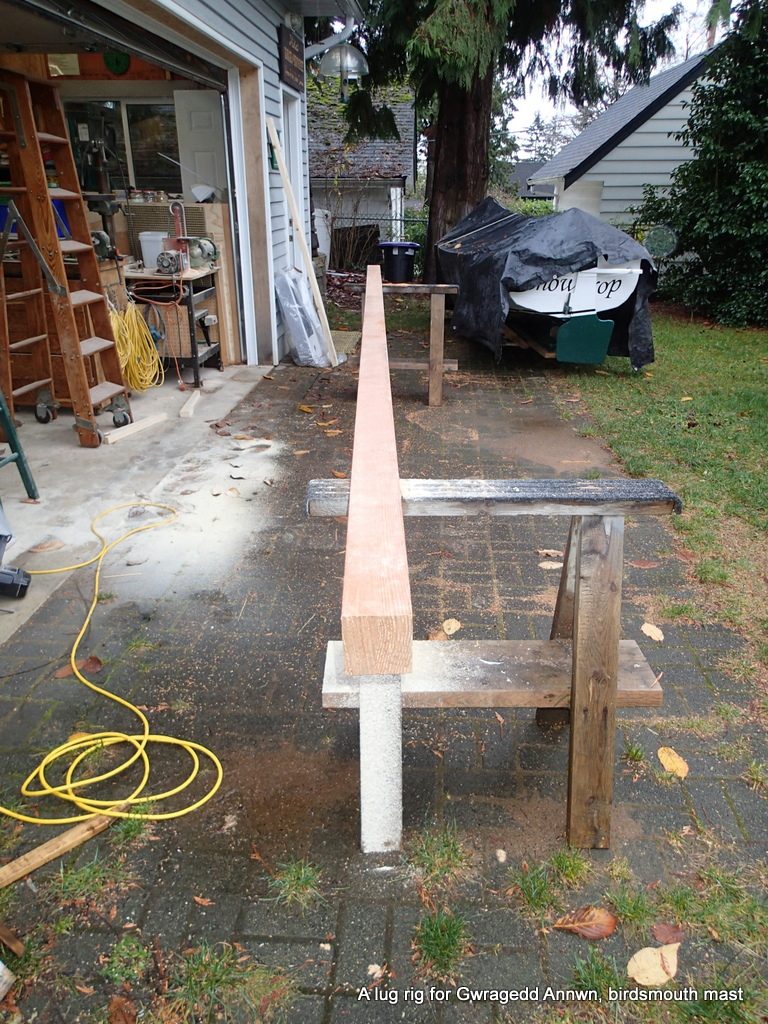
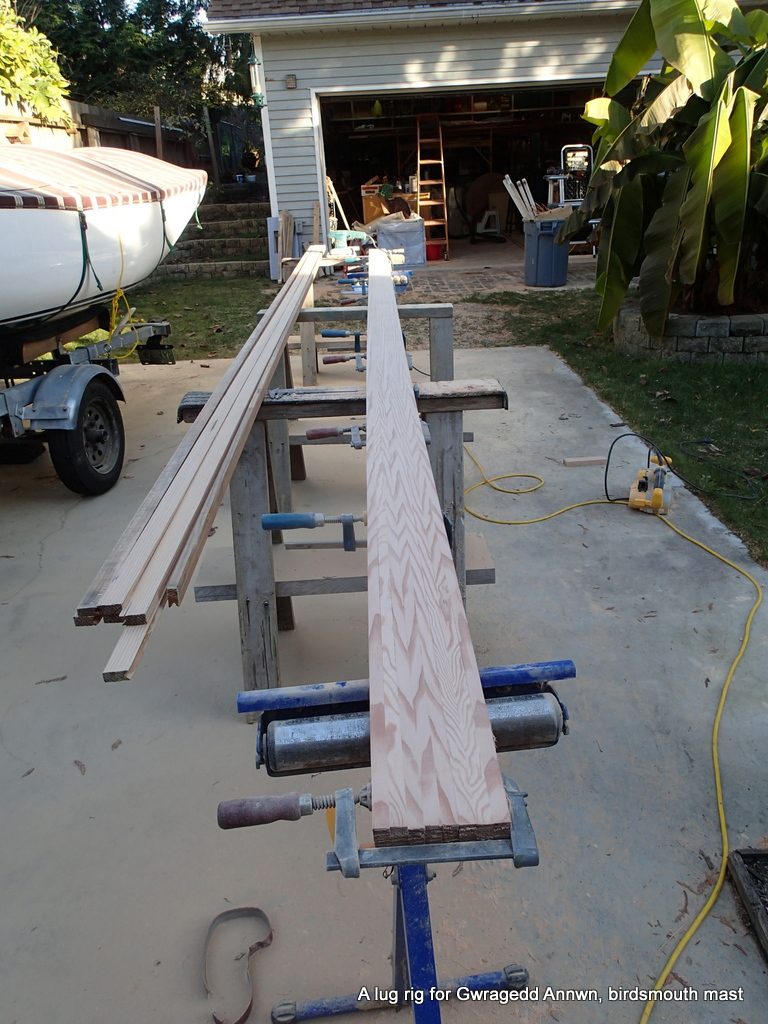
The first step is to rip up the strips for the birdsmouth mast.
The first step is to rip up my 3½” by 3½” by 16’4″ clear Douglas Fir beam.
I will first rip it into 3 planks. I want to get 6 strips out of each plank, for a total of 18 strips. I need 8 for the mast and 8 for the boom, if I find that Gwragedd Annwn needs a boom to sail well downwind.
I set my circular saw cutting guide to cut the beam into three equal pieces.
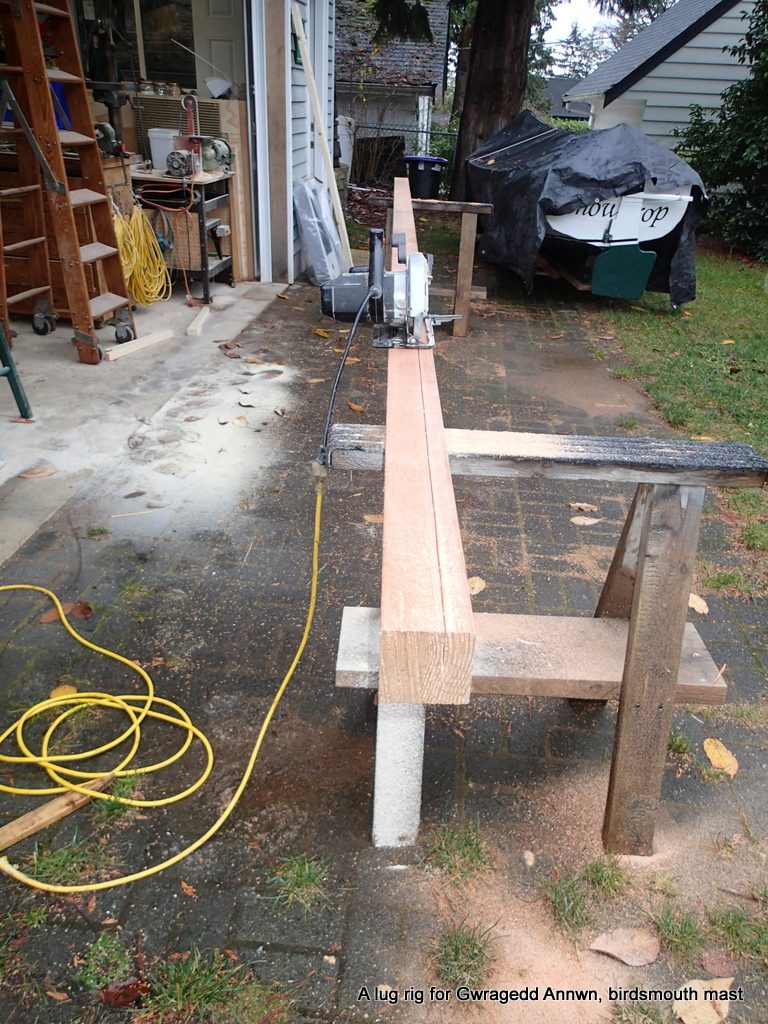
My 10″ Shopsmith table saw will not cut through the beam in one pass and trying to line-up in and out feed tables does not work…I decide to use my circular saw and the edge guide. I spend a lot of time setting up the saw and the guide…the saw adjustments are not very precise, but, I do my best.
The routine was to make a cut, turn around and make another cut on the opposite side, then roll the beam over and make the two cuts on the bottom side.
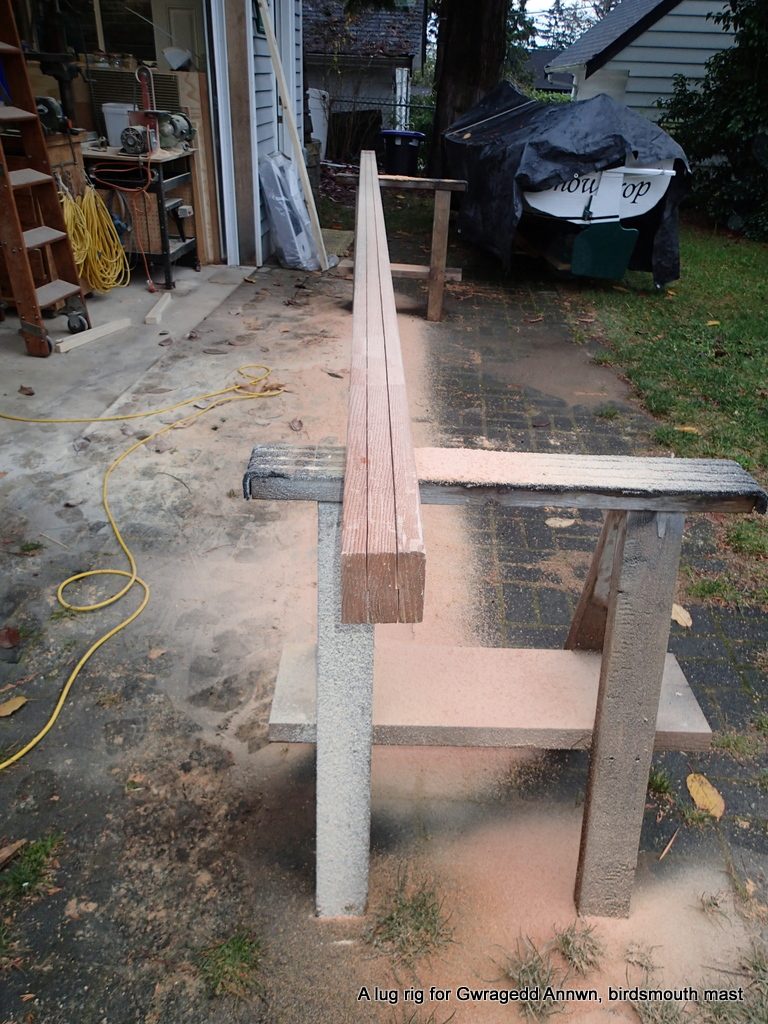
Despite trying my best to set up the saw correctly, the cuts do not quite line up….I split off the three boards, just over 1⅛” thick.The next step is to rip the boards into 9/16″ strips.
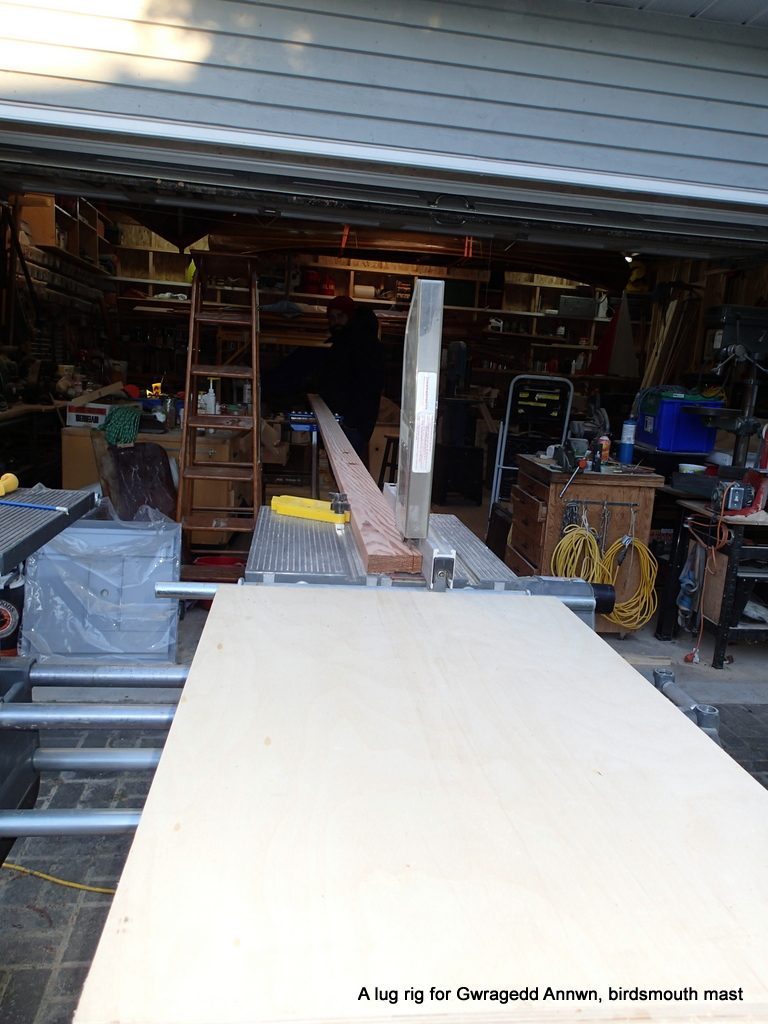
My son, Paul (of Paul’s Canoe) helps me rip the strips. I set up the Shopsmith to rip the boards into an even number of equally sized strips.
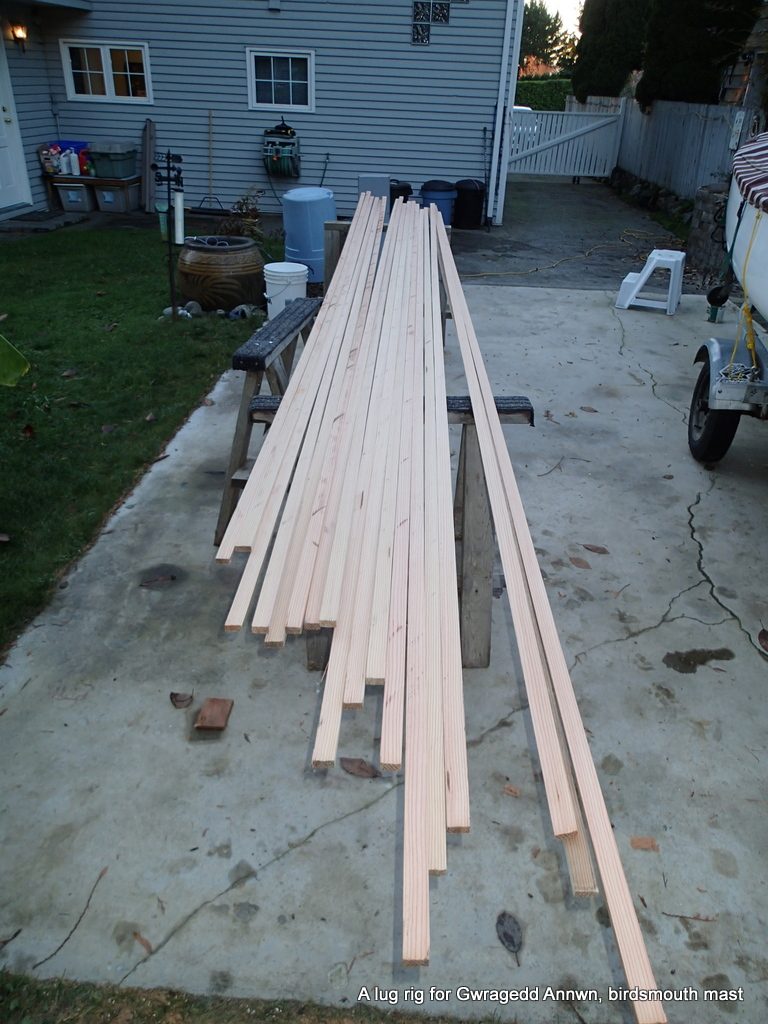
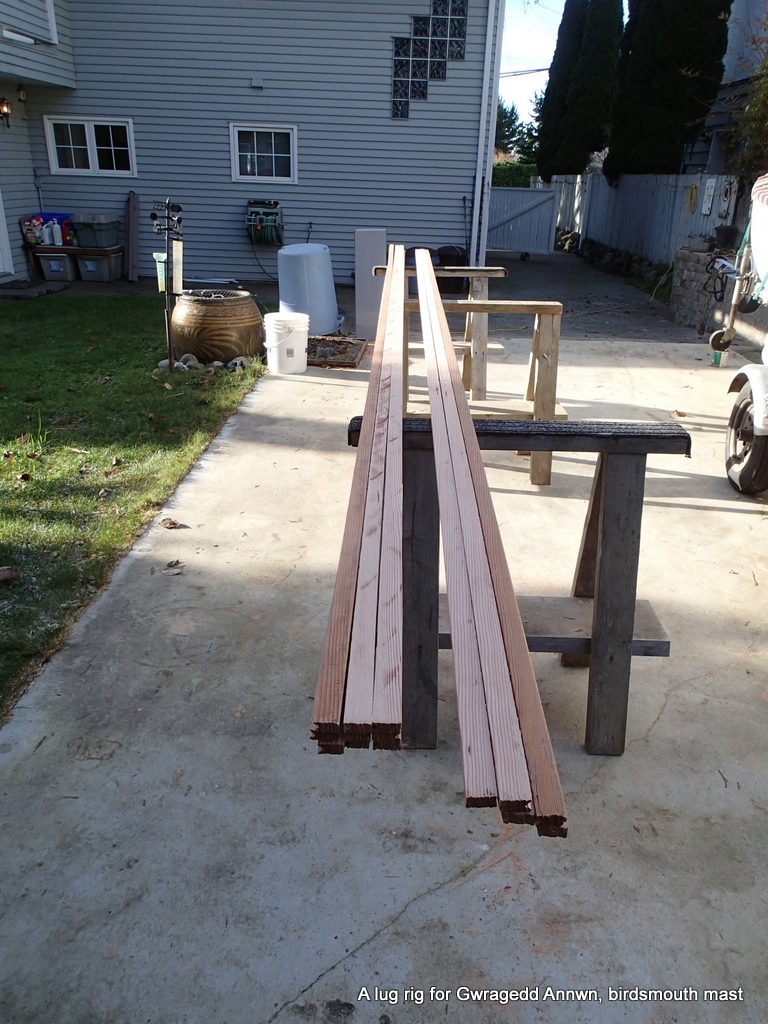
Paul in-feeds the planks and I out-feed the strips. I end up with 15 equally sized strips and 3 that are narrower…a slight mis-measurement.Fifteen good strips and three narrower ones.
Fortunately, I only need 8 strips for the birdsmouth mast.
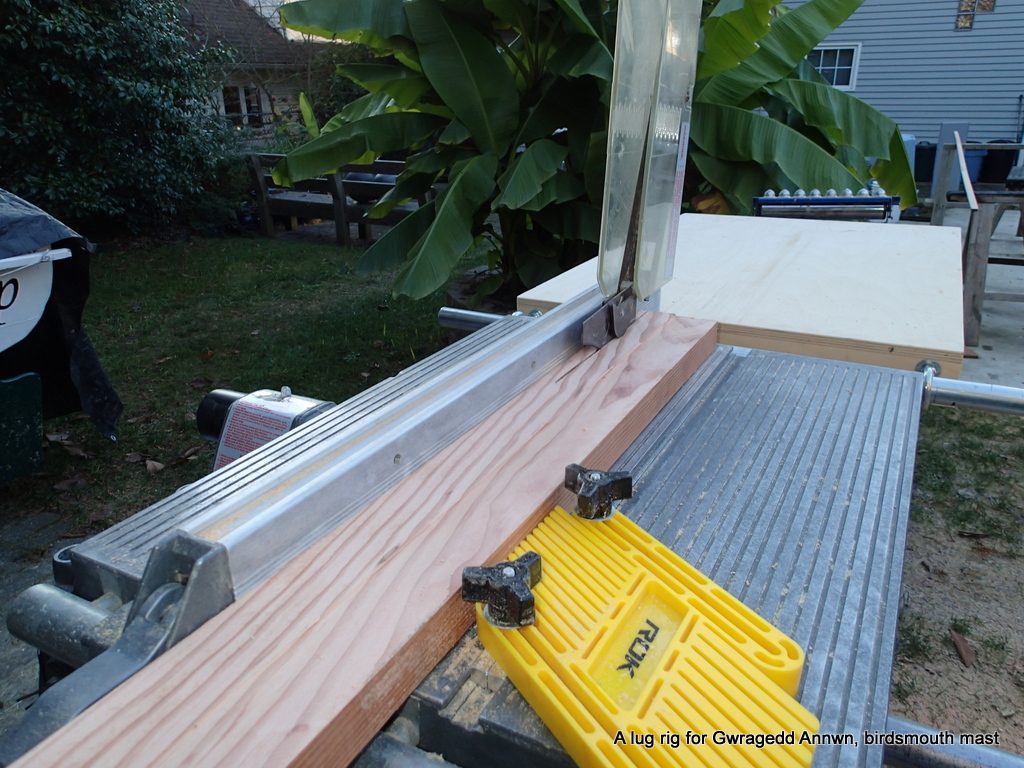
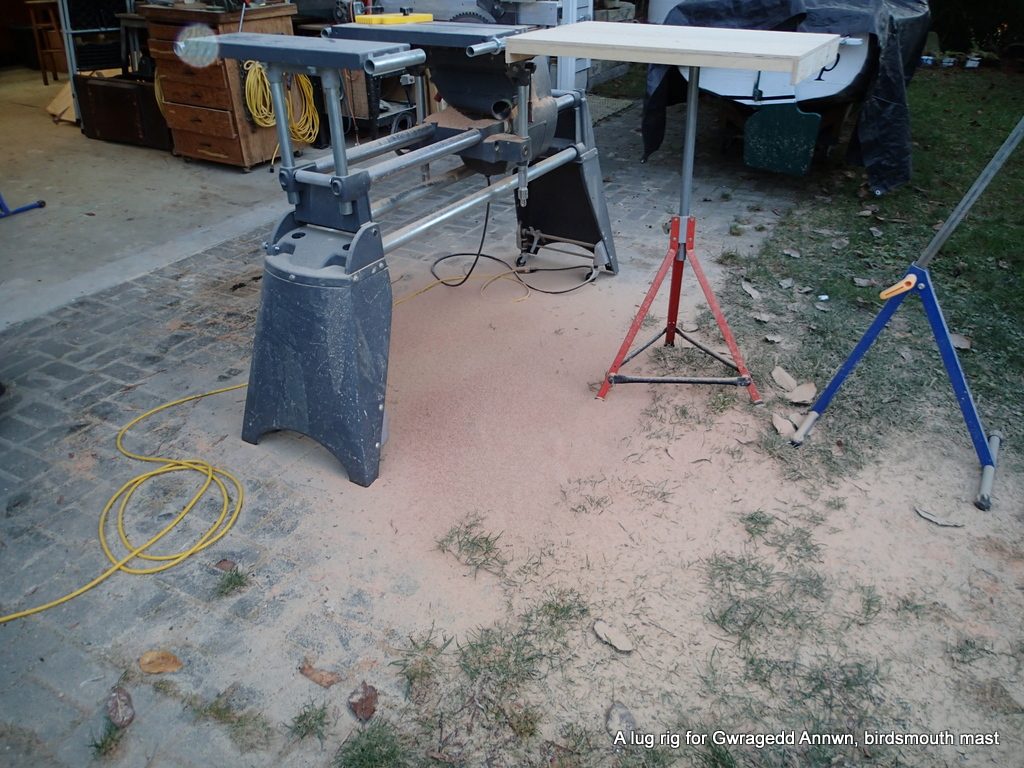
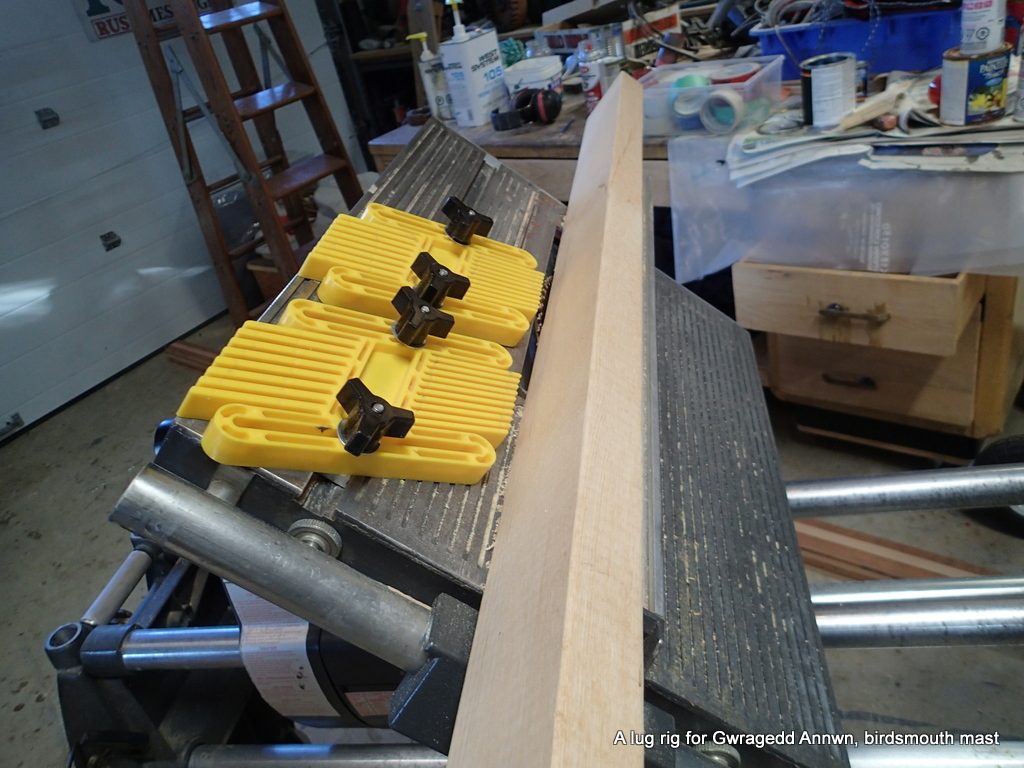
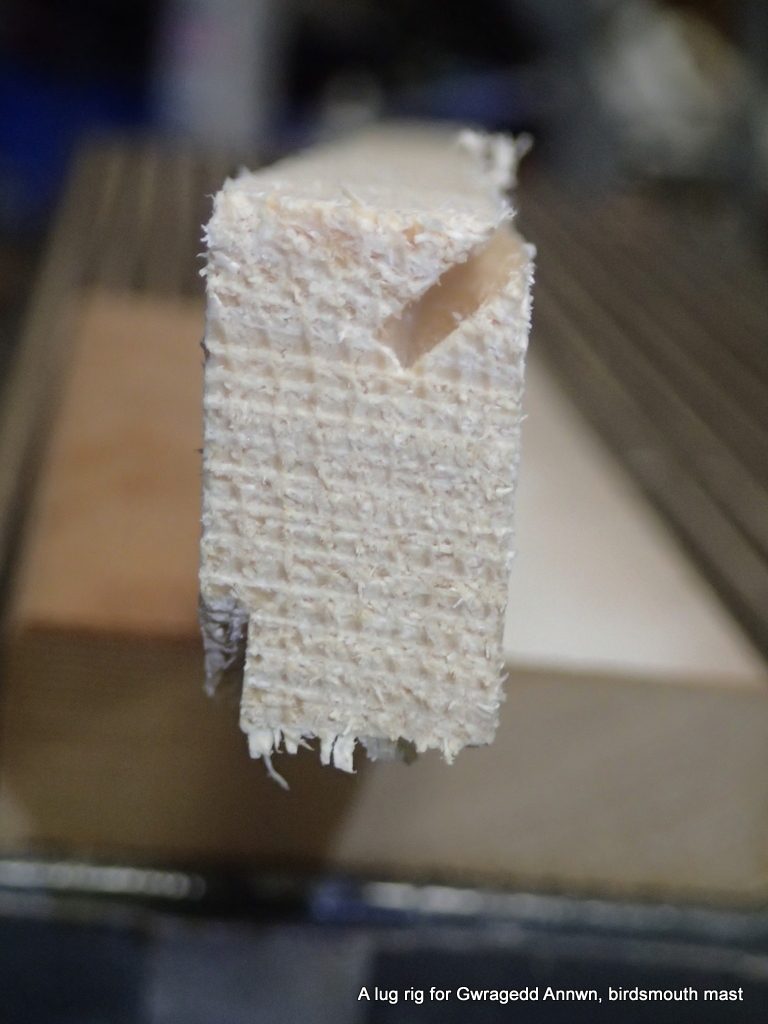
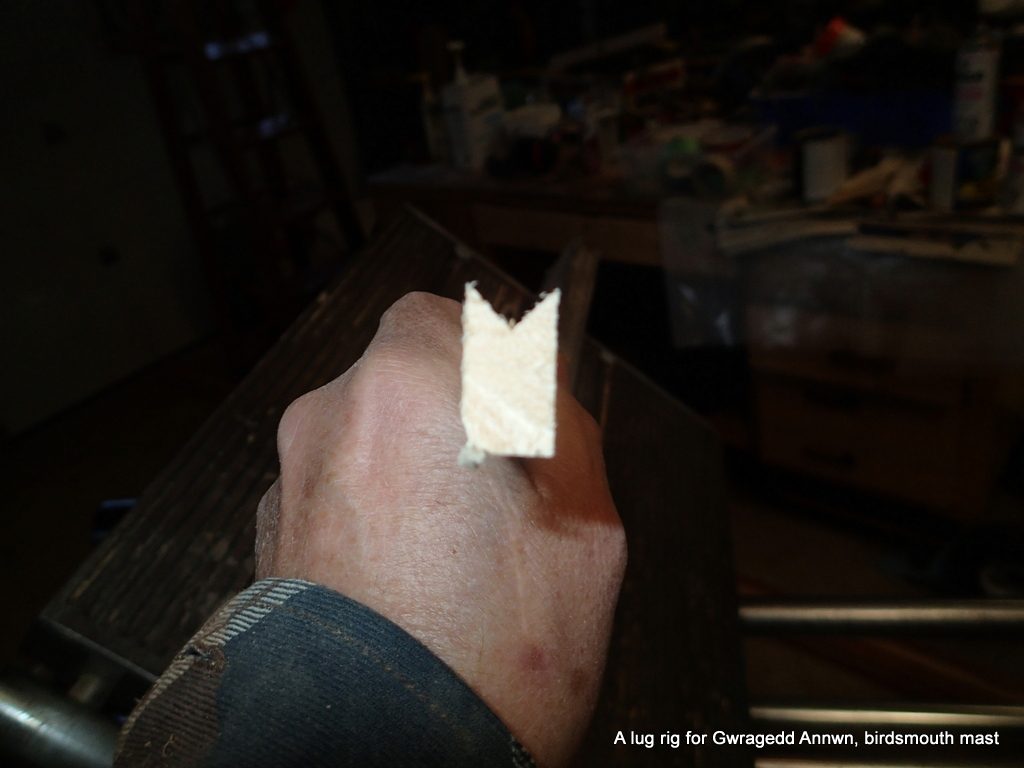
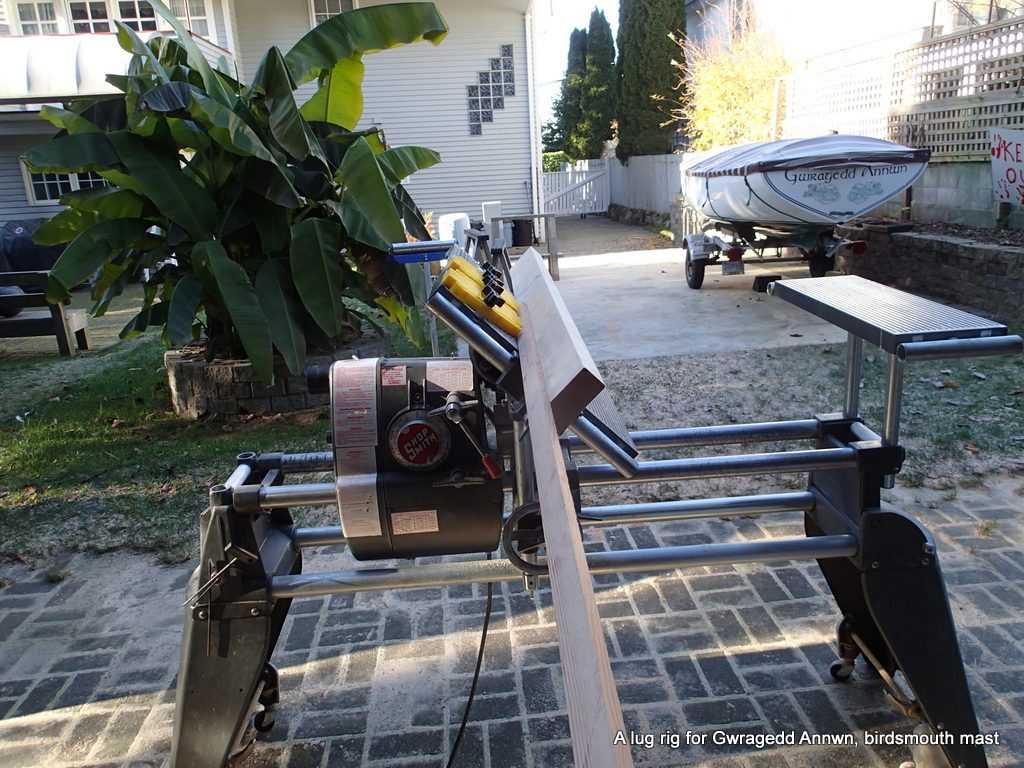
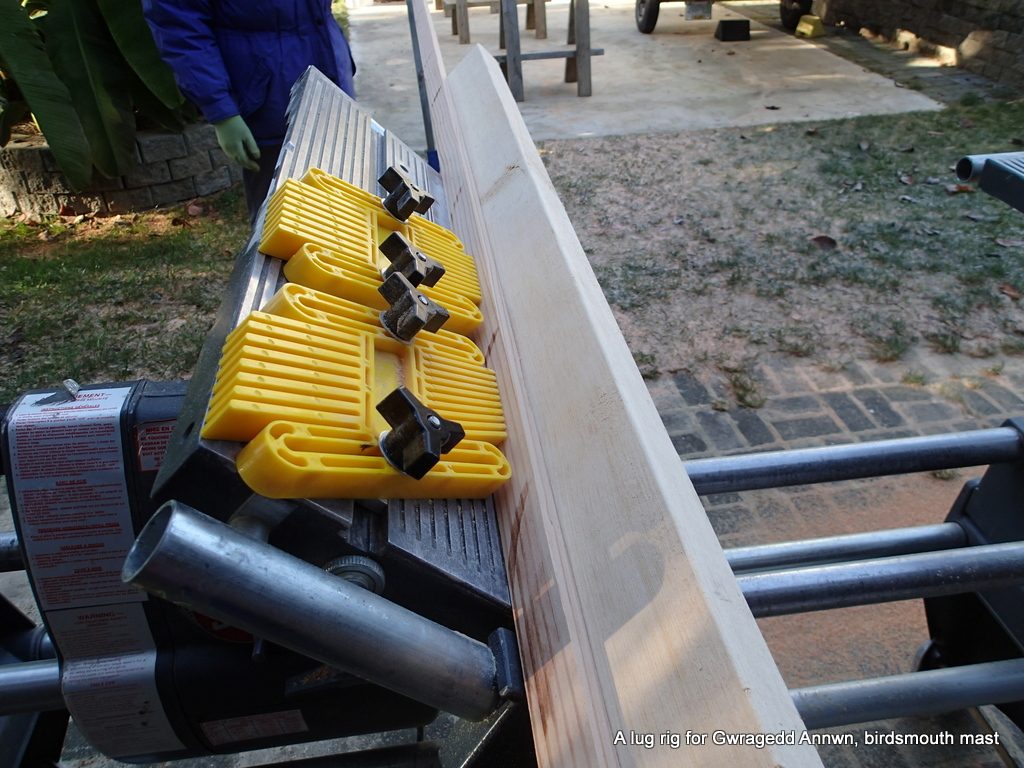
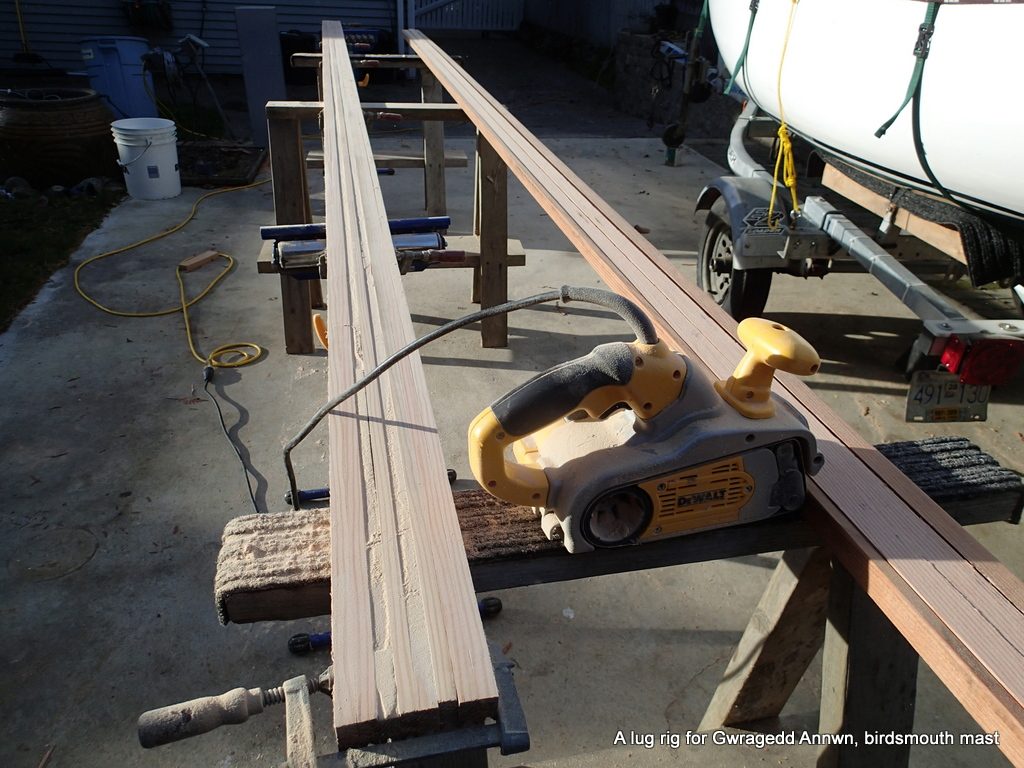
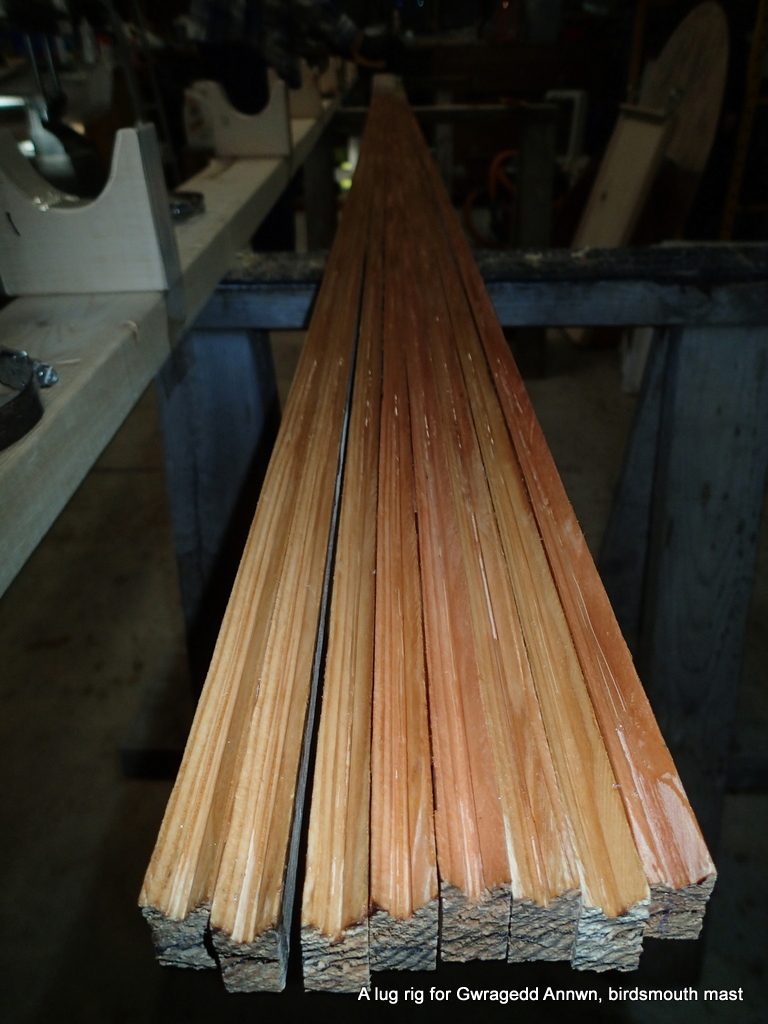
A lot of good, expensive fir turned into sawdust.The next step is to cut the birdsmouths. I set up the Shopsmith to cut a 45° bevel cut. I used a 2 by 4 to lengthen the fence.Test pass. The idea is to have the bevel cut just on the inside of the strip. This one is too far to the side.After a few test runs, I get the correct bevel and the Shopsmith is now set up.The good test cut.The Shopsmith set up. I have two support stands, an infeed one and an outfeed one. (in the picture, to the left of the finger boards)Picture of a strip before cutting. The finger boards hold the strip to the fence, and gravity helps hold the strip to the table. Infeed support in the background.Ripping a strip. The cut only goes ¼” into the strip. (outfeed assistant in the background)The strips are all cut, the nine best ones are on the left. I pick the best eight for the next step.I camp two sets of strips, birdsmouth side down, together to make the taper. I use a hand-held planer, taking off 1/16″ with each pass. I mark a line at 1′, 2′, 4′, 6′ 8′ 10′ & 12′ from the top of the mast. I then mark 6″, 12″ and 18″ from the bottom. I start at the 1′ mark and plane to the top, then the 2′ mark, then the 4′ etc. and do the same from the bottom. I then resort the strips, clamping the eight strips together and using my belt sander, even out all the strips so they are the same. I just have to keep the sander level.
I end up with a ⅜+” taper, from about 2½” to 2+”.
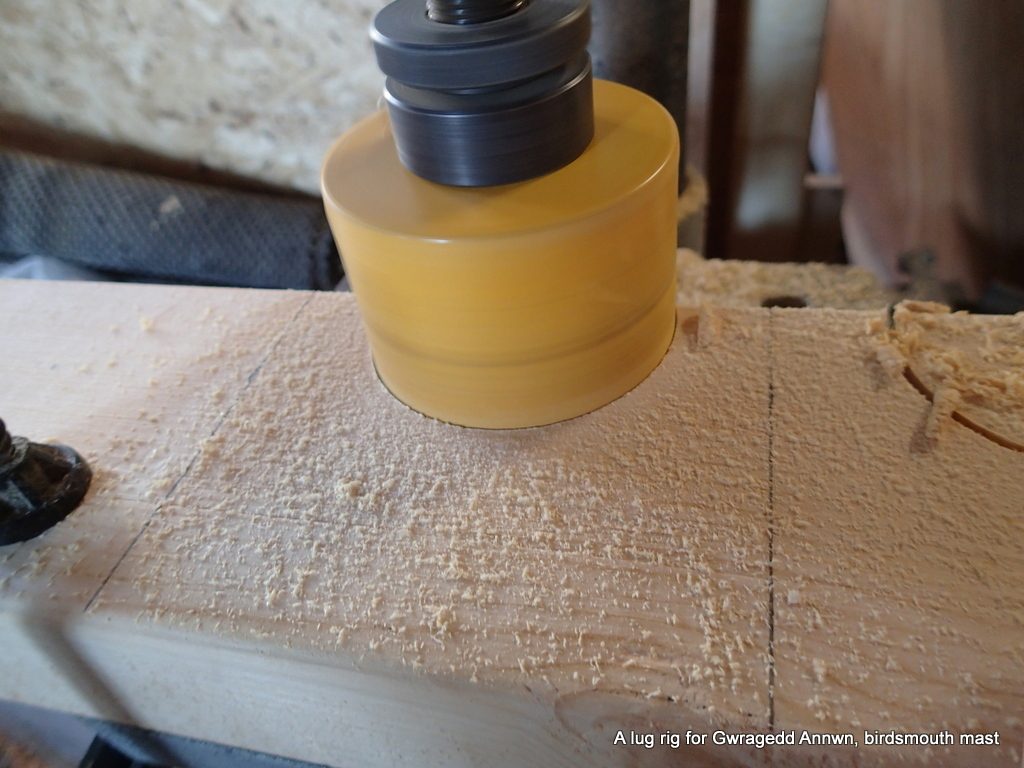
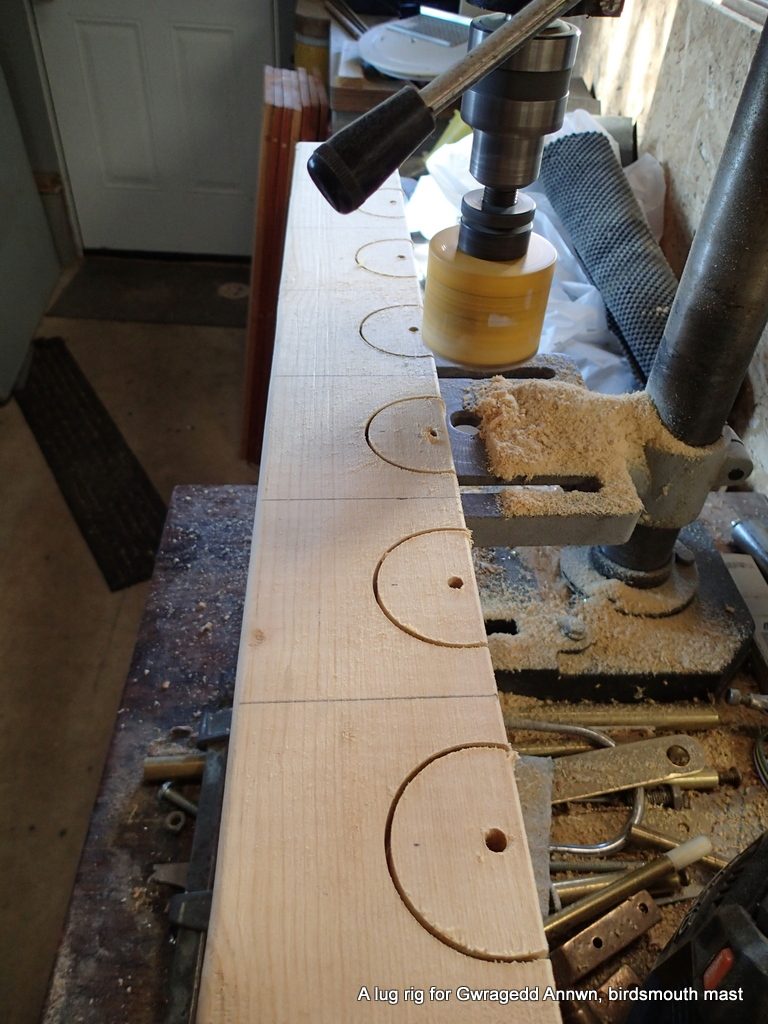
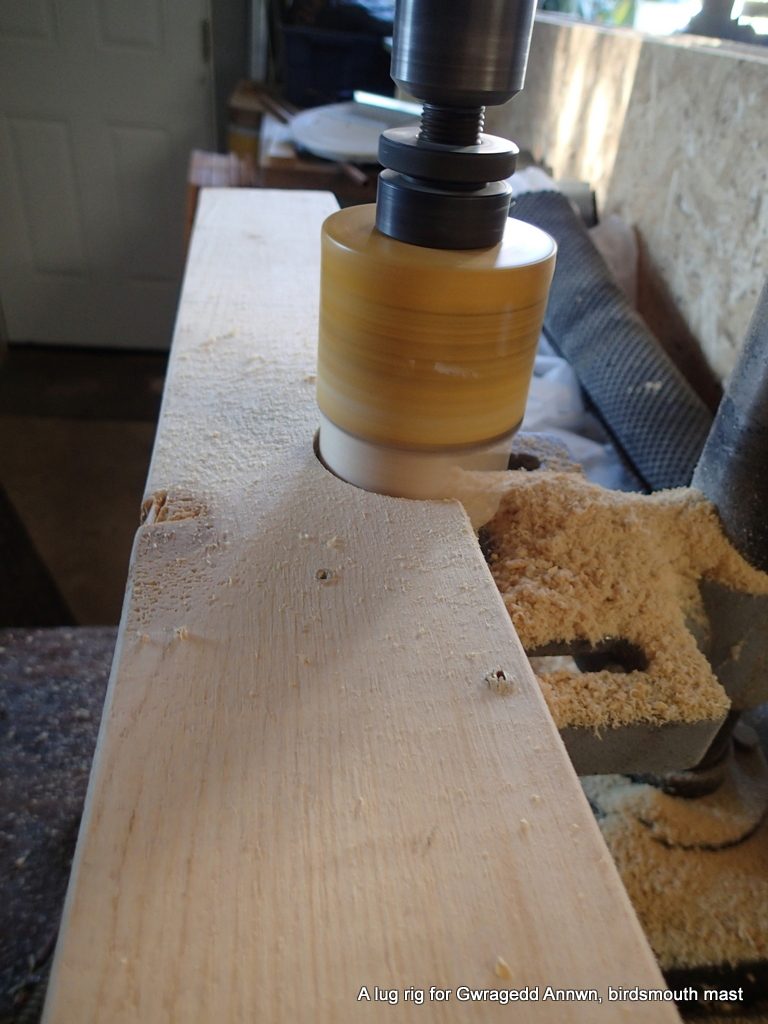
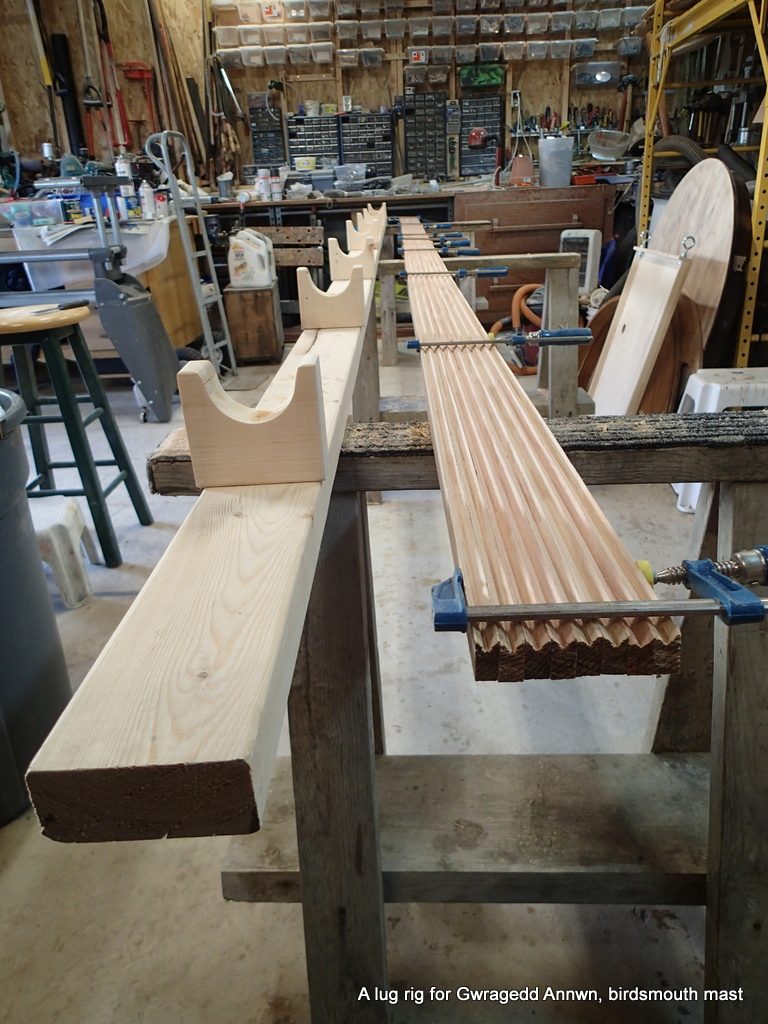
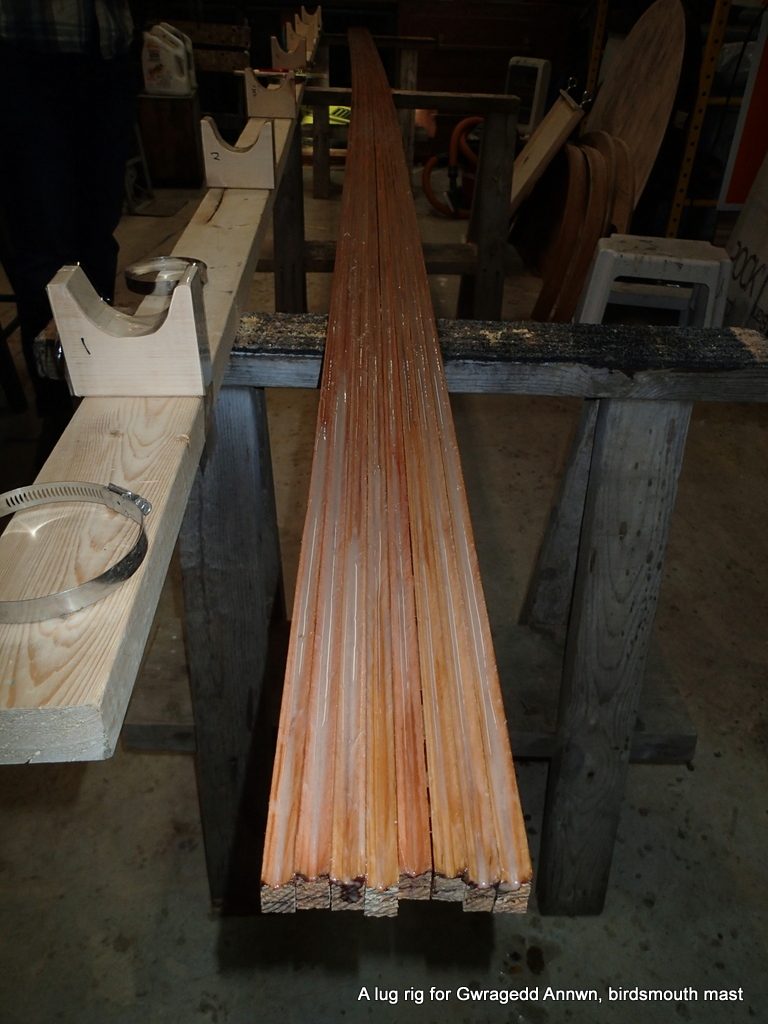
Strips tapered and sanded to be the same.The next step is to make a mast form. I mark out 7 mast mold stations in a 2 by 4 and cut them out using my drill press with a hole saw.Half way there.After I cut out all of the centres I will cut out each formSanding the cutouts in each formMy form is on three sawhorses, it consists of two 2 by 4s.
A little string (not shown) aligns the forms on the 2 by 4s.
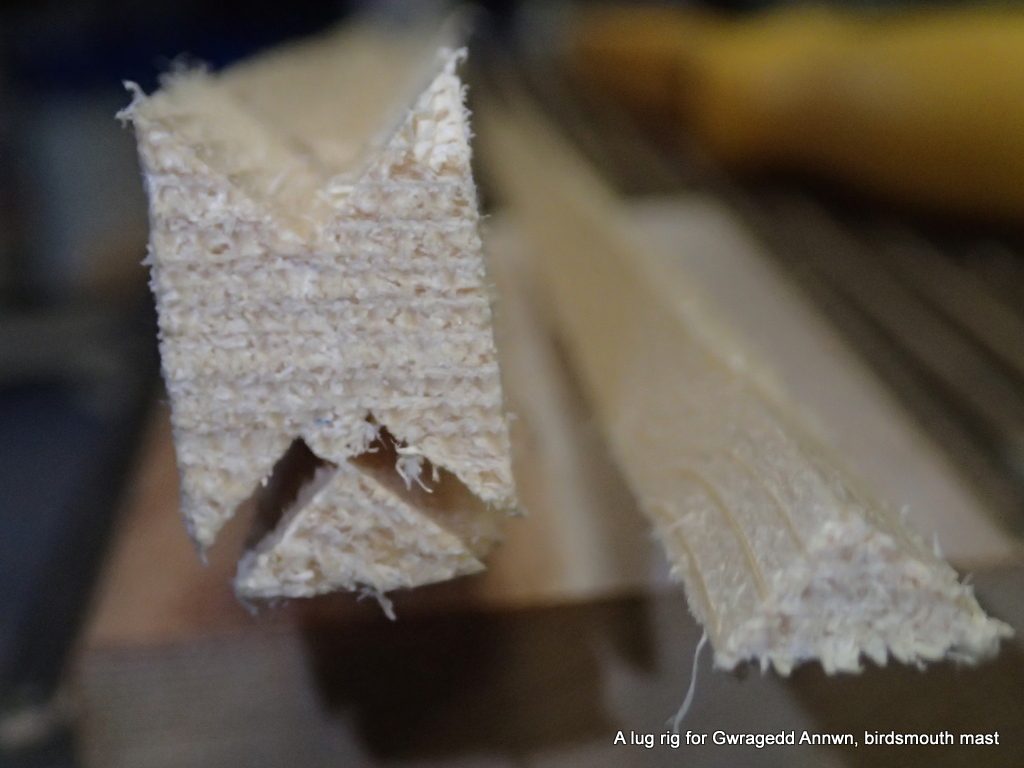
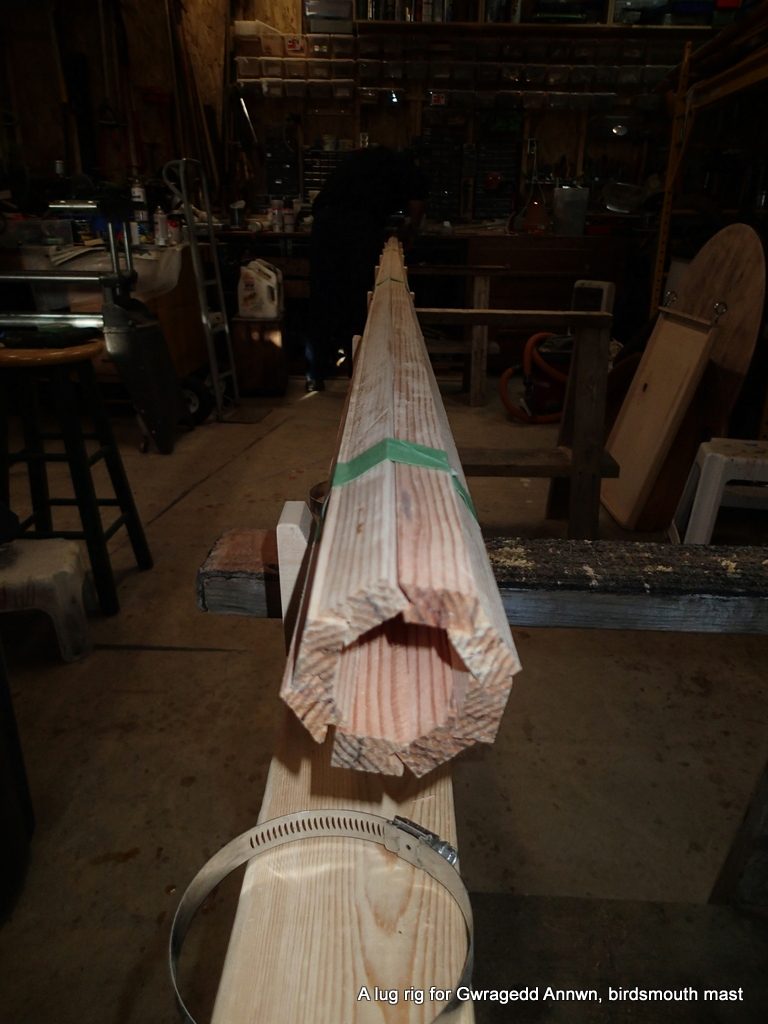
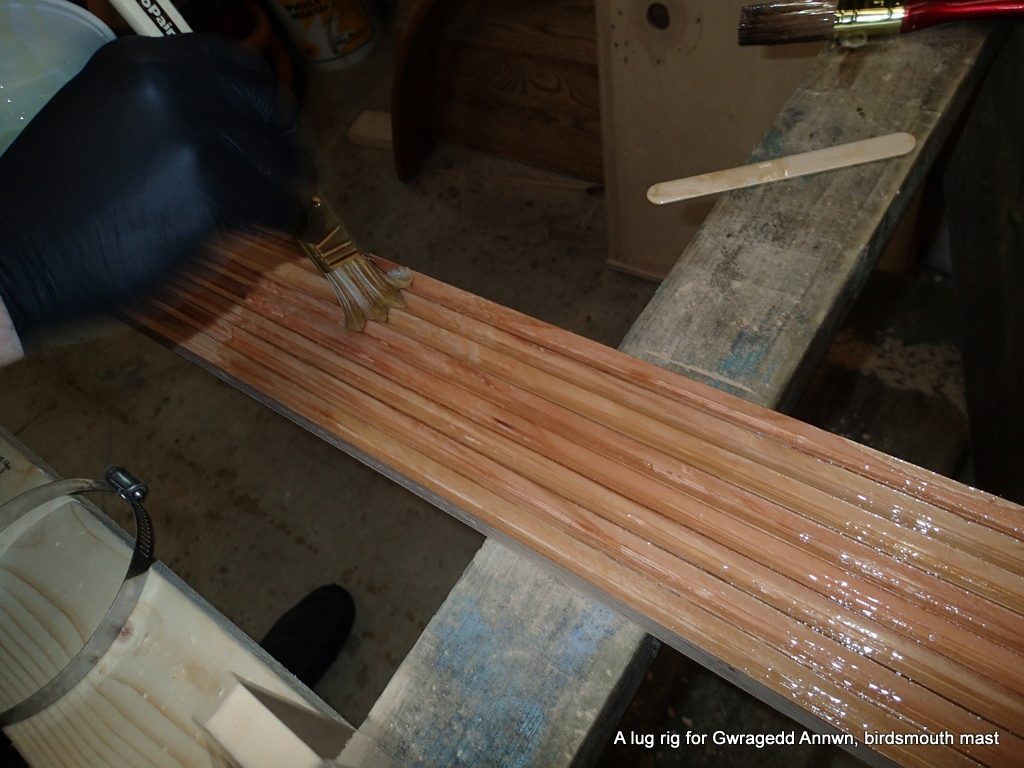
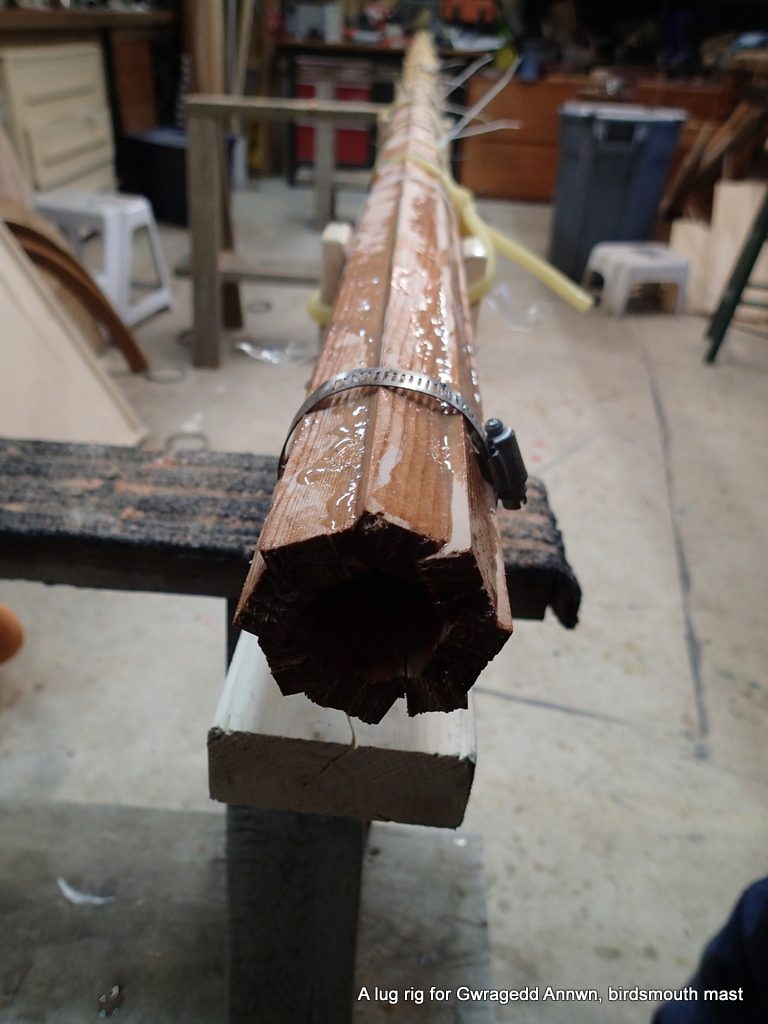
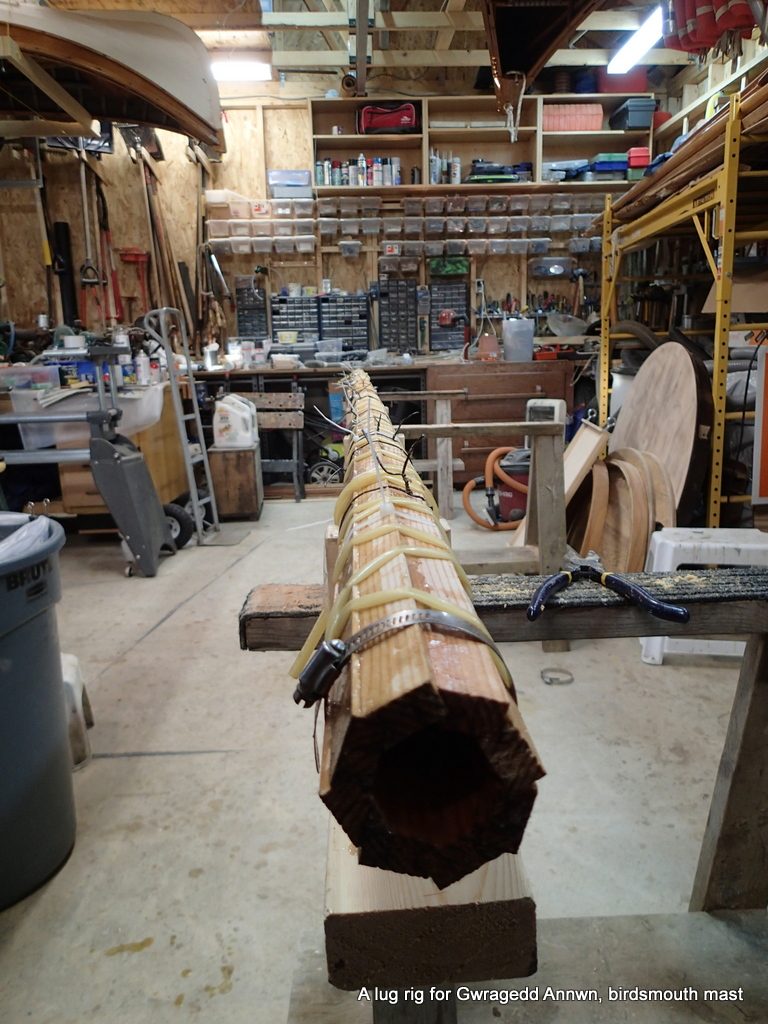
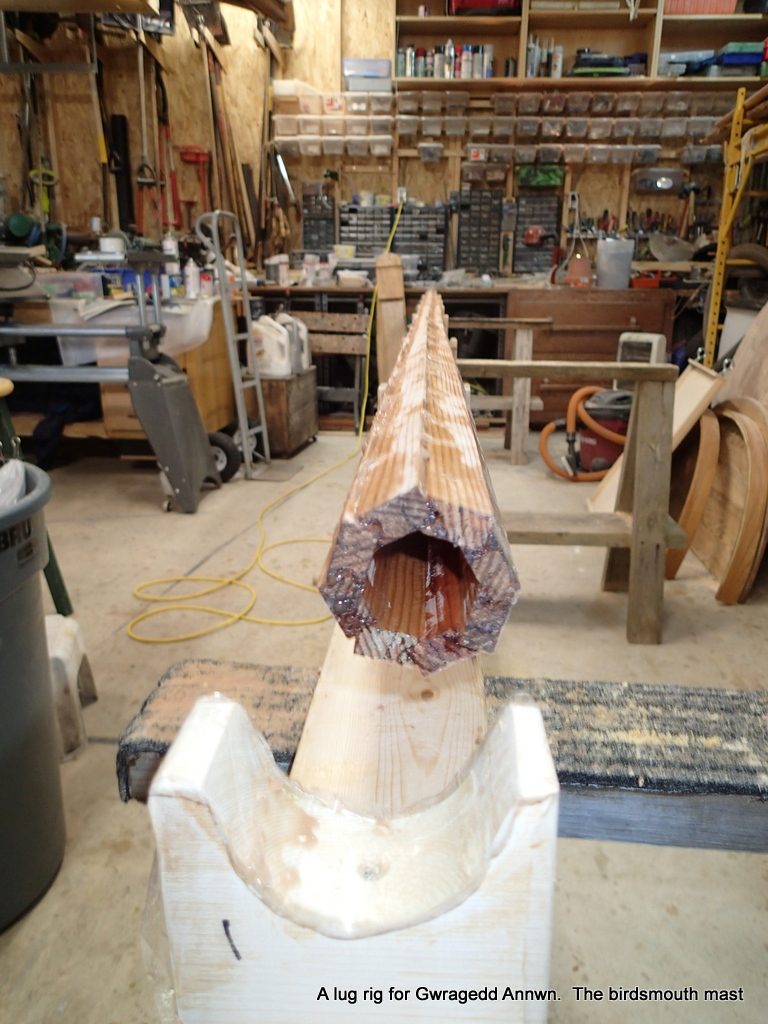
The mast form and the birdsmouth strips. A little packing tape on the forms and it will be ready for glueing.As always, a test fit to make sure that everything works. I can pick the mast up in the middle even though it is only held together by four strips of masking tape.Ready to go, I will use hose clamps to hold the mast strips together. I also have surgical tubing, zap-straps, rebar tying wire and rubber bands to clamp the birdsmouth strips together.I mix up the cold-cure epoxy glue (two hundred stirs) and start brushing it onto the strips.
The shop temperature is about 10° Celsius. That is why I am using Cold-Cure Epoxy. I will have a lot of working time at this temperature.
The first coat will be the “soak-in” coat. I will then thicken the next coat to help keep it in the joints and not leak out when the strips are clamped up.The thickened epoxy glue looks greyish in this photo. We used Popsicle sticks to spread the thickened epoxy, insuring that the epoxy would stay in the bottom of the birdsmouth “V”. Still have a little “spreading out” to do here.Hose clamps, surgical tubing and zap straps. The build went very easily. Paul and I put the first strip in the form, then placed the second strip into the glued-up birdsmouth “V” grove. The epoxy held the strip in place…took about 20 seconds to do each strip. the final two strips were the hardest. I used a box-cutter knife along the joint to align the strip and then locked them into place. Paul held the mast together as I put a hose clamp on each end, using a cordless screwdriver with a hex-nut bit to tighten the hose clamps. I then went back along the mast, evenly putting on seven hose clamps. Paul and I aligned the mast, trying to get is to be straight. The best way was to look along the top along a strip line. We adjusted the mast by tapping it with a dead-blow hammer and adjusting the sawhorses. We then wrapped it with surgical tubing, clamped it with zap straps. Where ever there was not good “squeeze-out” I used the rebar tie-wire to pull the strips together.
I ended up with some sort of clamp every 4″ or so.
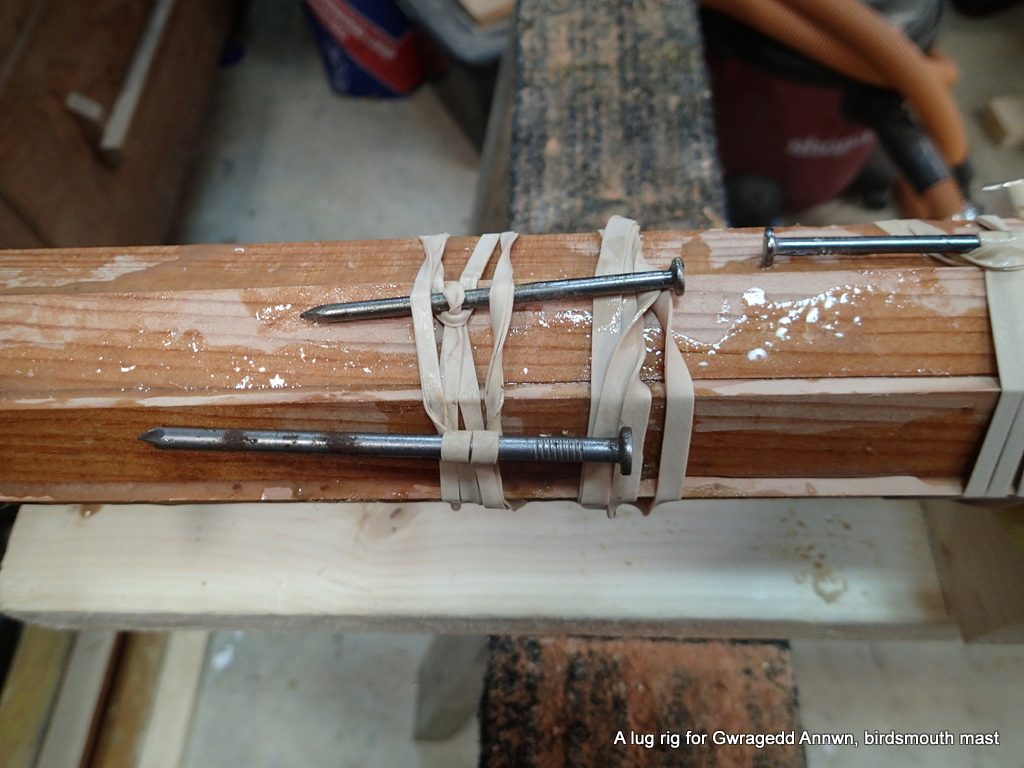
Thick rubber bands and nails make good make-shift clamps too. Good squeeze out on the left, not good enough between the two sets of rubber band clamps. A good place for the tie wire.
I turn on the shop heater and warm up the mast. The overnight temperature is predicted to be -2° Celsius. The shop will stay at about 10° Celsius tonight.
The next morning, the glue is no-longer sticky to the touch but still soft.
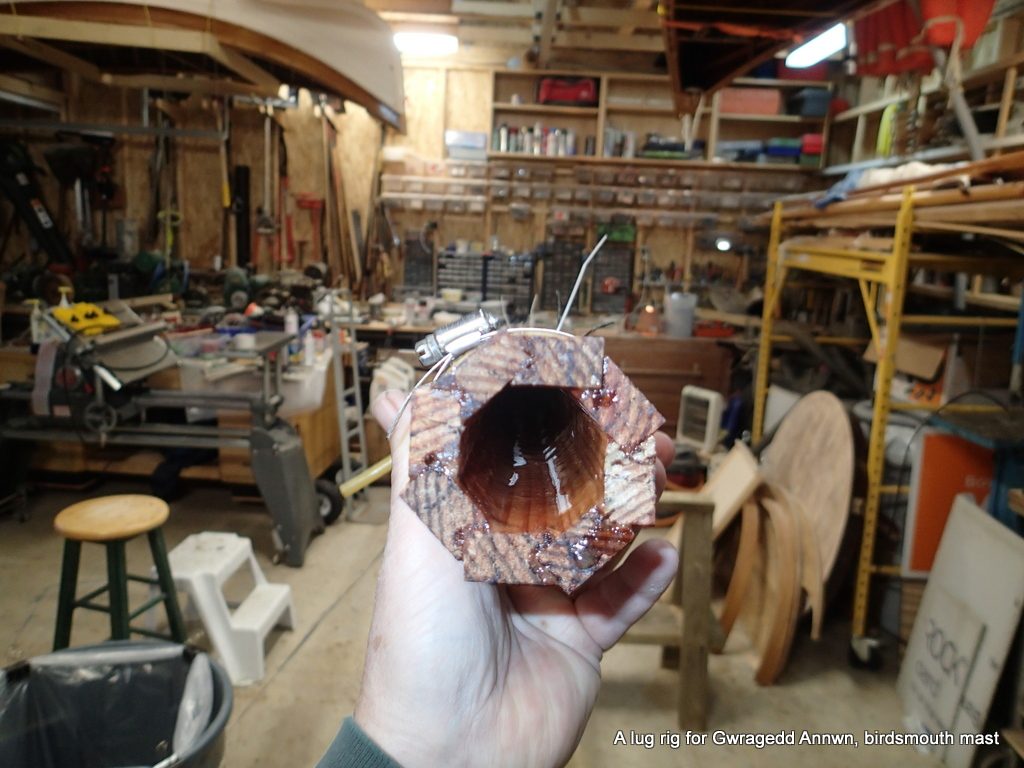
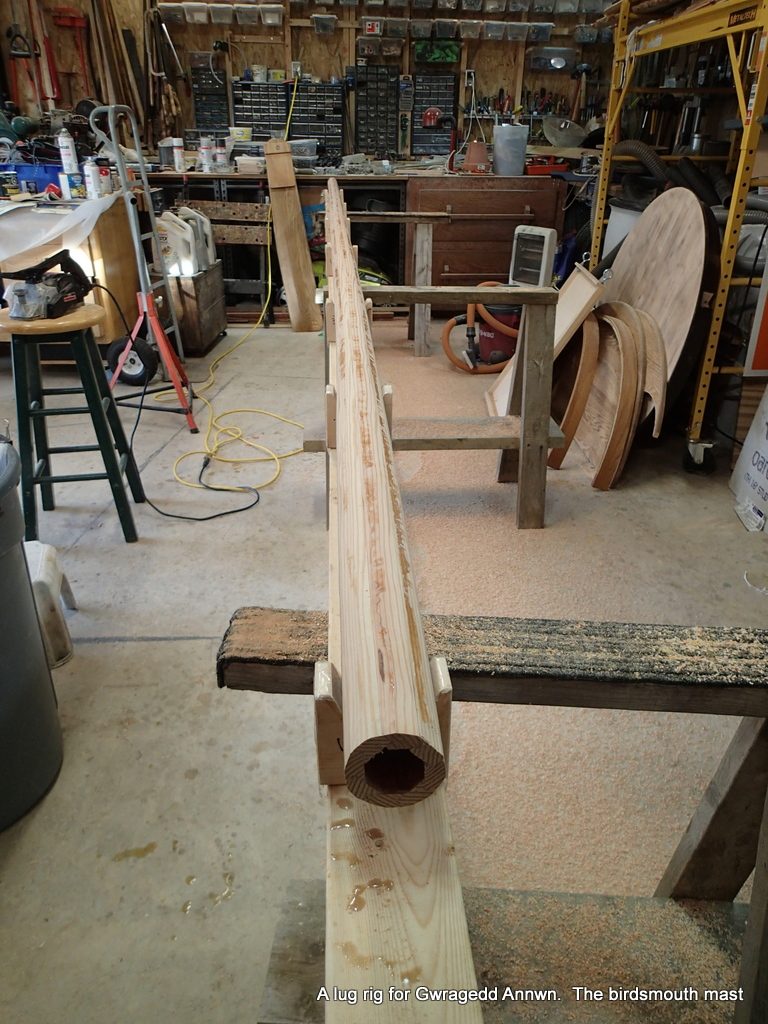
The mast looks pretty straight. I should be able to fair the mast to be straight to the eye. I think the glue-up has been a success. The next day I strip off all of the clamps and get the mast ready for final shaping.
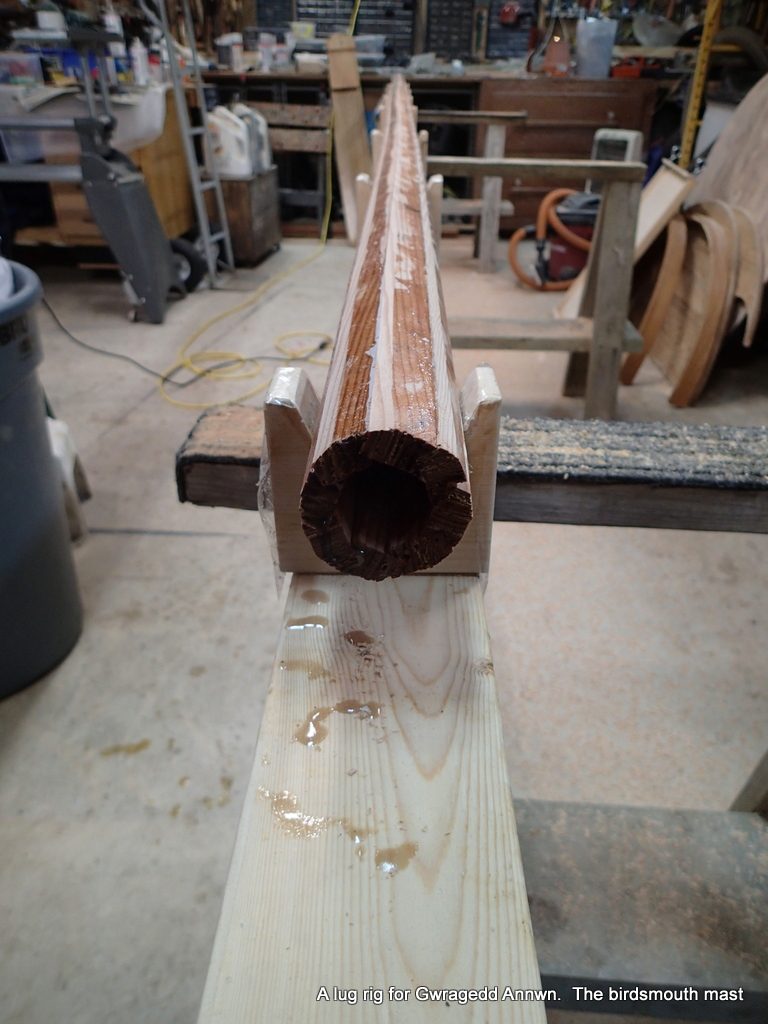
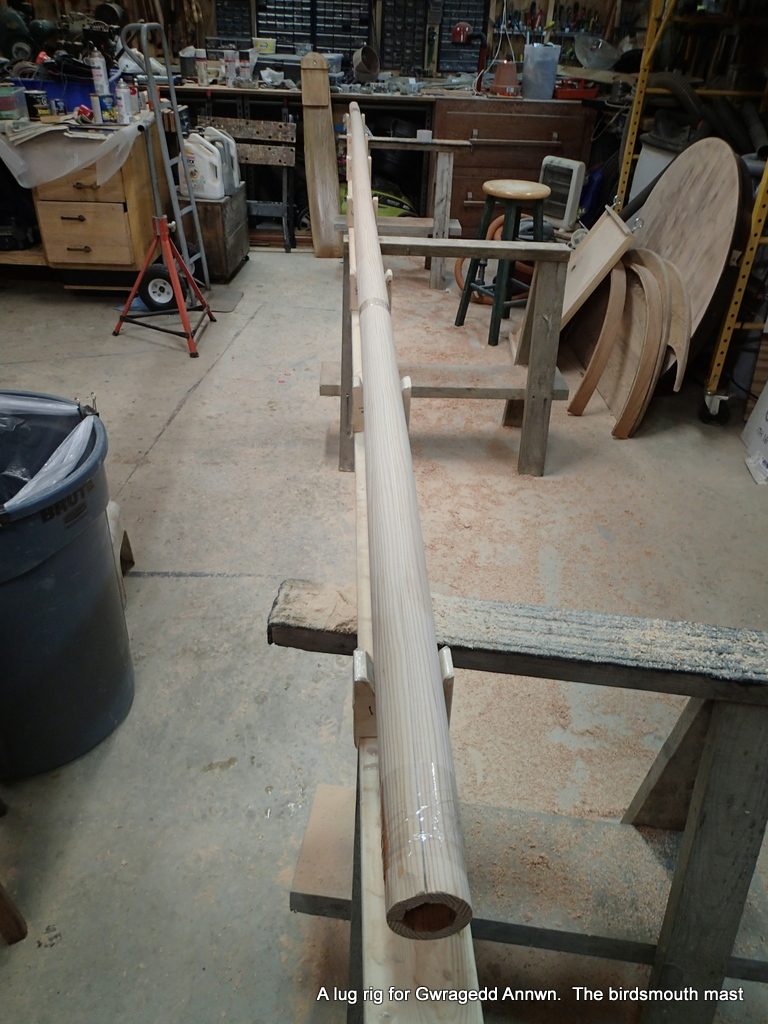
The birdsmouth mast stripped and ready for final finishing…I will let the epoxy cure for another few days.
I use my shop scale to weigh the mast…a little less than 14lbs!
The weather is predicted to warm up. It will get to 8°C today and will stay about that warm overnight. I will continue to work on the mast in a few days.
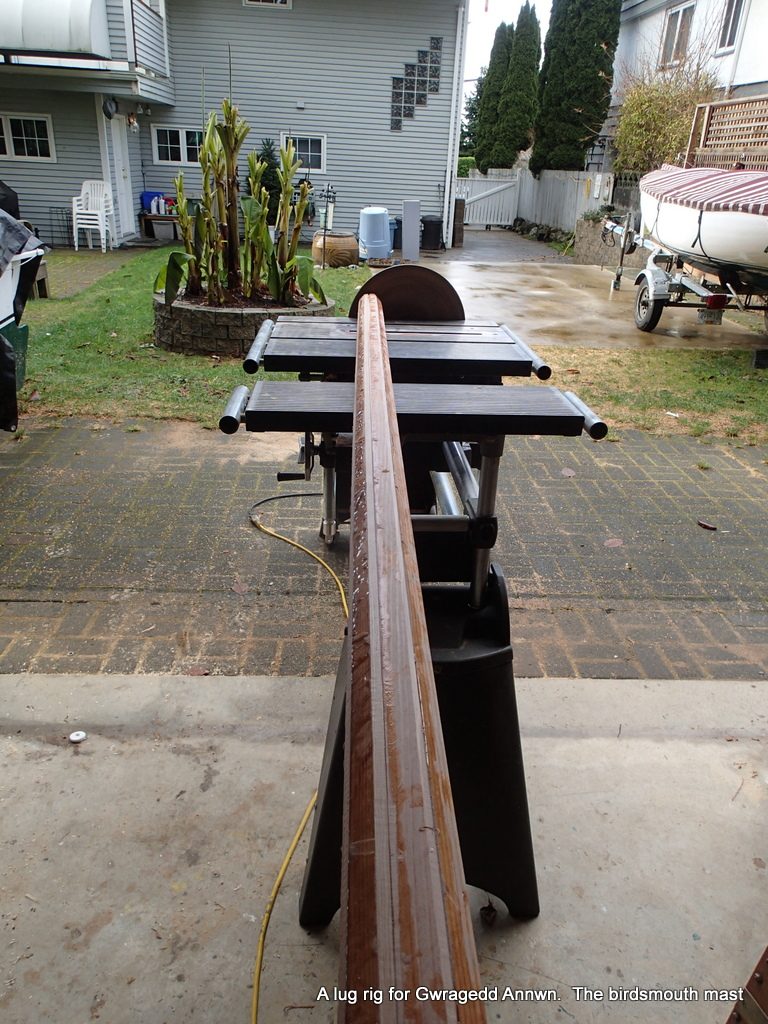
A few days have passed and the epoxy is cured enough to work with. The first step is to knock off the biggest lumps so I can use my power planer.
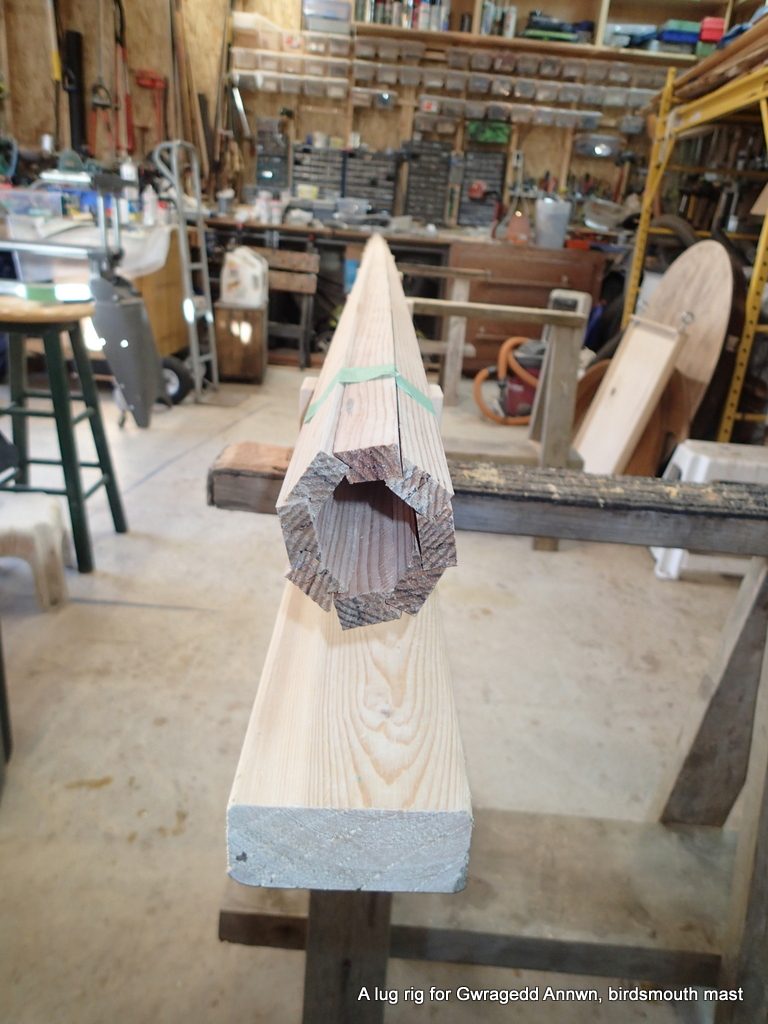
Ready for 8 then 16 then 32 then round!!!!
The mast blank seems to have a few “bends” in it. I will see what they look like after I begin to plane off the sharp edges.
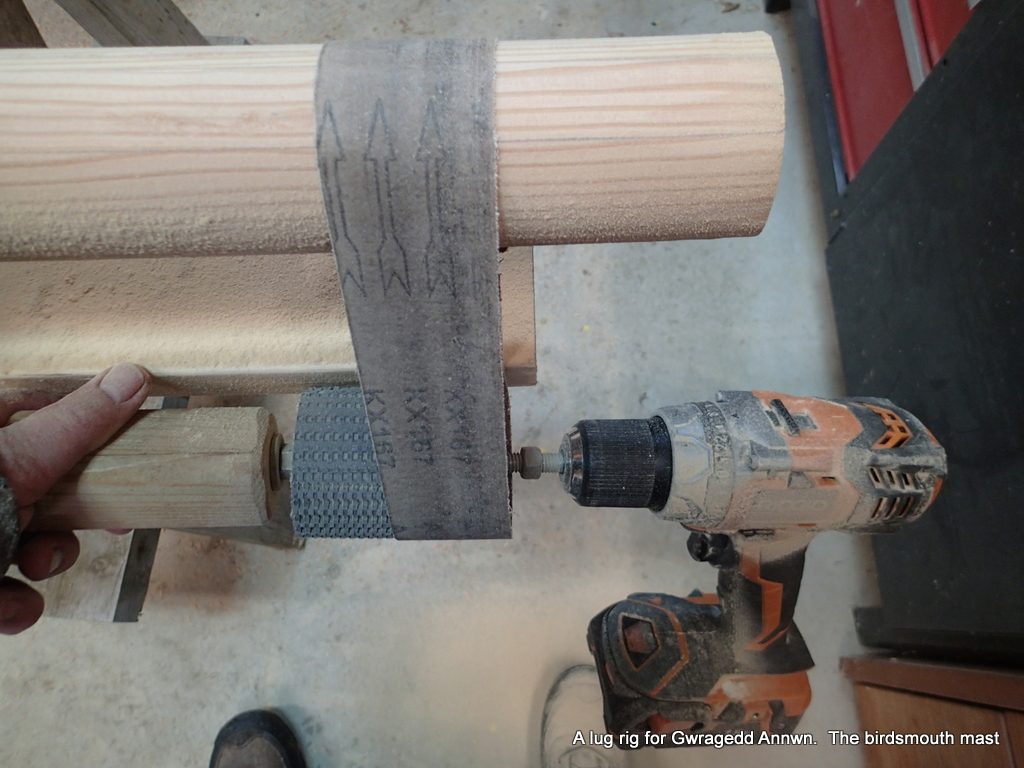
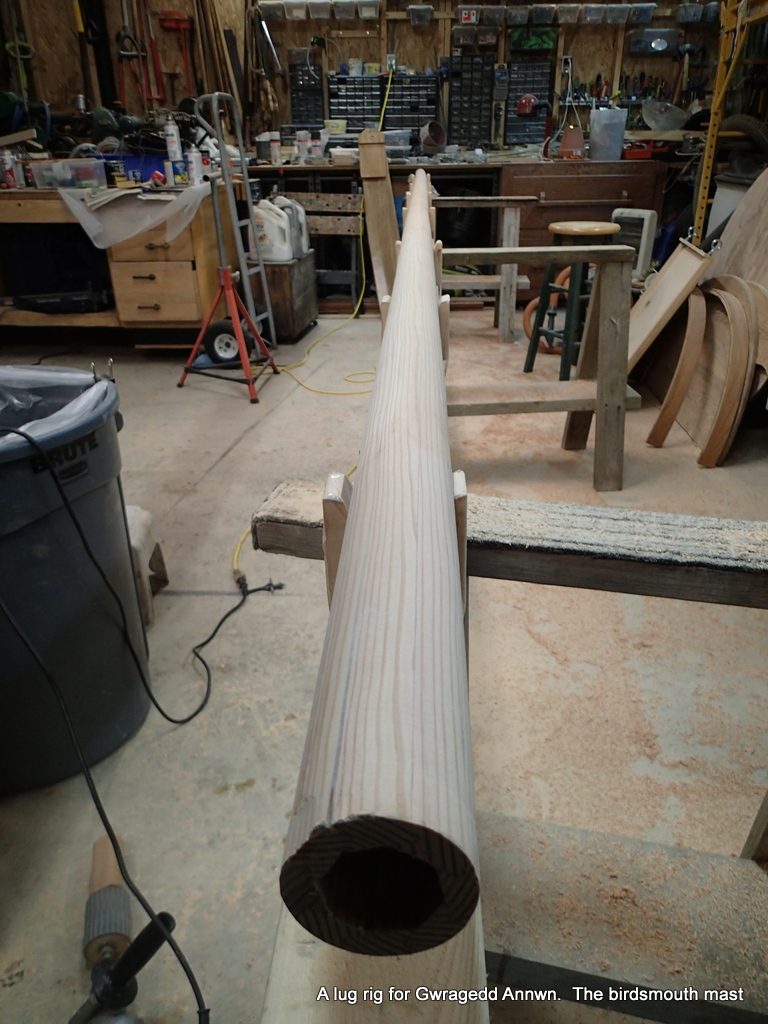
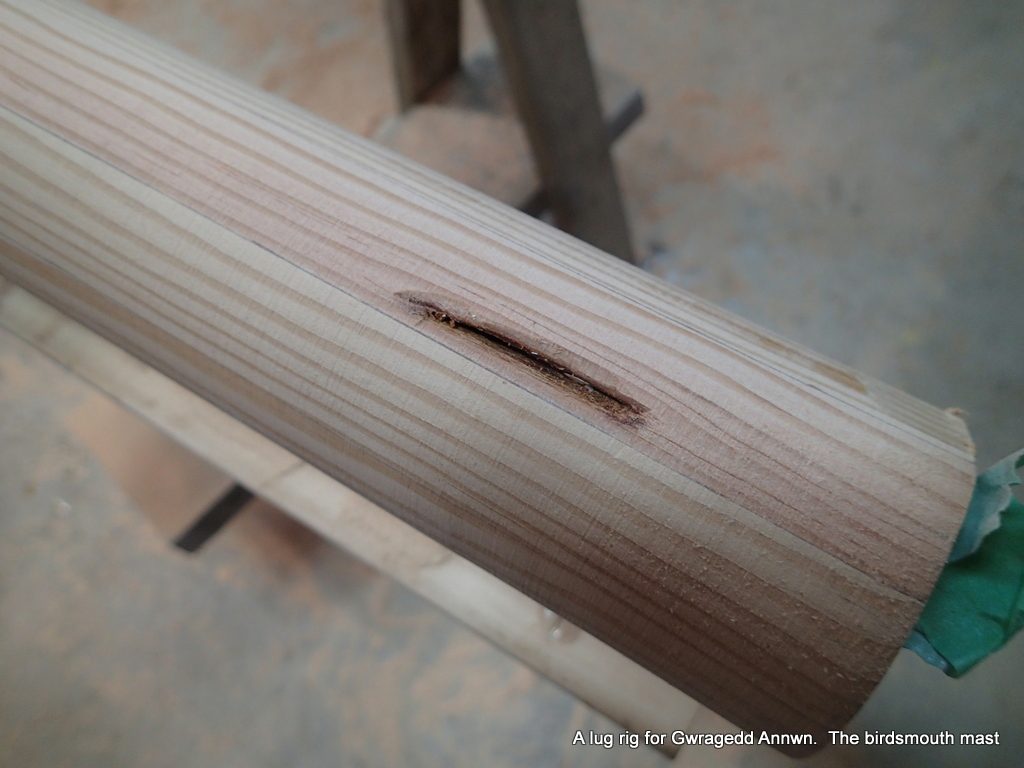
I power plane off the sharp edges, I take four or five runs with the power planer, making the blank eight sided. I use the 12″ disk sander on my Shopsmith to sand smooth the top and bottom of the mast blank. I can make registration marks on the ends to control the rounding of the mast blank.I have planed off all the “sharp” corners, this is now a 32 sided blank. The hand power planer is sitting on the stool on the left. Nice grain pattern at the base!I get out my old inside-out belt sander jig. I started out using the cordless drill but I soon ran out of battery power, so I finished up with my old ½” corded one.All of the sanding/shaping is done…there still seems to be a “twist” in the top of the mast. The base is at the bottom of the photo.There are a few small “flaws” in the mast… I will cut them out and fill with epoxy & sanding dust.Flaws filled and covered with packing tape so the epoxy filler does not leak out.
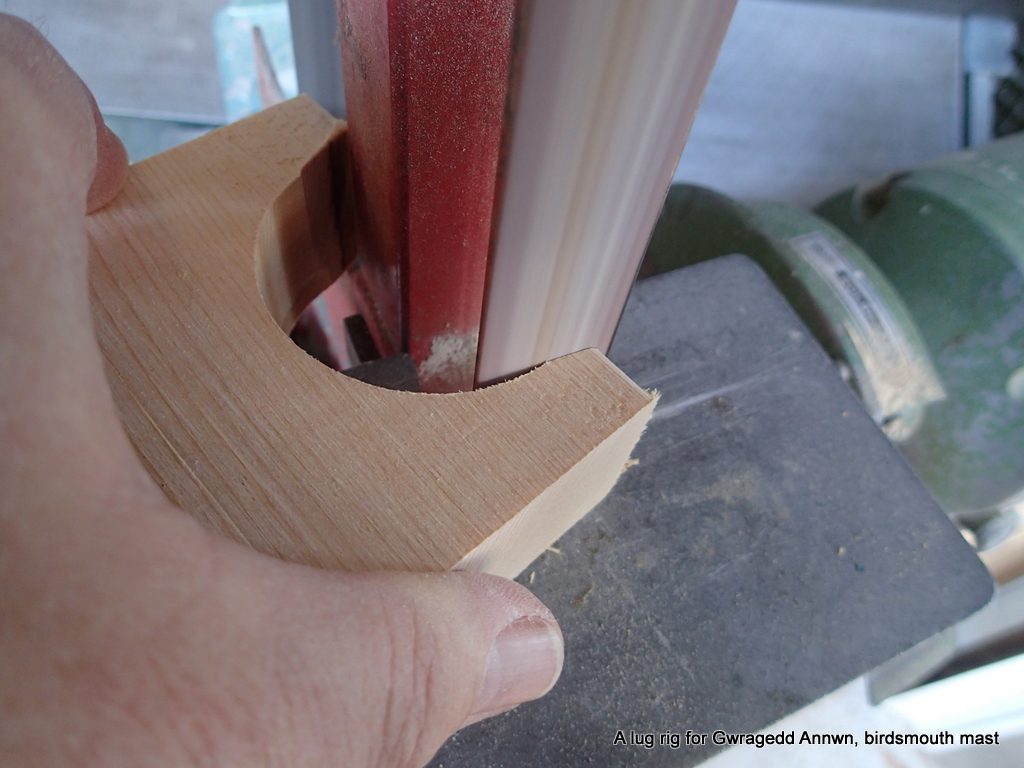
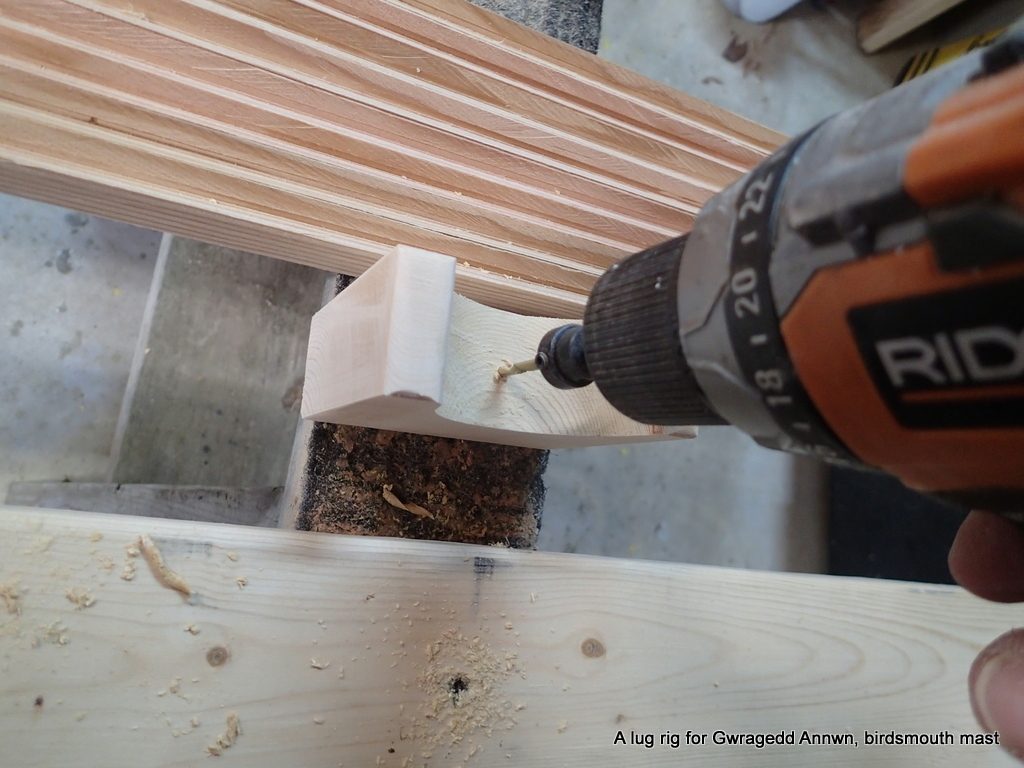
I will again let the epoxy cure for a few days. Next step will be to sand, this time with the grain to get the mast smooth for varnishing. I will then make a plug for the bottom and a masthead insert piece with a sheave in it, glue them in, let the epoxy cure. Then, more sanding.
The mast diameters have ended up being 2½” at the base, 2⅝” between 18″ and 24″ from the base and 2¼” at the top of the mast.