Paul and I have tapered the outside gunnels and now we are going to epoxy them on. The first step is to cut off the excess gunnel.

Cutting off the excess.
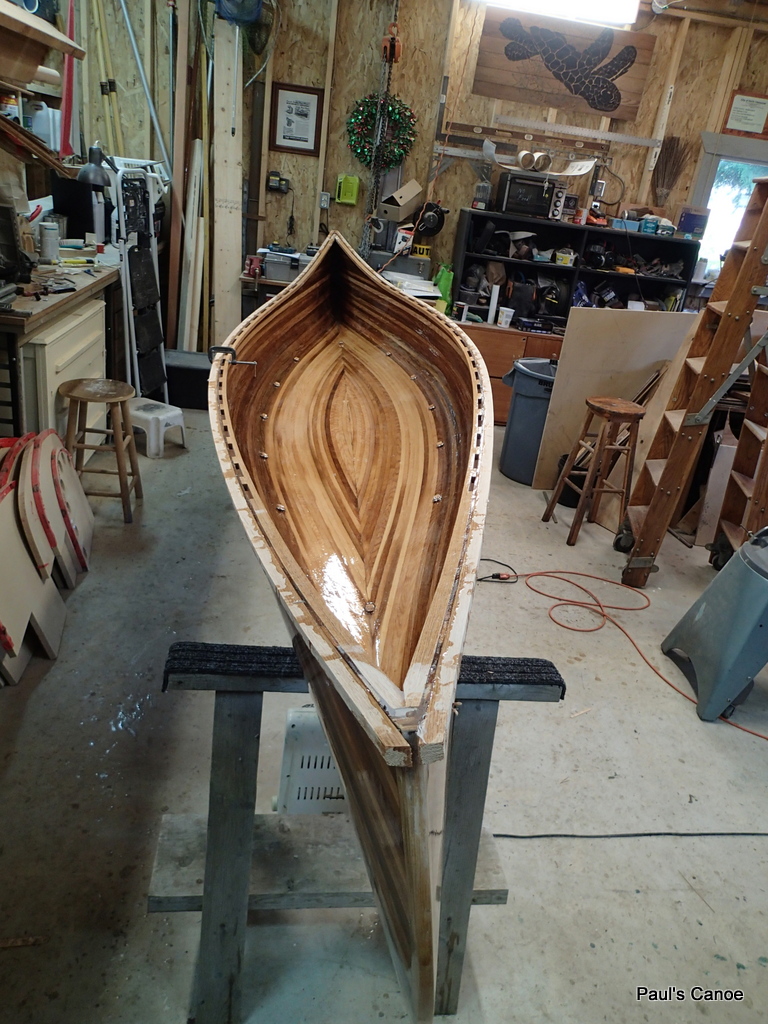
Having cut off the excess, we dry fit the gunnels and use a clamping jig to keep the gunnels aligned at the stems.
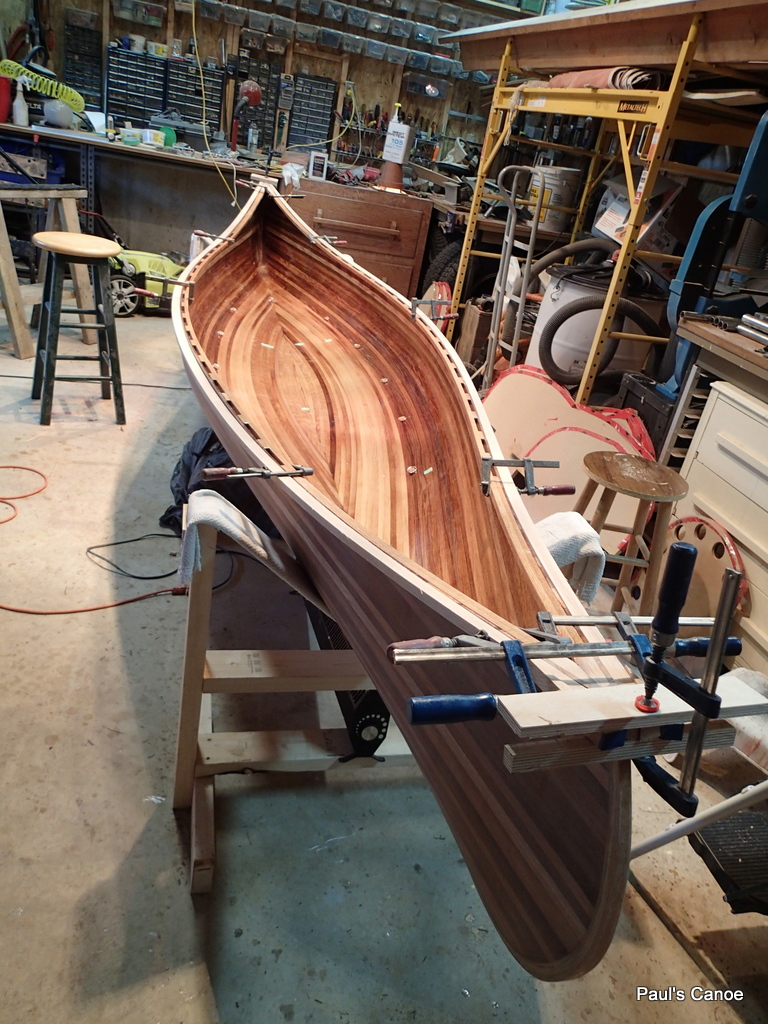
Dry fit of the gunnels. I draw on “witness marks” for easier assembly after epoxying.
I have cut two wedges to be able to clamp the gunnels tight to the stem. A third clamp keeps the gunnels on the same level as the top of the stem. I will use wax paper to keep the clamping blocks from sticking.
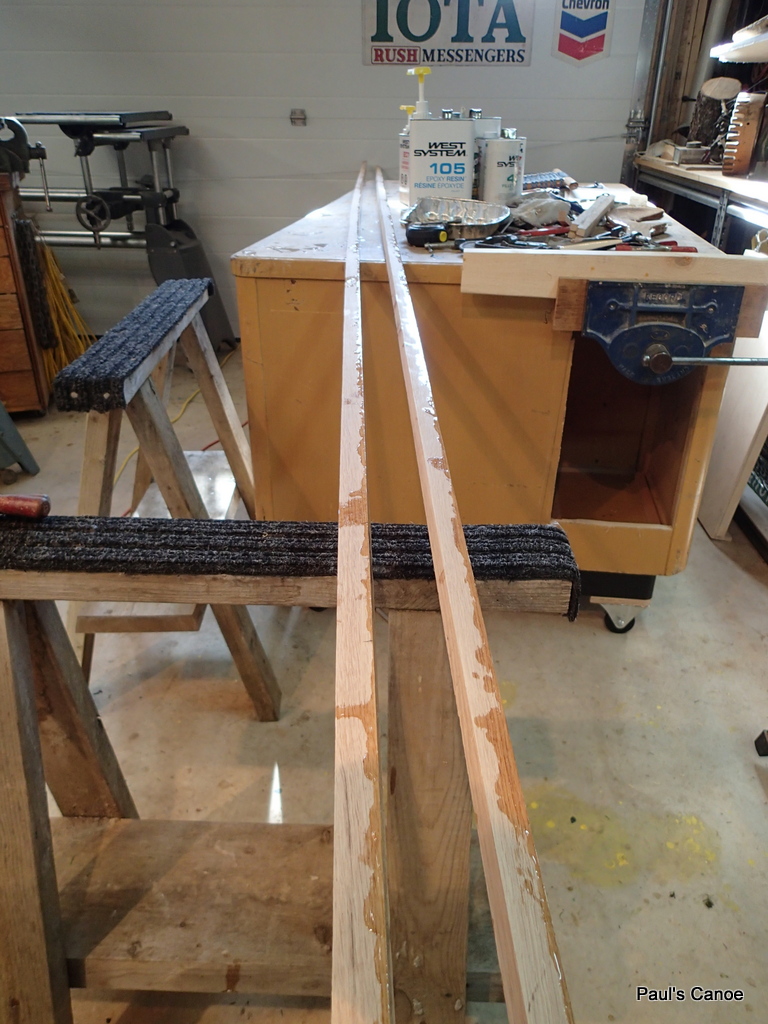
Paul paints the gunnels with epoxy resin first, giving it some time to soak in.
With the hull sanded, We expect to get a good bond between the gunnels and the hull. Paul paints the canoe at the shear-line with epoxy resin.
Ready to clamp on the gunnels.
We begin clamping. Paul holds the gunnel in place while I clamp. The goal is to get a little epoxy “squeeze-out”. The 2½” clamps only fit near the stems where the gunnel is tapered.

Many Clamps later….
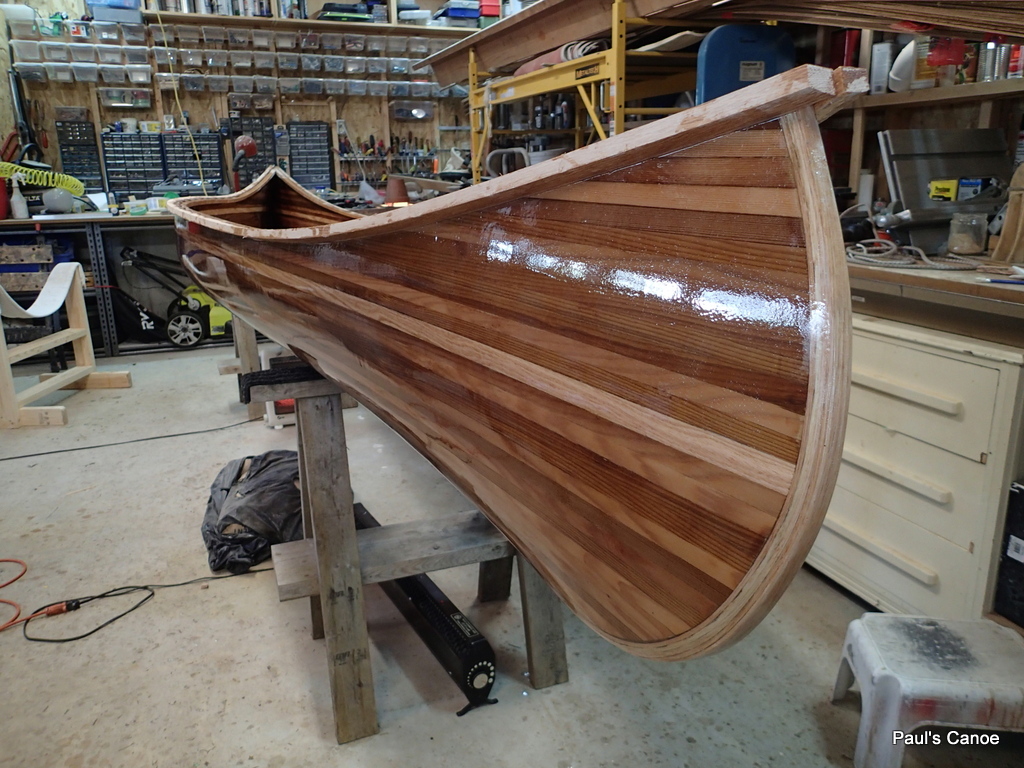
You can see a few runs. We are going to turn the canoe over so the drips will not run down the hull…
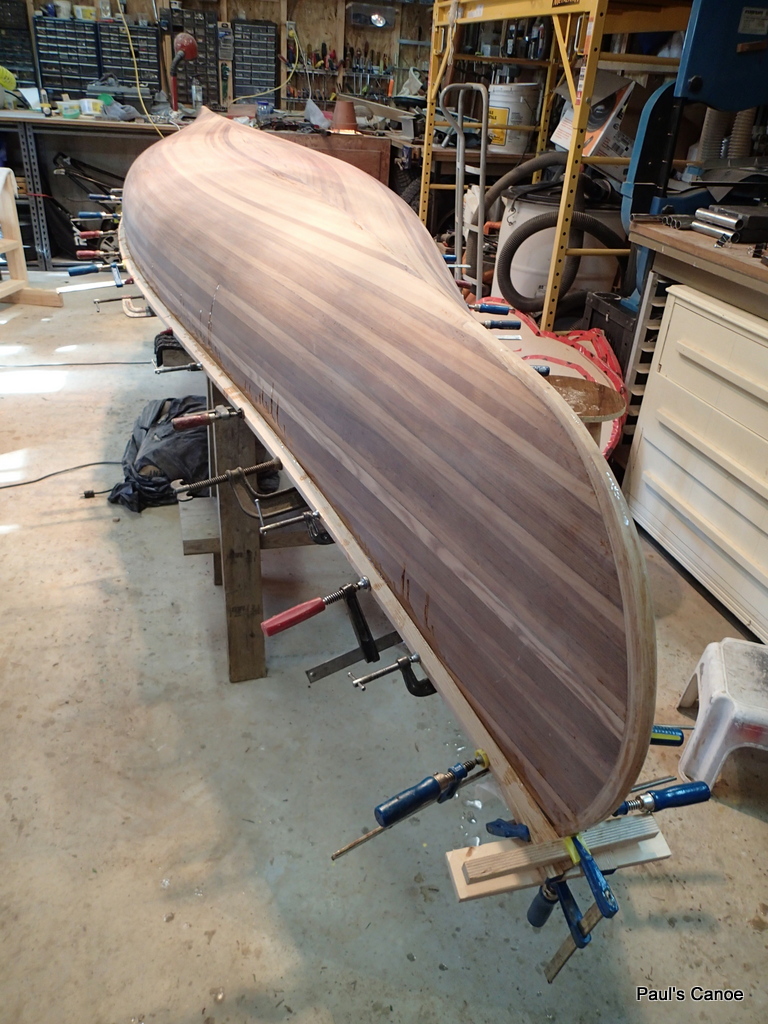
Upside down.
At this point, Paul and I decide to give the canoe one more coat of epoxy…a finish coat to get rid of the “runs”.
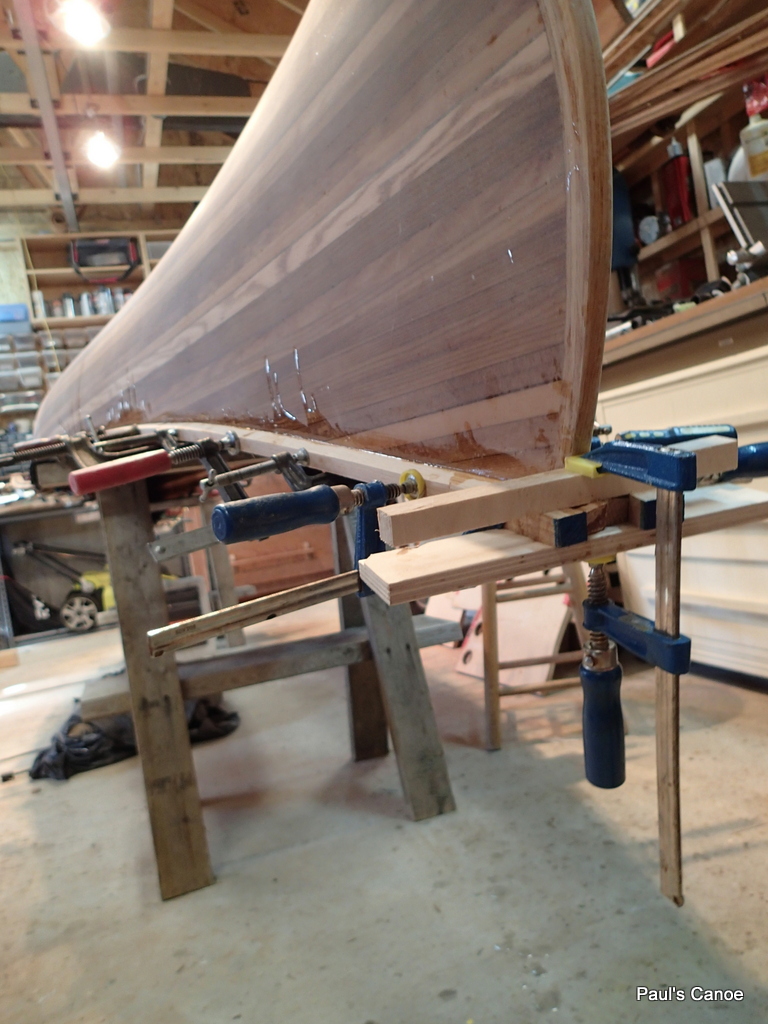
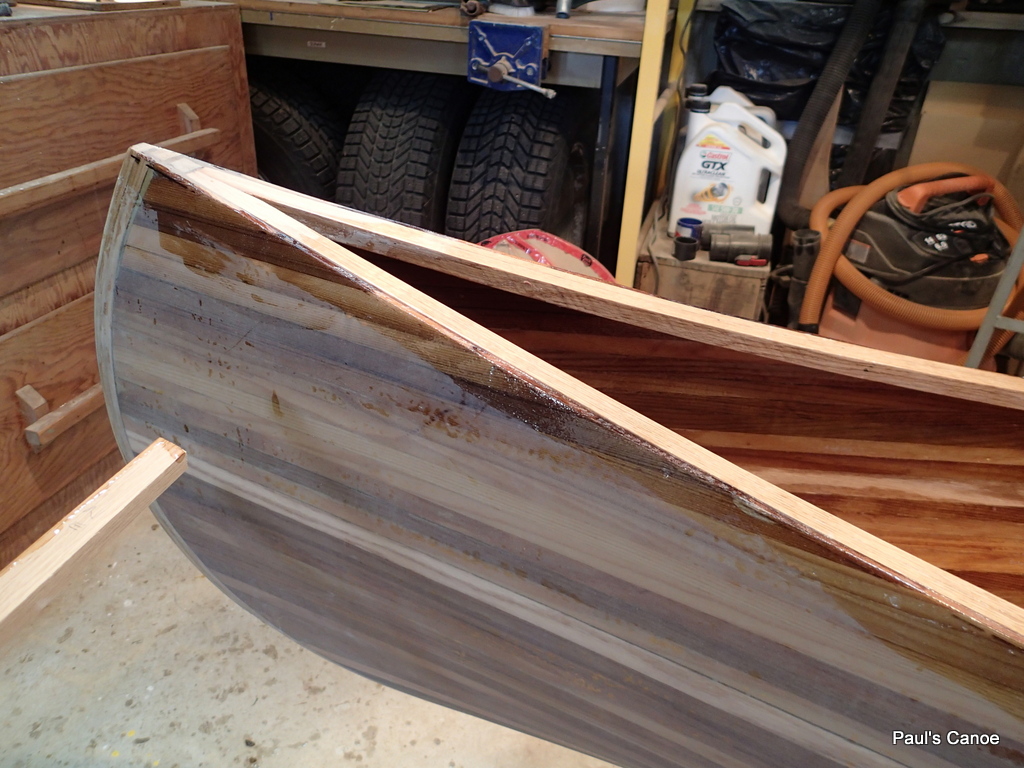
Close-up of the stem clamps.
The two gunnels are aligned at the stems.
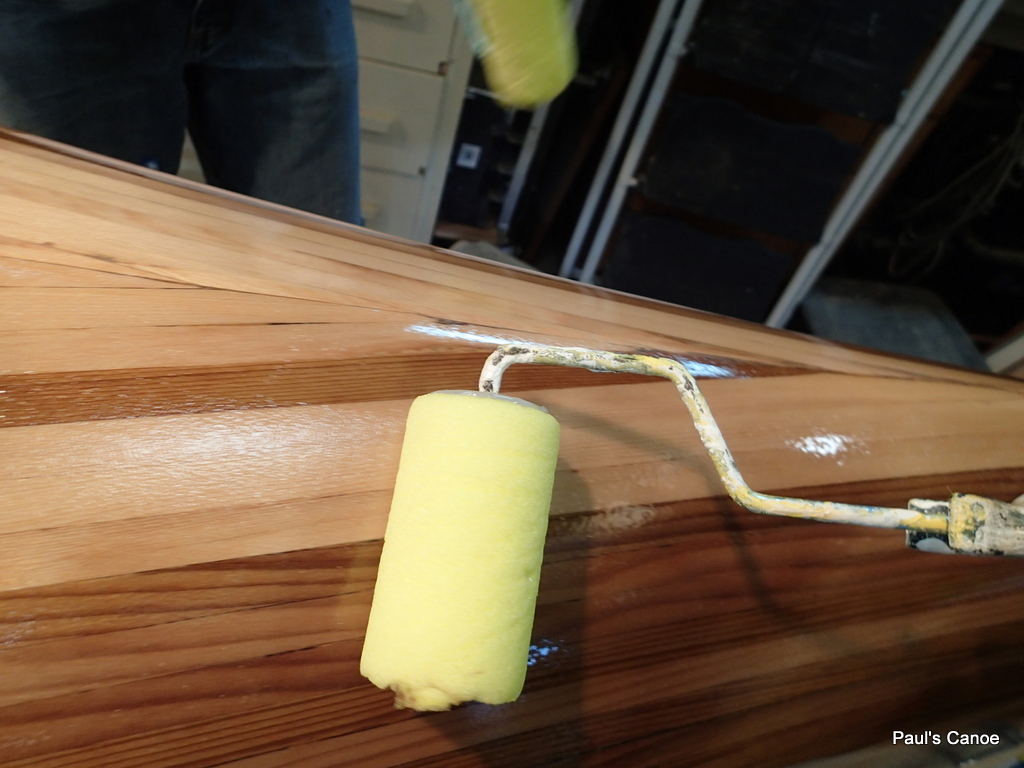
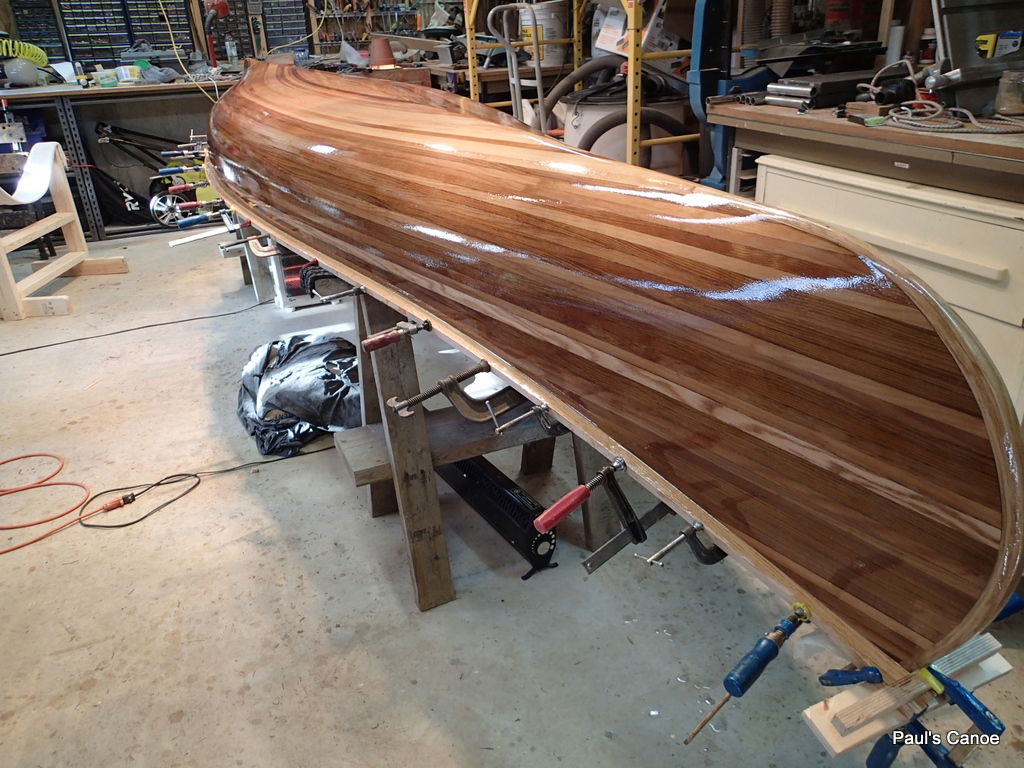
Rolling on the “Finish” coat.
Paul and I roll on the finish coat. We go over the hull many times. We are trying for a very “thin” coat.
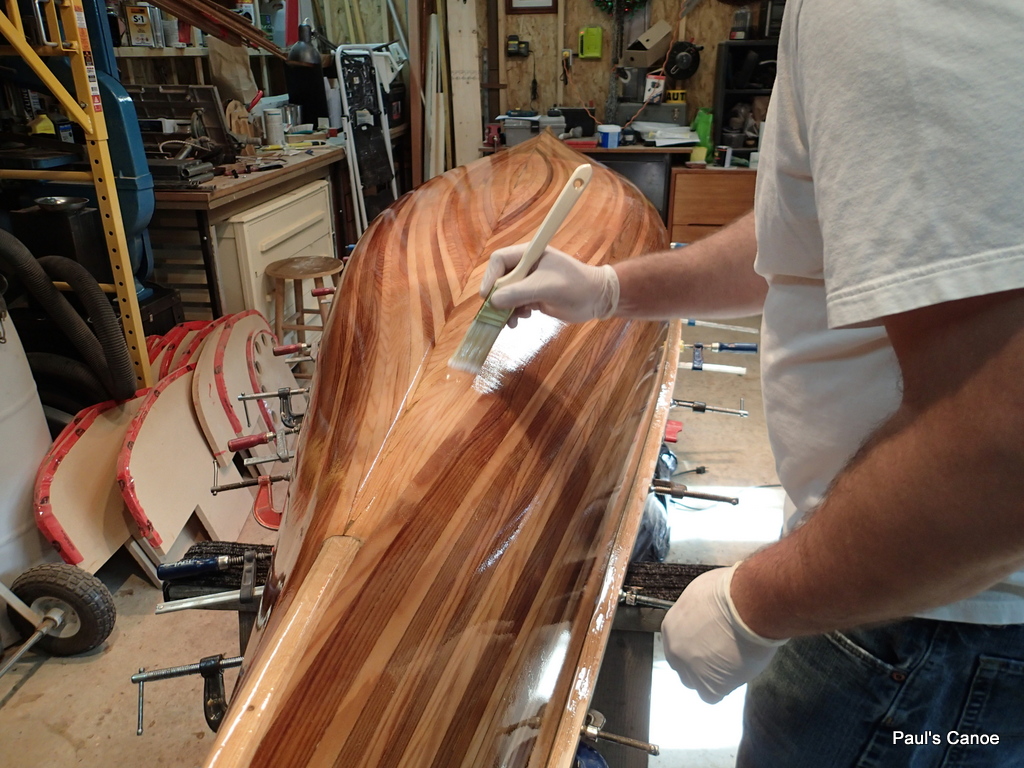
Brushing out the bubbles.
We go over the hull with a brush, taking out (popping) any bubbles the rollers leave. We go over the hull many times, looking for “holidays” (missed spots) or runs.
Finish coat done.
Now it is time to cure.
The next morning.
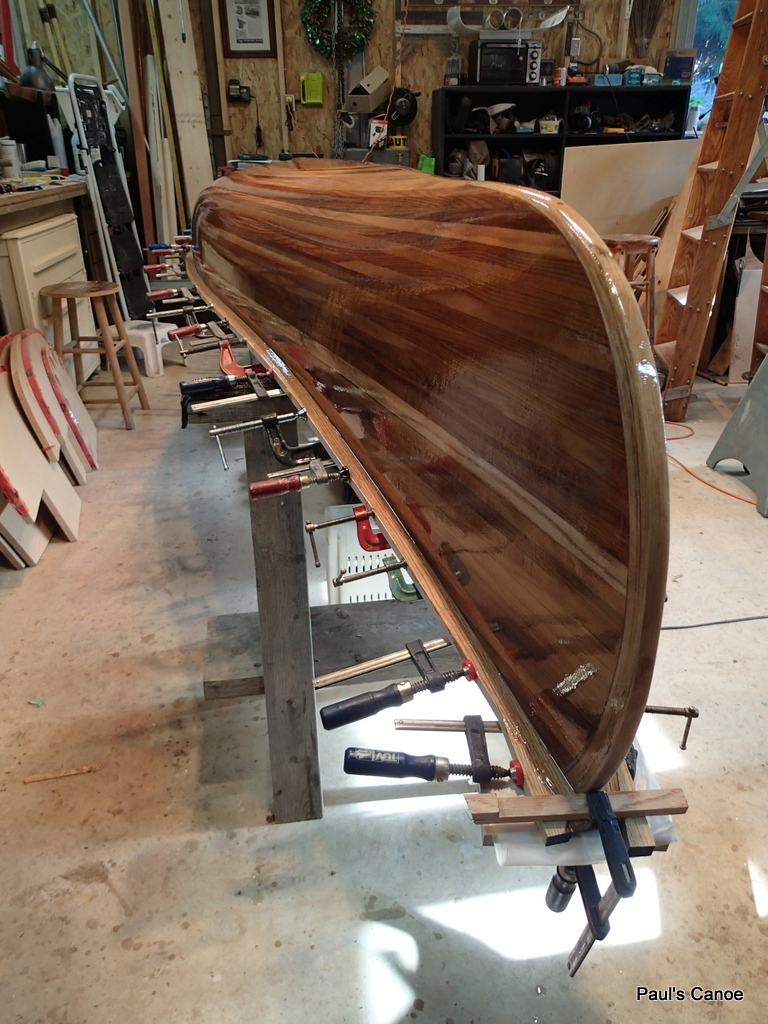
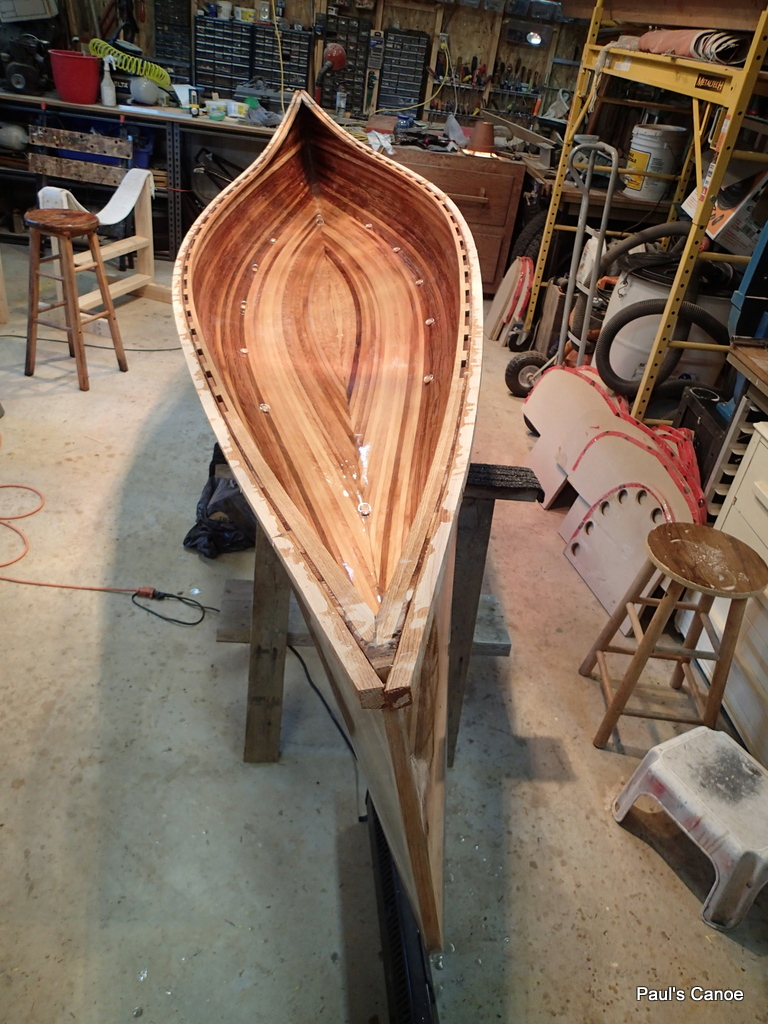
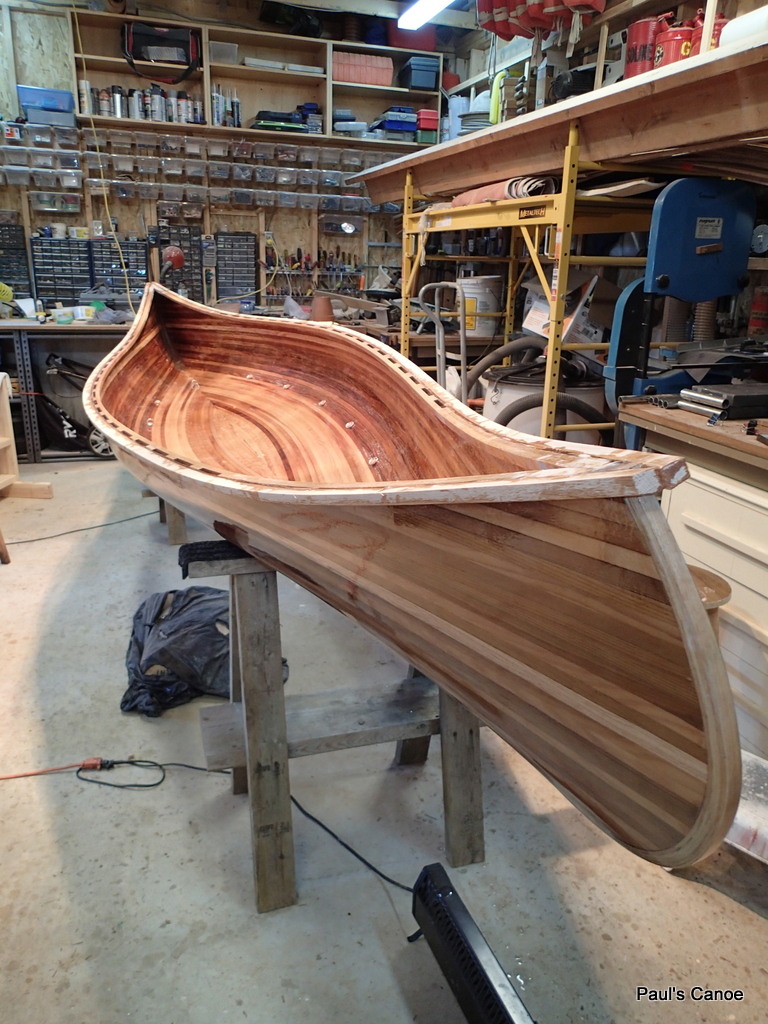
I take off all of the clamps to see what she looks like.
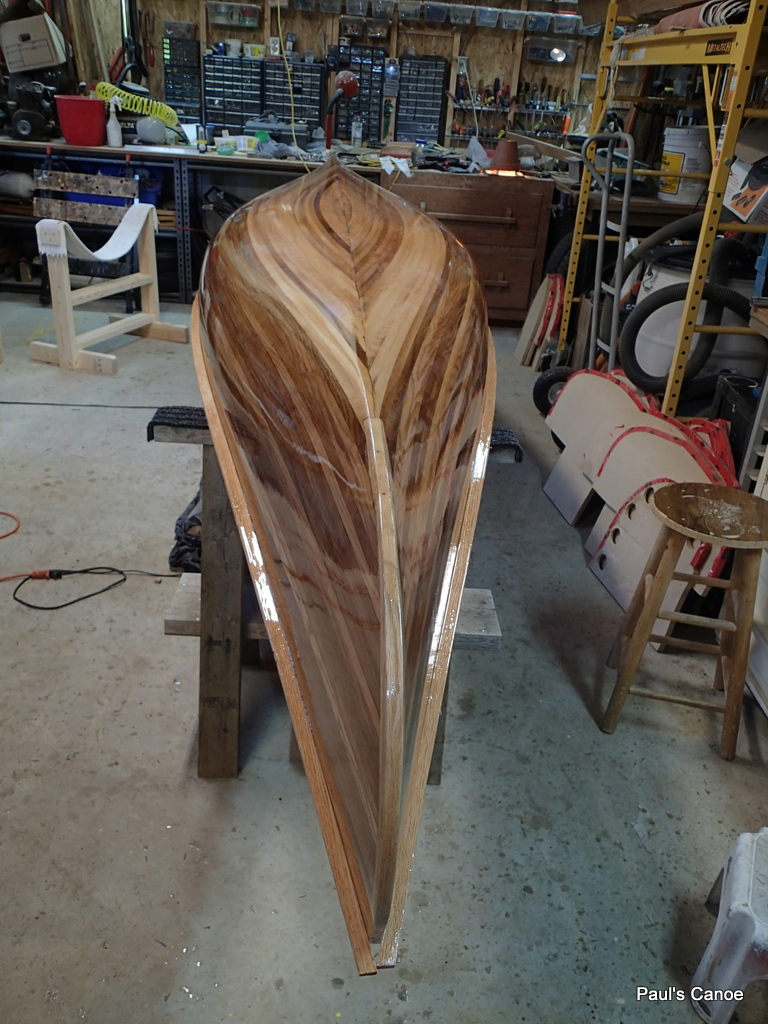
I flip the hull over to have a look.
Overhead shot.
Looks good!!!
I flip the hull back upside down and begin to fill any gaps between the hull and the gunnels.

Chasing bubbles.
Were ever there is a gap, I get some bubbles as the epoxy fills the gap.
Time to let the epoxy cure.
After chasing bubbles for half and hour….it is time to let the epoxy cure.
“Poxy curing.
Tonight when Paul gets home, we will round-over the gunnels, sand the shear-line flat, put on the decks and then give them all a final epoxy sealing coat.
Almost ready to go……42 lbs.
Attach the brass half-oval.
Varnishing is in the future.