A design by Phil Bolger
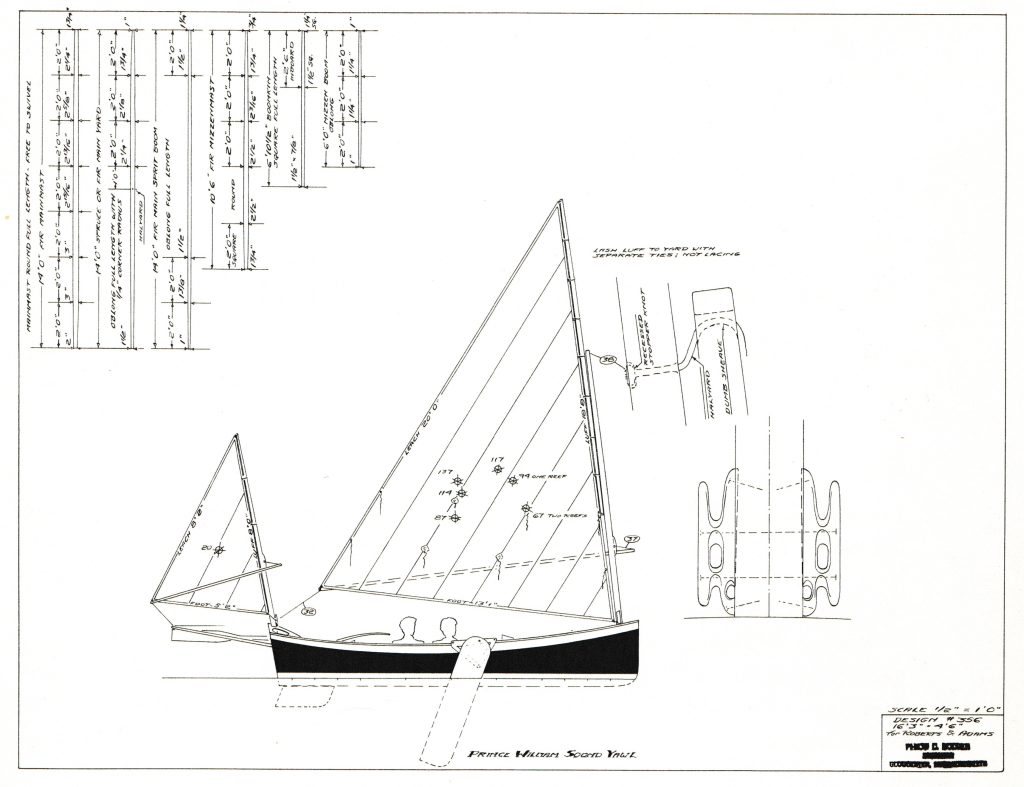
I have sold both Myst and Gwragedd Annwn. Time for a new boat. From Phil’s book “Different Boats”, The Prince William Sound Yawl (PWSY) is a purpose designed cruising row-sailor. The design (#356) is 16′ 3″ by 4′ 6″ and has a draft of 5″.
I had not considered the design before as she is on the large size, you sit on the floor, the fore and aft decks slope down, the inboard rudder and lee boards.
With a few alterations, such as an offset centreboard, making the forward and aft deck not slope down and having side seats that can be seats, boyancy tanks and storage areas. I had great success with the inboard rudder in Myst as well. She also has a provision for an outboard motor.
I googled the design and found two references. One to a boat for sale by Duck Flat Wooden Boats in Austrailia named “Elf” and a 14′ build by Tom on the Wooden Boat Forum. I like how Tom made the forward “cabin” storage area into a more useful space. I was not sure about his outboard rudder that replaced the inboard one and eliminated the outboard motor well.
I ordered the plans from Susanne Altenburger of Phil Bolger & Friends: (philbolger@comcast.net). I believe in paying for the design and the right to build one, even though I owned the book and already had the plans.
I told Susanne that I would post photos of the build on the Phil Bolger and Friends facebook page: https://www.facebook.com/groups/1629186337408650
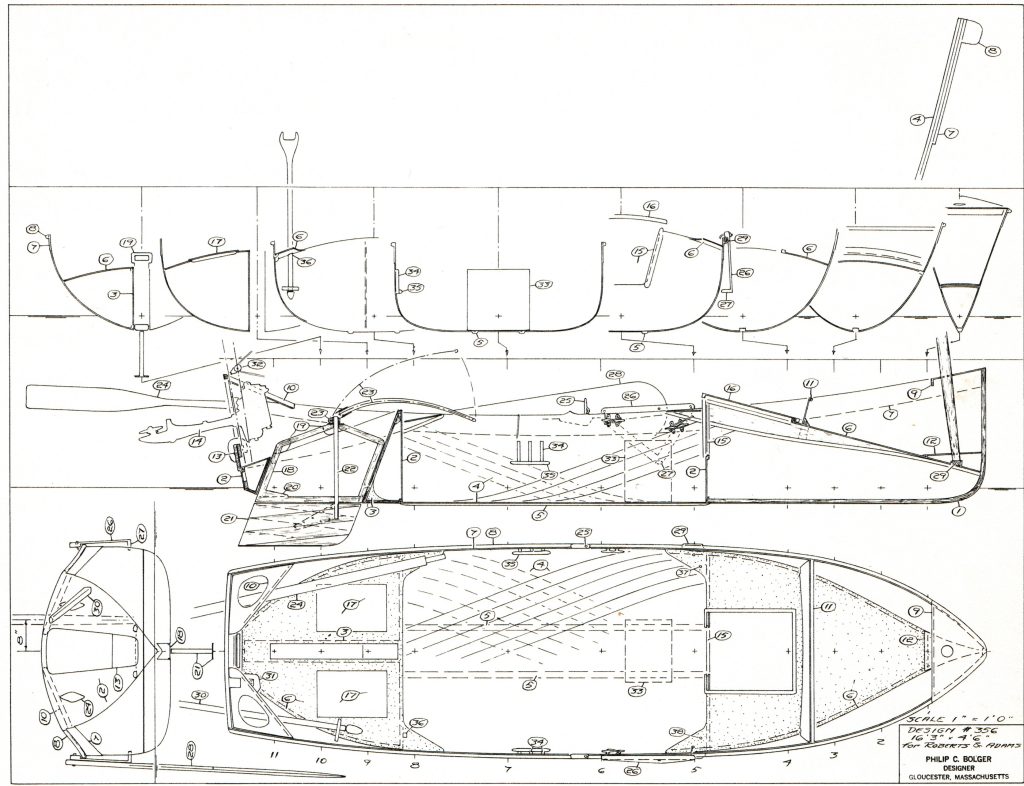
Now that I have the plans, I begin the build.
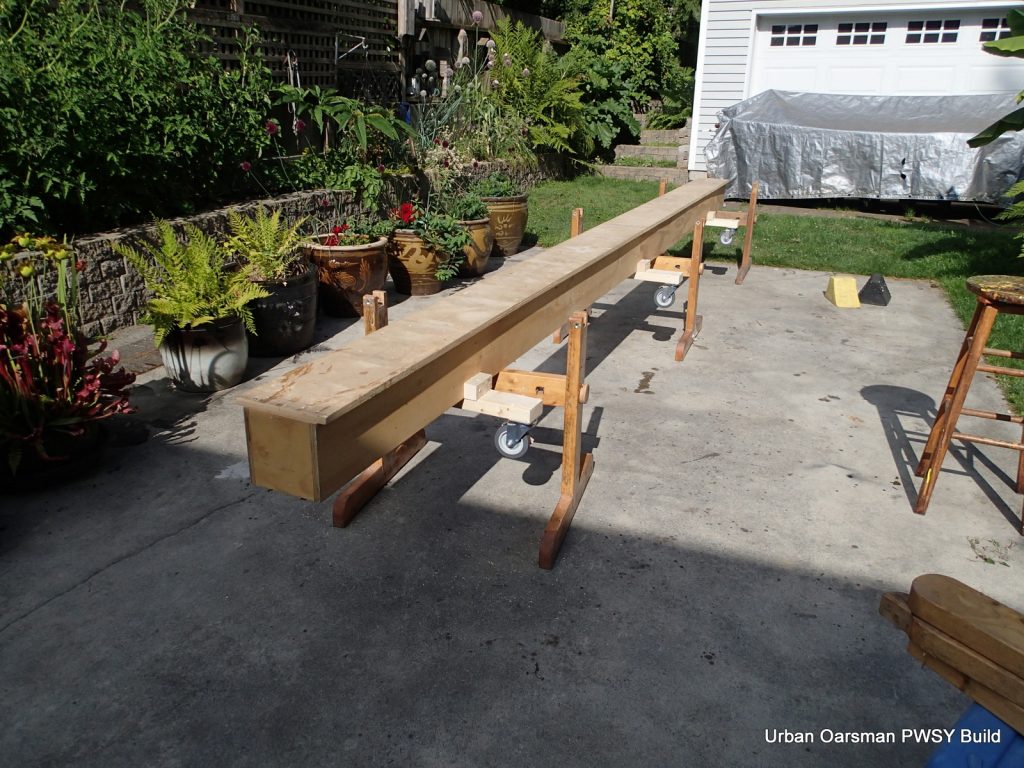
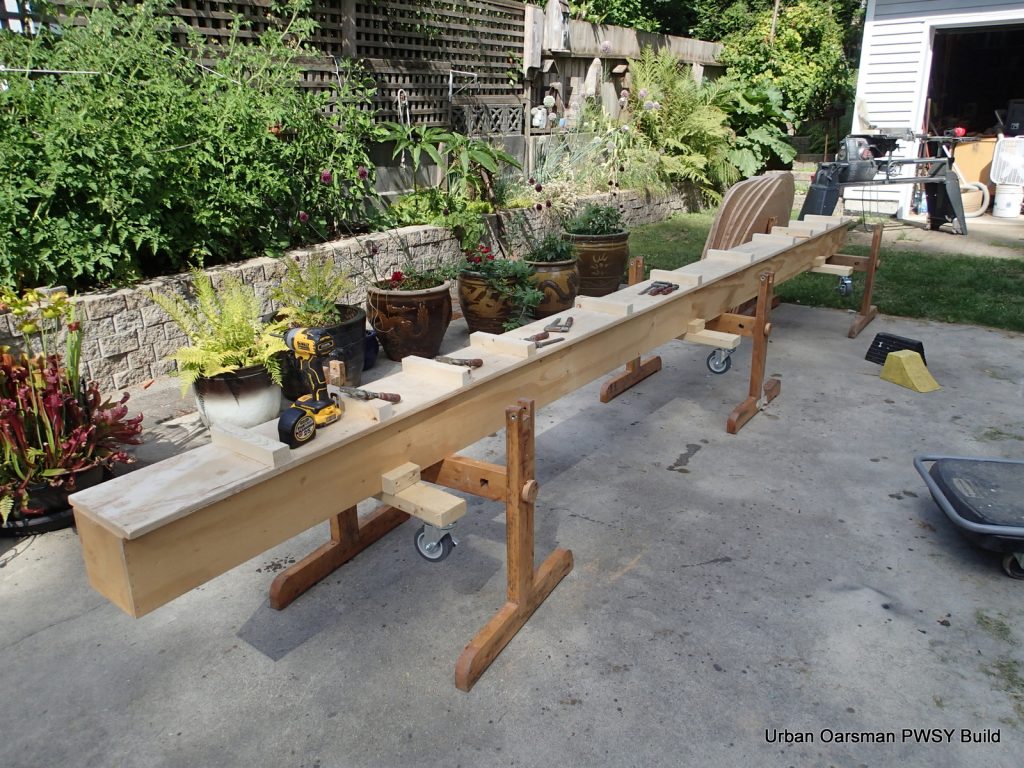
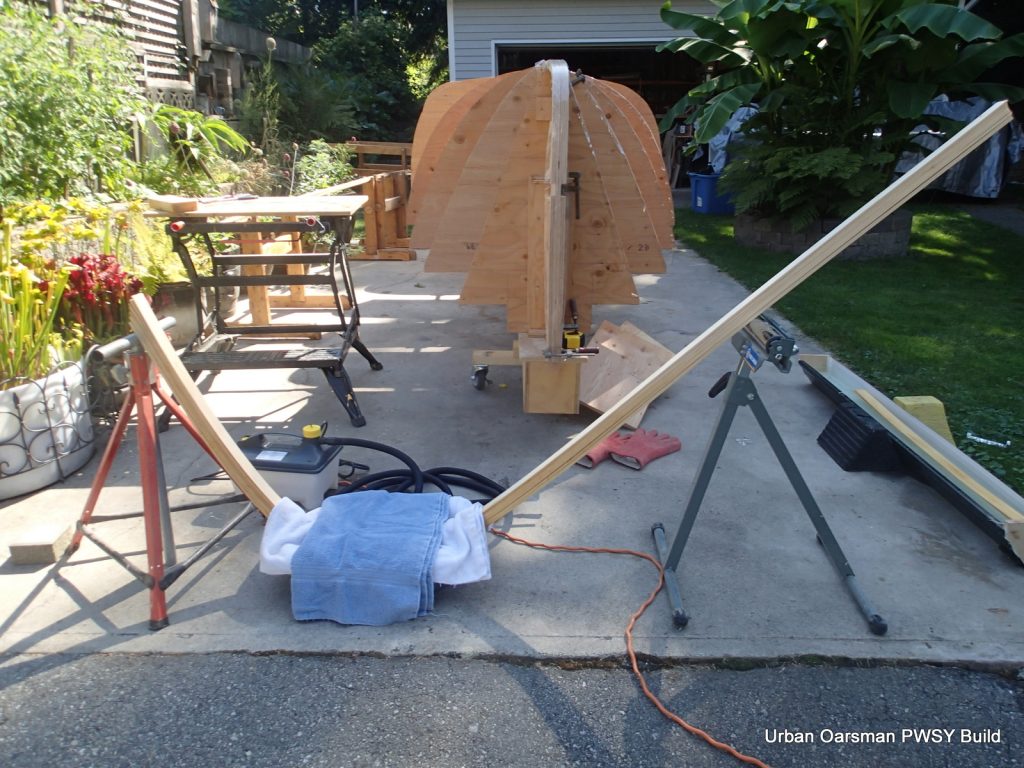
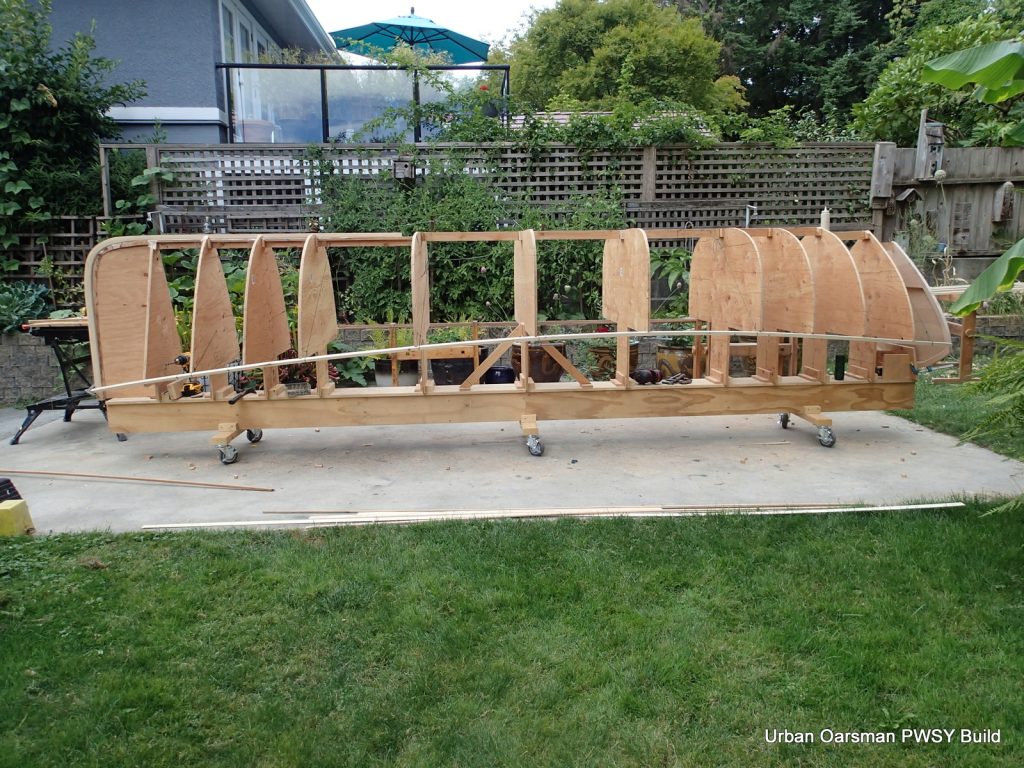
Rod Tait, of Orca Boats lent me his strongback for the build. We are both members of the Vancouver Wooden Boat Society. Thanks Rod! The really nice thing about this is that Rod has built the strong back “square” and I do not have to make any adjustments. The strongback breaks into two 8′ pieces for transport. To move the boat around, I mounted the strongback onto casters.
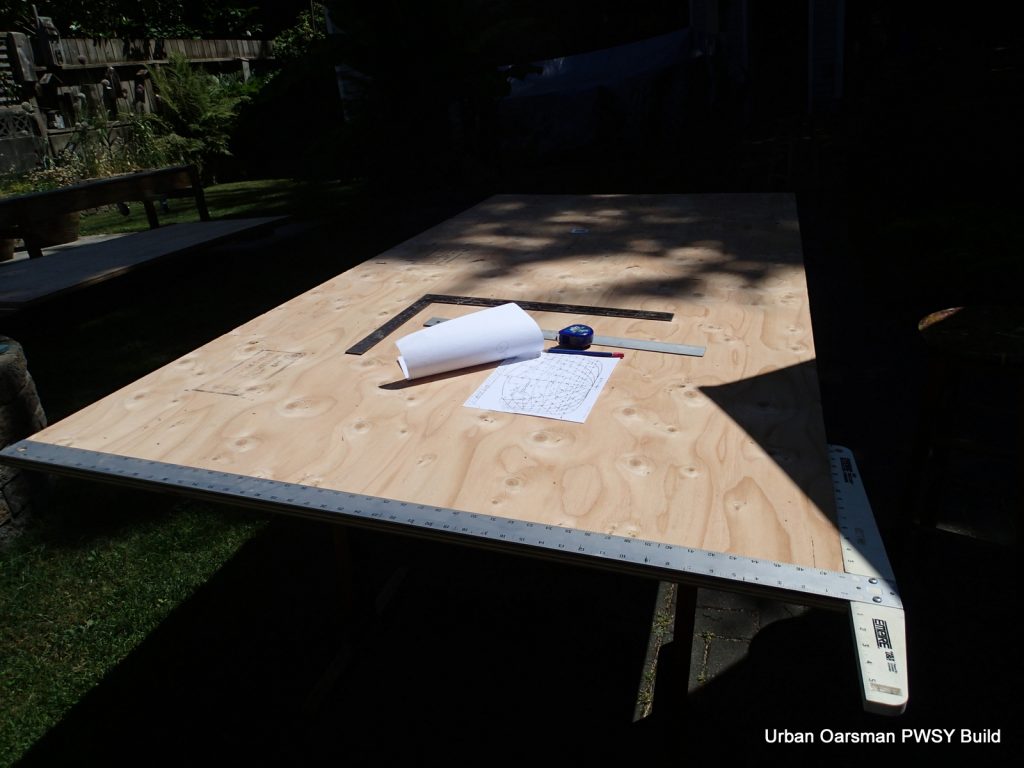
I used 5/8″ plywood for the station molds. Six sheets of plywood.
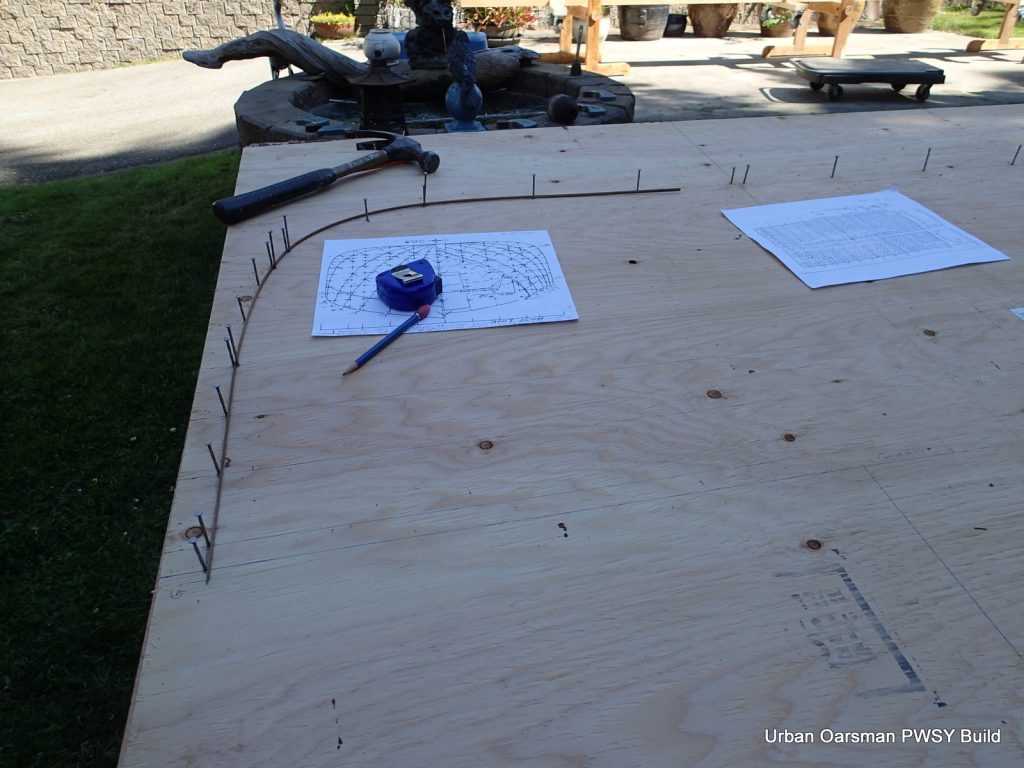
I used a thin strip of wood to mark the curves for the hull. I then cut out the station molds with a jigsaw. I used my Shopsmith 10″ sanding disk to true up the molds to the line.
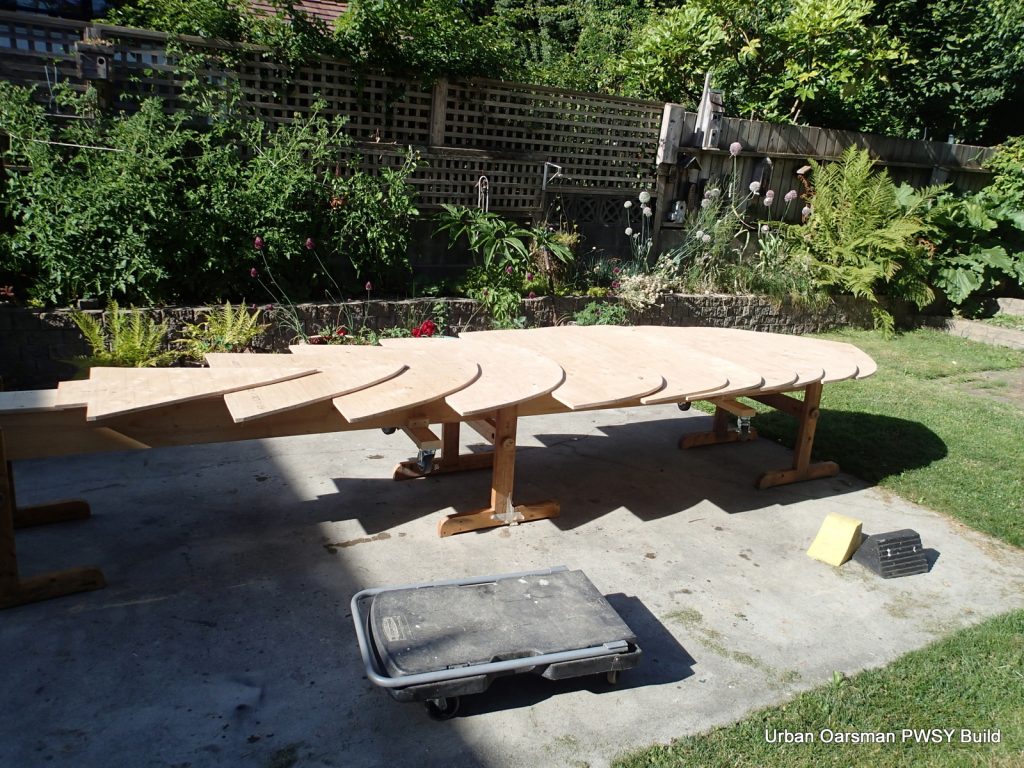
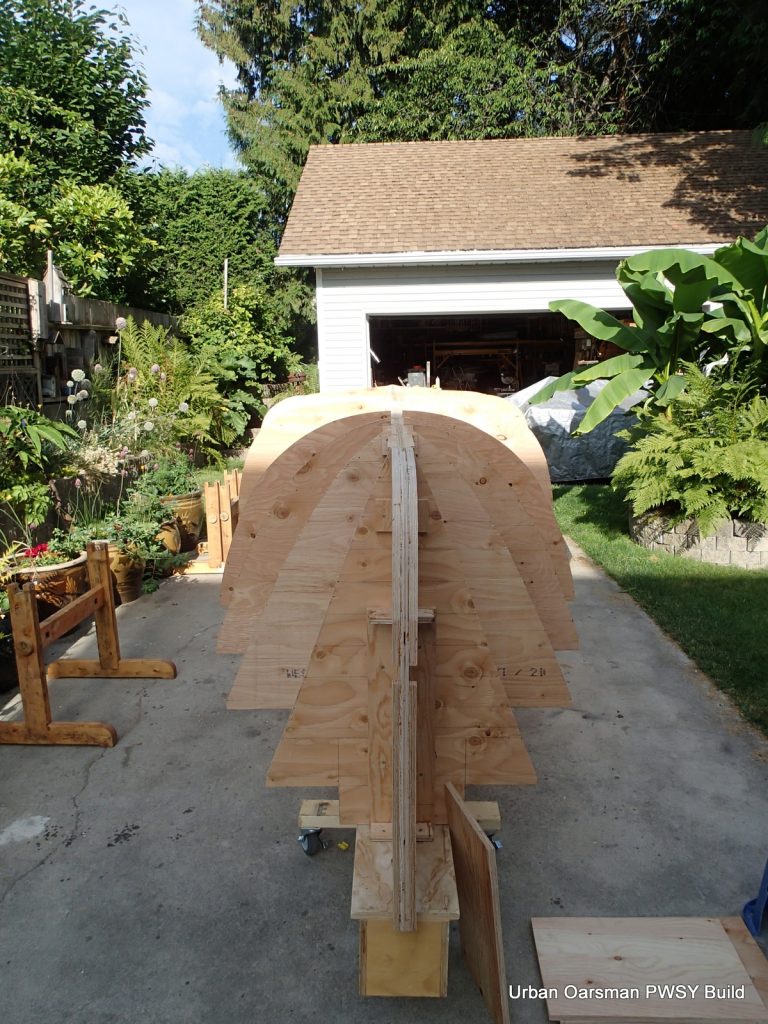
Having cut out and trued up all of the station molds, the next step is to put them onto the strongback.
At the intervals specified on the plans, I screw in blocks to attach the station molds to. I take my time as this will determine the final shape of the hull.
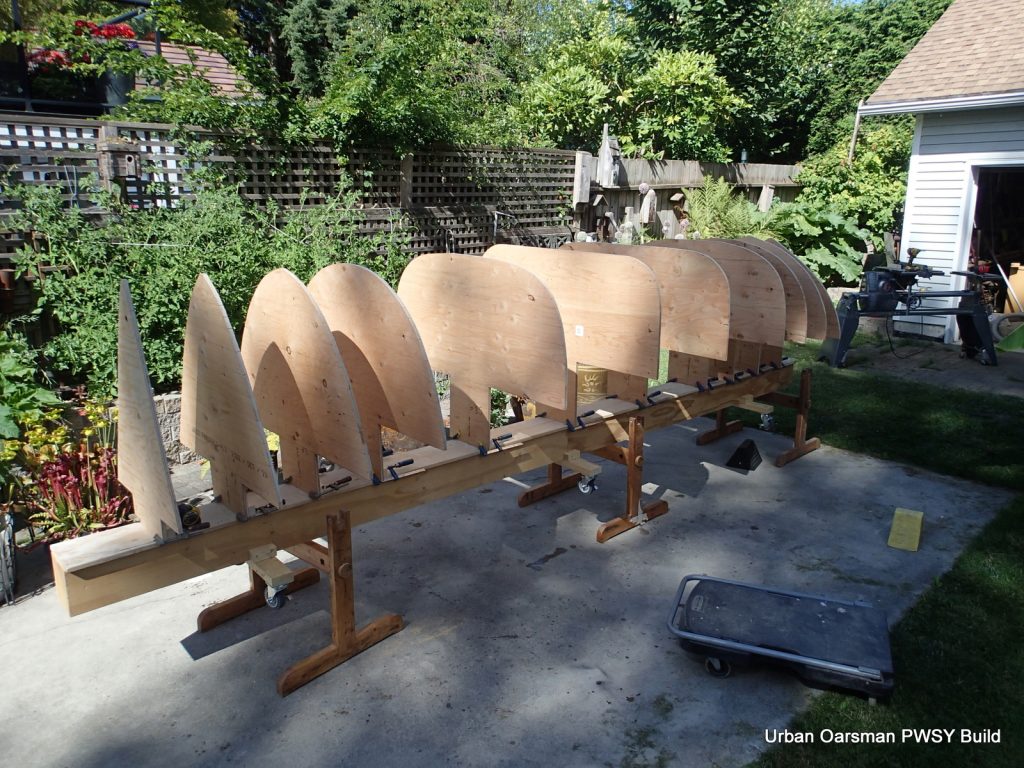
To align the station molds, I have drilled a reference hold in each mold at the same spot. I used a 1/4″ fiberglass rod to help align the molds. If I could slide the rod easily between the molds, that meant that the alignment was good. I am using station mold #6 as my baseline. All measurements will be made from #6. I made up right-angle blocks to hold the station molds. They are screwed into the strongback and the station molds.
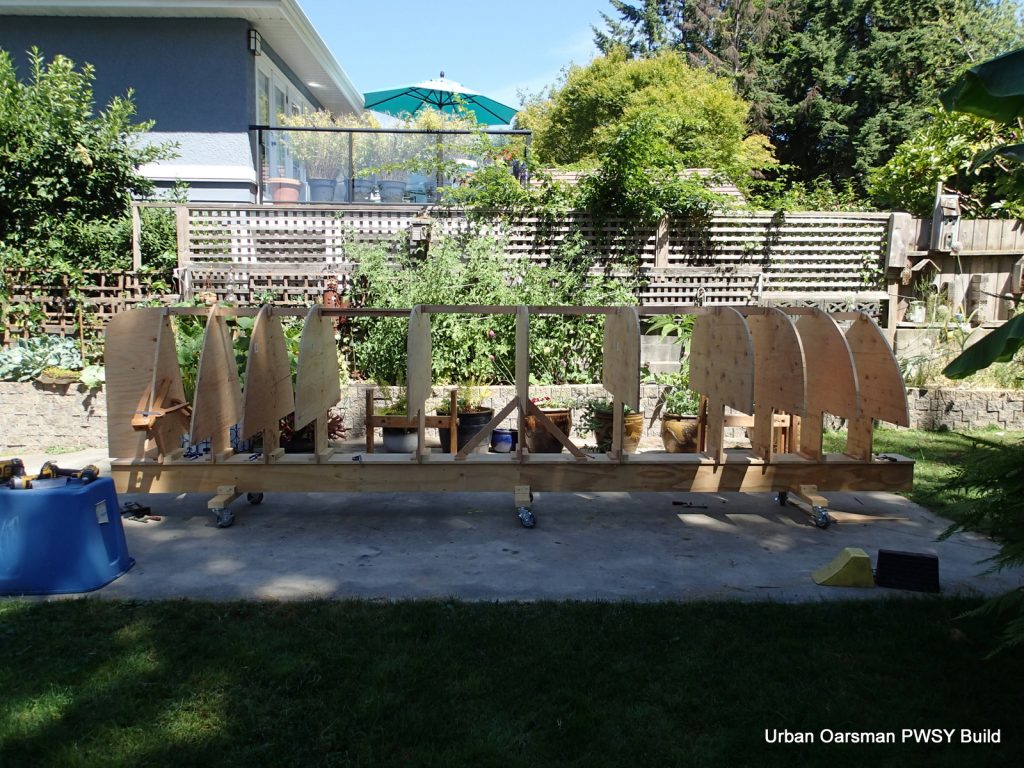
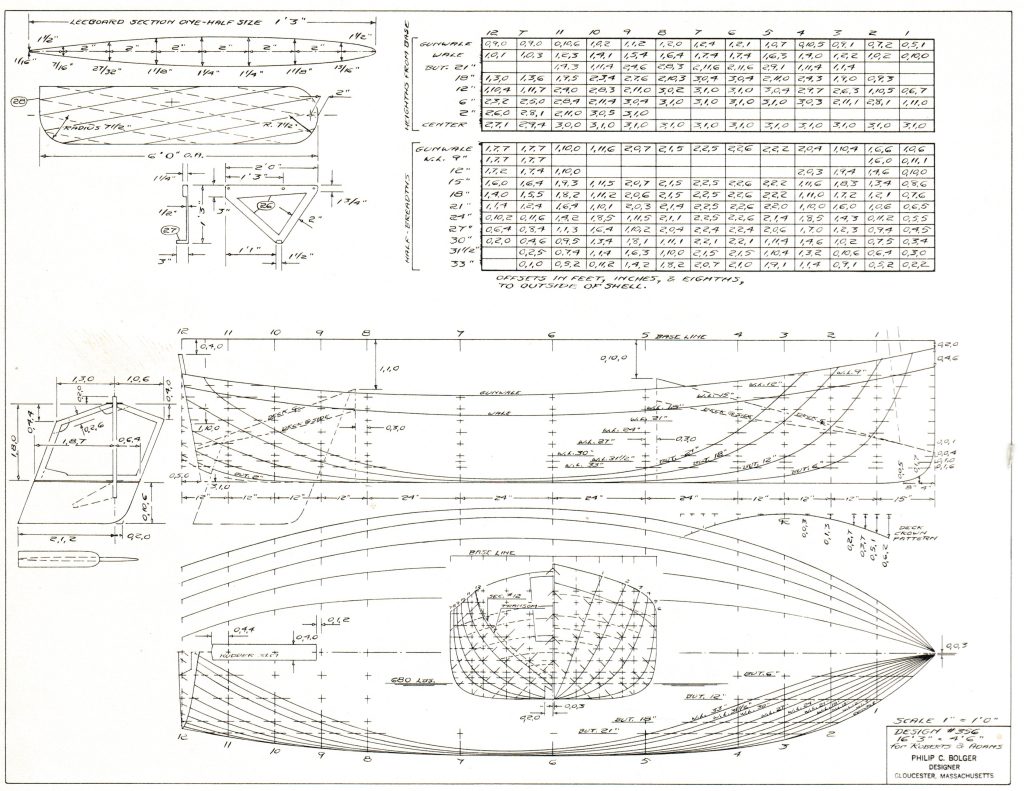
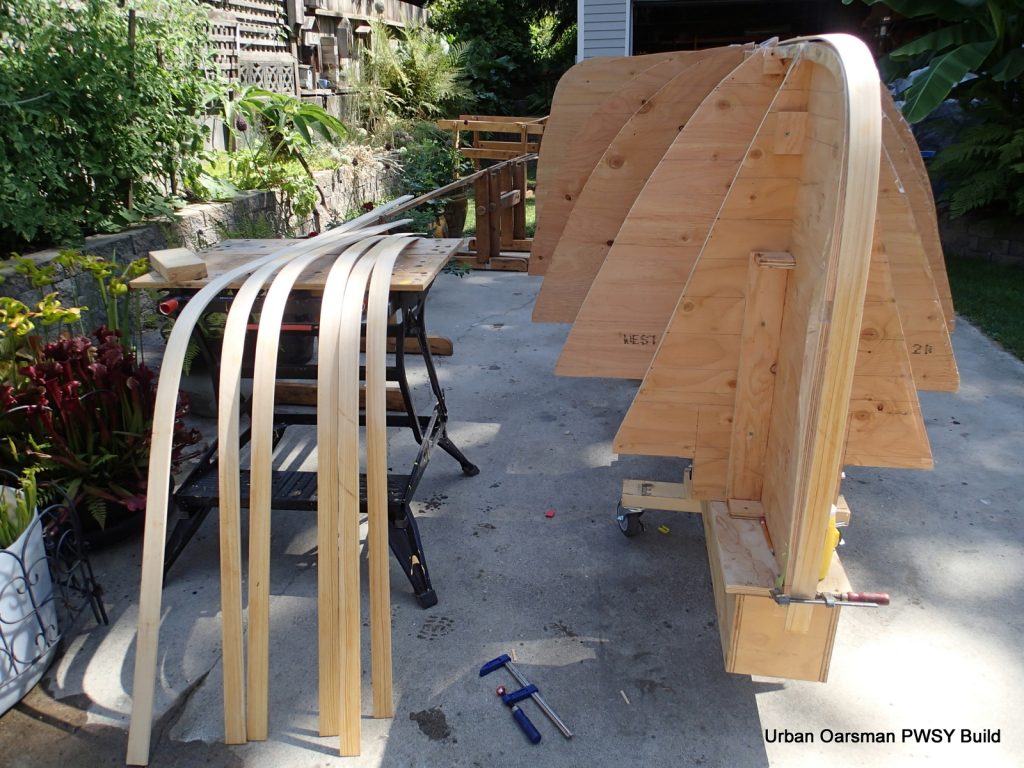
I cut spacers to go along the keel line between the molds. Each spacer had blocks on the ends. I made sure that each spacer was “square”, to help keep the molds in place. Note that the forward molds and spacers are offset down the depth of the forward keel. The Prince William Sound Yawl has an inner keel similar to a canoe inner keel. The inner keel goes to Station Mold #5. The central station mold # 6 was braced to insure that it was perpendicular to the strongback.
I am going to laminate the inner keel on the station molds. Here I am gluing block so I can clamp the laminations together. The 1/4″ alignment holes can be seen at the top of the station molds, just below the spacing blocks.
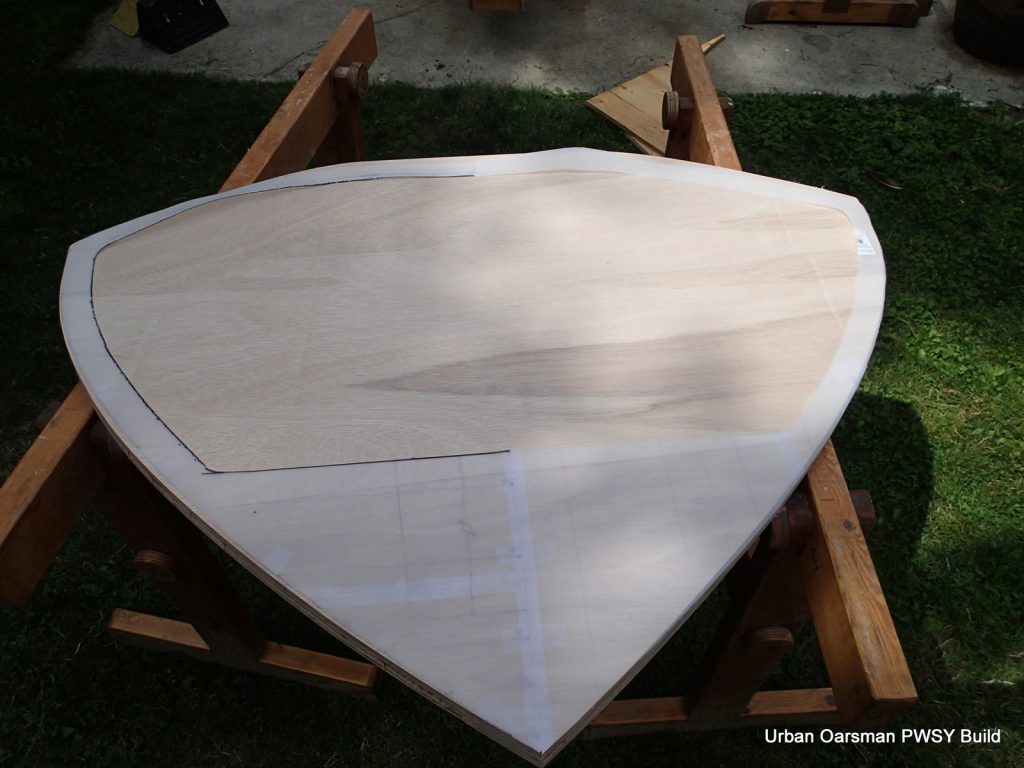
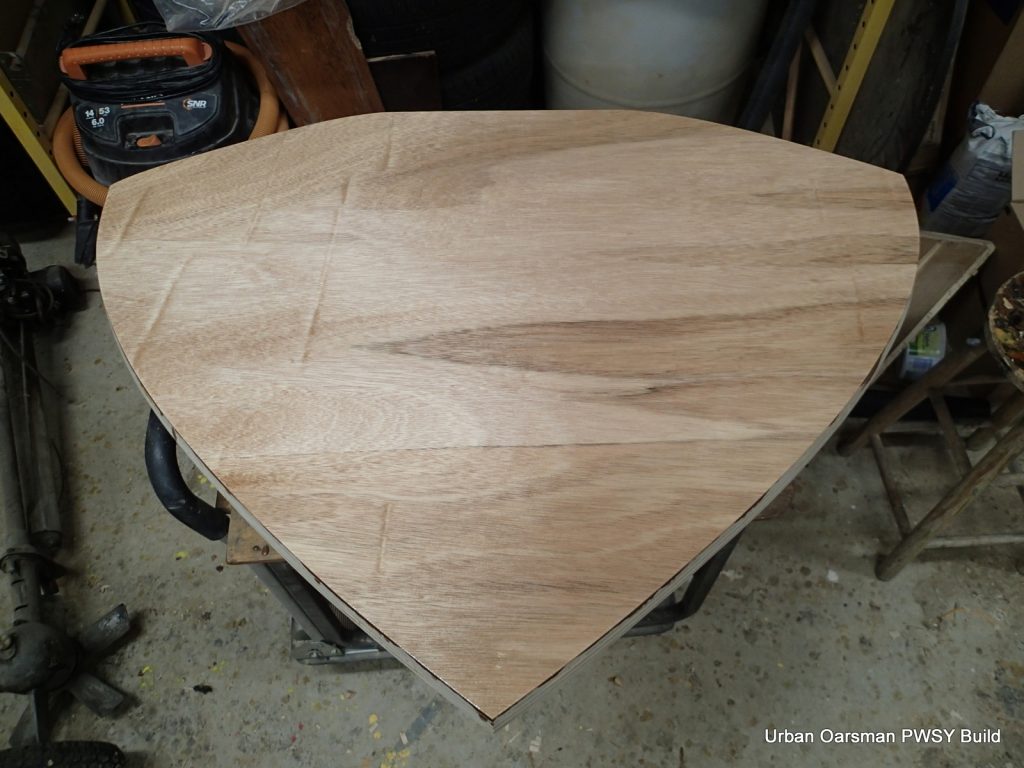
With the station molds and the bow mold set up, I am going to cut out the Transom.
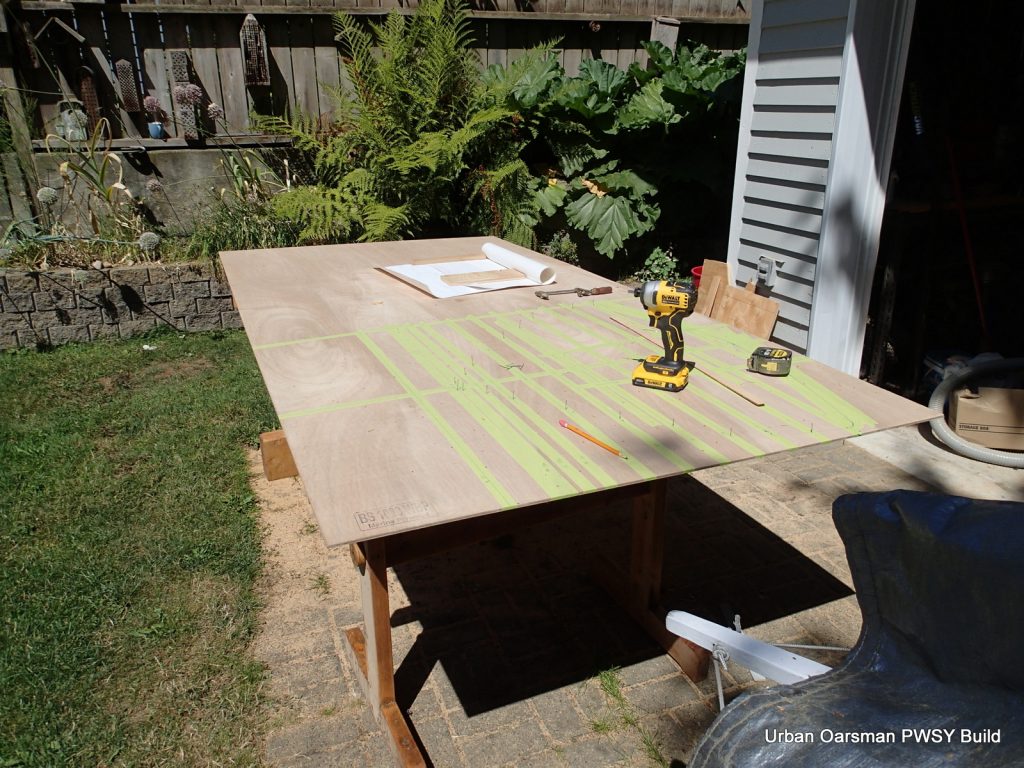
Here I am marking out the transom. I am going to make it out of three layers of 6mm marine plywood for the frame and one piece of 6mm marine plywood for the actual transom. Phil askes for 3/4″ for the frame and 1/4″ for the transom. I am doing 18mm for the frame and 6mm for the transom.
I mark and cut out three transom frame pieces.
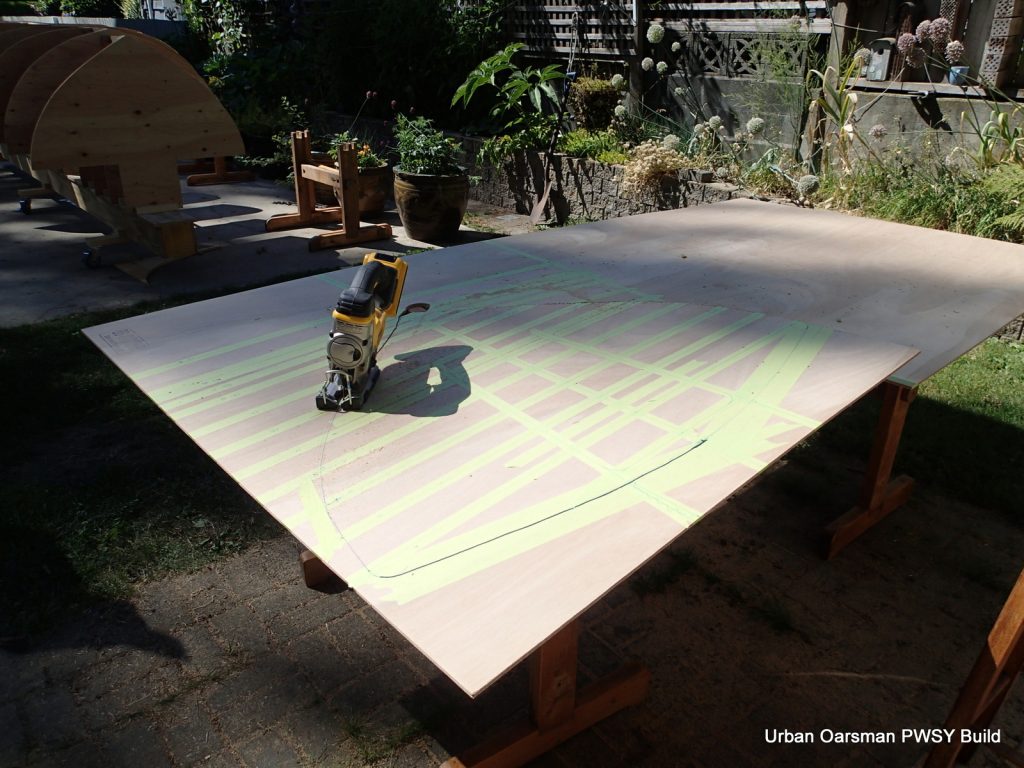
After I cut the pieces out, I mark where the outboard motor space will be. Time to lay on the glue. I am using Titebond II.
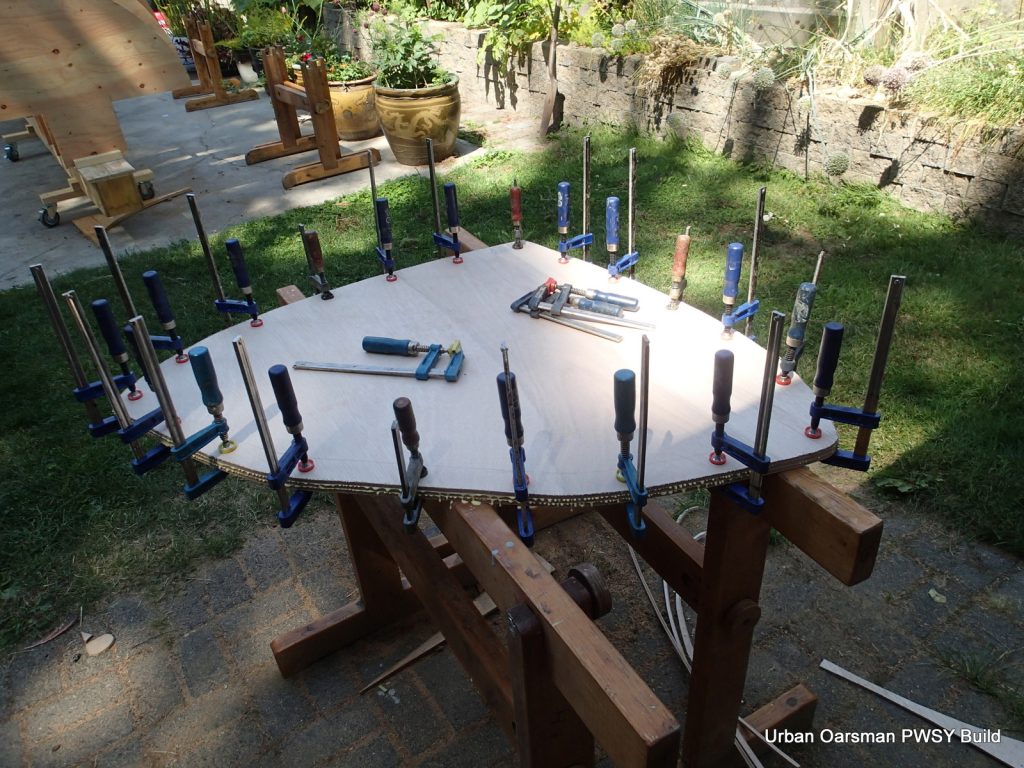
After the frame pieces are dry, I cut the frame piece out.
I have to be careful to allow for the shape of the transom frame where the strips will be attached.
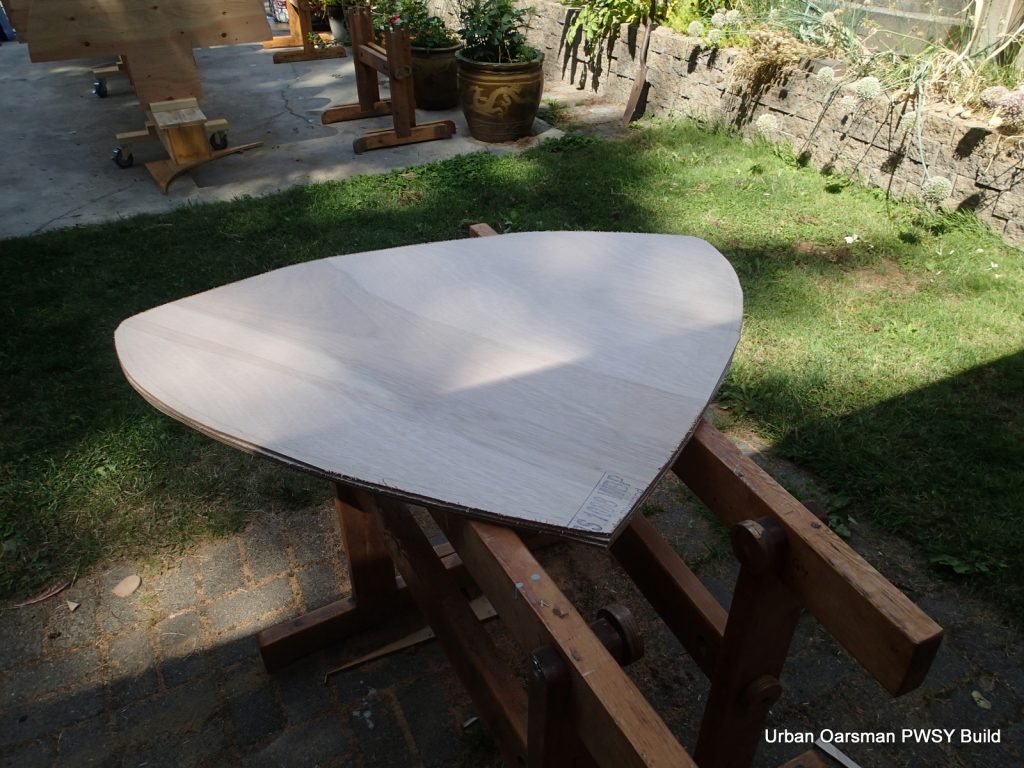
This is my transom template. It has the outboard motor mount area marked and the frame. I am using it to cut the bevels in the transom for the planking.
The transom is mounted using clamps. I have to be able to take it off of the strongback after planking, so, no screws.
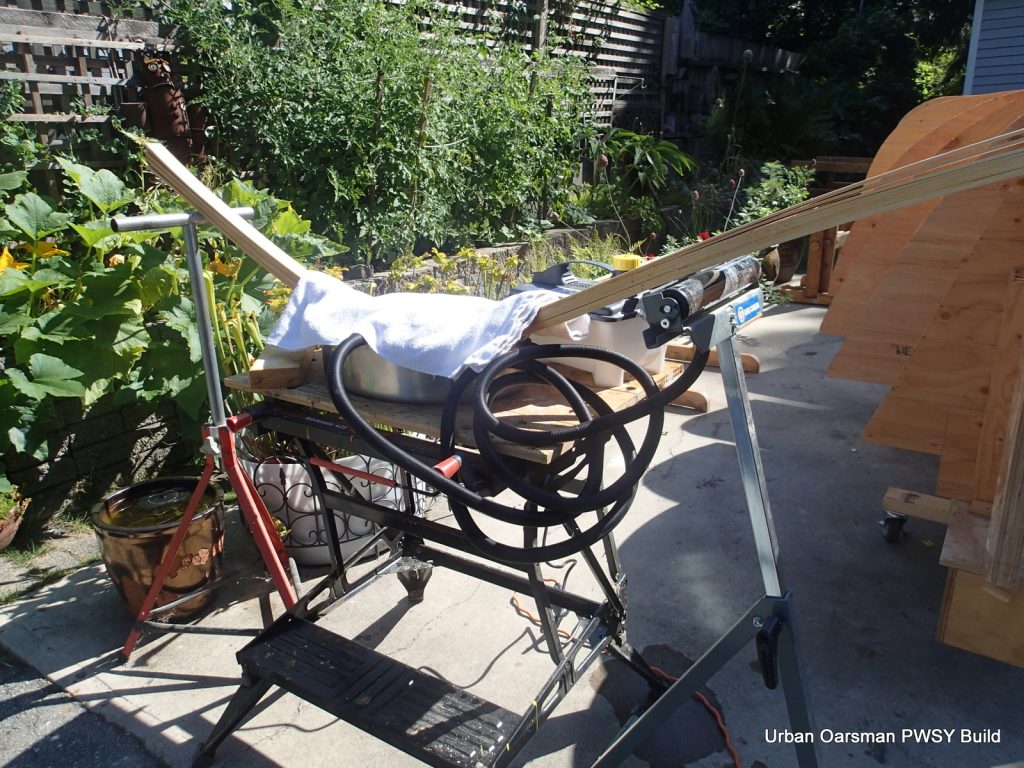
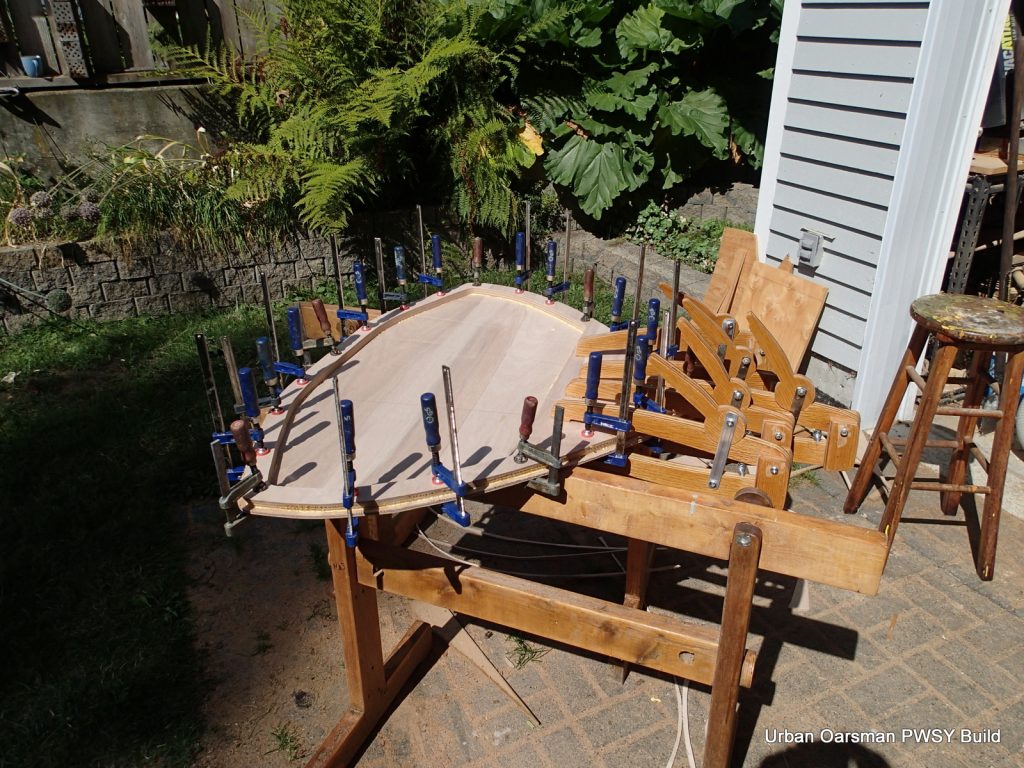
I am using yellow cedar strips for the inner keel. Here I am steaming the strips where the bend will be using our roasting pan, steam box and towels. Worked great. Under the wet towels is a brick holding the strips in the heat. I steamed for half an hour.
You can see my soaking tank to the right of the picture. It is a section of gutter, plugged at each end. I did soak the strips overnight before steaming.
Here I am laminating the strips. I am again using Titebond II. I used Titebond II where ever I could. Much less expensive than epoxy and glues up just as well. Maybe even a little easier to get a good bond. Dries faster.
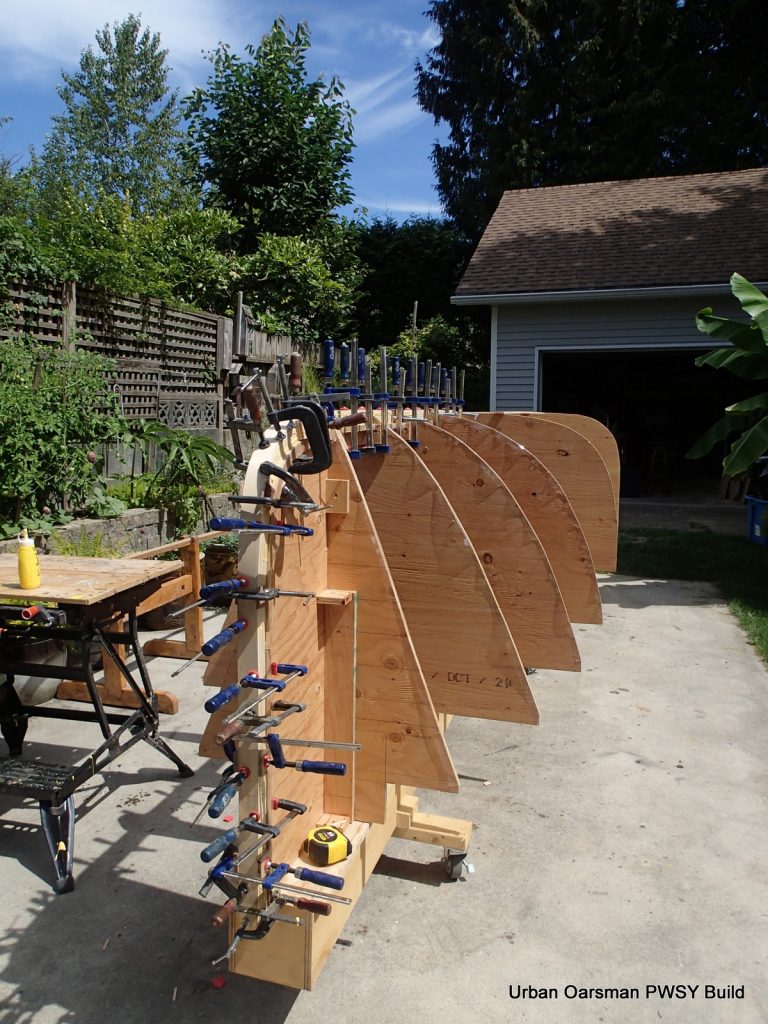
Here is the inner keel clamped up.
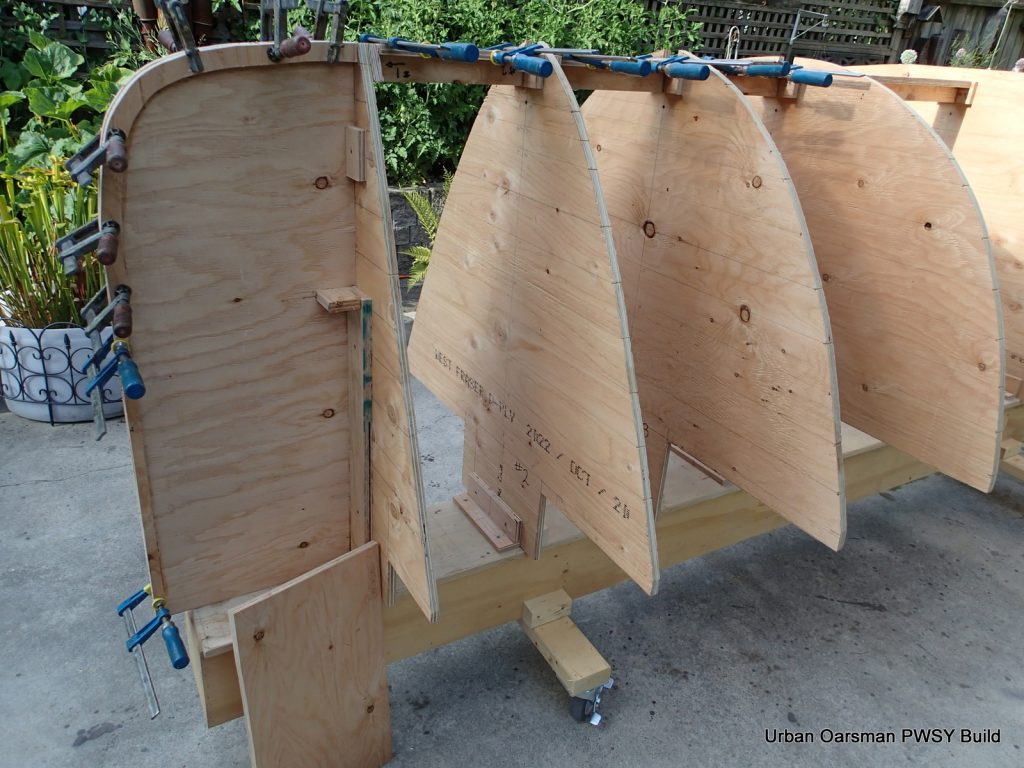
The station molds have all been taped up so the glue and strips will not stick to them. I am placing temporary inner gunnel strips onto the station molds. they will help me get the first few strips on and help keep the station molds in place.
Before I start planking, I give the transom a coat of epoxy to help keep it from getting banged up during construction.
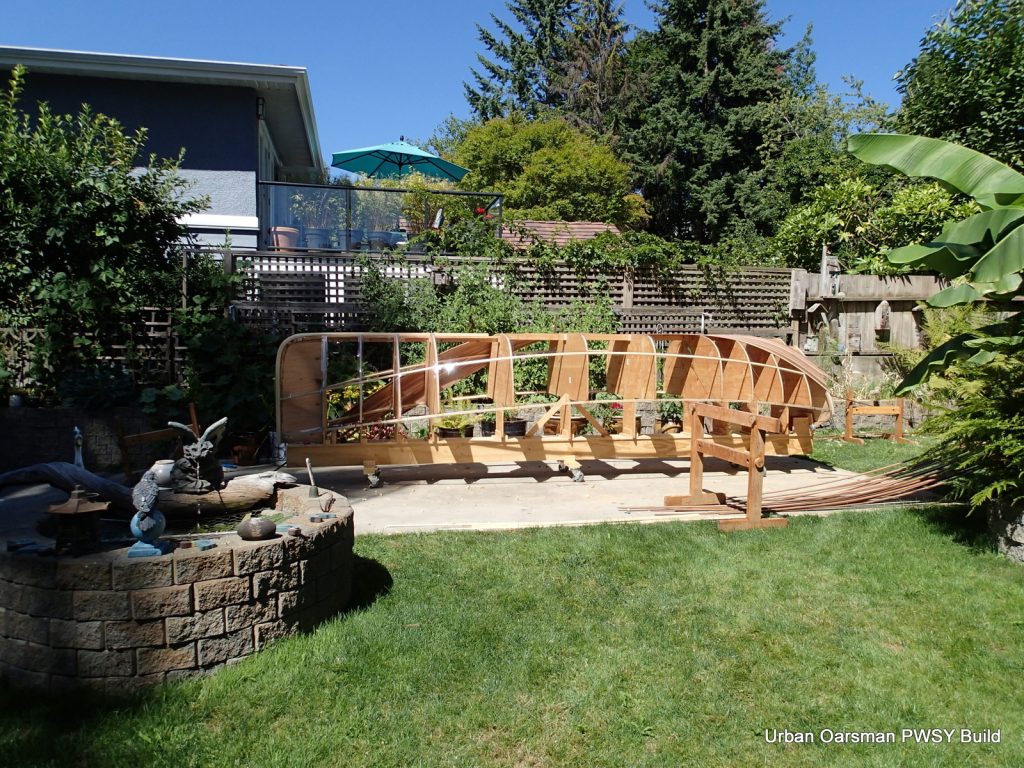
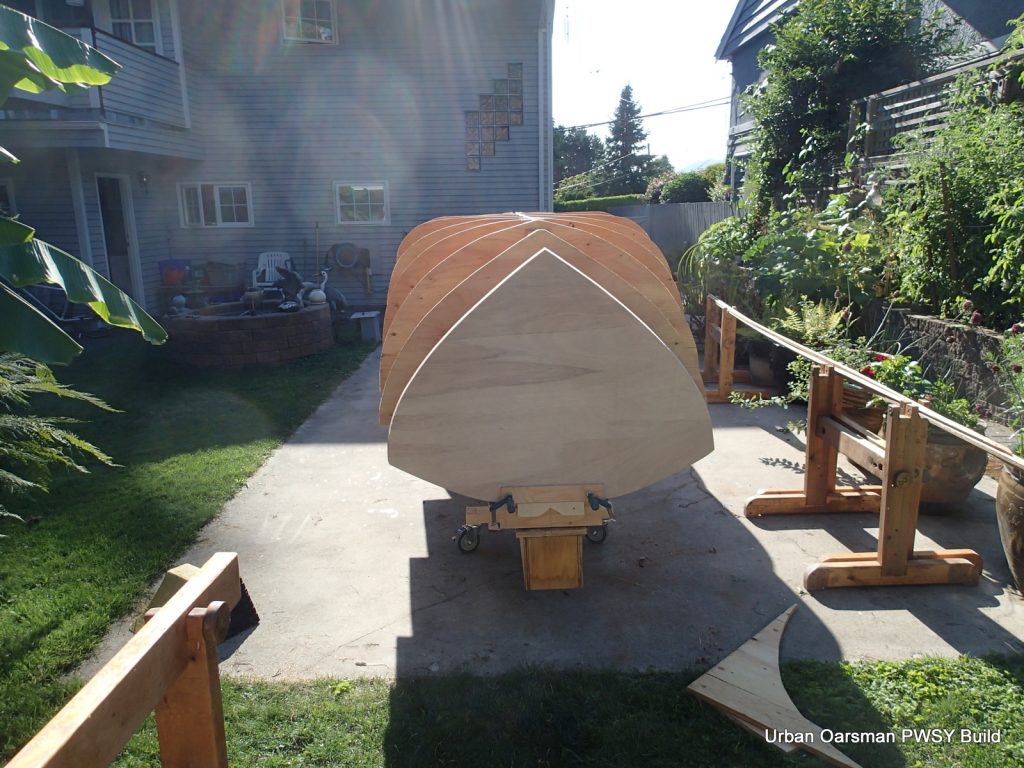
The plans call for double diagional to finish 1/4″ scant, cedar and epoxy West System, planks laid at a 20 drgree angle to the centre line. I give it a try and cannot make it work. I go to Plan “B”.
Plan “B” will be in the next installment of Building the Prince William Sound Yawl.
Mike