
A long, long time ago I built Phil Bolger’s 11′ Defender design in glued lapstrake planking. I made some long-reach clamps for the build. They were pretty crude but they did the job.
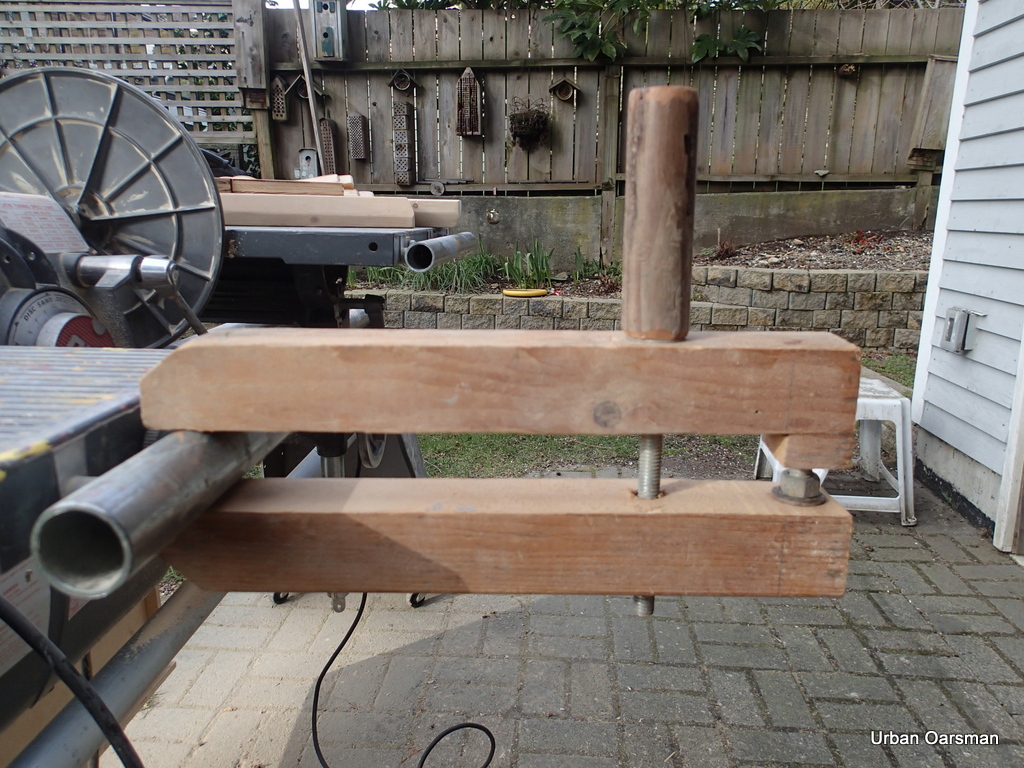
I used threaded rod and tried to imitate a Wooden Handscrew Clamp with the adjustable jaws.
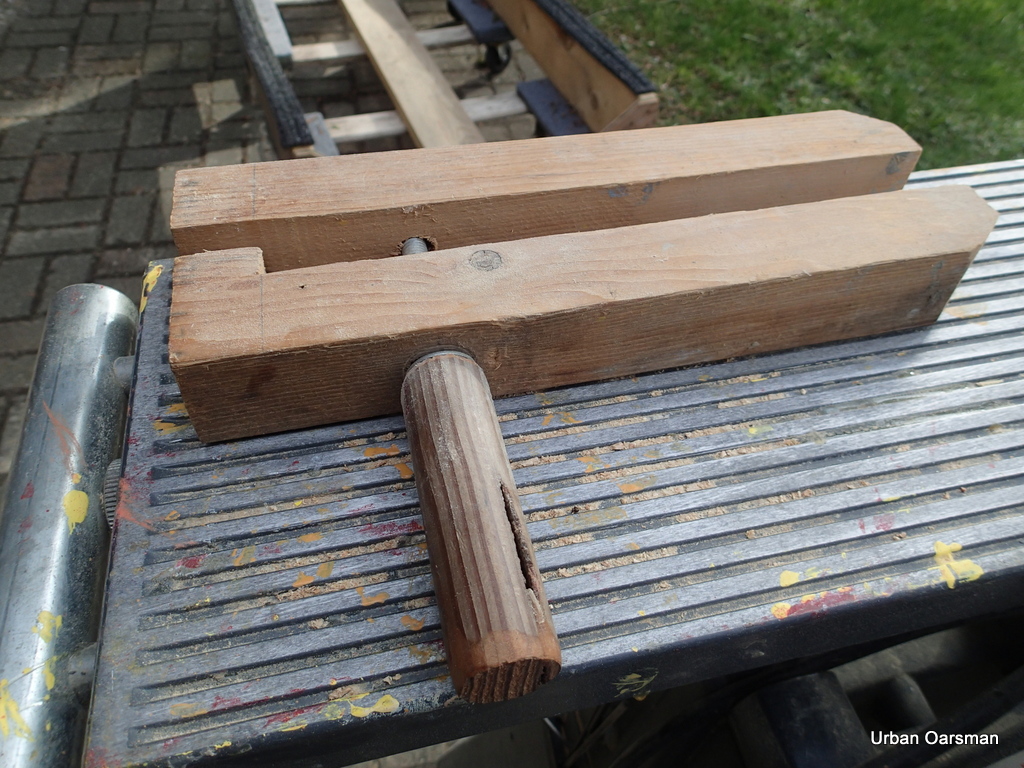

I cut up some 2 by 4’s and used some cherry firewood for the handles. Bolts are set into the jaws. I made up thirteen clamps for the 11′ Defender build.
I was imitating the classic “Jorgensen” handscrew clamp design that has hardwood jaws that can be offset and/or angled to keep parts from shifting.
In the thirty years since the last build, I am now older and wiser, maybe a little more skilled and I am going to again build a glued-lap clinker boat.
In reading the November 2019 and June 2015 issues of Small Boats Monthly, I found the plans for Brenne Clamps by Christopher Cunningham. I decided to build some.
By the way, Small Boats Monthly is a great resource…you should subscribe!
The Brenne clamp was designed by Harald P. Brenne, a teacher at the boatbuilding section of Saltdal Videregående Skole at Rognan in Northern Norway. The clamp is referenced in the book Planking and Fastening by Peter H. Spectre, in an article by Bjørn Skauge.
There is also an article by Bjørn Skauge in WoodenBoat magazine, issue 29, page 67.
I had a look at Christopher’s plans and then drew up some of my own.
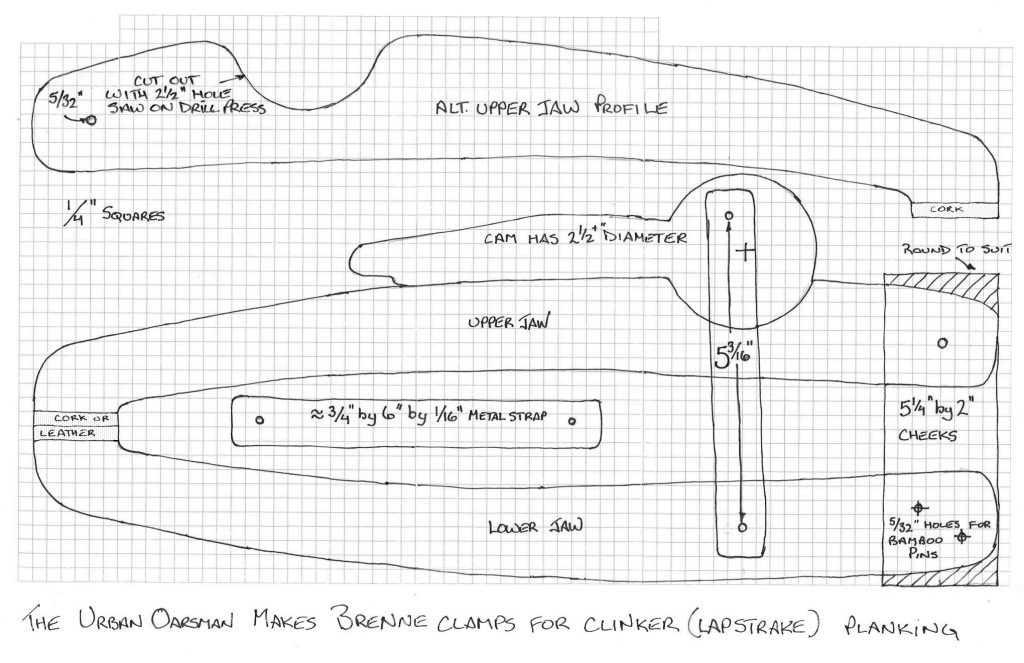
My clinker planking will be about ¼” and 1/8” thick, making a total thickness of ½”, 3/8” and ¼” at the lap. This clamp will work for planking lap thickness of up to maybe 1”. I decided to have a 10” reach, making the clamp 16” long. I was fortunate enough to be able to buy a number of recycled ¾” oak-faced plywood shelves from the local Urban Repurpose store for 25¢ each.

Each shelf gave me enough material for two clamps. For the Pins, I used some 3” common nails.
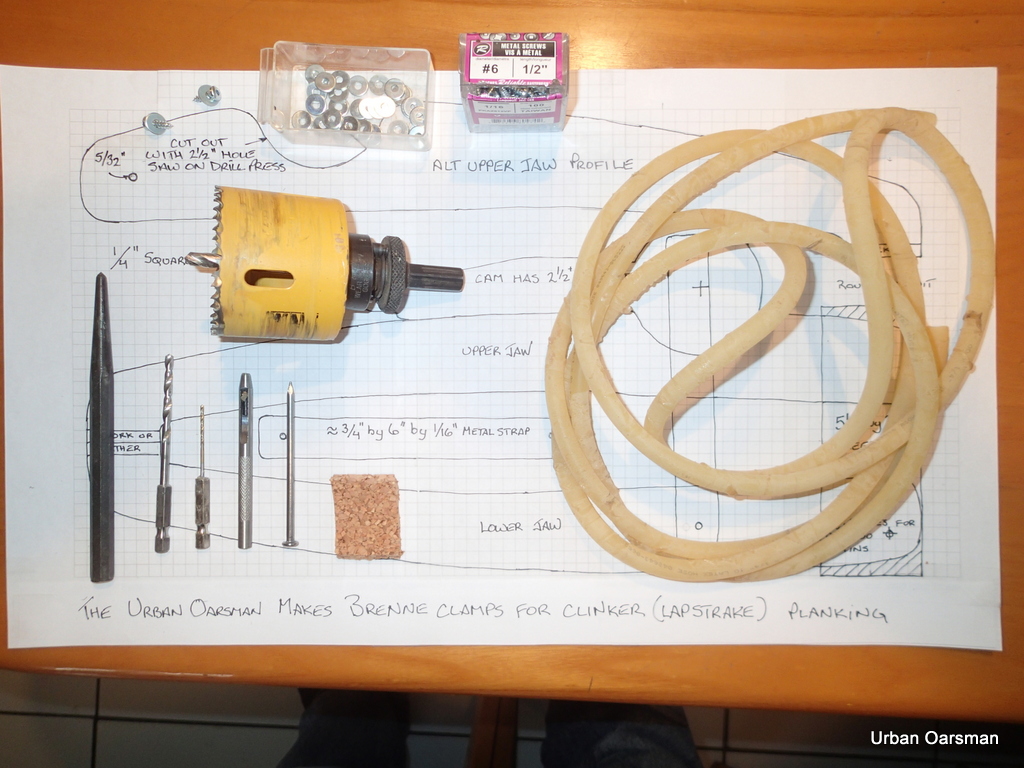
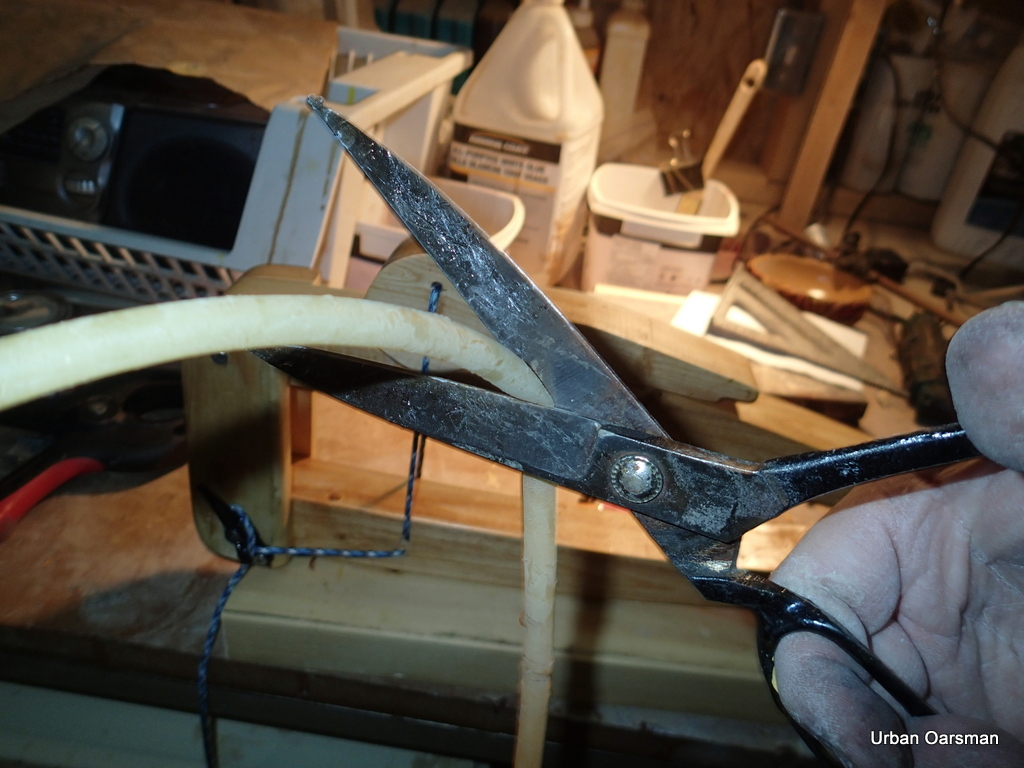
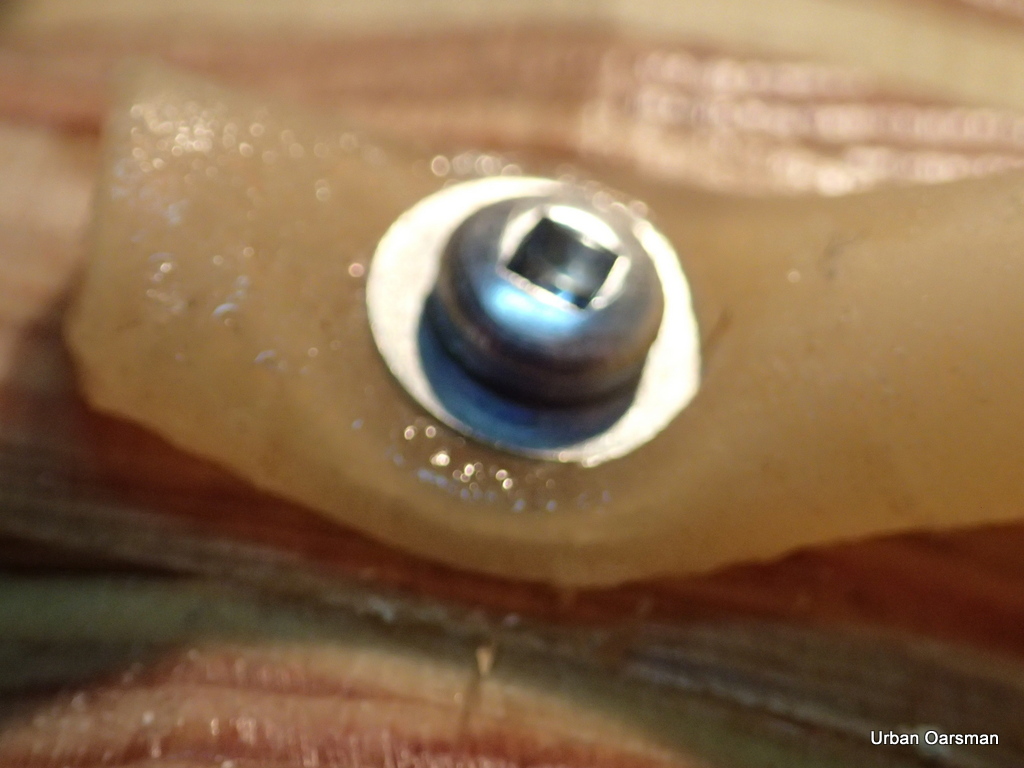
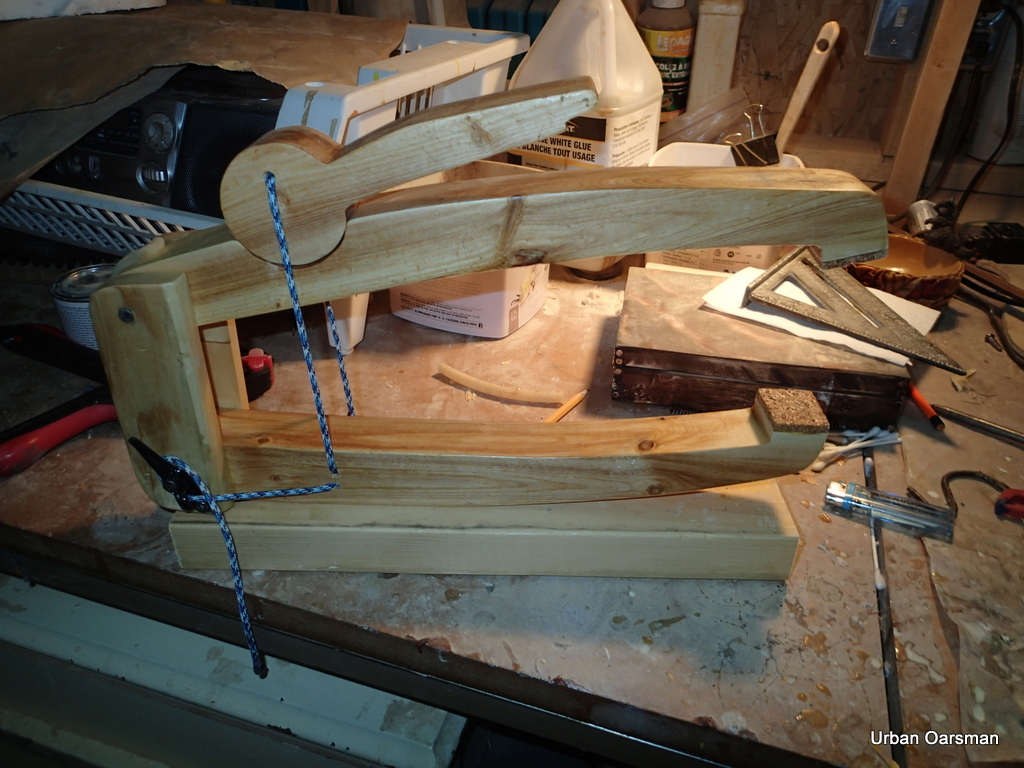
I did not have any luck in making springs work. I could not source compression springs long enough not to pop out of the clamp when fully open. My son suggested using extension springs attached at the cheek end of the clamp…Instead of a springs, I used some surgical tubing at the cheek end to open the clamps, secured by ½” (could go to ¾”) screws & washers. For the steel strap connecting the cam to the bottom jaw, I used left over scrap metal, some aluminum bar, some left-over half-round from Gwragedd Annwn’s build and some left-over concrete form ties (cut to size) from my garage/boathouse project.
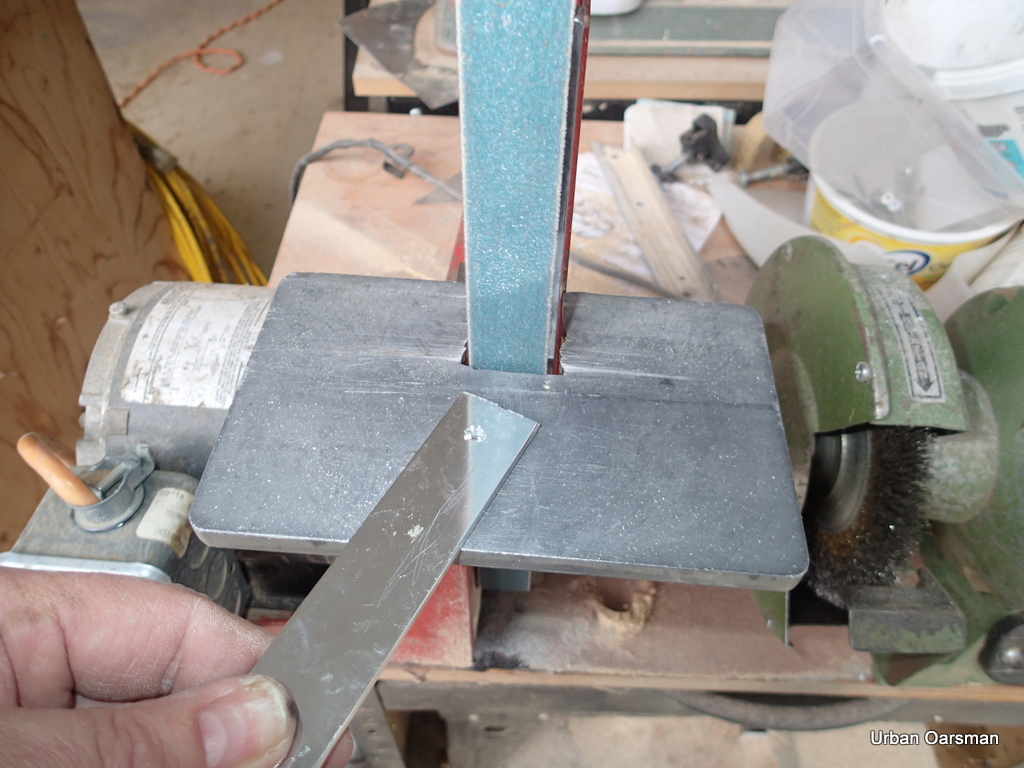
The tools I used were: Bandsaw with a 3/8” blade, Shopsmith with the 12’ sanding disk, Drill Press with a 2½” hole saw, and a 5/32” drill bit, Hacksaw, 1” Belt sander with a metal sanding belt, Cordless drill, Hammer, Metal files, Scissors, Varnish brush and a Random-orbit sander.
I suggest that you build one clamp, using screws so you can disassemble the clamp and make it into a pattern…when you know that your interpretation will work for your build, you can then make as many as you want.
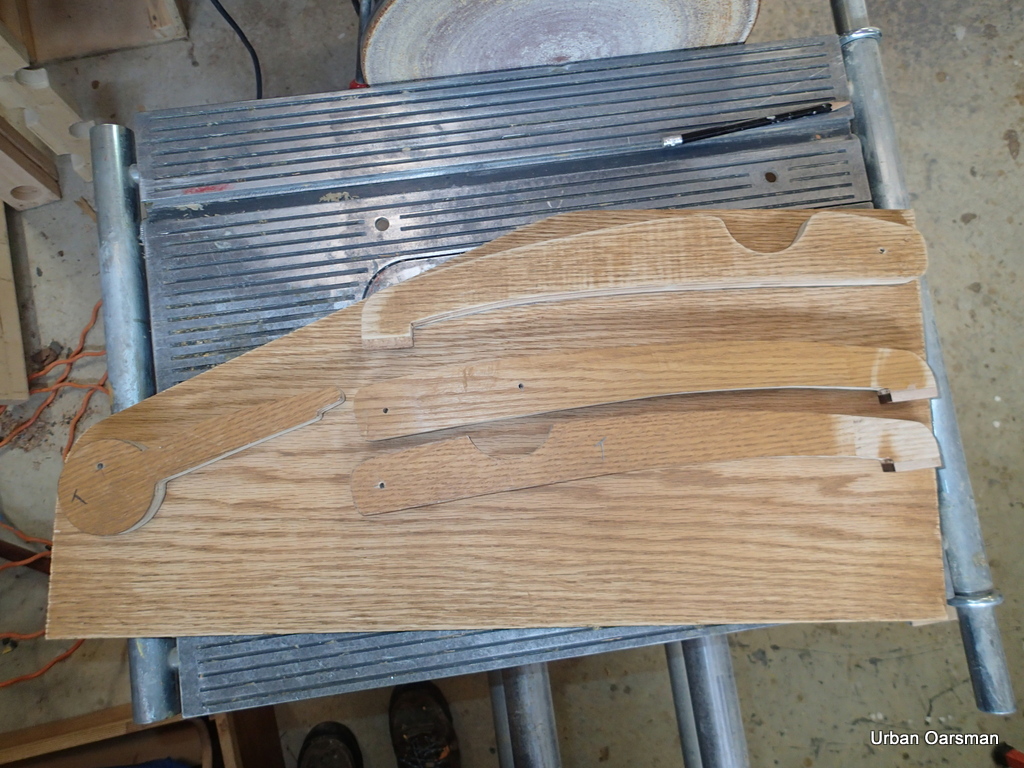
To make the clamps, I traced the patterns onto one of the ¾” oak-faced plywood shelves.
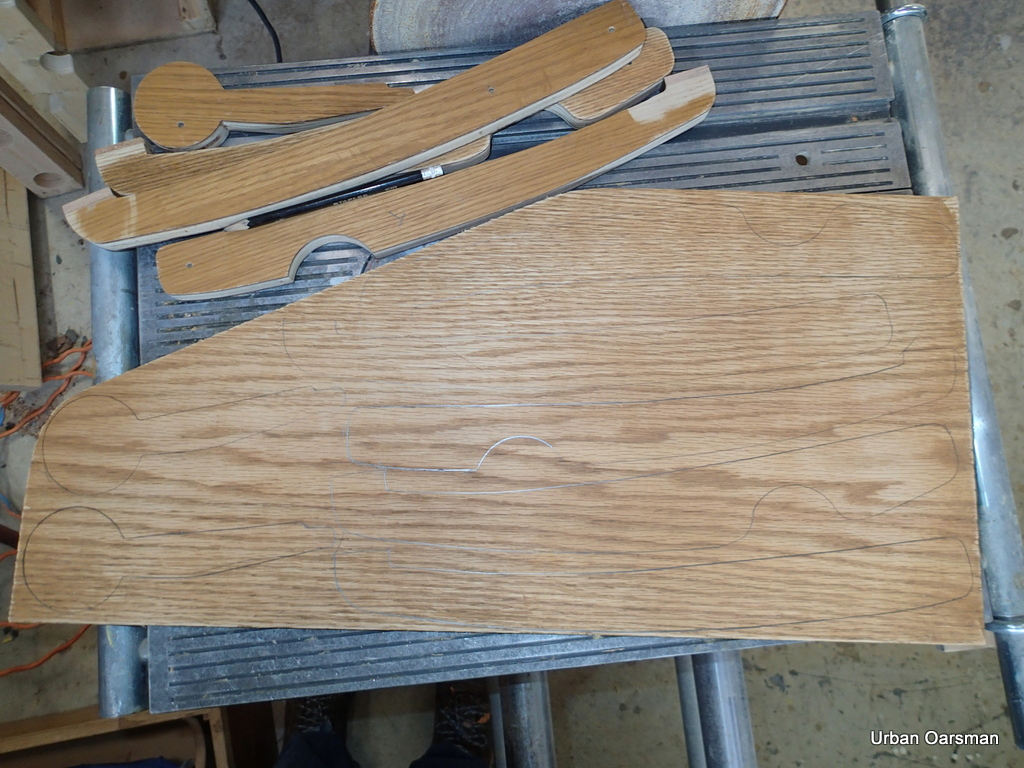
I cut out the pieces with the bandsaw using a 3/8″ blade.
I then sanded the pieces to the line using the Shopsmith 12” sanding disk.
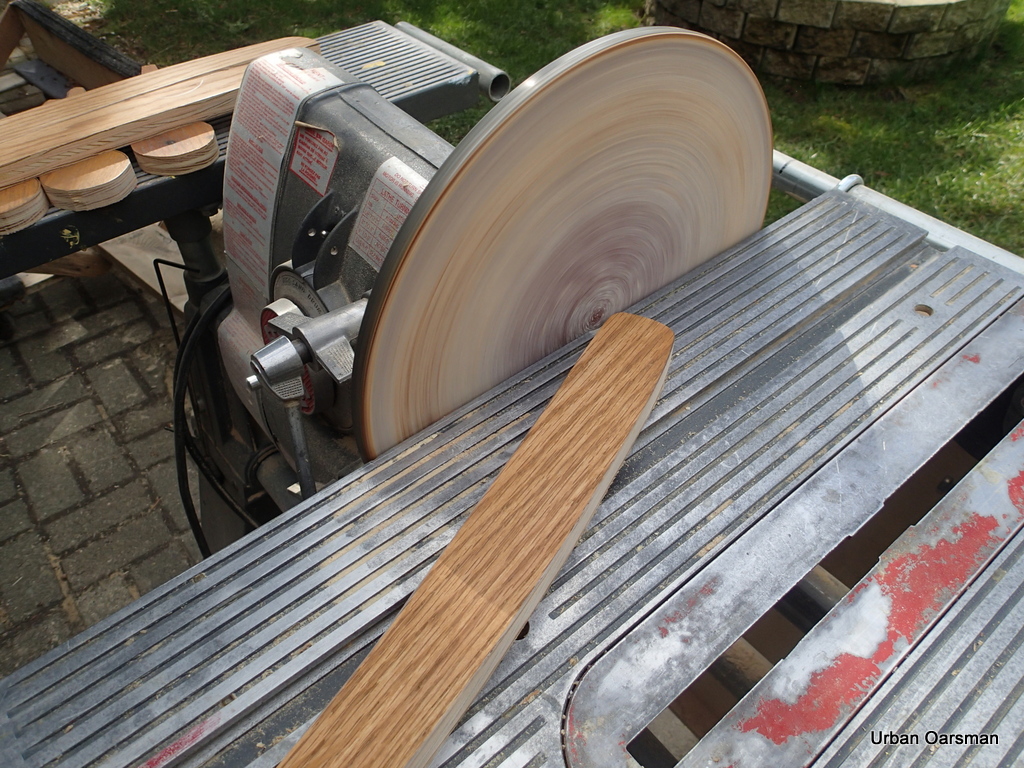
A little extra sanding on the hinge end of the upper jaw insures that the upper jaw will move freely between the cheek pieces when assembled.
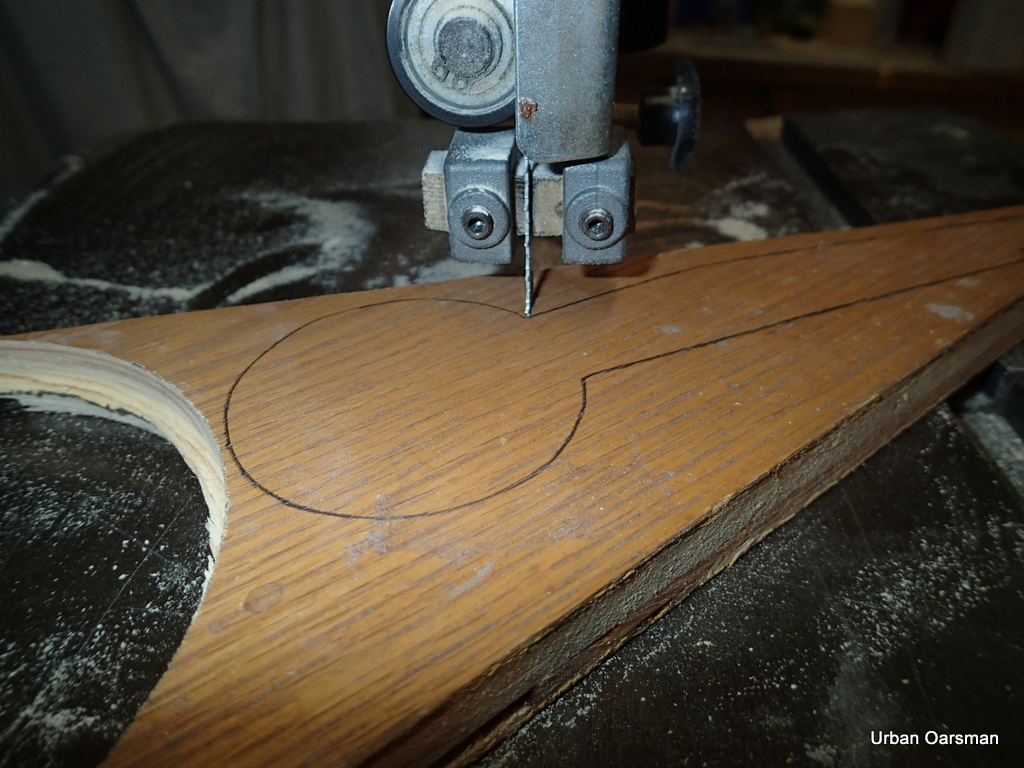
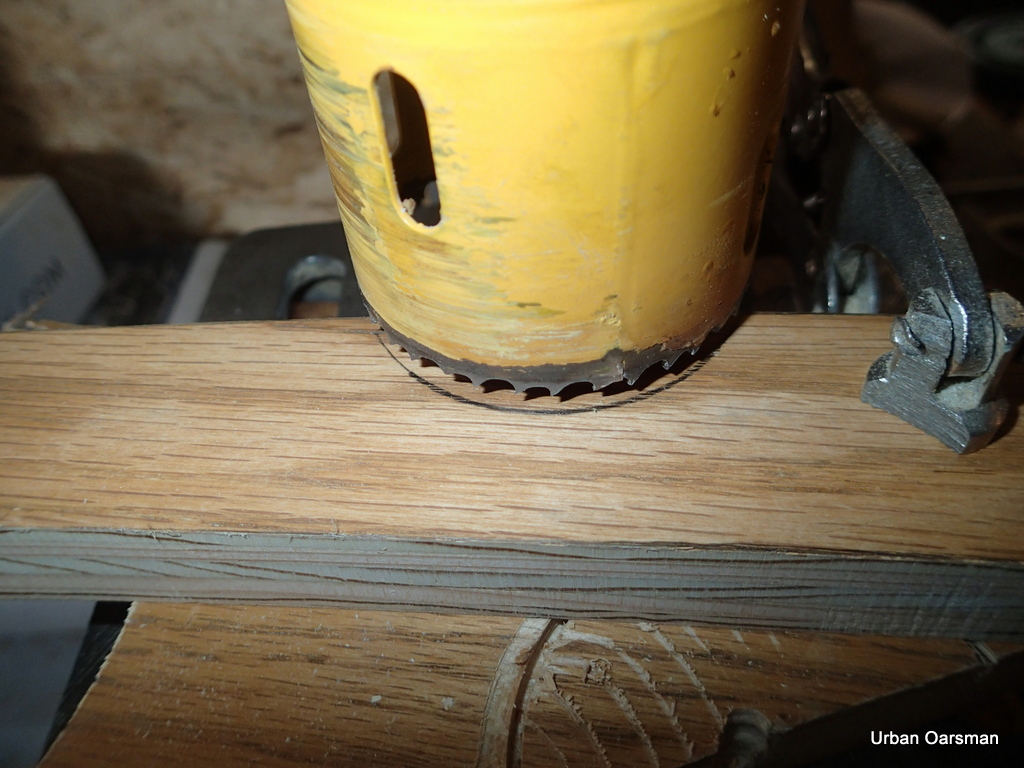
I used the Drill Press, clamping the upper jaw blank and cutting out the cam semi-circle with the 2½” hole saw.
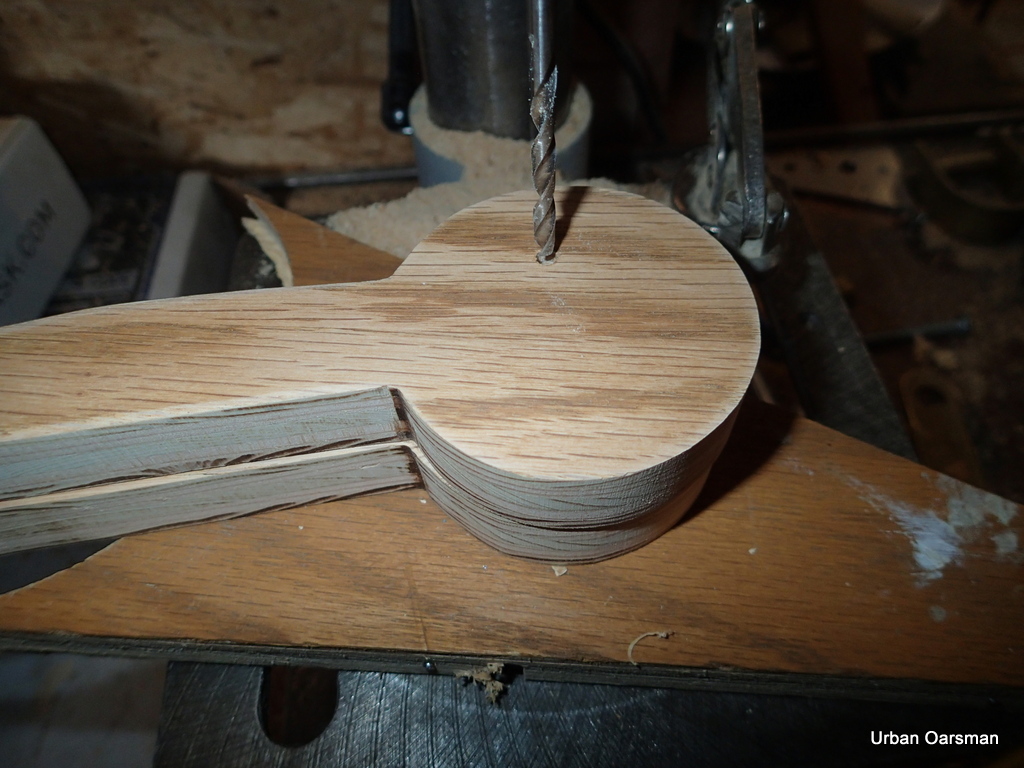
After cutting out the half-rounds, I sand the cam lever pieces. Be careful when sanding the cam lever pieces. I now match the cam lever piece to a particular Upper Jaw piece and sand the cam lever to fit the Upper Jaw piece.
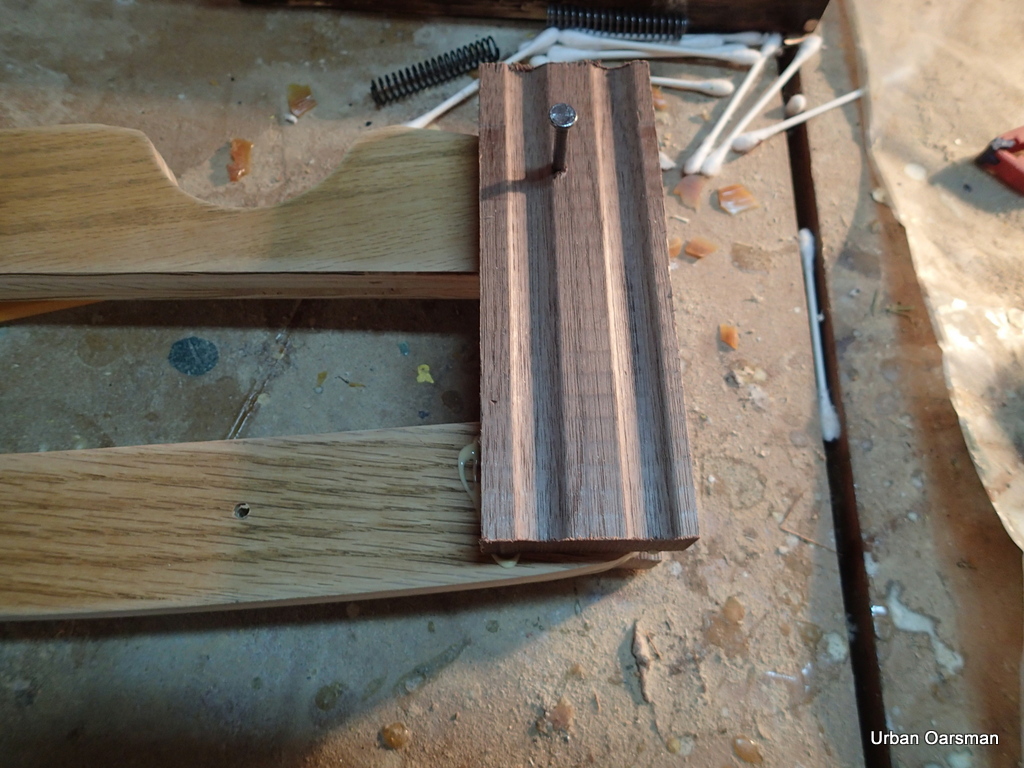
Next, use the drill press with the 5/32” inch drill bit to drill two of the remaining pilot holes…One in the cam, off centre.
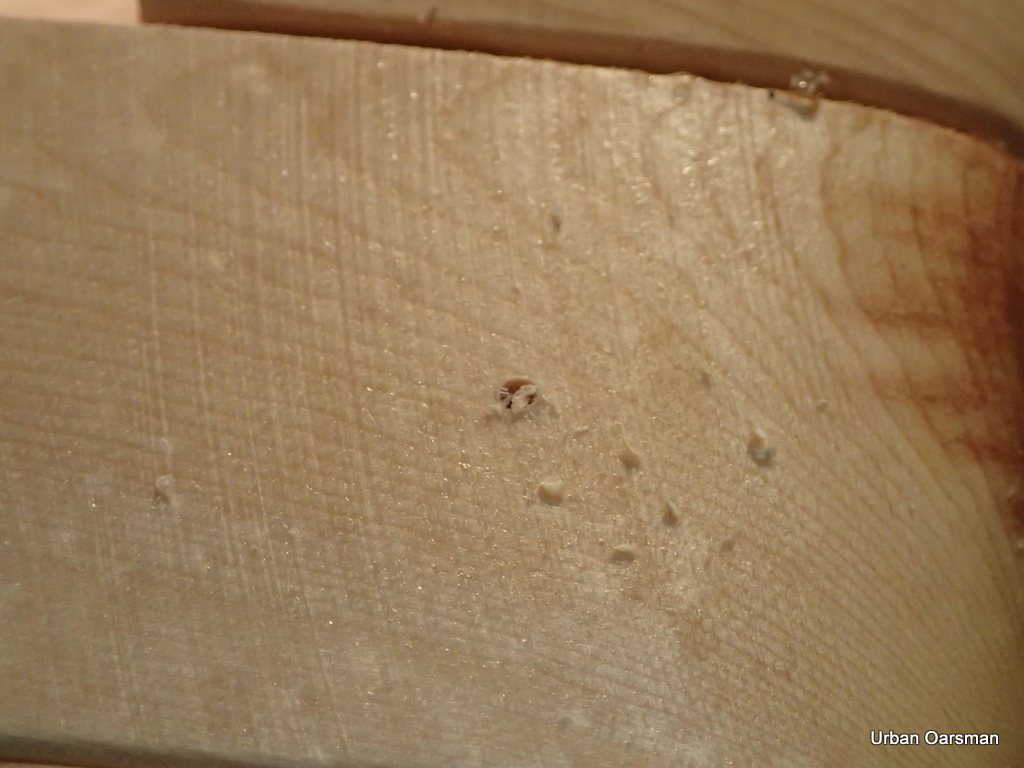
The two lower jaw holes are for two bamboo pins that reinforce the fixed joint between the lower jaw and the cheek pieces. I will drill and pin the Lower Jaw after the glueing the cheek pieces to the Lower Jaw and the glue has dried. The third lower jaw hole is for the pin that holds the cam to the lower jaw. It is below and slightly offset to the cam hole when the clamp is assembled. I dry assemble the clamp and use the cam strap to determine where the third Lower Jaw hole should be. There is one hole in the upper jaw. The hole is at the pivot point. The pivot hole is on the midline of the Upper Jaw and the same distance from the end of the jaw.
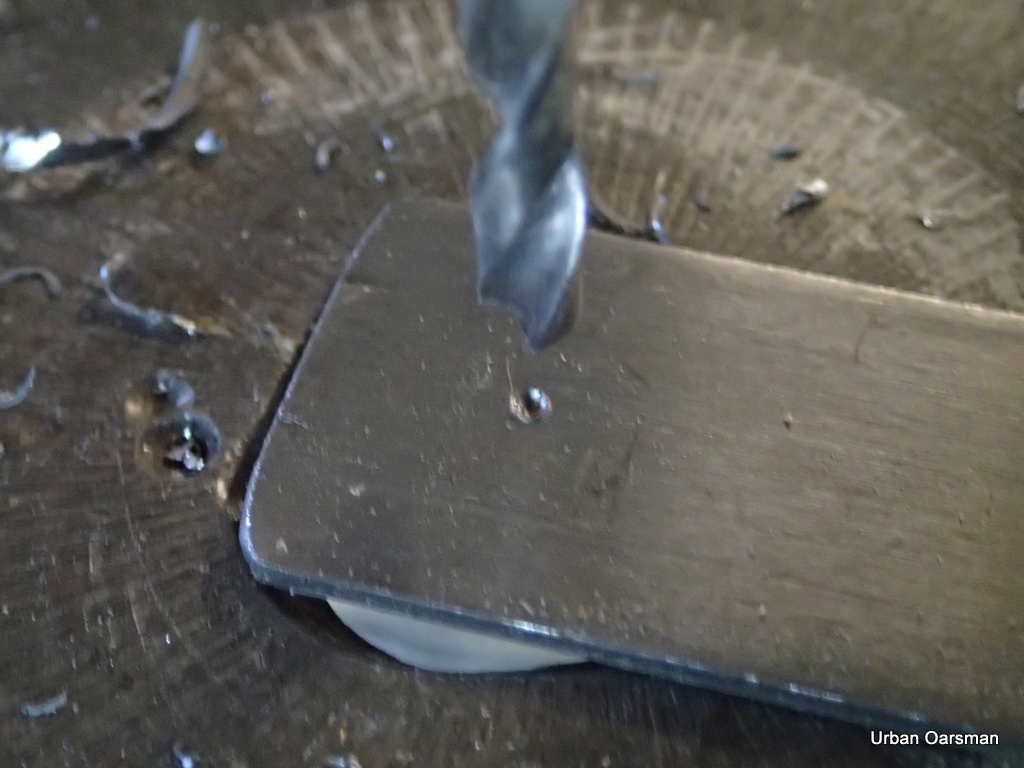
I drill one hole at the top of the strap.
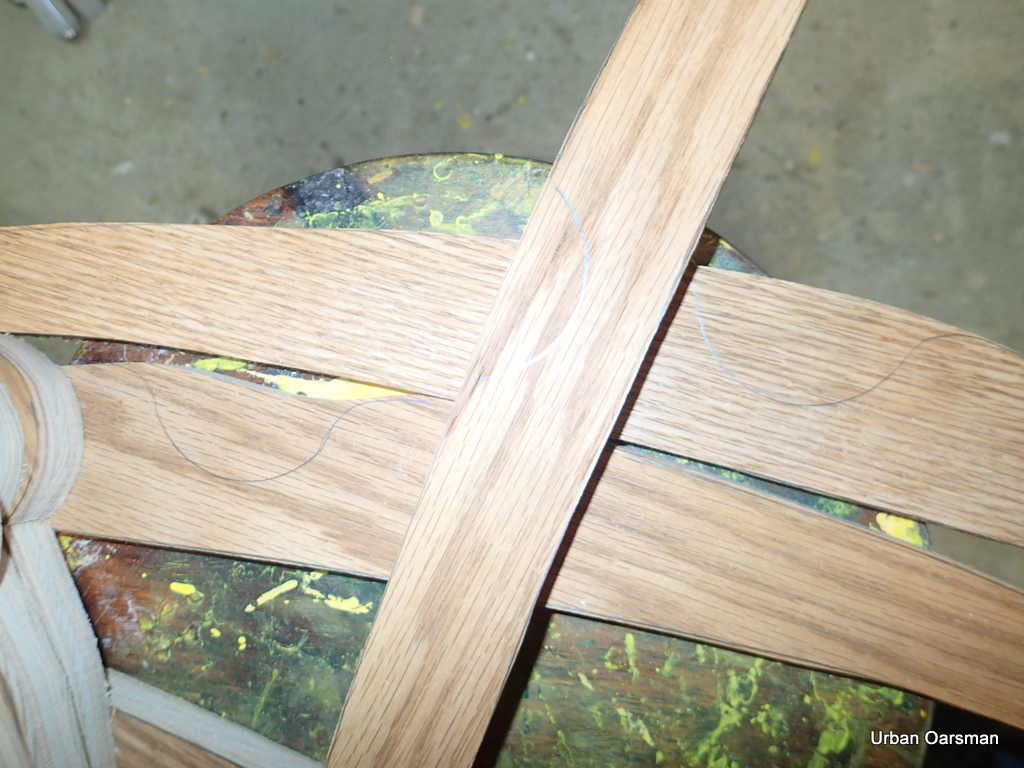
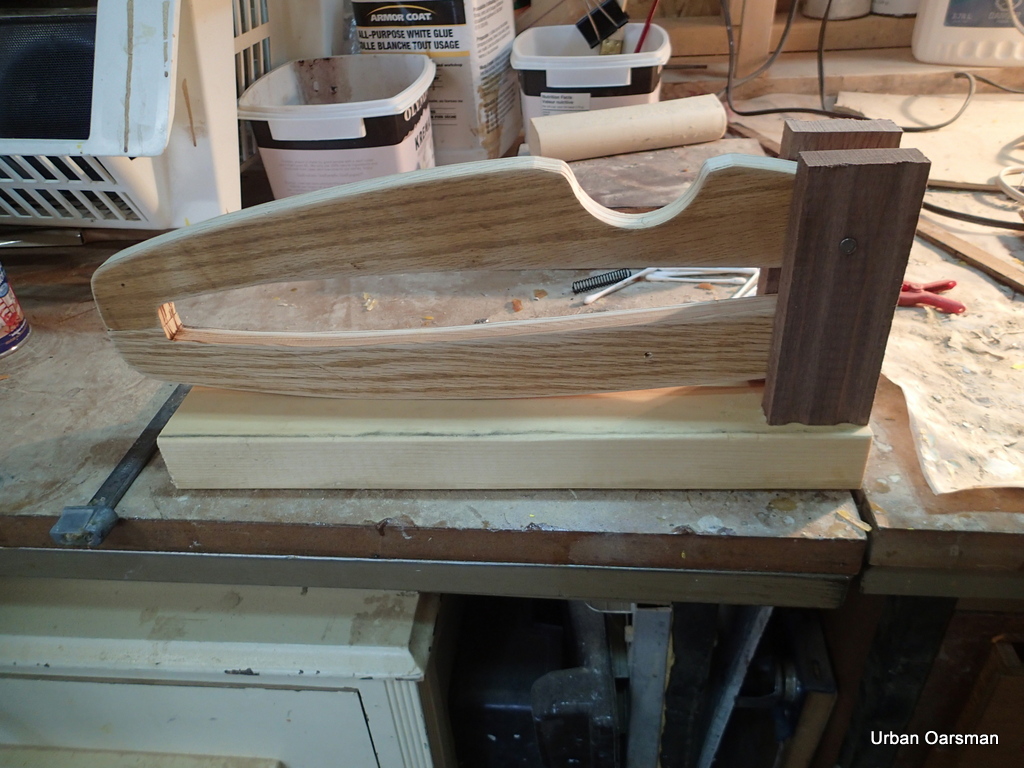
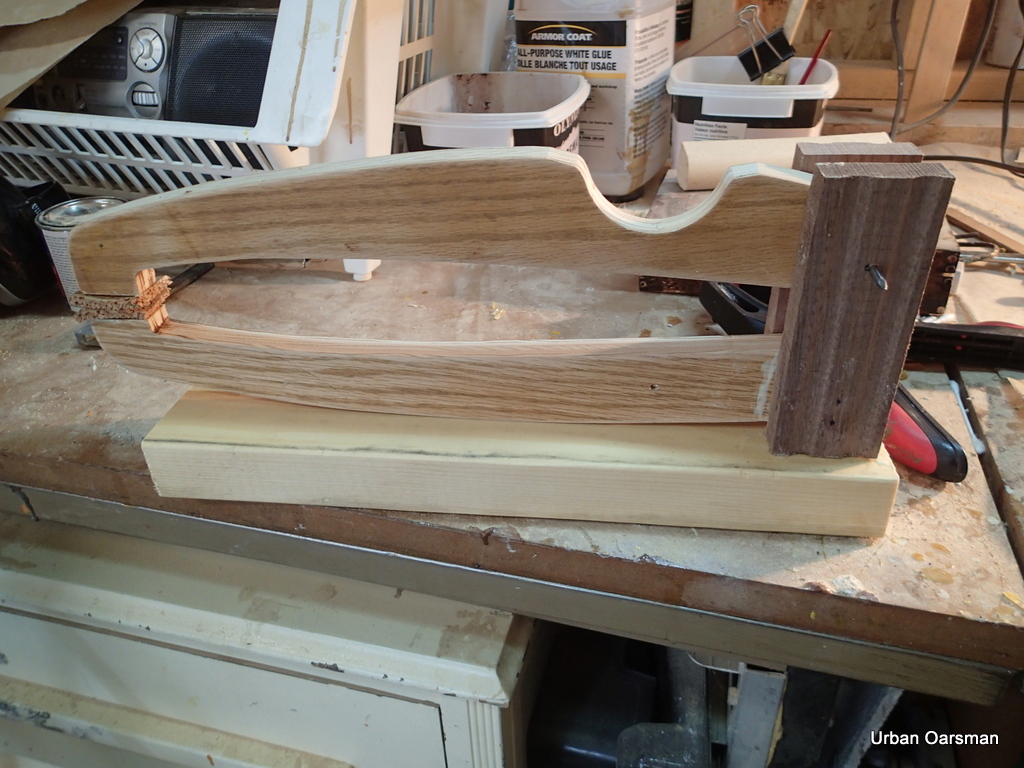
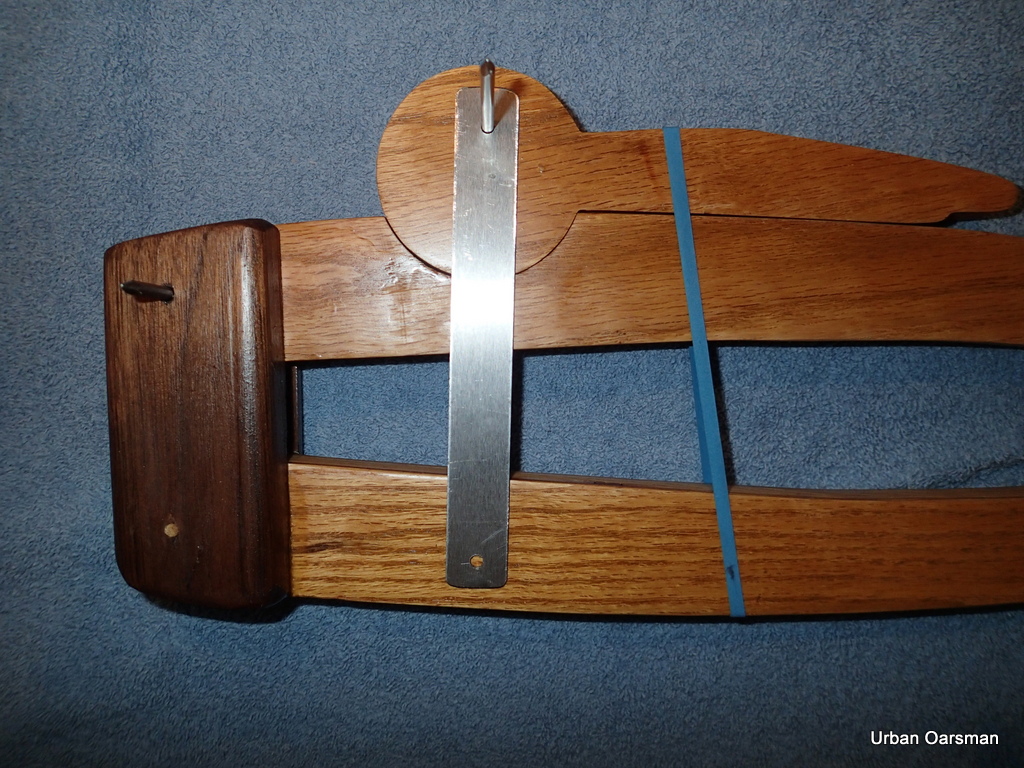
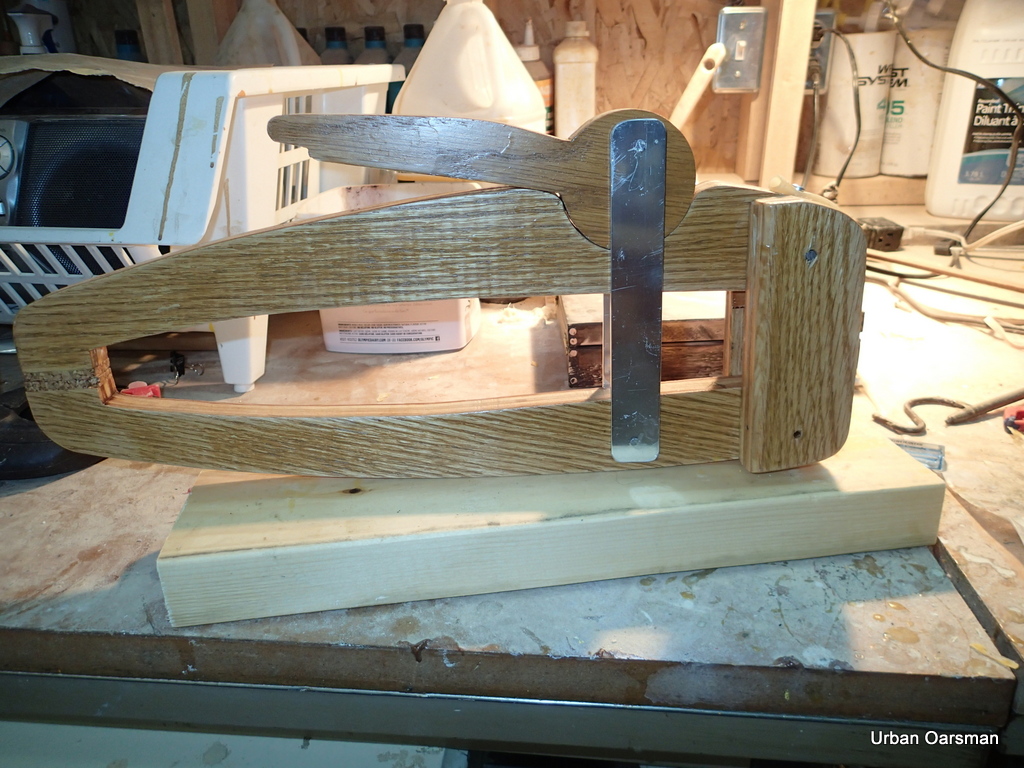
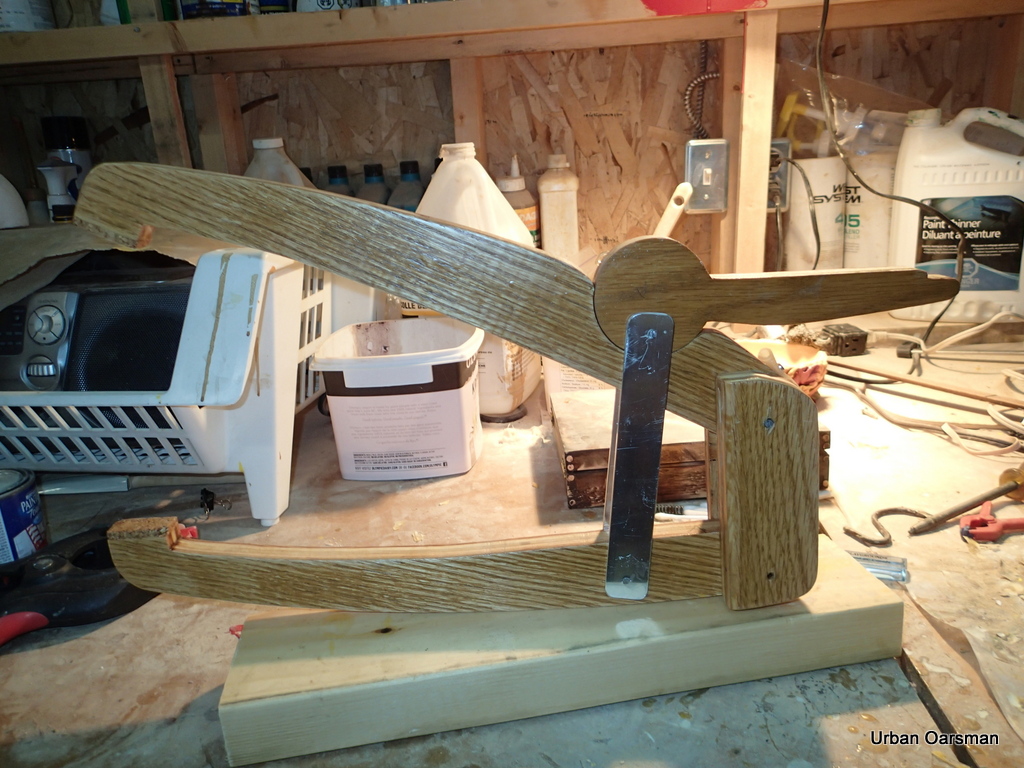
With everything cut, I dry-assemble the clamp in the closed/locked position.
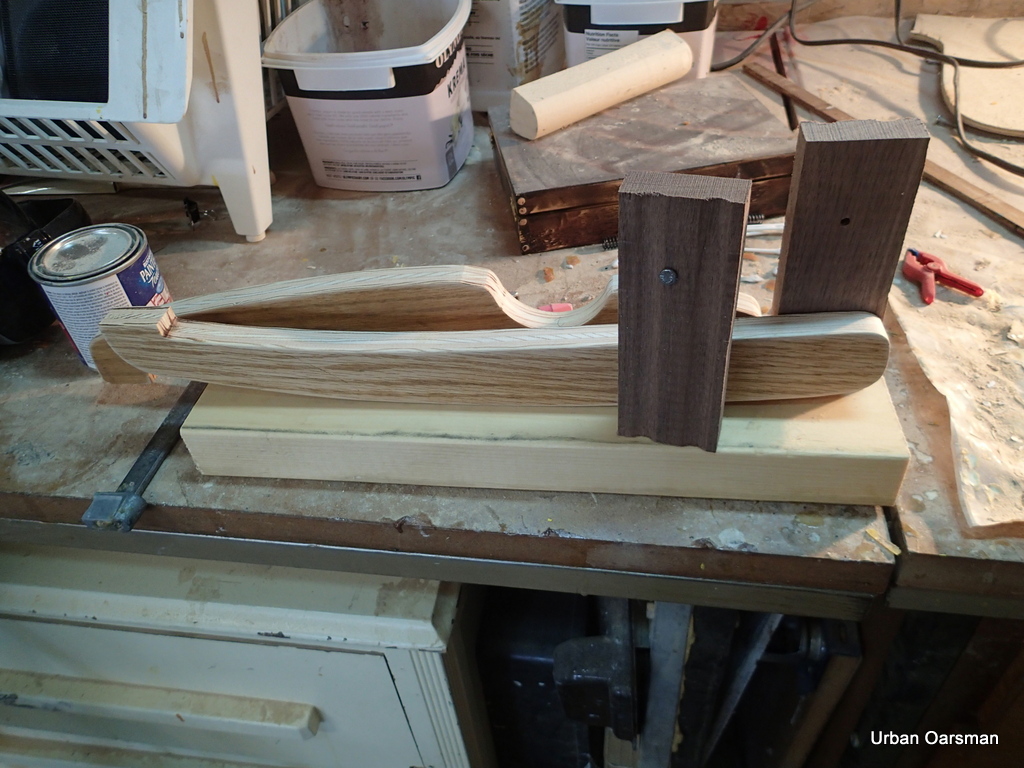
There should be about 1½” between the jaws at the cheek pieces. I usually make sure that the jaws are parallel at the tip.
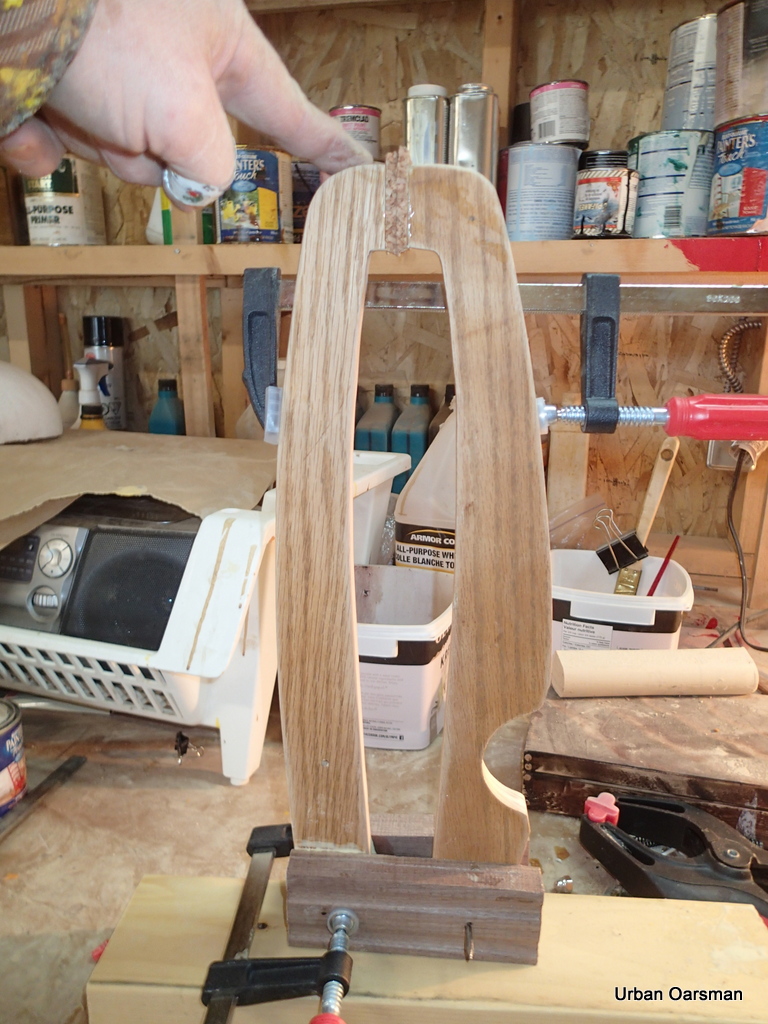
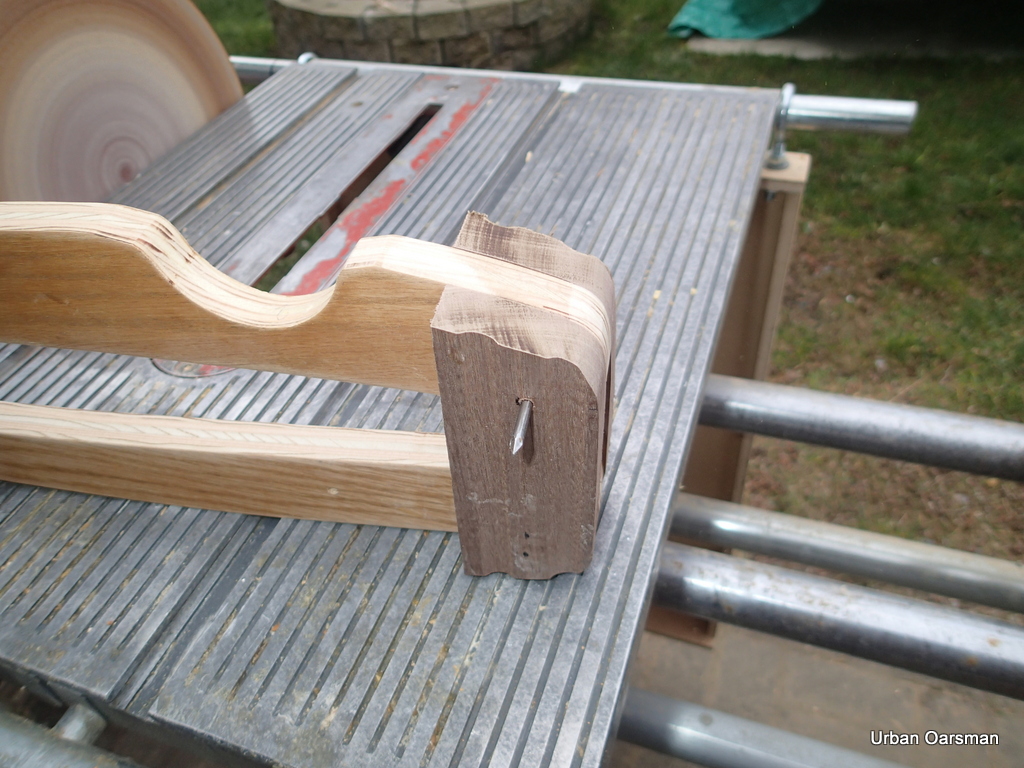
This is when I glue the cheek pieces to the lower jaw. If you are making a pattern, you now have one, just use screws instead of glue for the next parts…
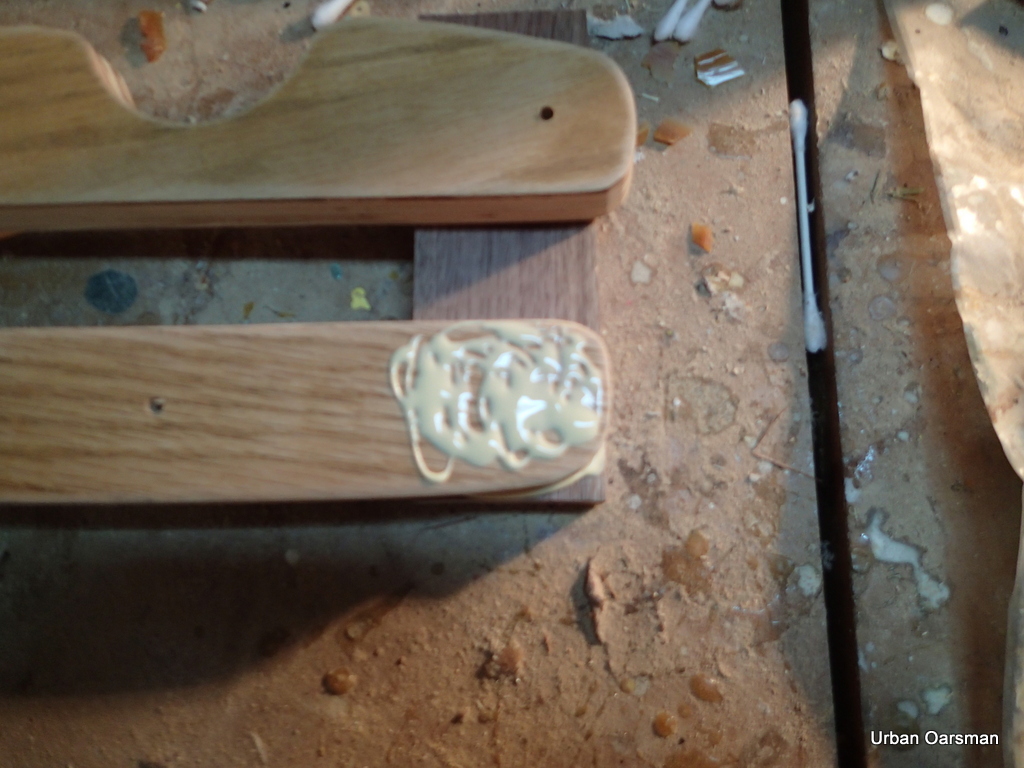
I get the clamp “squared” up and make the jaws parallel when the clamp is closed, then clamp it up.
I ballpark the length of the cam straps, insuring that there is enough length to go from the cam to the middle of the Lower Jaw.
This is when I cut the cam straps to length…The distance from the middle of the lower jaw up to the cam lever hole. It is personal preference as to which way the cam operates. Mine the cam moves forward to lock. Thought it looked better.
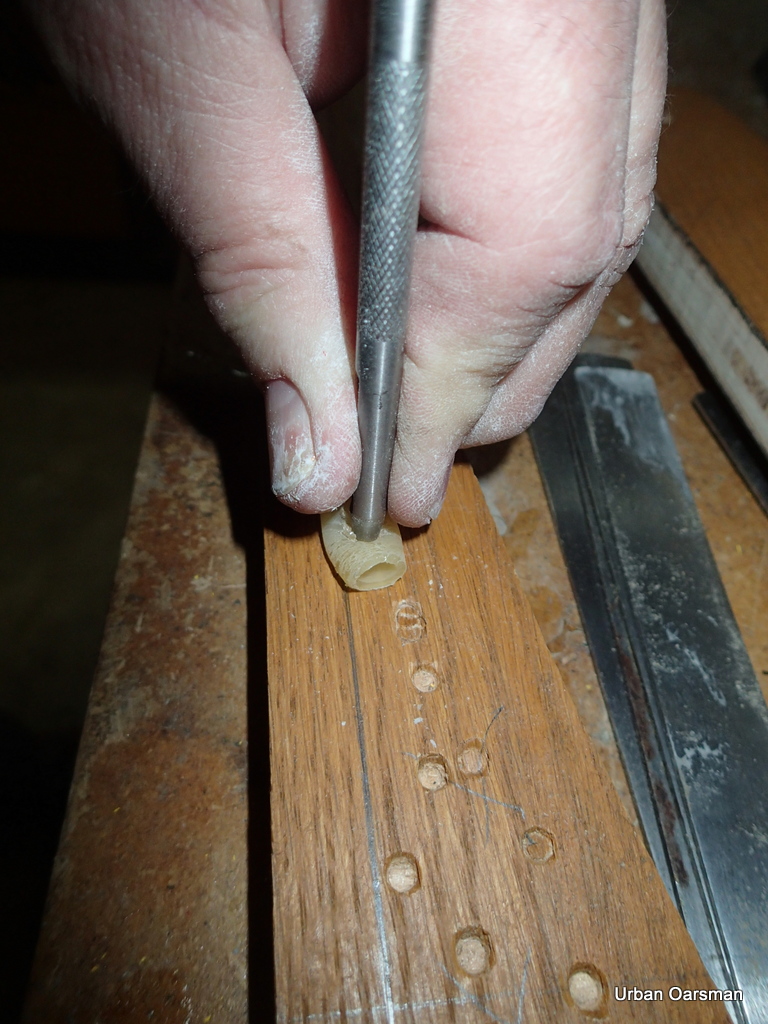
When the glue dries, mark your two remaining pilot holes. These are the for the two bamboo reinforcing pins. Glue them in. I usually give all of the pieces a coat of varnish after sanding and before final assembly. I tried using bee’s wax but it did not work.
Time to attach your jaw-opening device to the clamp. I did not have any luck with springs, although, I did order a lot of Pruning Shear or Secateur springs from China…should get her sometime before summer… I will give them a go when I get them, but for now….
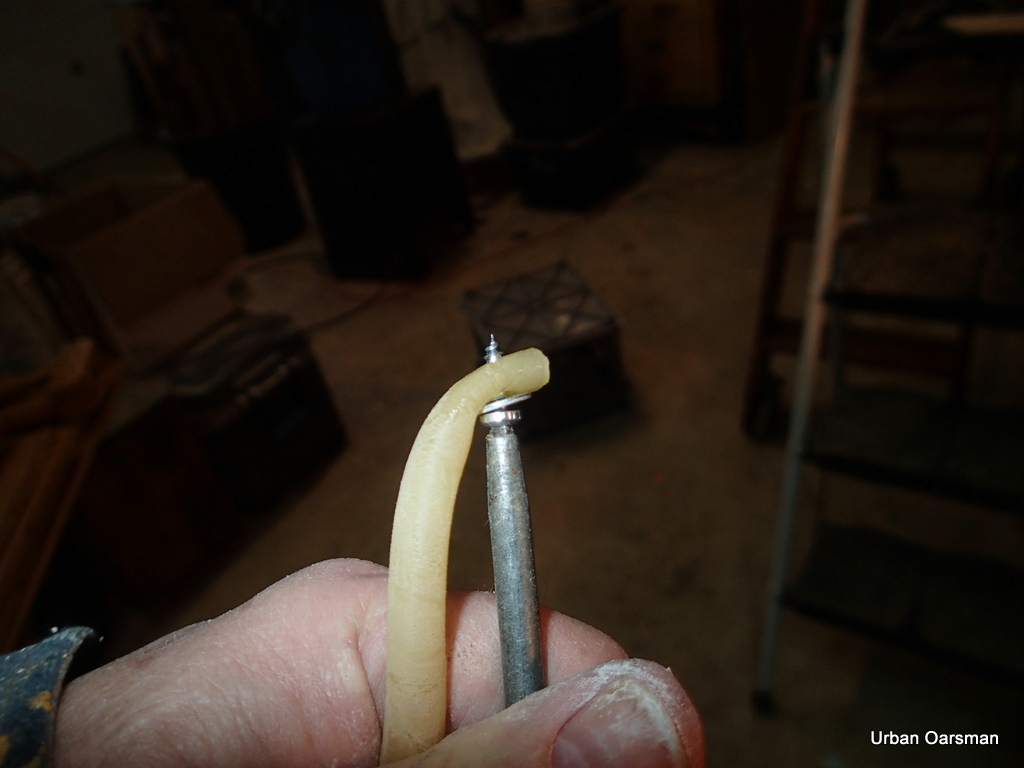
A small amount of spit makes the screw turn easier in the Surgical tubing.
I usually do not attach the cam and cam straps until after I attach the the Surgical tubing…Having the Upper Jaw able to swing freely makes the job easier.
Reassemble your clamp…ensure that the clamp works to your satisfaction.

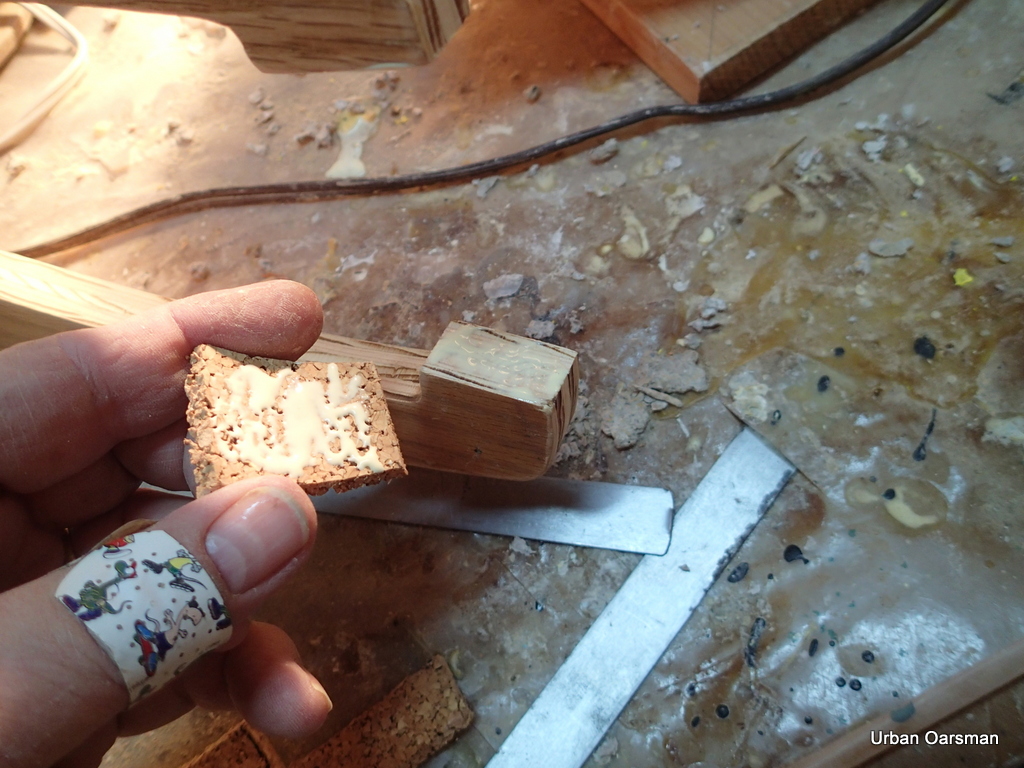
If the clamp jaws are not meeting tightly enough when the clamp is in the closed/locked position or are too tight in the closed/locked position, you can fix this. Two ways, re-drilling the hole in your Lower Jaw or replacing the cam straps or re-drilling the pivot hole in the strap. You could also add another layer of cork or leather to the jaws of you could sand off some of the cork if too tight.. Fill any “unused” holes with bamboo pins glued-in.
If the Surgical tubing device will not open your jaws fully, you have several fixes. One: shorten the length of the tubing, Two: double up the tubing, Three: take the Upper Jaw off and sand down the pivot end of the jaw.
If your clamp works to your satisfaction, dissemble and use the pieces as templates to make as many as you need…One for every foot of boat length for each side of the boat..?
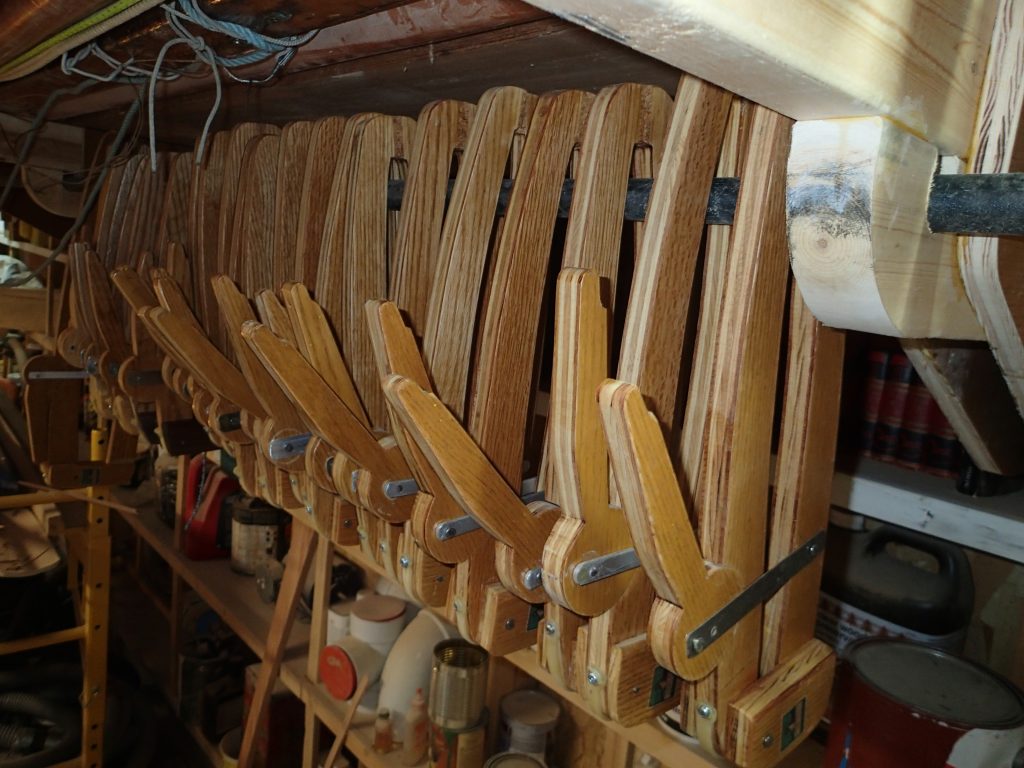
All in, I spent less than Ten dollars for the twenty-two clamps I made…Each clamp cost less than 25¢ in materials!!! and I have enough left-over material for another ten!

Hope to see you out on the water in a glued-lap clinker boat soon,
Mike
