
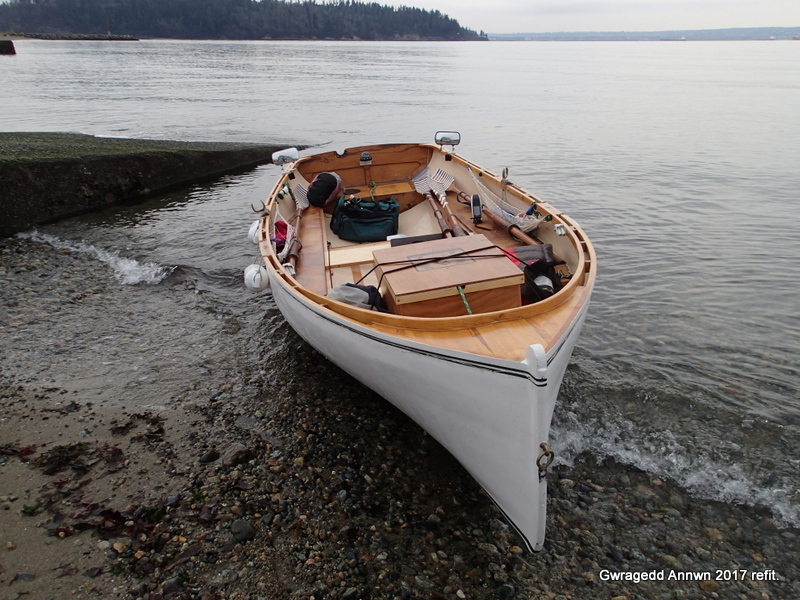
It has been Five years since I launched Gwragedd Annwn and she is starting to look a little “experienced”. After five years and hundreds of rowing trips, I have found that there are a few things that she could do better…Her seating does not work really well. With one Oarsman, her balance is a little off. Her foot braces could work better. The oar storage is awkward. Her motor well is not well designed and I never use the British Seagull with her and the well is a source of concern. I am not convinced that her oarlock are at the best angle. The foredeck collects water. Her camping deck does not really work that well. She needs a sailing rig. The under foredeck storage is not used and the hatch is not air or water tight, making it useless as a buoyancy tank. Her side tanks are not air tight either, again, making them useless as buoyancy tanks. With what I have learned over the last five years I can make Gwragedd Annwn better.
First, I bring her home to my garage/boathouse from Hollyburn Sailing Club.
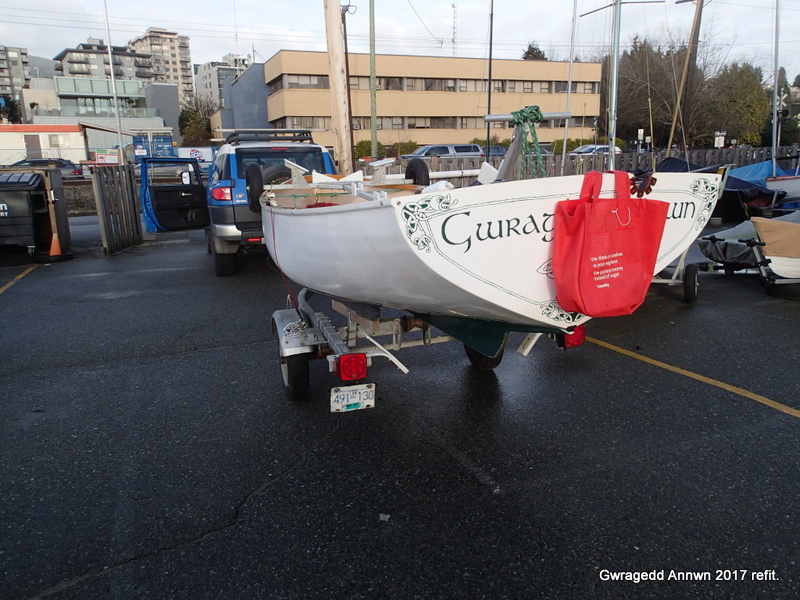
Gwragedd Annwn 2017 Refit, on her trailer, ready to go home.
Gwragedd Annwn sports a bright red flag so she does not meet anyone by accident!
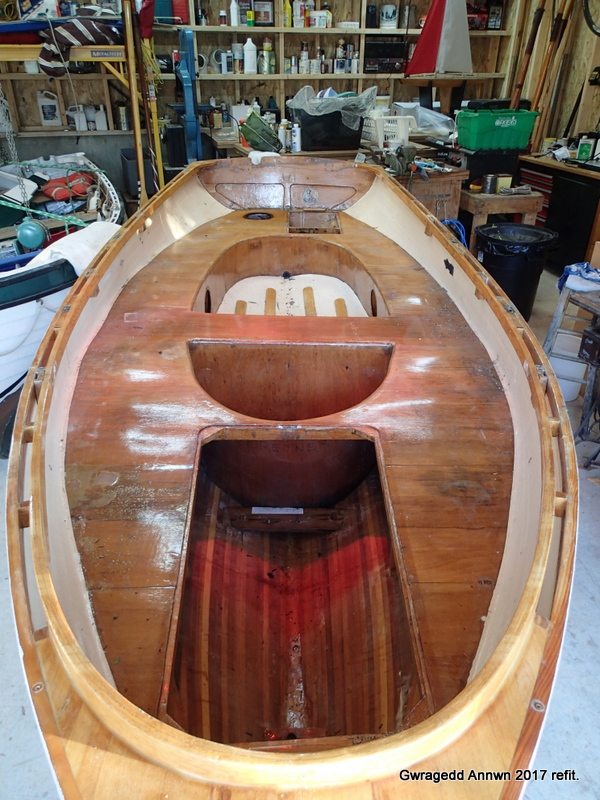
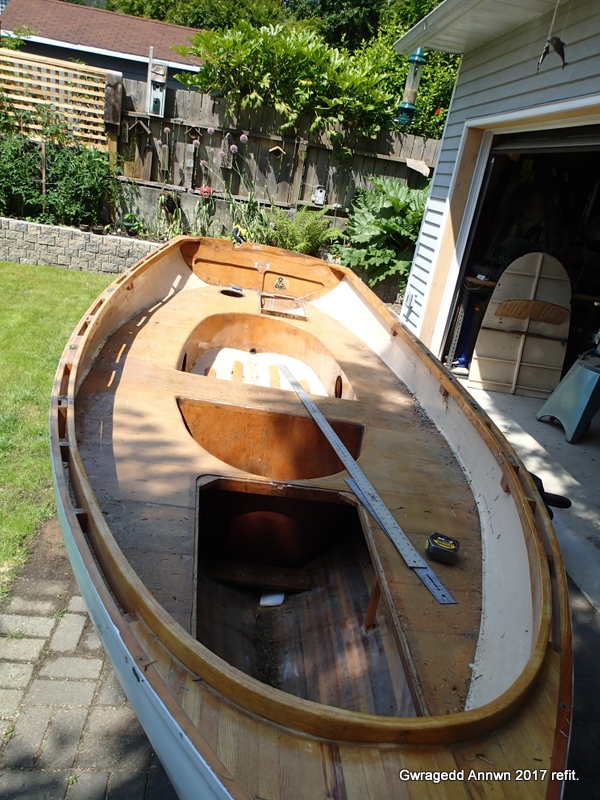
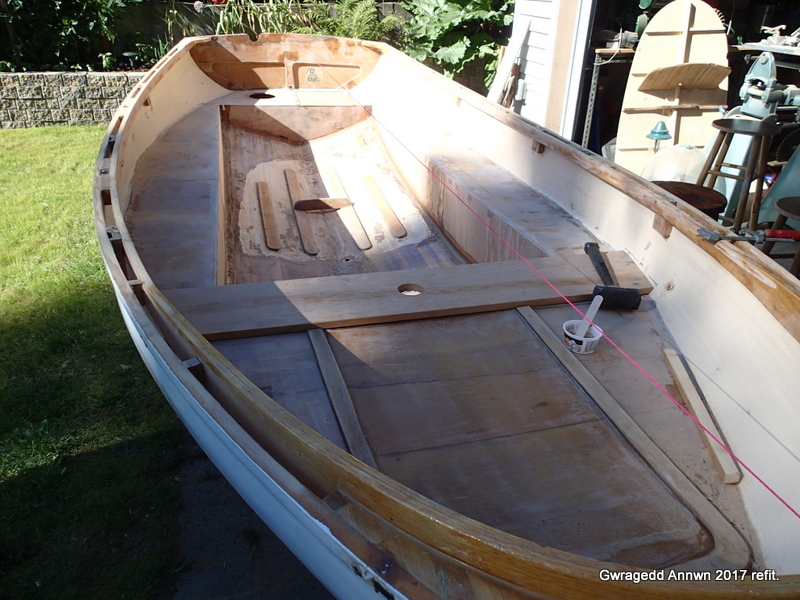
When I get her into the shop, she gets a complete assessment.
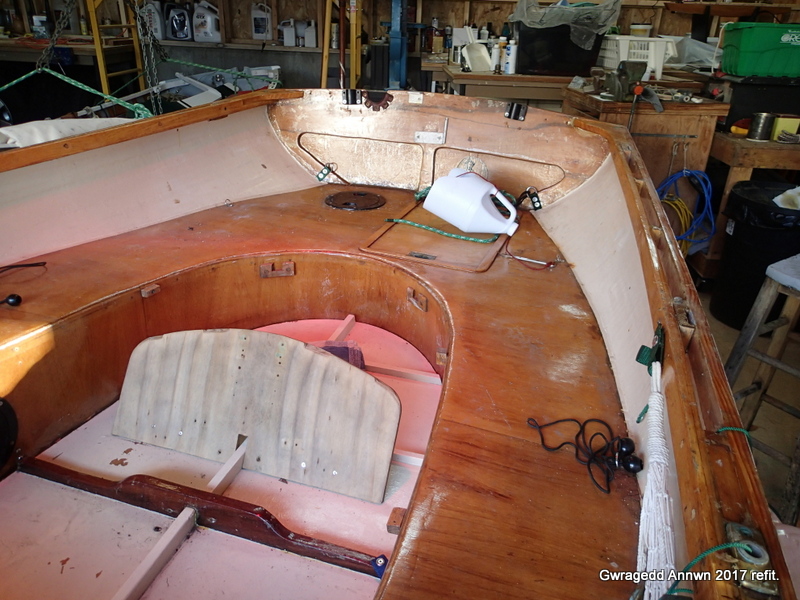
I note all the things I really like..where the foot rest is, where the hammock storage is, and where the tie-downs are.
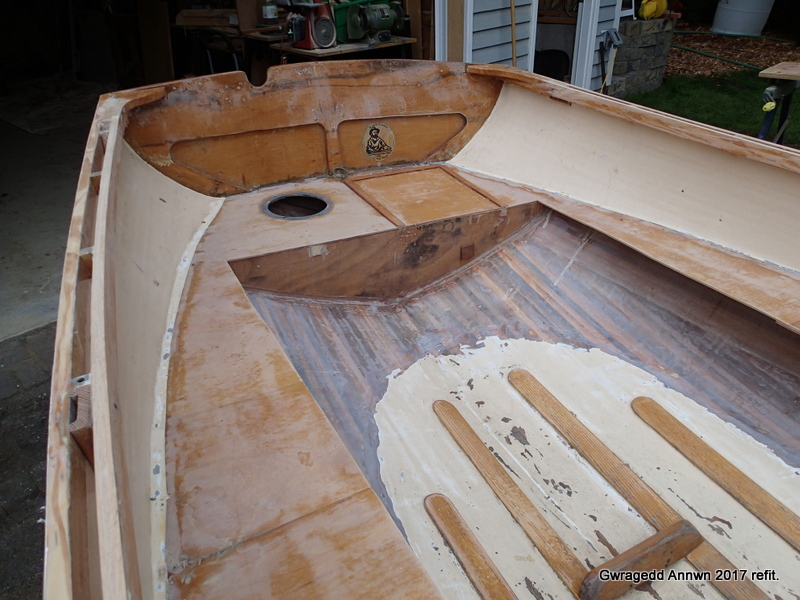
Main rowing seat and axe, storage hammock, GPS mount and oarlock storage.
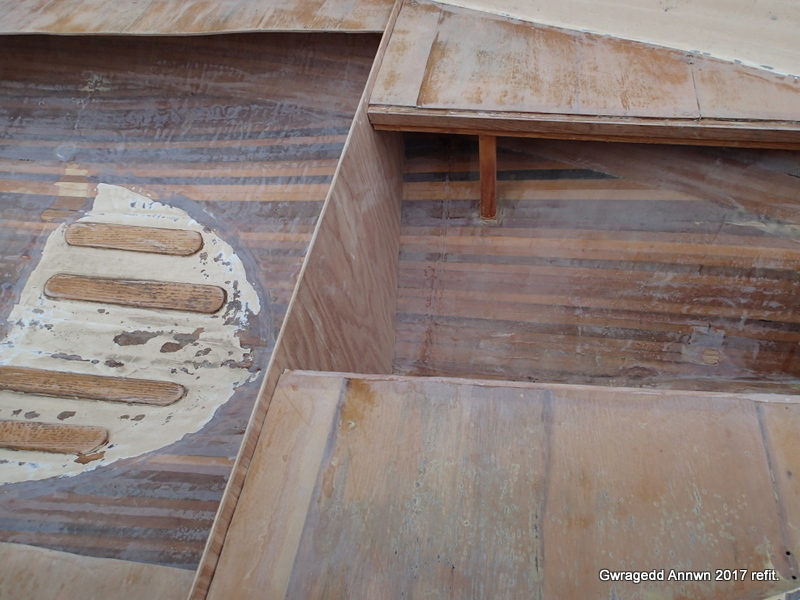
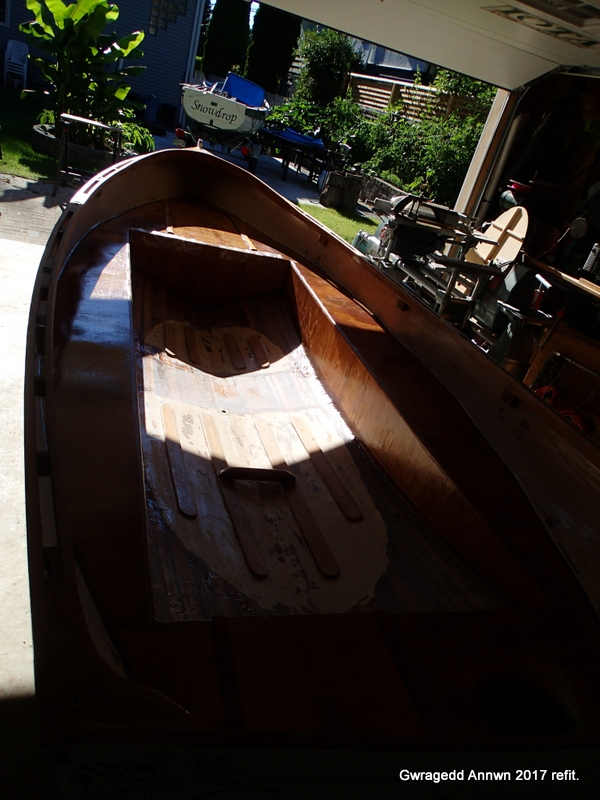
The floor with the foot brace were designed to be flipped over and rest on the blocks on the seat sides to form a sleeping platform. It did not work very well.
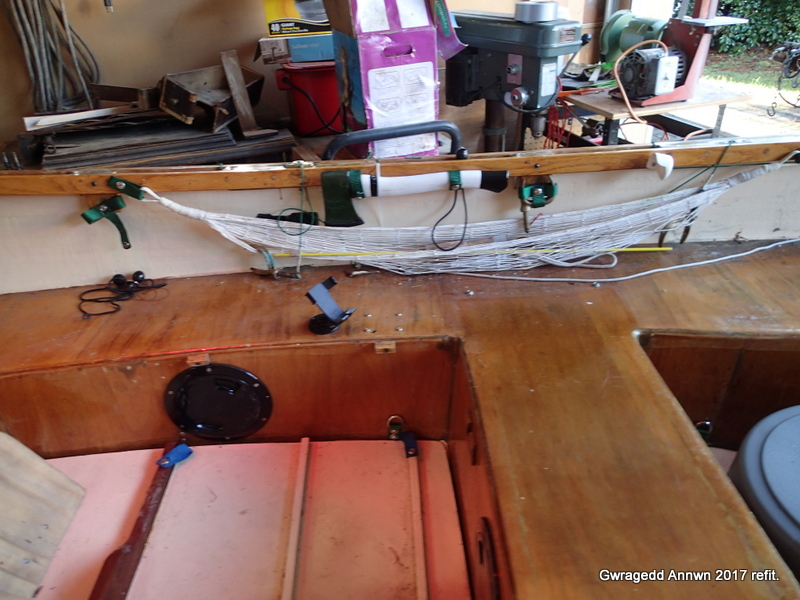
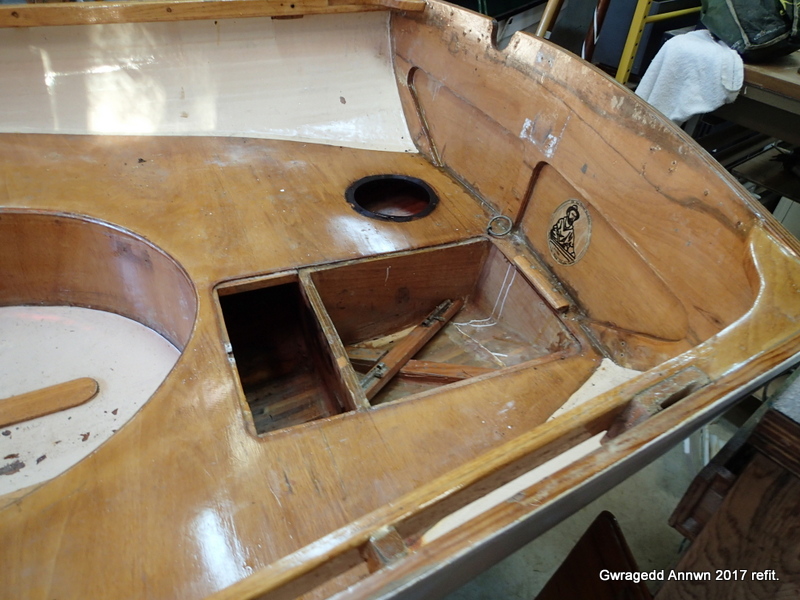
Foredeck areas with forward rowing seat. Storage was under the foredeck. The seal was not air or water tight.
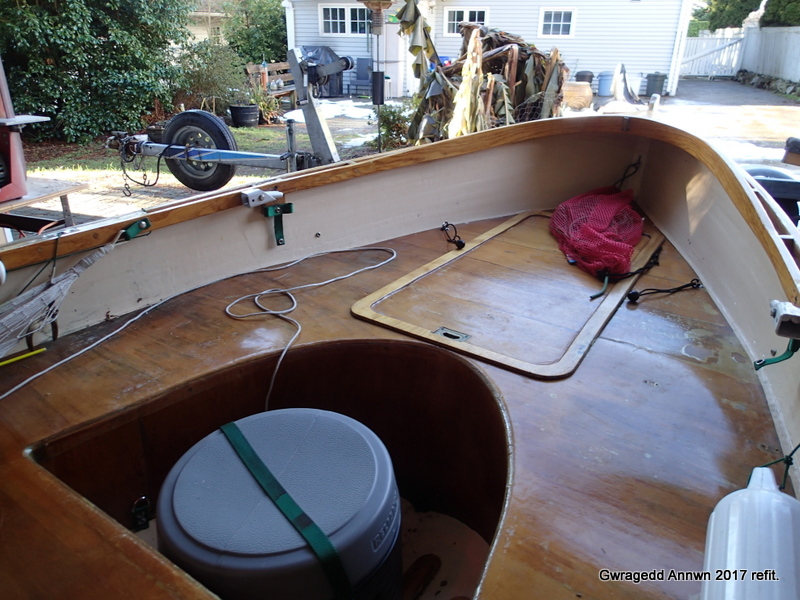
I wanted the four buoyancy tanks (bow tank, side tanks and stern tank) to be air and water tight.
All the hardware removed.
With all the hardware removed, I plan her new seating and buoyancy tanks.
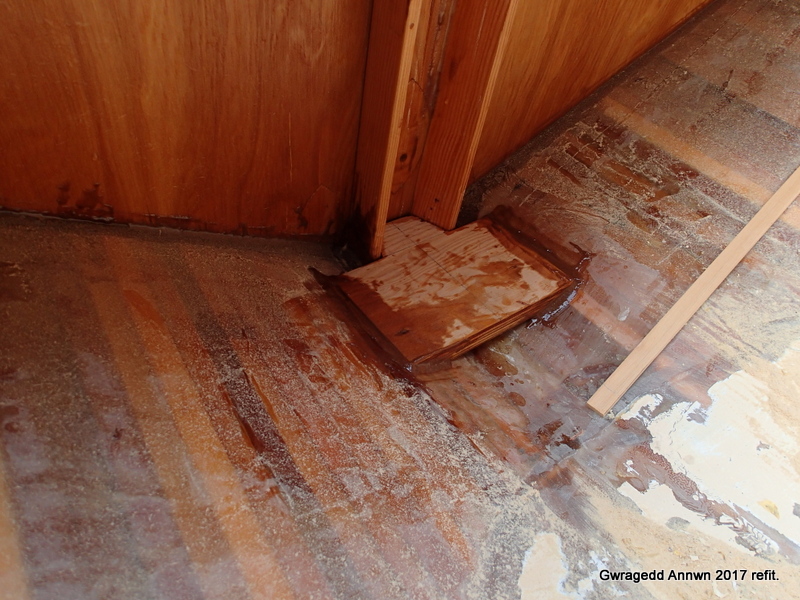
The motor well.
The first step is to seal-up her motor well.
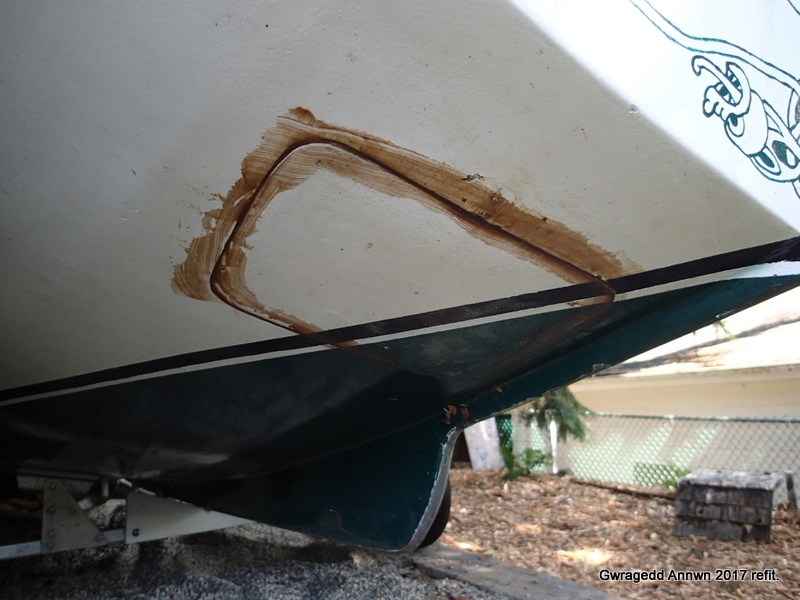
Motor well for the outside.
I grind the edges of the motor well and the cover. Using a mixture of epoxy and wood dust, I make a “peanut butter” paste and glue the motor well cover in place. (I should never have cut it out in the first place).
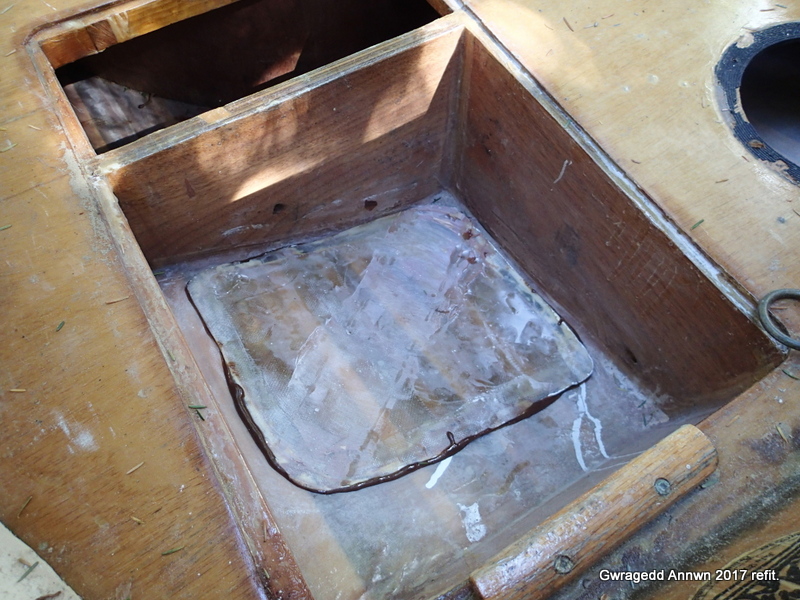
Glued-up motor well, inside view.
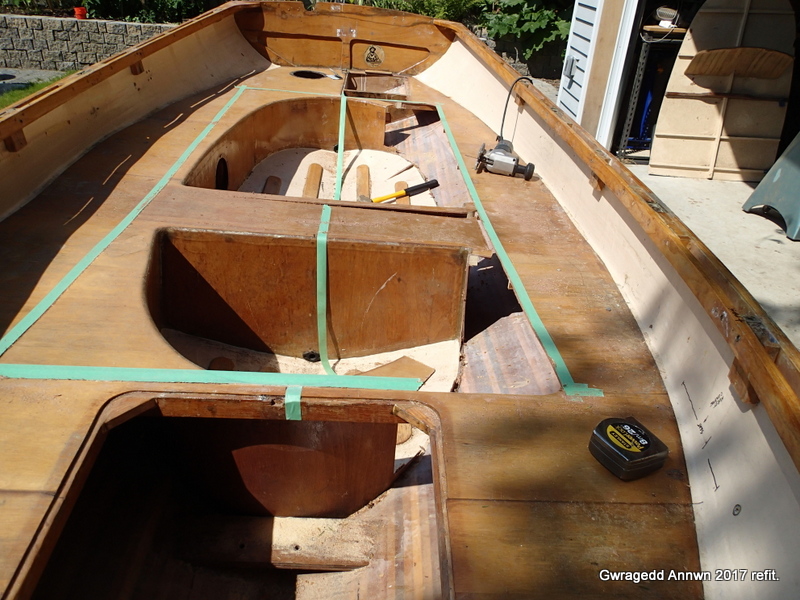
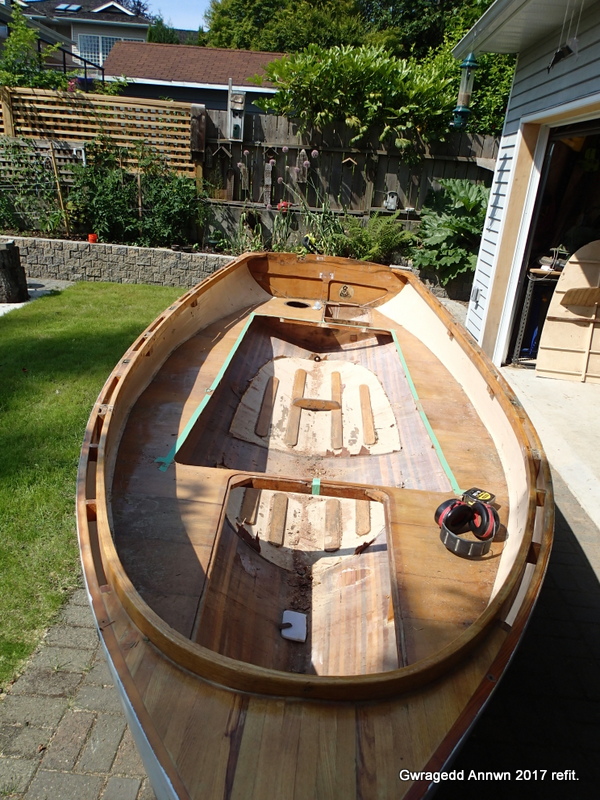
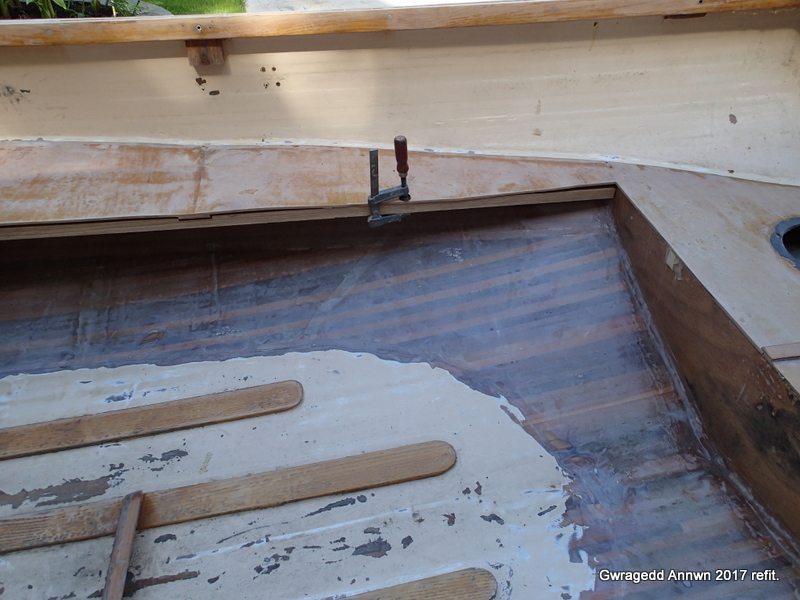
Next step is to plan the new cockpit and seating:
Ready for new cockpit design.
I used tape to lay out the new design. A lot more “square” than the old one.
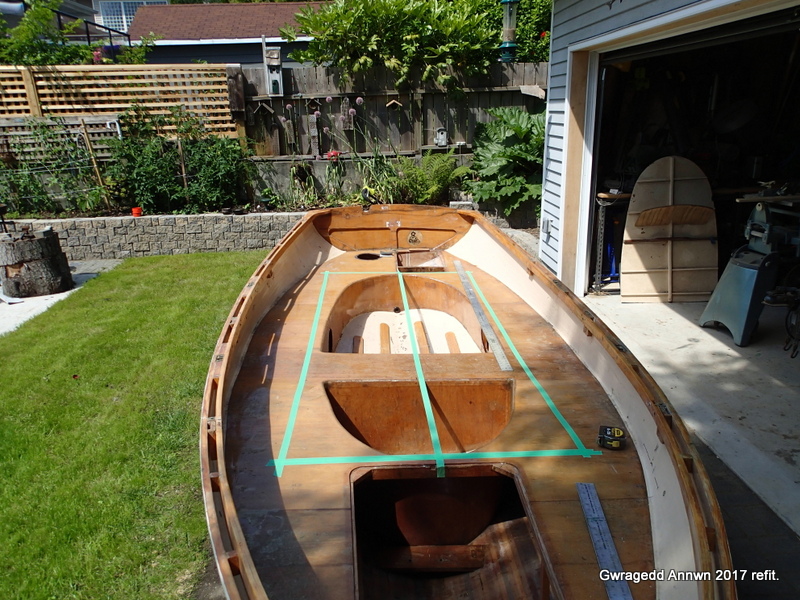
Tape marking the new cockpit design.
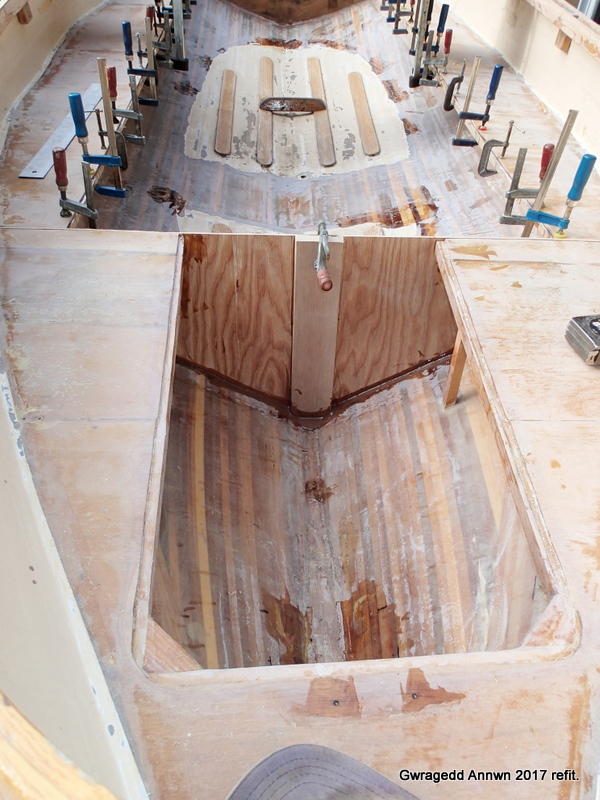
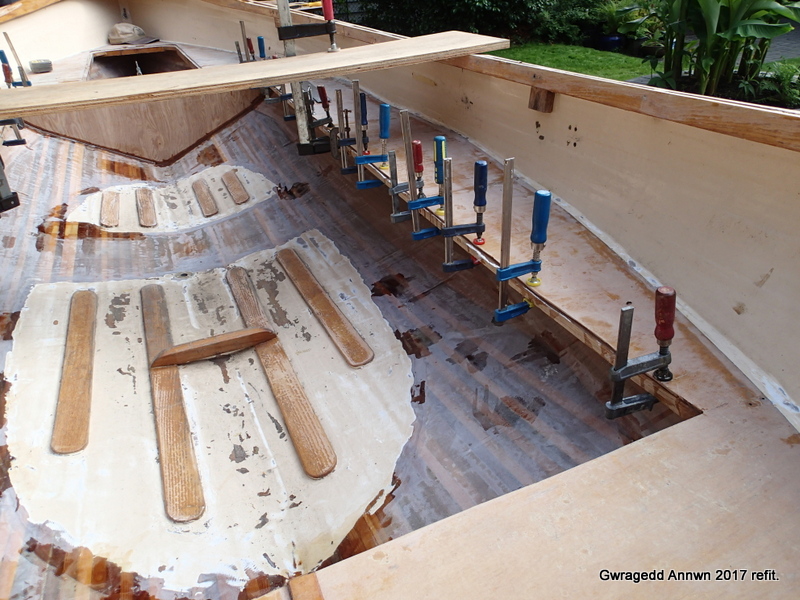
After a lot of humming and hawing, I begin to cut the new cockpit out:
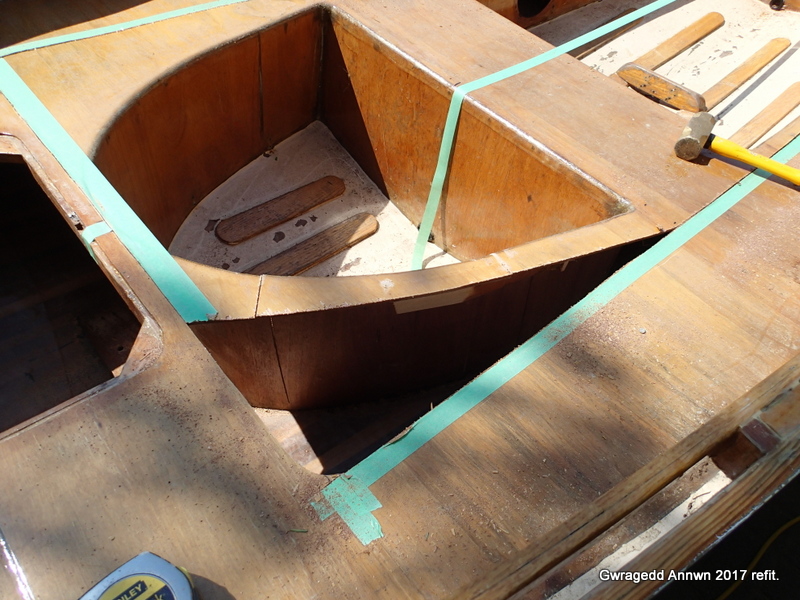
Cutting the old cockpit out.
I use my jigsaw to cut the seating along the tape lines. The brass hammer will make removing the seat fronts from the hull bilge easier.
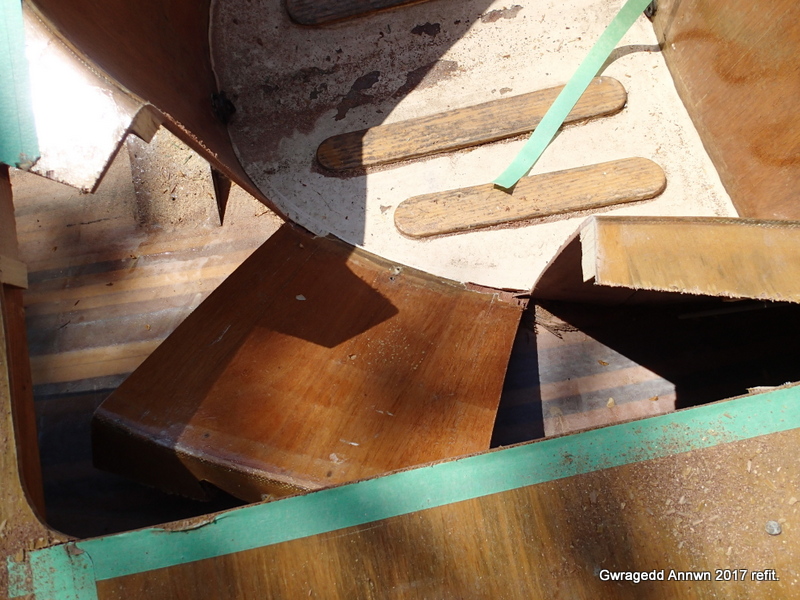
Removing the old seating.
I work my way around the tape, removing the old seating as I go.
Working around the cockpit.
After a lot of cutting and a little persuading with the brass mallet, I have removed the old cockpit seating.
Old cockpit removed.
I will cut back to the old British Seagull outboard transom mount bulkhead.
Fitting the new forward bulkhead.
I fit the new forward bulkhead. It will be part of the new foredeck buoyancy tank and support the mast for the new sailing rig.
Forward bulkhead.
I epoxy the bulkhead in and then fit the foredeck hatch to be epoxied in.
‘lots o’ poxying to be done!

Foredeck hatch to be epoxied in.
I epoxy in the motor well hatch as well.
Motor well hatch epoxied in.
I have to epoxy in the seat supports.
Seat side supports.
Epoxying in the seat supports, foredeck bulkhead and the mast support.
A board helps keep the side seats level.
You can never have too many clamps.
When the epoxy has set, I install the seat sides.
The seat sides, a cut-and-fit exercise.
Seat side ready to be epoxied in.
I used temporary screws to hold the seat sides in place until the epoxy set.
Seat sides in.
Sides in, epoxy set, time to sand. The string represents the centreline of Gwragedd Annwn.
After sanding, I seal the seats with epoxy.
Epoxy sealed.
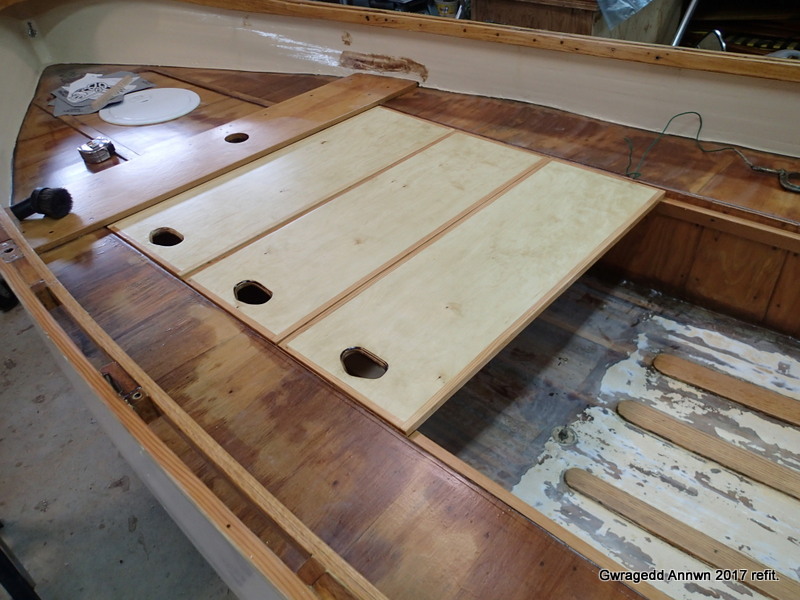
The next step is to put in the bouyancy tank access and the forward rowing seat with the mast step in it.
Foredeck buoyancy tank access and forward rowing thwart installed.
Next, the lower mast step.
Working out where the mast step should be.
Epoxying in the mast step.
Mast step and side braces epoxied in.
The side rails for the new adjustable seating are installed.
Seat side rails installed. The screws are temporary, removed when the epoxy sets.
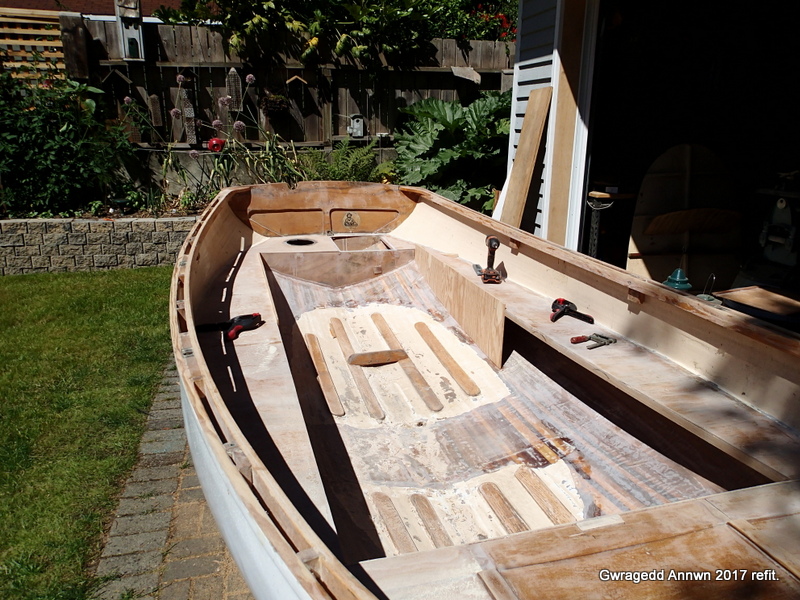
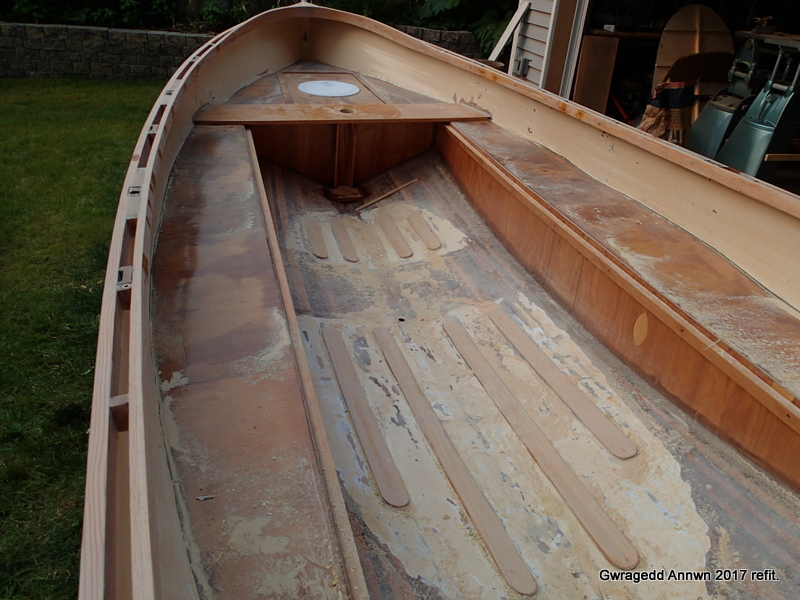
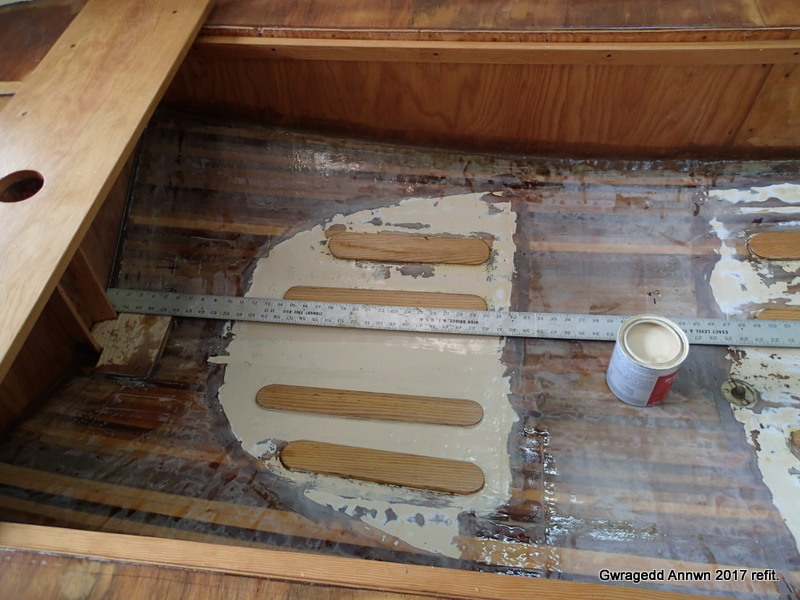
I now make up the thwarts, enough so that I can make a sleeping platform.
I make up enough thwarts so I can have a sleeping platform in Gwragedd Annwn.
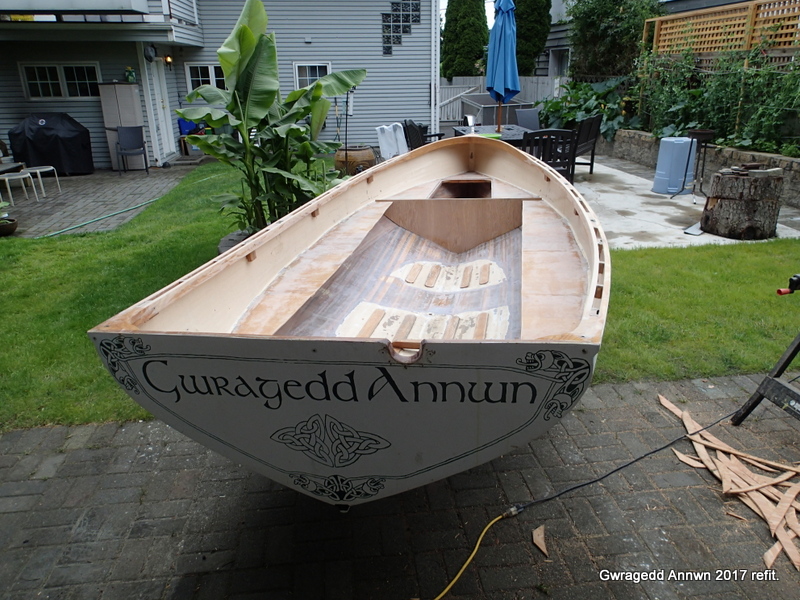
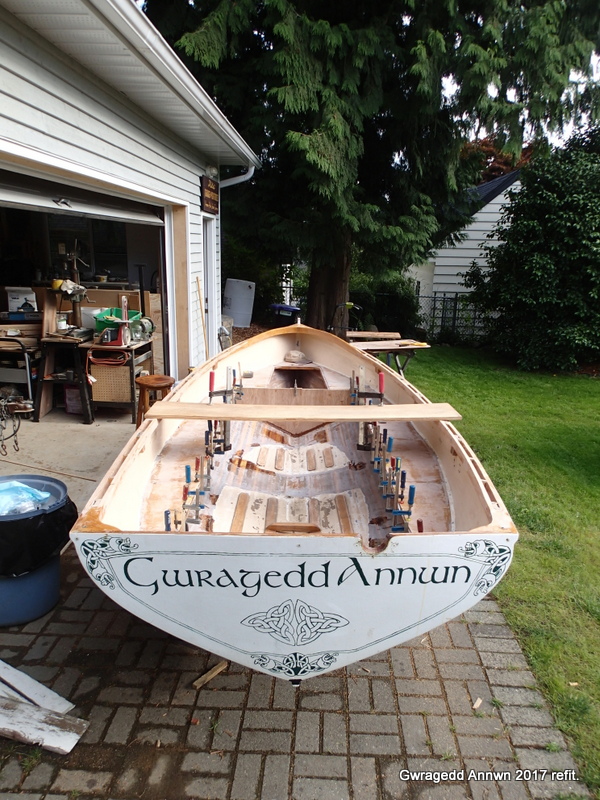
Time to paint. She will get a cream interior, with varnished seats and foredeck,
Getting ready to paint the interior.
the same as before. I usually keep putting on coats until I use up all the paint or varnish…better on the boat than drying up in the can. I will repeat her exterior hull white/green colour scheme. A few changes, pin striping and her transom creatures are different. I also pinstripe around her sculling notch.
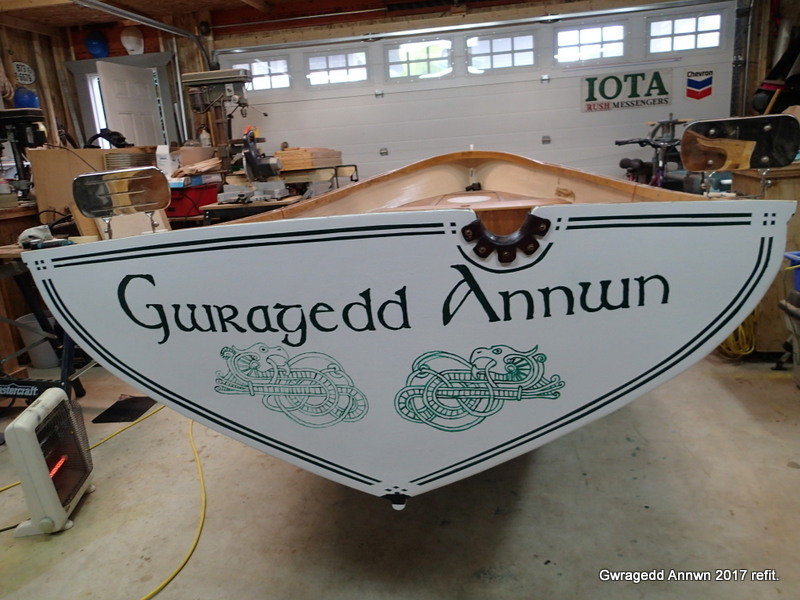
New transom paint scheme.
I decided to try out using a different oarlock angle for rowing.
Angle of oar at power stroke.
Should the oarlock be at right angles to the oar during the power stroke? I will put another set of oarlock sockets in Gwragedd Annwn and find out. With her adjustable thwarts, this should be an easy experiment.
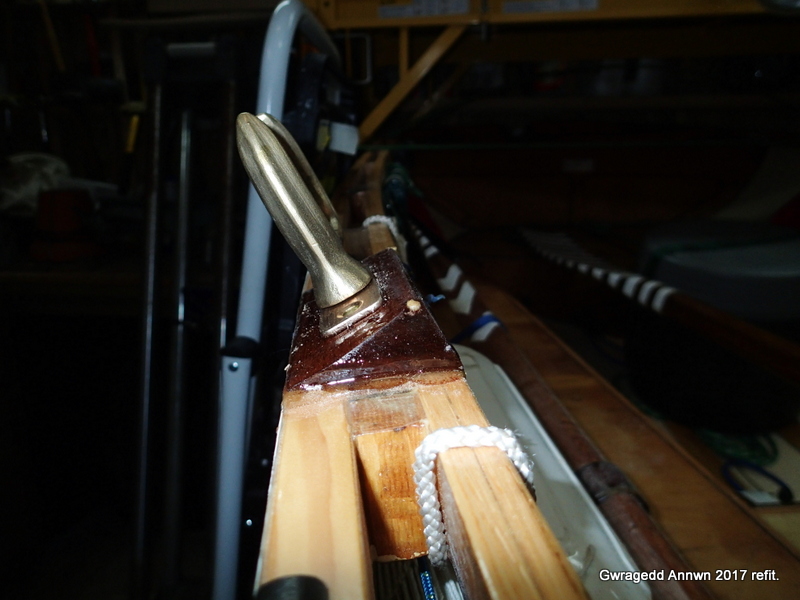
New socket epoxied in at about 15°.
The oarlock in the new socket:
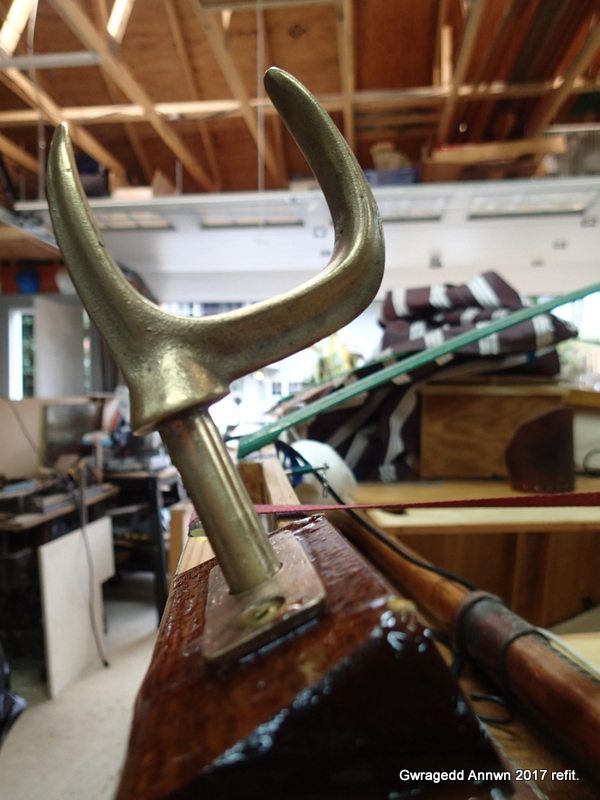
Oarlock and socket.
Another View:
Oarlock and socket.
I have left the old sockets in place. Time will tell if the new sockets are better.
I have also decided that her oars are a little too heavy in the blade. I take off the centre rib.
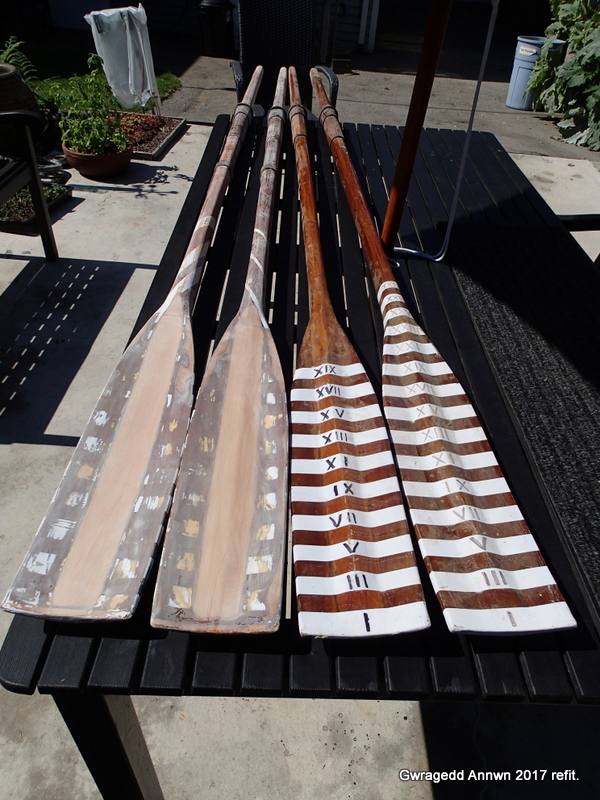
Centre rib removed next to centre rib still there.
I used a sanding disk attached to my grinder to take out the rib, giving me more of a spoon shape.
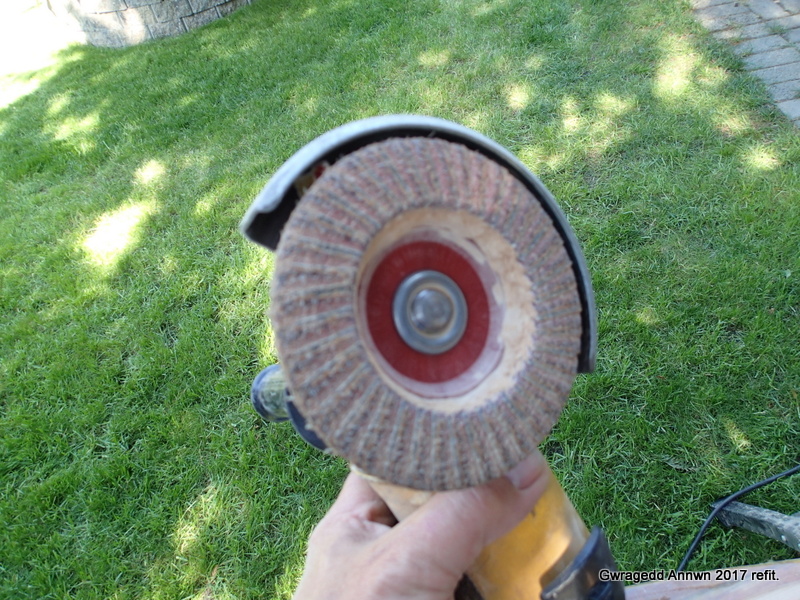
Grinder with disk.
The grinder in action.
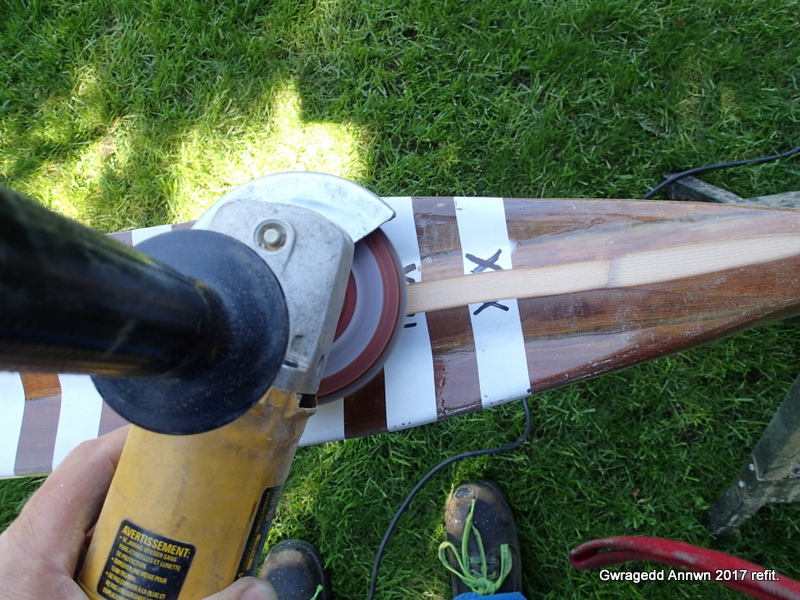
Sanding out the centre rib.
Eight coats of Varnish and four coats for the depth-sounder strips later, they are ready to row!
Gwragedd Annwn at the beach at Hollyburn Sailing Club.
Refreshed and read to go!
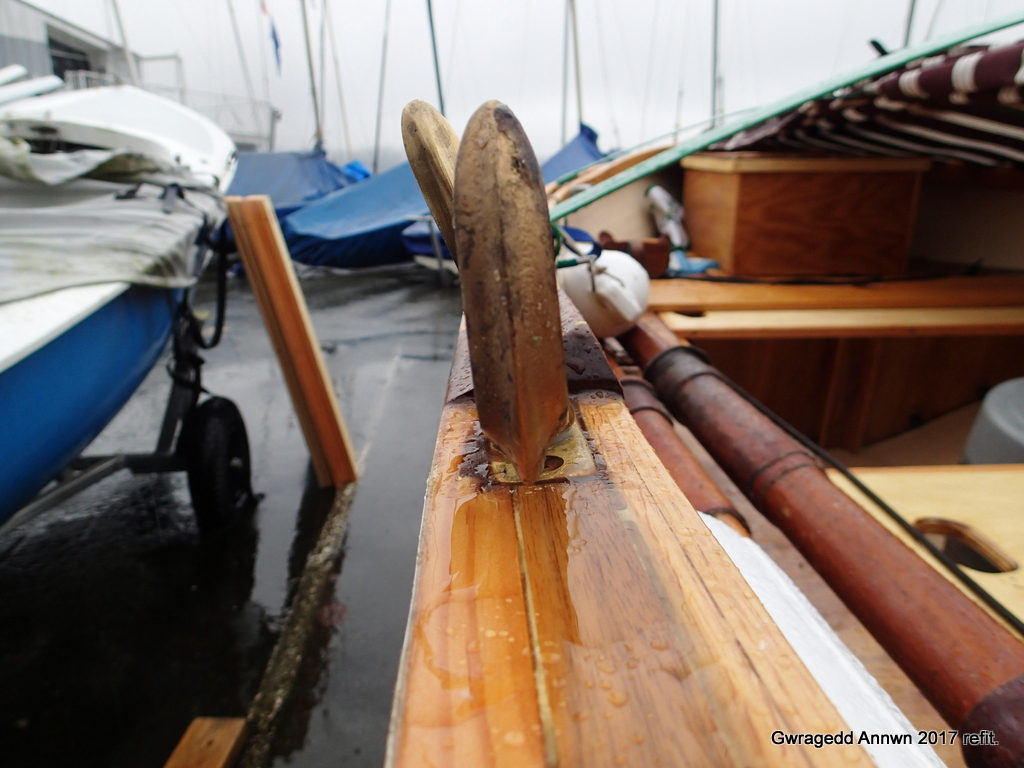
I built a small box for her foredeck to hold her anchor and line in.
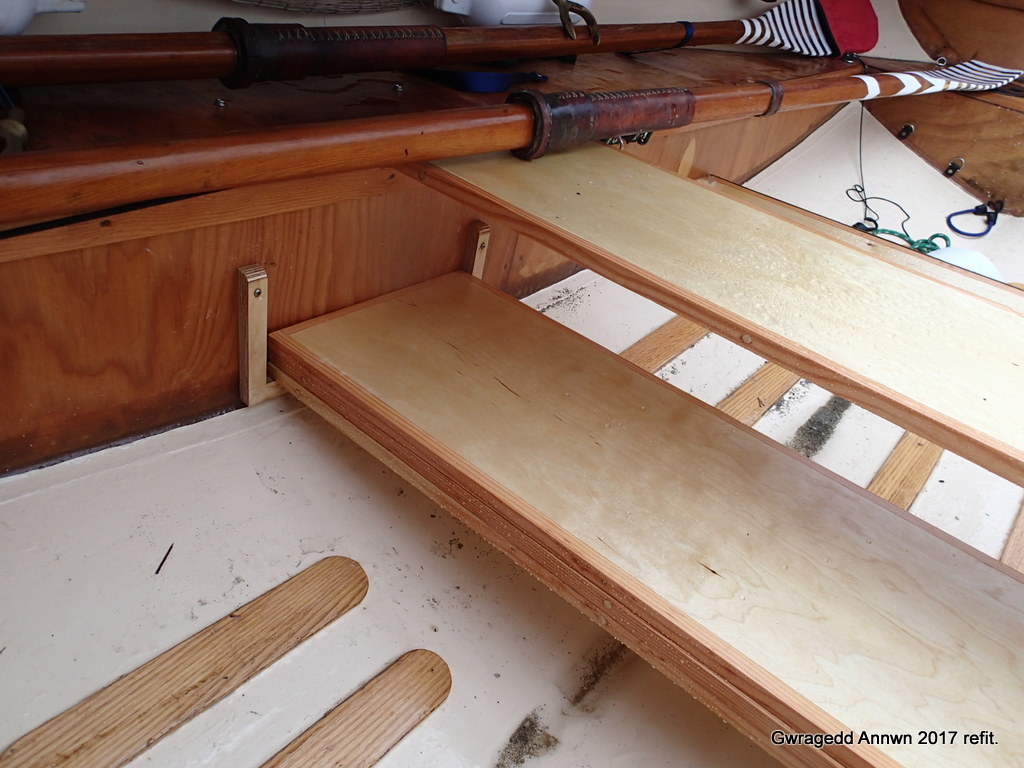
Adjustable thwarts, here set for 8½” back from the Oarlock.
Her new thwarts are adjustable and have the potential to be made into sliding seats.
The thwarts are numbered so I can always get them to fit.

Numbered Thwarts.
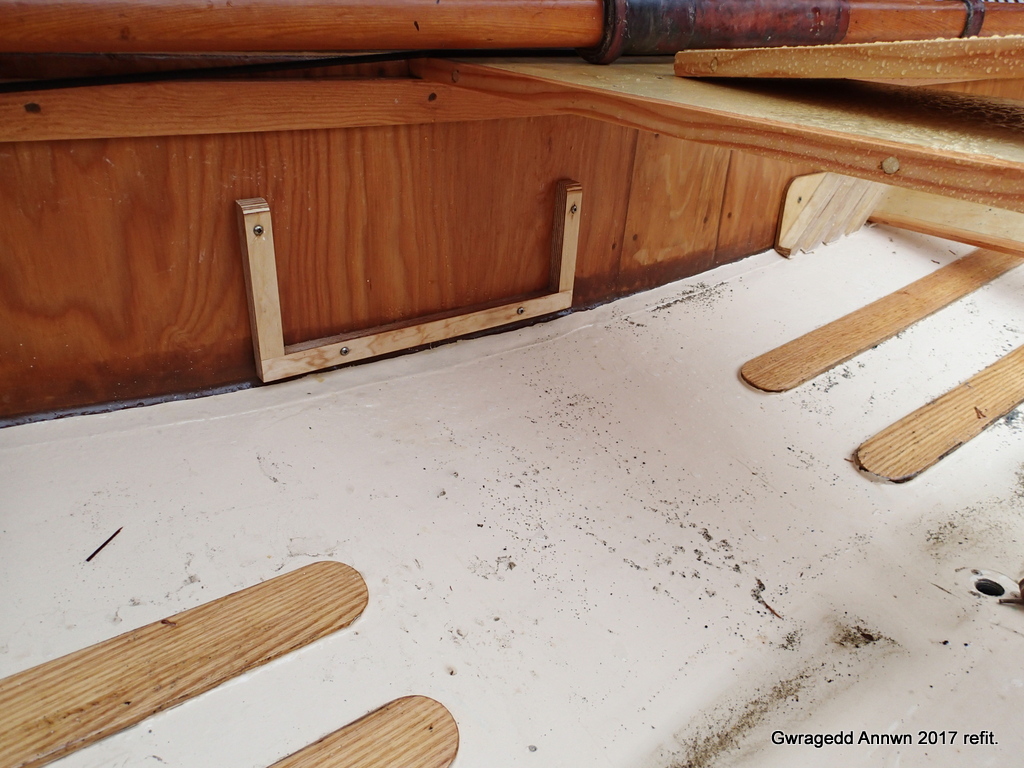
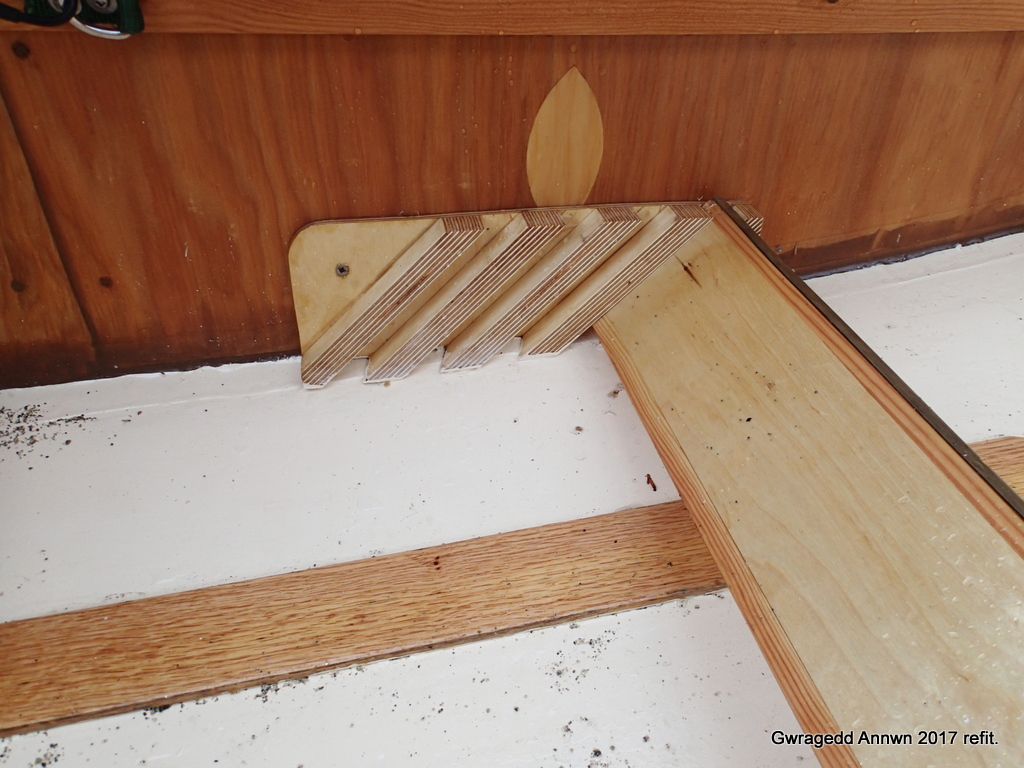
Thwart storage under main rowing position.
I have made a bracket to hold the thwarts while I am rowing and not using them for a sleeping platform.
Port thwart storage bracket with Diving knife in background.
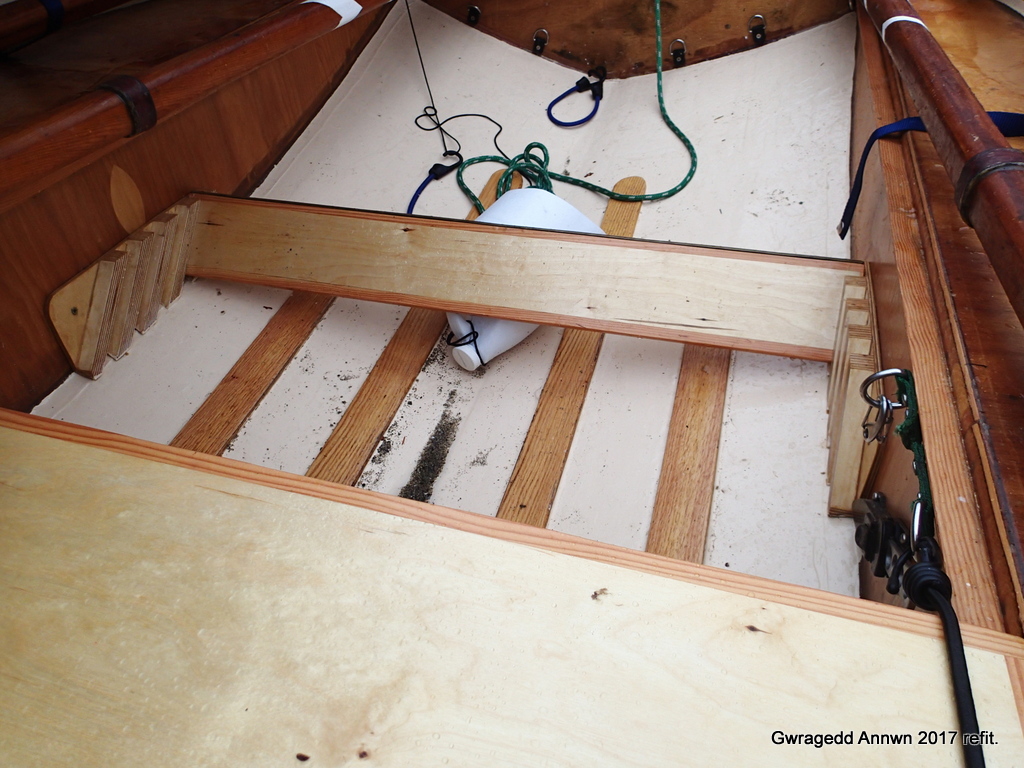
Thwarts stowed.
When the thwarts are stored, they form the foot brace for the forward rowing position.
I usually take her storage box and the thwarts out when moving Gwragedd Annwn around on her dolly…The extra thwarts, at about 8 pounds each, they add another 60+ pounds of weight when moving her around. The storage box, with anchor, is about 30 pounds more. When she is afloat, the extra weight actually makes rowing her easier, she has more momentum and is less effected by the wind.
Two views of her new foot braces, here set at the after-most position.
New main rowing position foot brace set in after-most position.
I had some left-over brass half-round that I put on the top edge for a wear-strip.
Main rowing position foot brace.
Her foot braces have four adjustments.
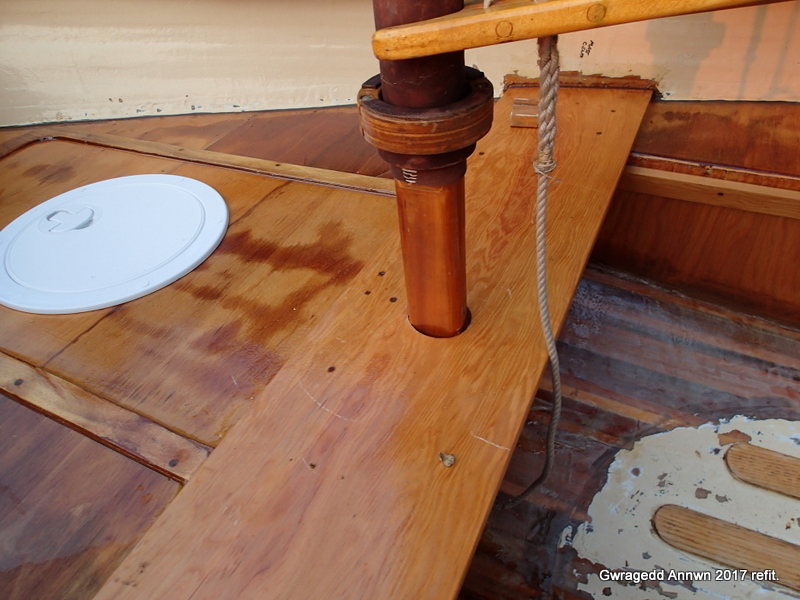
Gwragedd Annwn’s foredeck was a water trap. I epoxied in two scuppers, Port & Starboard.
Foredeck scupper in action.
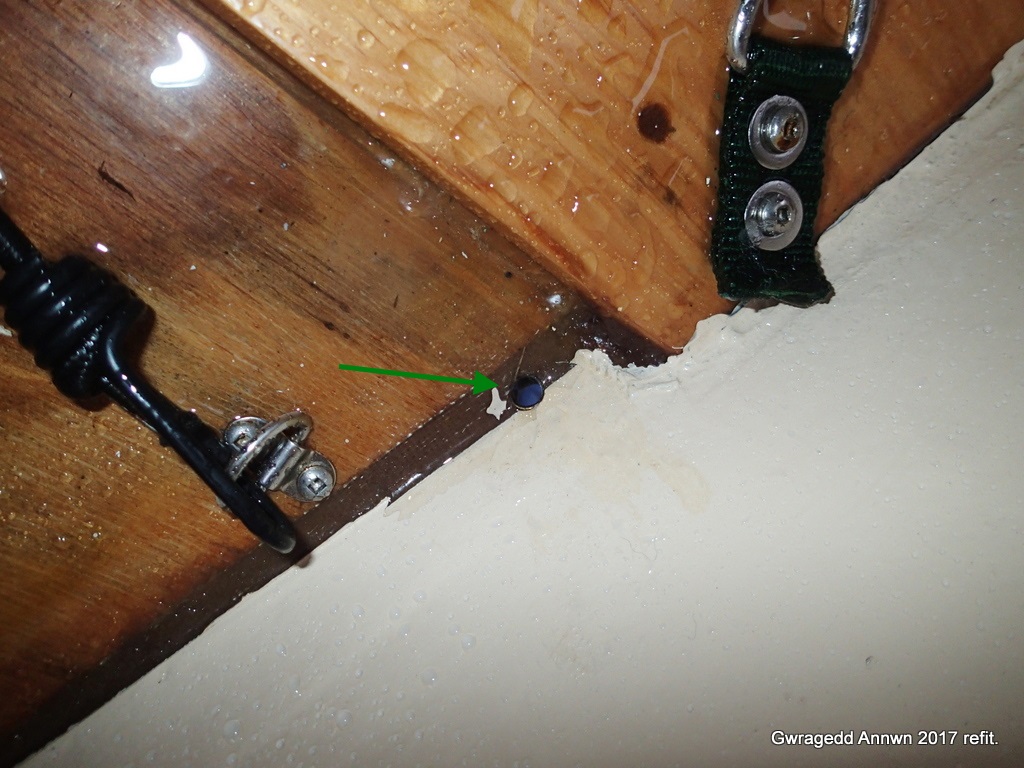
Port Scupper, inside view.
There are the new 15° offset sockets.

Original and offset oarlocks one.
Original and offset oarlocks two.
Oar in offset oarlock.
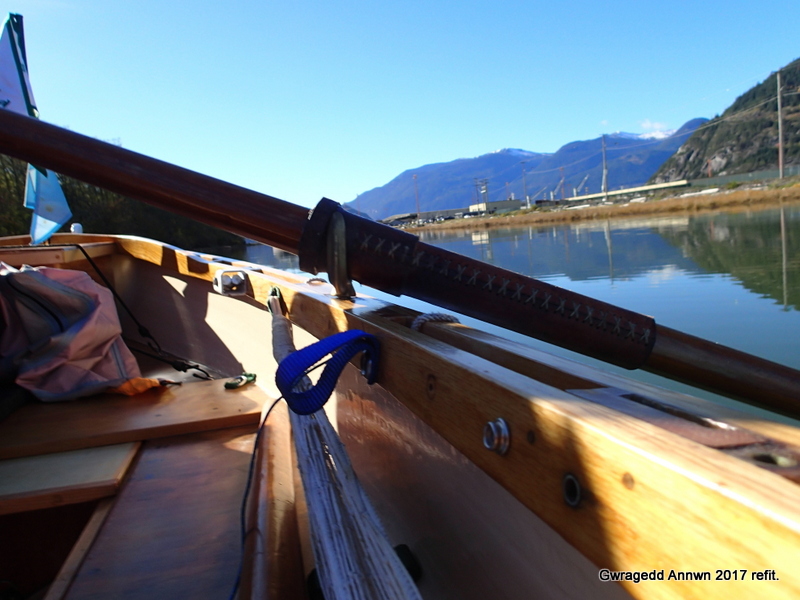
The brass half-round in the foreground of the picture is a wear strip for the strap used to secure Gwragedd Annwn to her trailer.
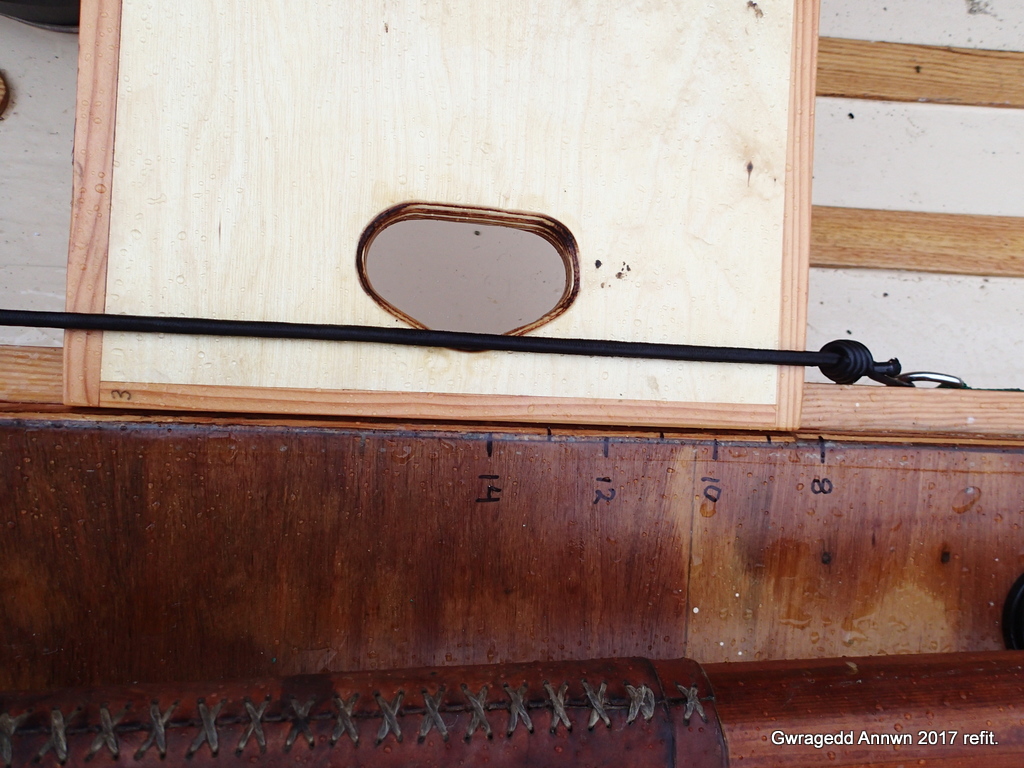
She has new forward-view mirrors.
I am still trying out the improvements.
I will let you know how they work out.
Good rowing to you,
Mike
