Having sanded the hull, the next step is to attach the outer Stem pieces. I bought a rough cut, smooth two face 1″ by 6″ 8′ oak plank. There will be enough wood in this piece for the stem strips, seat frames and the carrying yoke.
With the price of wood these days (and yesterdays too) I always make up a cutting plan before I start to cut. Helps me to not to have to go back and buy another plank especially because I had already bought the best one.
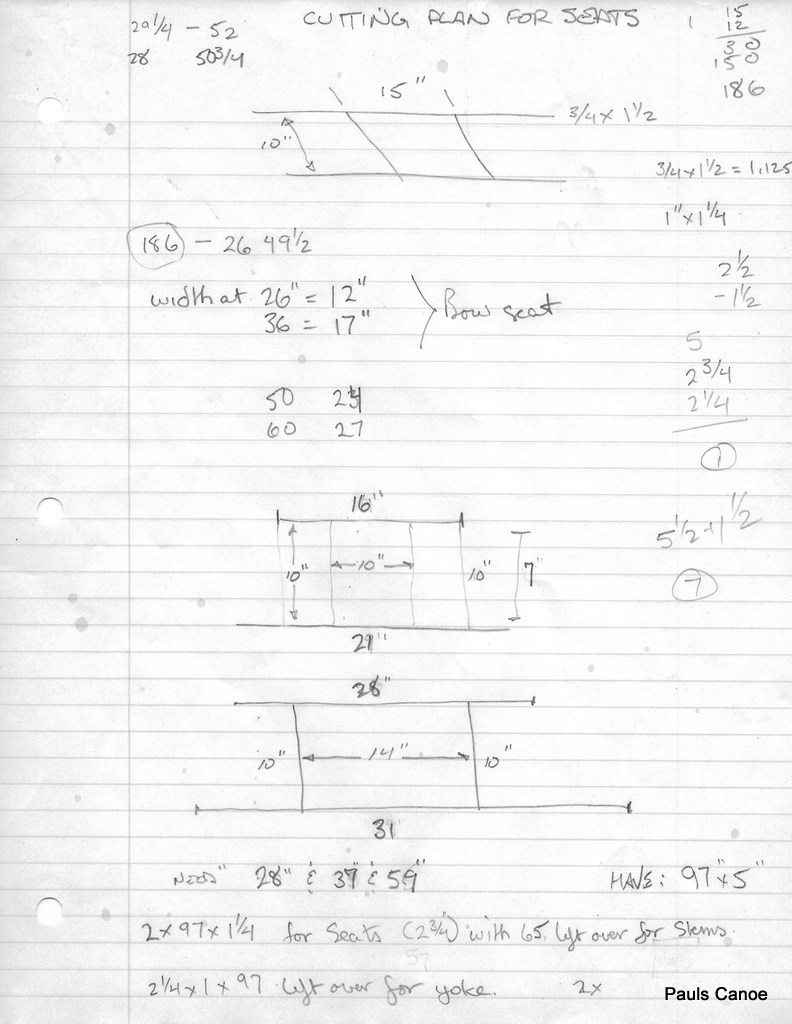
Cutting plan for the plank. Stem strips, seat frames and carrying yoke.
We need to have enough thickness in the outer stem so we can get a nice curve from the planking to the ½” by ⅛ brass oval stem band.
I rip off four 3/16″ by 8′ strips for the stems. I cut the strips to length, long enough to go from station #6 to the top of the stem piece. I soak the strips overnight. The stem curve is not too great so no steaming required.
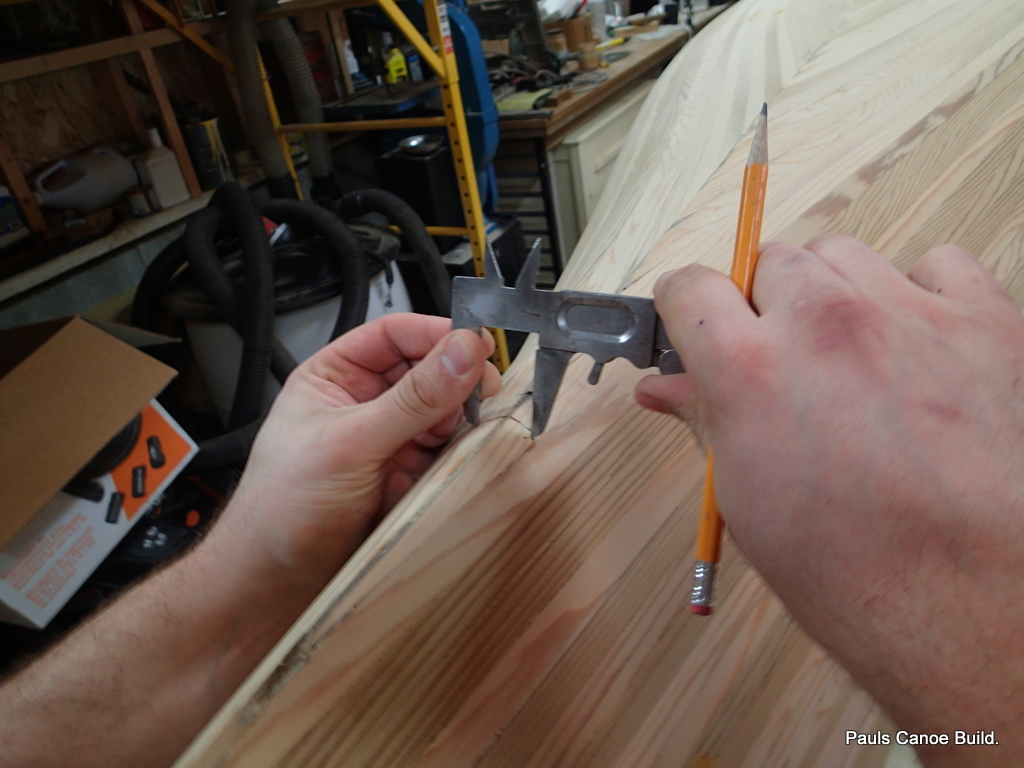
Measuring for the outside stem laminations.
The laminations are 1″ wide and approx 3/16″ thick. Paul measures from station #6. We will cut a strip from here to the stem, 1″ wide.
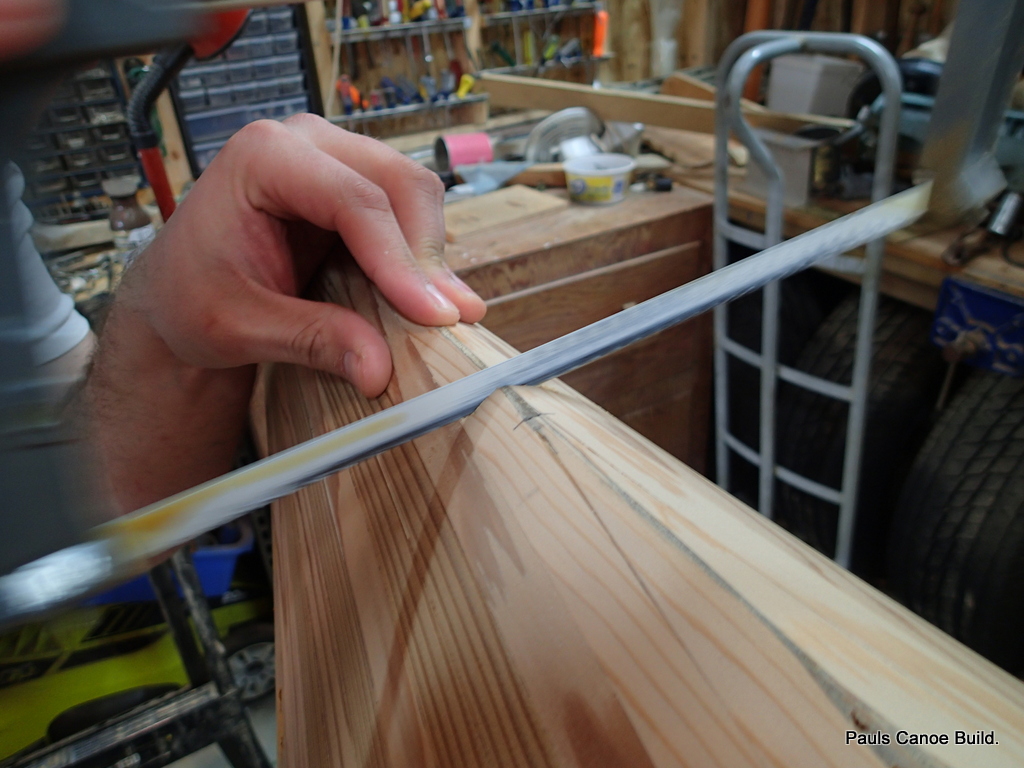
Making the first cut.
We are using a hack-saw blade to make the cut.
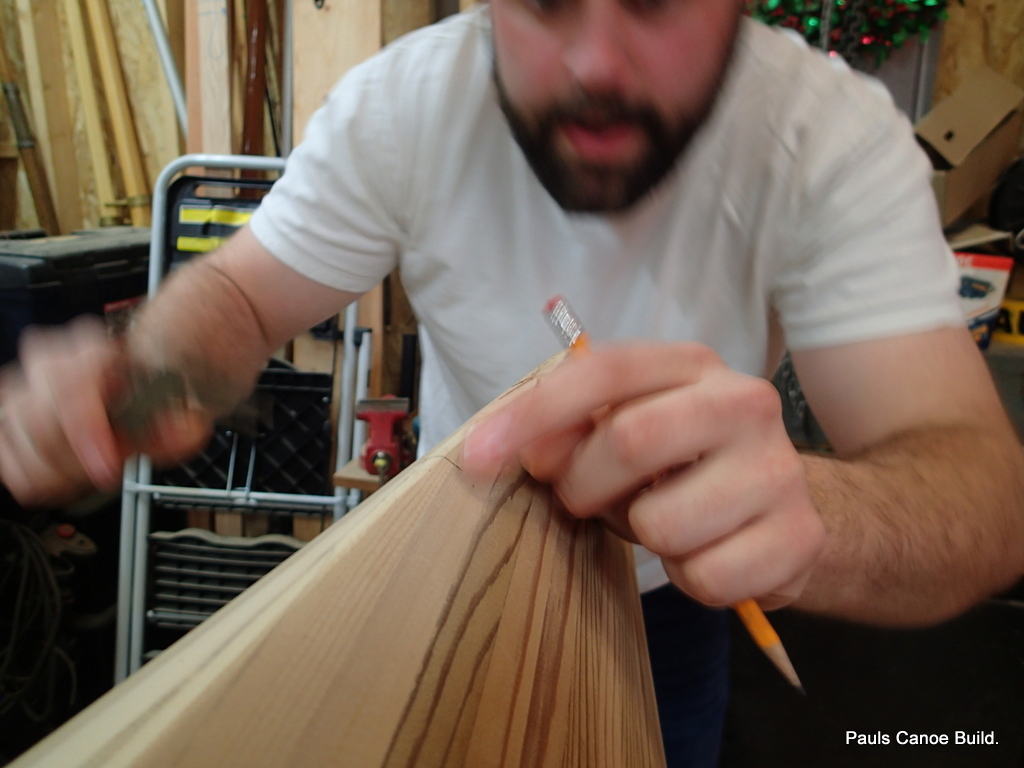
Measuring the 1″ wide strip down the stems.
We mark how wide to make the cut to the stems.
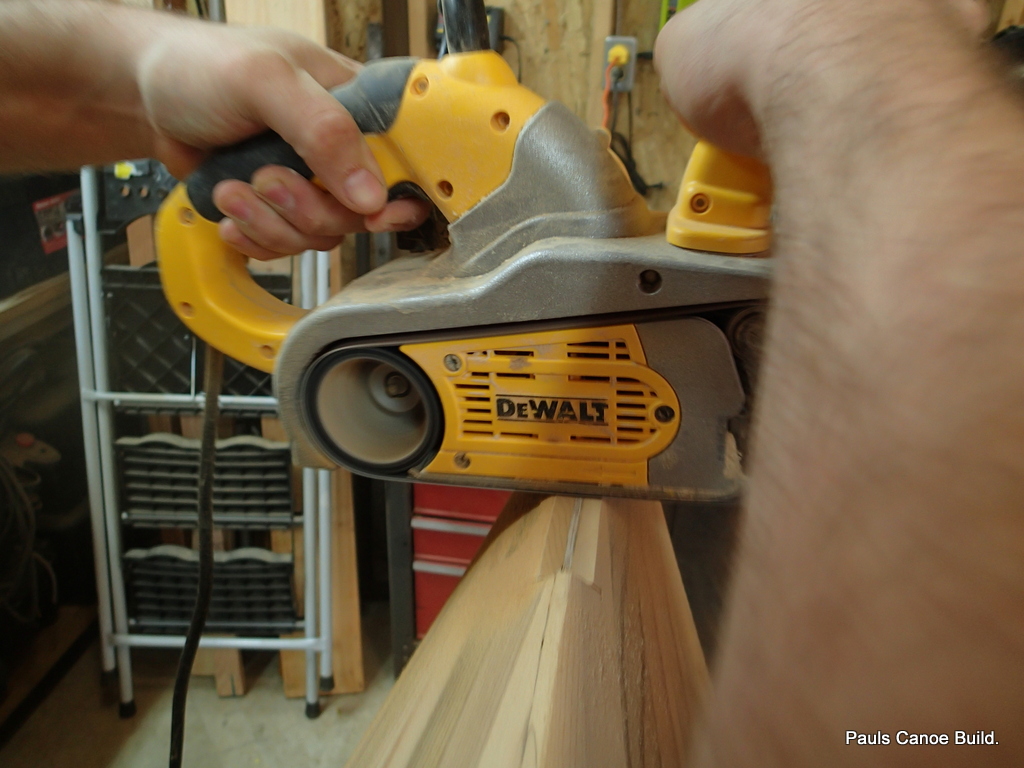
Doing it the easy (easier?) way.
Using a 120 grit belt, Paul sands down to the 1″ line on both ends of the Canoe.
The finished cut.
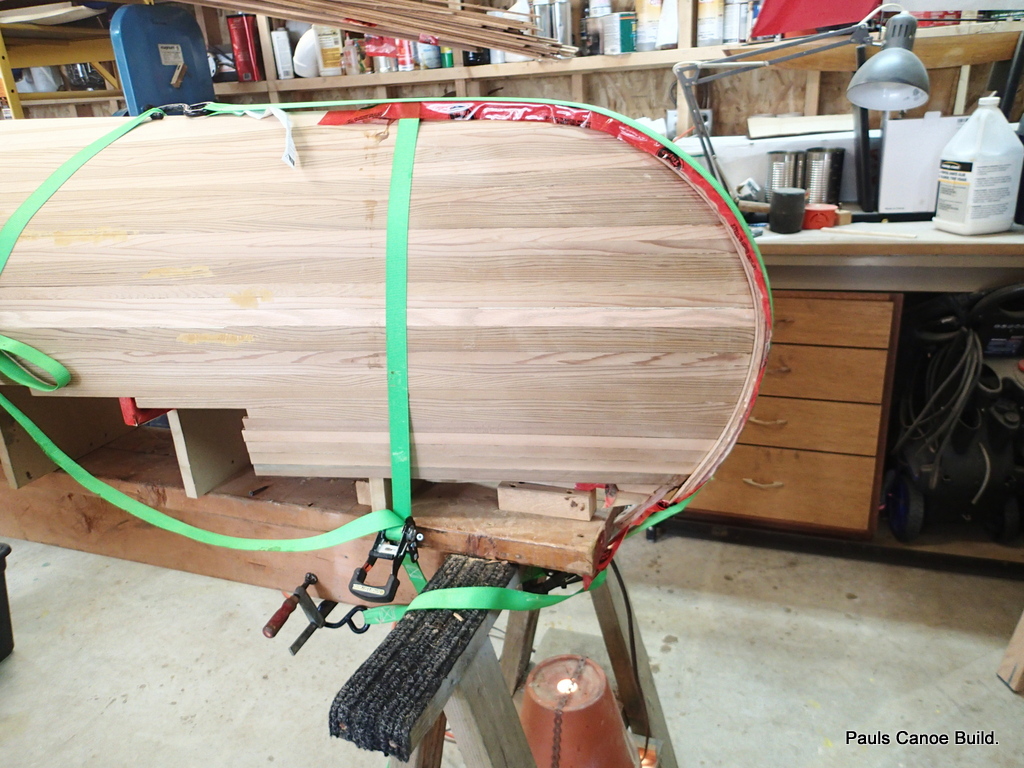
The glueing sequence is: put glue on laminations, put glue on canoe, put laminations on canoe. Hold laminations on canoe with green strap, screw to stem…..
Green strap holds laminations at station #6.
The green strap holds the strips in place. As Paul bends the strips down, I pre-drill holes and them screw them down while the glue sets. Here the strips are screwed down and the excess glue has been wiped up. The screws will be removed and then covered up by two more laminating strips.
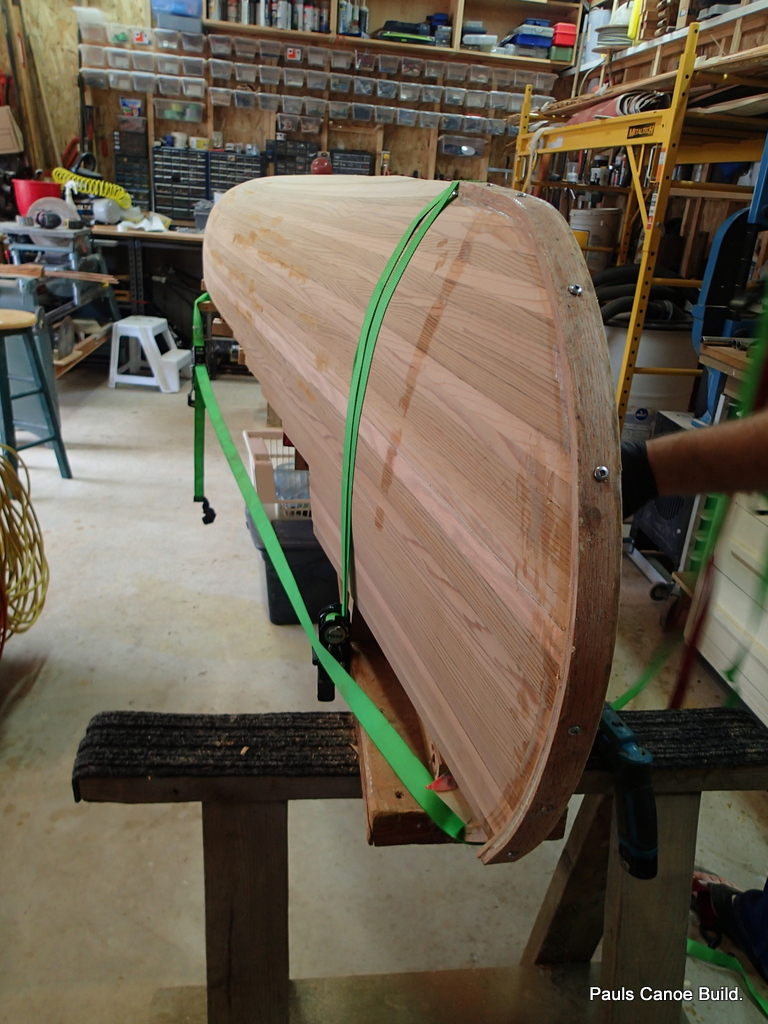
North stem.
We will use the same procedure on the North Stem. Glue up strips. Put glue on Canoe. Hold strips with green strap and then temporary screw the strips to the stem.
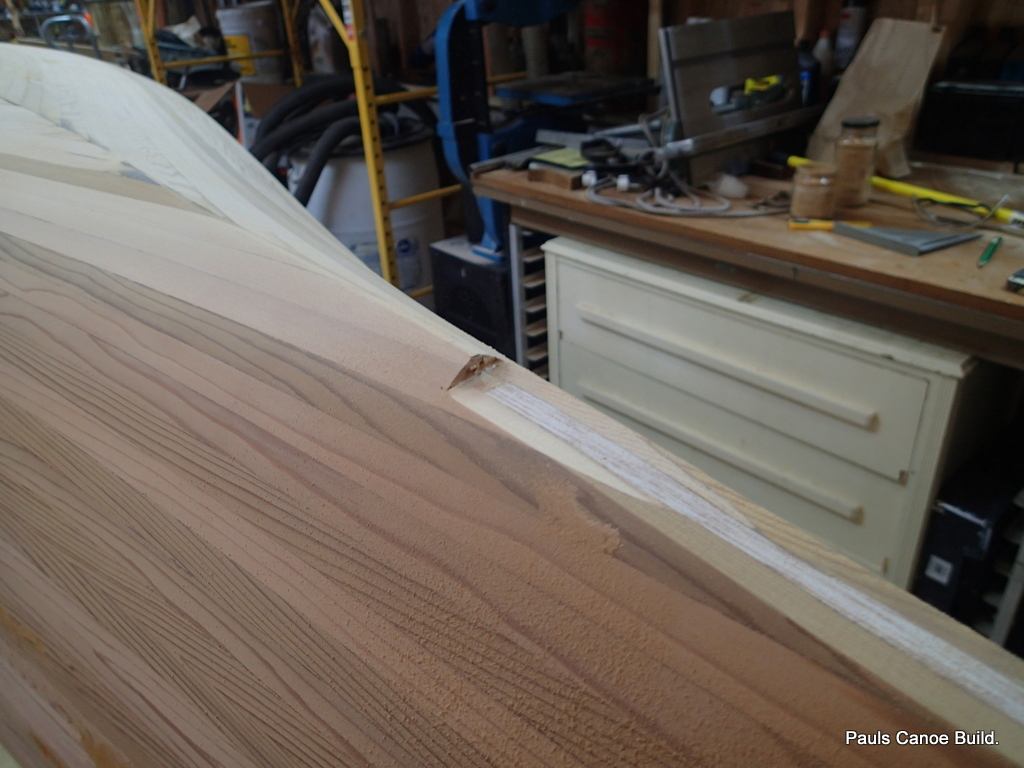
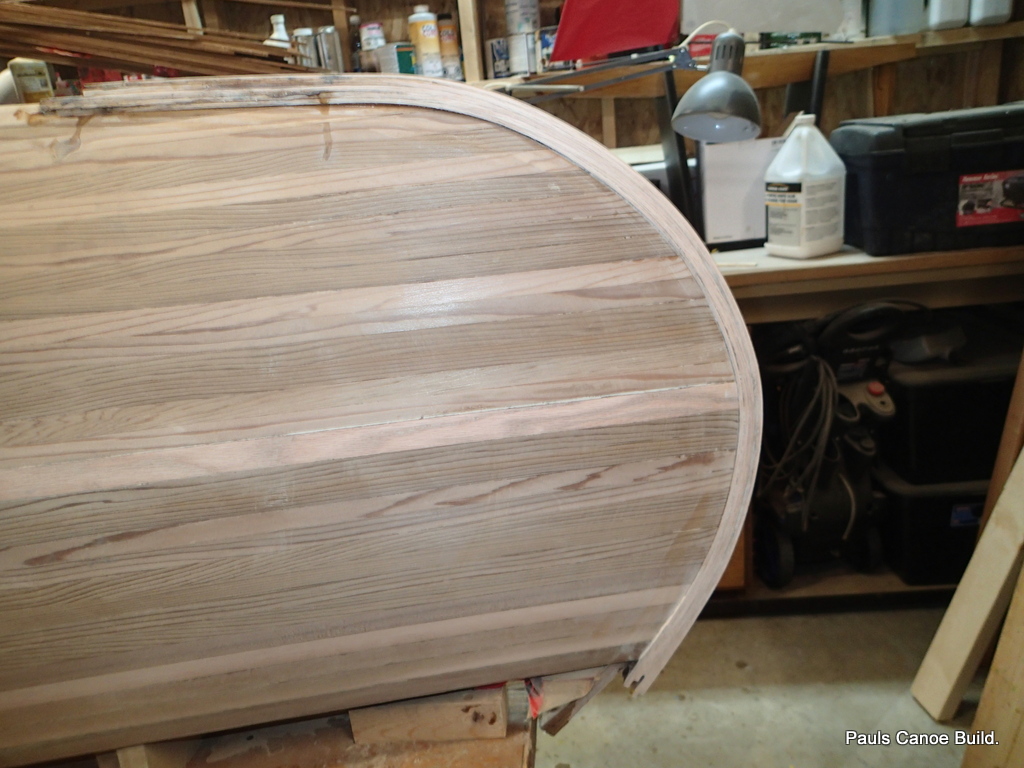
North Stem. You can see a little filler to be sanded off.
North Stem with strips temporarily screwed in place with excess glue wiped off. Because we laminated wet strips, We let the strips dry for five days. Paul and I remove the screws.
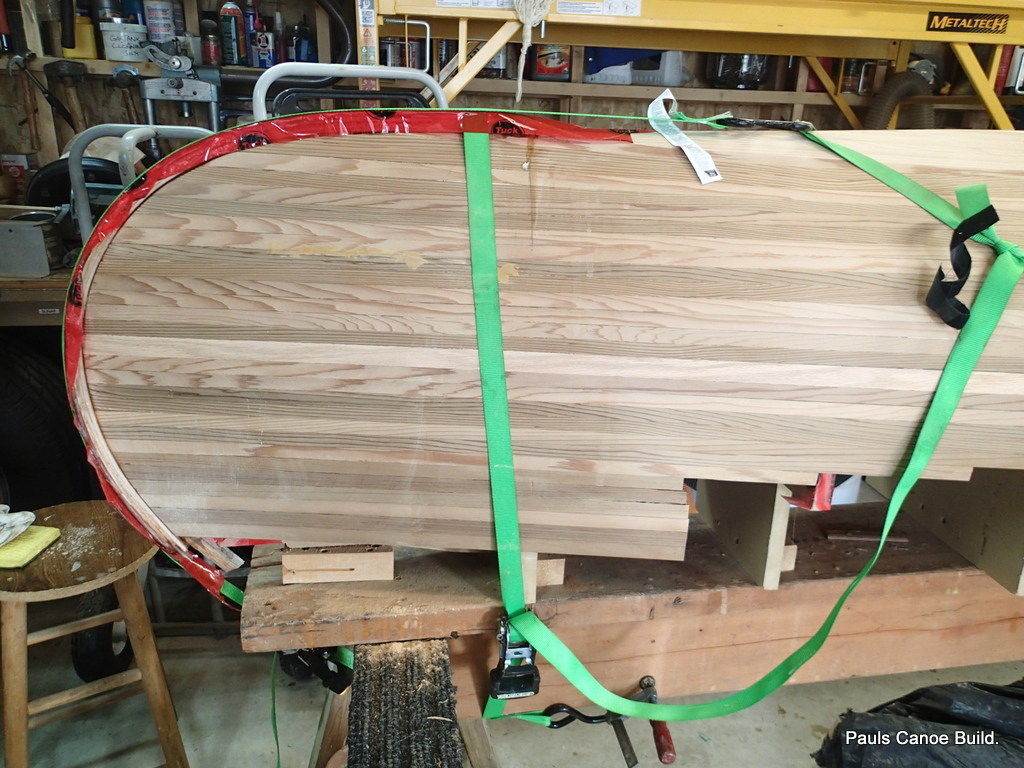
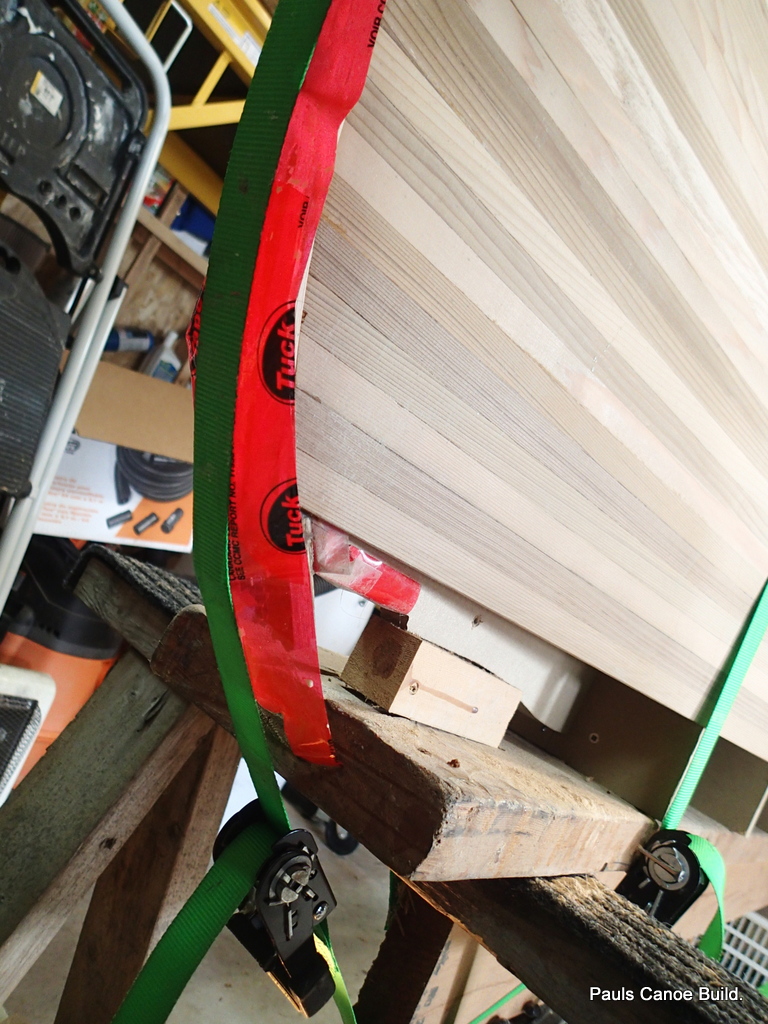
The Next two strips are done a little differently. Because we do not want the screw holes to show, we glue up the strips, use the green strap to hold them in place and then use another green strap to pull them along the stem. The red tape is to keep the strip from sticking to the strap.
Last two strips go on.
I pull the red tape as much away from the strips as I can for drying.
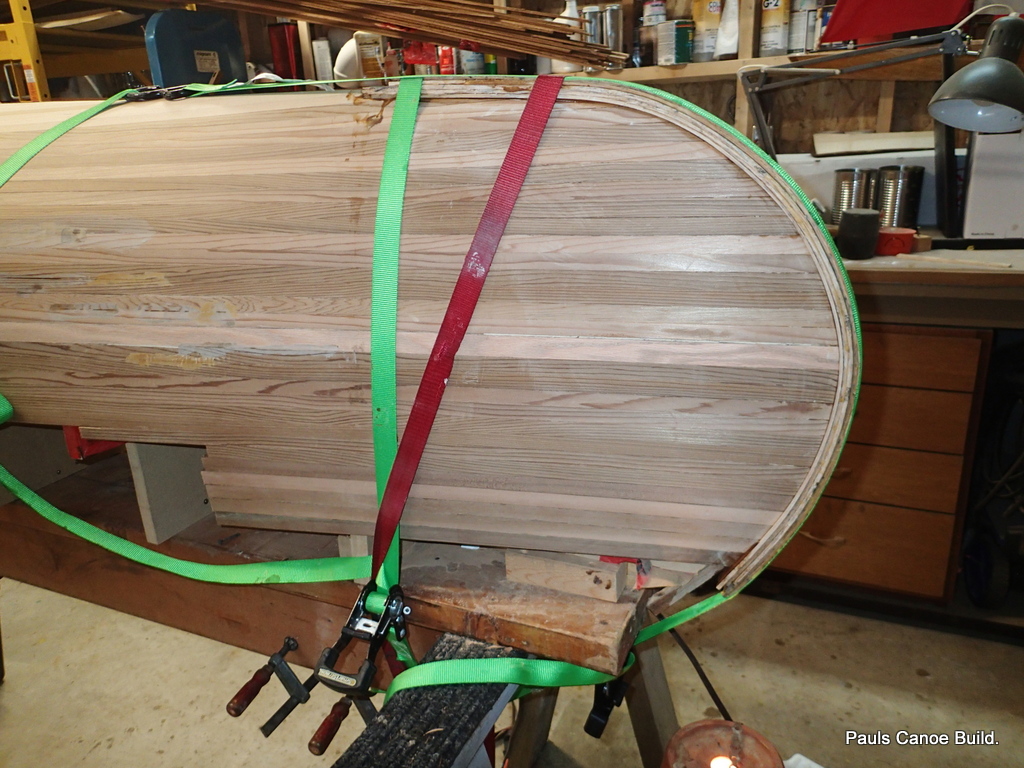
Last two strips on the North Stem.
We leave the strips drying overnight.
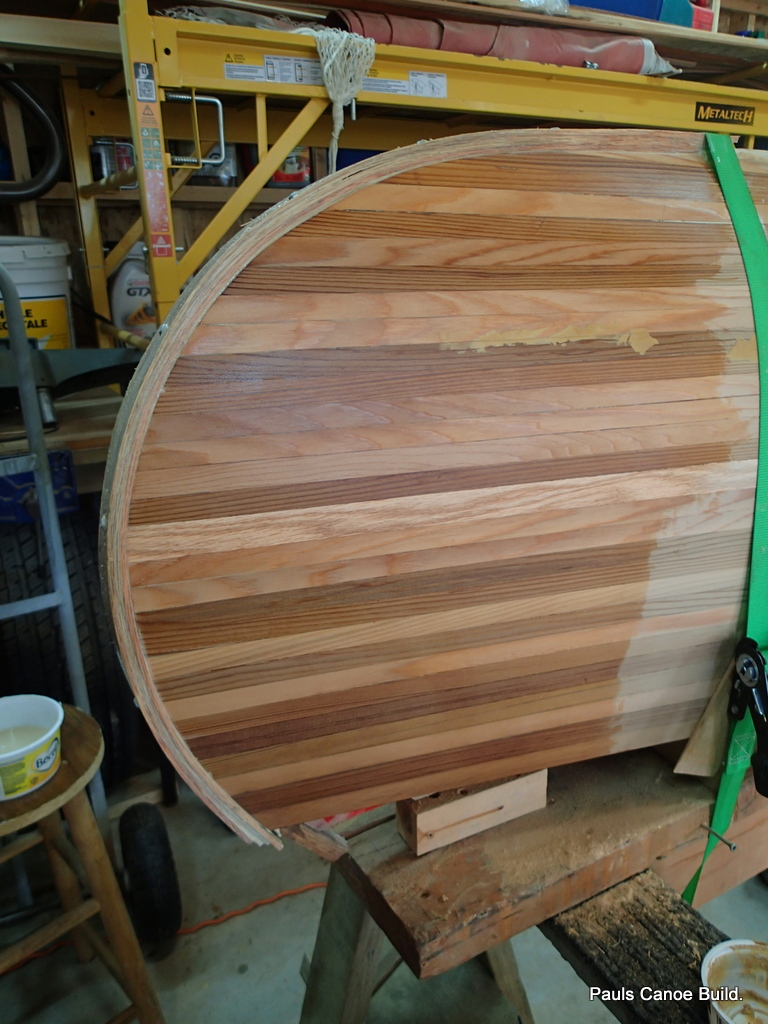
Detail of the North outer stem strips.
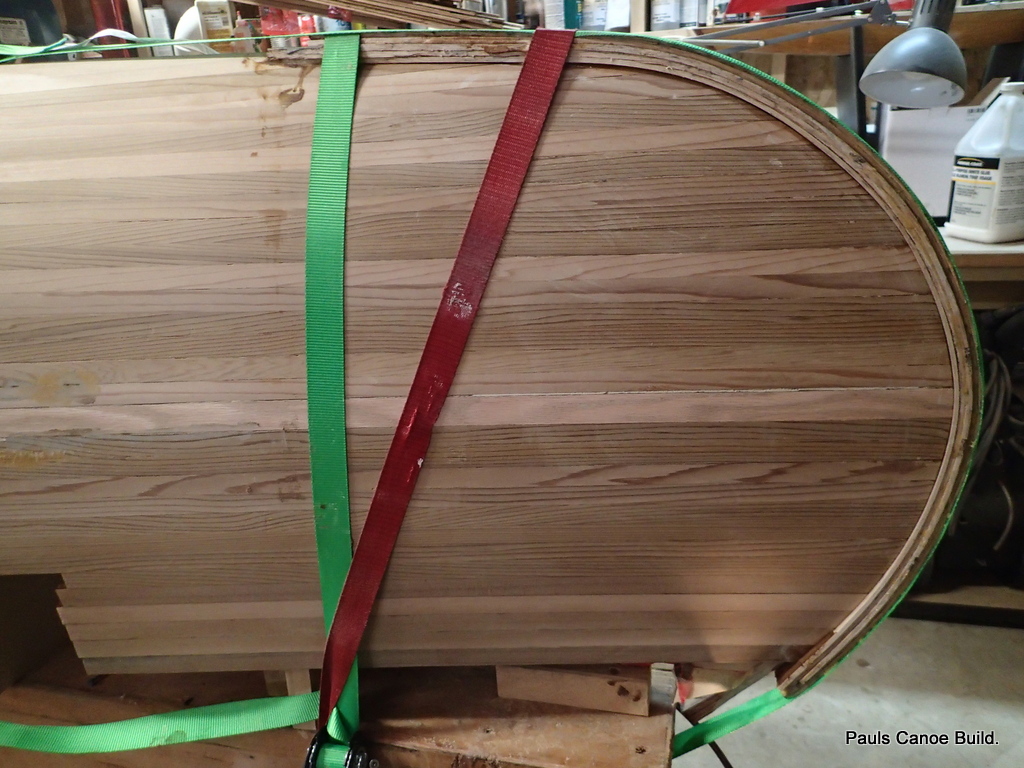
The next day, I check up on the strips.
Redoing the strapping.
I have discovered a few problems. The South outer stem strips were not tight enough against the stem. There was a gap. When I went to adjust the strap, the two new pieces came off!!! Time to re-glue. This time I was much more careful and did not get any glue on the straps and I used another strap to hold the strips down tighter. No red tape.
Another strap cannot hurt…..
The glue does not stick to the straps very well and without the red tape, it should dry faster.
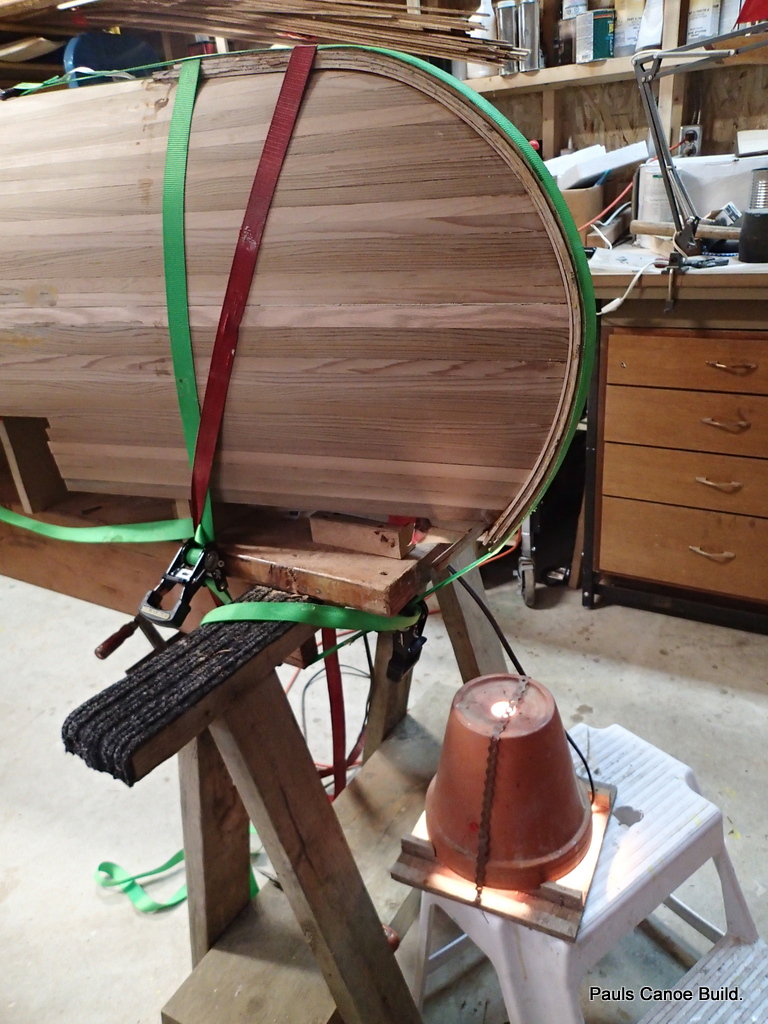
Plant-pot heater helps dry the strips.
I have a couple of plant-pot heaters to keep the damp out of the shop. I put one under each end to help the drying.
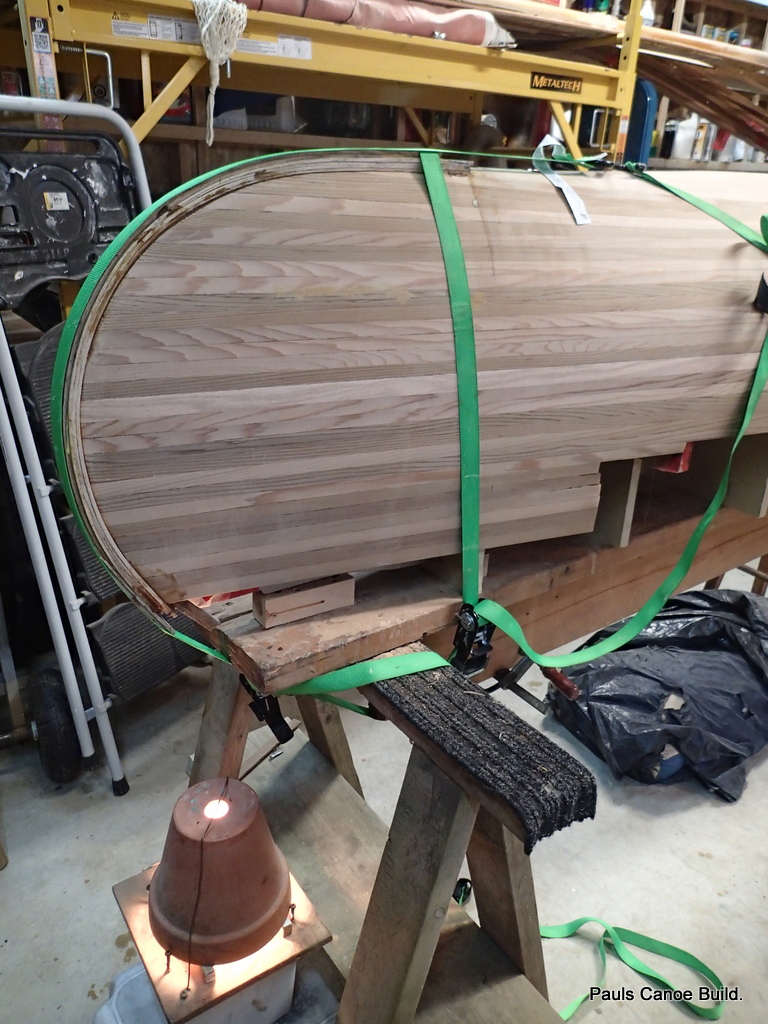
North End stem plant-pot heater.
Well, done for today. Next step, shaping the outside stems, final sanding of the hull.
…..Another day, another day to work on the outside stems.
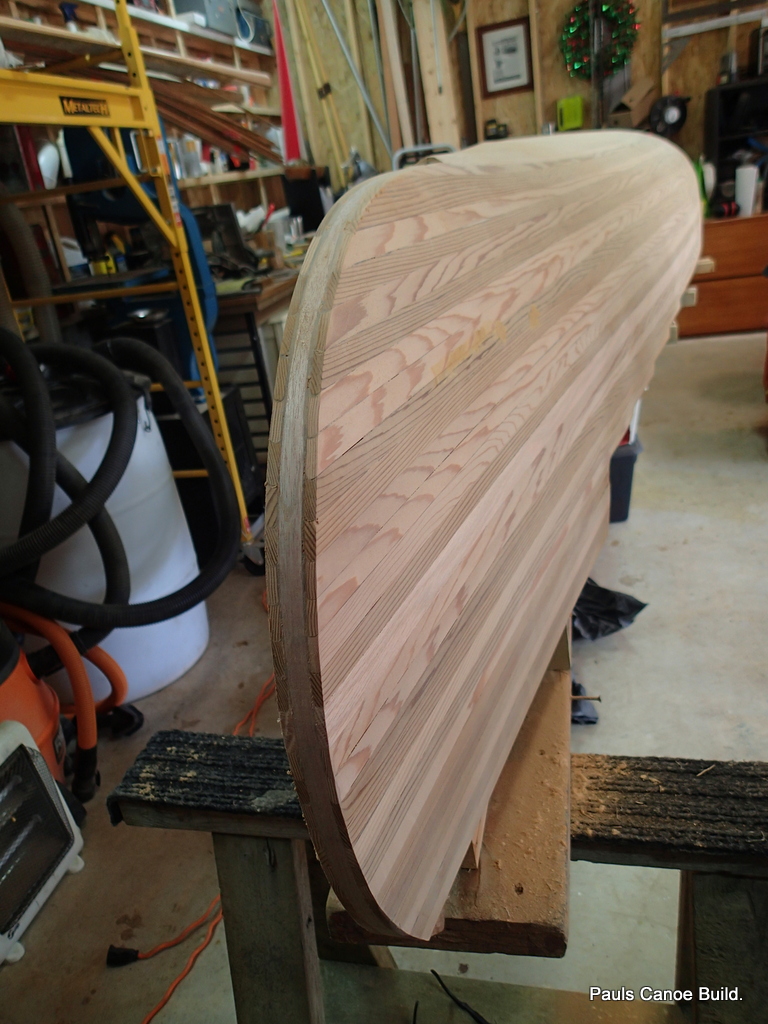
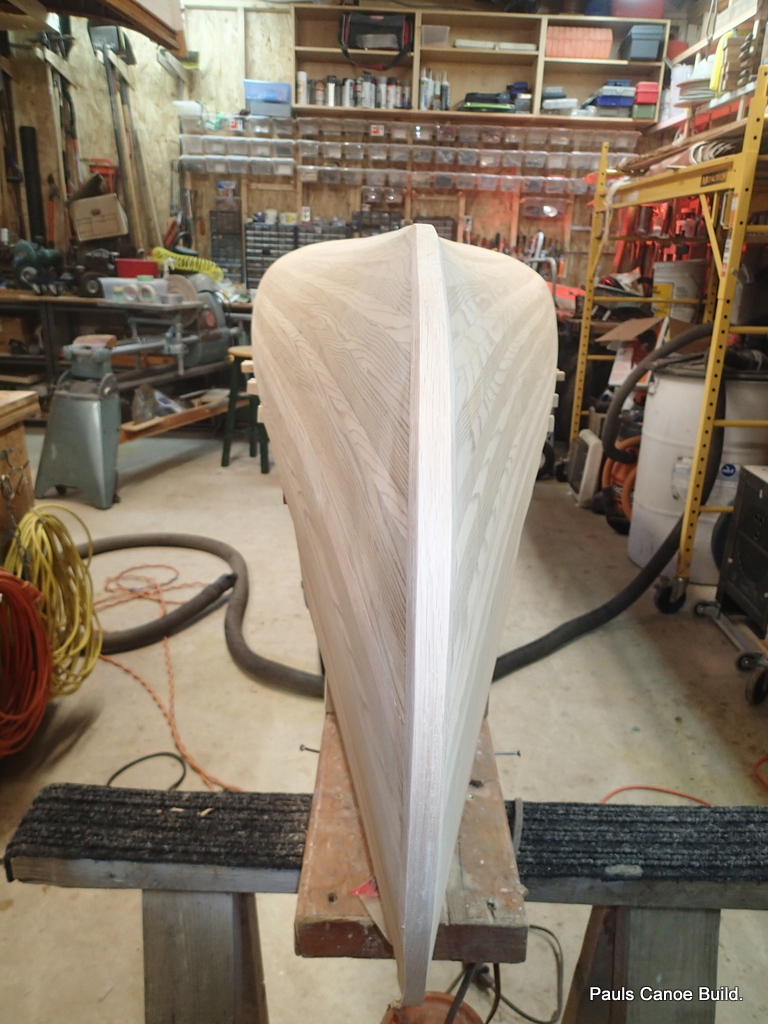
Stem piece ready to shape.
I really like my belt sander. I put on a 50 grit belt. I am going to shape the stem piece using it. note the laminations at the top of the stem. They need to go down to the same level as the canoe bottom.
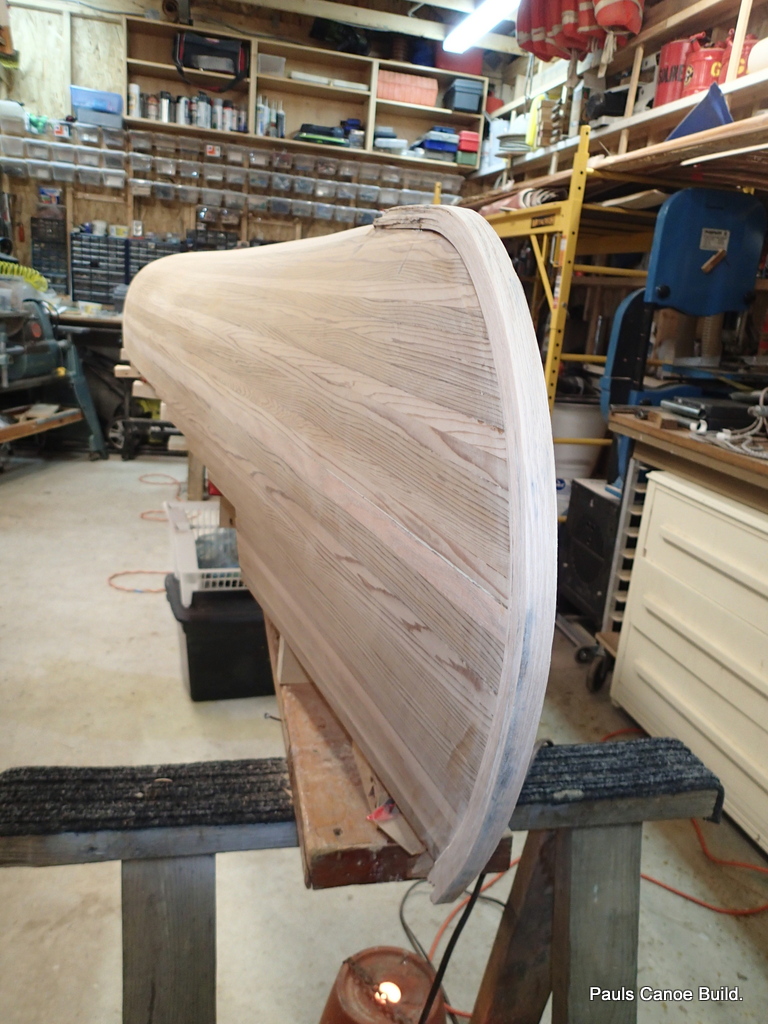
Another view of the stem laminations.
I use the belt sander to rough out the shape. I continue the canoe strip angles to the stems.
Stems roughed in.
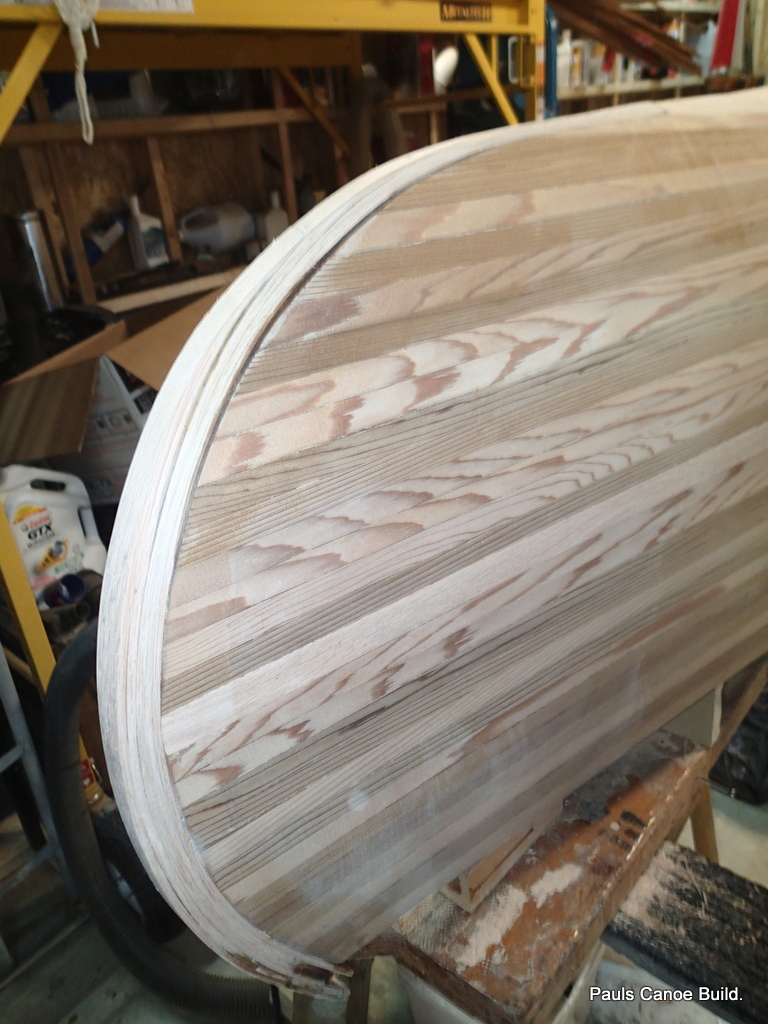
I will use my random orbital sander, with a 100 grit pad to even the stems with the strips. The stem band will be 1/2″ wide, so I shape the stem laminations to have a 1/2″ face.
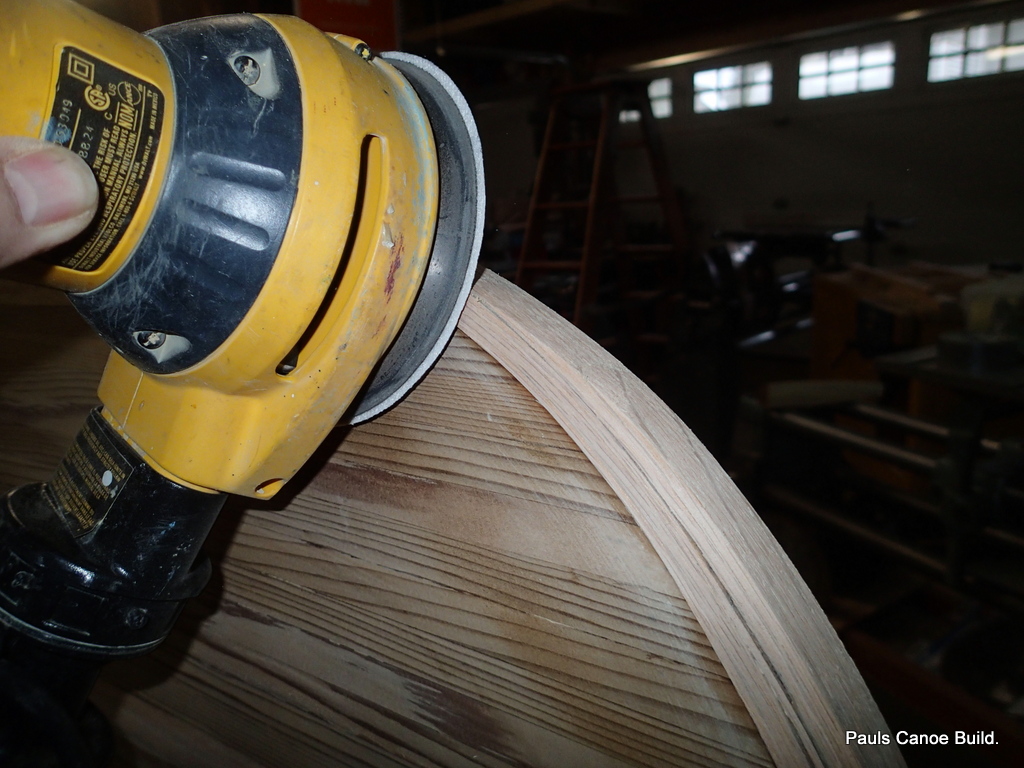
Matching the bevel of the strips.
After I have matched the angle of the strips to the stem laminations, I sand the stem so it has a 1/2″ face for the brass half-oval.
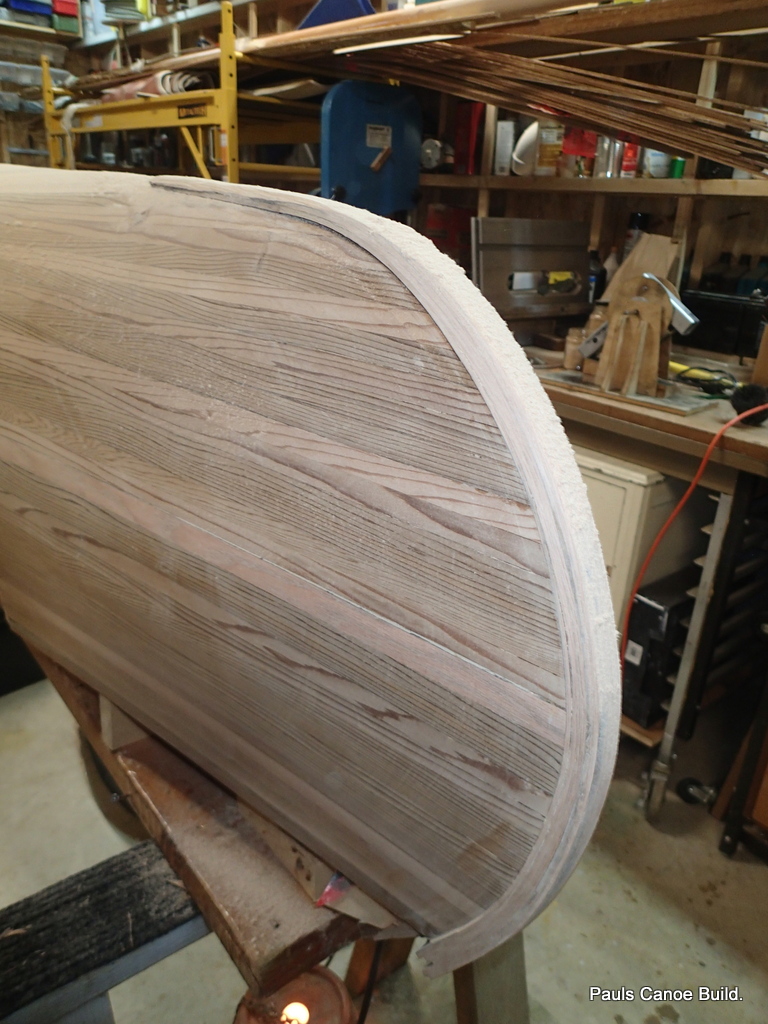
Almost there……
I finish sanding with a 240 grit sanding disk. I go over the entire canoe with the 240 grit… I really want the canoe to have a smooth curve throughout its shape.
Ready for the Epoxy and cloth.
All the shaping and sanding is done. Tomorrow ‘Poxying!!!!
Cheers,