Today’s project…get a few strips on!
For Christmas I got a radiant heater from Lee Valley.
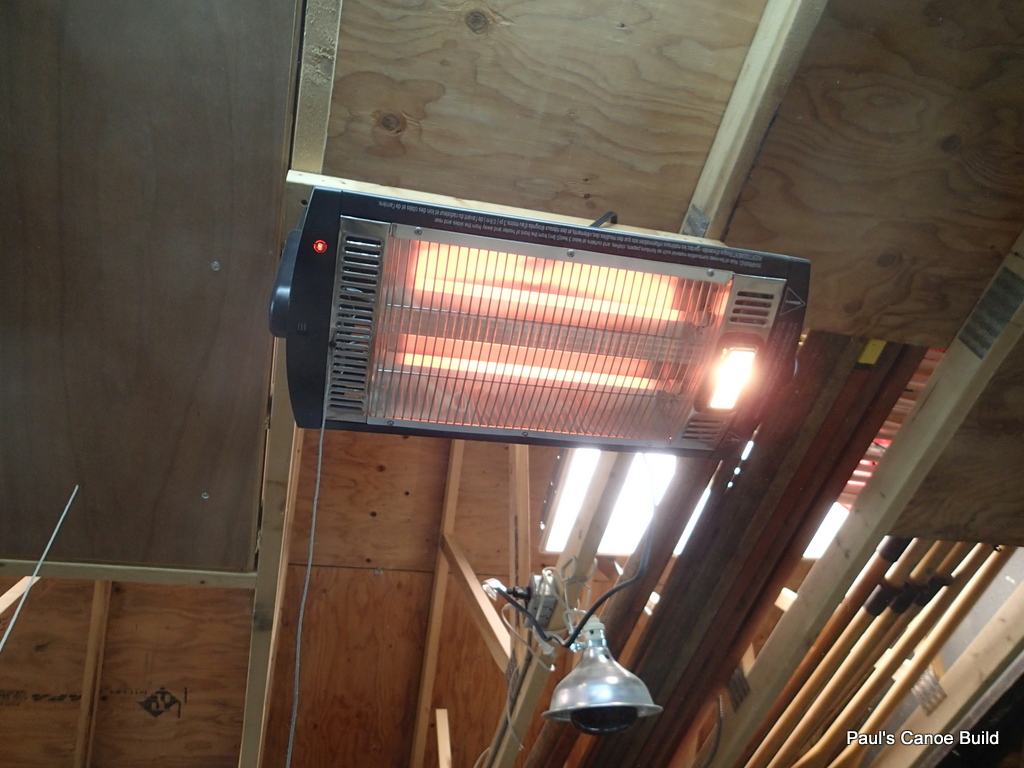
New radiant heater takes the chill out of the boathouse. It swivels so it can heat any part of the boathouse that I am working in. Works a lot better than the heat lamp!
First Paul finishes beveling the stemposts.
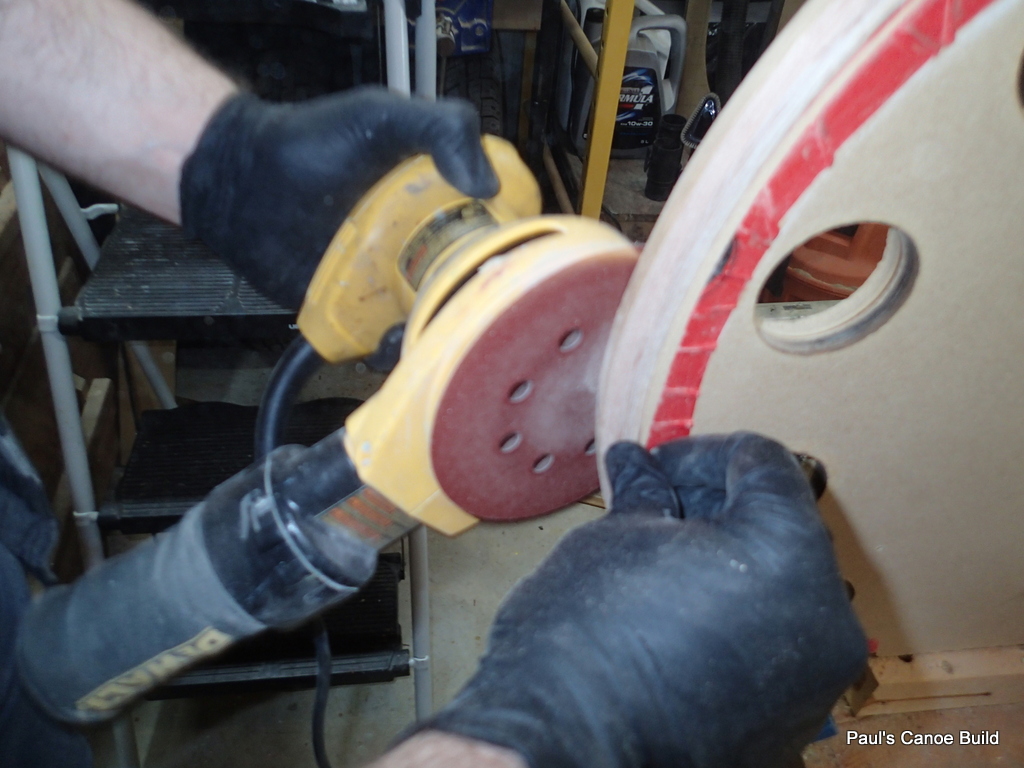
Beveling the stem.
Paul uses my 5″ random orbital sander to put the bevel onto the stempost. Using 80 grit paper, it only takes twenty minutes to do. He uses a strip to check the bevel as he goes.
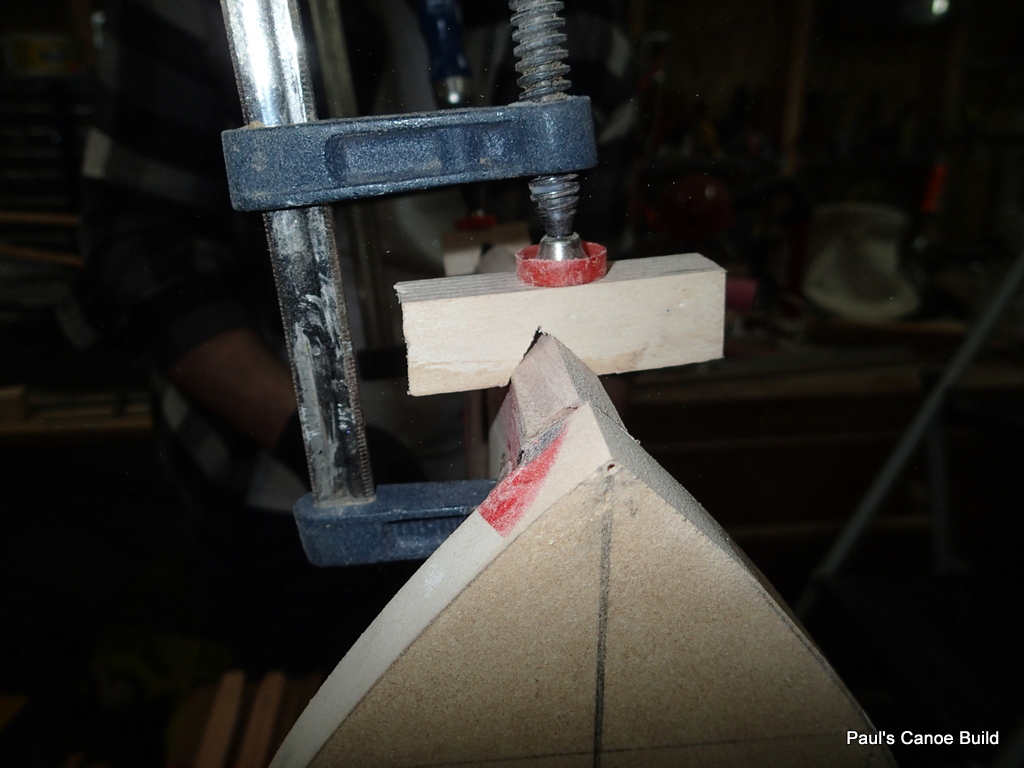
Stempost bevel at the keel.
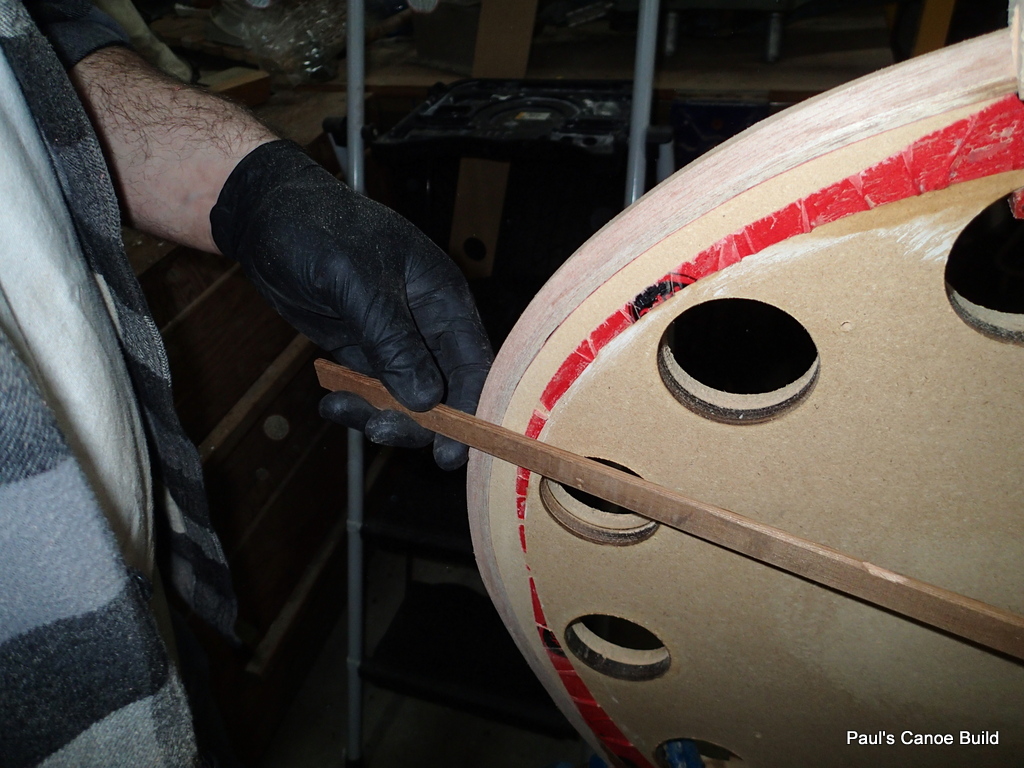
Checking the bevel.
While Paul bevels the stemposts, I cut up some aluminum “L” extrusions into 1″ wide “J” hooks:
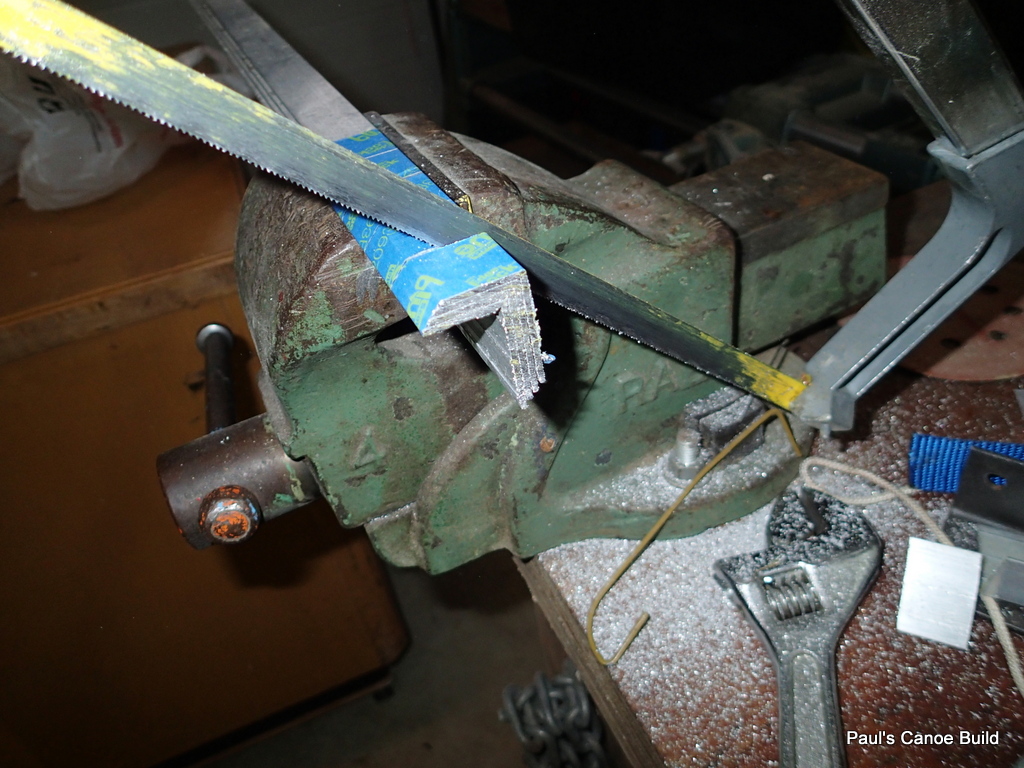
1″ “J” hooks.
I drill a hole in the “J” hook to attach elastic or string to hold the strips in place where needed.
Making the “J” hooks.
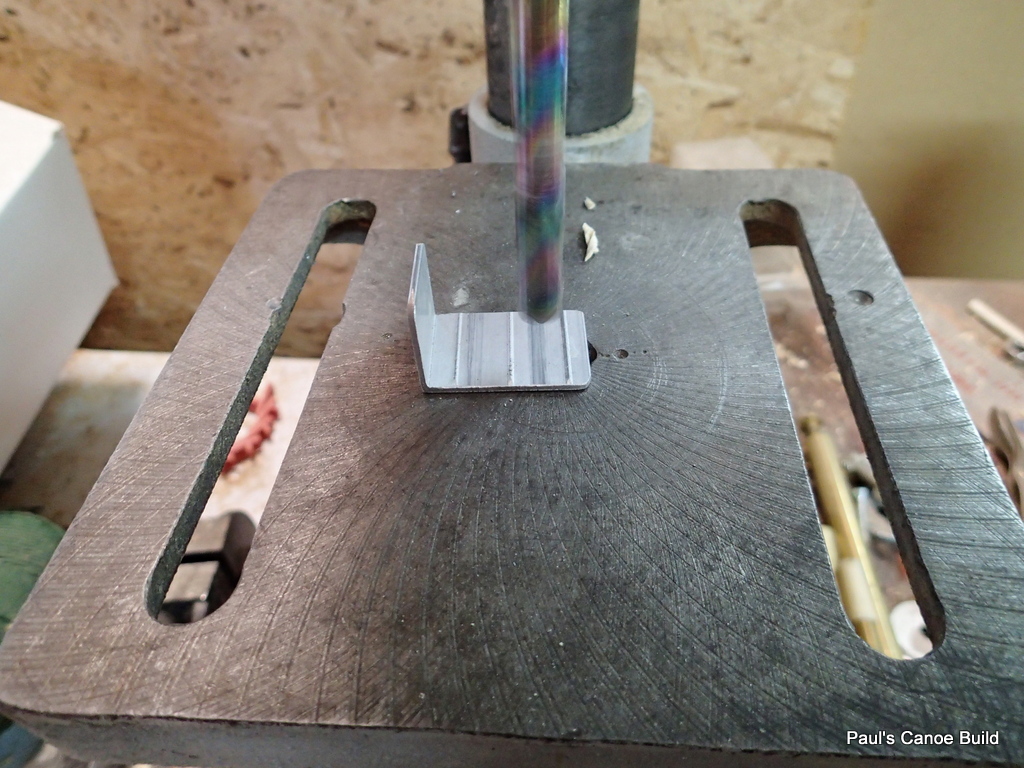
Finished “J” hooks:

“J” hooks.
“J” hook in use:
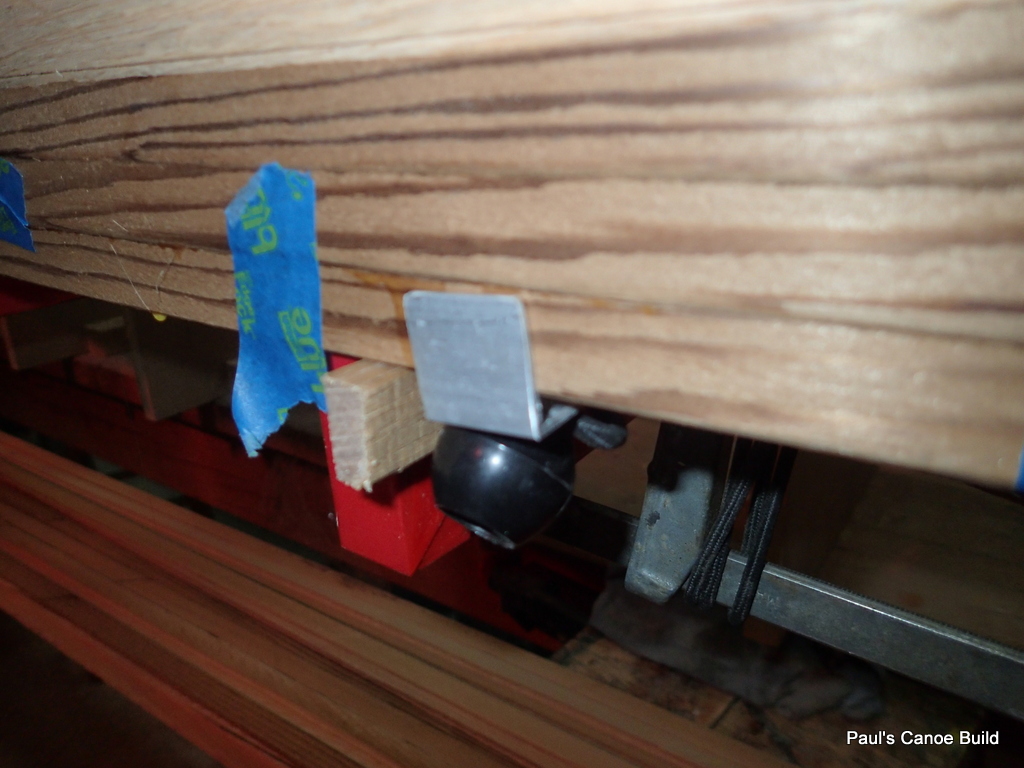
“J” hook in use.
After beveling the stemposts, we check the strong back and mould stations for square and insure that they are “Level”. Then we line the stations with tuck-tape so that the strips/epoxy will not permanently stick to them.
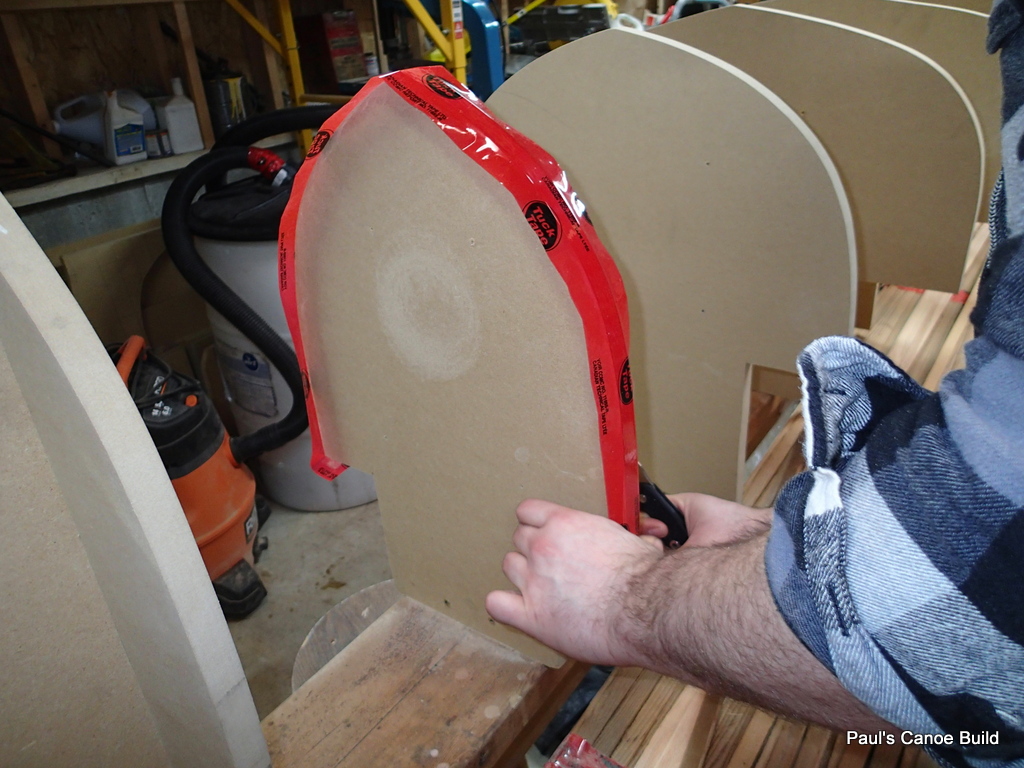
Tuck-taping and squaring-up the mould stations.
Getting there….
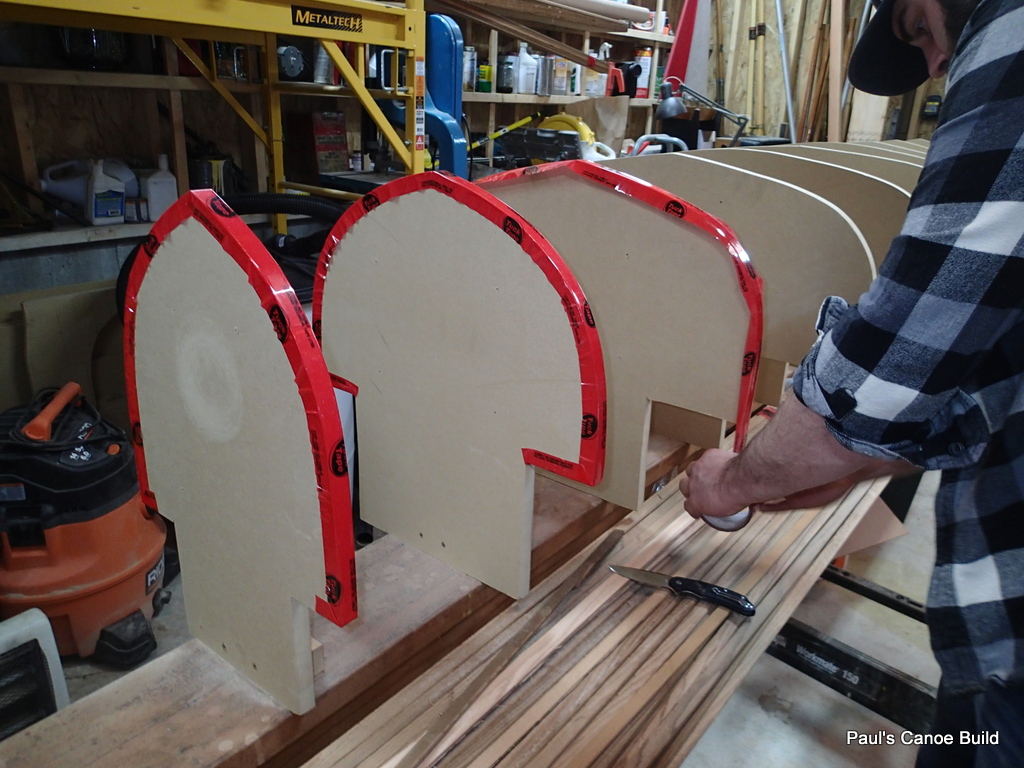
Tuck-taping the mould stations.
Almost done…
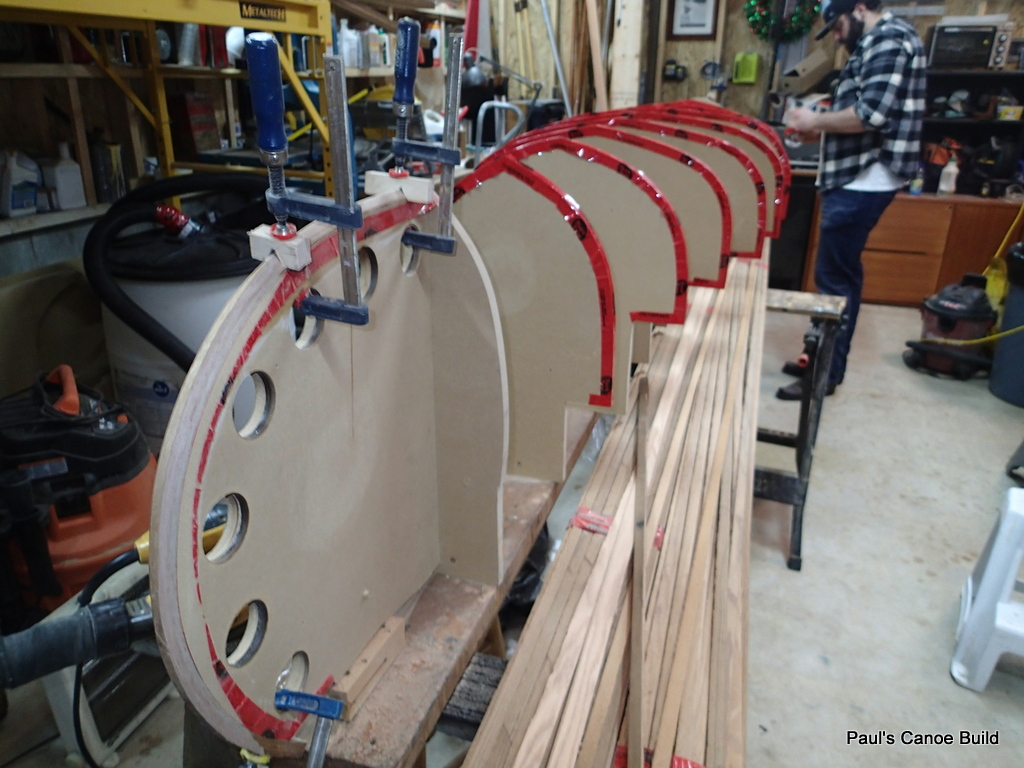
We run out of red tuck-tape and have to use ordinary packing tape for the last two station moulds.
The ordinary packing tape does not work as well as the tuck-tape. It does not stick to the mould stations as well as the tuck-tape. Oh well…..
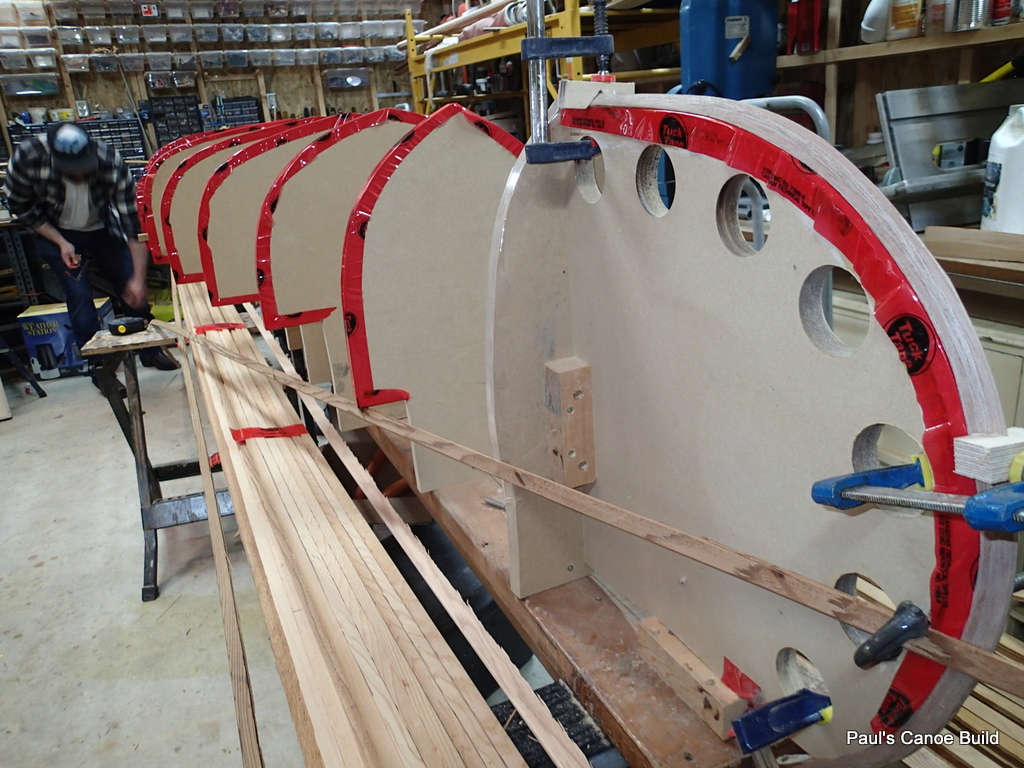
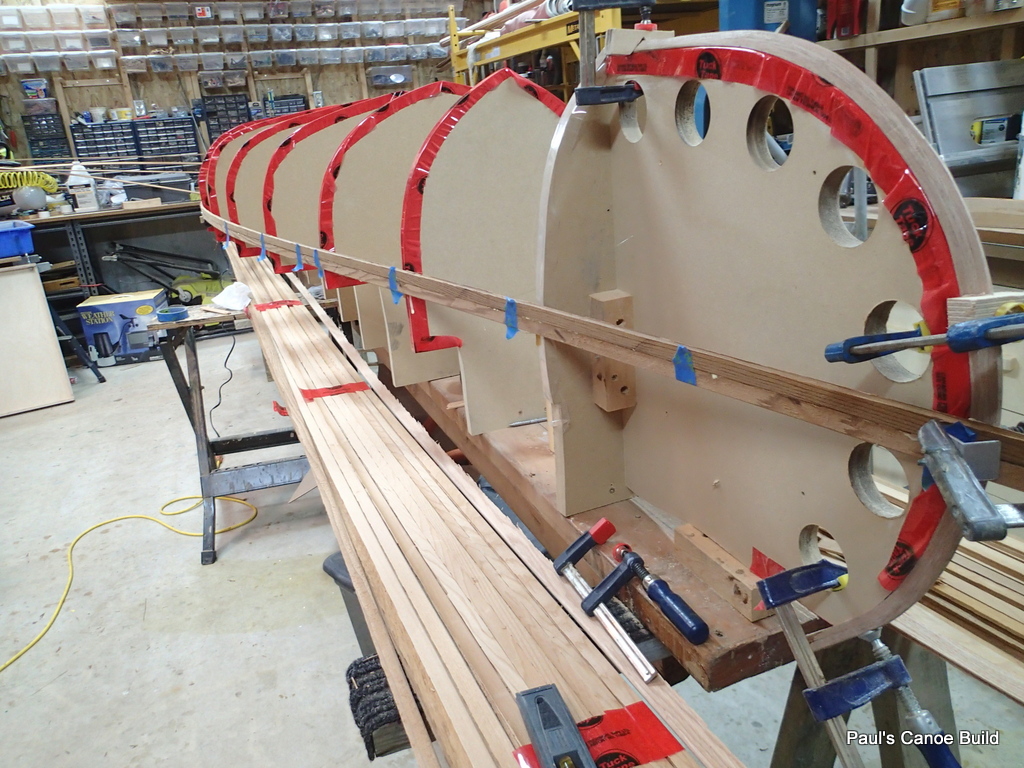
We put a bundle of numbered strips on each side of the strong-back…trying to keep both sides the same.
Next step is to put on the first strip. This strip will be at the gunwale height at the centre station. This will require much eye-balling and leveling…..
Determining where the first strip will go.
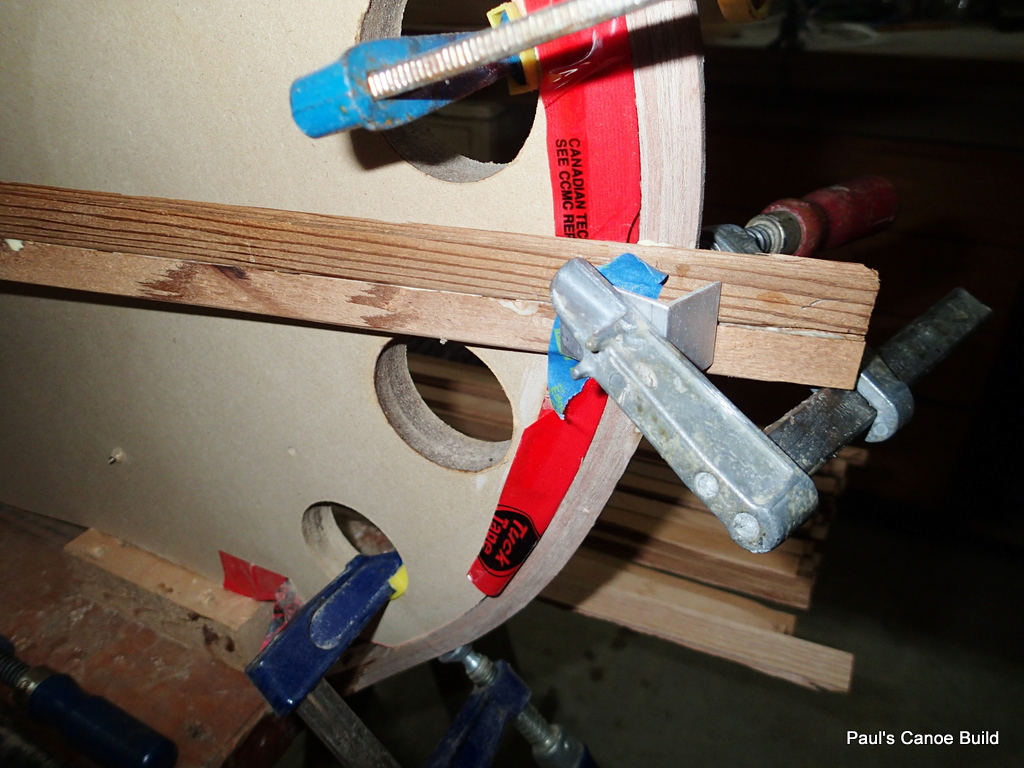
We temporarily clamp the strip at the stemposts.

Checking out the first strip.
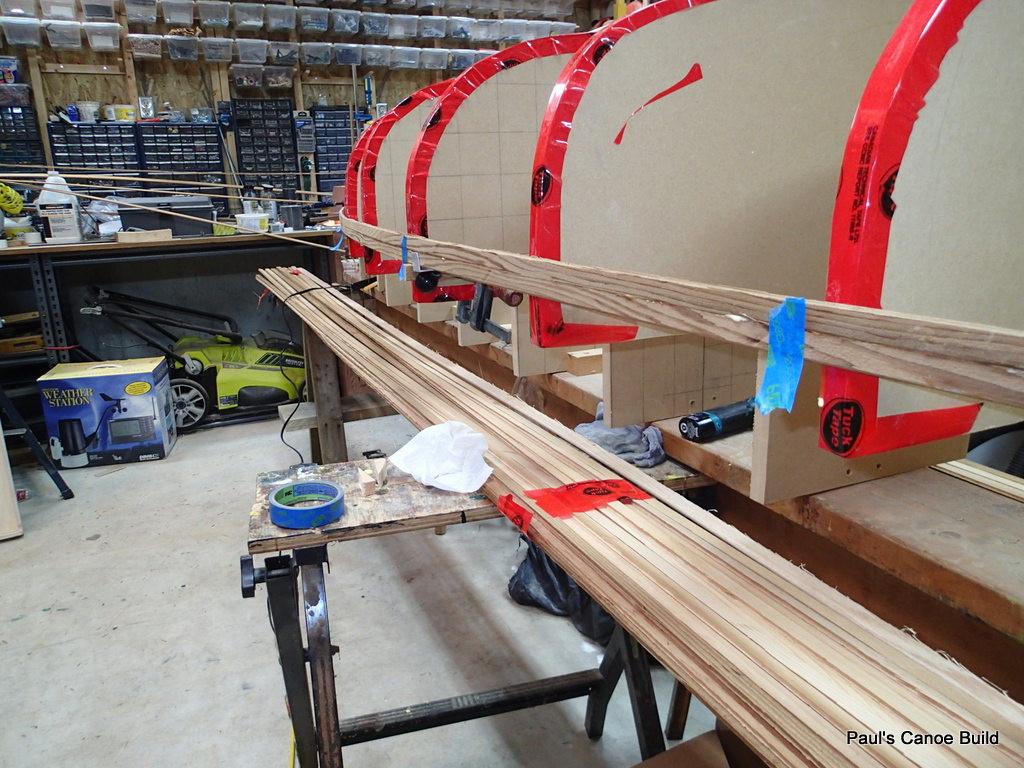
We will have the first few strips dark, then the light oak accent strip, another dark strip and then go from dark strips to lighter in colour ones. Again, trying to keep the same colour of strips on both sides of the canoe.
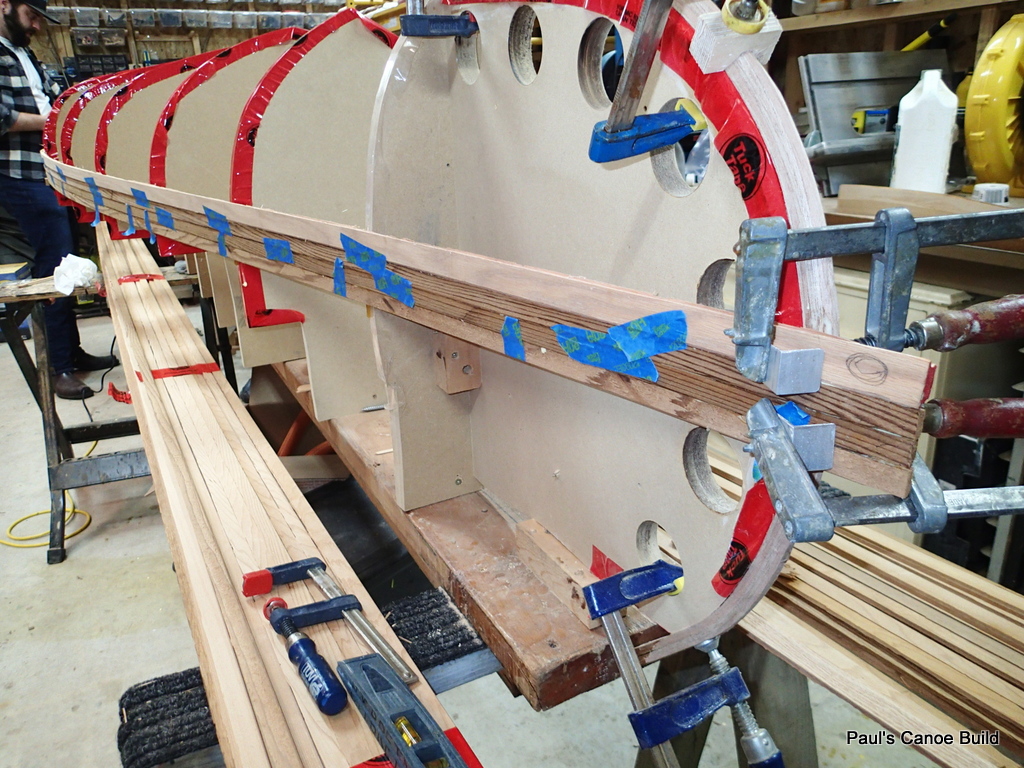
We have put the strips on cove side up, to put the glue in. We are using Tight Bond II. Since all the glue has to do is to hold the strips (hull) together during the sanding of the outside of the “hull on the mould” phase, we are not using a lot of glue. We are more generous glueing the strips to the stemposts.
First and second strip on.
Paul hot-melt glues the strips to the tuck-tape on the mould stations.
Hot melt glue used to temporarily secure strips to mould station.
Notice that the ordinary packing tape is pulling away from the mould station.
Painters tape provides enough clamping pressure!
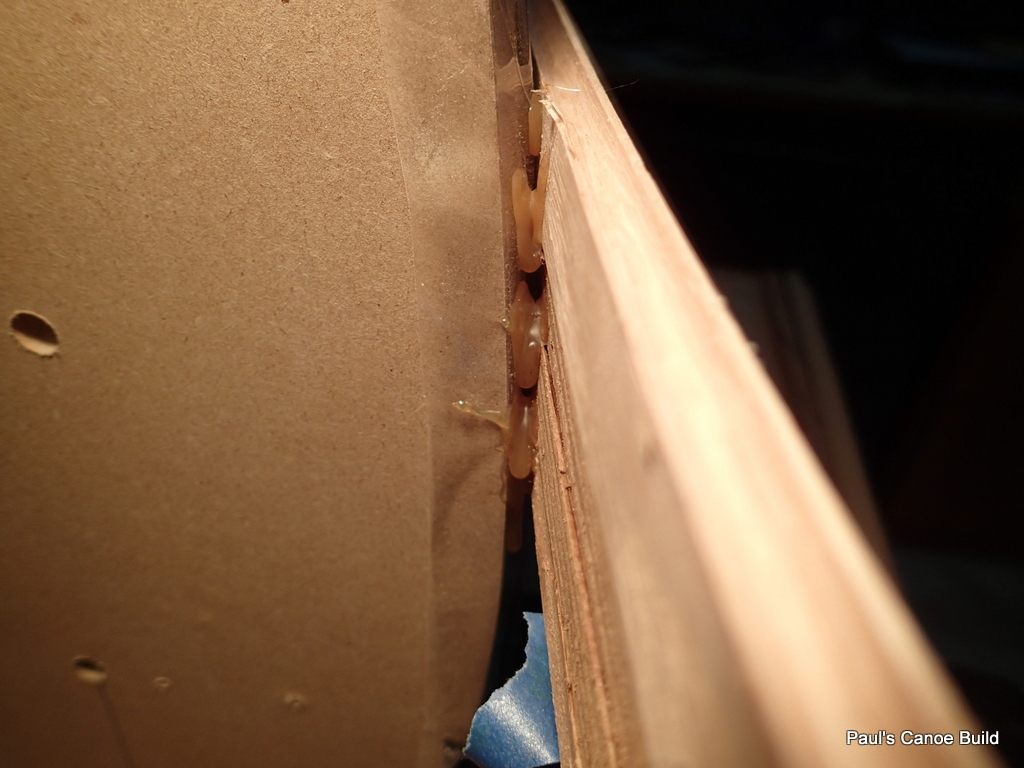
I have made three 4″ pieces of cedar strip to help glue the strips to each other…Using the short piece of a strip, I can apply enough pressure to press the two strips together,
Some squeezed-out glue.
squeezing out some glue without crushing the cove on the strip. As I apply clamping pressure, Paul tapes the two strips together to hold them until the glue sets.
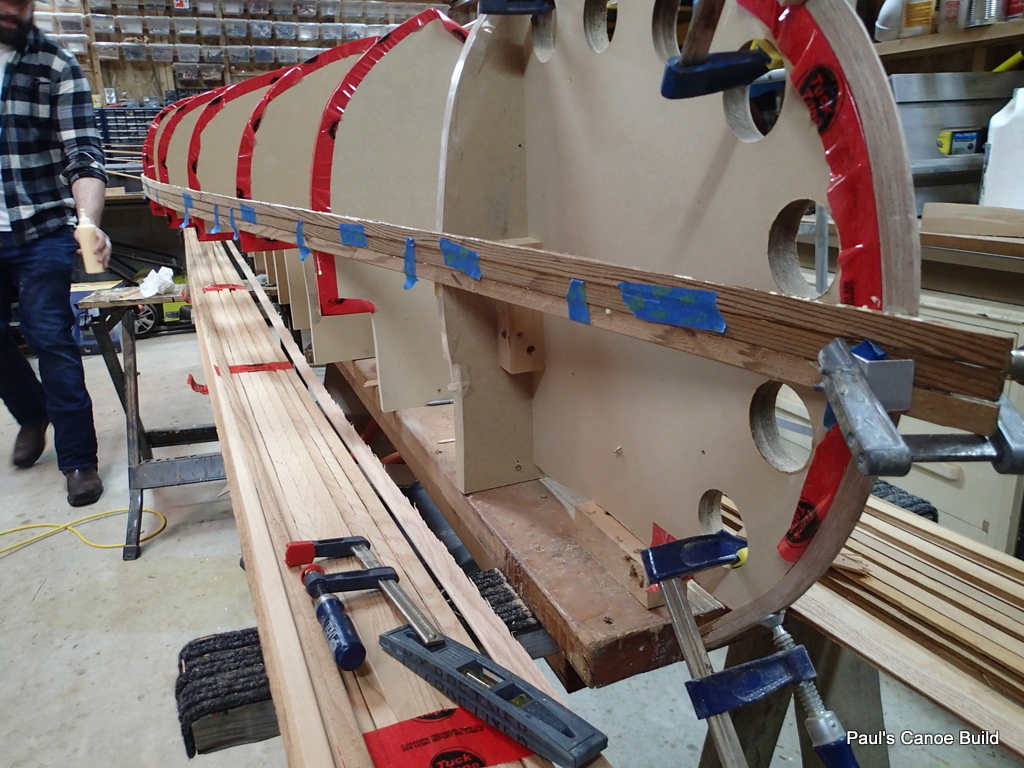
Third strip on with glue in “cove” ready for the accent strip.
As Paul and I put the oak accent strip, we wonder if the 1/16″ proud part will work…If not, we will just sand it flush with the other strips.
Oak accent strip on.
Well, that is it for today…Four strips on and two things learned…If we put the strips on almost even with the bow on the Port side and almost even with the stern on the Starboard side, we can put strips on both sides of the canoe, one after another. The part of the strip past the stempost will not interfere with the strip on the other side of the canoe.
The way we did the first four, we could only put strips on one side of the canoe as a time…
We need to buy a bag of big elastic bands for the “J” hooks.
Happy Paddling….