Epoxy and cloth, bulheads for the inside.
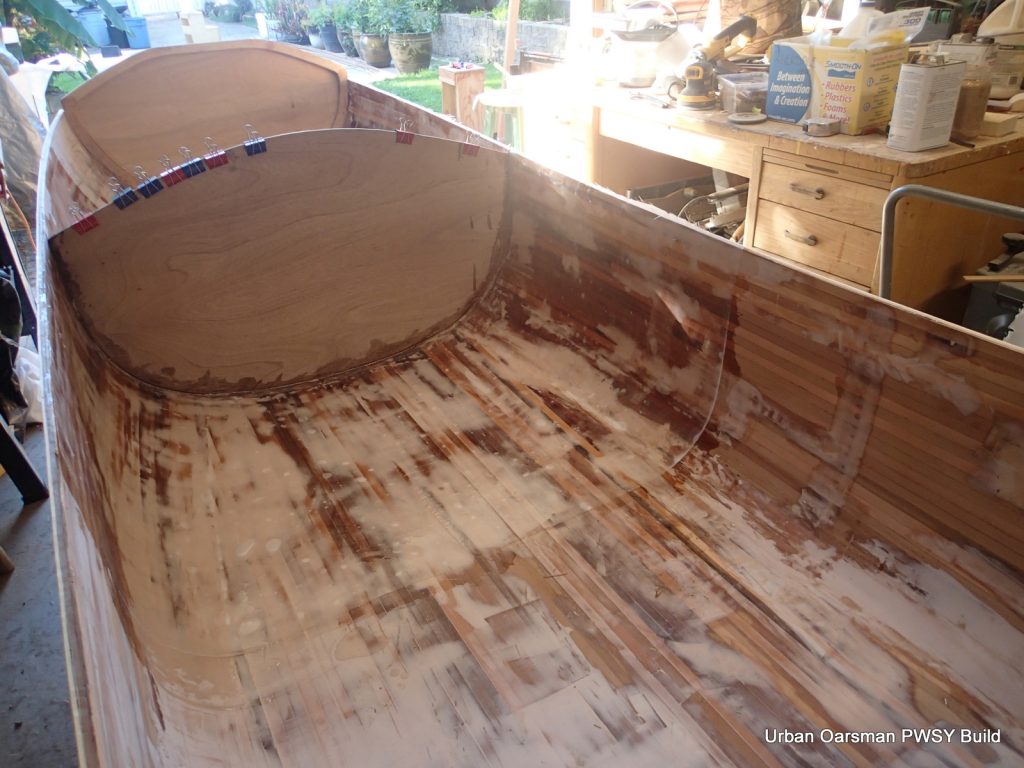
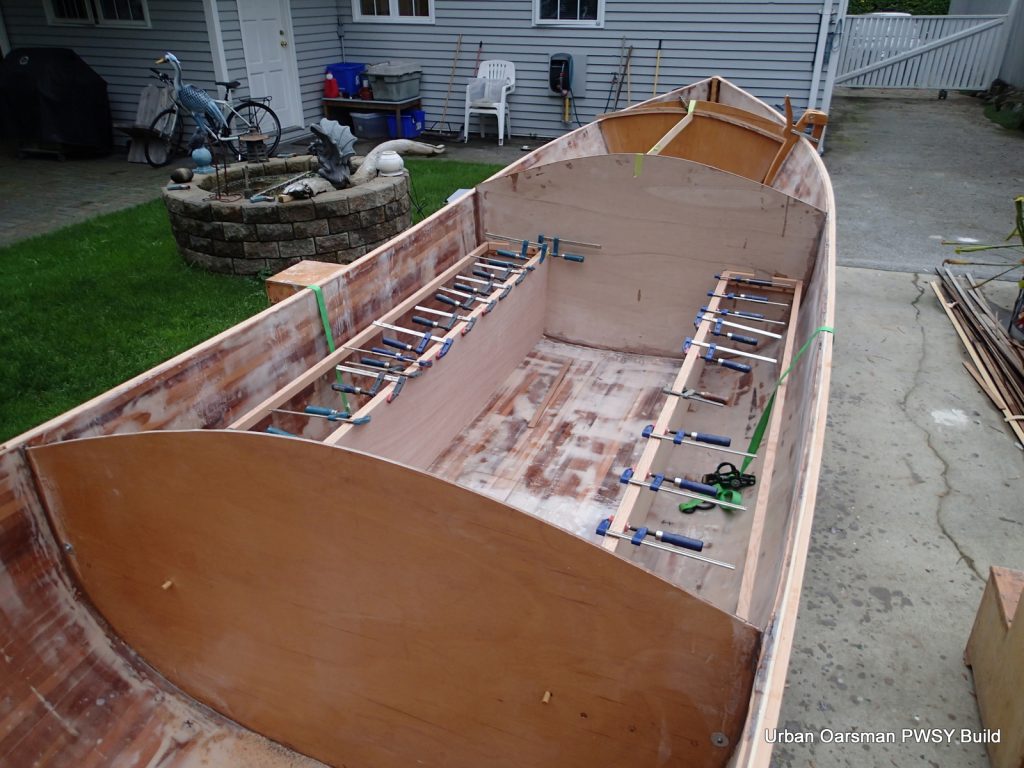
I have put the centre mold station back into the hull to help hold the shape while I fit the bulkheads. I am going to put them in belfore I epoxy and cloth the inside of the hull. I cut a 4″ wide strip of cloth and put it under the bulkheads. This way I will have epoxy and cloth on the inside of the hull, uninterrupted by the bulkheads.
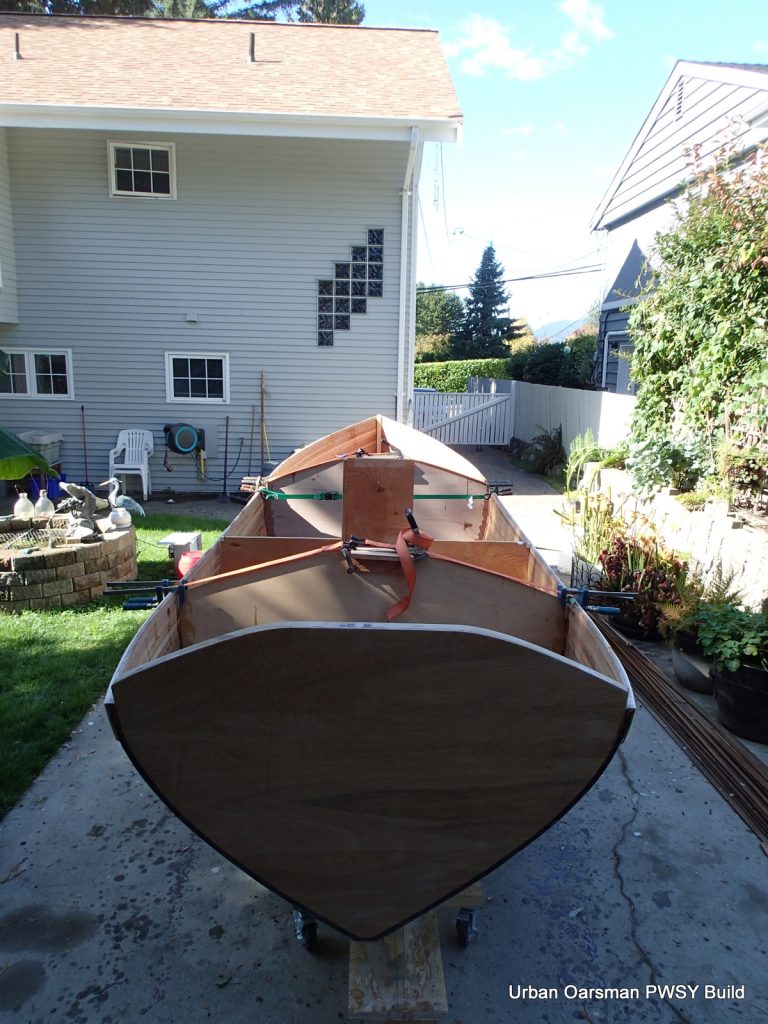
I use the station molds at stations #5 and #8 as templates for the bulkheads. They are both slightly bigger than the bulkheads, so I trim them to fit.
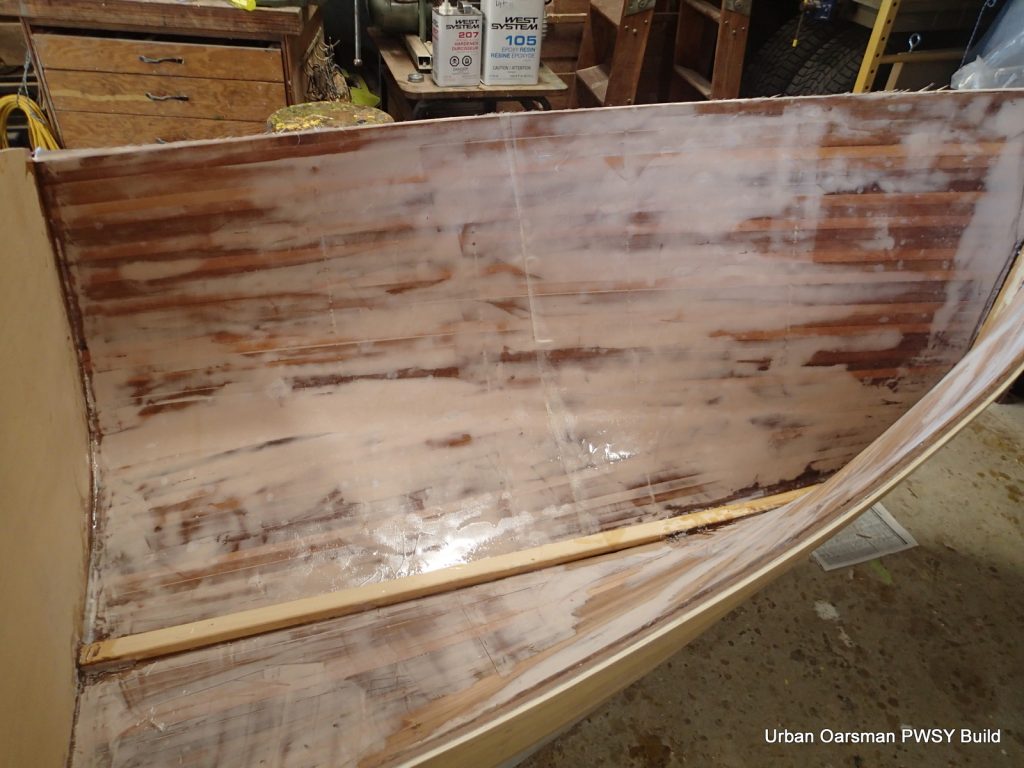
I epoxy in the bulkheads. I then put in an epoxy and sawdust fillet which I later cover with epoxy and cloth.
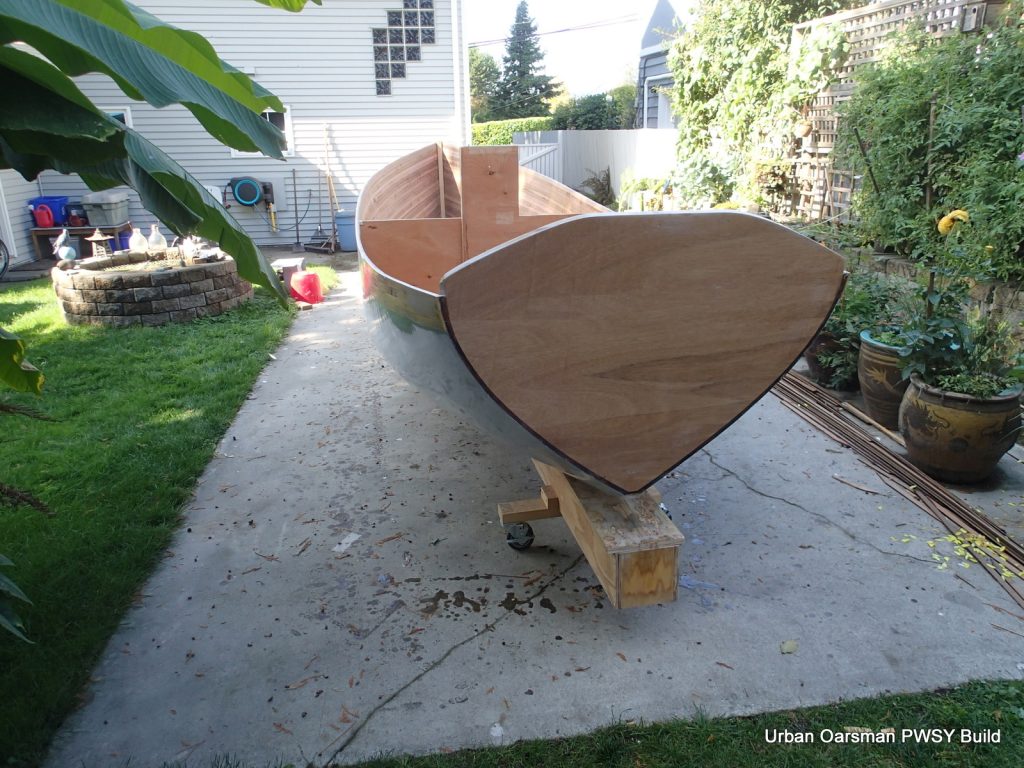
With her on the strongback, I cannot reach the inside of the hull. So, with the bulkheads in place, I feel confident enough to place her on the dolly. Her shape will not change now.
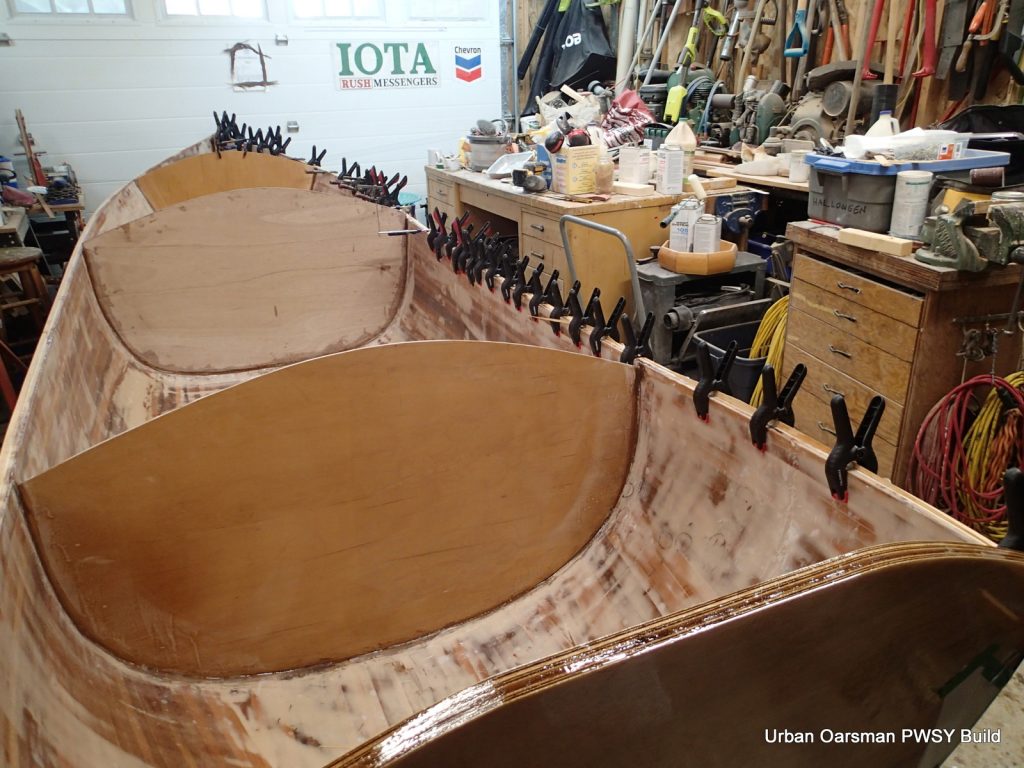
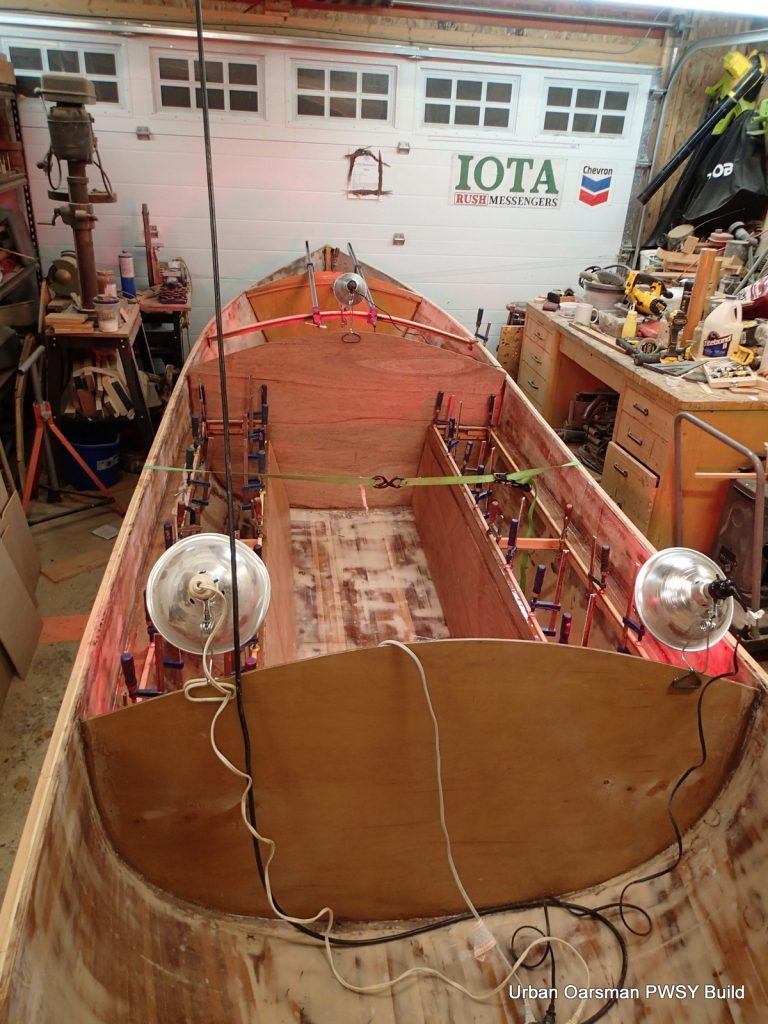
Because she is so deep and wide, I am going to do the epoxy and cloth in two sections, one side at a time. I will overlap the cloth along the centre line.
A photo of the bow section.
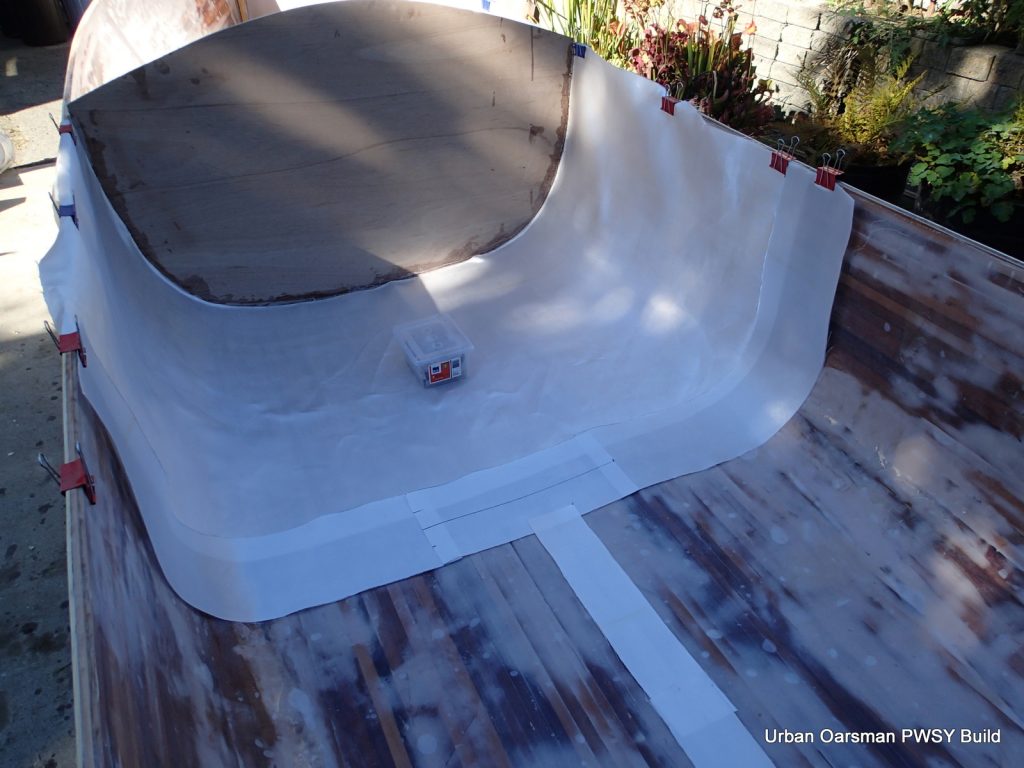
Note the overlap of the 9.7oz cloth. Very tight weave.
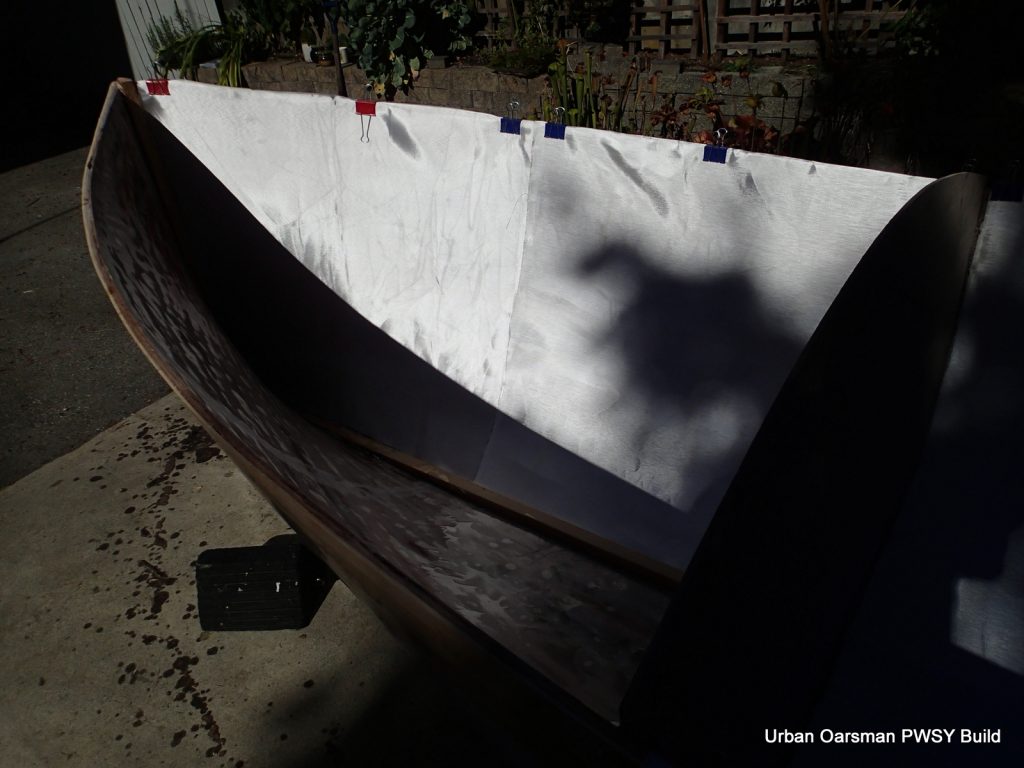
I am finding this tight weave heavy cloth hard to work with and I am getting a lot more bubbles than I would like.
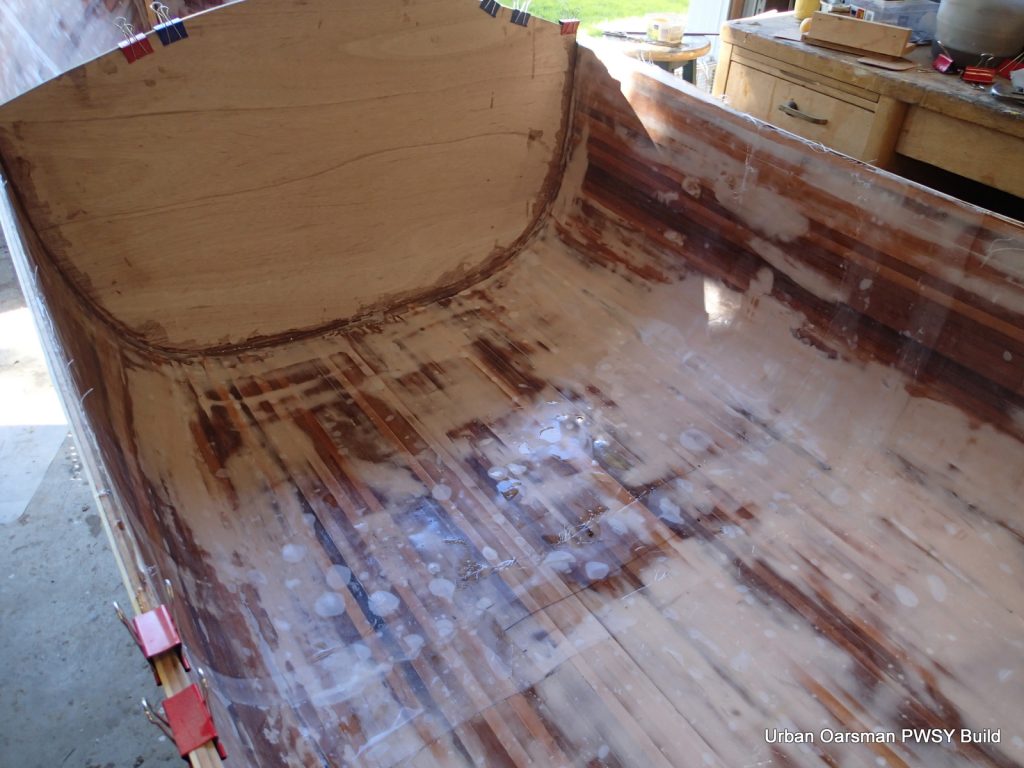
I do not like the bubbles. I grind out and patch each one. Takes a long time to do.
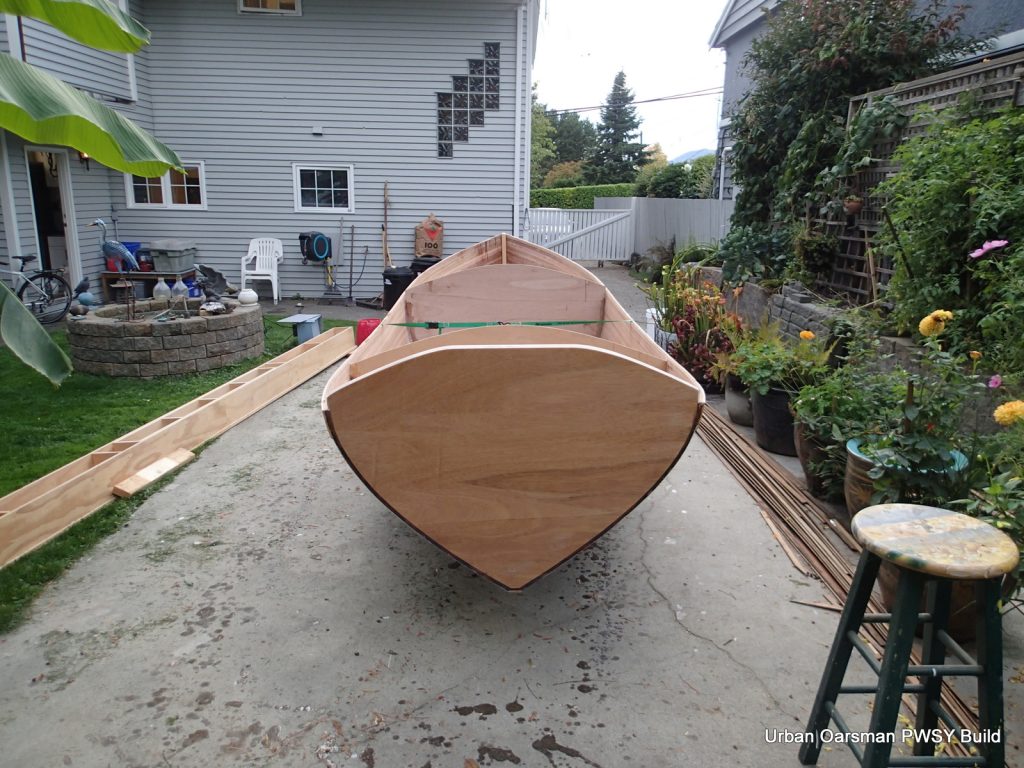
I epoxy in the forward bulkhead, which is not in the plans. I am going to have a more “conventional” looking forward storage compartment.
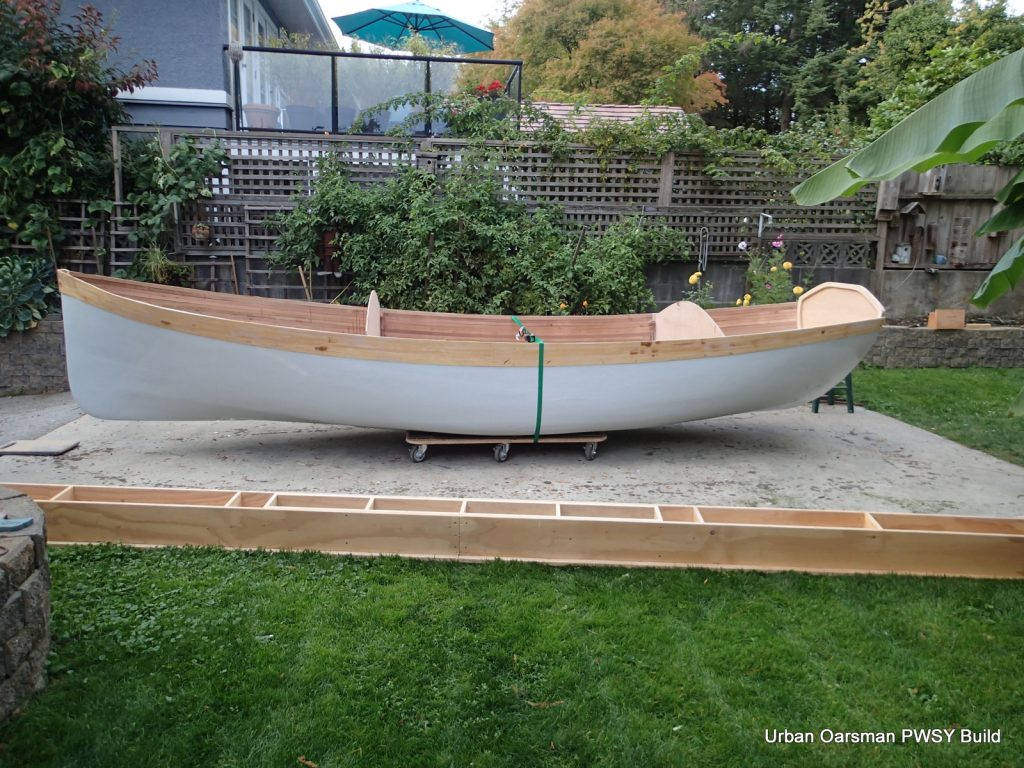
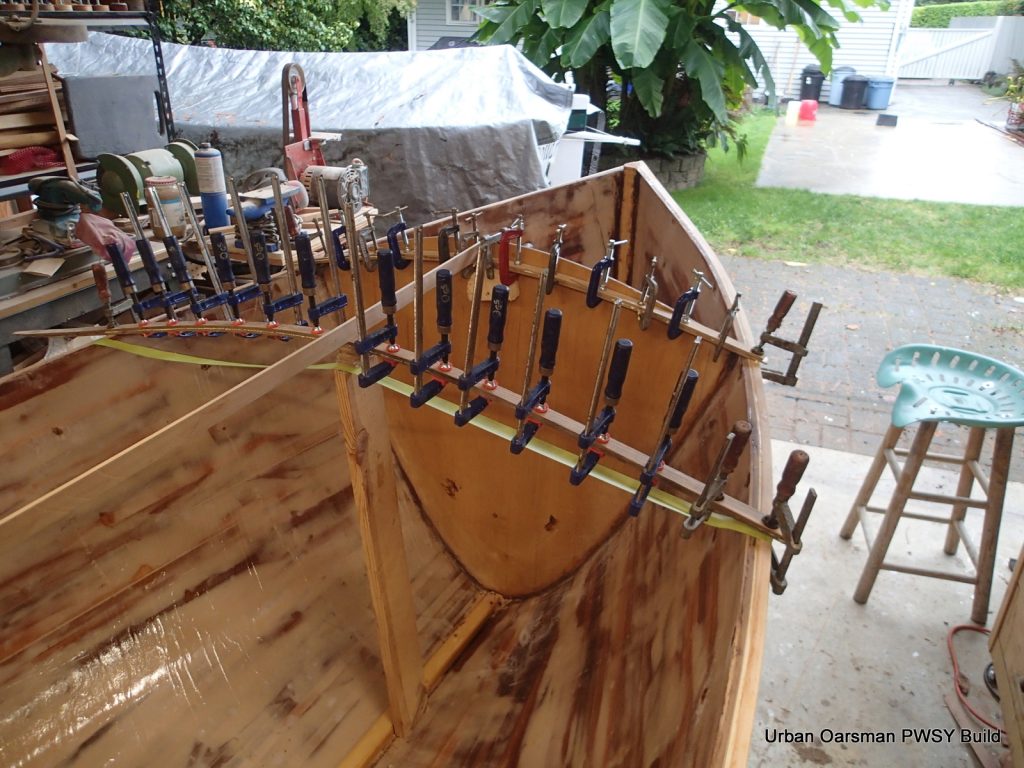
I have scarfed some douglas fir strips for the gunnel and the lower wale strip. The wood actually came from a recycled ballance beam from a high school in West Vancouver.
I am going to glue bird’s eye maple veneer onto the wale, using the gunnel strip and the lower wale strip to hold the veneer in place while the epoxy cures.

Here is the veneer and gunnel and lower wale strips epoxied up. Across the top of the boat are the stips for the starboard side.
The weather turned so I brought the hull into the shop for the starboard side.
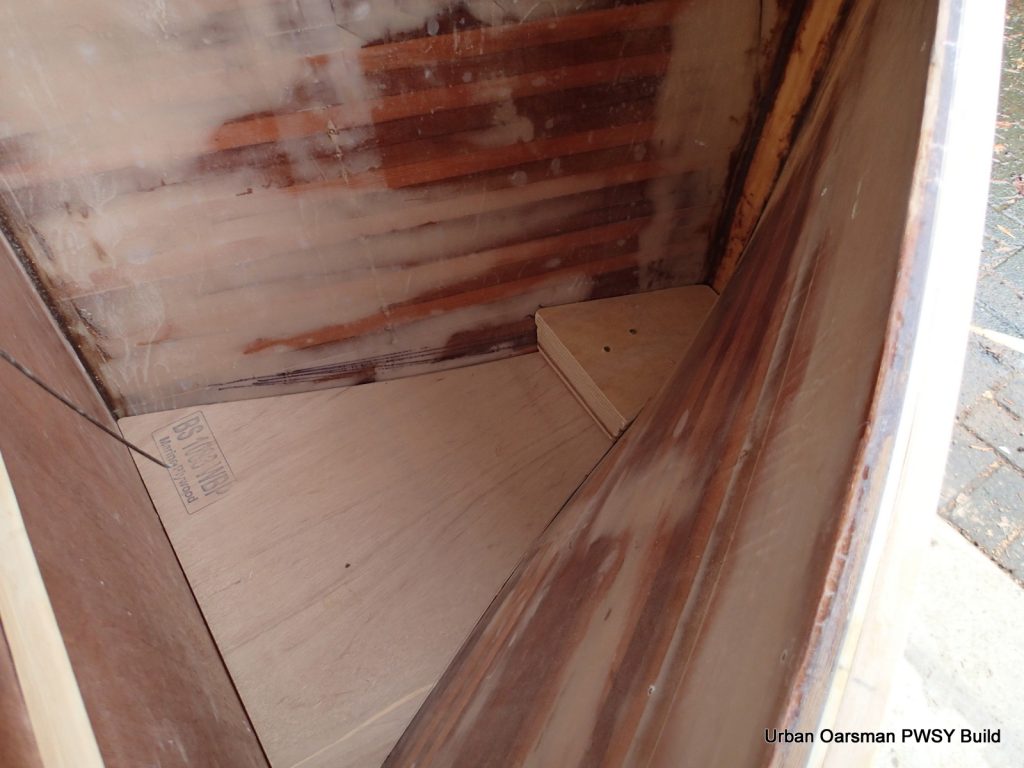
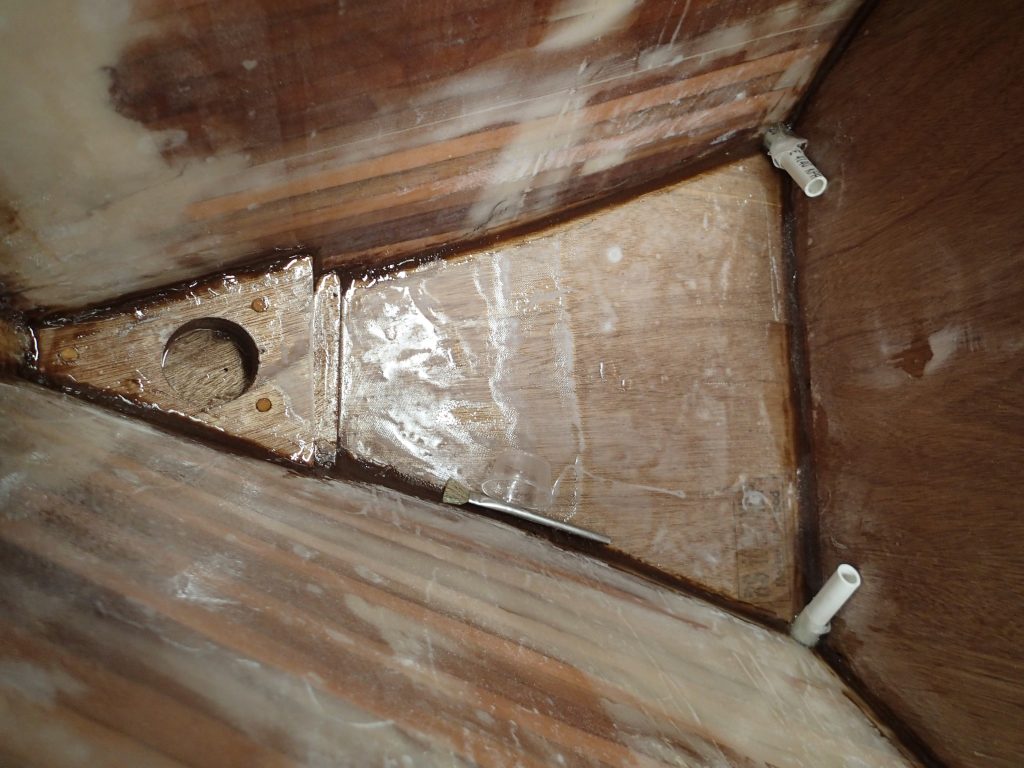
I am fitting the forward mast step. I am not following the plans, which have the forward floor sloping towards the bow with two drainage holes. My drainage holes will be on the aft end, beside the bulkhead. This is because I could not figure out how to have the mast step drain forward.
I am epoxying the mast step and floor. The floor is supported by a beam that runs from the inside keel to the bulkhead. The forward floor also has a cloth coating. This makes the area under the floor a watertight compartment. There is no access to this area.
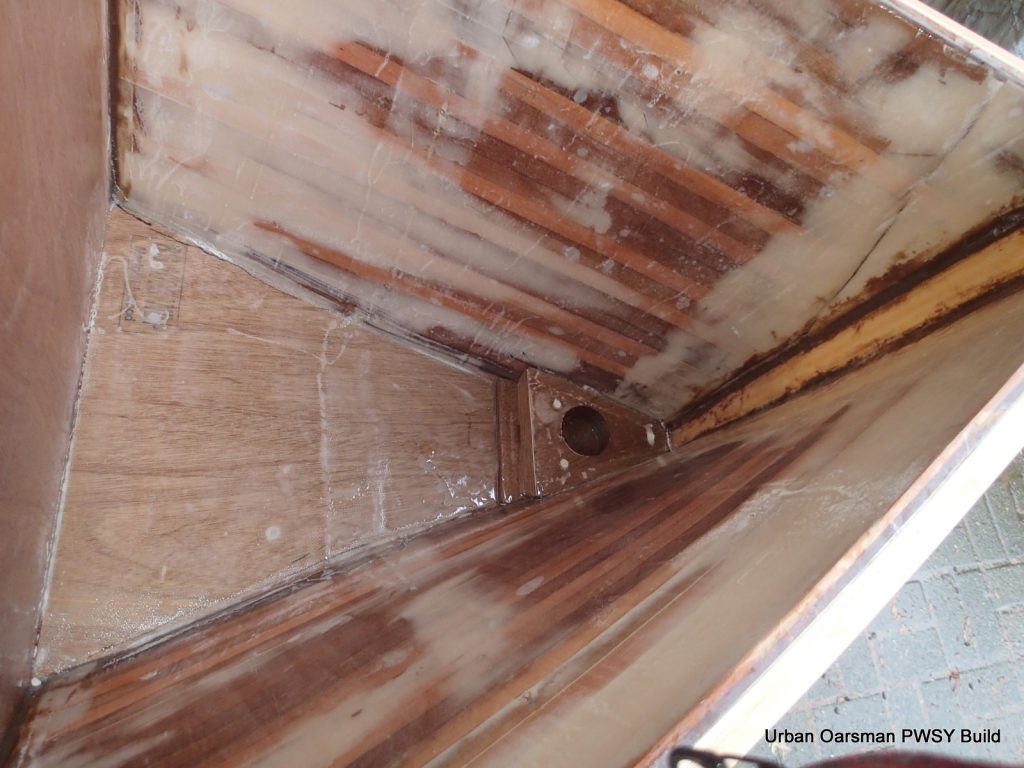
The mast step has a slot that allows any water in the mast step to drain out aft.

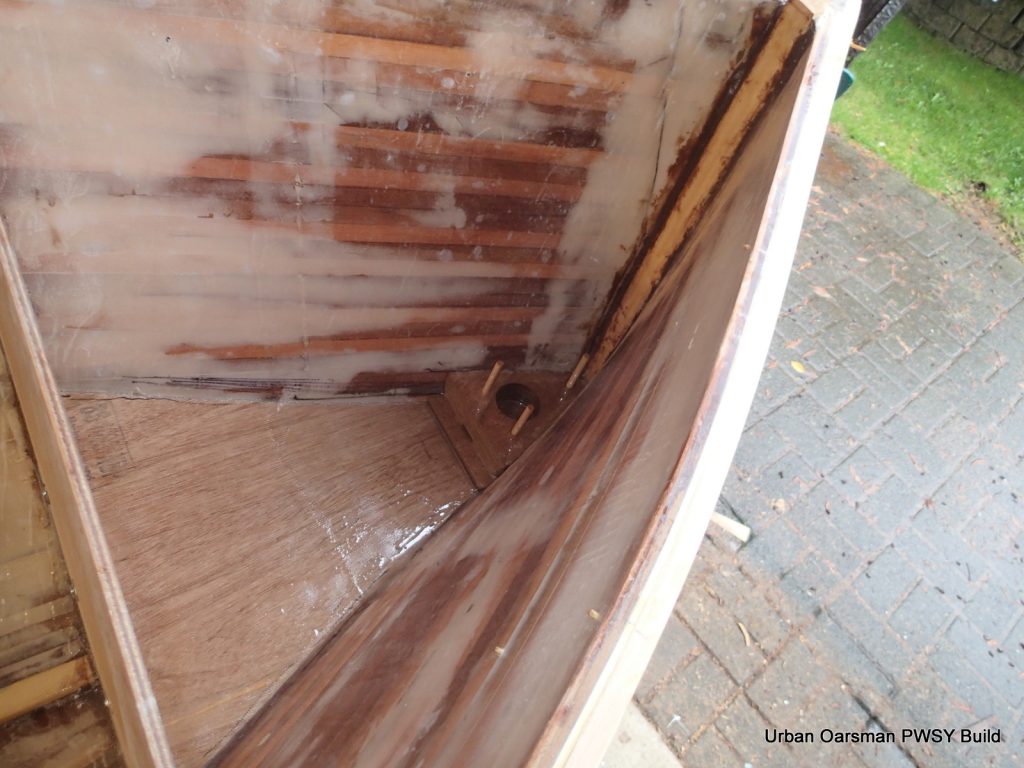
With Gwragedd Annwn, I have plugged all of the screw holes with bamboo pins. The pins fill the holes and act to hold the pieces together, not allowing the pieces to move reletive to each other.
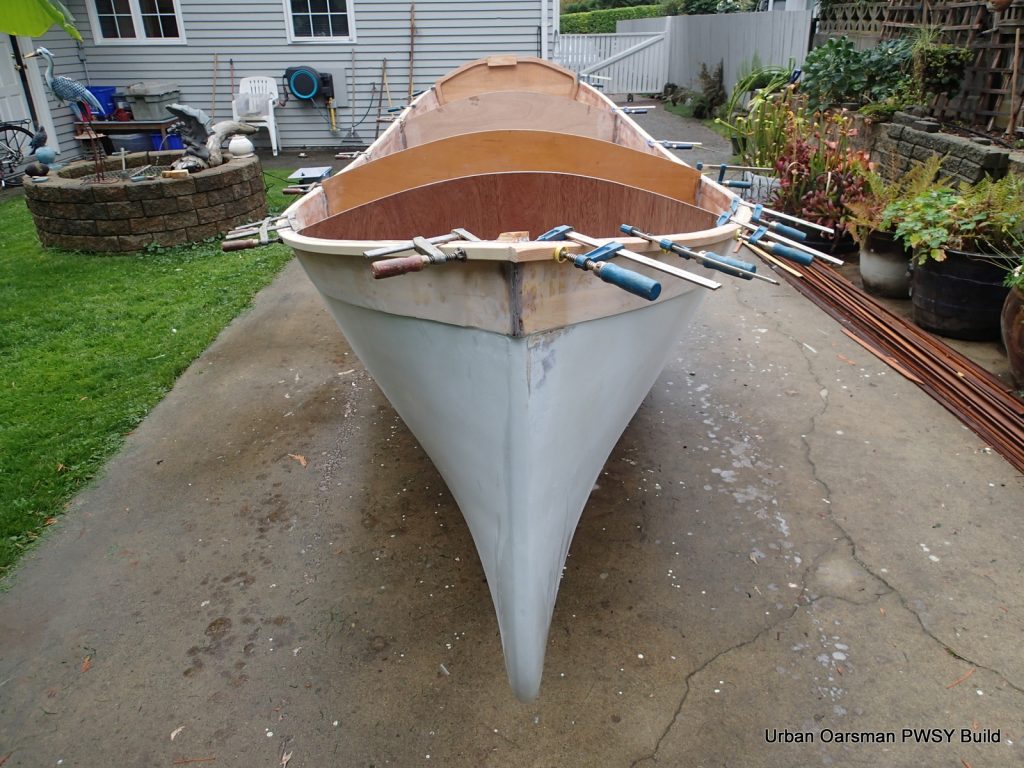
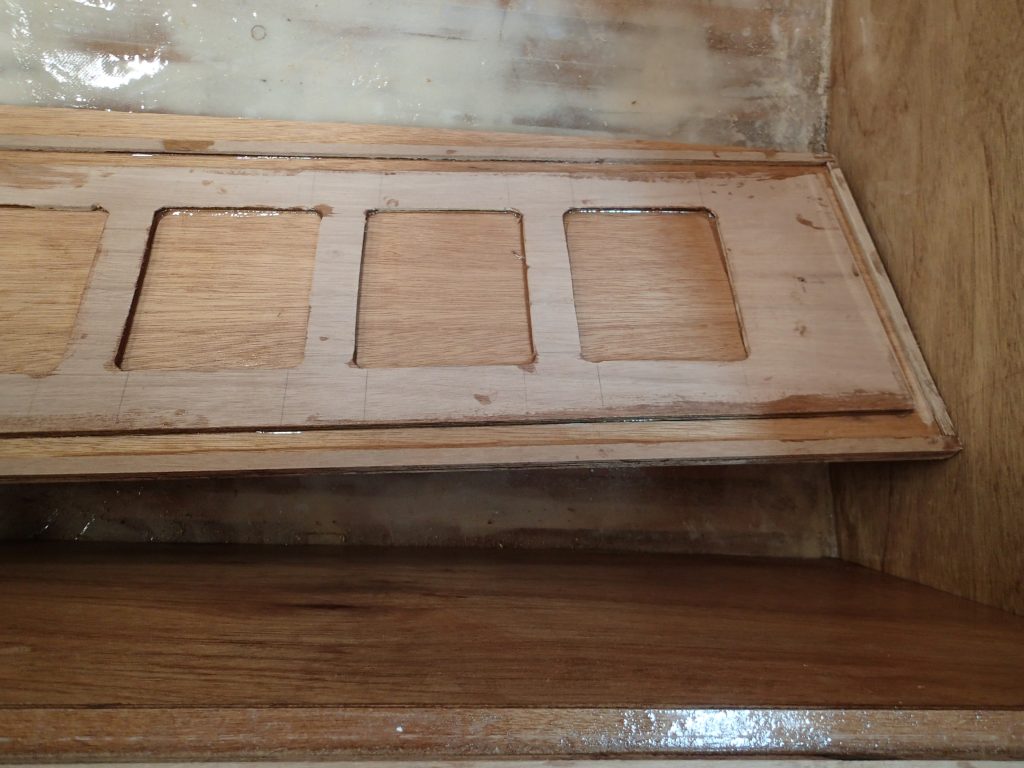
I am laminating the deck beams in place. The forward storage area deck will be supported by two beams running across the deck and beams on each of the bulkheads. The will be two beams going from one bulkhead to the other as well.
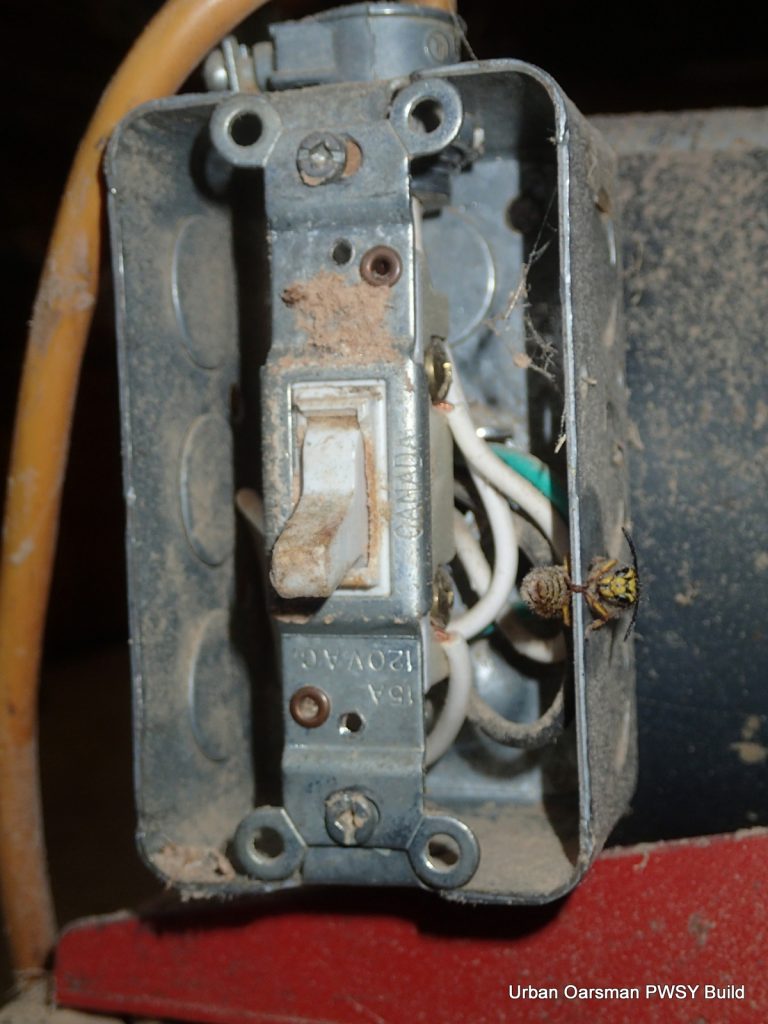
In running my 1″ belt sander, I woke up a queen wasp that was hibernating in the on/off switch for the winter. I took the cover off so she could fly away.
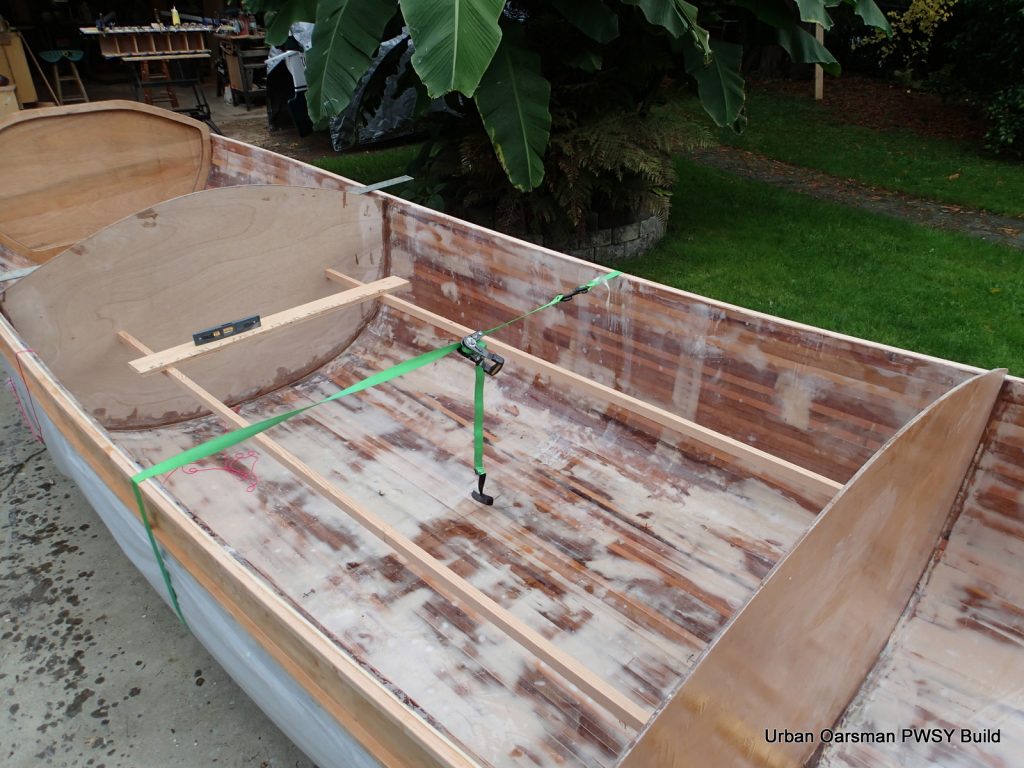
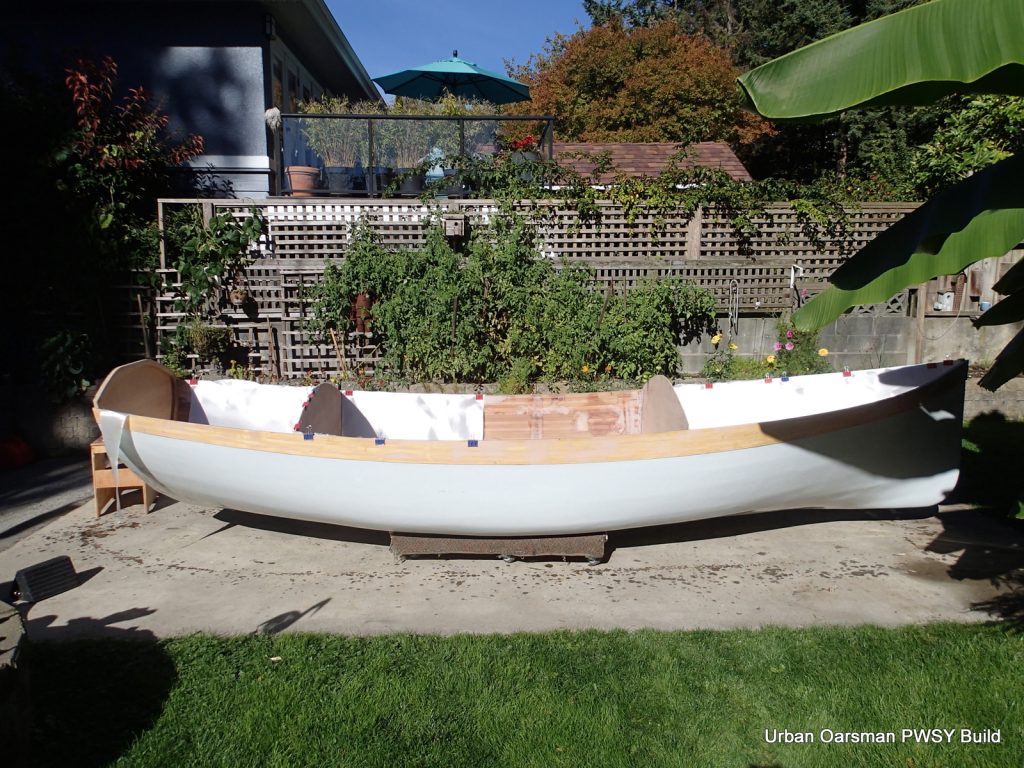
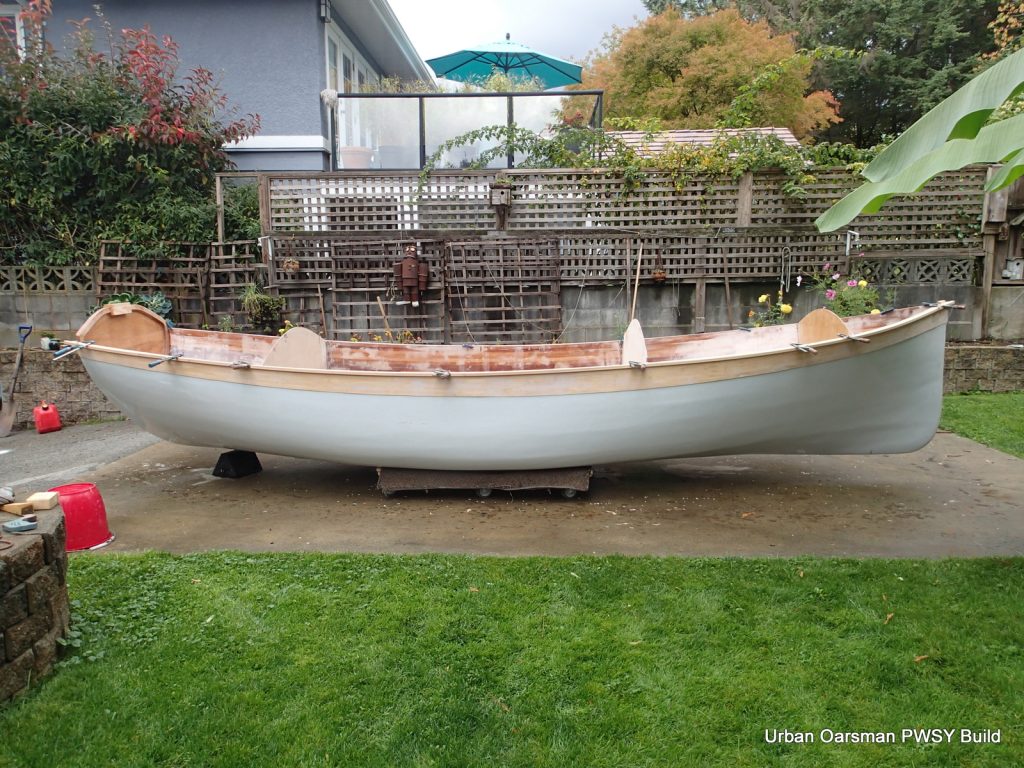
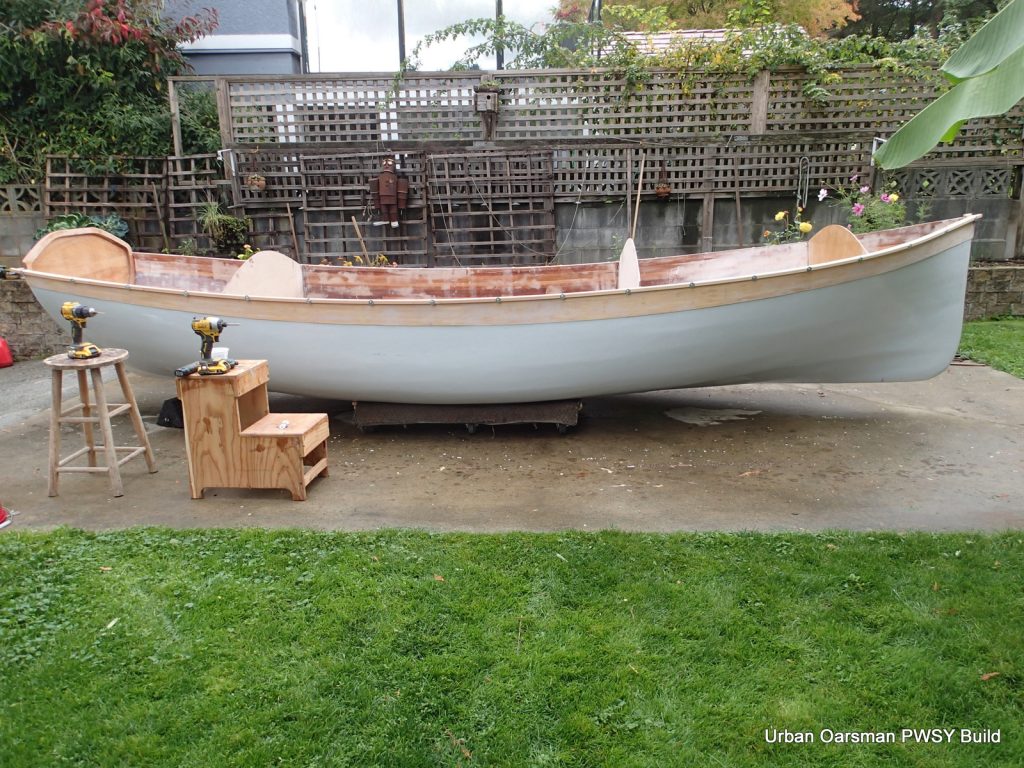
Well, I am a little to old to sit on the floor. I am making seat/buoyancy tanks to sit on. To make a flat sleeping platform, I will fill in the area between the seats. Worked well on Gwragedd Annwn. I level out/square up everything and go for it.
I epoxy in the seat fronts.
My shop is not heated and it is a little cold. I put heat lamps on the job overnight. You can see the seat “coaming” strips being epoxied on. The seats also have a corresponding coaming that the seat coamings fit into. I tried this system out on Gwragedd Annwn and it did work to keep water out of the storage tanks.
The seat undersides will get a coat of epoxy sealer.
Here I am epoxying in the drains. I drilled a hole to the outside of the hull, placed tape over it and then saturated epoxy and cloth around the plastic pipe to form an epoxy and cloth drain. I will trim down the tops so the area drains well.
Well, that is it for now…The weather is cold and I have to wait for a non-rainy day. A rare event here in North Vancouver in the winter.
Mike