

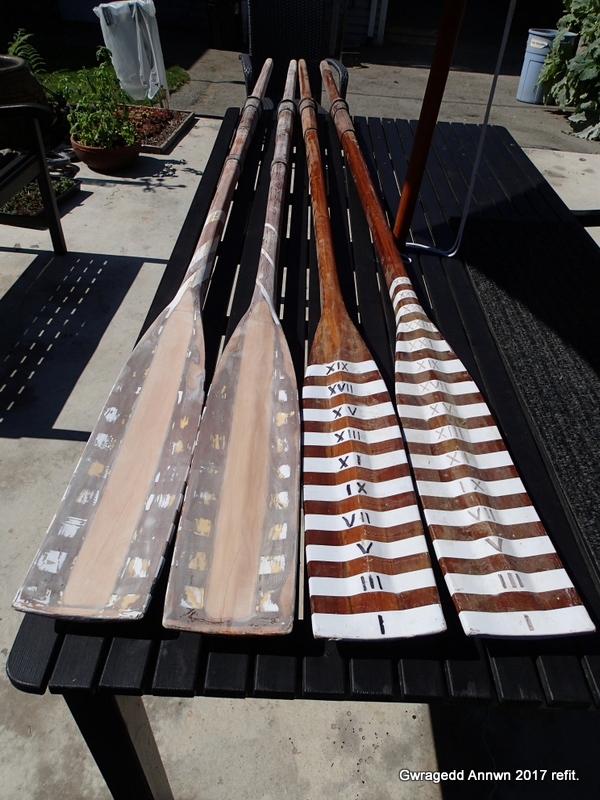
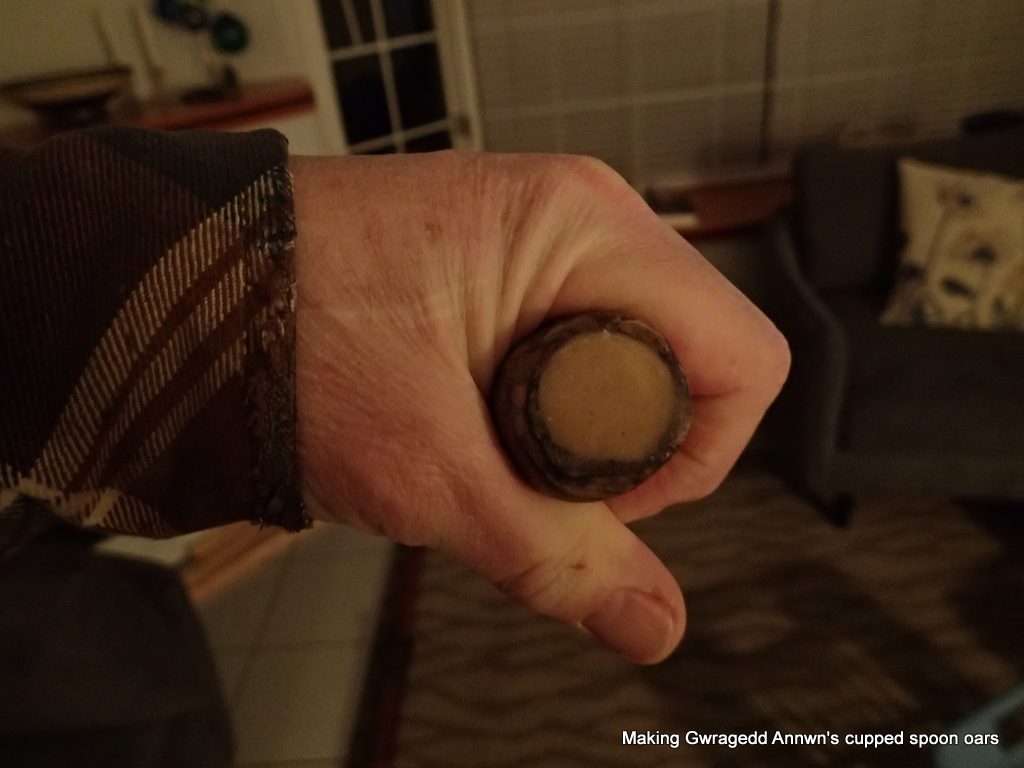
Gwragedd Annwn has “D” section red cedar cupped spoon oars. They are 8’6″ in length and have a blade area of ≈125 square inches. I have two sets, sized for the fore and aft rowing positions. The fore pair weigh 4lbs. 13oz. and 4lbs. 13.6oz.; the after pair weigh 4lbs. 9.10z. and 4lbs. 8.2oz. They all have lead weights in the grips for balance. They have performed very well for me. After several thousand nautical miles of rowing, I have made some modifications to Gwragedd Annwn’s cupped spoon oars.
I felt that I had overbuilt the oars. I felt that they were heavy in the blade.
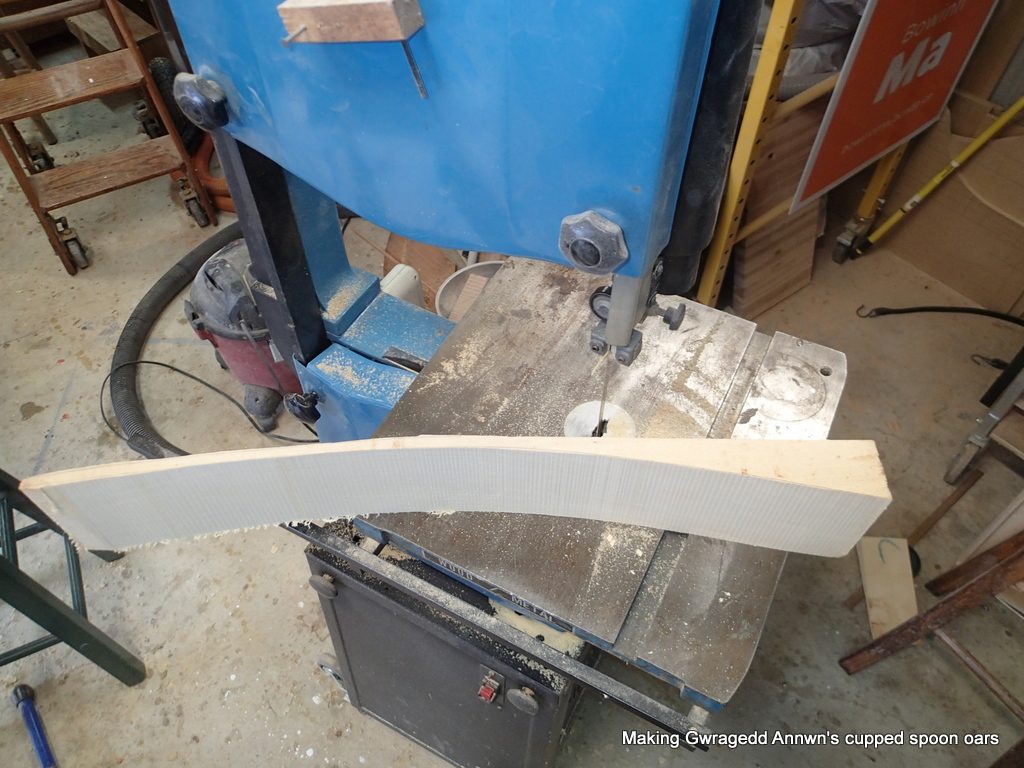
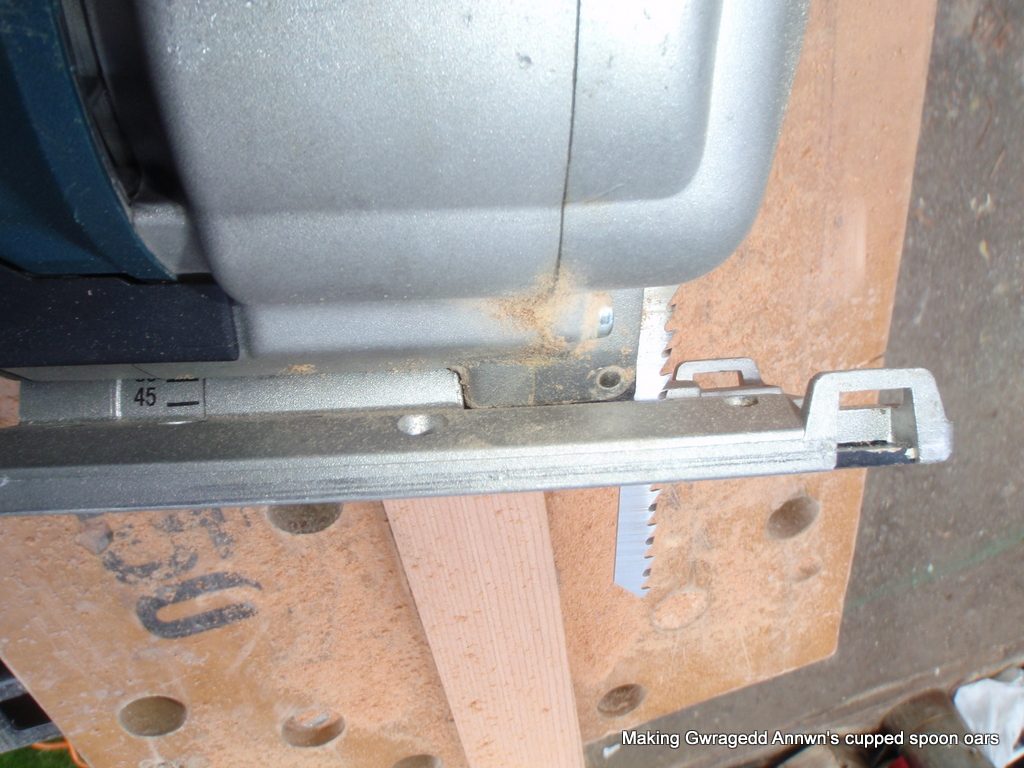
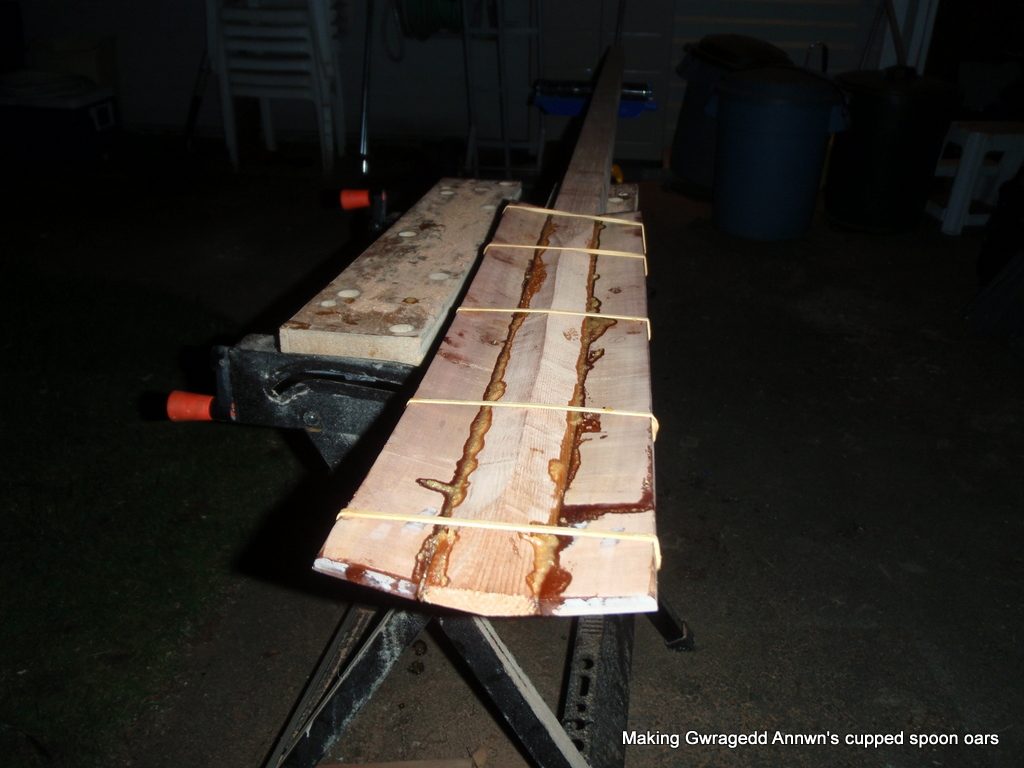
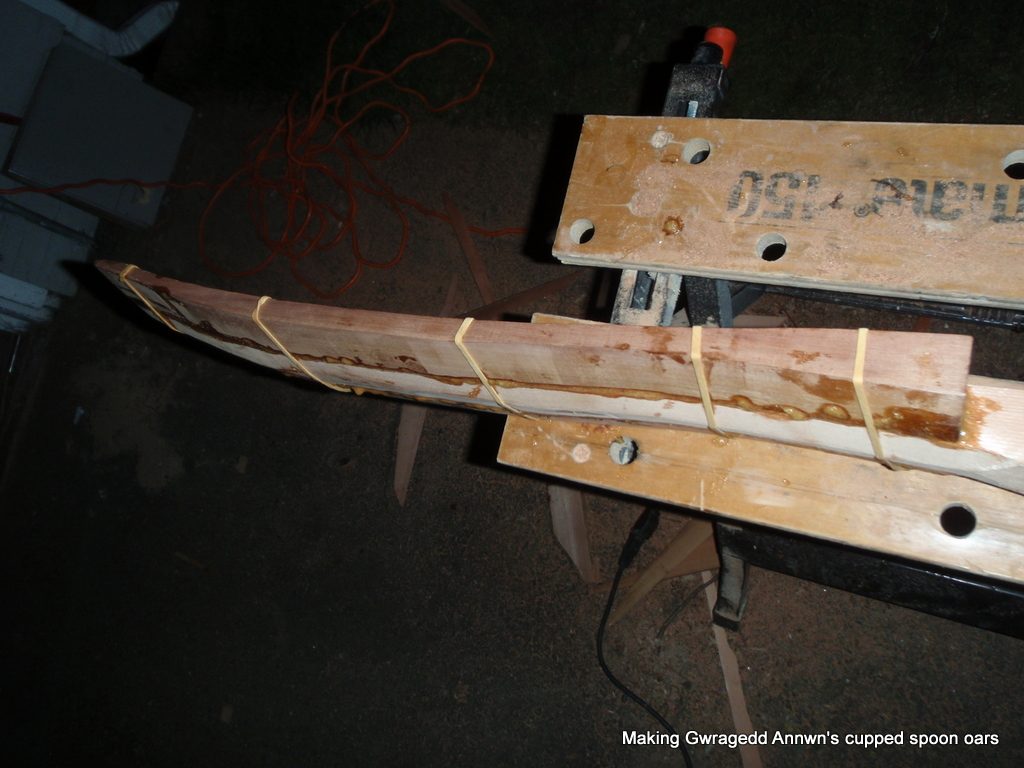
The first step is to rip off the splines from the 9′ cedar 2″ by 6″ (my oars will finish at 8′ 6″). The splines are the two opposite edges of the 2″ by 6″. The rounded edges will mean less wood to shave off later. The next step is to set the saw blade to 10° and rip the rest of the 2″ by 6″ into two trapezoid shafts.
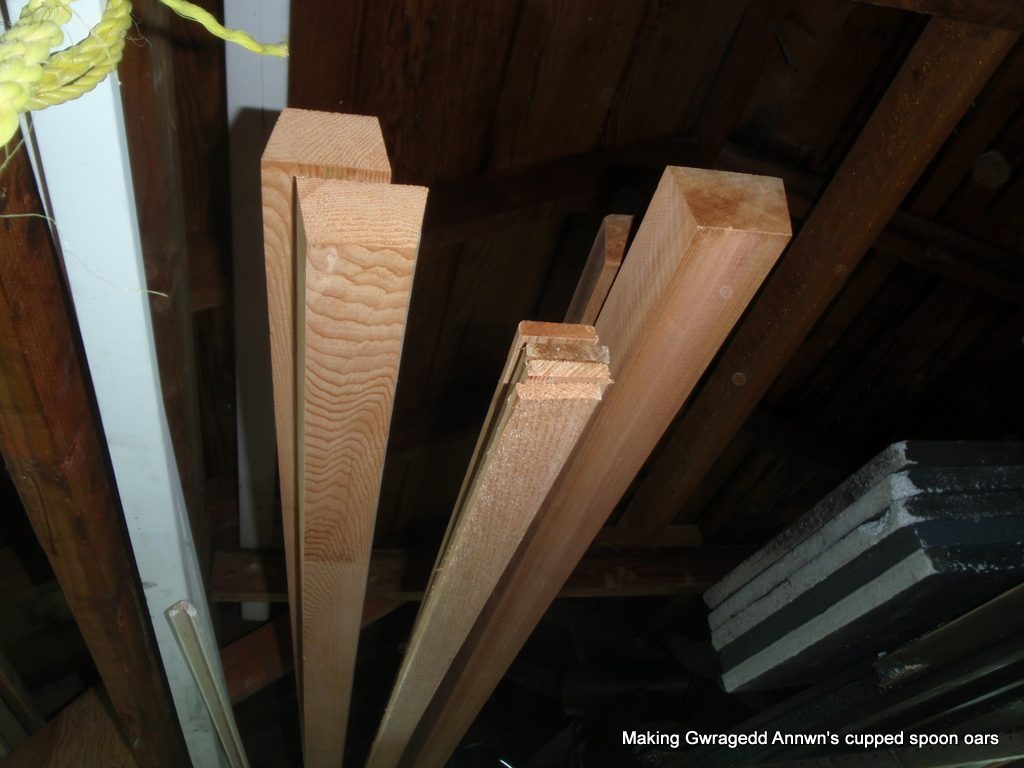
The wide base of the trapezoid will rest against the oarlock, i.e., faces forward, the narrow top of the trapezoid (the powerface of the oar blade) faces aft.
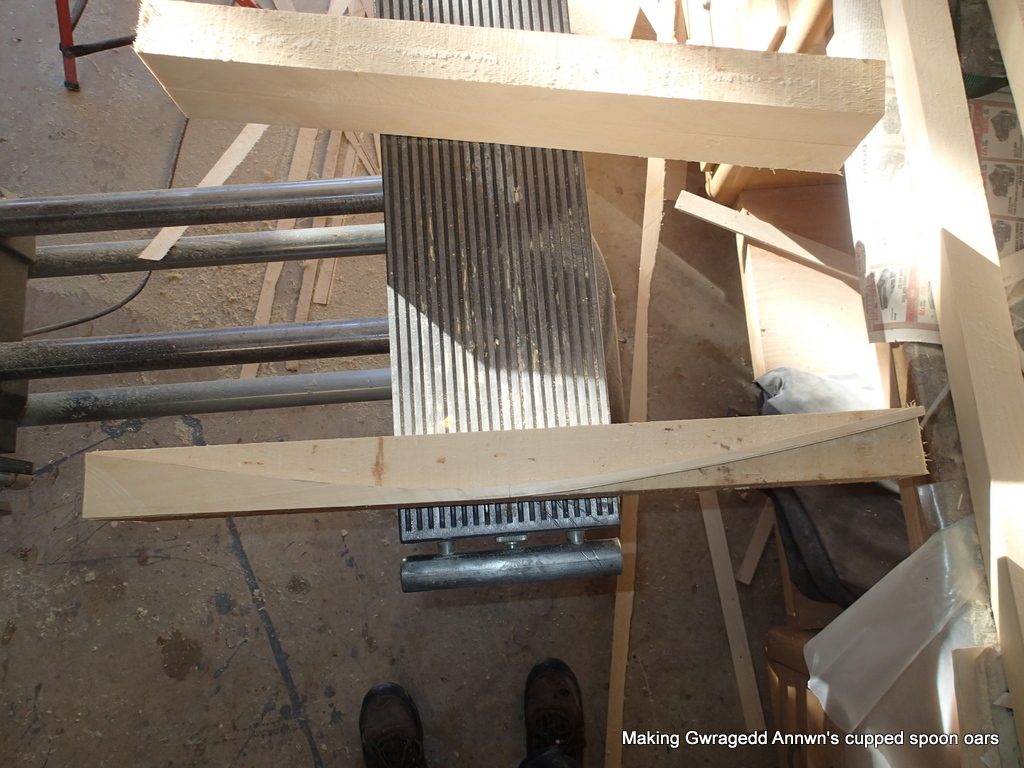
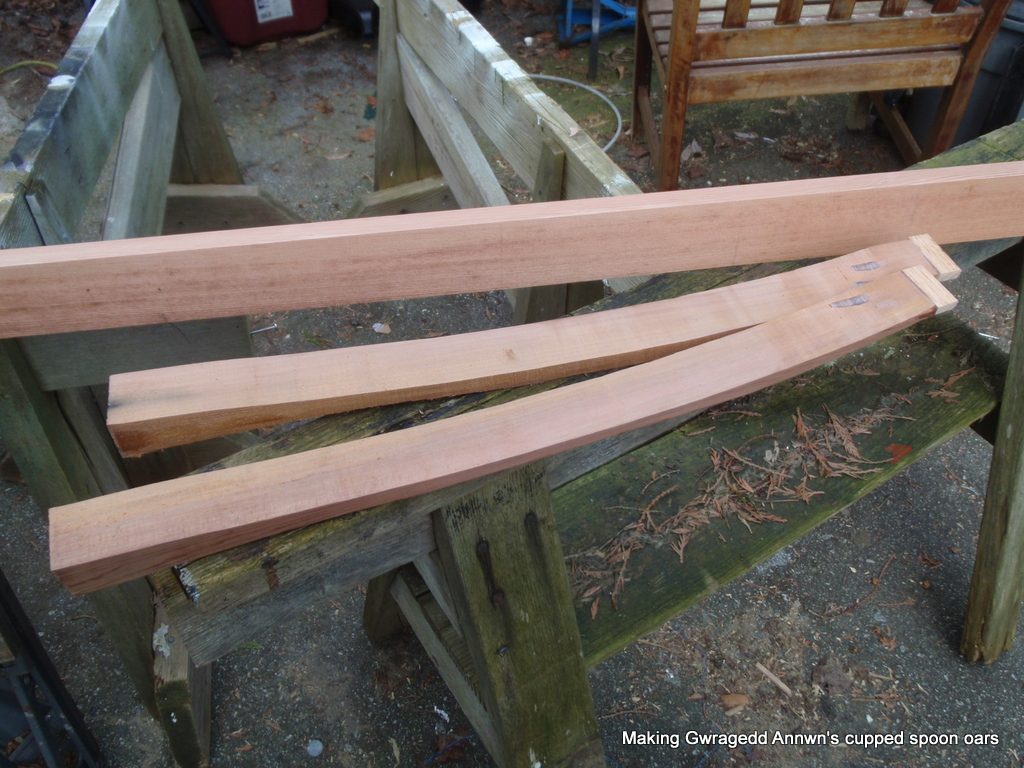
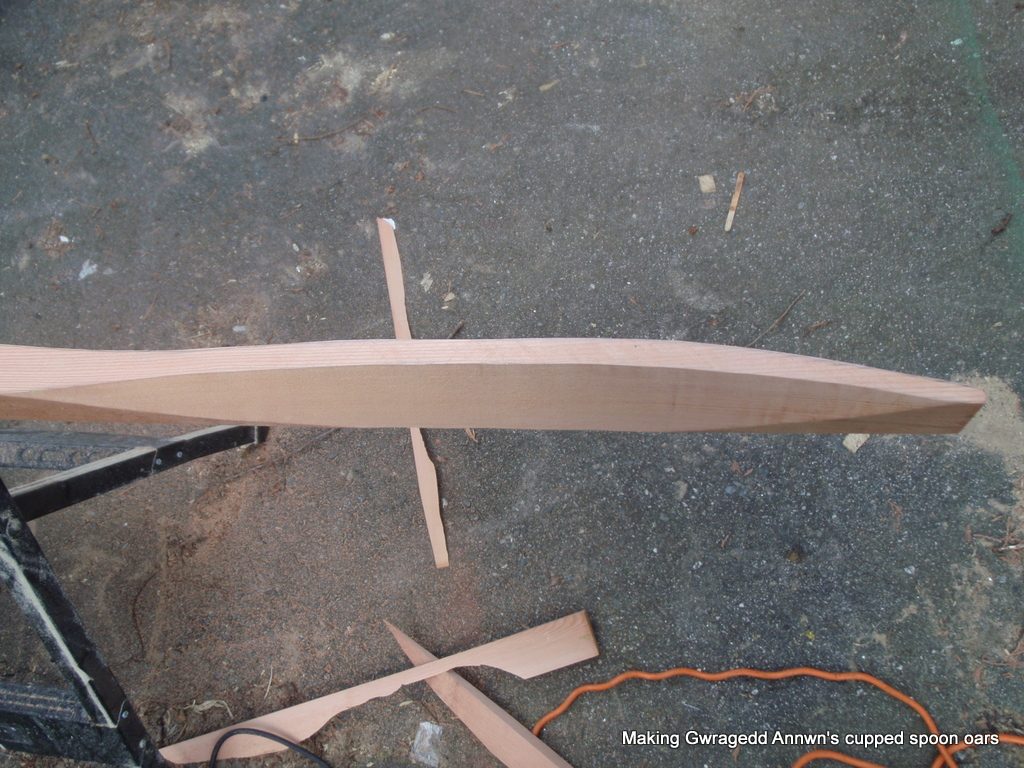
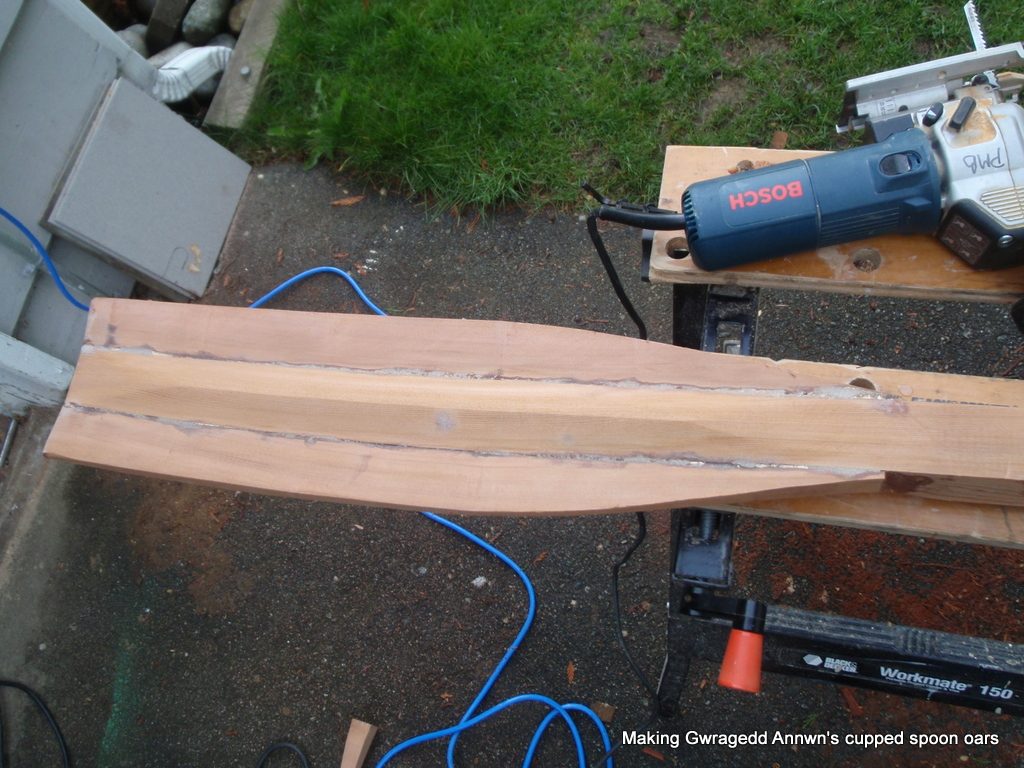
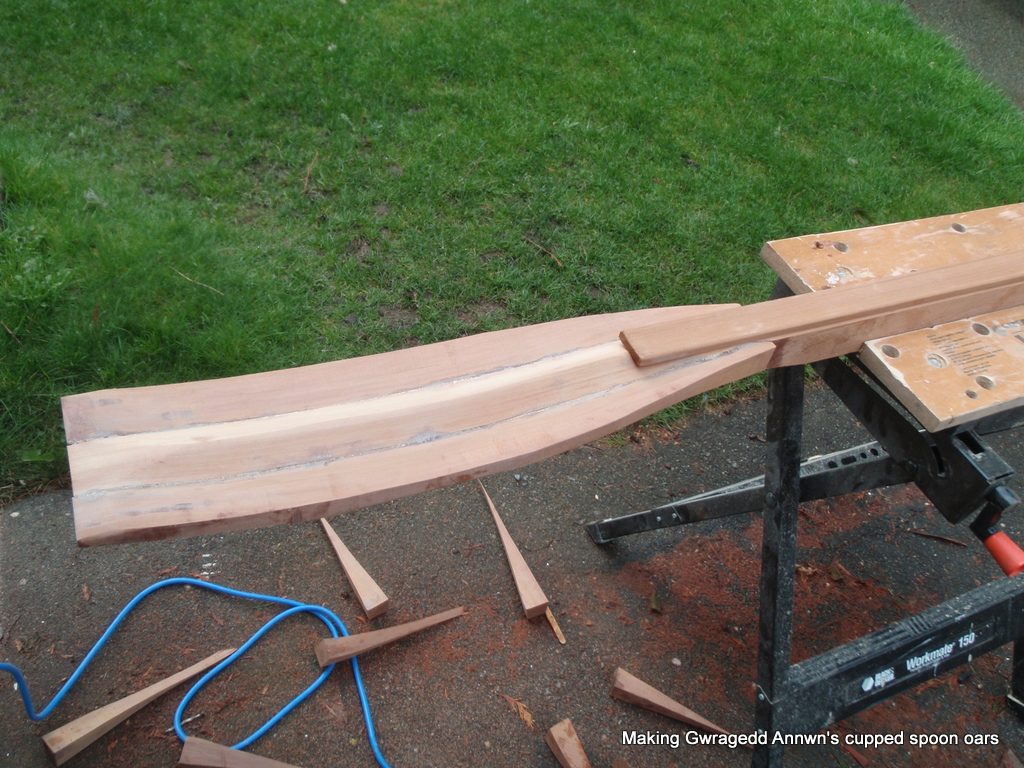
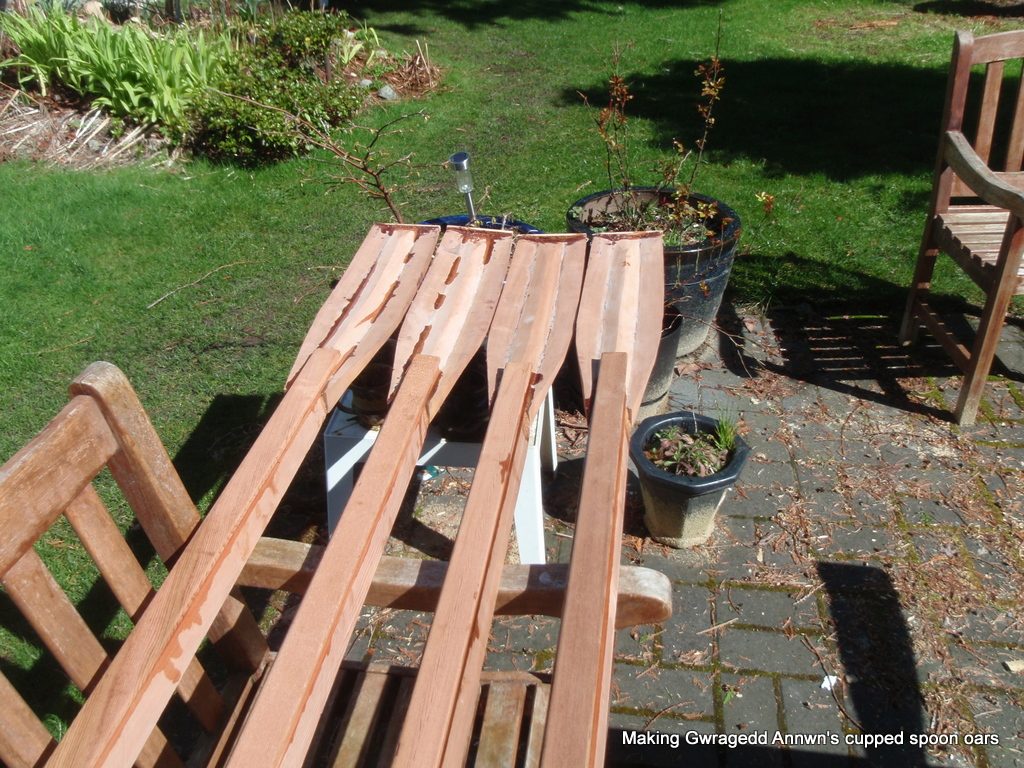
After marking the blade shape profile on the blade blank, I carefully cut the spoon blade out.
After you cut the spoon oar blade blanks, mark the blade shape onto the blank.

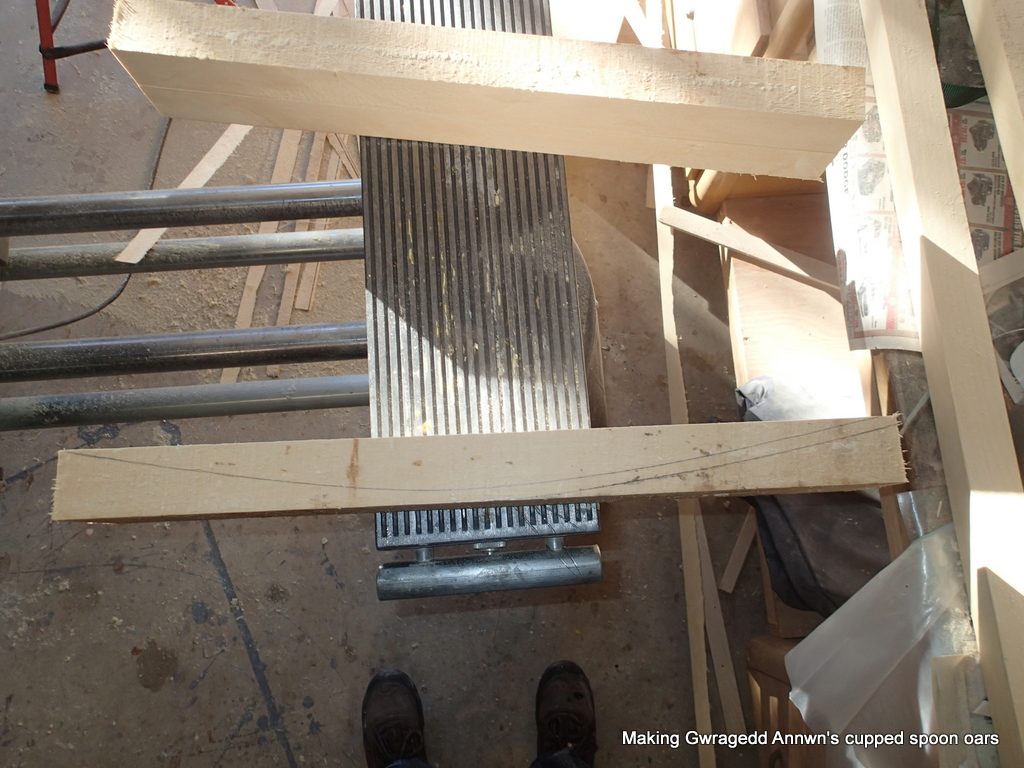
After you mark the spoon oar blade blanks, you cut them in half, down the middle to make two “wings” to fit onto your trapezoid shaft.
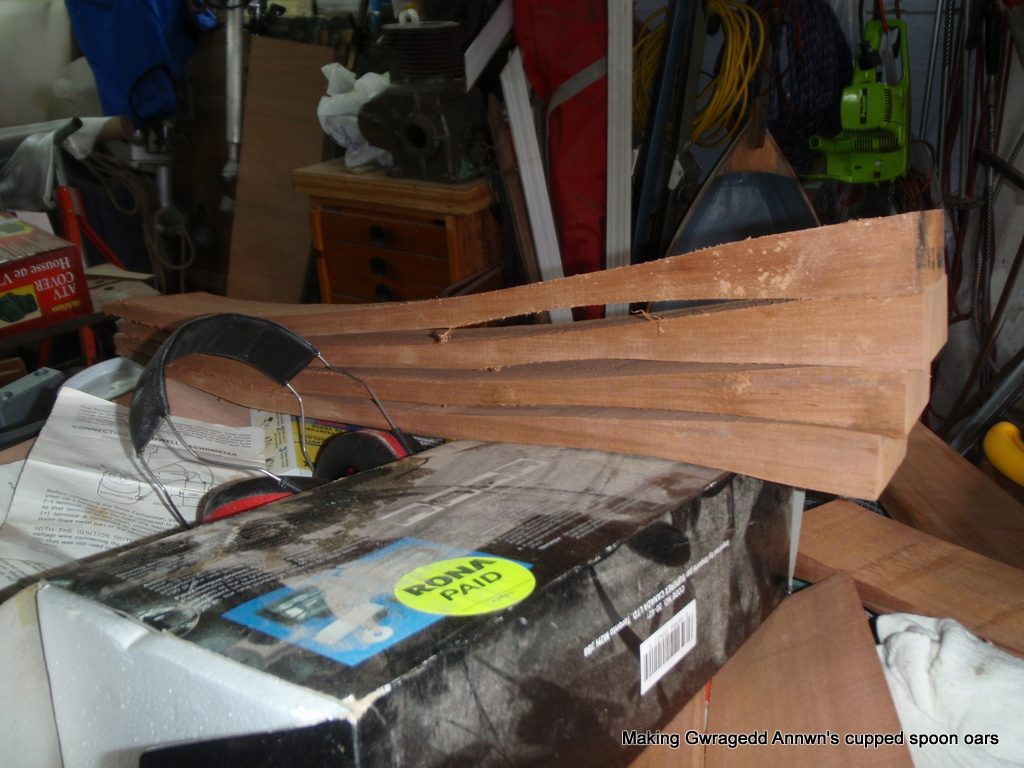
I use the spoon wing blanks to mark out the cutting line on the trapezoid shafts.
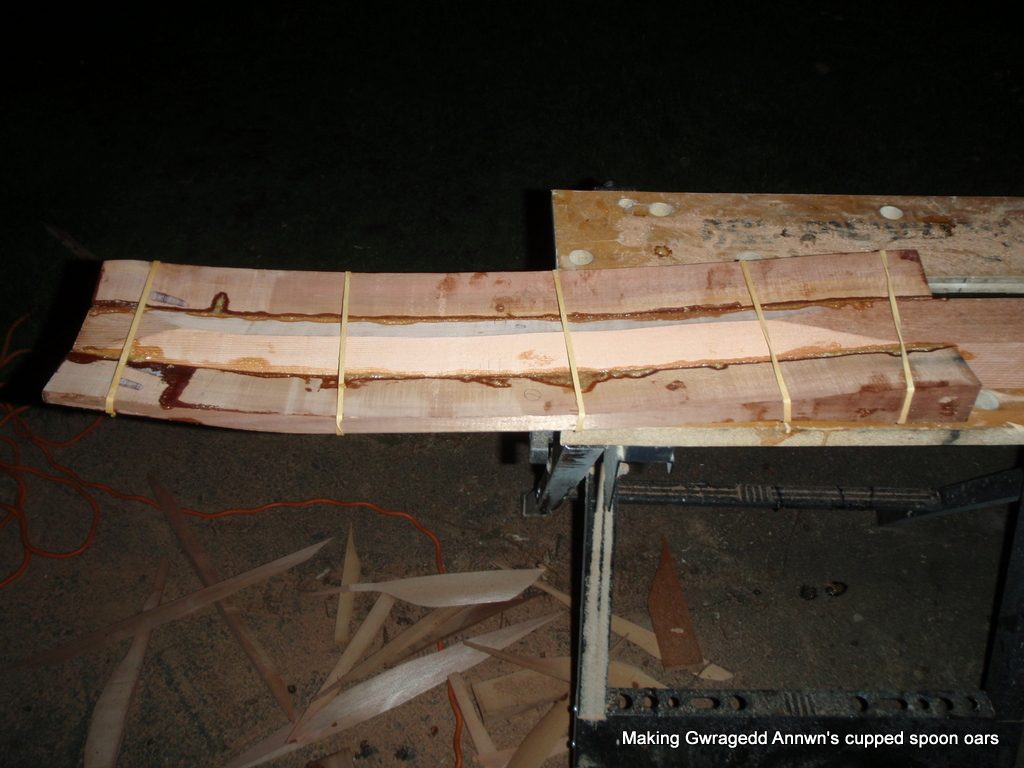
Do not bother to glue on the blade tip protectors as I did here…when you cut the blanks into two, you have to redo the blade tips to cover the shaft tip as well!
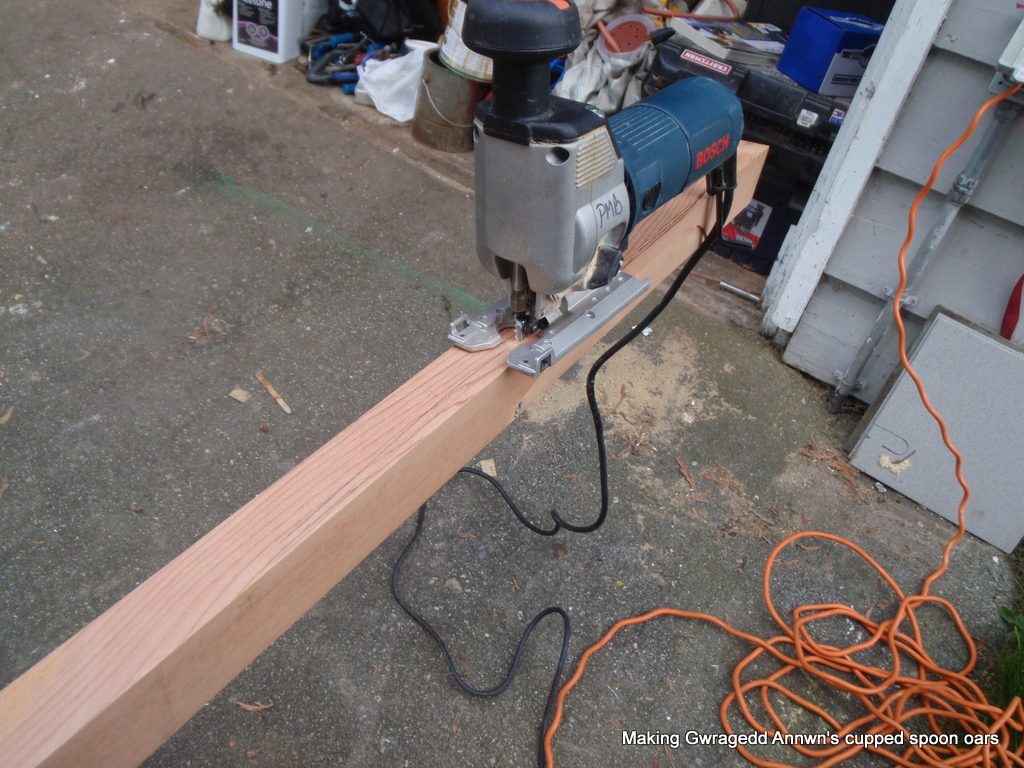
I have not cut the blade shapes yet. I will use my jigsaw to cut them out later.
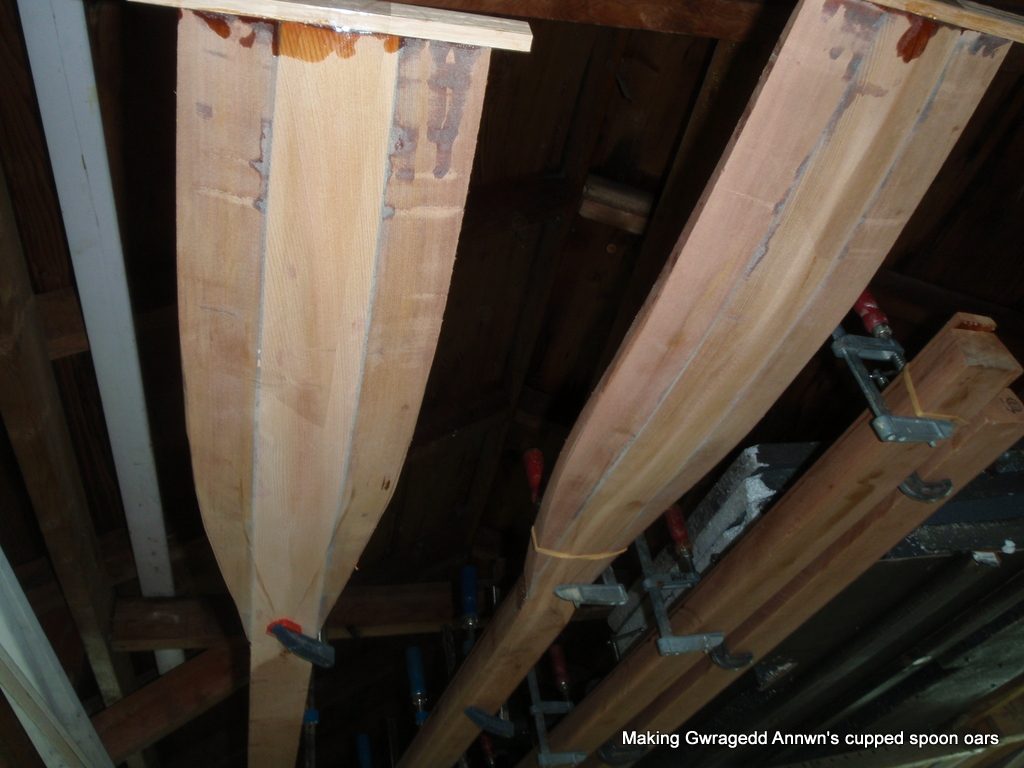
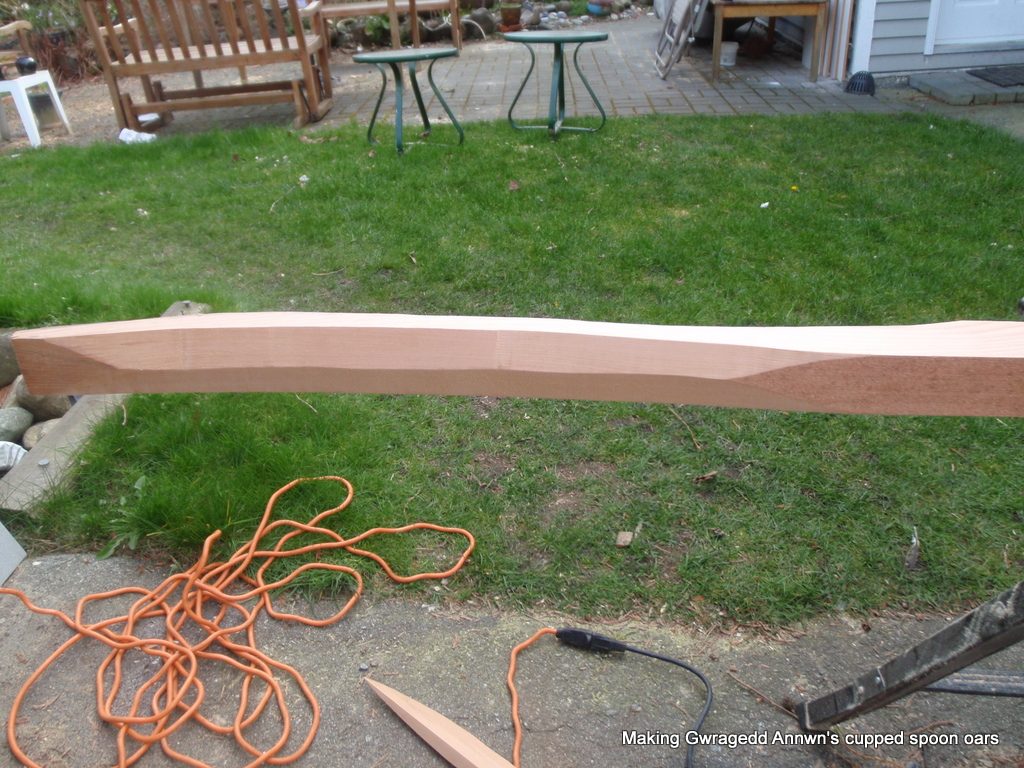
I used a ¼” round-over bit in my router to shape the narrow top of the trapezoid and a ¾” round-over bit for the wide base of the trapezoid shaft.
I set up the router in a router table and carefully ran all of the edges through it. I finished off the rounding-over with a 5″ random orbit hand sander. I then sanded with the grain to remove the sanding marks. Sadly no photos of the sanding process.
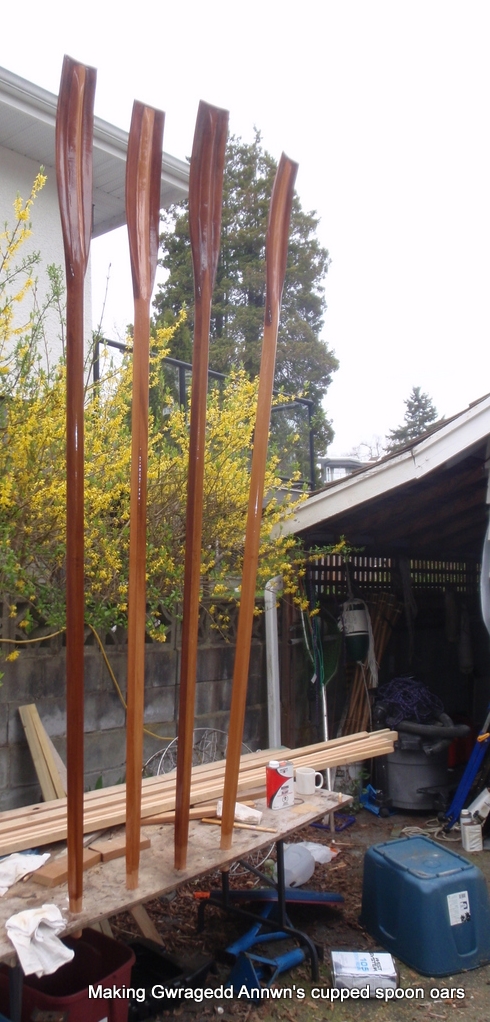
Now I know that I am some sort of varnish heathen…but let me explain. I have a cedar deck railing on my house that is varnished. I have refinished it twice in 30 years, most recently two years ago. For the railing, in the heat of the summer, I take a can of varnish and keep applying it until the can is empty. Coat after coat, as soon as the previous coat is dry to the touch. I do not worry about insects, dust, pollen etc. The varnish is for protection!
No varnish failure on the deck yet. I am sorry to say that I treat my oars in the same way. Lots of coats. In the winter it takes a long time for the varnish to dry “hard”, in the summer not as long.
My other heathenistic varnishing thing is: I like my varnish to be warm when I apply it. Seems to “flow” easier, go on smoother, cover better, and result in less “drips”. In the winter, I warm it up by putting it onto my “plant-pot” heater. In the summer, not really a problem.
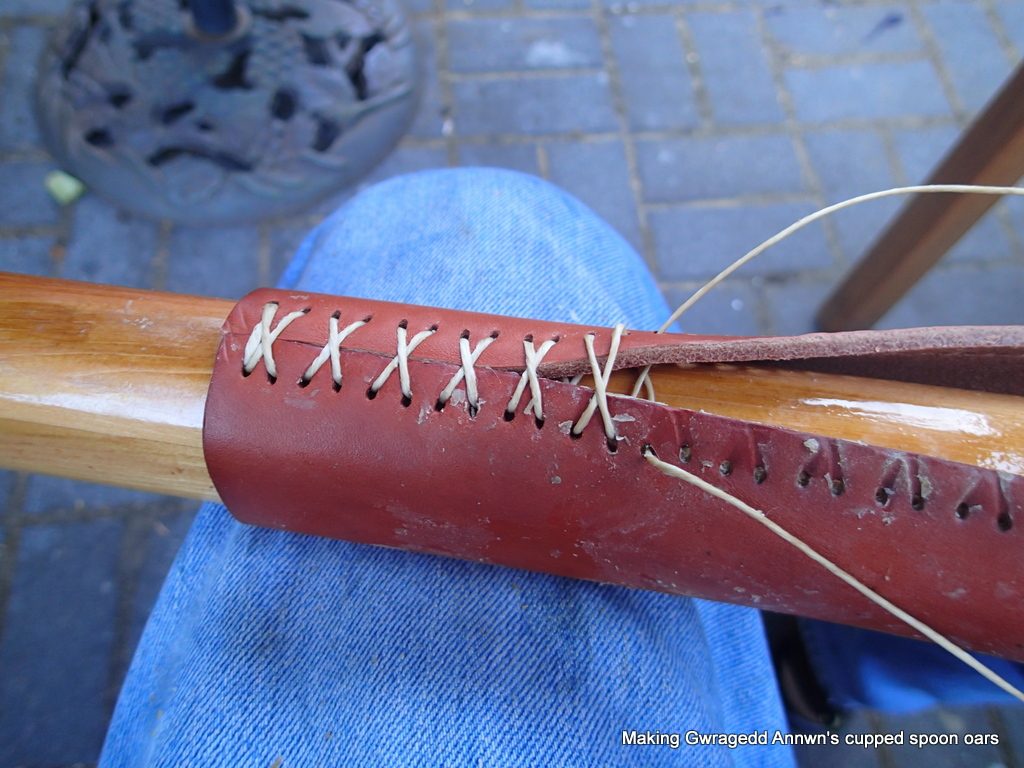
I am leathering the Oars. I determine where 8/25th of the oar is. This is the accepted spot for the oarlocks. I take a piece of leather, about 12″ long and wide enough to go around the oar less ⅛”. ¼” from the edge, I punch holes along the edge every ¼”. I soak the leather in room-temperature water (in a baggie) overnight. Do not use hot water…it will ruin the leather. I use some waxed Sailmaker’s twine and baseball stitch the sides of the leather together. Two needles at the same time. Do not pull the leather together so tightly that you rip the leather…it will be pretty soft. If you are worried about the leather shifting after it has dried, there are a couple of things to try. I put some more coats of varnish on my oars after leathering. Varnishing right up to the leathers allows some varnish to seep under the leathers, glueing them in place when the varnish dries. Two or three coats of varnish will stick the leathers in place. You could also try smearing the oar under the leather with Titebond II glue before you sew them on. When you are happy with where your oars sit on the oar-collar, you can put on the buttons.
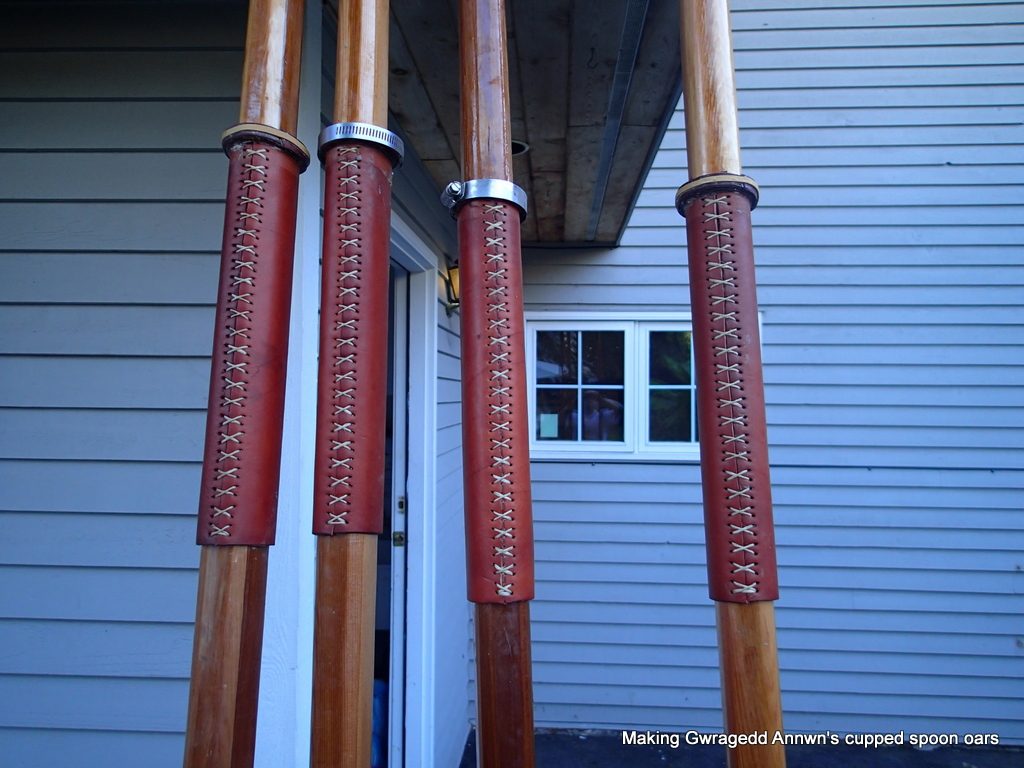
My leathers are stitched to the oars and I am going to fix the buttons. I like to have my buttons at the maximum gearing that I intend to use. In this set-up, I can always “gear-down”. I cut about a ½” strip of leather, soak it overnight and use Titebond II to glue it onto the leathers. Hose clamps provide the clamping pressure. I do not nail the leathers to the oars.
When the leathers are thoroughly dry, I rub them with “Snow Guard”, a leather waterproofing treatment. (I bought mine at Marks Workwear House) I leave the oars in the sun to warm the leather so the Snow Guard really soaks in. I keep a jar of Snow Guard in the boat and coat the leathers at the beginning of each row so the oars move easily during the stroke.
For a full article on leathering oars, see “Leathering Oars”.
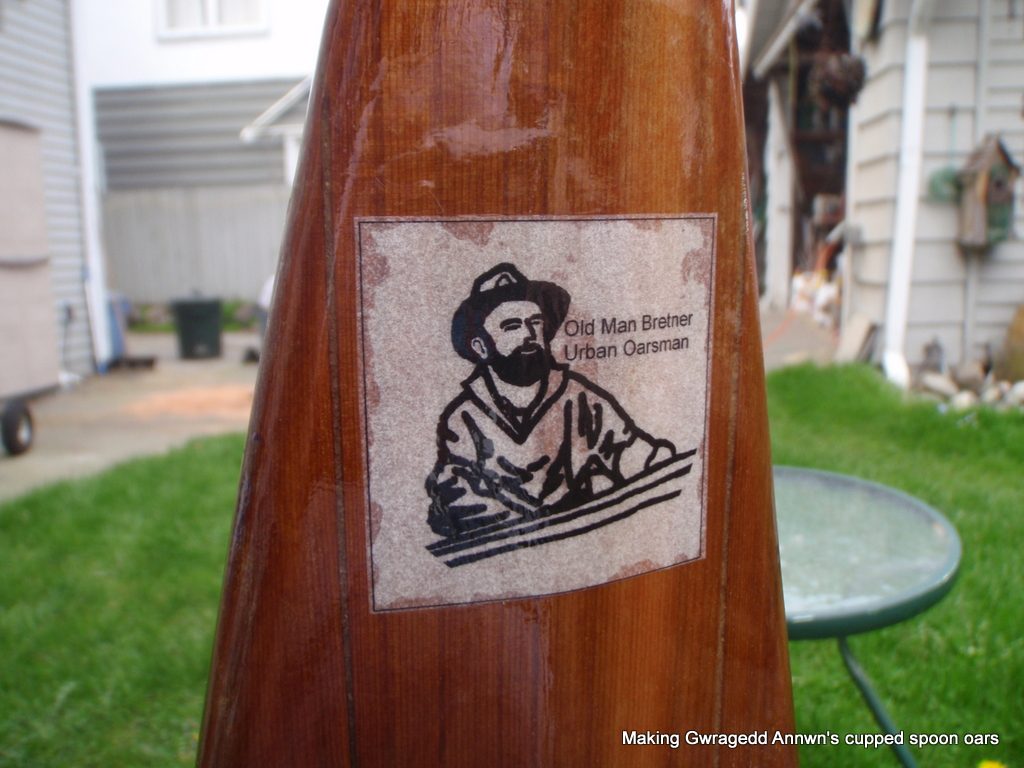
The decoration is printed on “Onion Skin” tracing paper. I cut the decoration out, and put a coat of varnish onto the oar. While the varnish is still wet, I put the decoration on…and varnish over it.

The procedure for balancing the oars is to get into the boat, dip the oar into the water, use a scale to determine how much weight to put into the grip so the oar just floats with the blade below the surface. This does not have to be done in the field, I did it by putting a big cooler full of water beside Gwragedd Annwn, placing the oar into the oarlock and floating the blade in the cooler. I used fishing weights to determine how much lead rod to put into the oar grips. The weight was similar but different for each oar.

So that is how I made Gwragedd Annwn’s Cupped Spoon Oars. The additional small leather collars towards the blade are to hold them in position when using the transom sculling notch. I also use my oars to determine the water depth. See my post “How deep is the water”
Mike
