
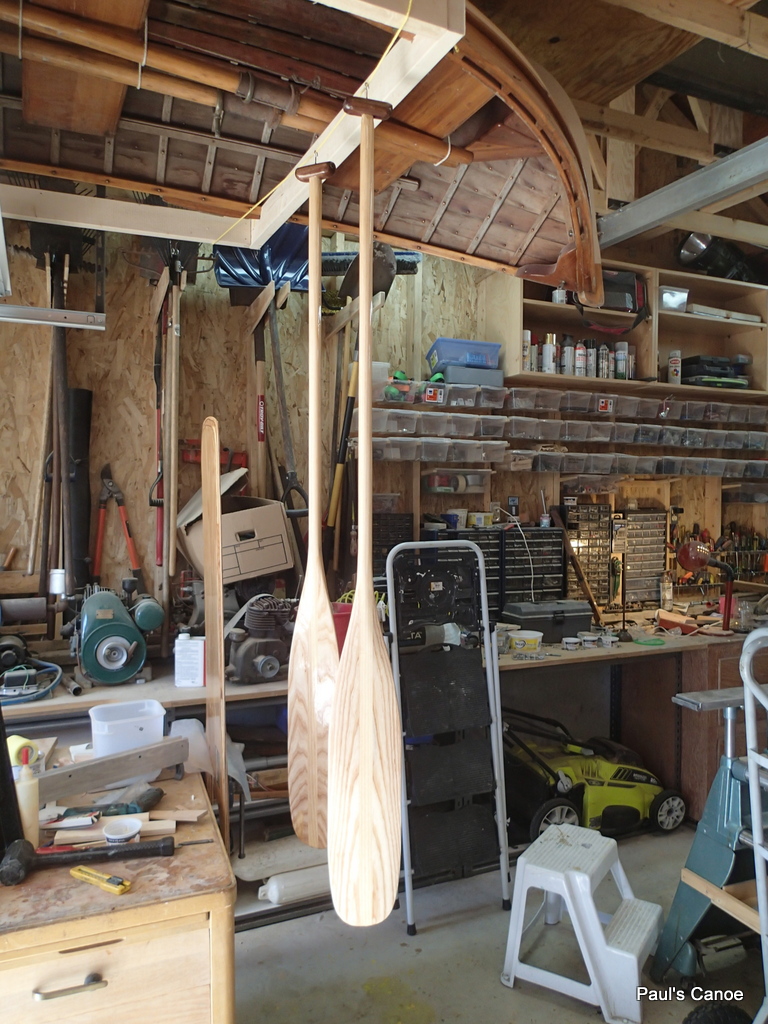
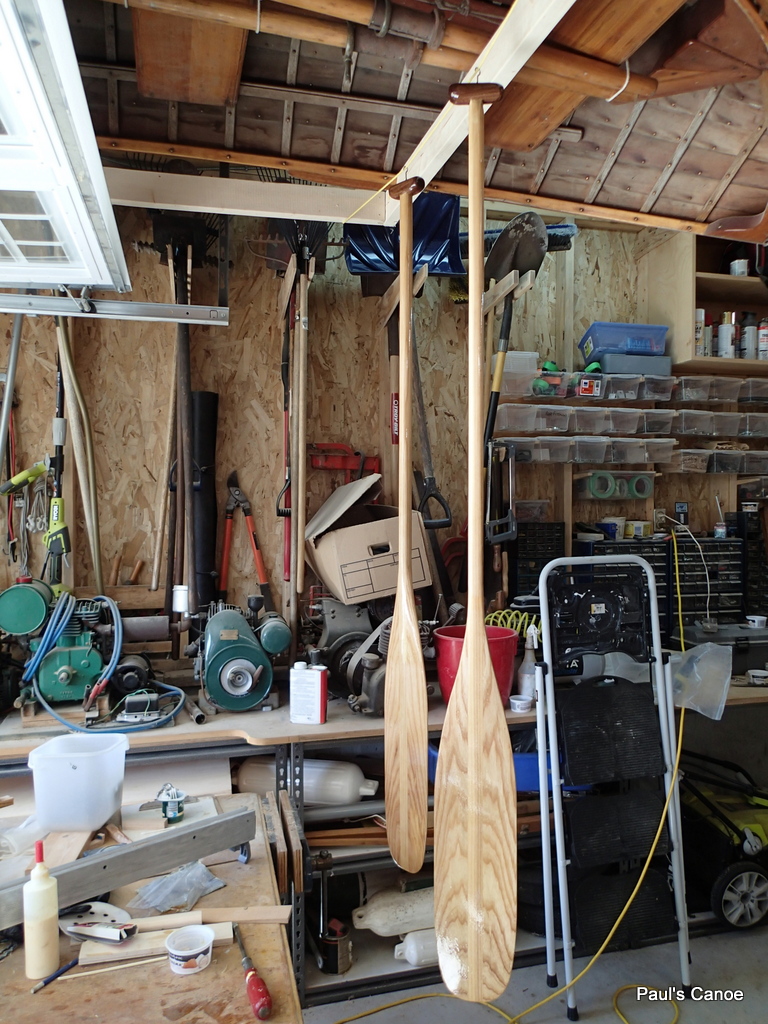
With the canoe finished, Paul and I start work on our paddles. In speaking with fellow Vancouver Wooden Boat Society member, Ian McGrath of Great Northern Craft, I tell him about the paddles. Ian has some paddle blanks and will sell us two. This will save me the hassle of sourcing wood for the paddles. We get the blanks with Ian’s “Otter tail” design drawn on.
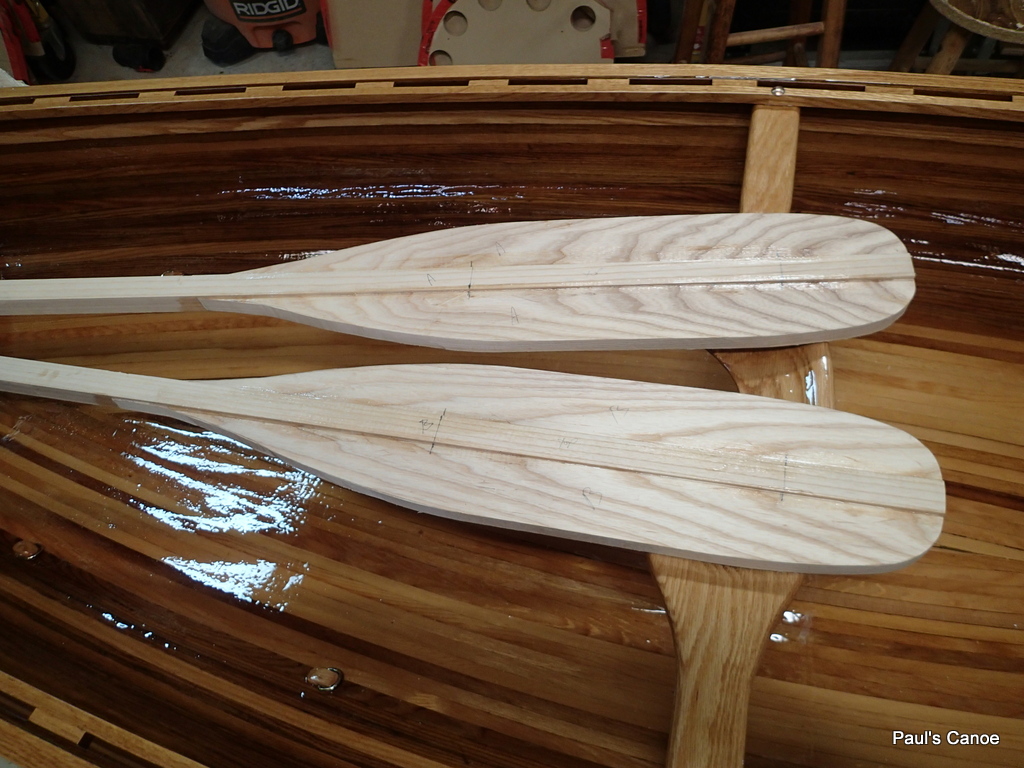
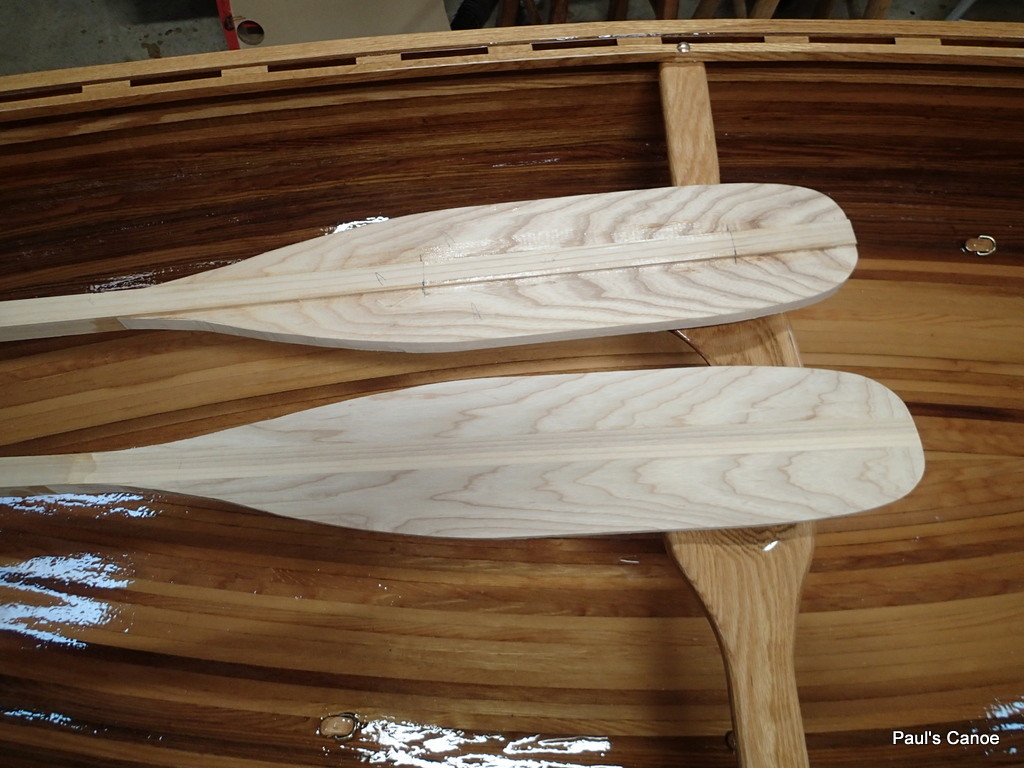
The paddle blanks cut out to the “Otter tail” design.
The lines on the paddle blanks indicate where the biscuits are.
Paul intends to do some longer trips so we have chosen “Otter tails” for long-distance paddling.
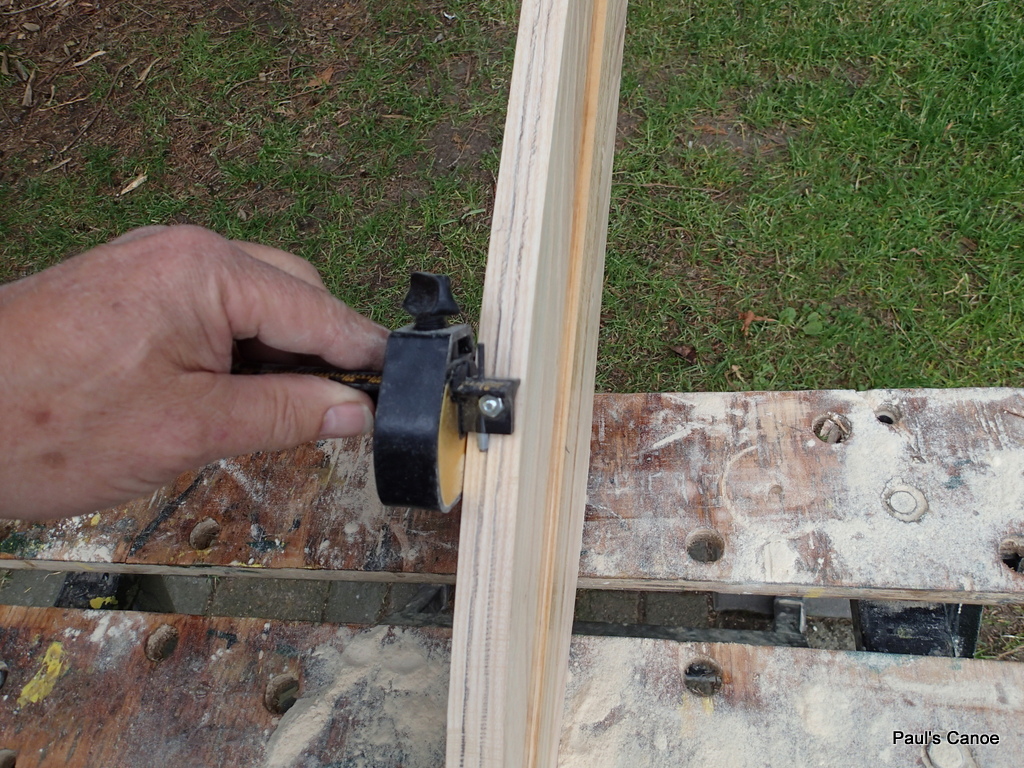
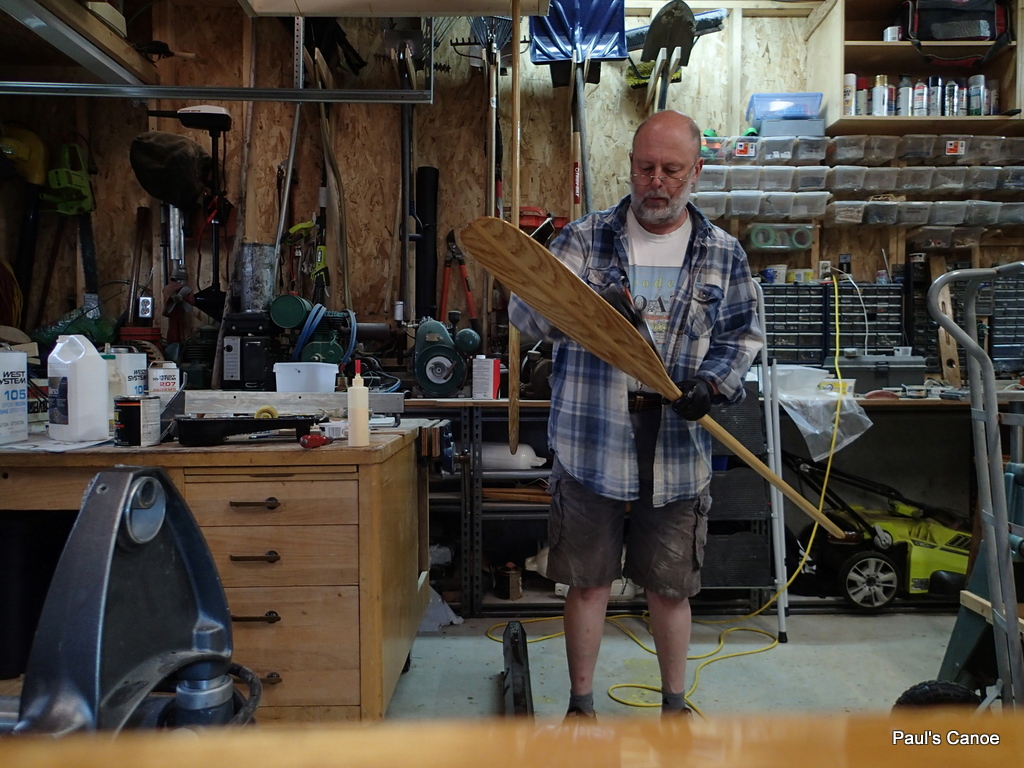
Paul marks the blade edge.
We will use the belt sander to shape the blade.
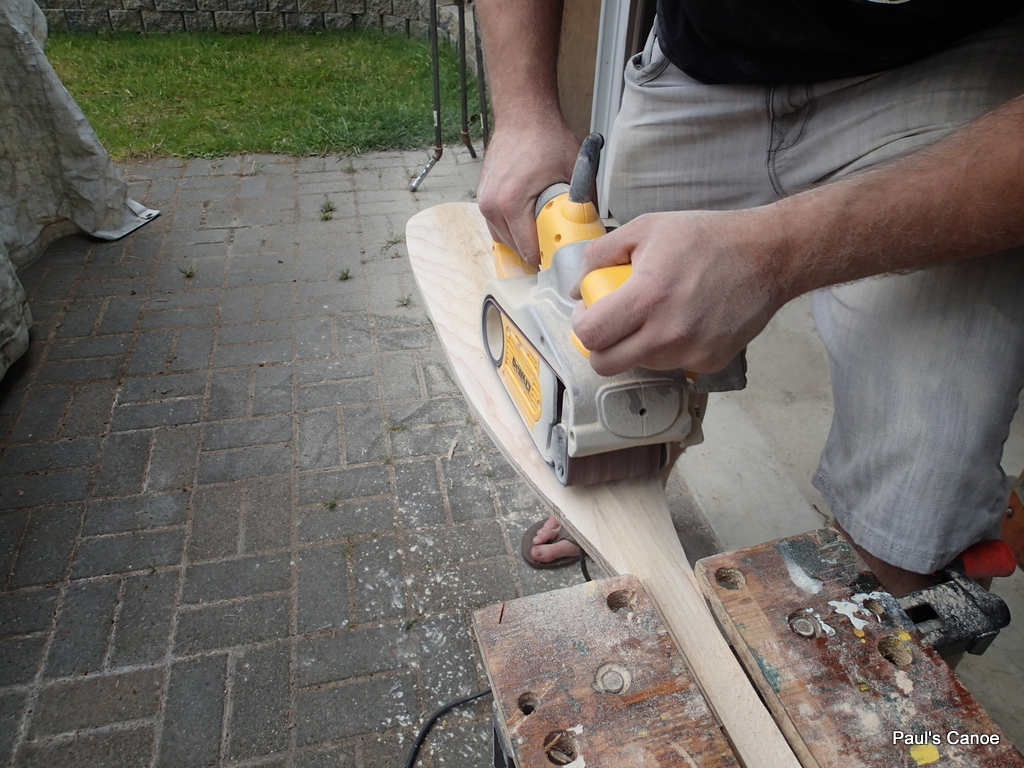
We start out by clamping the blade and working the sander.
This is really awkward. The workmate keeps moving and it is hard to put any pressure on the sander.
We have to come up with a new plan…
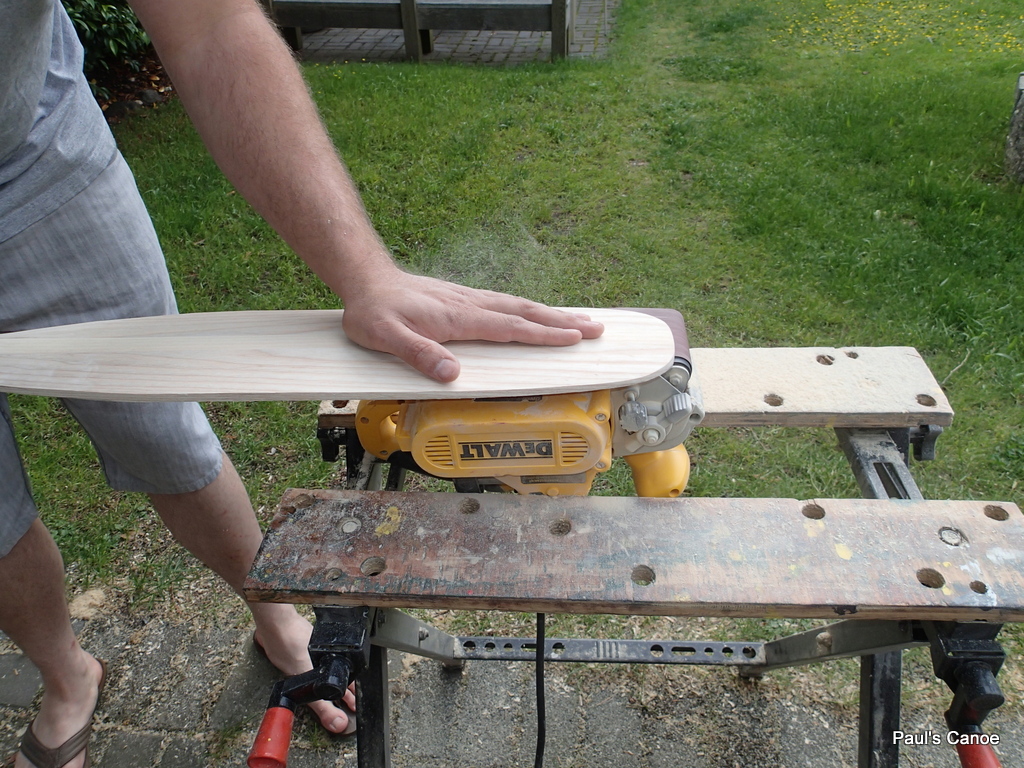
I have seen old photos of workers sanding oars. We decide to clamp the sander and work the paddle.
This way we have more control. We can put more pressure on the sander.
I shape my blade down to a ⅛” edge. Paul leaves his a little thicker, closer to 3/16”. I suppose that Paul will be rougher on his paddle than I intend to be on mine.
The new system works a lot better. We start out with 80 grit and finish with 120 grit on the belt sander. We use my ⅓ sheet sander, with 220 grit paper, to take out the 120 grit scratches. We then go to the random-orbital sander with a 240 grit pad. Hand sanding with 320 grit finishes the job.
One blade shaped, one to go.
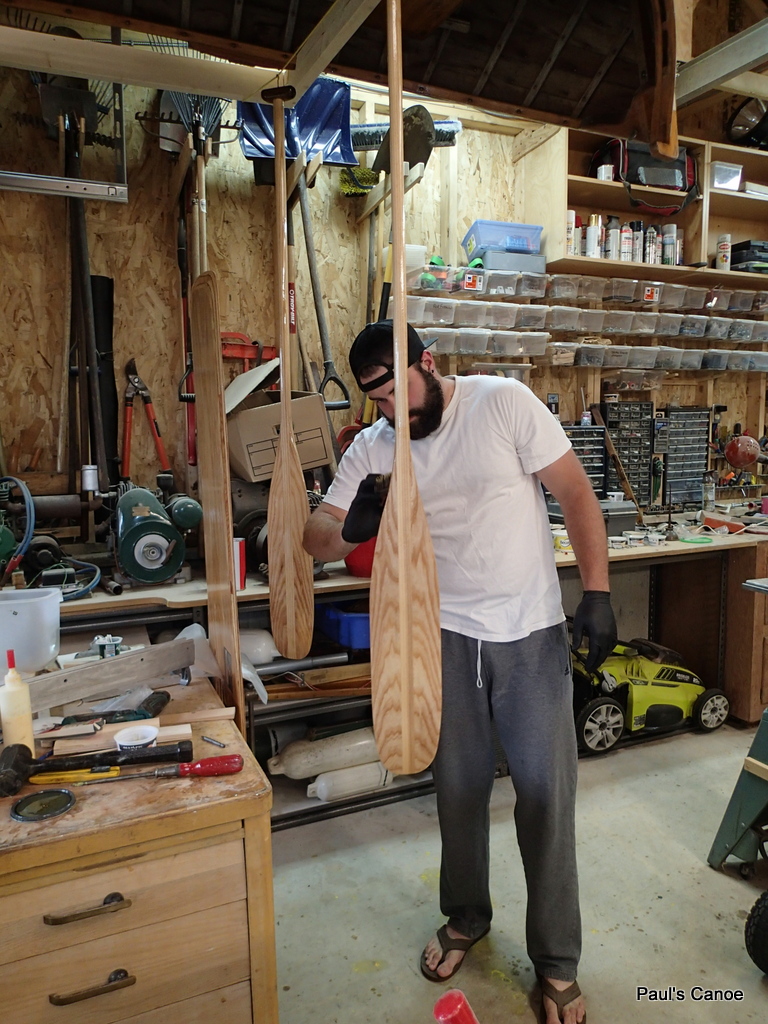
I use a ¼” round-over bit in my router to rough shape the shafts. No photos of that. We finish sanding the paddles by hand.
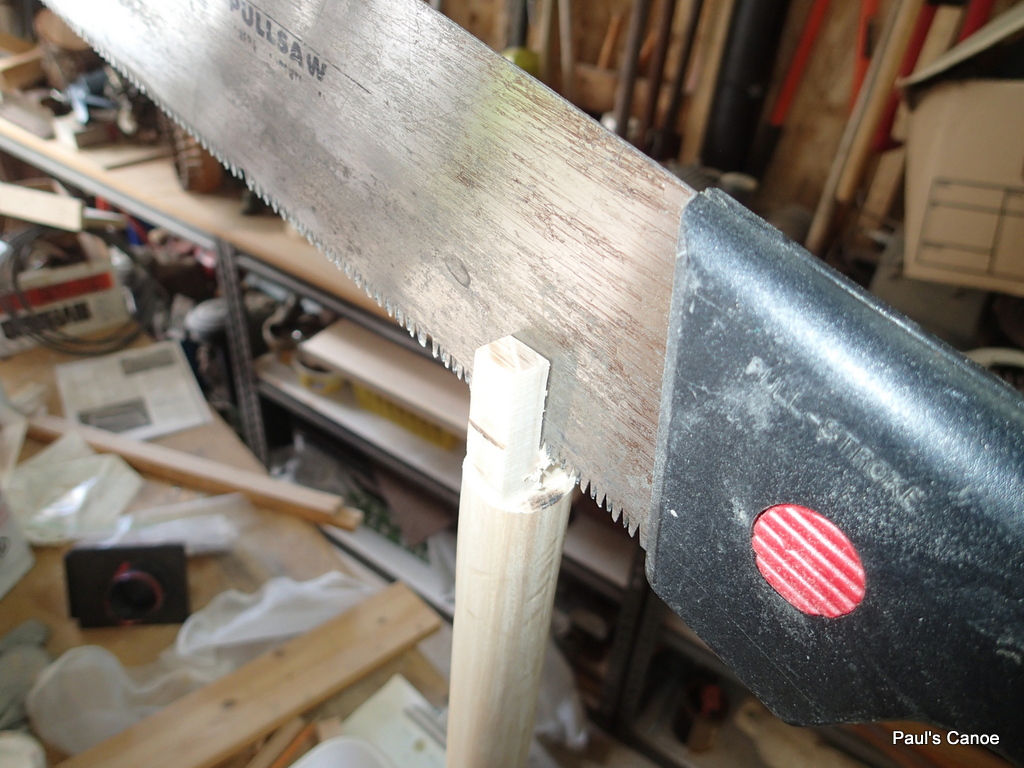
Cutting the slot for the wedge.
We put on the handles. We square up the shaft at the top, cut a notch, and wedge the handle on, (with a little glue of course).
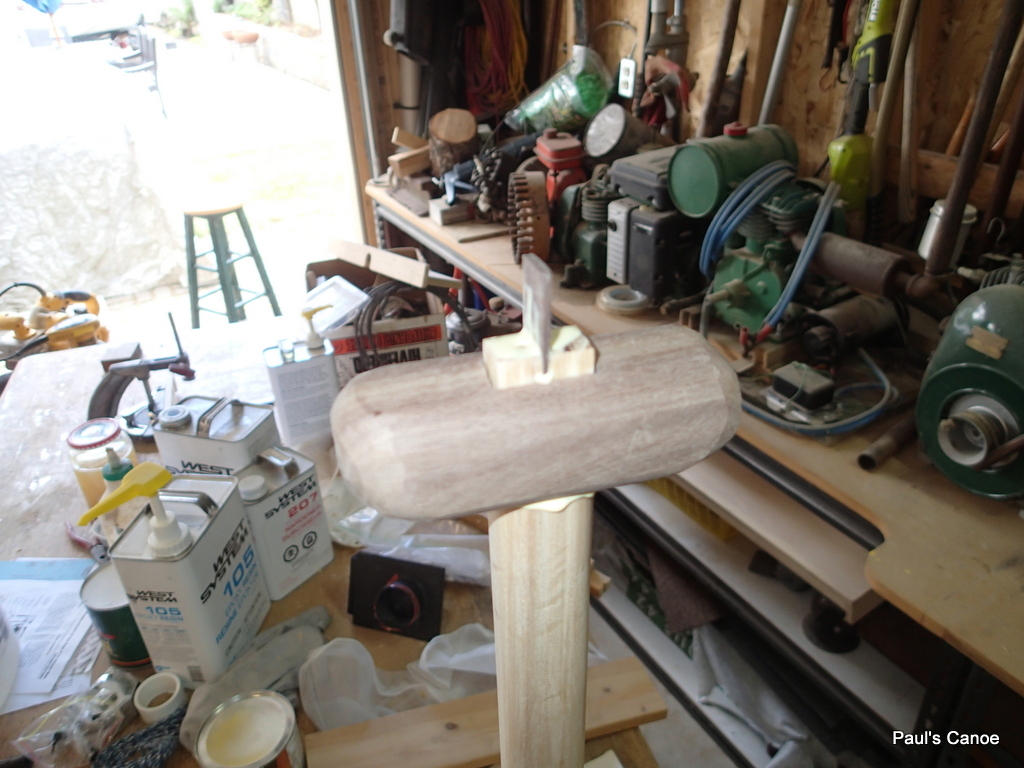
Ready to tap in the wedge, wipe up the excess glue.
Because Ash has such open pores, we will epoxy coat the paddles for a smoother finish.
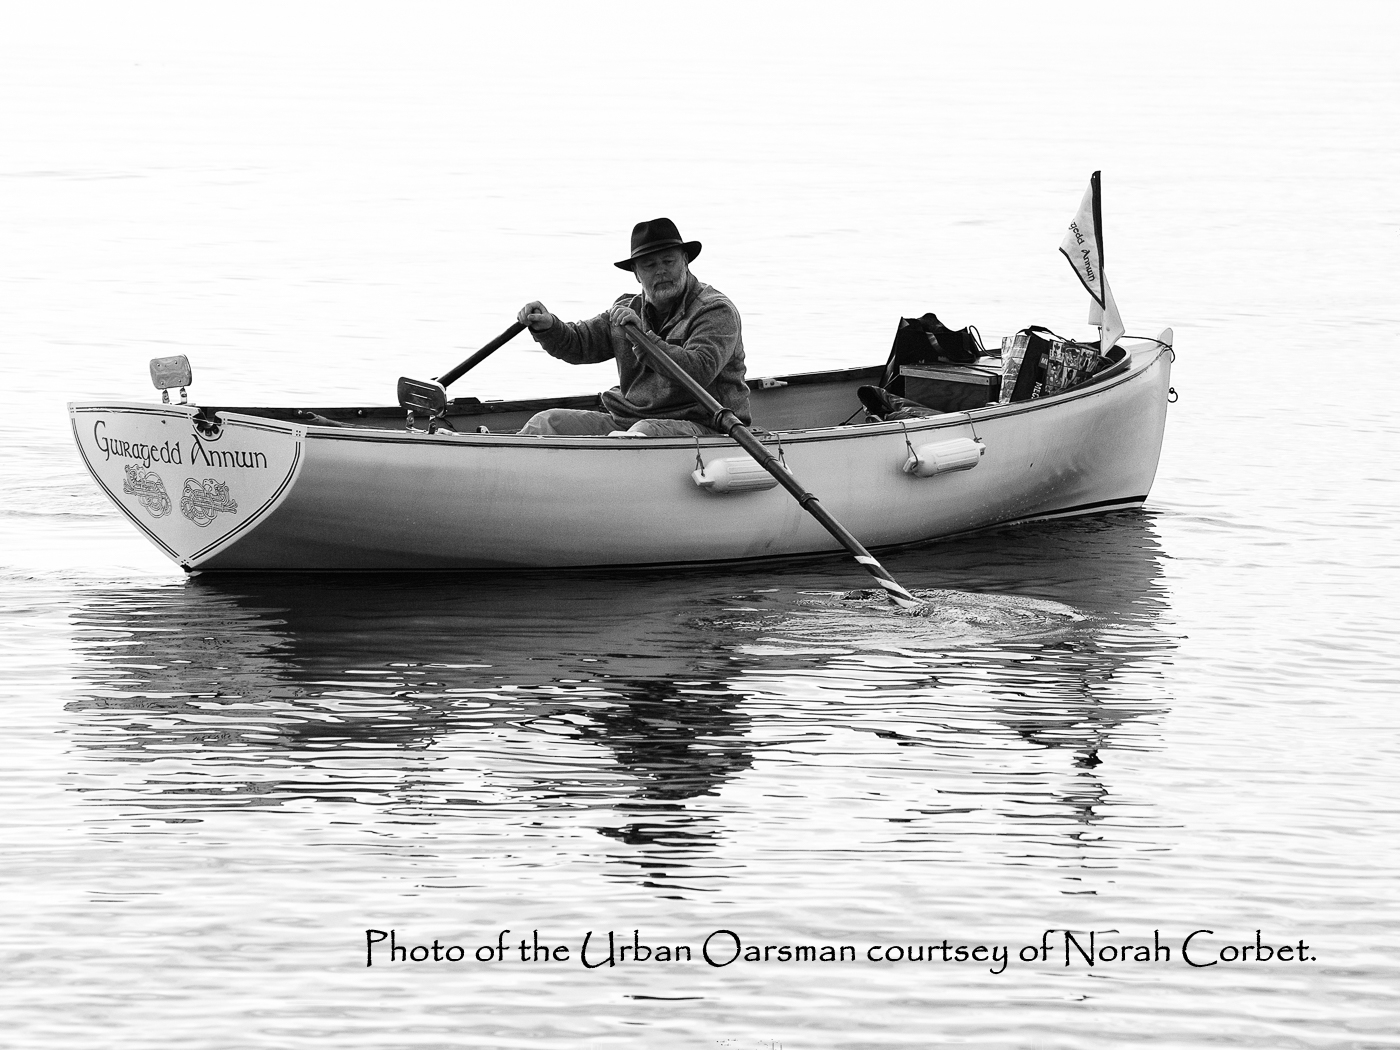
Epoxy coating will also make the paddles tougher…The same method worked for Gwragedd Annwn’s spoon oars.
When the glue is dry and the handles are sanded, Paul mixes up six shots of resin and hardener. We roll on the epoxy and brush out the bubbles.
Brushing out the bubbles.
We leave the epoxy to set…then four or more coats of Varnish!!!!

Epoxy cure time. (Actually looks just like Varnish cure time!)
The routine for Varnishing will be a light sanding followed by tack-clothing, a Varsol wash then a rolled-on coat of Varnish brushed out, until we run out of Varnish.
Second coat this morning.
I know what you are thinking…I am just posting a bunch of pictures taken at the same time. I am not, varnish drying just looks the same in every picture.
Third coat this afternoon.
The stuff on the workbench changes.
Put the fourth coat on last night, fifth coat this morning.
Fifth coat in the morning.
Brushing out the bubbles.

Fifth coat to dry, sixth coat this evening.
…Three coats later, (Eight coats in total) I take out the eyehooks in the handles and plug the holes.
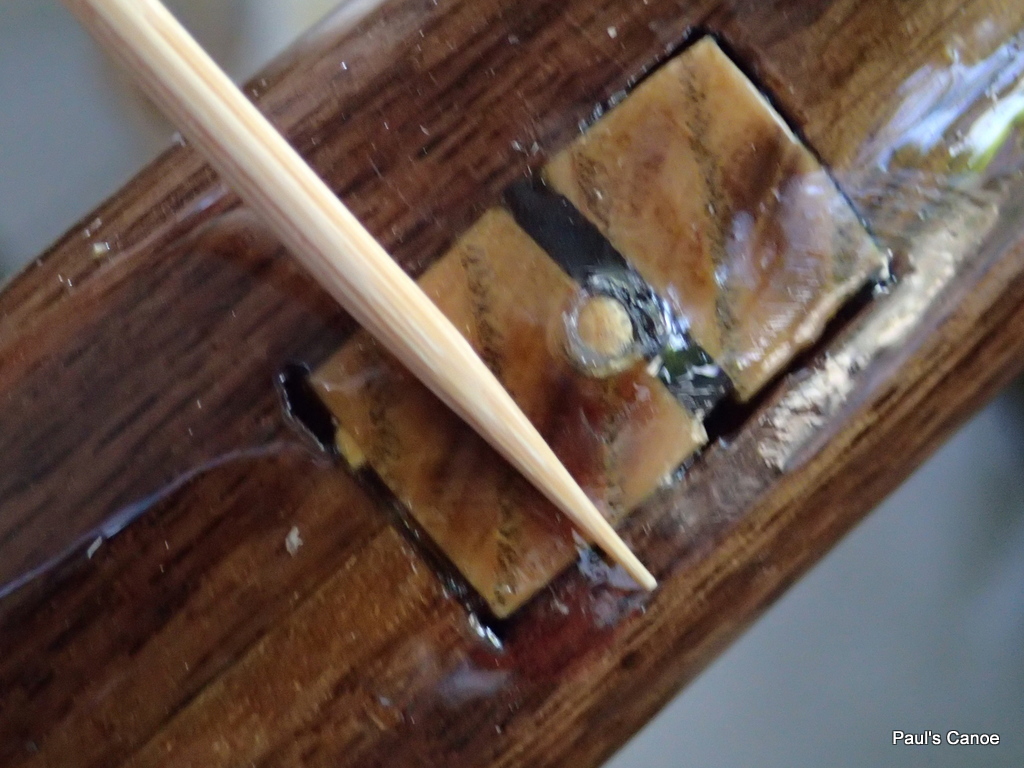
I cut off the tip of a bamboo skewer and using varnish, plug the hole.
I will give the bamboo & handle a light sanding and a few more coats of varnish to glue in the bamboo plug.

Both holes plugged…ready for use!!
The official launching of the canoe will be on Father’s Day, June 17th, 2018, at the Hollyburn Sailing Club, 1326 Argyle Ave West Vancouver, BC, at 9:30am.
See you there!
Mike
