Building the Herreshoff Pram was fun…but it was not the rowboat for me. Gwragedd Annwn is a little too big for everyday rowing and cruising. At 225lbs stripped weight, she was getting a little hard for me to handle launching by myself. A lighter boat is in order.
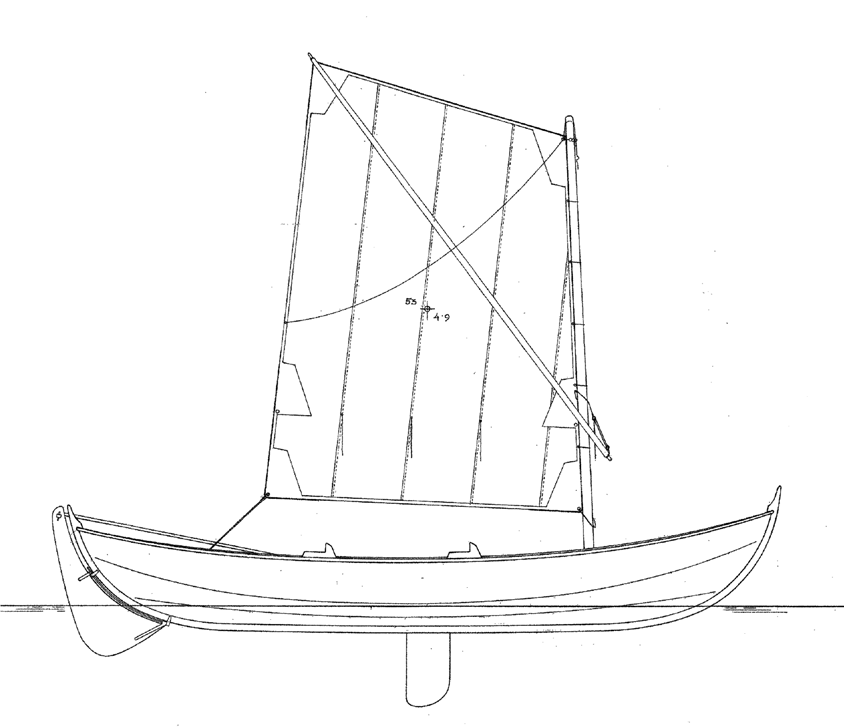
I am going on the 2022 Barefoot Raid around Cortes Island, In British Columbia’s Discovery Islands archipelago. I would like a “camp beach cruiser” that is lighter than Gwragedd Annwn. Iain Oughtred’s elf was featured in an article by Mats Vuorenjuuri in the October 2019 issue of Small Boats Magazine about a cruise in the Archipelago Sea on Finland’s coast. there is also a video on line of the an English Raid in 2012 showing an Iain Oughtred elf with an inboard rudder sailing quite well.
January 8th, 2021, I order the plans from the WoodenBoat store.
“Elf” is lighter than Gwragedd Annwn, will row faster and is designed to sail well. Elf will be able to take me and my gear on extended cruising trips.
Of course there are a few changes that I would like to make. I intend to sleep aboard, so no daggerboard. Instead I will add 3″ to her keel. The centre thwart will be removable to make room for sleeping aboard. I find the designed rudder to be problematic…very hard to raise for beaching. As you move towards the stern, the stern sinks. An inboard rudder in a cassette will help keep the balance when raising the rudder to beach. I found a video about an English Raid with an Elf with an inboard rudder (https://www.youtube.com/watch?v=lxrBQnkQ0vU ). I really like balanced lug rigs over the sprit rig (What Elfyn has). The Tanbark 9’6″ Nutshell pram sail, at 55 sq’ looks good to me and almost the same size as the sprit rig.
June 21st, 2021, “I lay down the keel”
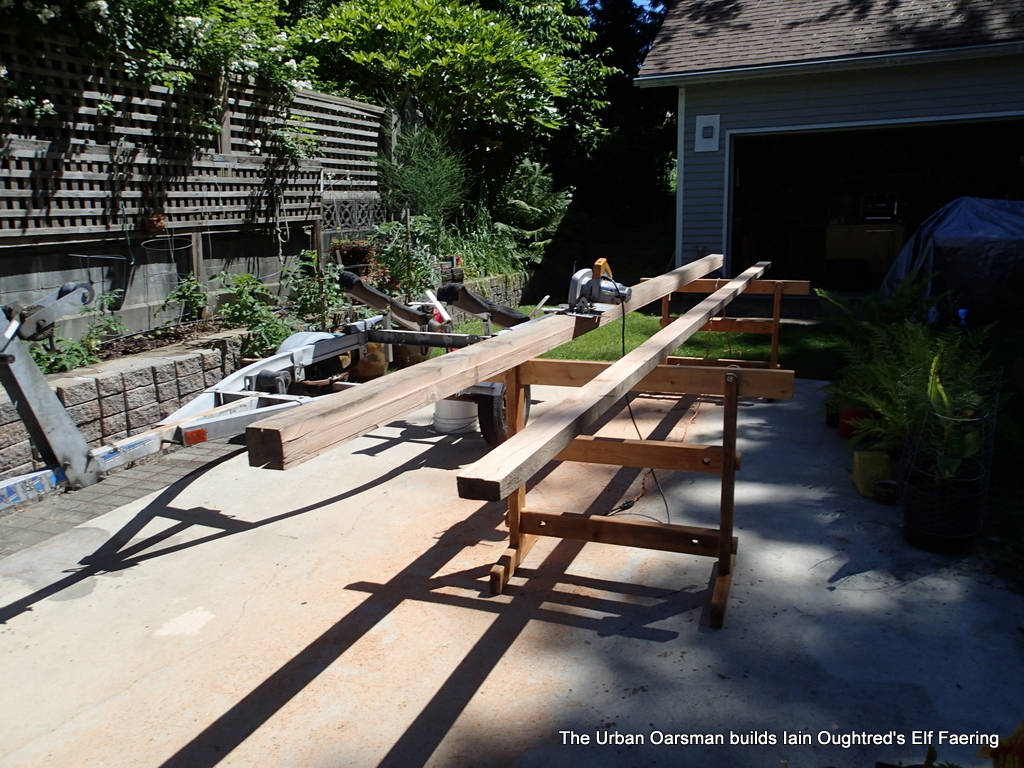
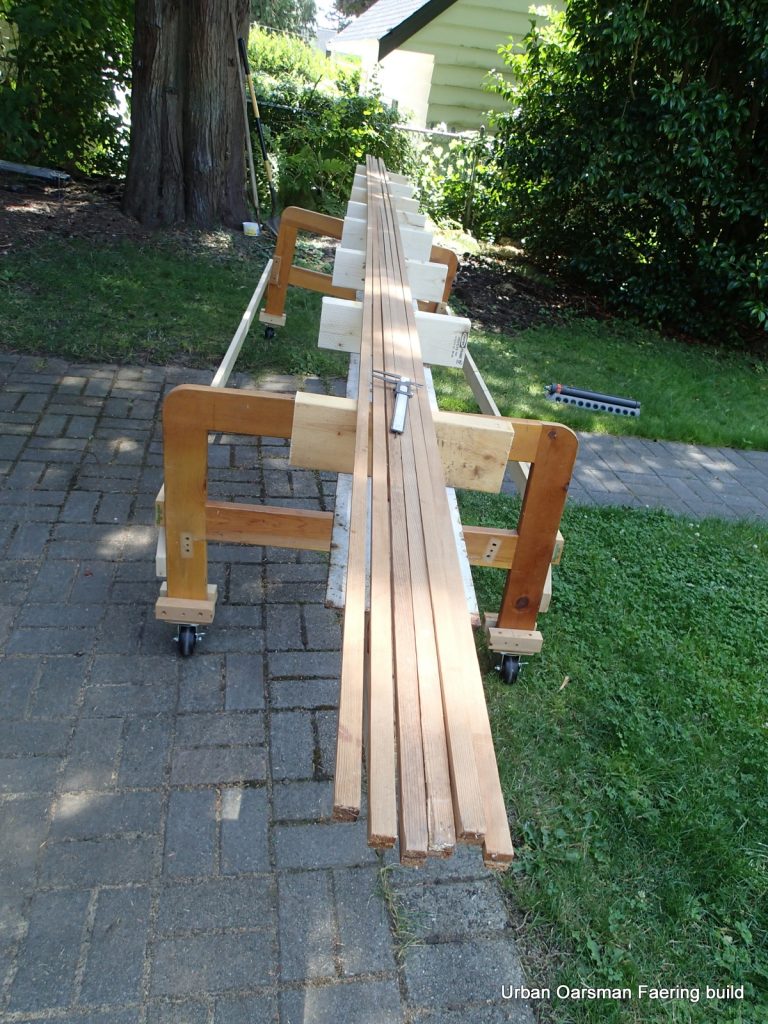
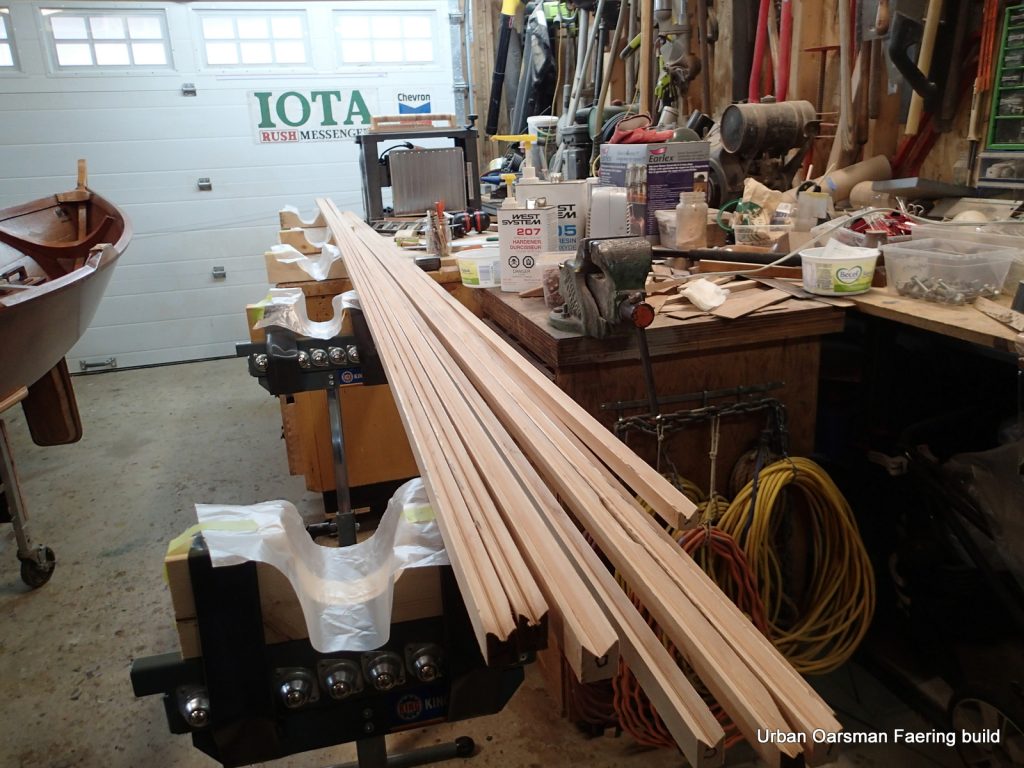
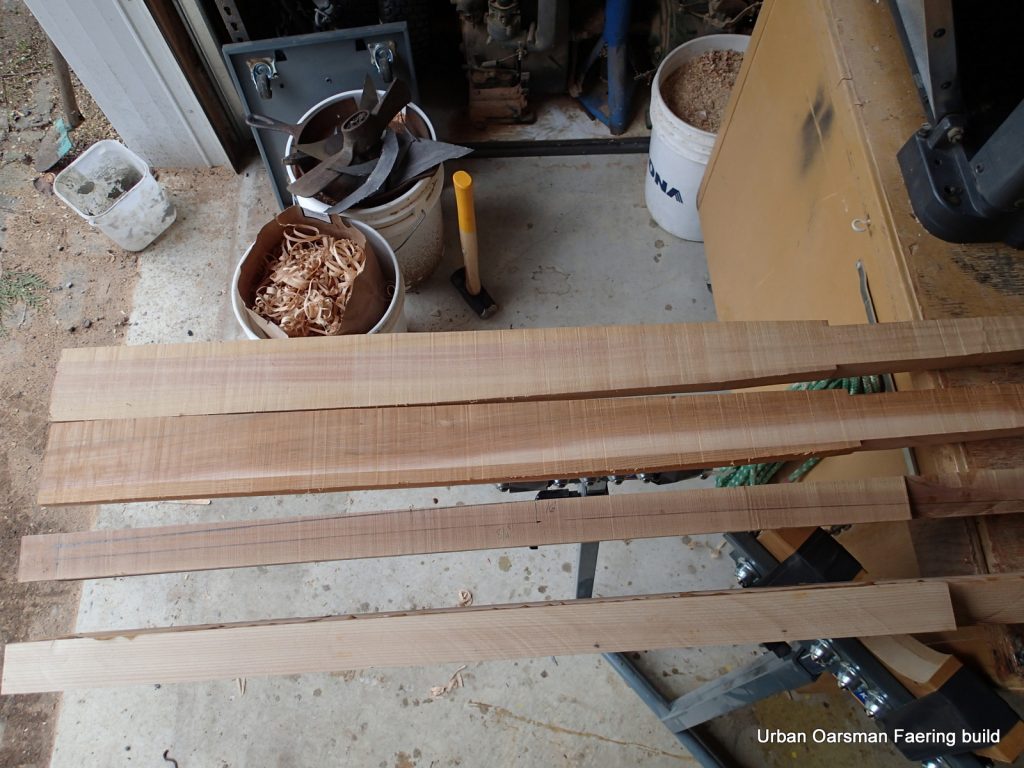
I have some well-seasoned fir leftover from the mast builds. I rip it into strips for the inner keel, I am going to laminate the keel from stem to stern. The strips will need to be 19′ long. I will have to scarf them.
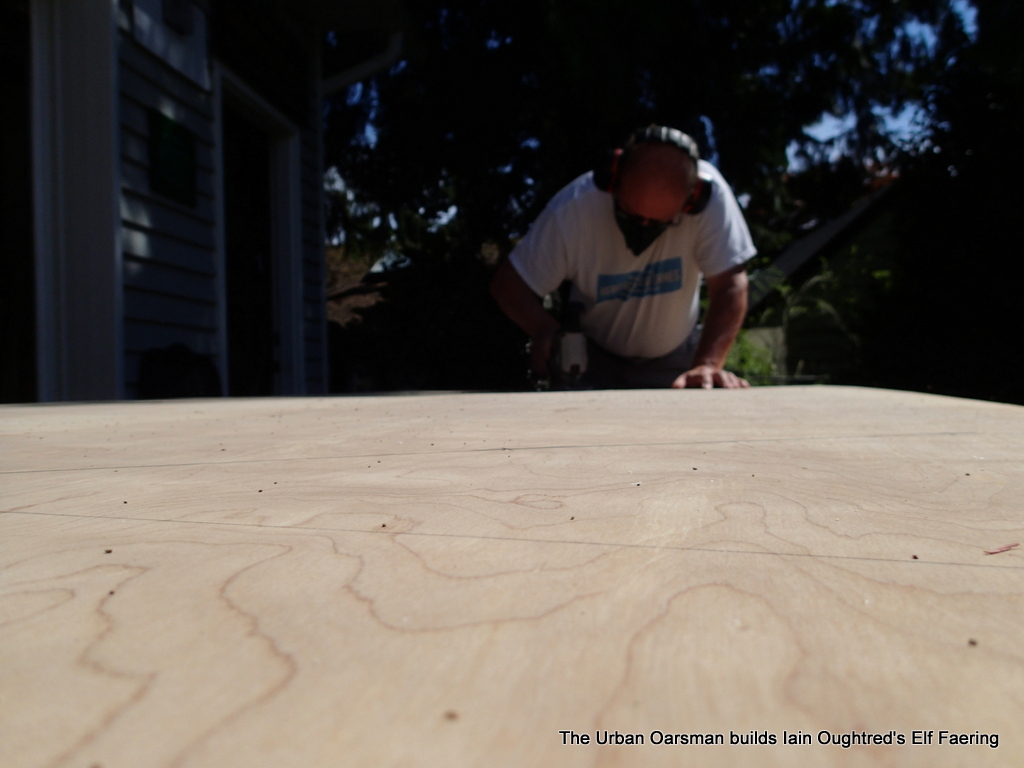
The cheapest plywood at the lumber yard is ¾” Baltic Birch at $64 dollars a sheet. I get three to make the forms out of. ¾” plywood is a bit of an overkill, but, it is the cheapest plywood they have. I spend a couple of hours marking out the forms. I cut them out with a jig saw.
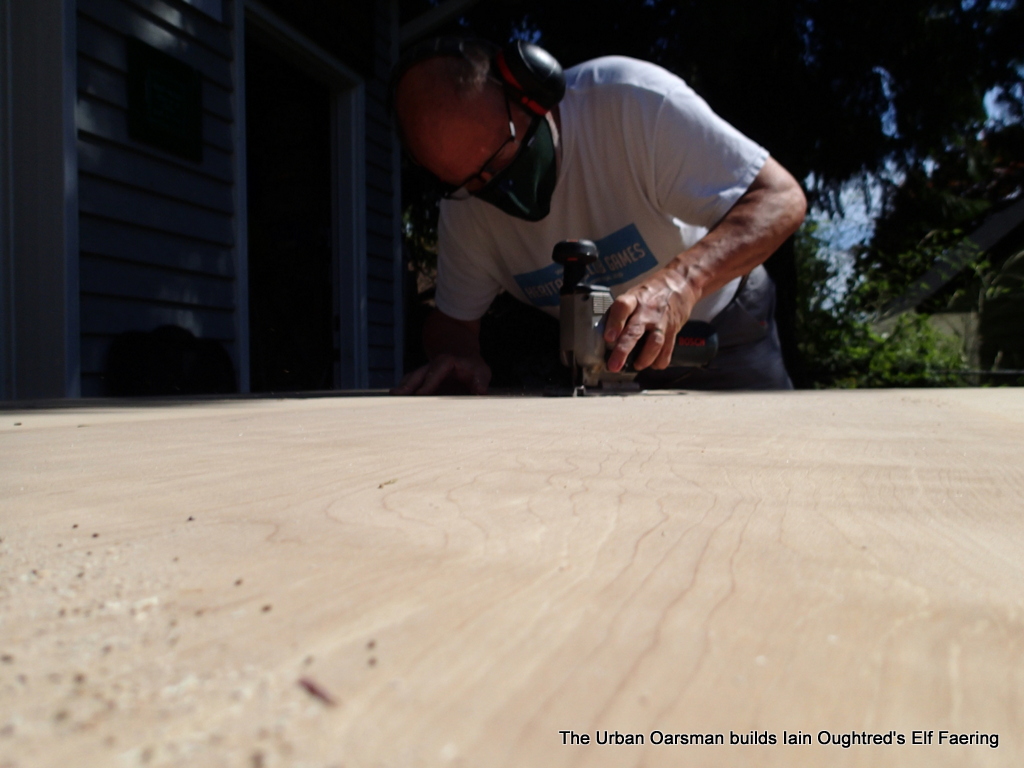
With the Covid-19 pandemic, I seem to always be wearing a mask!
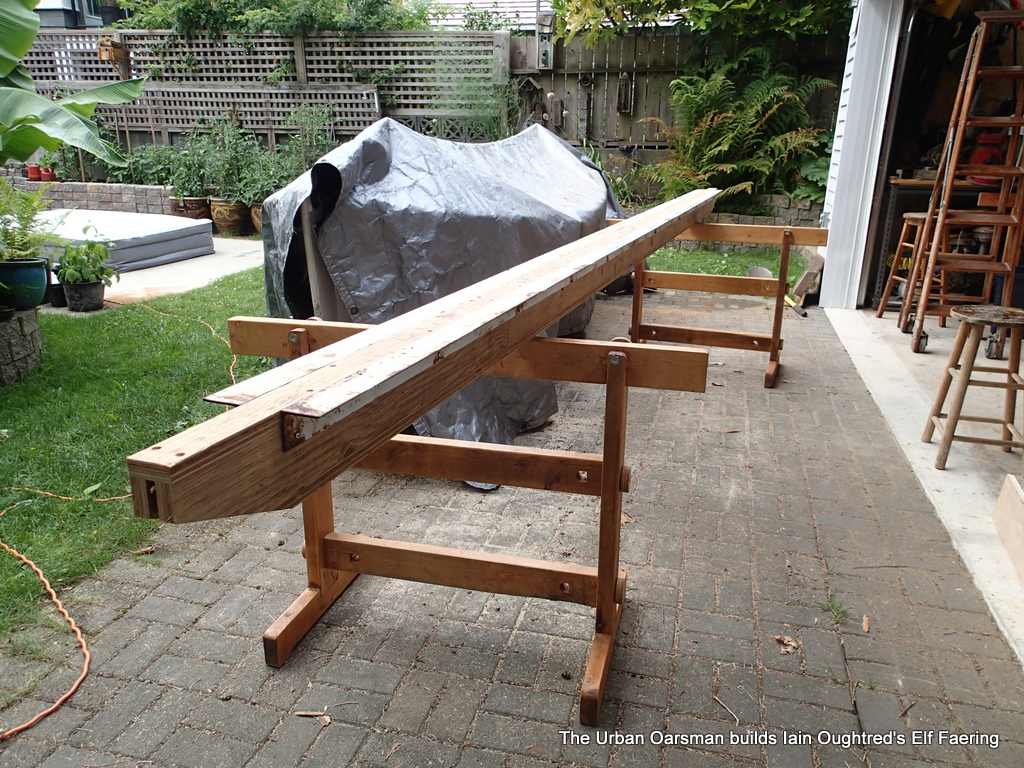
I am re-using parts of the Herreshoff pram build strongback.
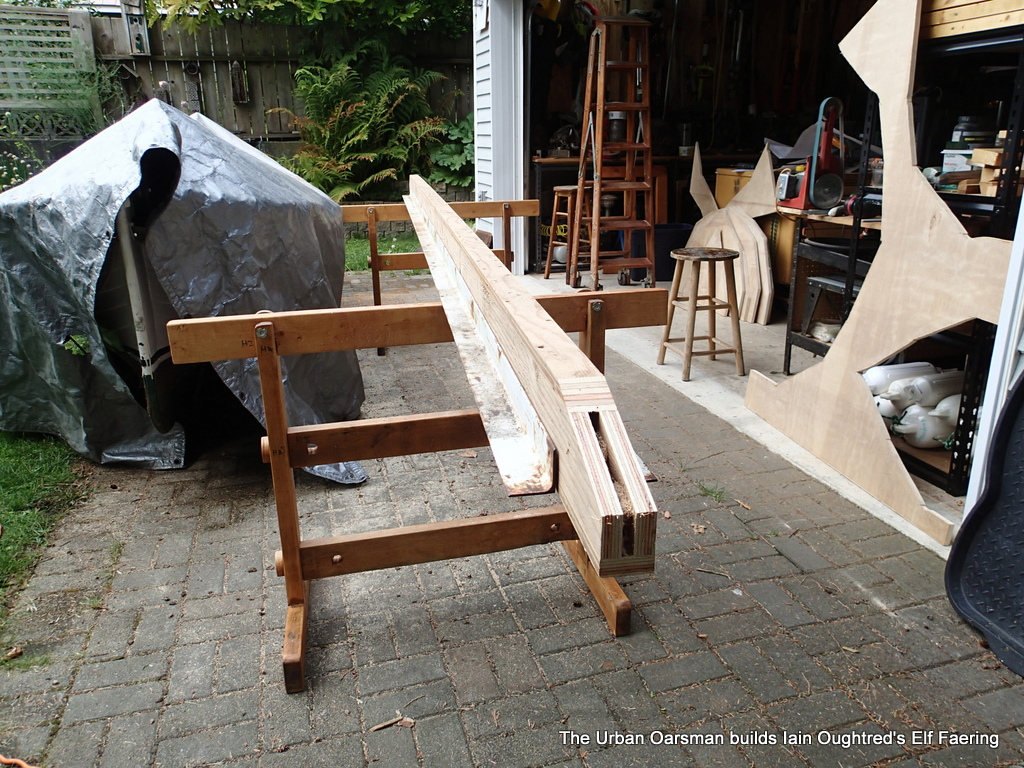
The steel angle iron is still straight. I am screwing them into the strongback.
“Elf” is going to be 15′ long. I trim the strongback a little to get a good fit for the bow and stern stem pieces.
I mark where the station molds will go. I will use two by four blocks to attach the mold stations to the strongback.
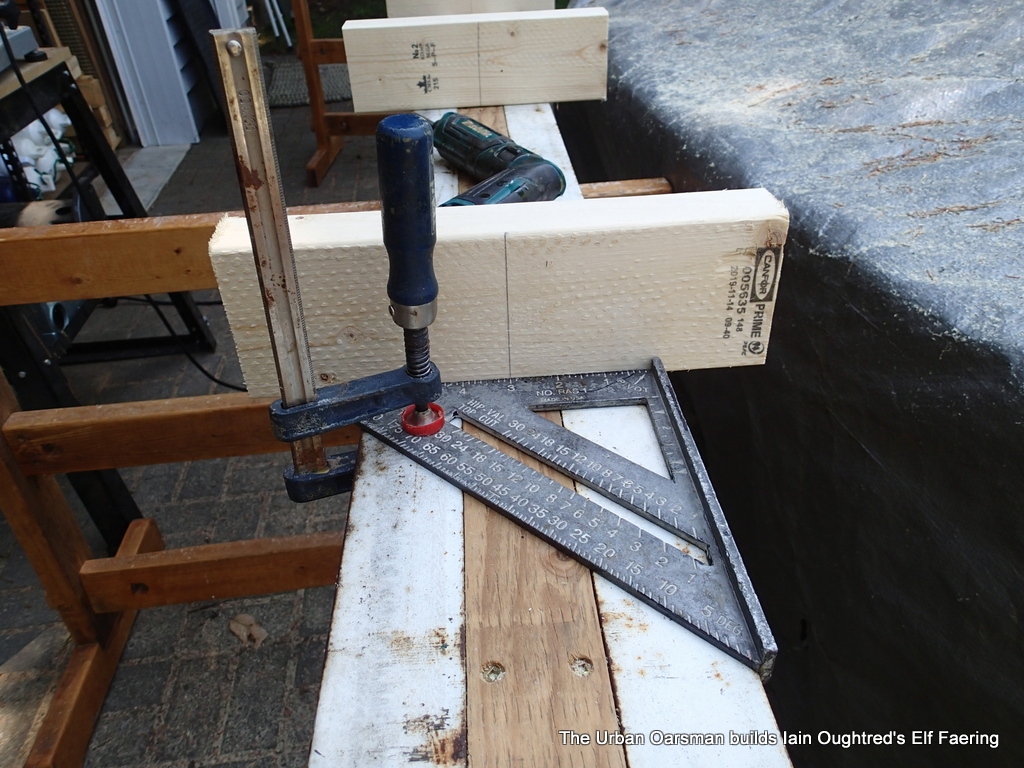
I have marked all of the station mold station spots. I drill holes into the angle iron for the attachment screws. I use my square to insure that the station molds will be square to the strongback.
Test fit of the station molds. I will cut-out the centre pieces to make them lighter. I am going to re-use the futon frame parts to put the strongback on.
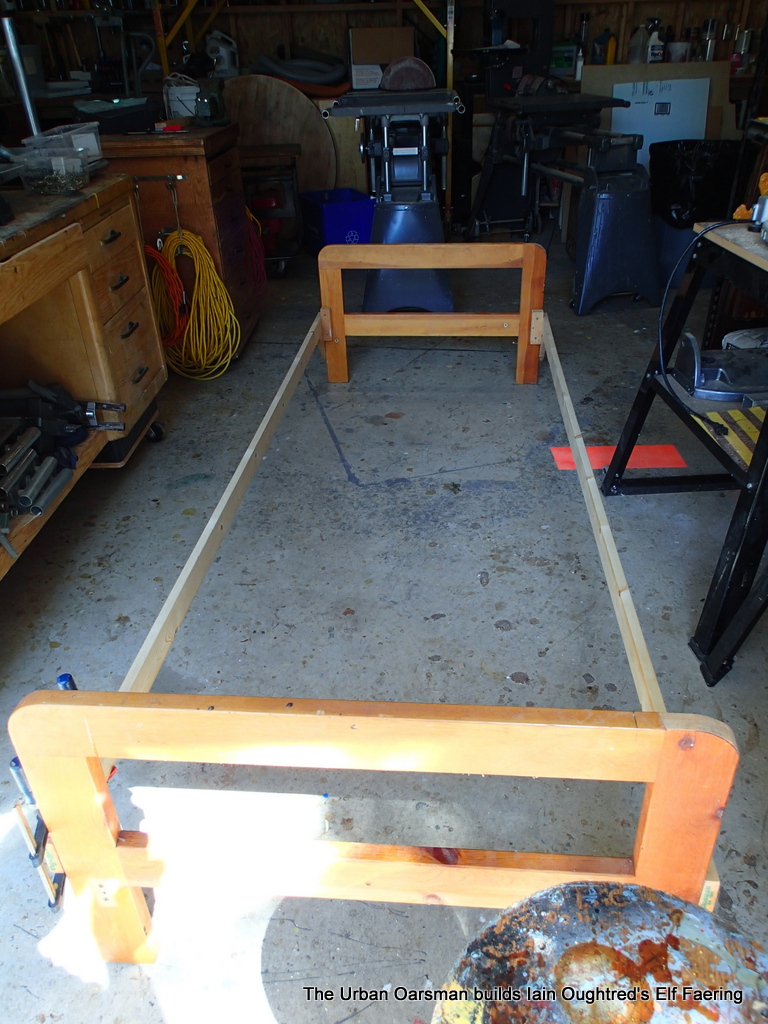
The futon frame is assembled.

I put the frame on caster wheels so I can move it into and out of the shop.
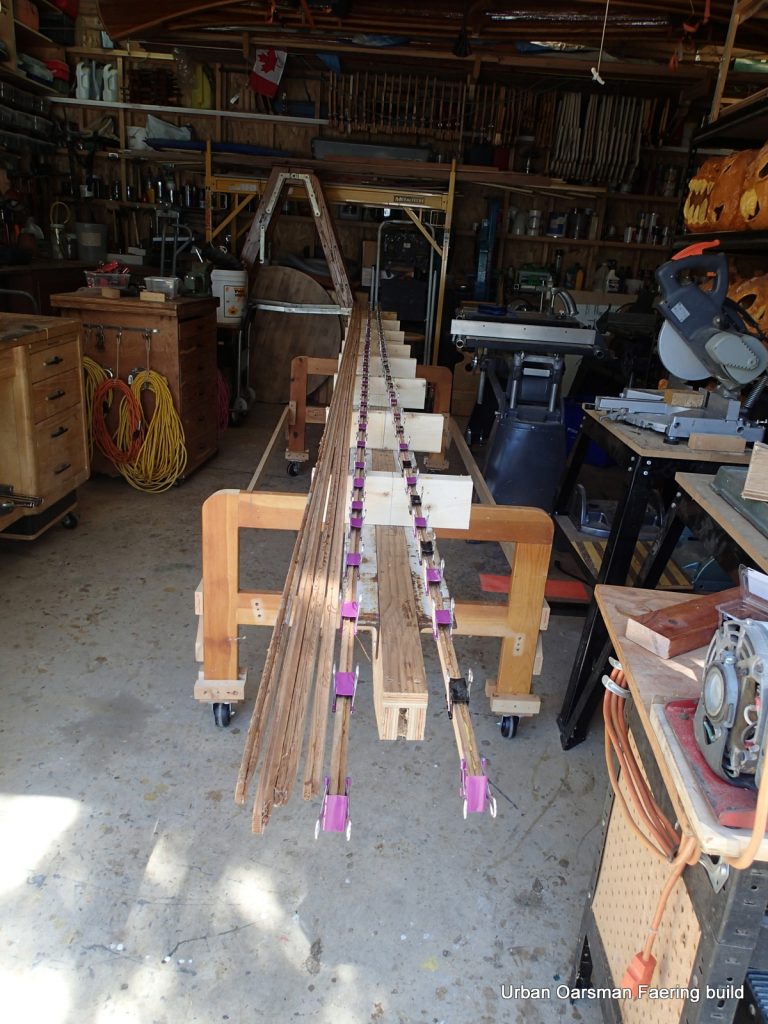
The strong back is completed, I am glueing up the ribbands from left-over strip planking stock from Paul’s Canoe build.
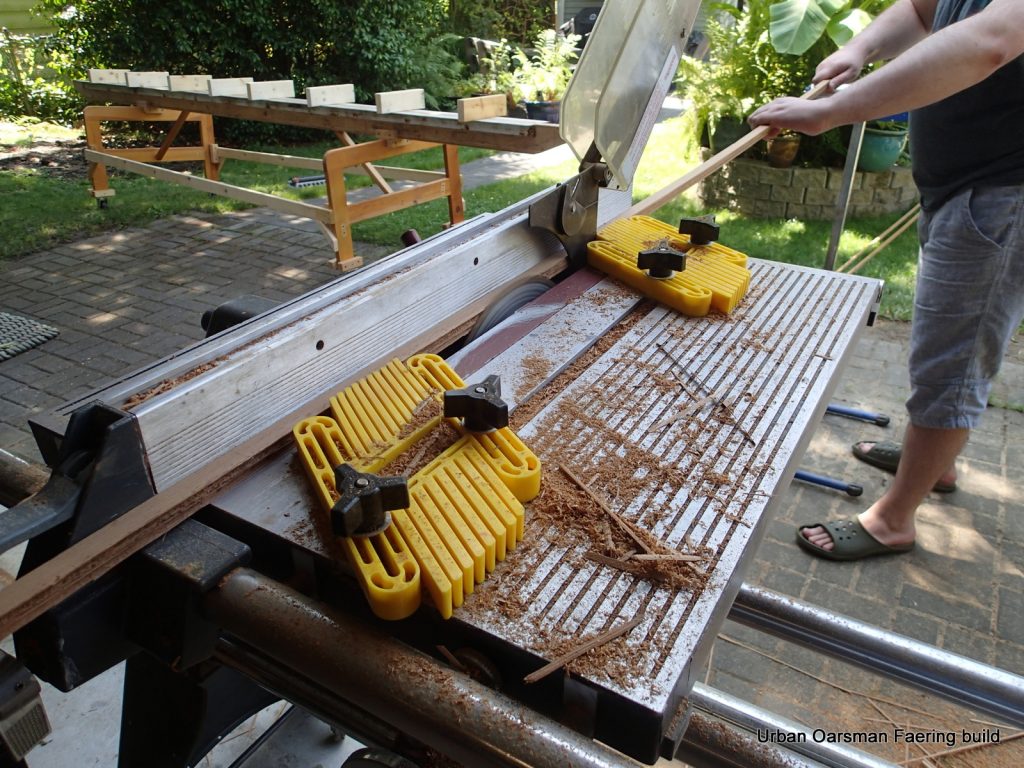
Taking the bead and cove off of the ribbands with the Shopsmith table saw.
The ribbands are ready to go.
Using the ribband to measure and cut the notches in the frames.
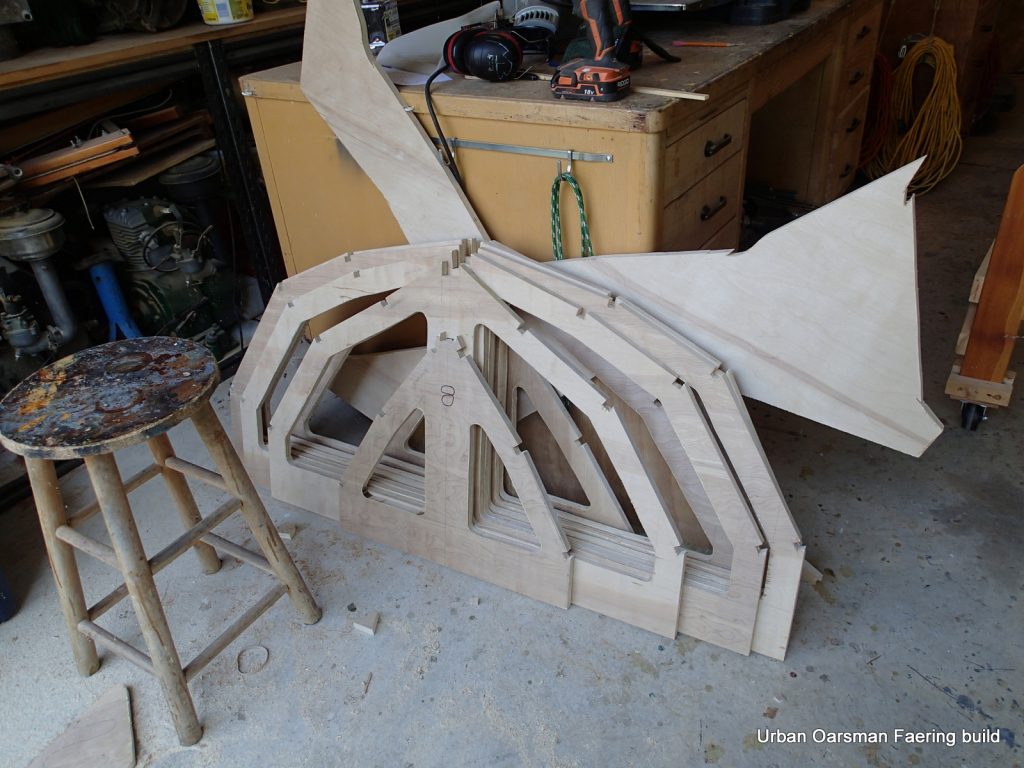
The frames cut out, with the lightening holes and ribband notches cut out.
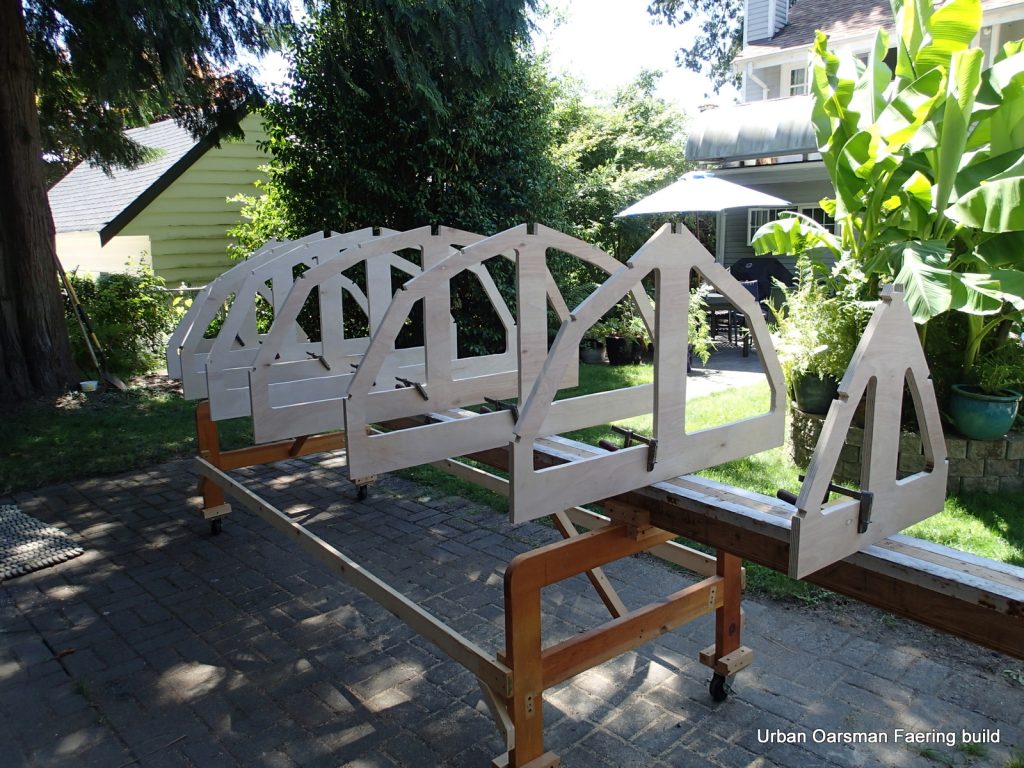
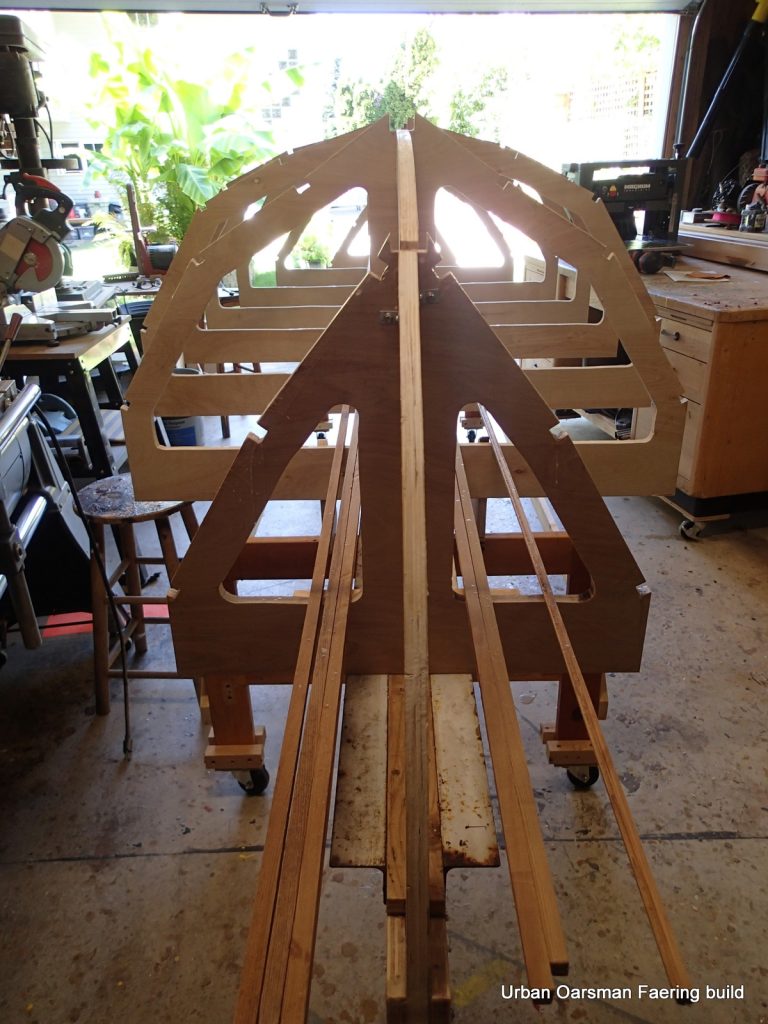
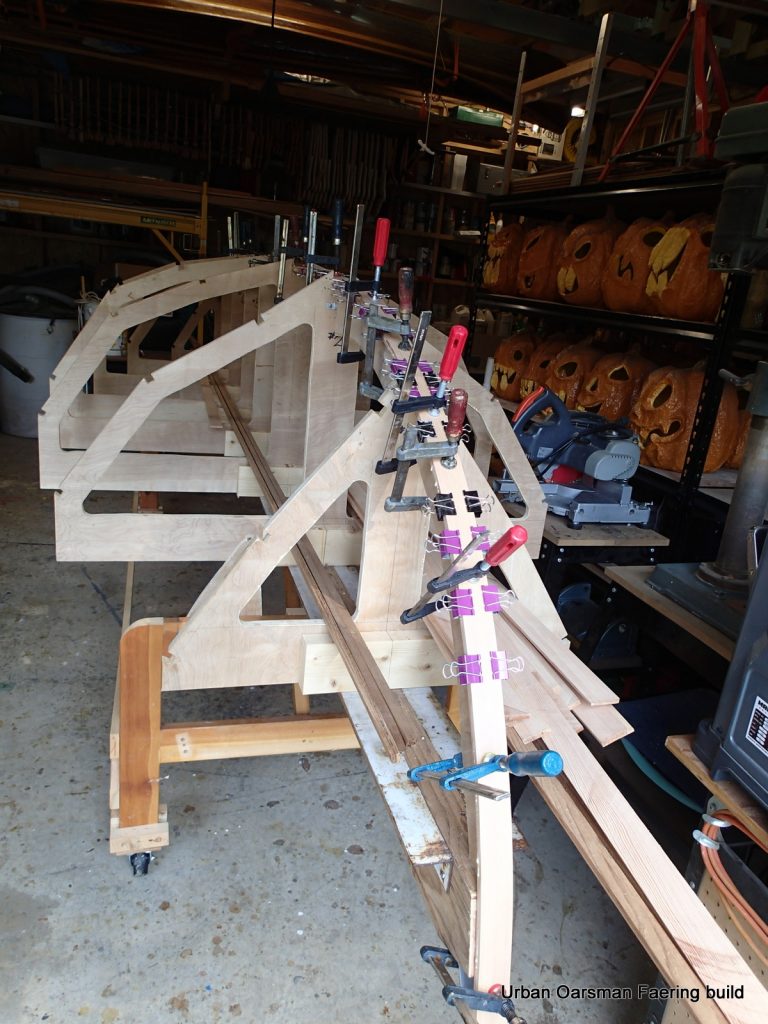
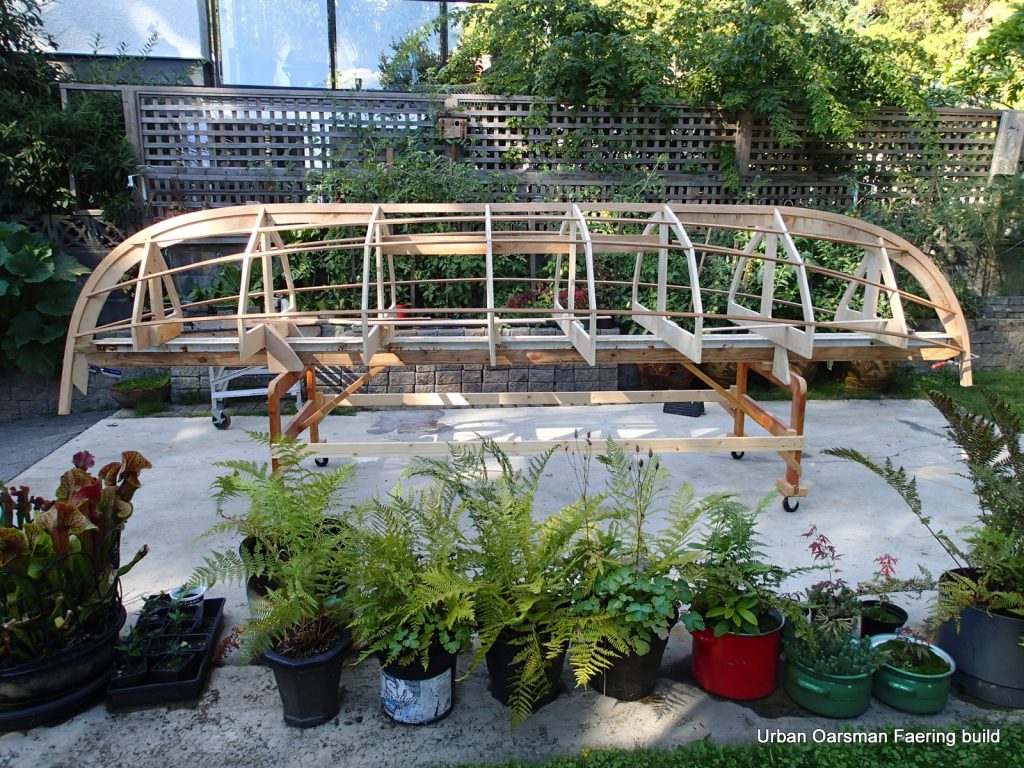
Assembling the frames onto the strongback. I clamp them onto the station blocks and them “level” them all out.
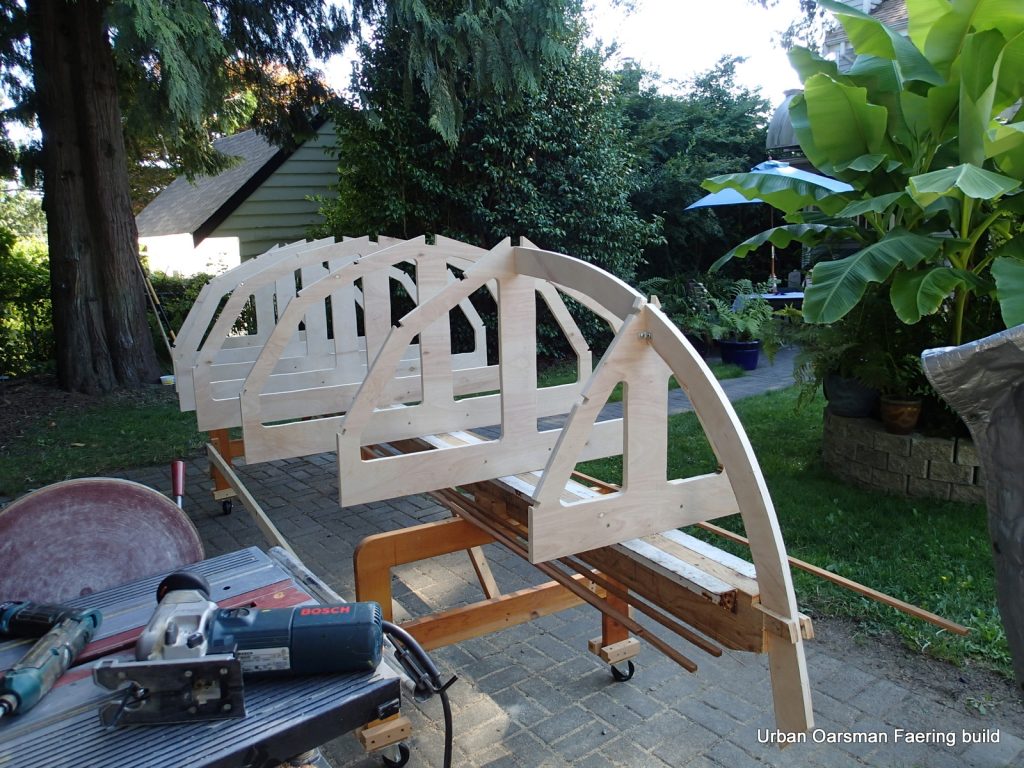
With all of the frames “leveled” and “plumbed”, I screw them onto the station blocks. I then screw on the bow and stern stem forms.
All of the bracing pieces are in…just have to insure that nothing will stick to them. Wax time!
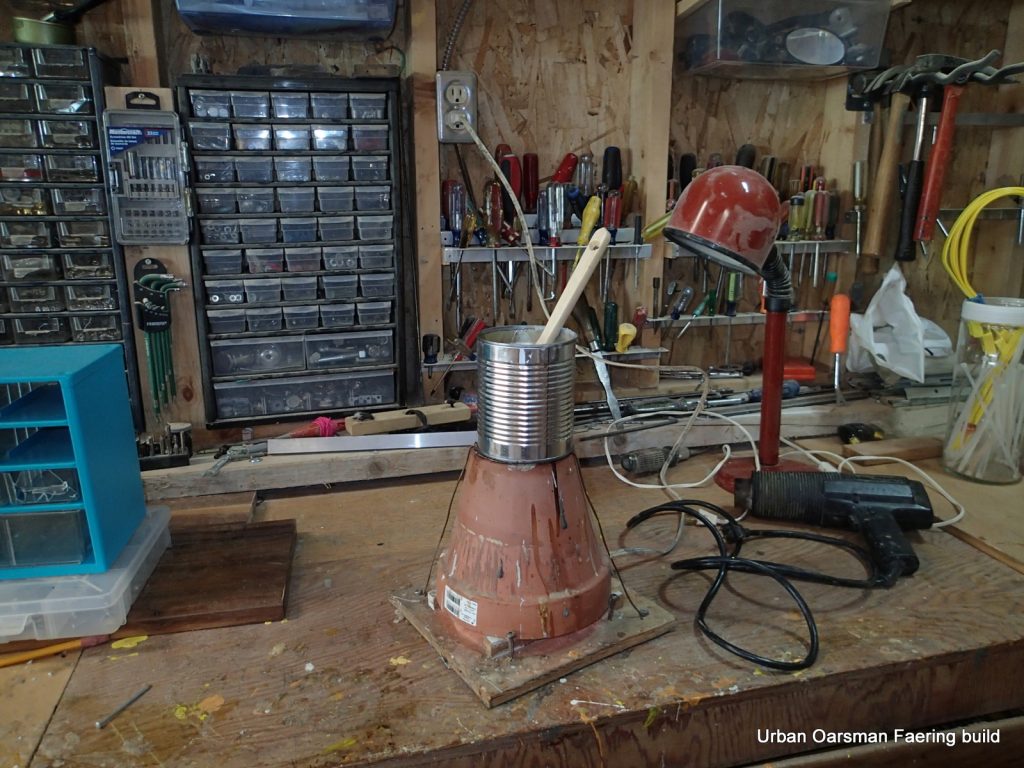
A pot of wax, melted on the plant-pot heater. I will brush the wax onto the forms.
The waxing process is carefully watched.
With everything waxed, I can start laminating the inner keel.
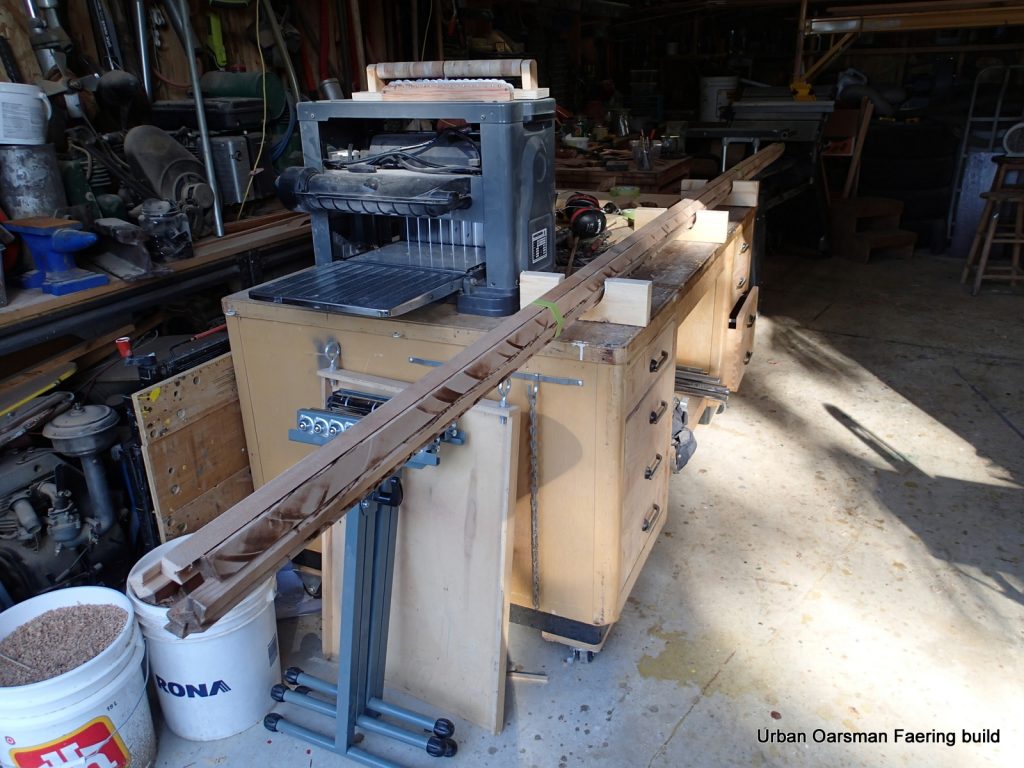
Cutting the laminations for the inner keel from the left-over mast stock.
The first lamination goes on.
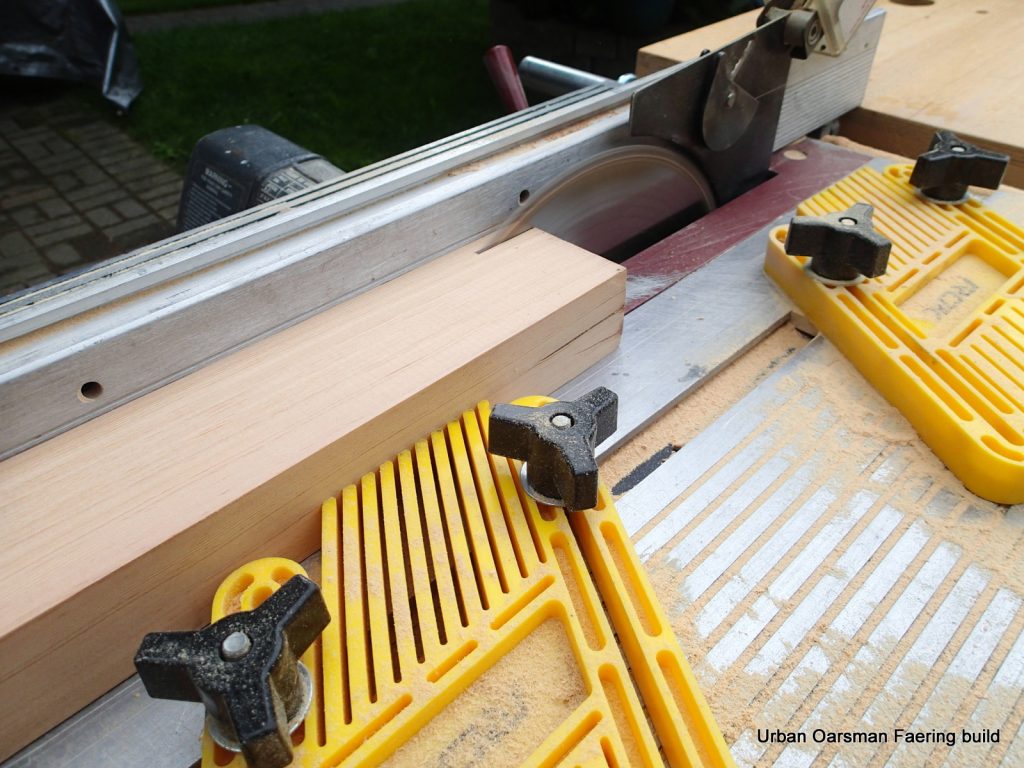
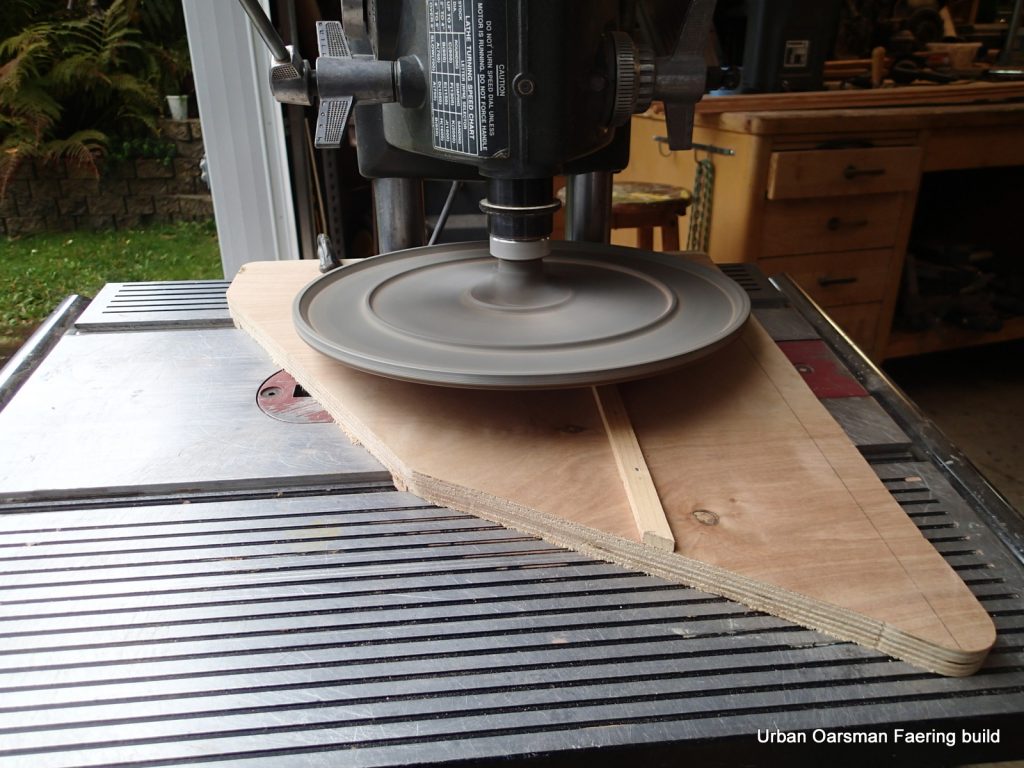
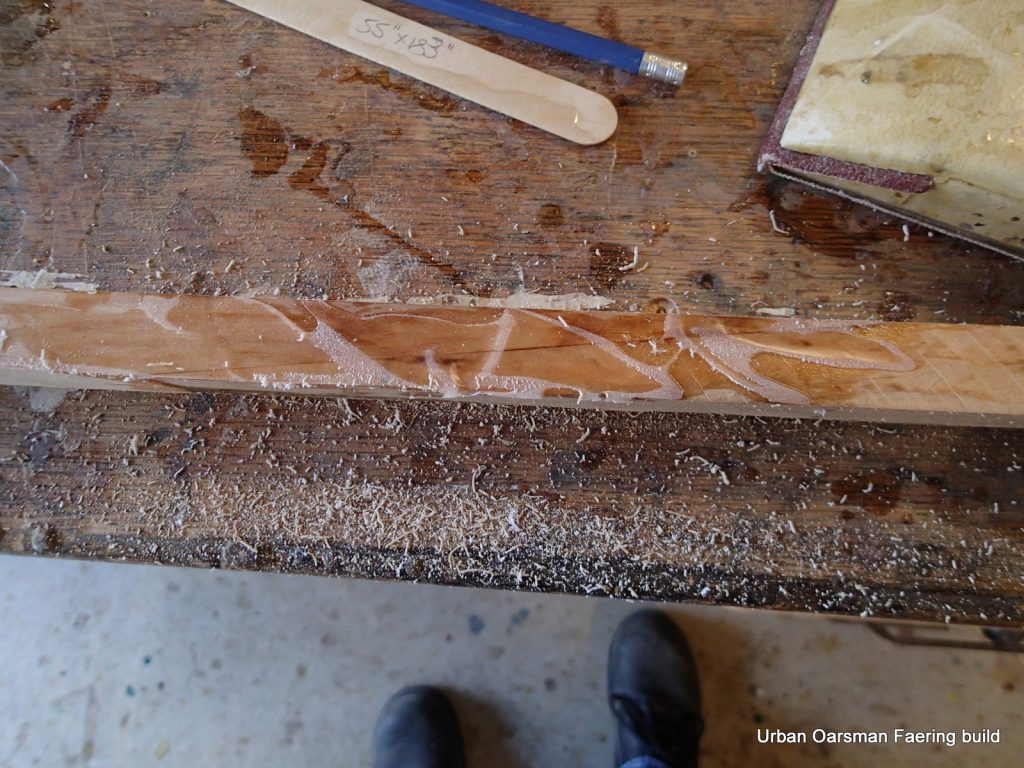
My scarfing jig. A 10″ sanding disk with the table set at 10°.
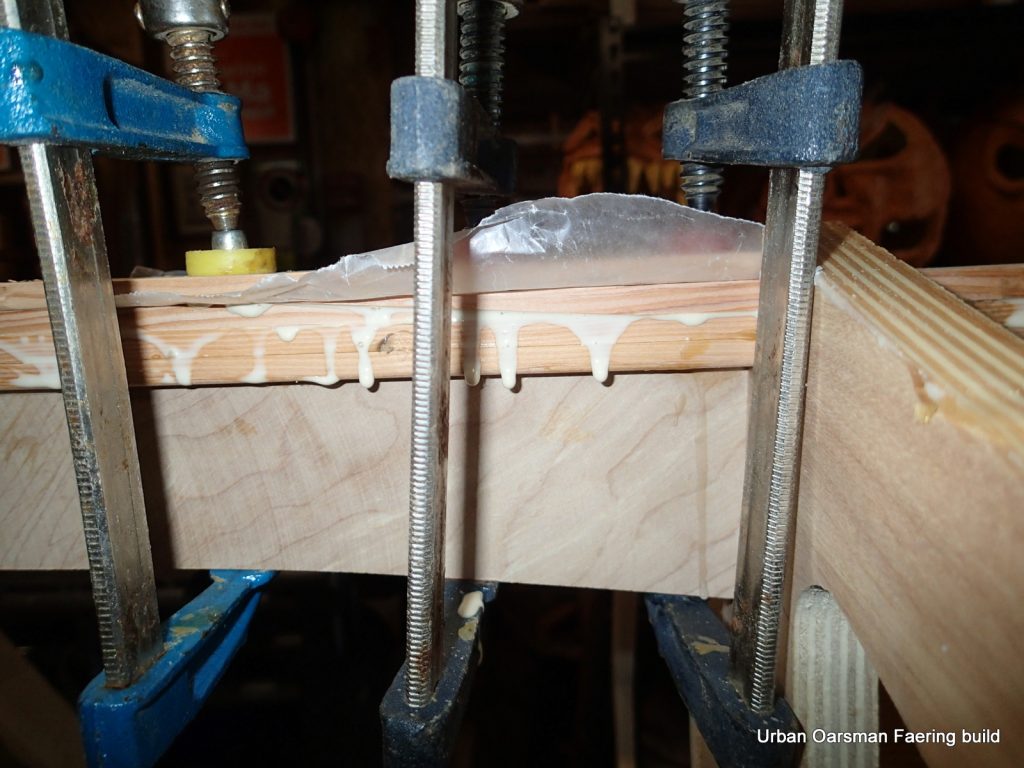
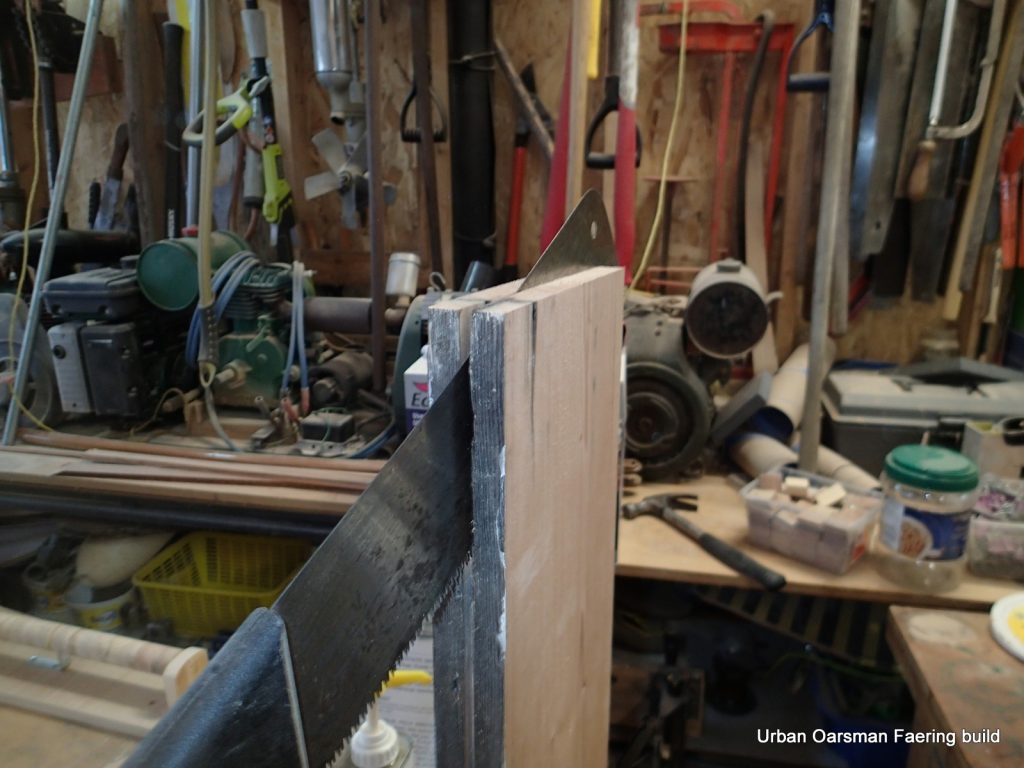
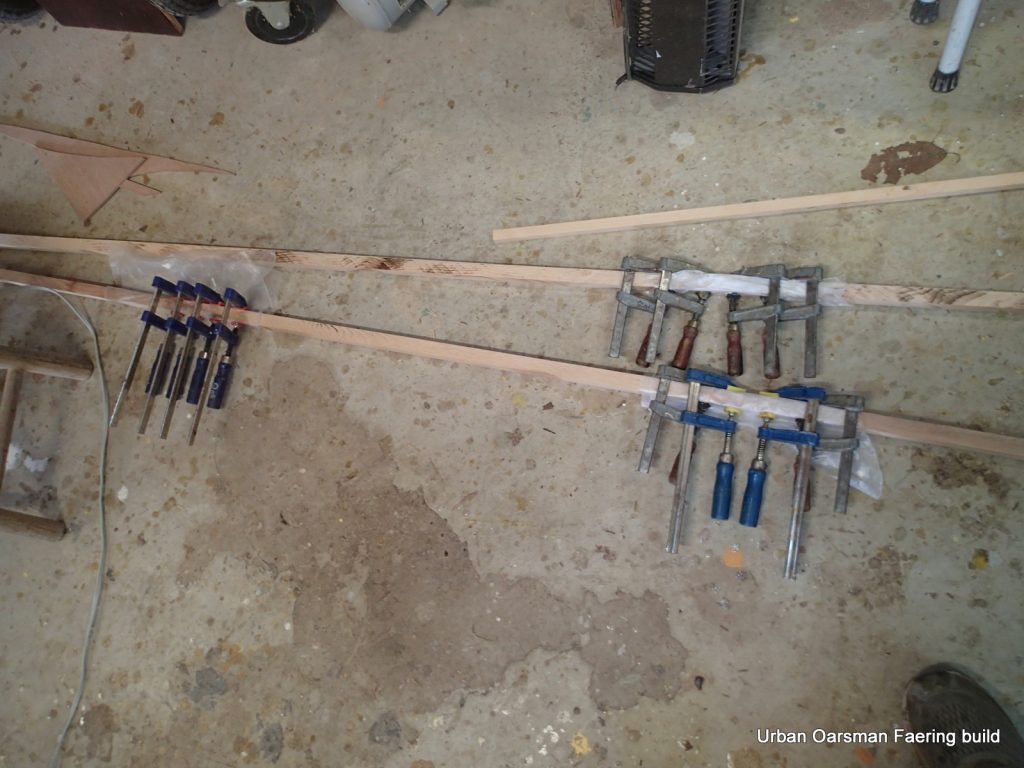
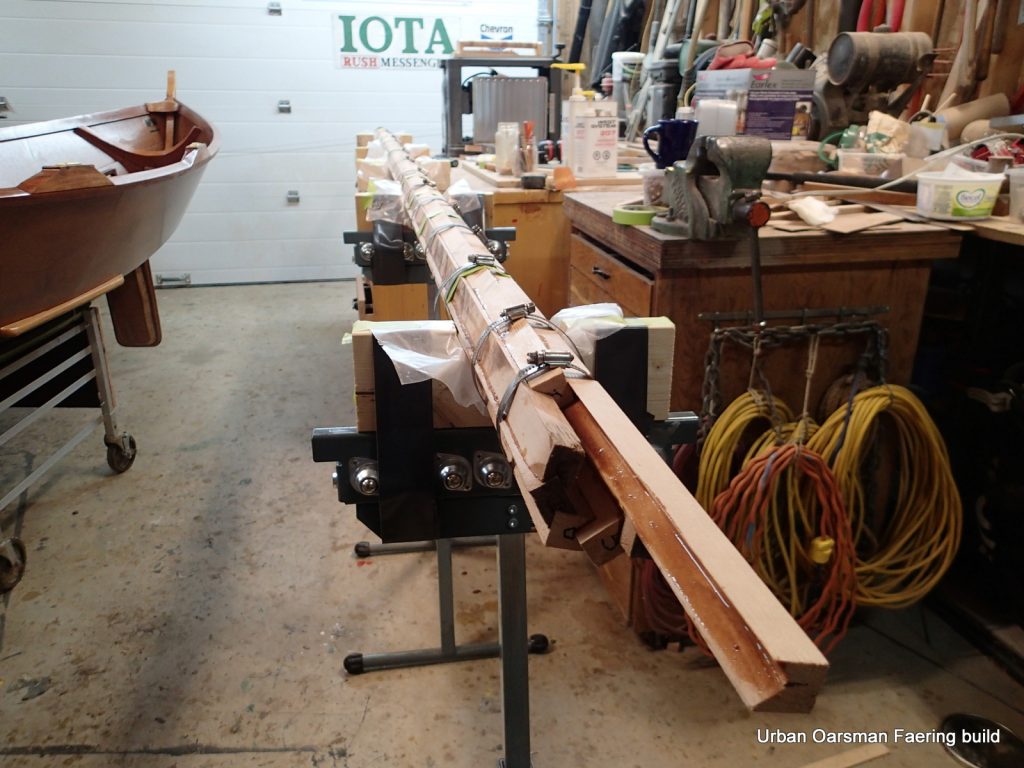
August 21st, I start scarfing the inner keel. Not a bad looking scarf. I am using Titebond II for the gluing.
Gluing the scarf on the building jig. I will have to wait for an hour or two until I can do the next one.
A combination of F and bulldog clamps.
Next lamination goes on…The nice thing about using Titebond II is that the wait time between laminations is shorter than using epoxy.
As the inner keel gets thicker, I can no longer use the bulldog clamps. No probs, I have a lot of clamps.
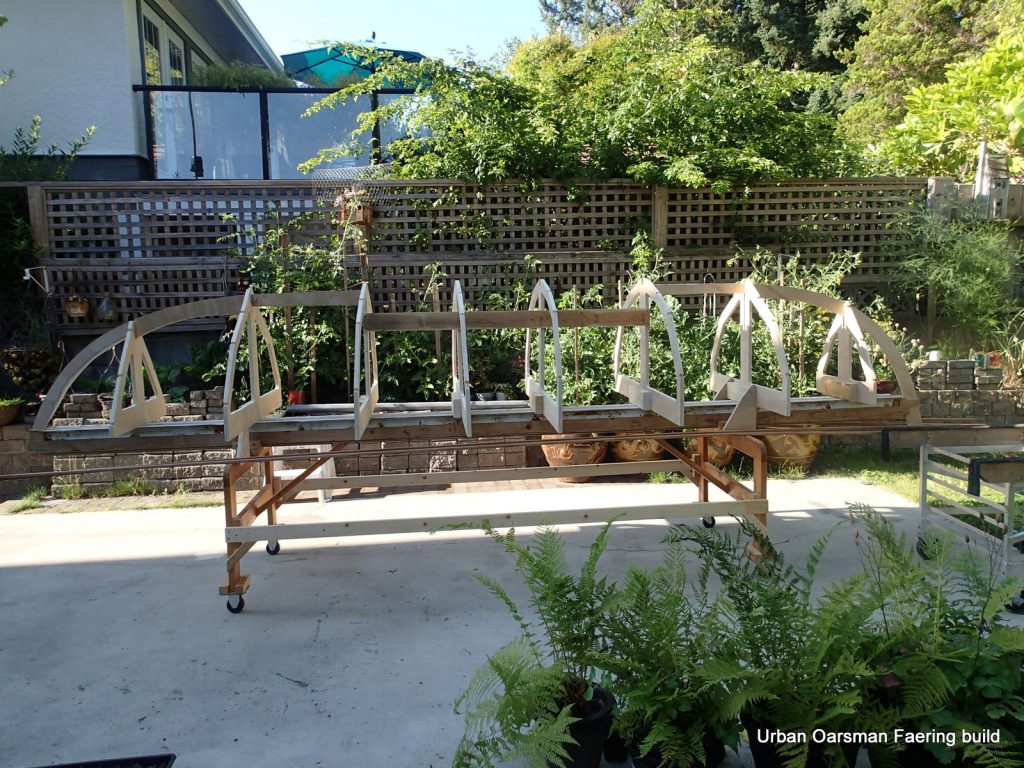
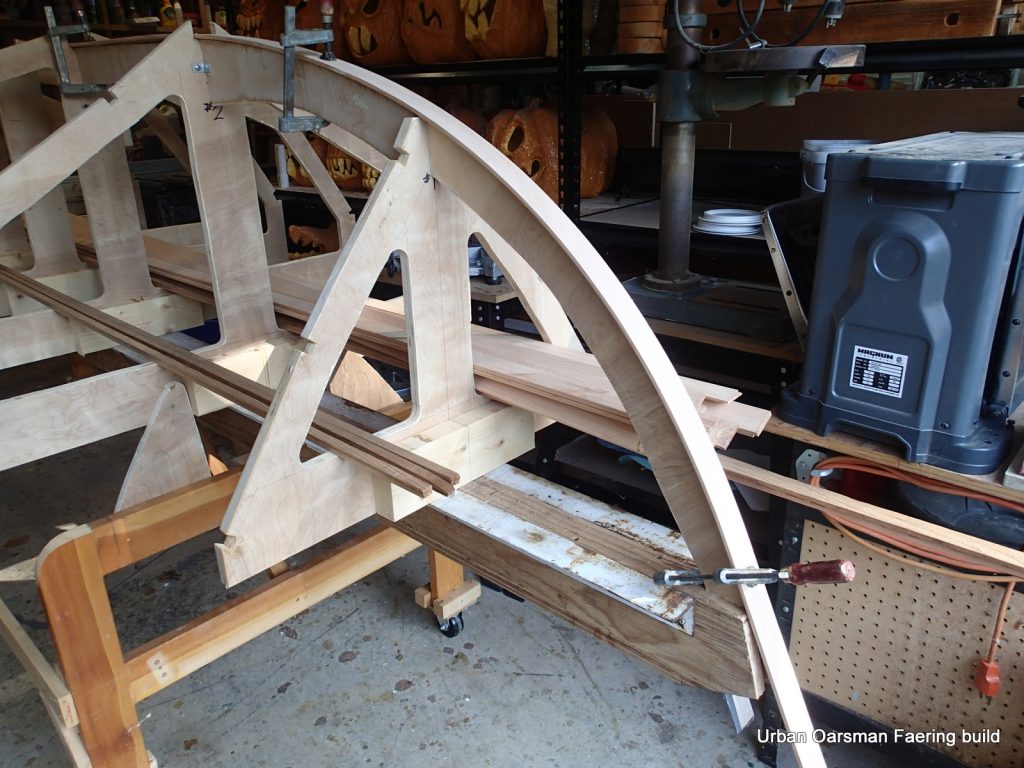
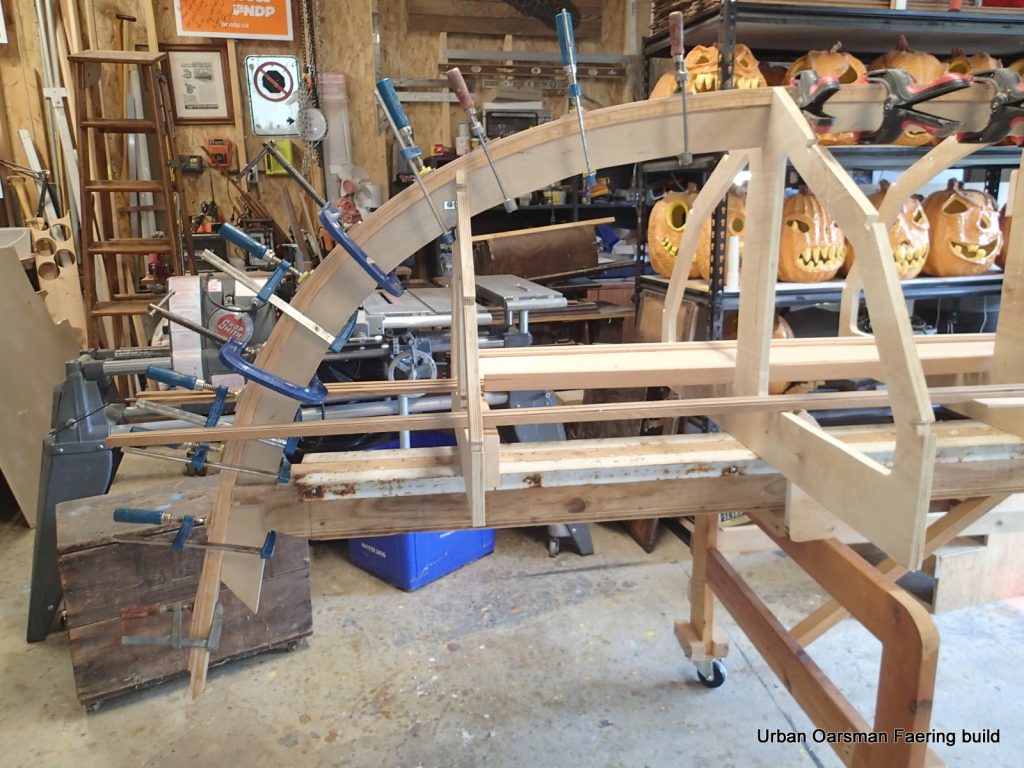
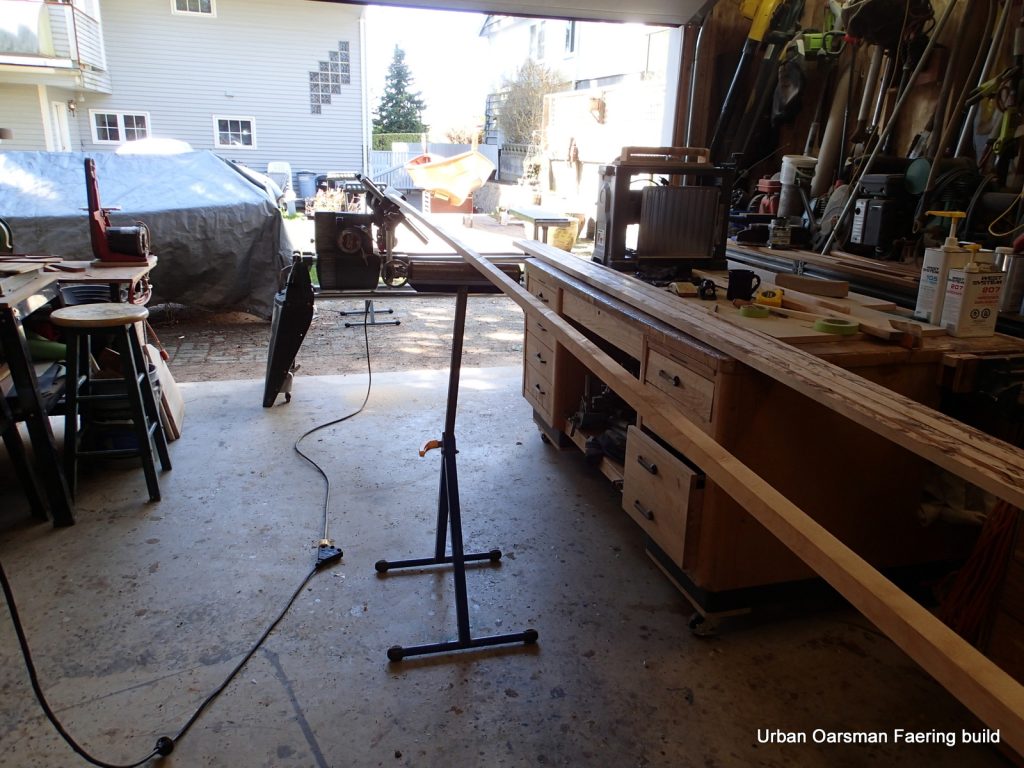
The inner keel is laminated and cleaned up, I put on the ribbands.
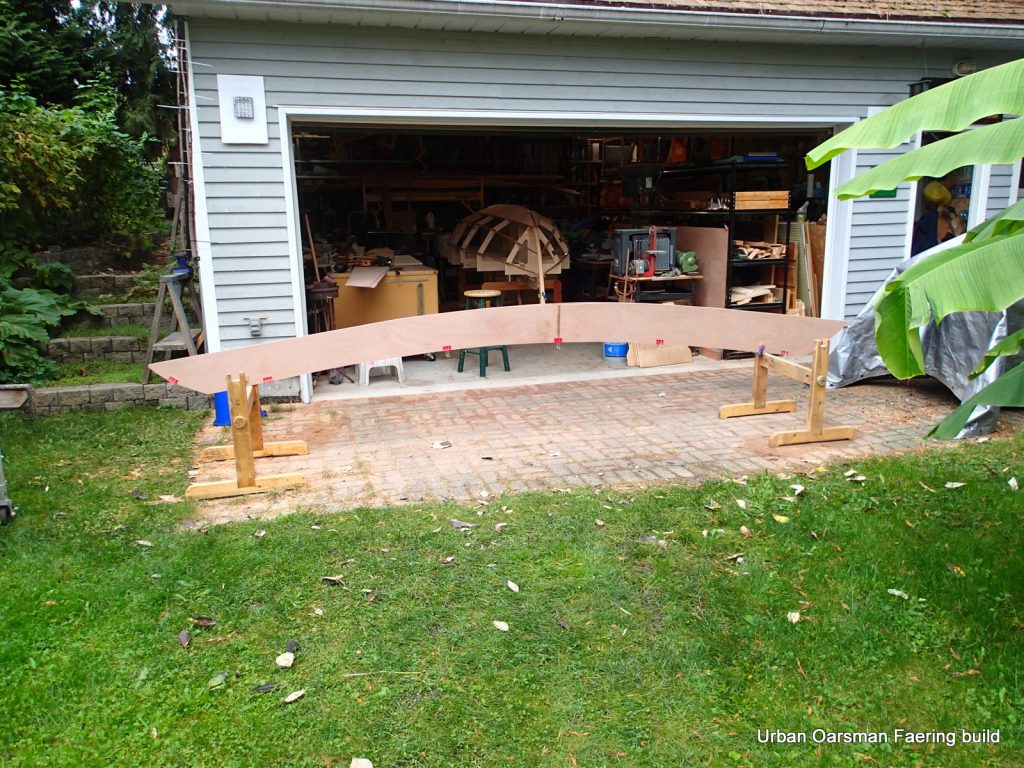
This is the time to insure that the forms are fair. Still some tweaking to be done.
The ribbands are looking quite fair. These will form the plank edges when I cut-out the planks.
Side view.
I drill in some drain holes that also serve to hold the inner keel to the frames.
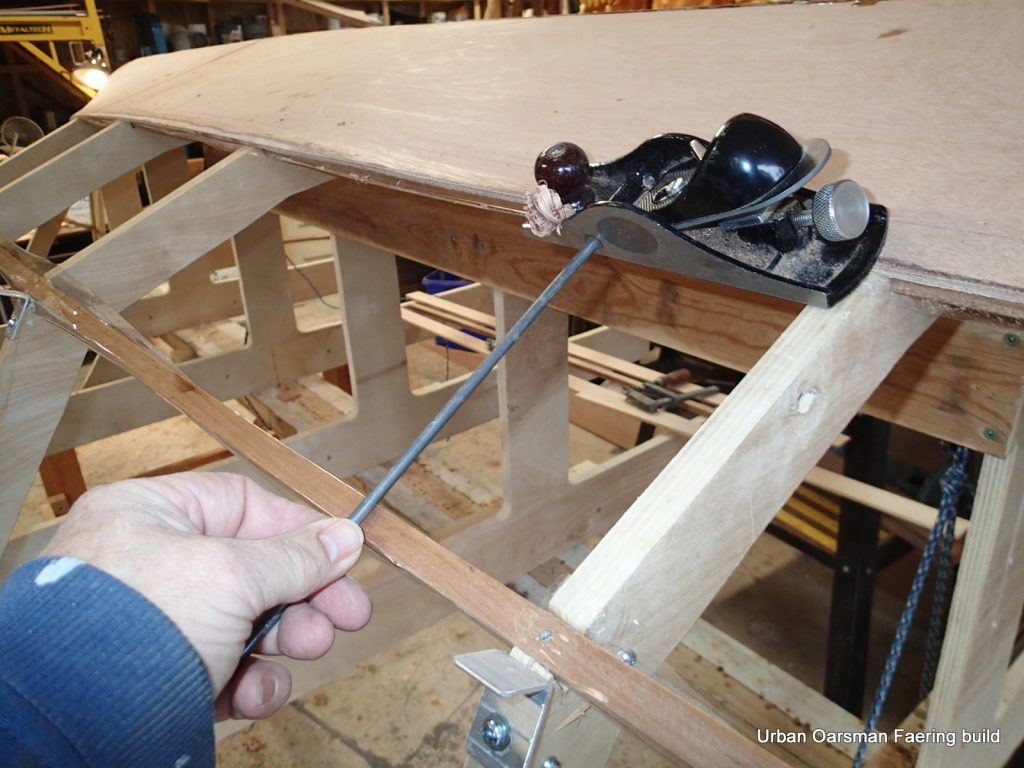
Shaping the bevel on the inner keel. For the rough work, I use a power planer. As I get closer to the correct bevel, I switch to a hand plane for the finer work.
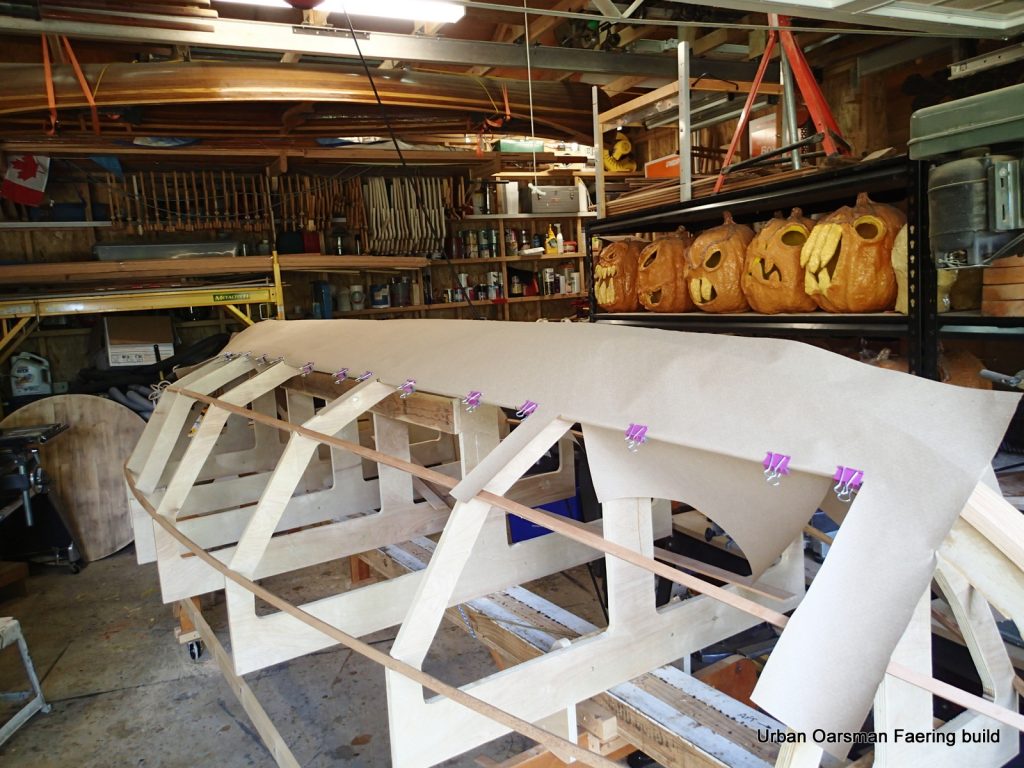
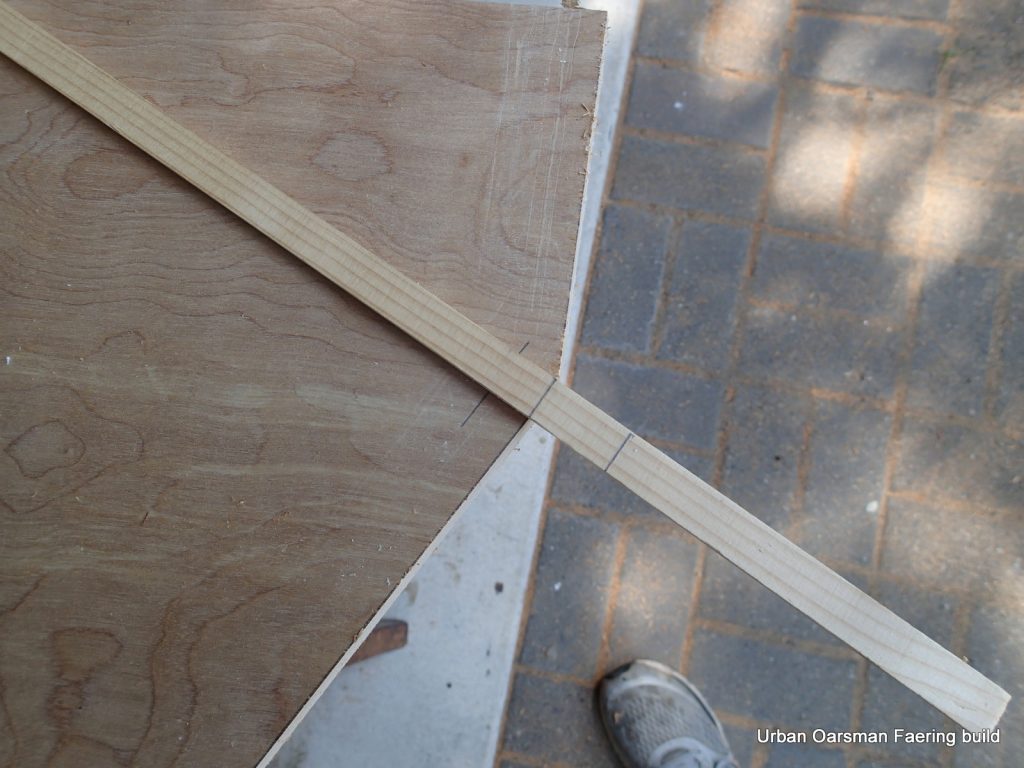
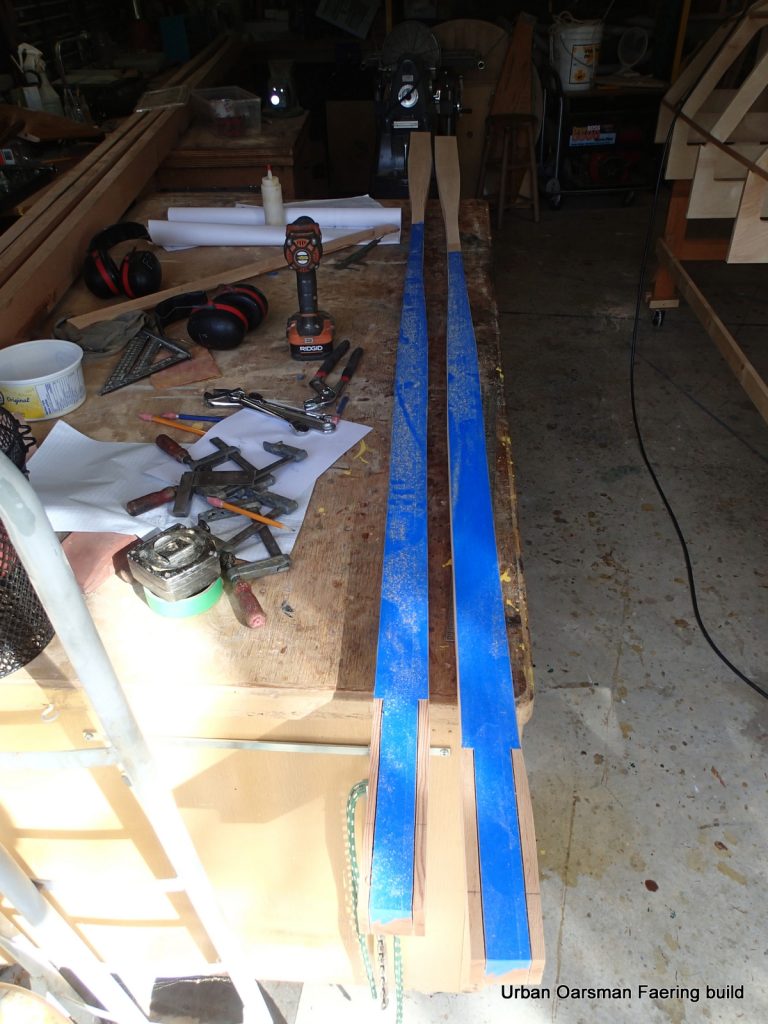
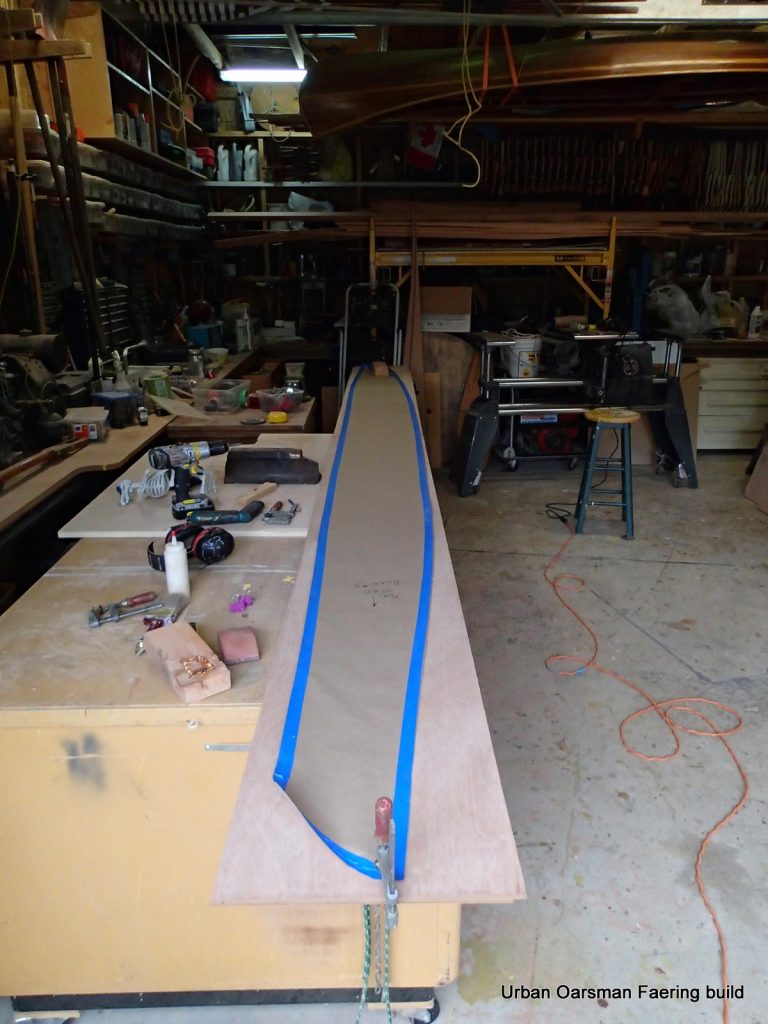
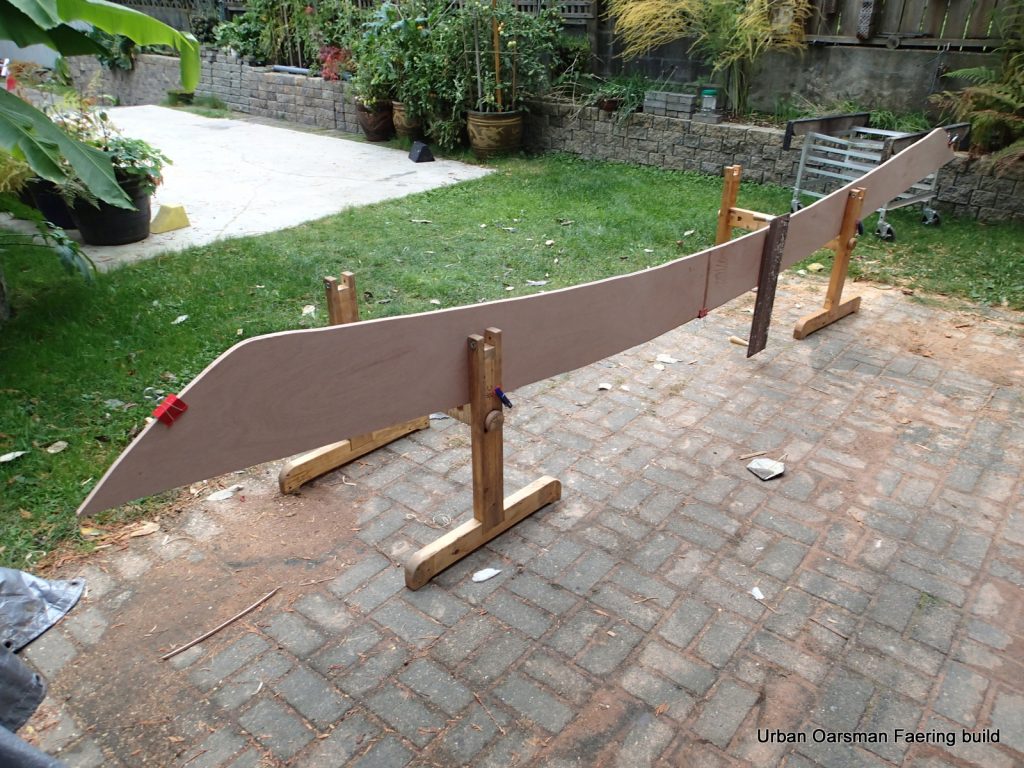
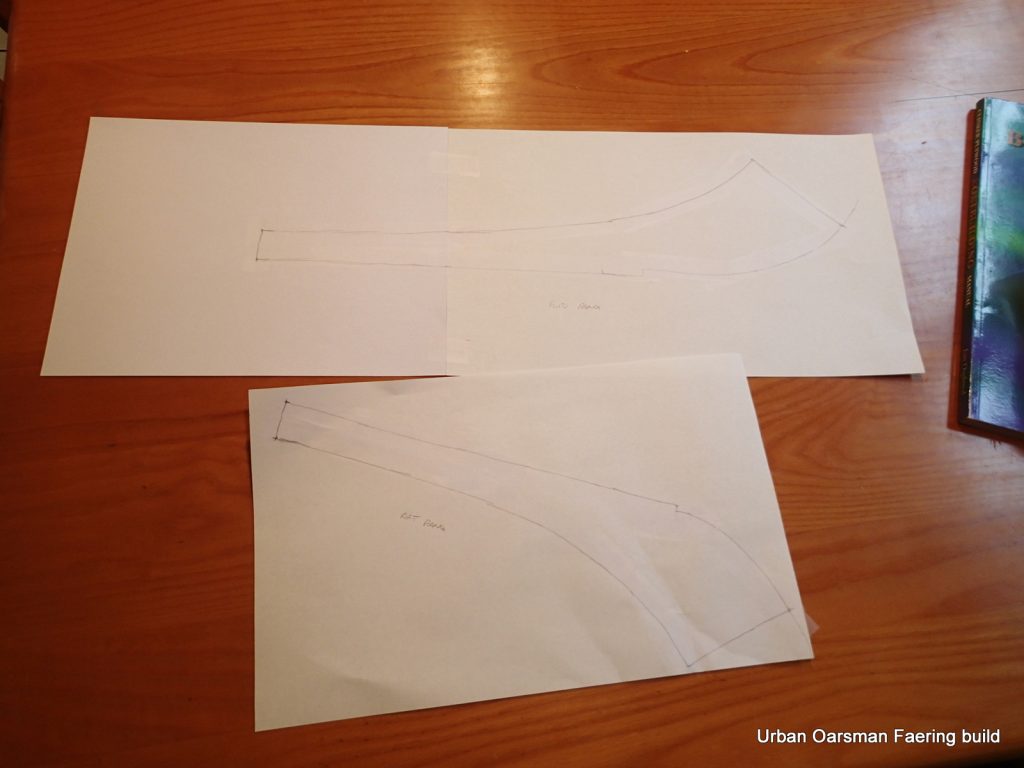
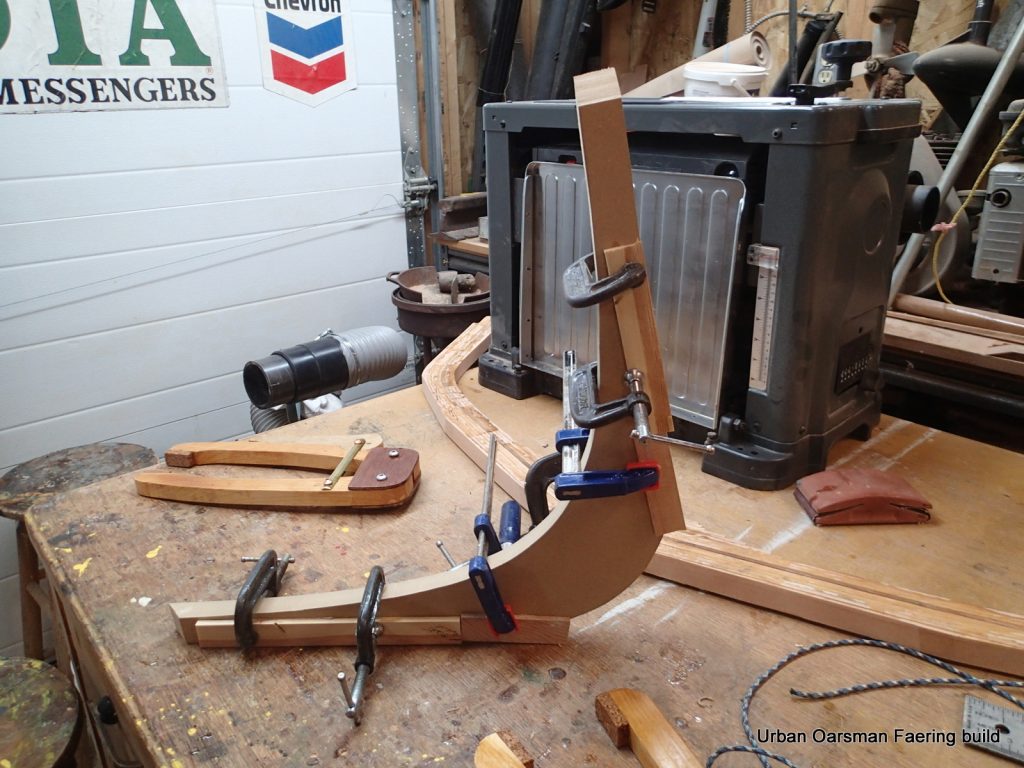
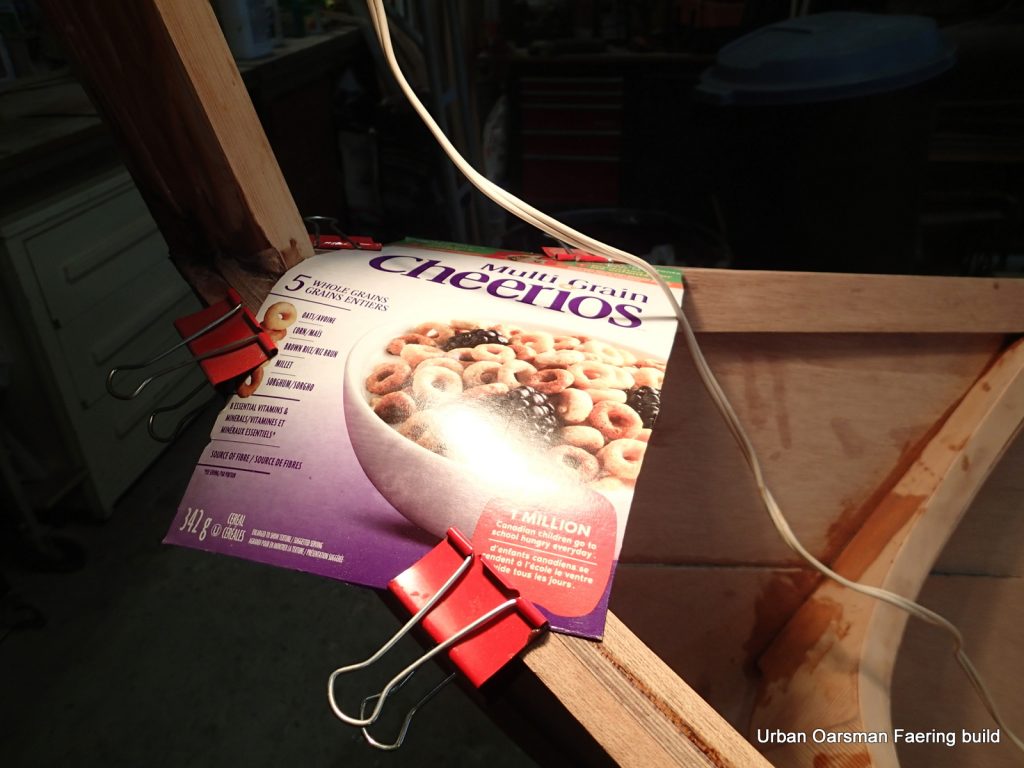
With the bevels cut, I am using some floor protector cardboard to make the plank templates.
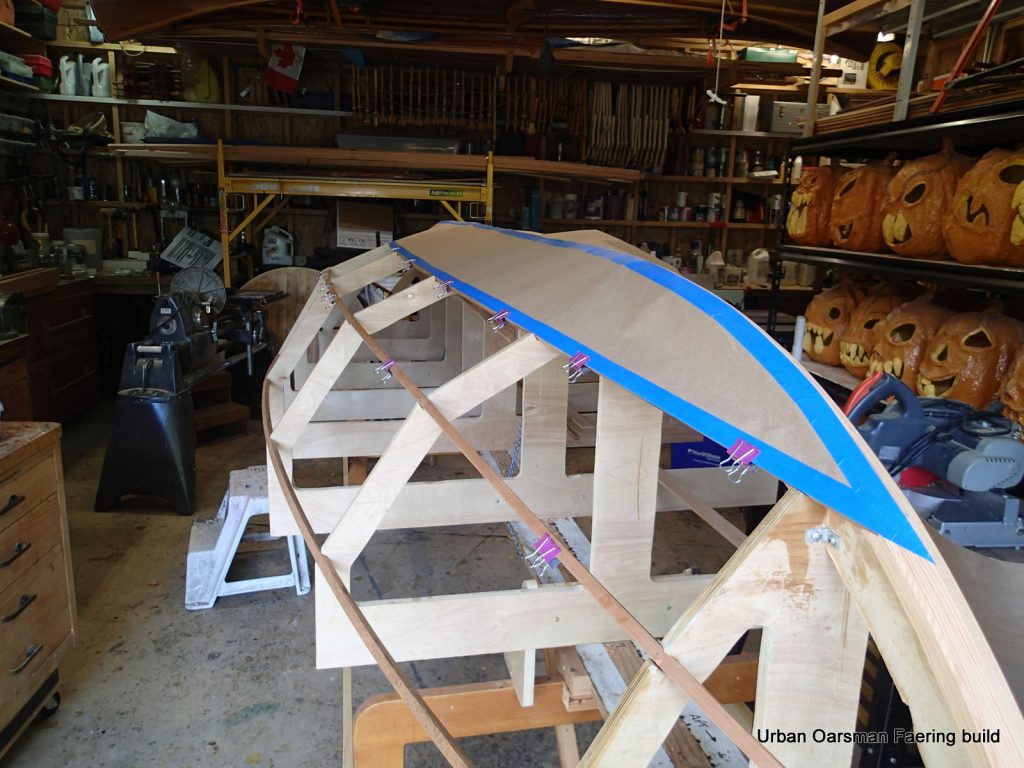
The blue painter’s tape is helping me get a smooth curve and reinforcing the edge of the template.
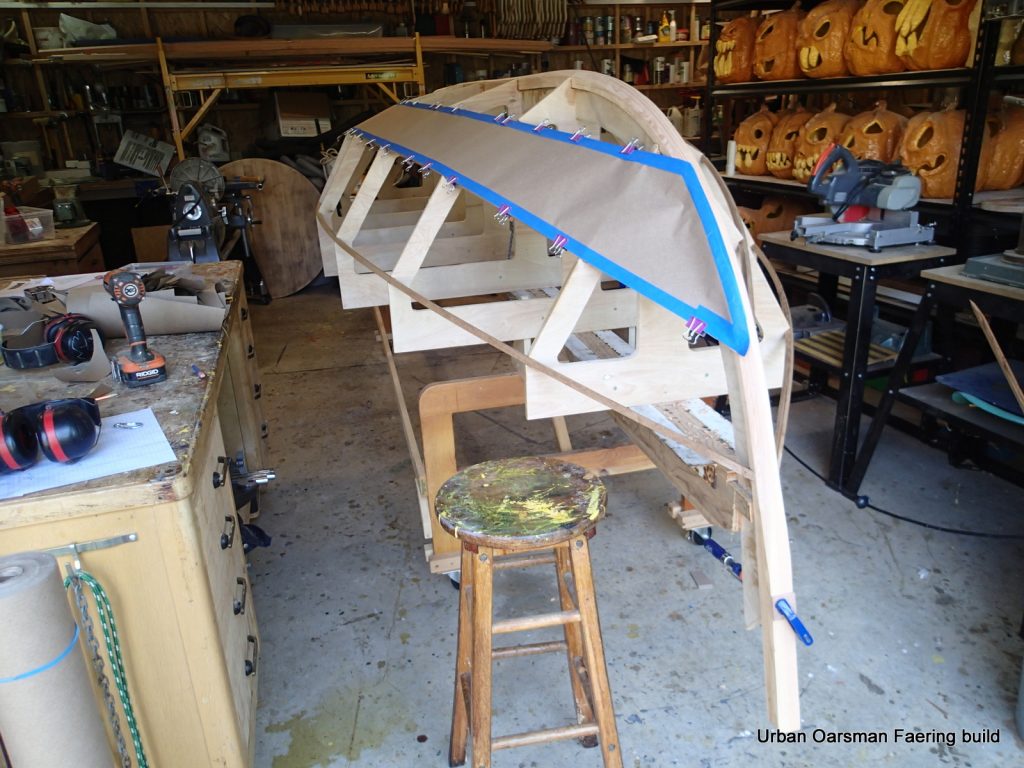
The second plank template.
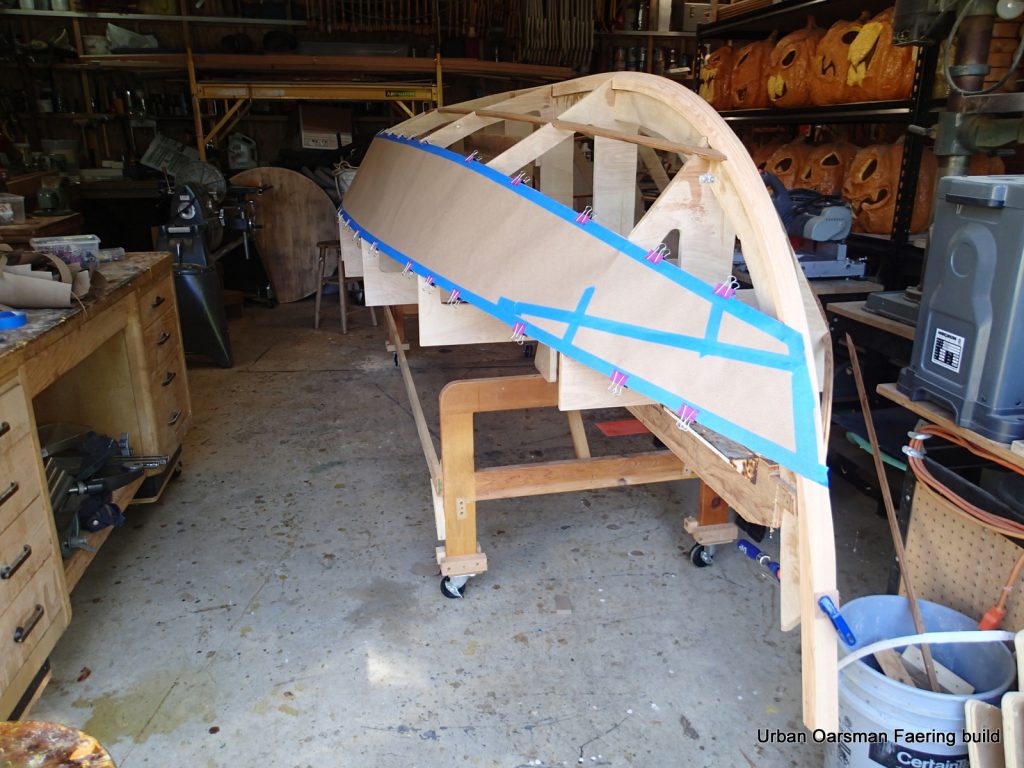
Third plank template done.
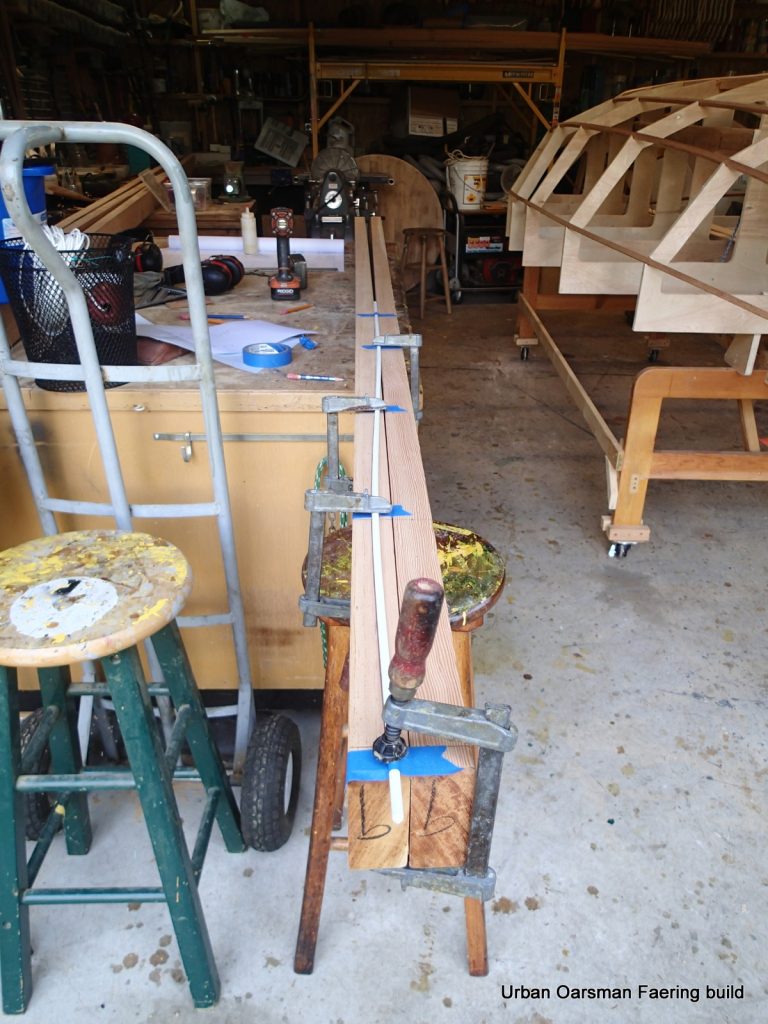
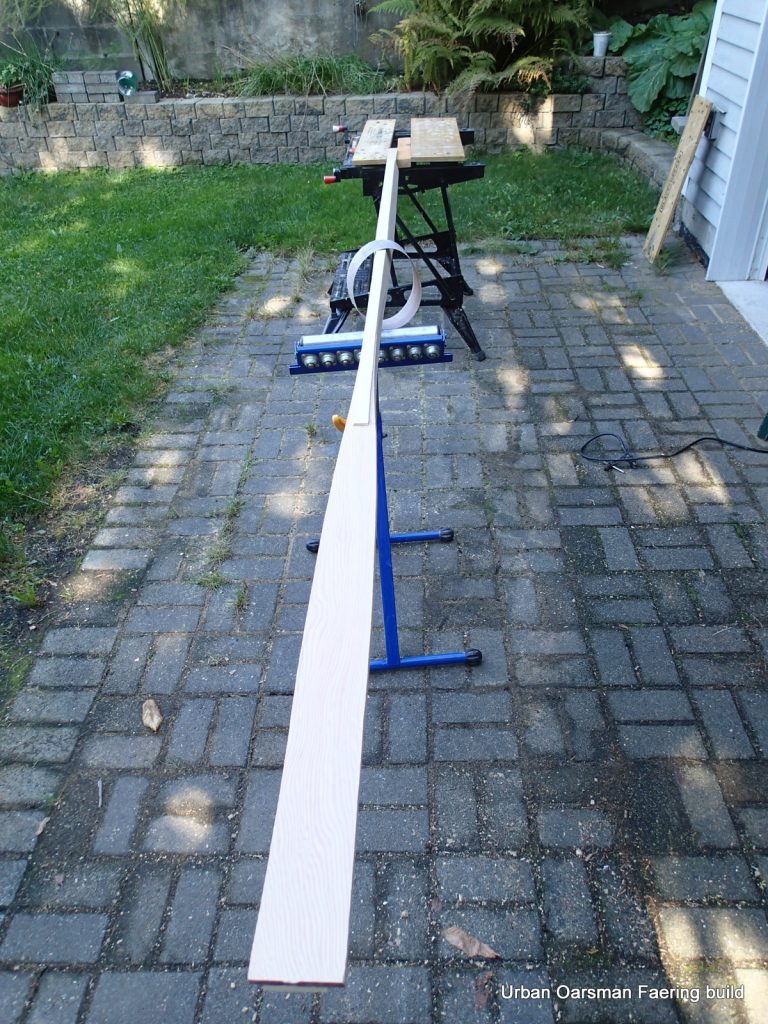
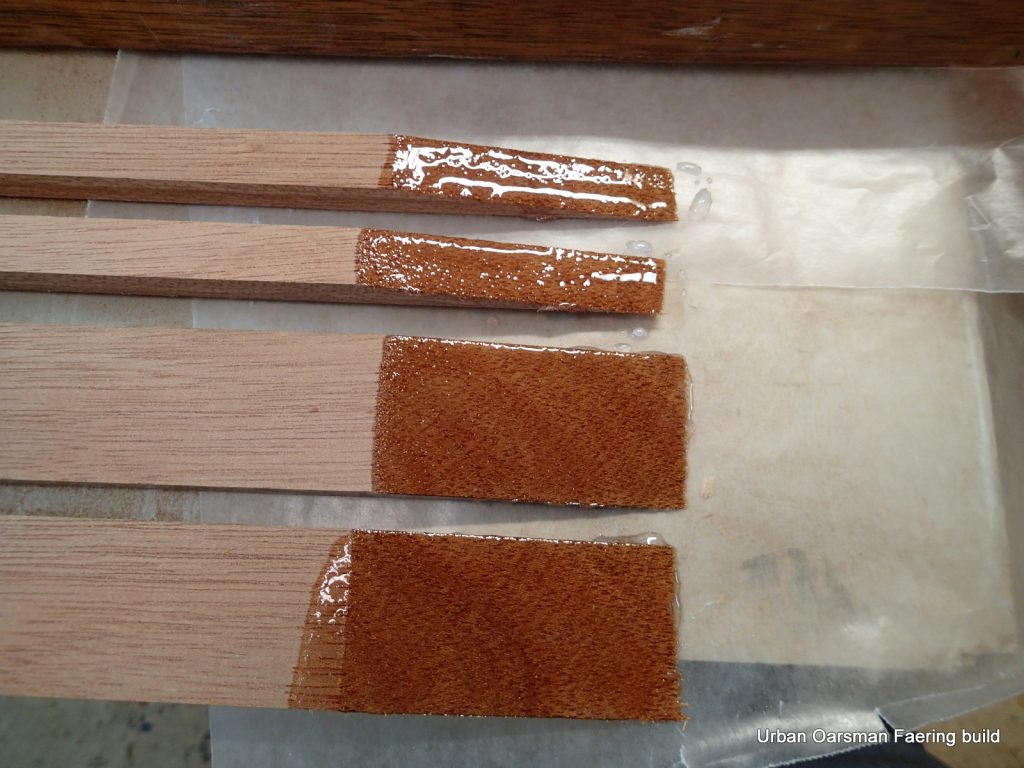
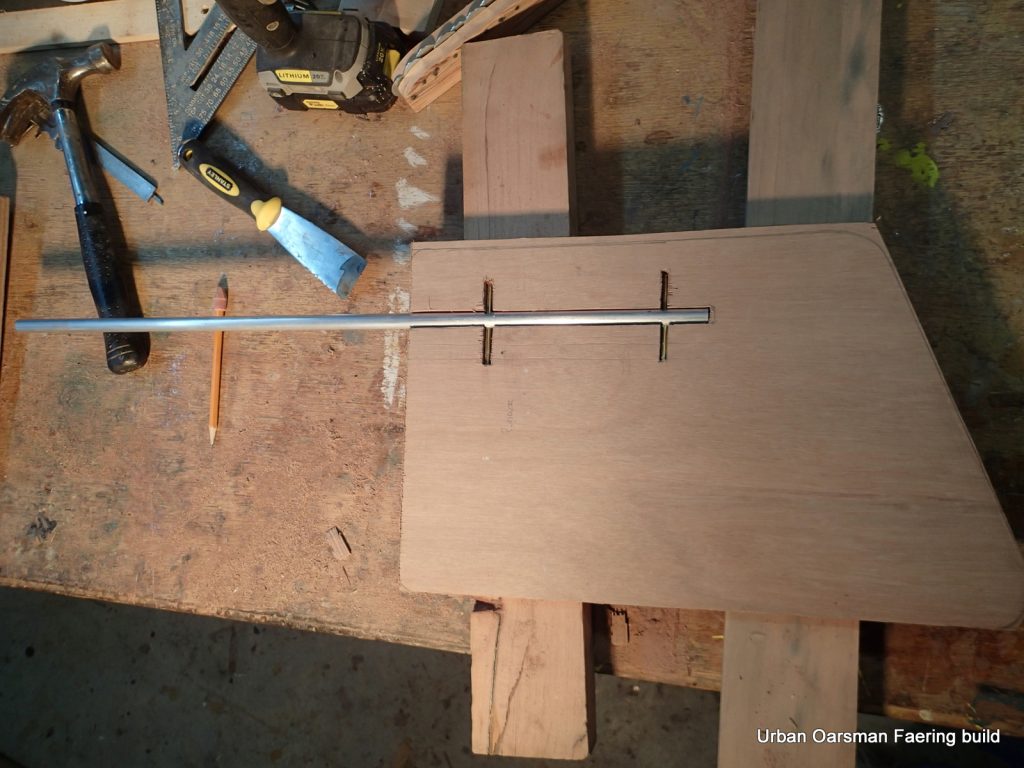
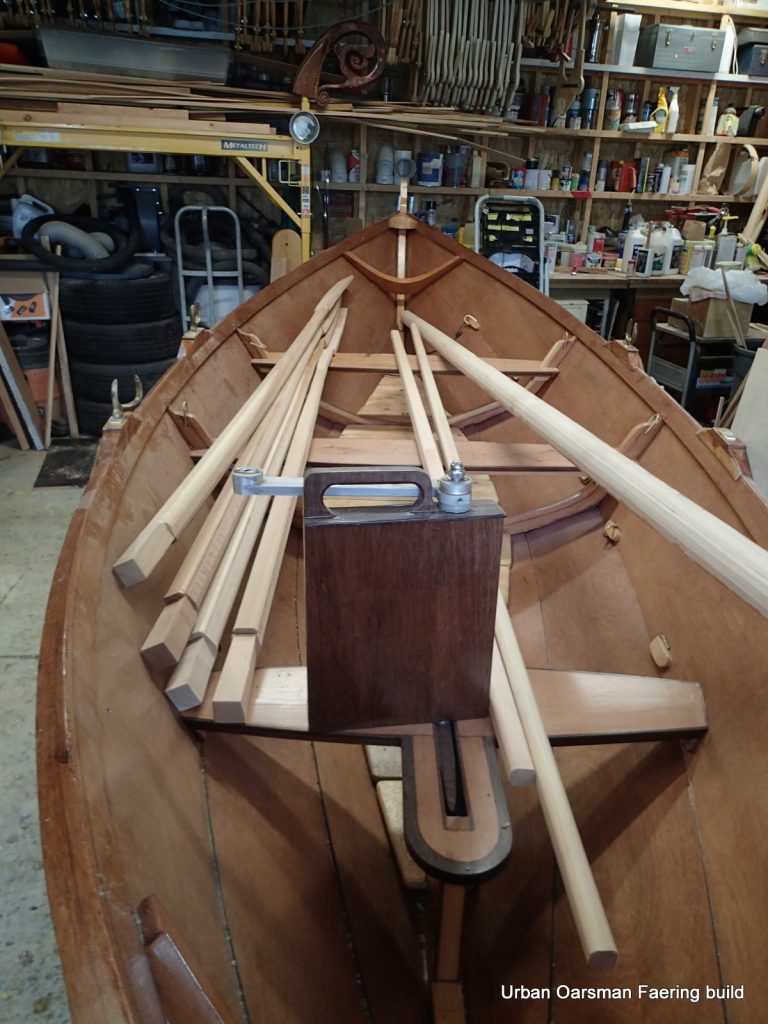
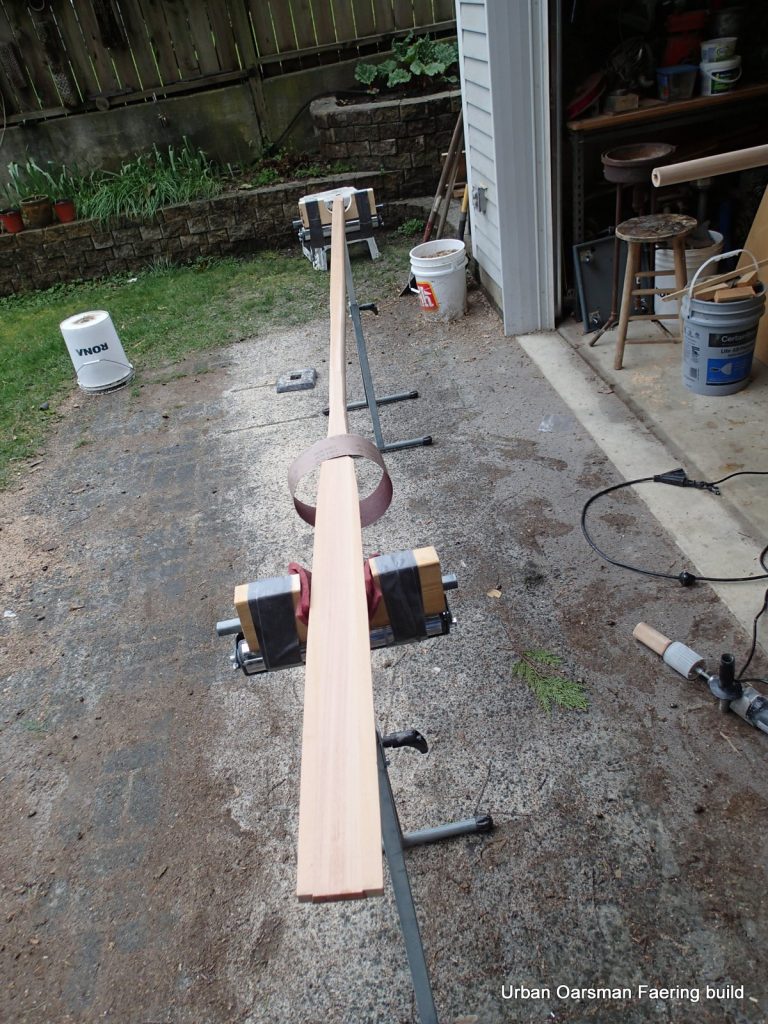
A change is a good as a break. I am going to work on the oars. They are a “skinny” blade design. The fiberglass rod is being used to put a slight curve into the blades.
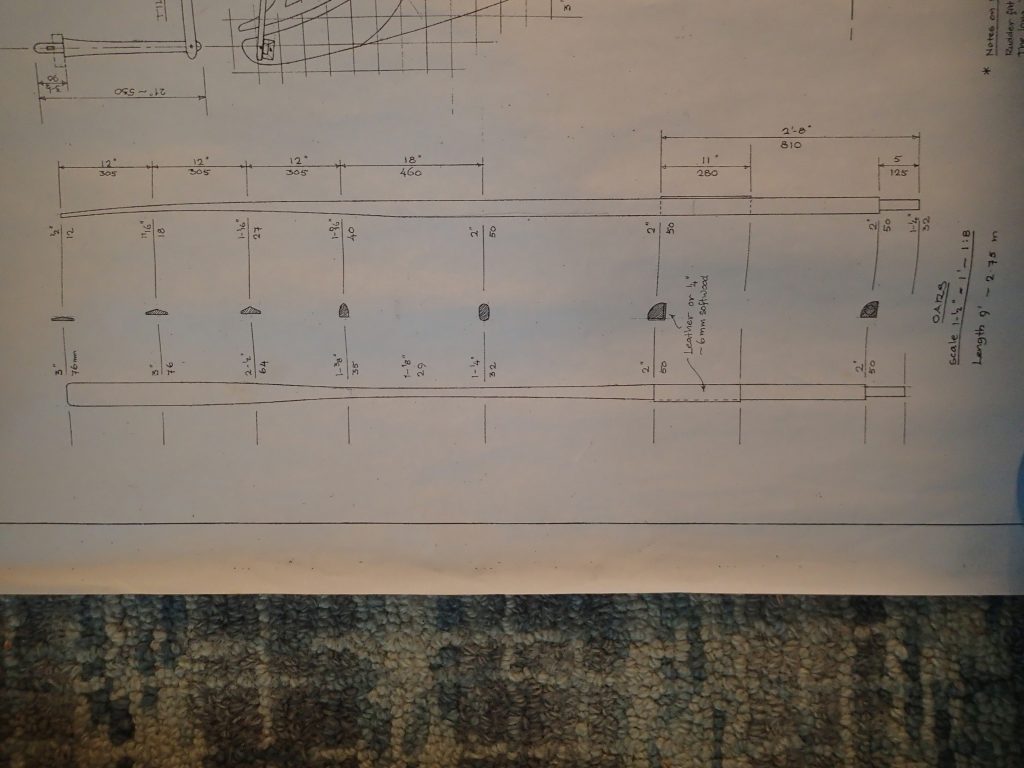
they are an unusual design…a right angle where the oars fit to the kabes. I am going to make regular oars and my usual oarlocks.
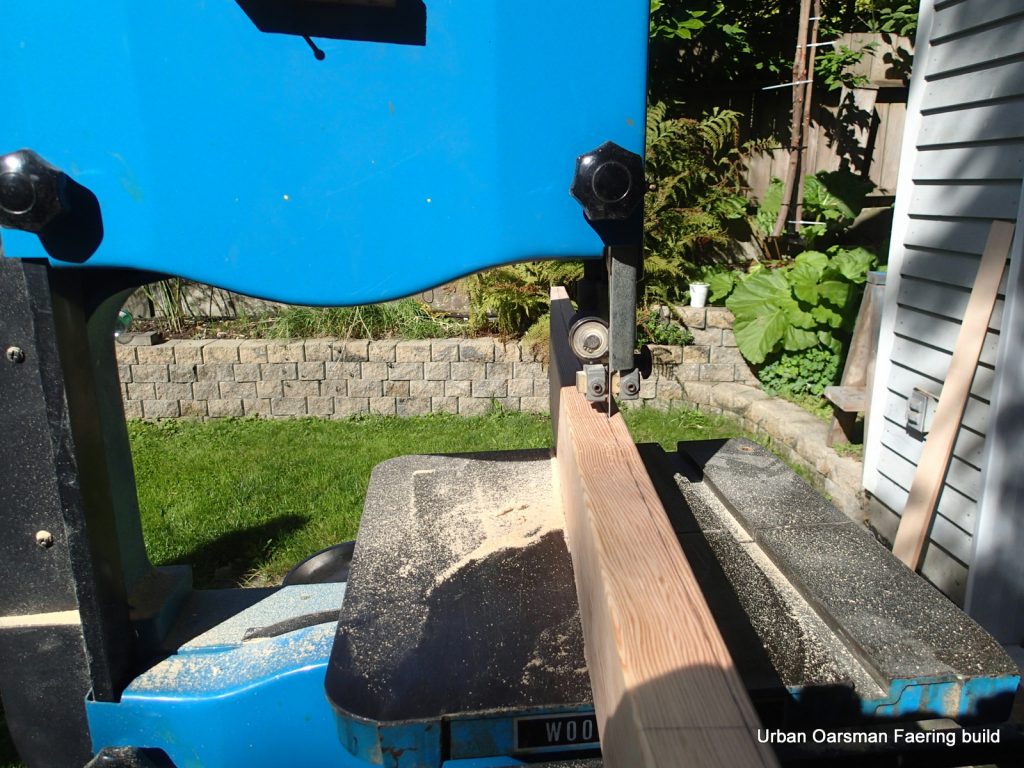
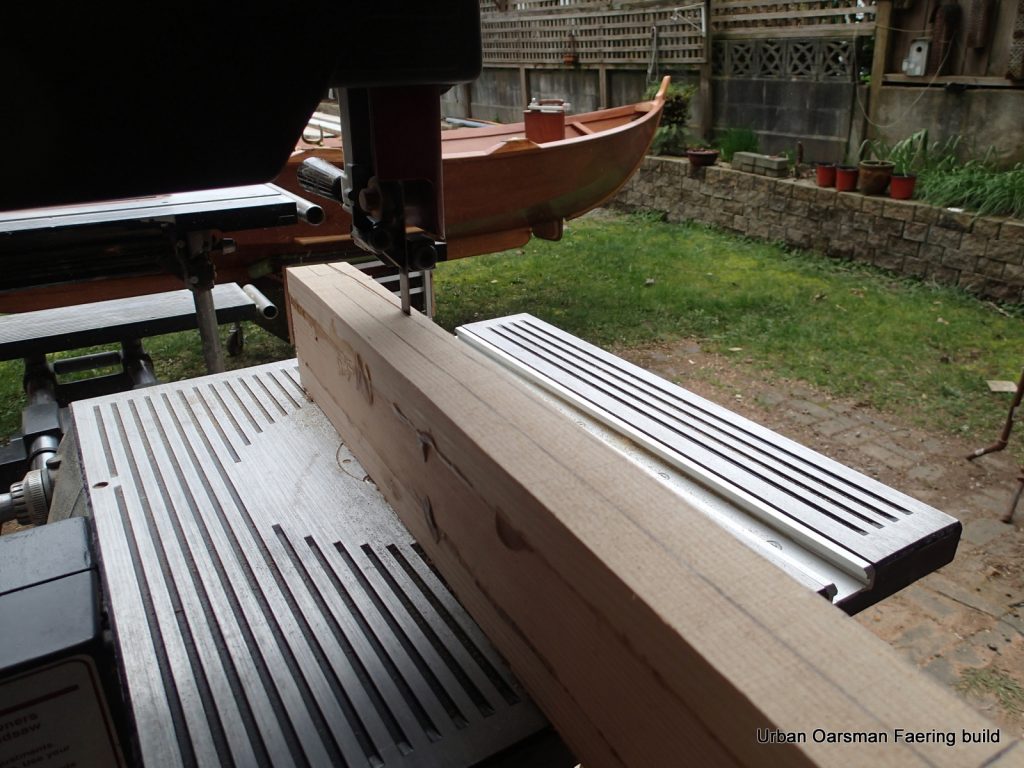
Cutting the blades out on the bandsaw.
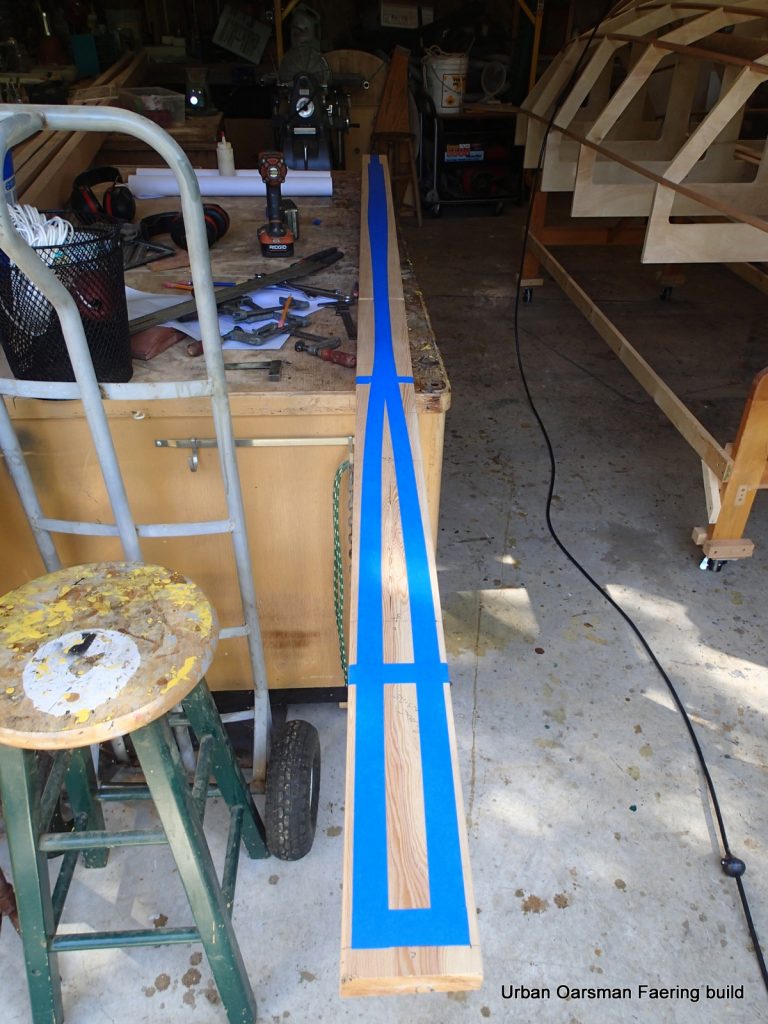
Using the blue painter’s tape as a cutting line.
With the blades cut out, I am doing the handles.
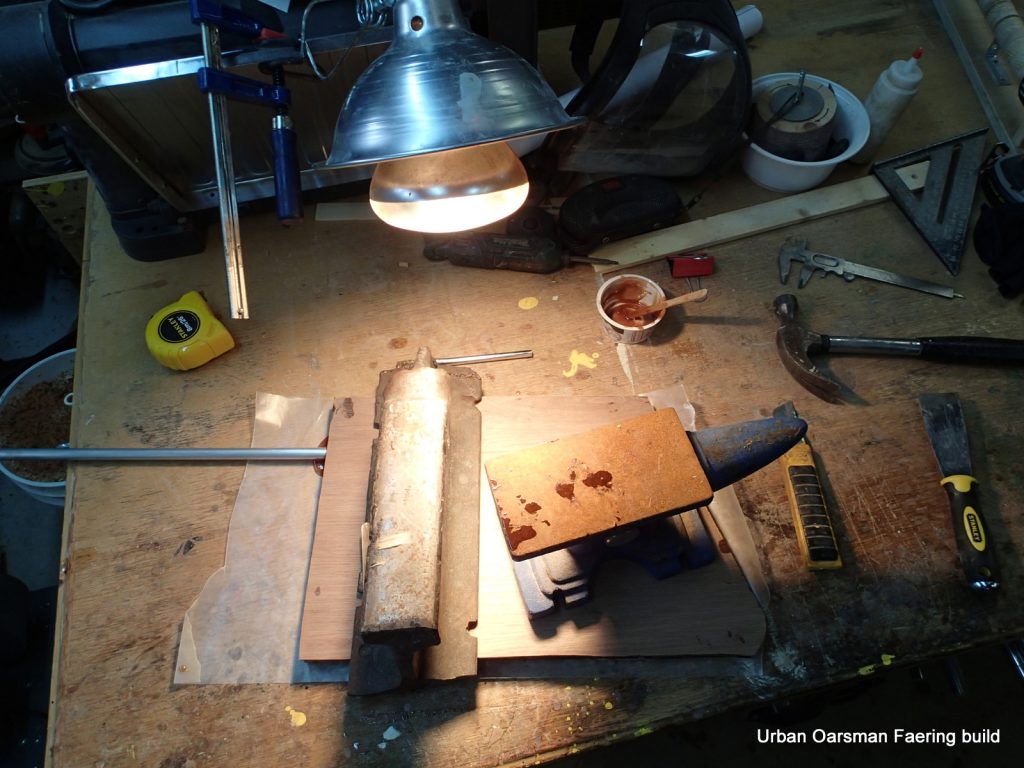
Gluing a spline onto the shafts. Using Titebond II again.
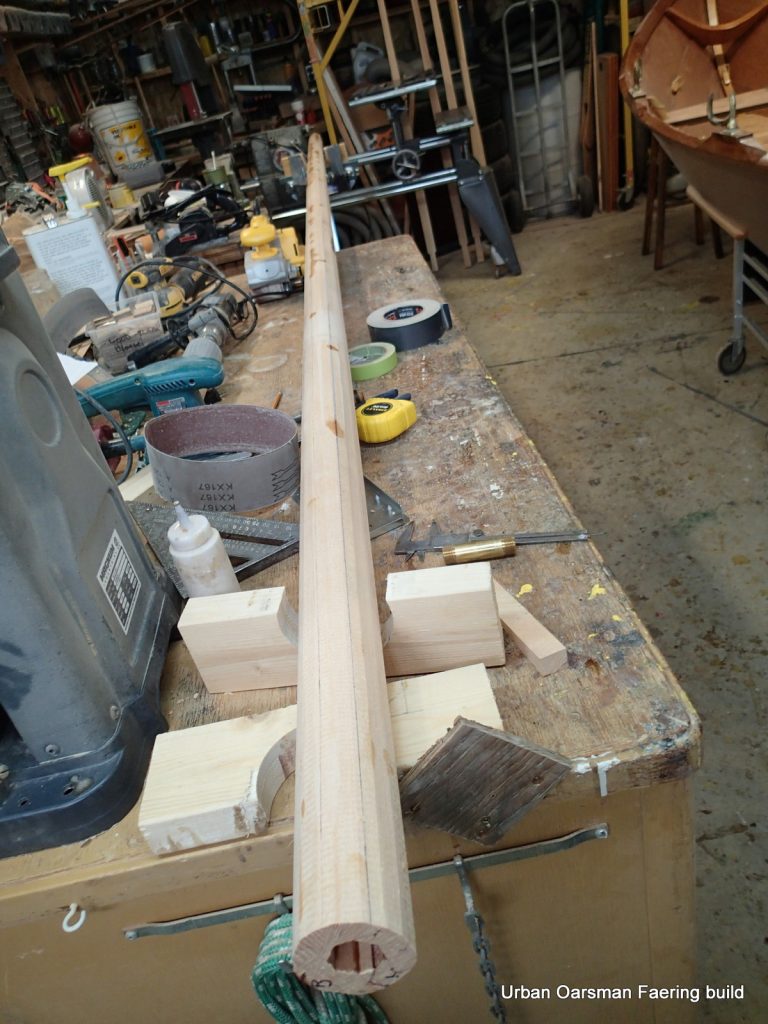
Time for the amazing Bud Mackintosh spar shaper!
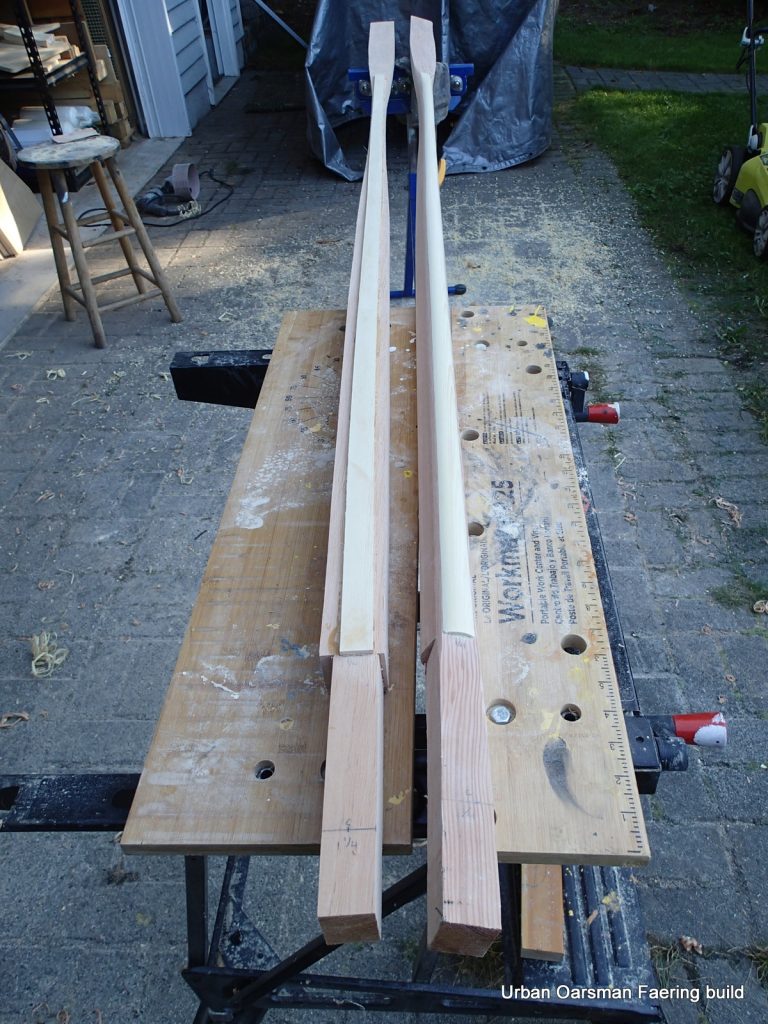
Shaped on right, not shaped on left. Still have the handles to do as well.
Tips get a coating of epoxy and cloth.
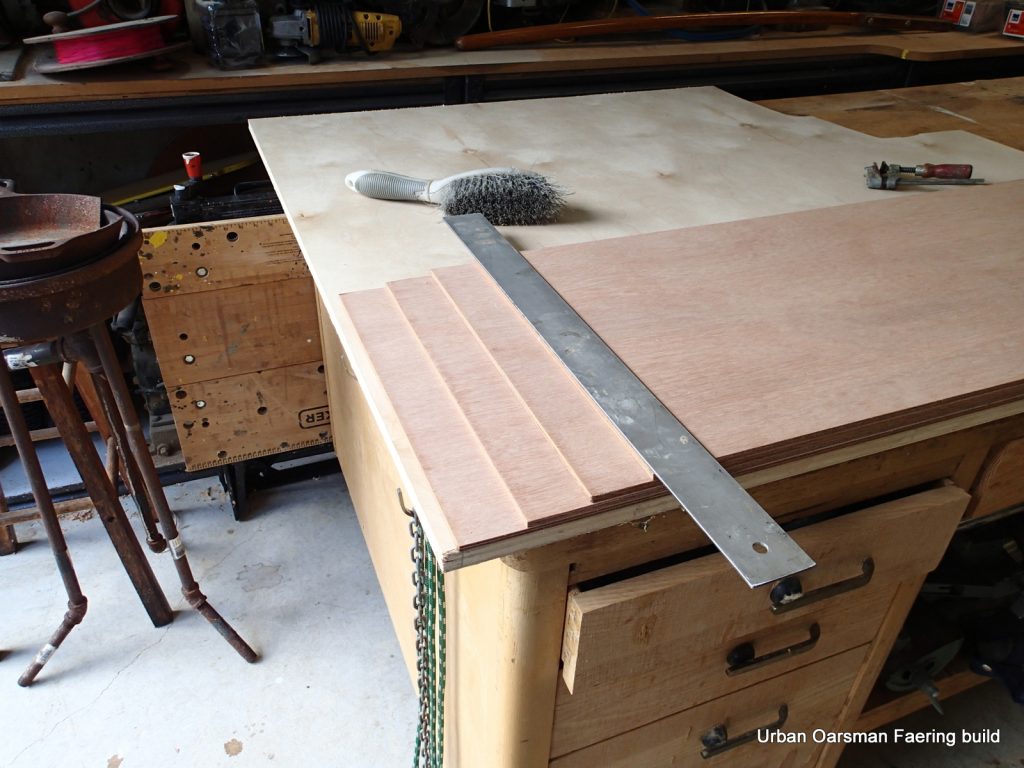
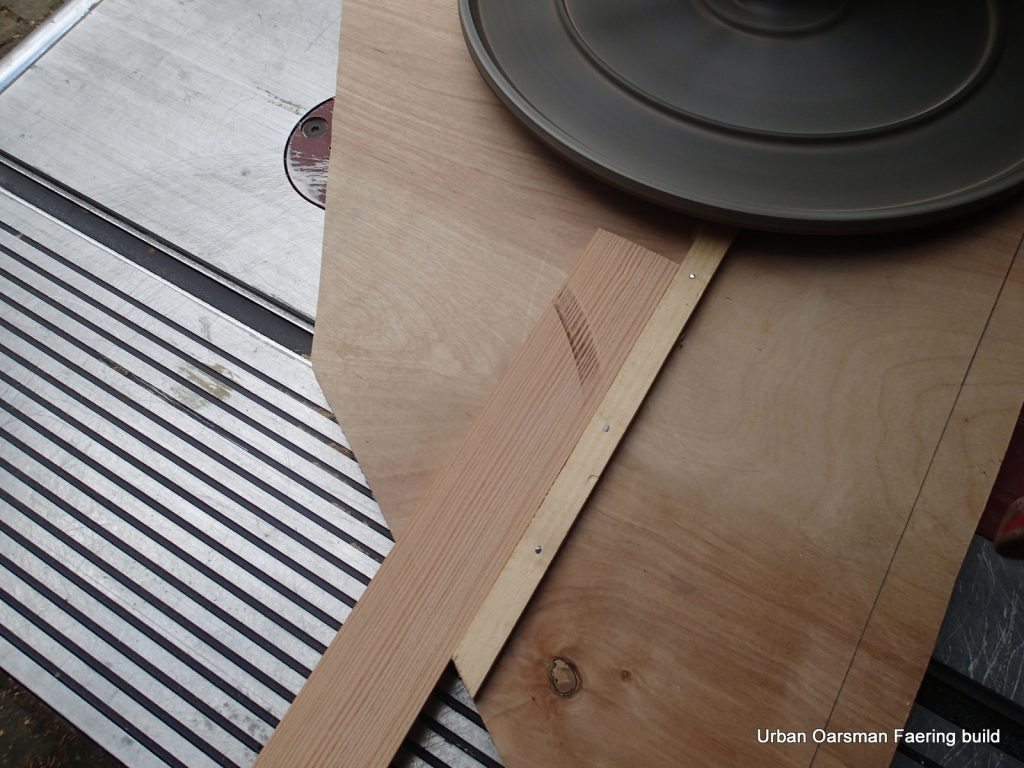
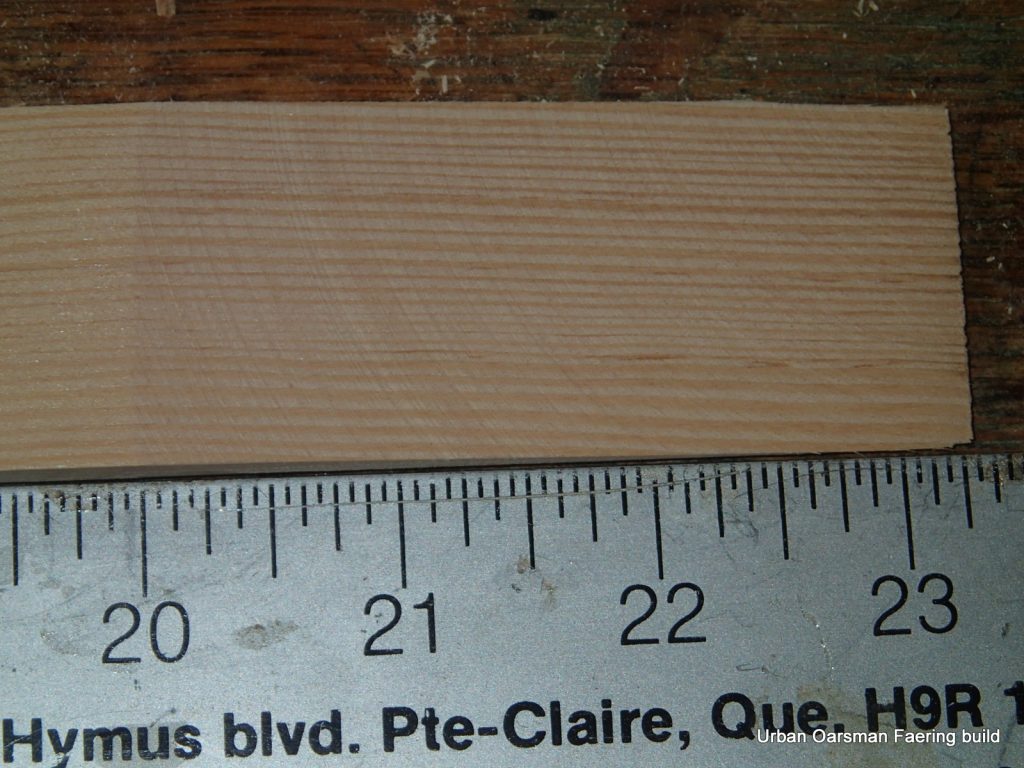
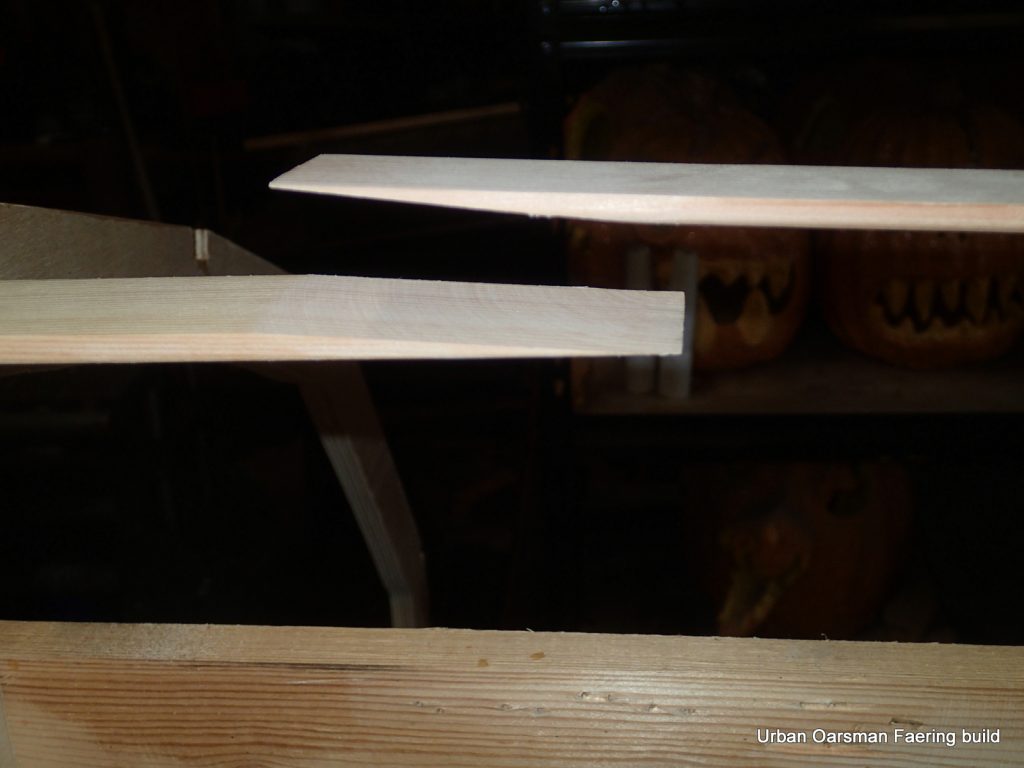
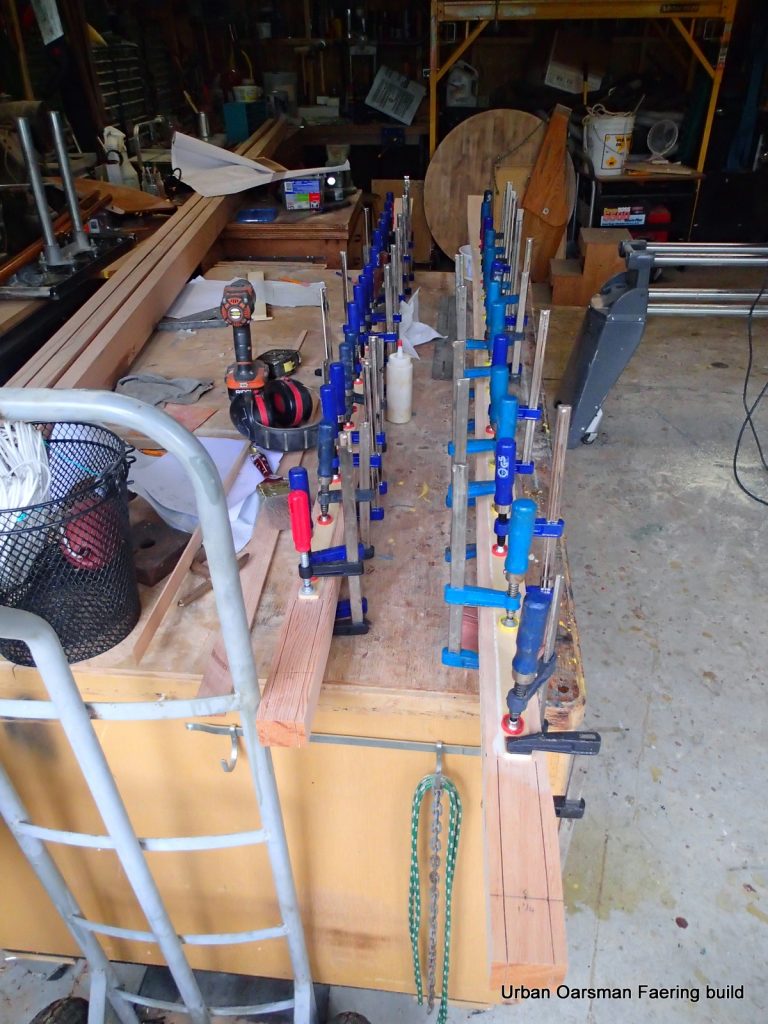
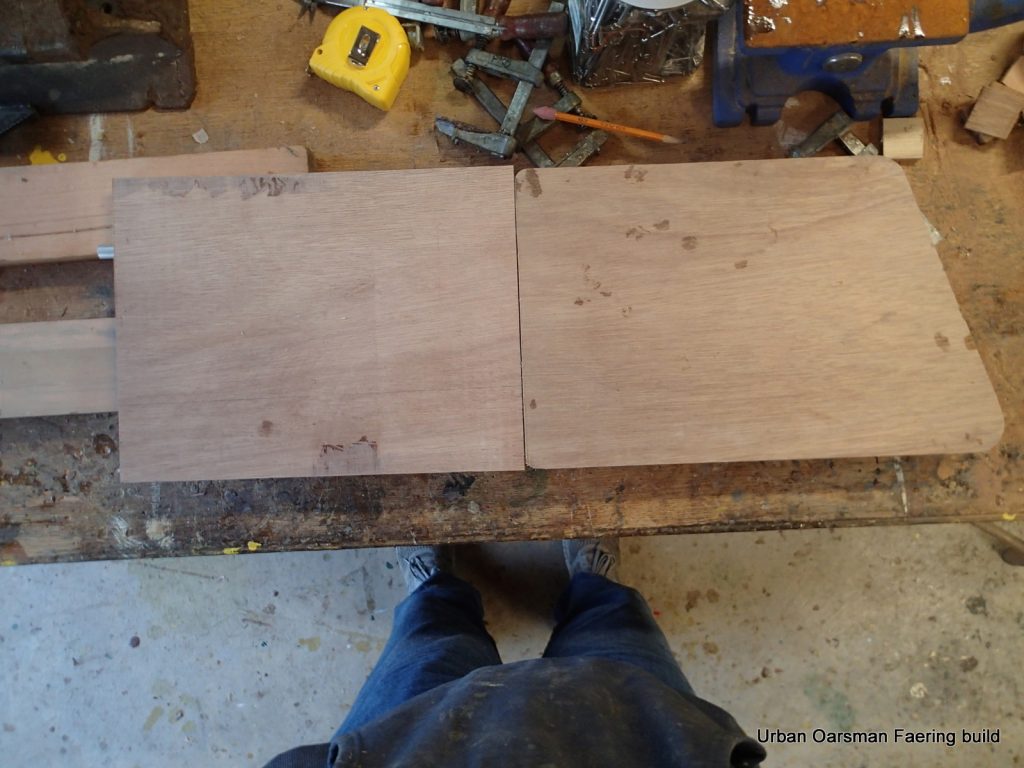
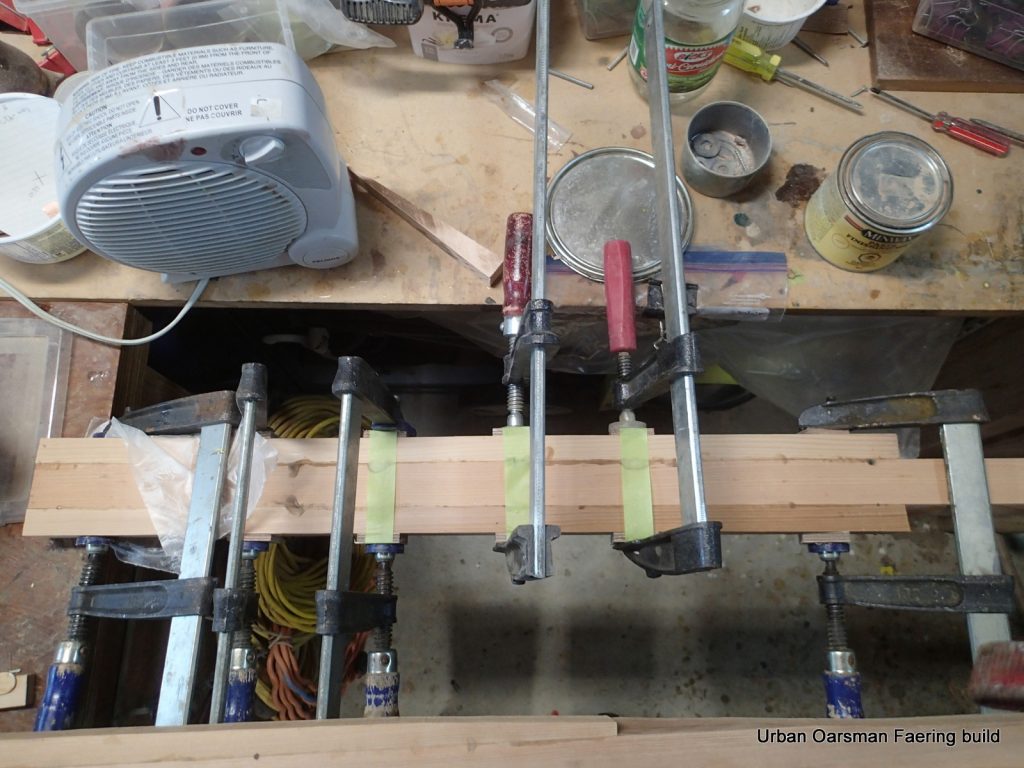
Setting up for the plank scarfing. 2″ over ¼ ” gives 8 to 1.
Using my belt sander, I smooth out the edges. They actually look pretty good to me!
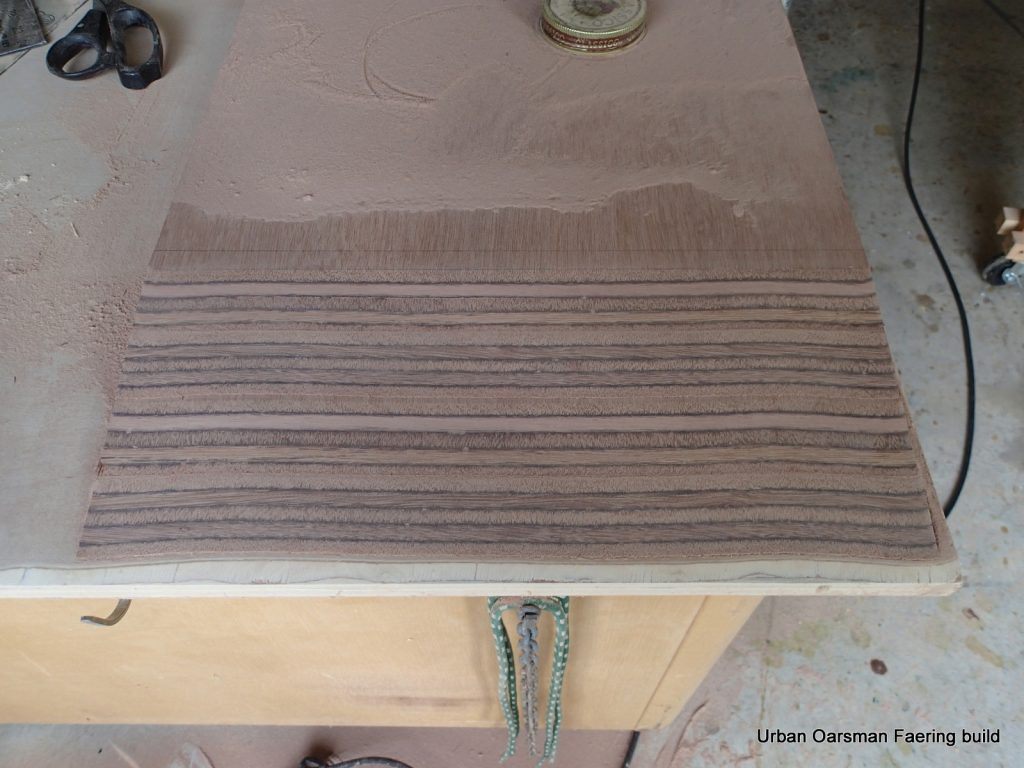
The dry fit. the scarf seems pretty tight.
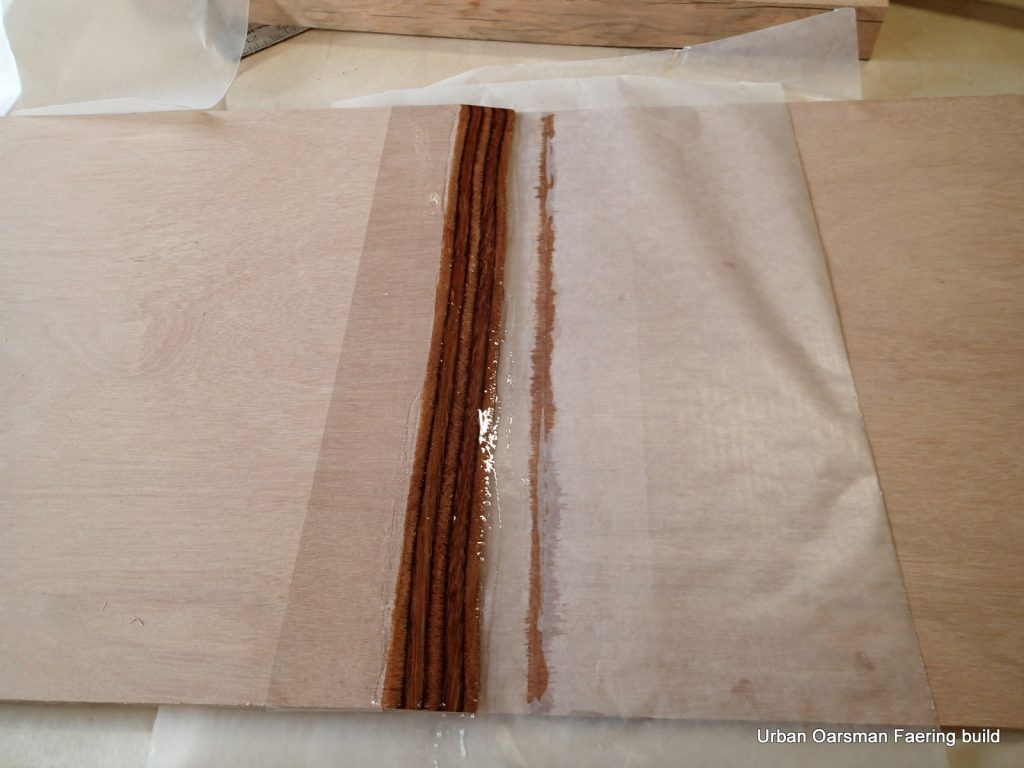
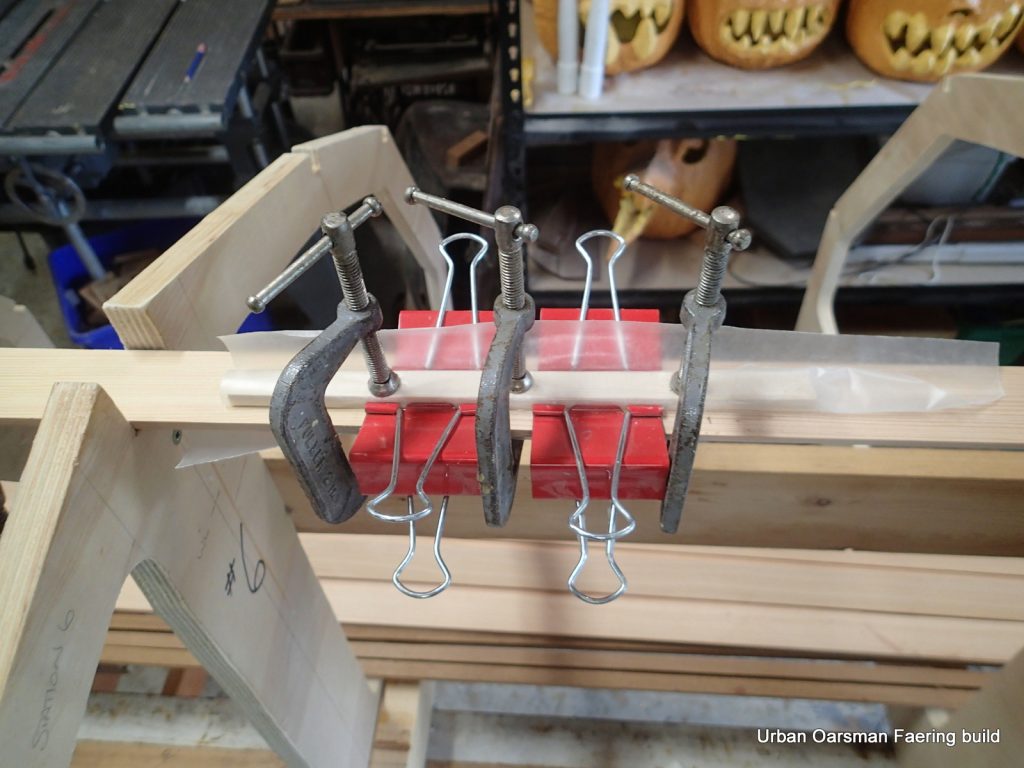
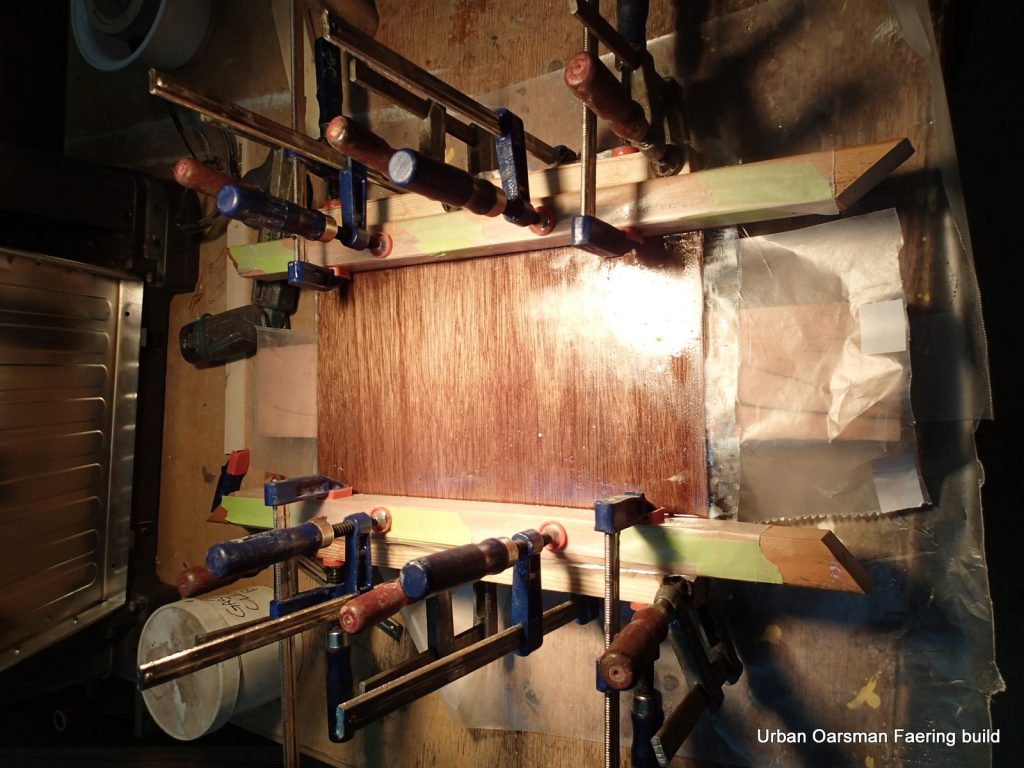
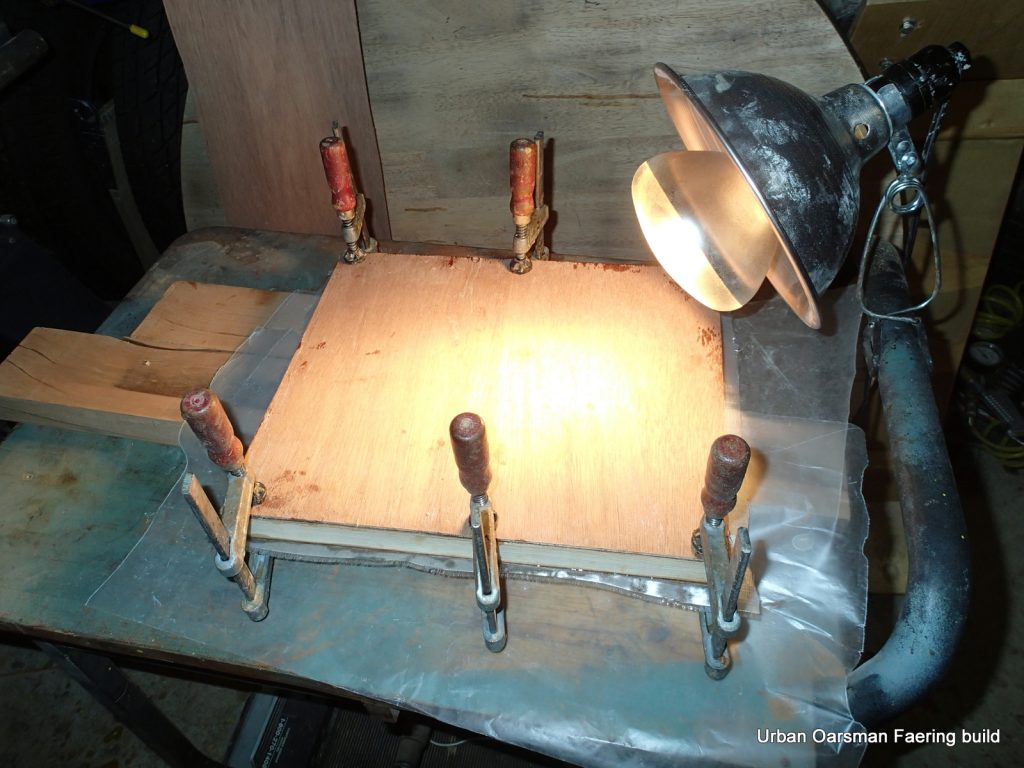
I am using epoxy for these scarfs. I am scarfing all three planks at the same time, one on top of another. I let the epoxy soak into the plywood ends for 20 minutes before I put the two pieces together.
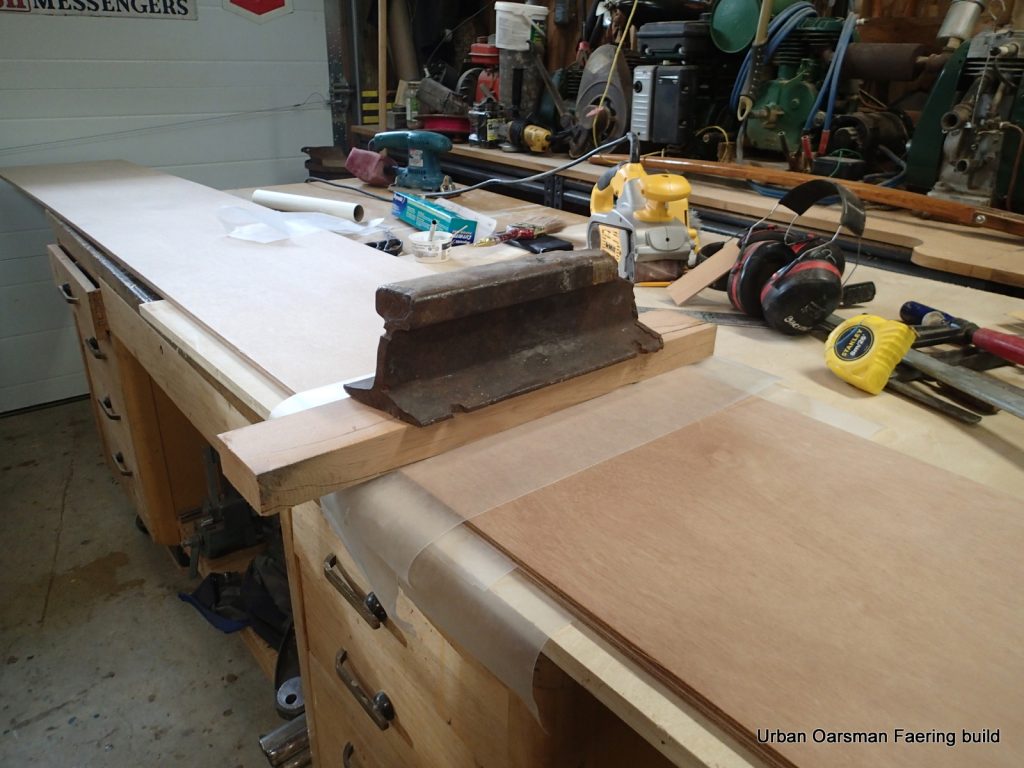
Railroad track piece used as a clamping weight.
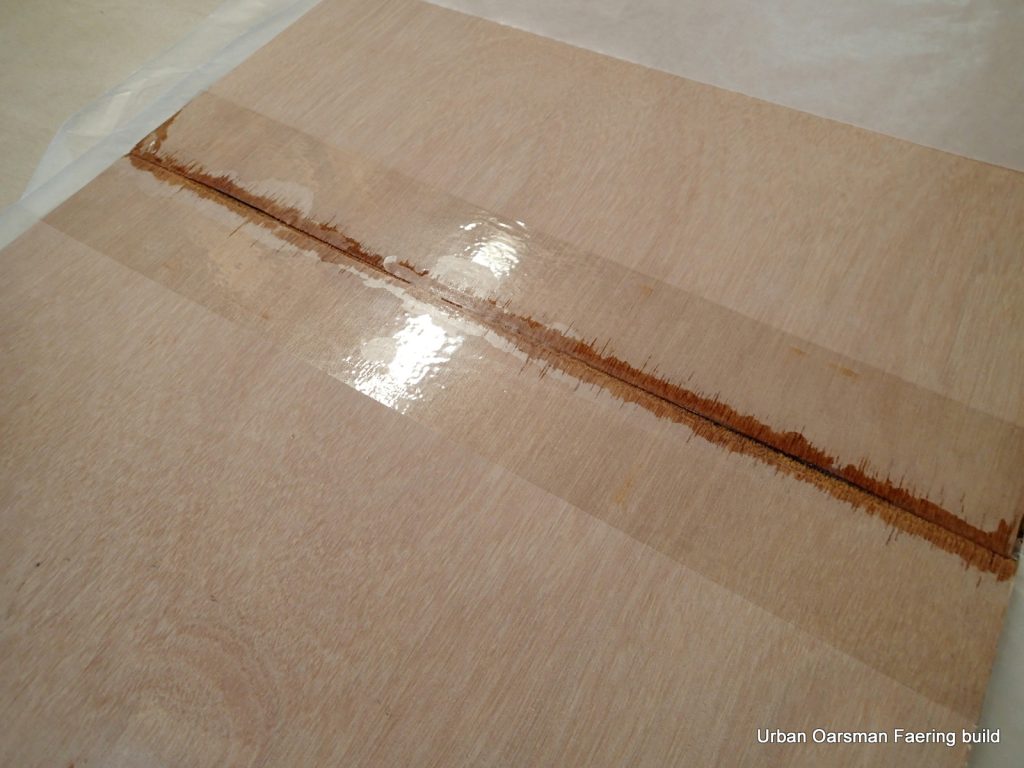
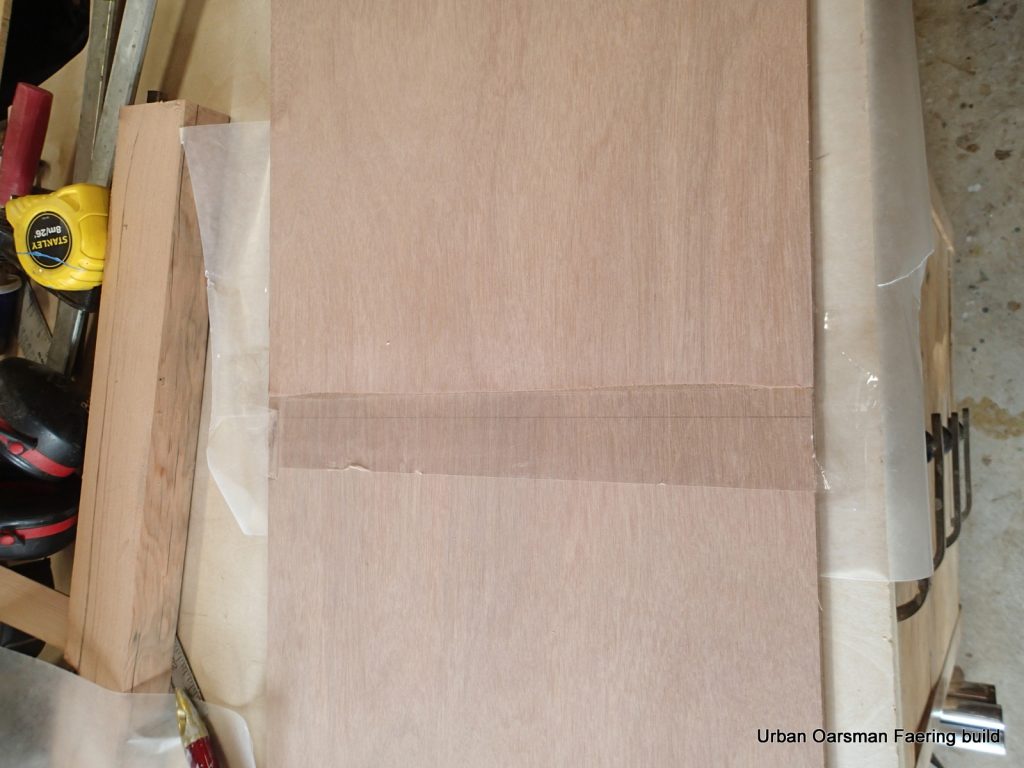
Not a bad looking scarf, even if I so say so myself.
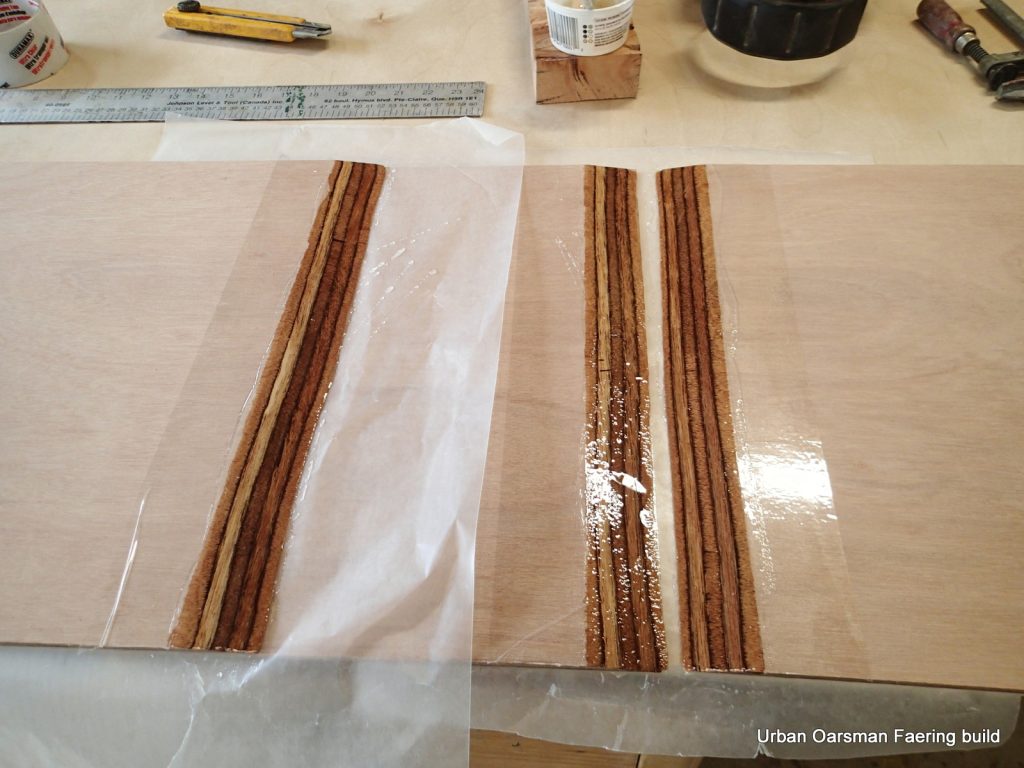
The planks for the other side get the same scarfing treatment. They turn out well too.
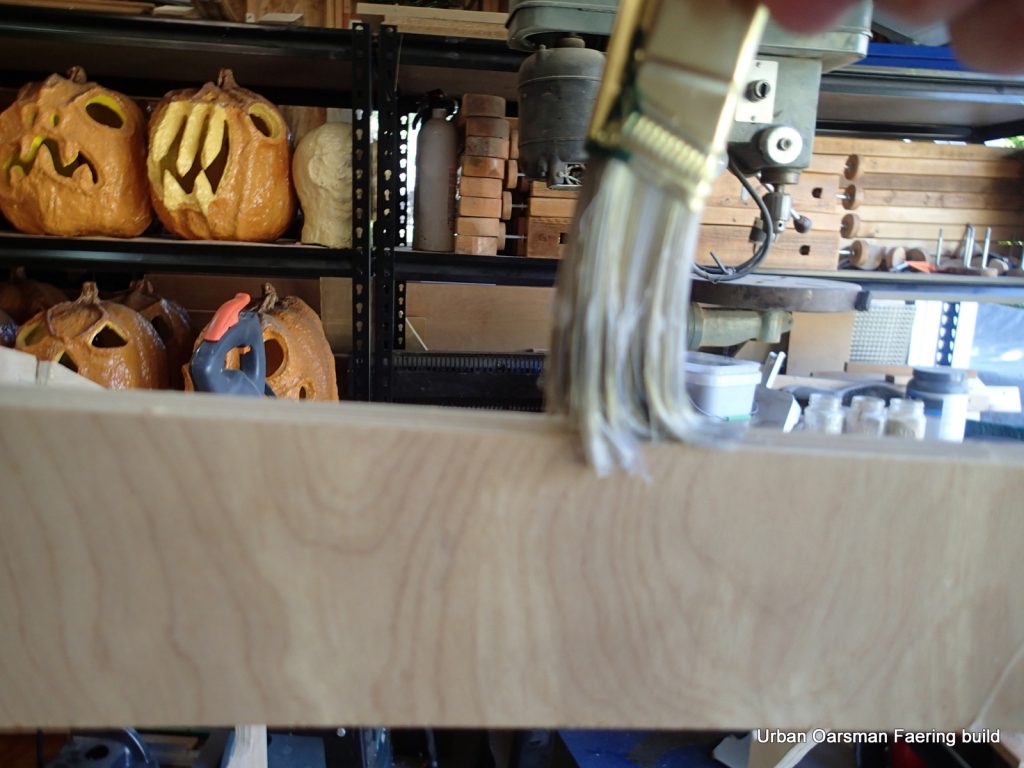
Using one of the templates to cut out a plank.
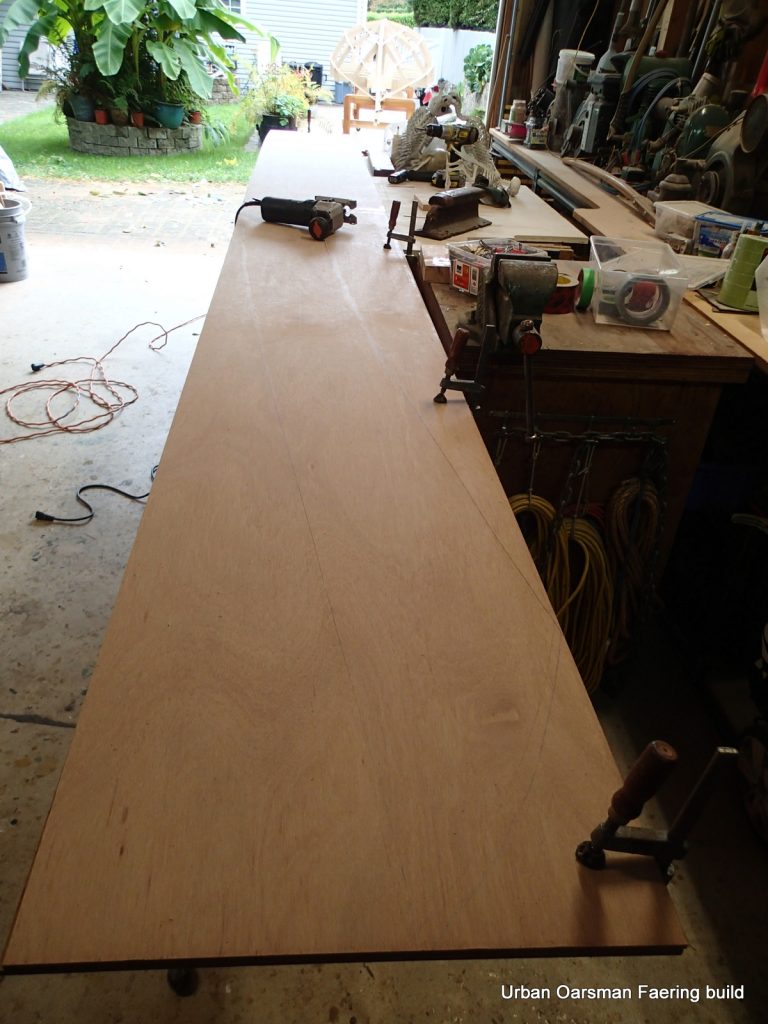
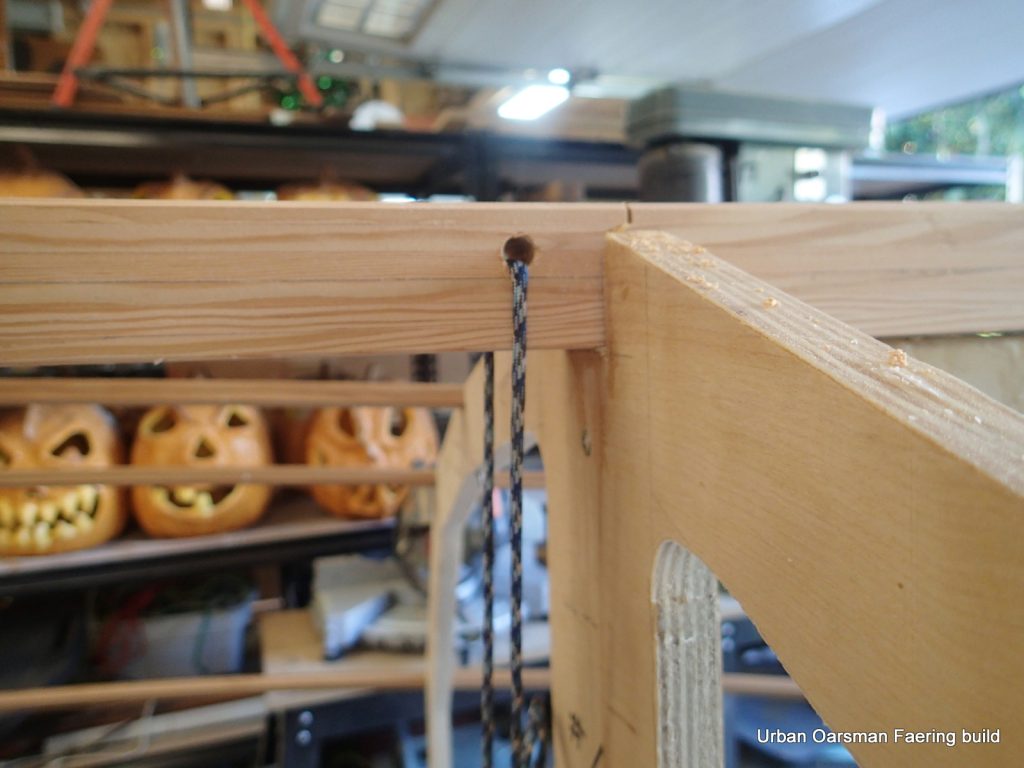
Plank laid out and ready to cut. A few Halloween decorations are also on the bench.
Plank laid out for final trimming.

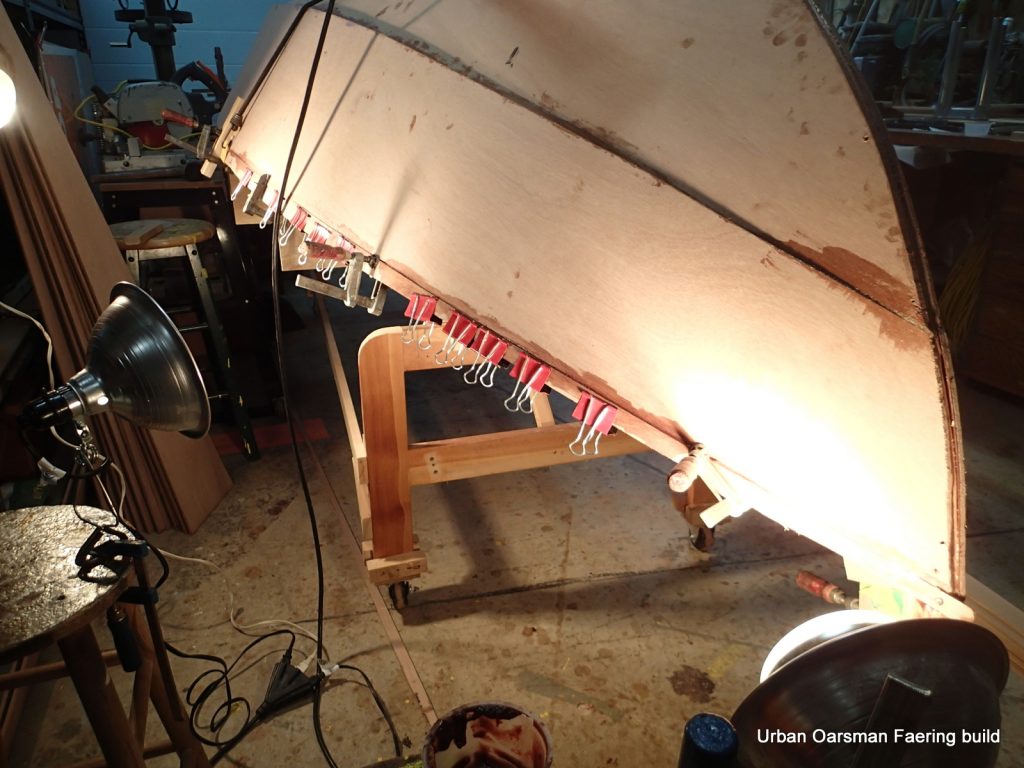
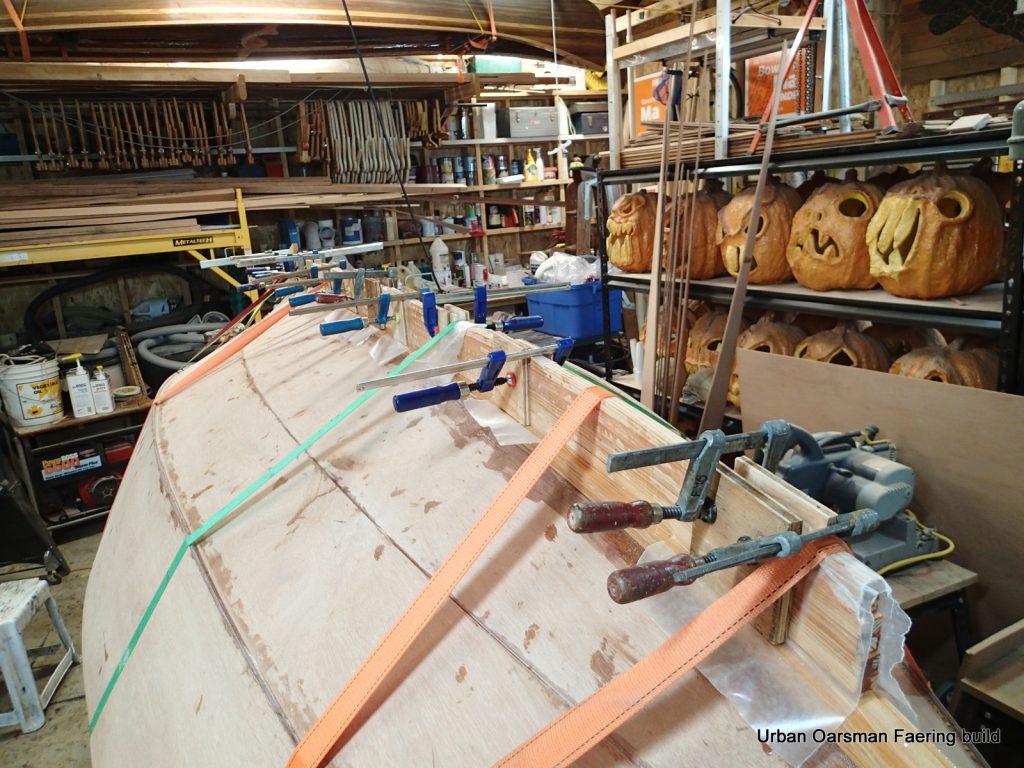
Trying to insure that I get a good bond, I use epoxy and cloth to glue the plank to the keel.
A combination of clamps, bulldog clamps, screws and blocks hold the plank tight to the inner keel and to the ribband. Packing tape keeps things that should not stick from sticking.
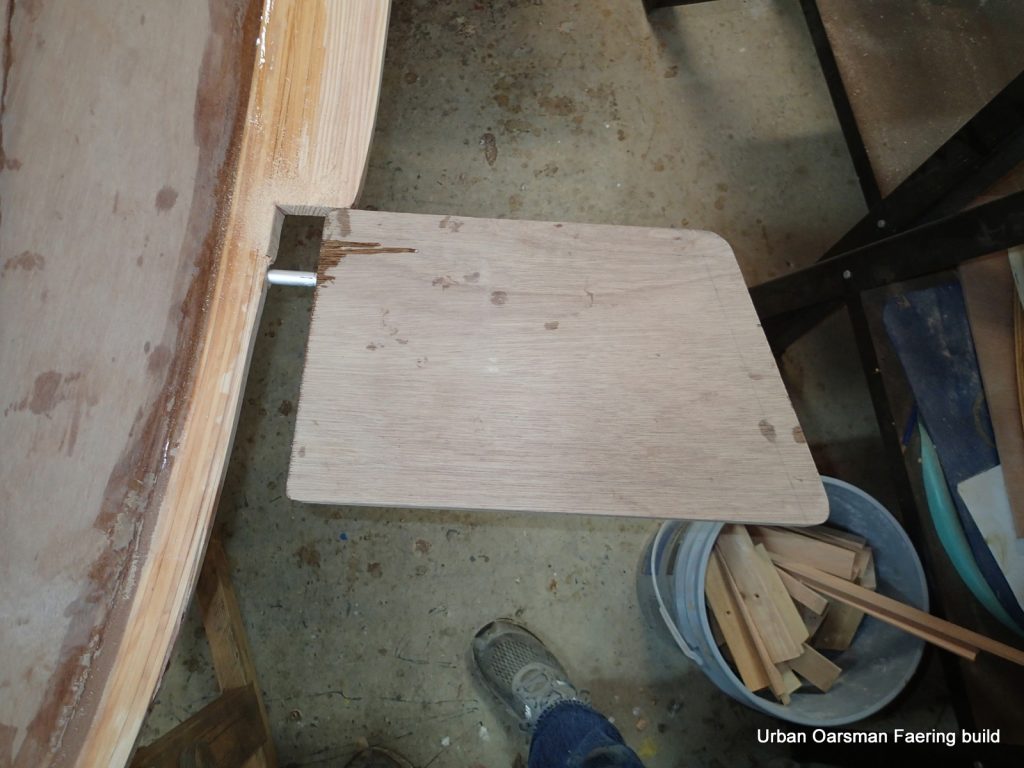
The first plank glued on and removed to fill any gaps between the inner keel and the planks.
Any gaps are filled. Note the slings on the sawhorses…left over from the canoe build.
Hull back on the forms, beveling the plank laps.
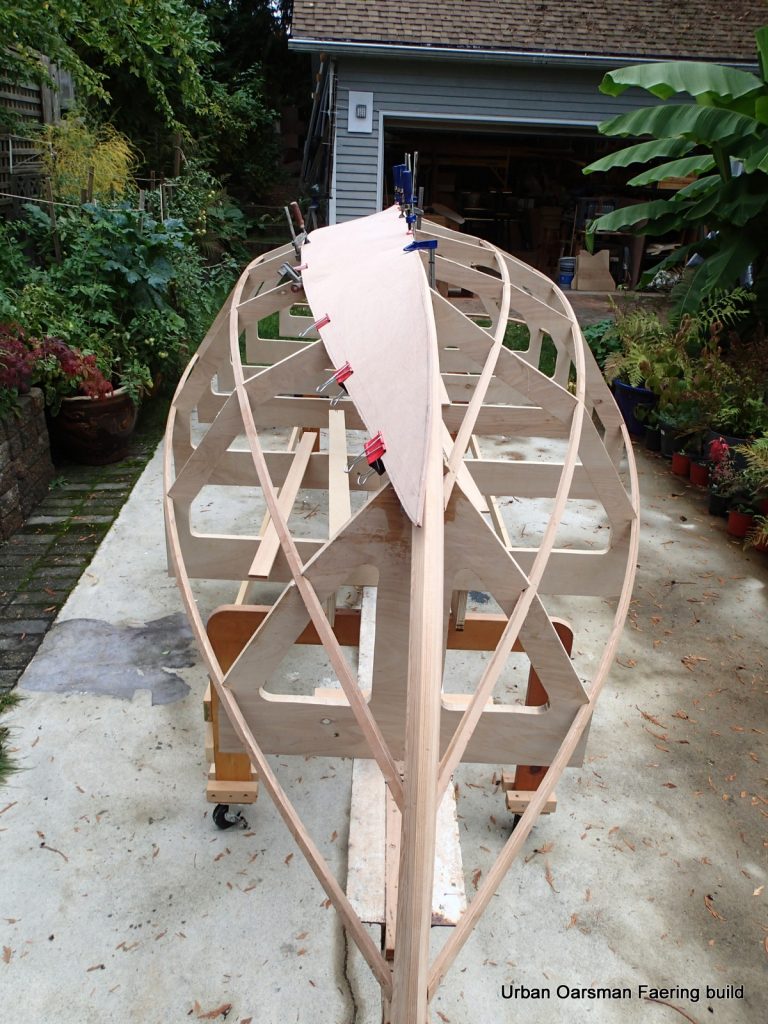
Rough fitting the second plank.
To get a nice, smooth and fair curve to the plank edge, I am using a longboard to sand the edges.
Nice looking curve(s) on both plank edges!
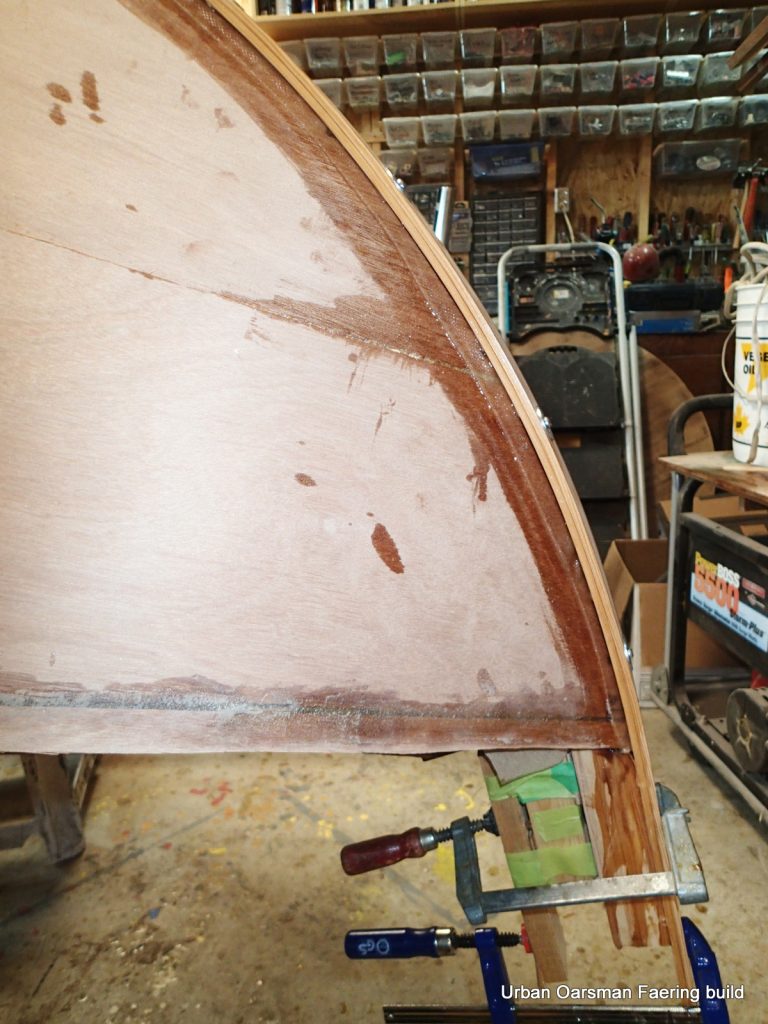
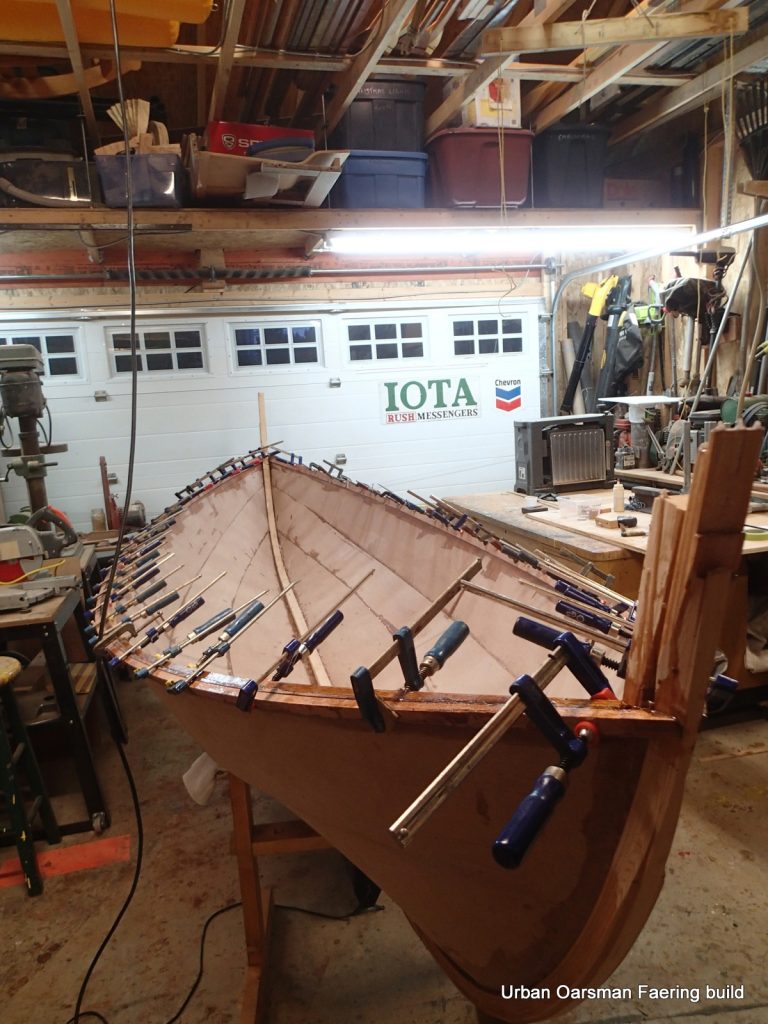
Fitting the second planks. I am very happy with the fit of the plank laps…probably one of my better jobs.
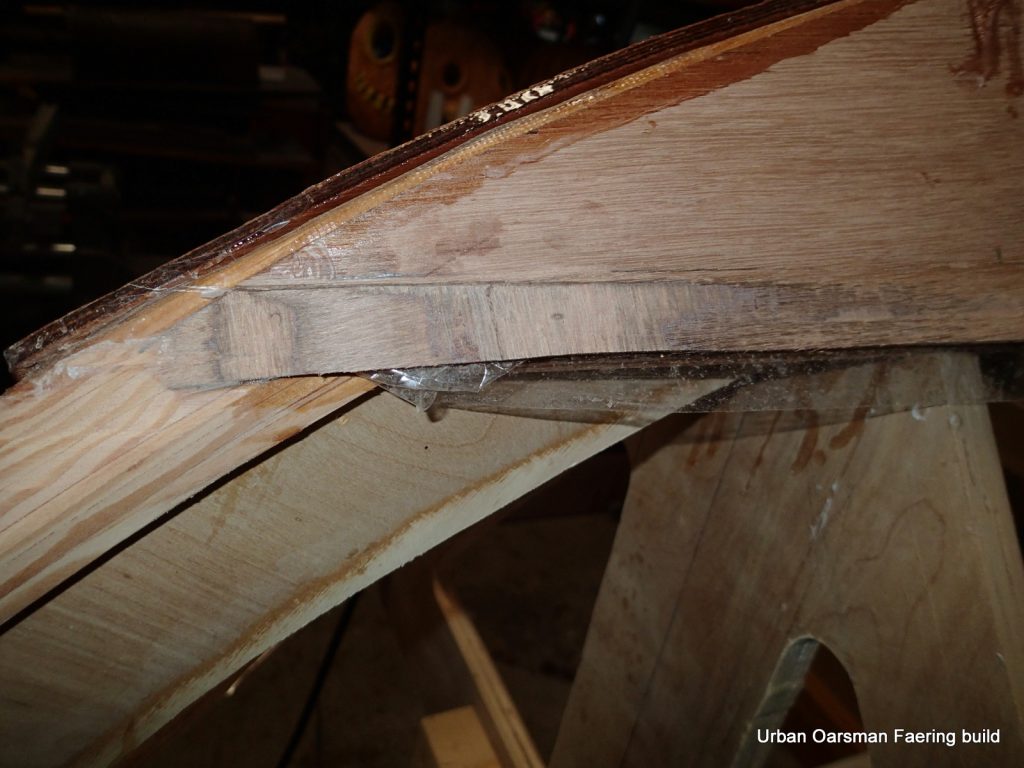
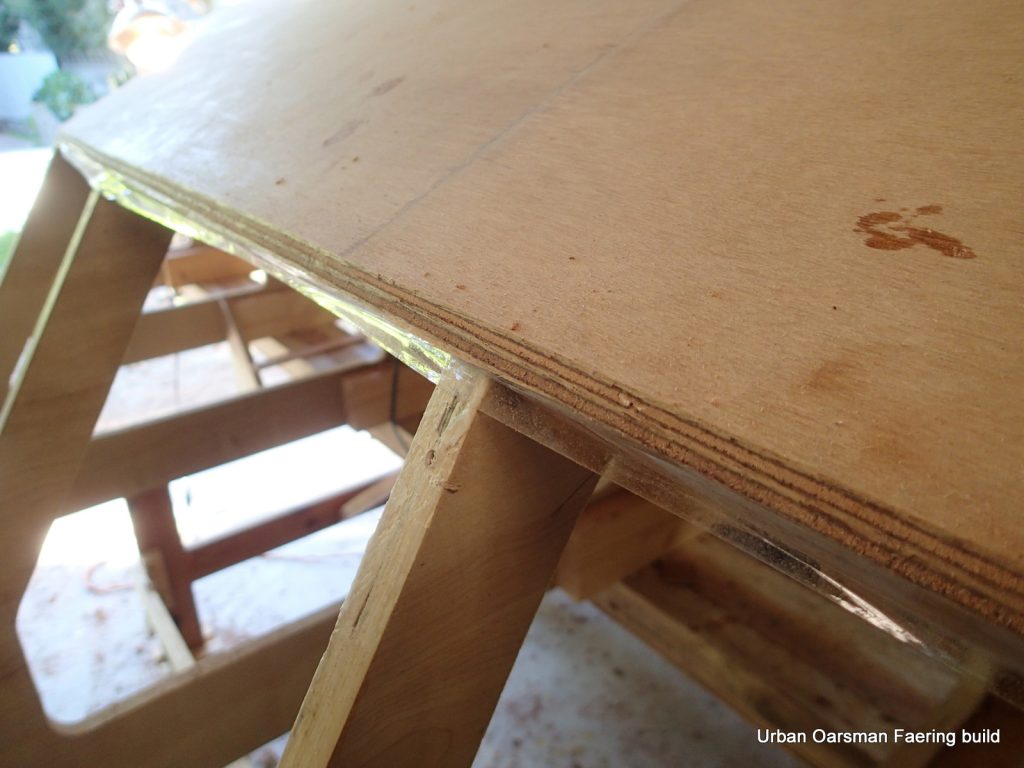
One of the gains.
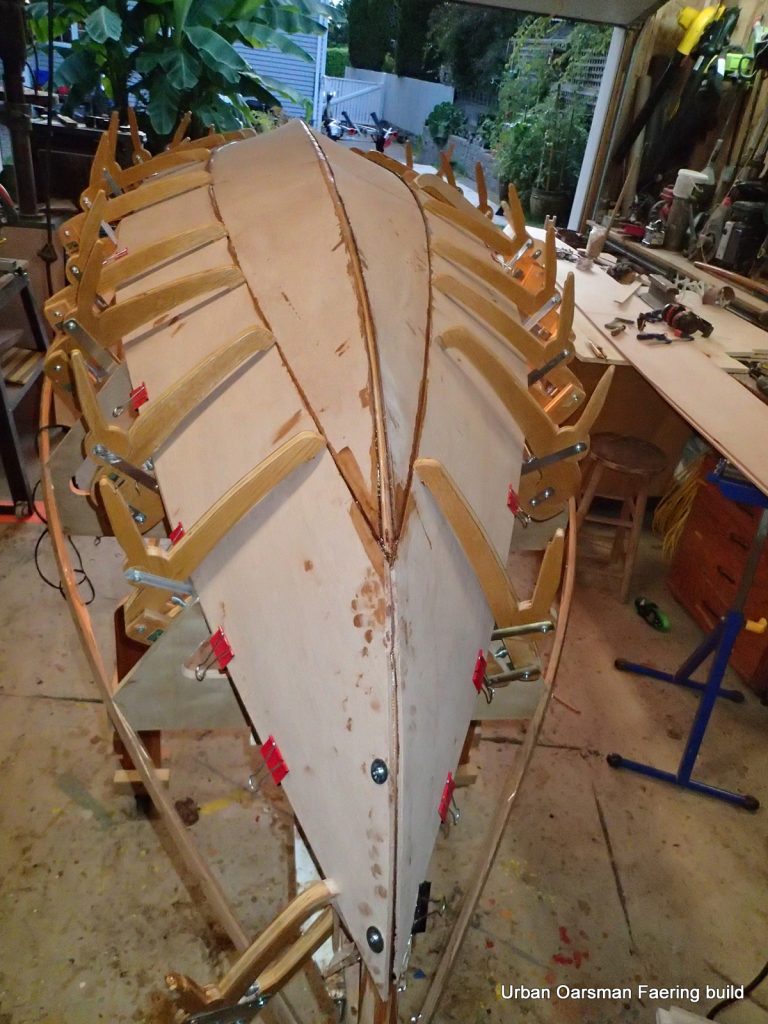
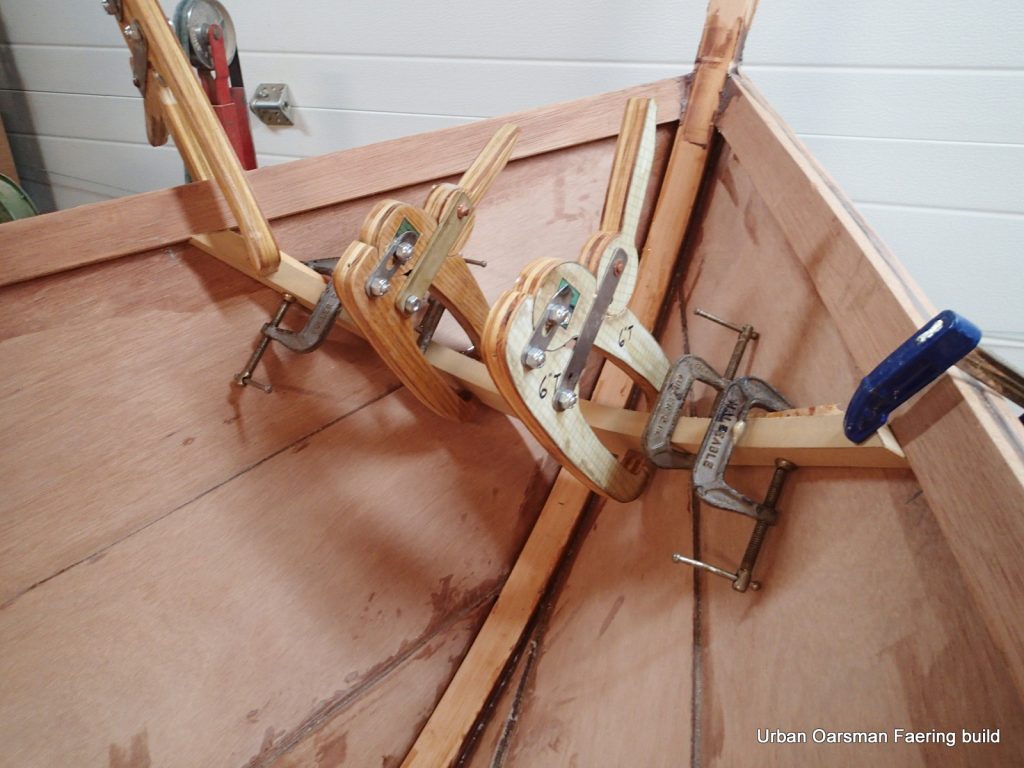
Gluing on the second planks. A combination of Brenne (long-reach) clamps, bulldog clamps and screws.
With the clamps removed, the edges are beveled for the last plank.
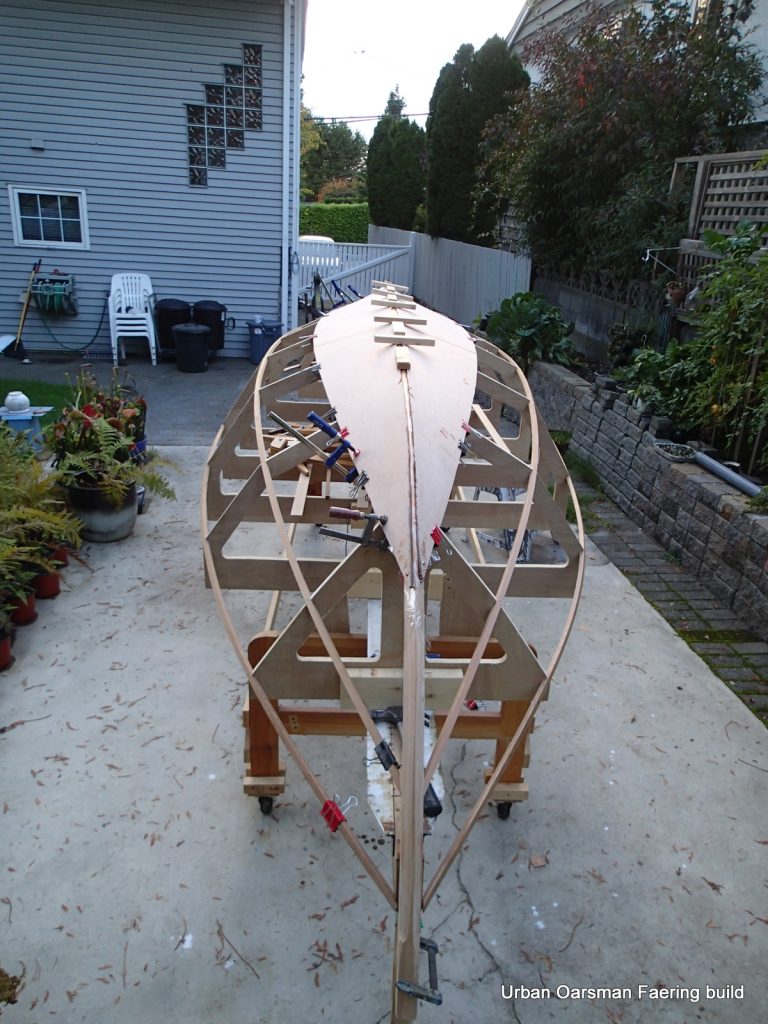
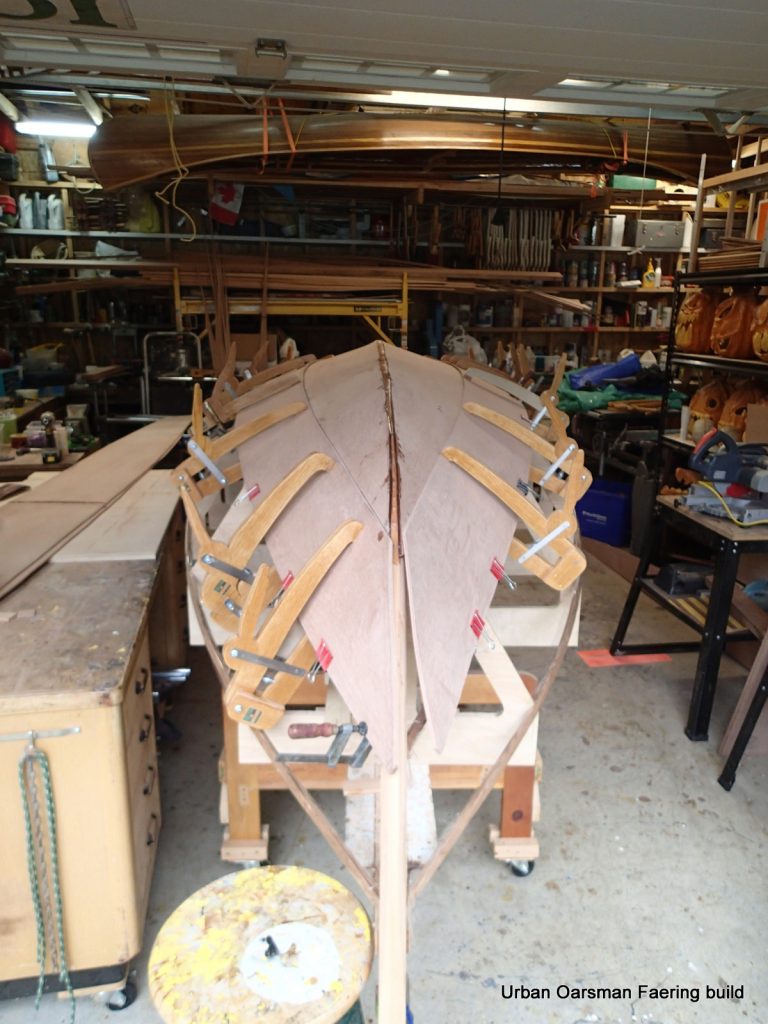
Third plank fitted.
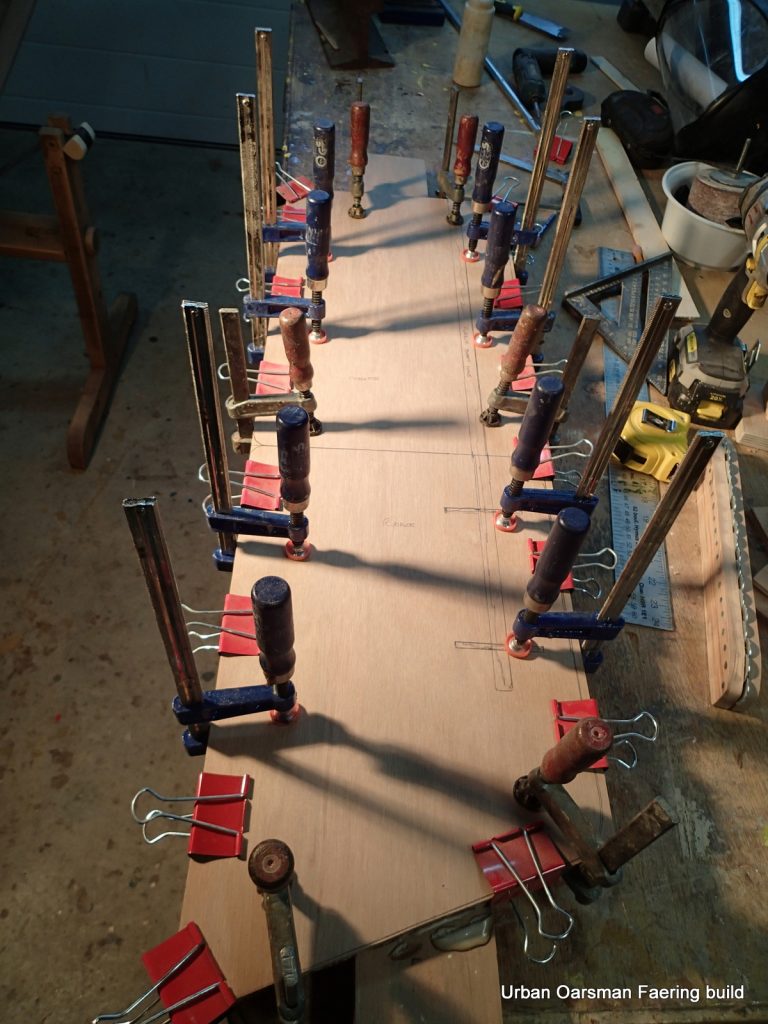
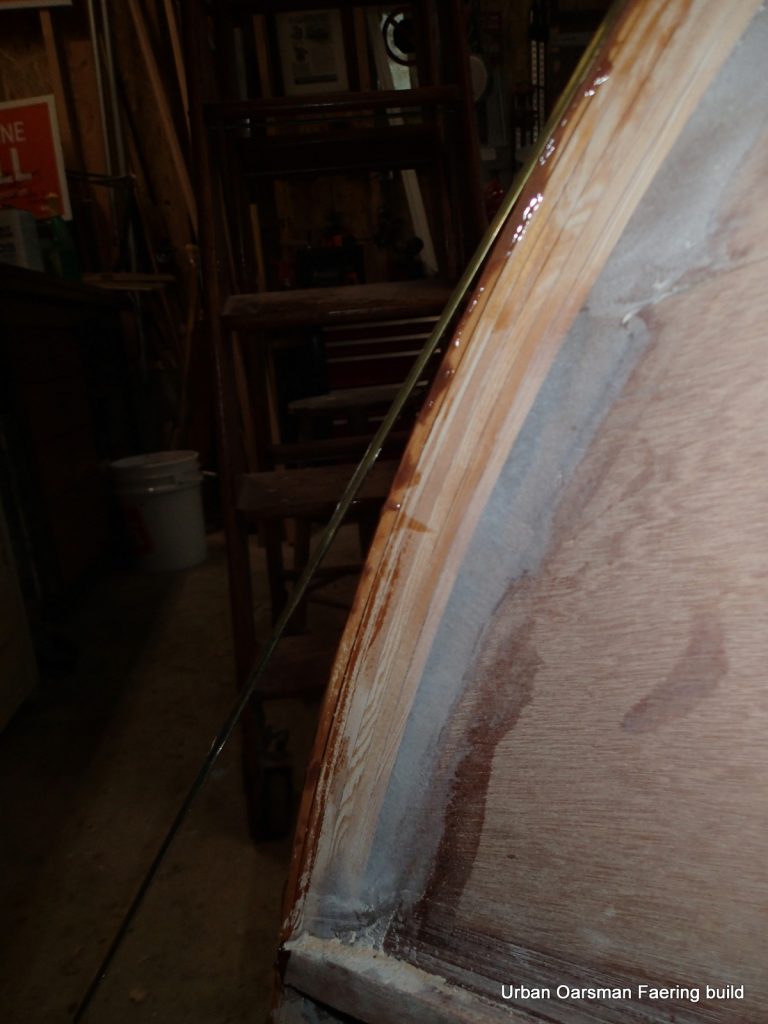
Gluing up the gunnels. I let the epoxy soak into the end-grain for a while so I do not get starved joints.

Epoxying up the gunnel (inside and outside) pieces.
One of the planks has turned out to be a little shy of where it should be, so I scarf on a little extra. It is now October, so the epoxy needs some extra heat to set.
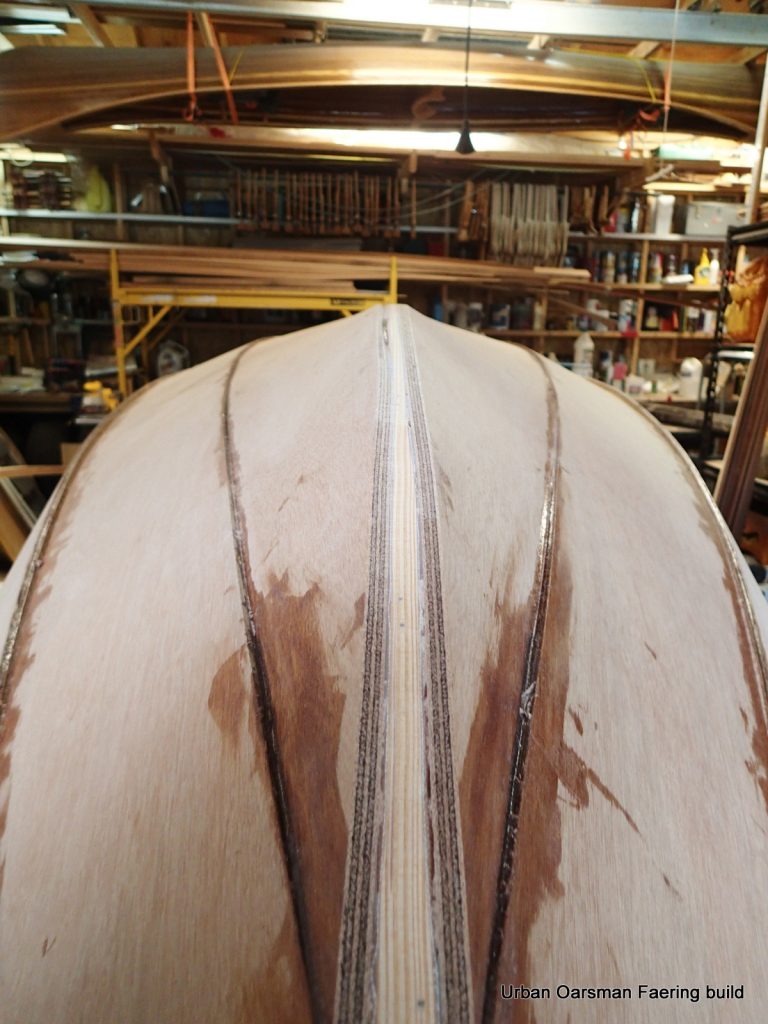
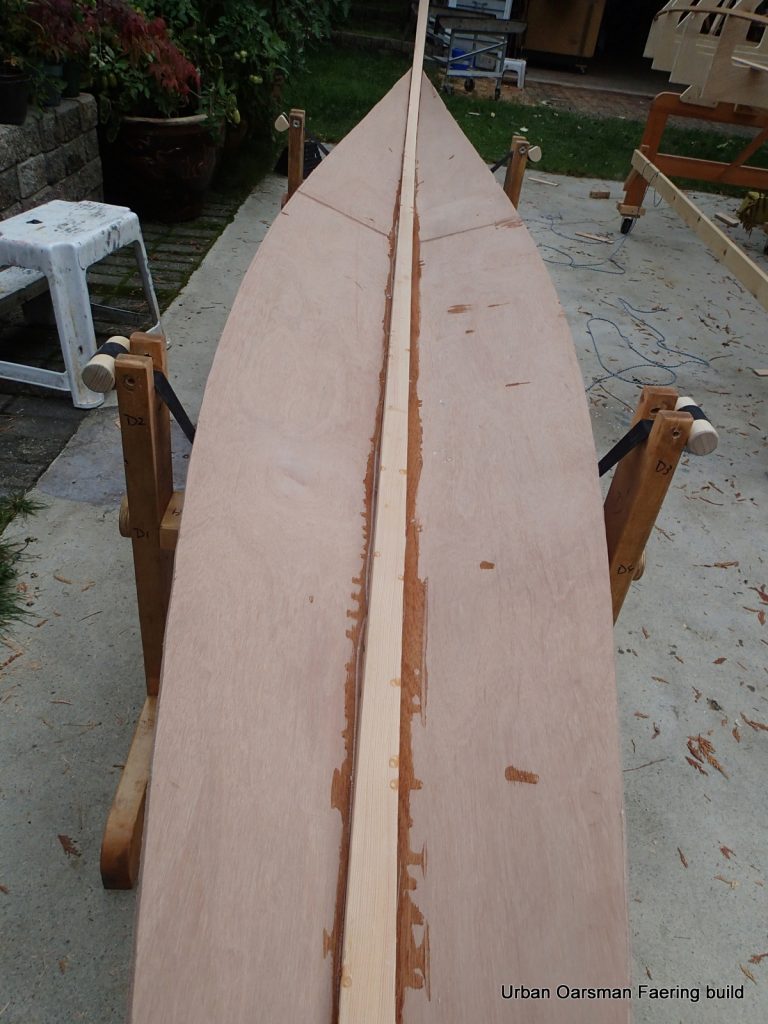
Cleaning up the inner keel/planking joint for laminating on the outer keel.
Time to get the scarfing jig going again.

I am using epoxy to glue on the outer keel. The screw holes will be filled in by the next layer.
Second layer epoxied on.
As I said, I am going to replace the daggerboard with a shallow keel. The keel area is the same as the daggerboard area.
The strips are epoxied on, The gunnels are glueing. Shaping the outer keel is next.

Bow curve marked on. and outer gunnels epoxied on.
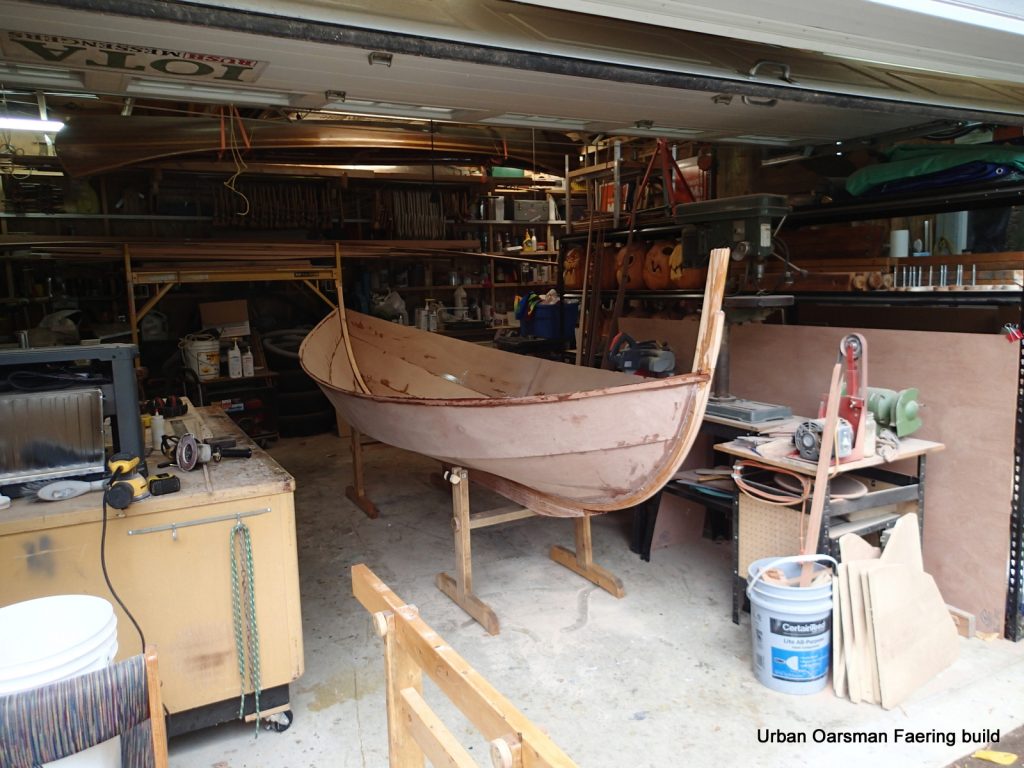
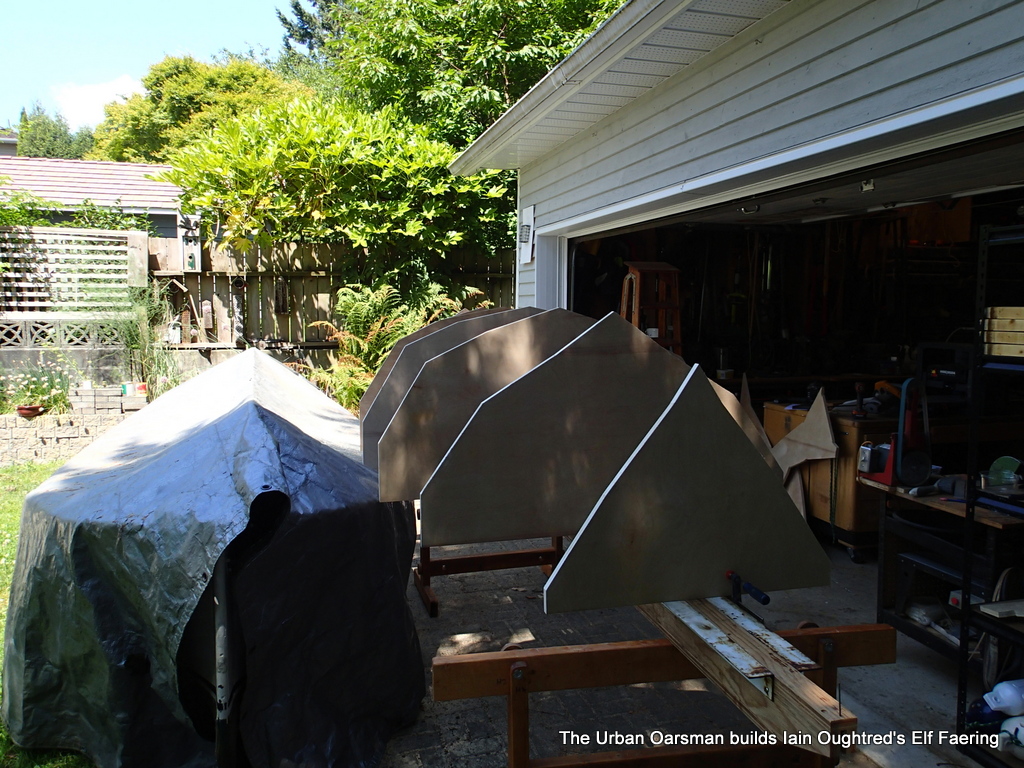
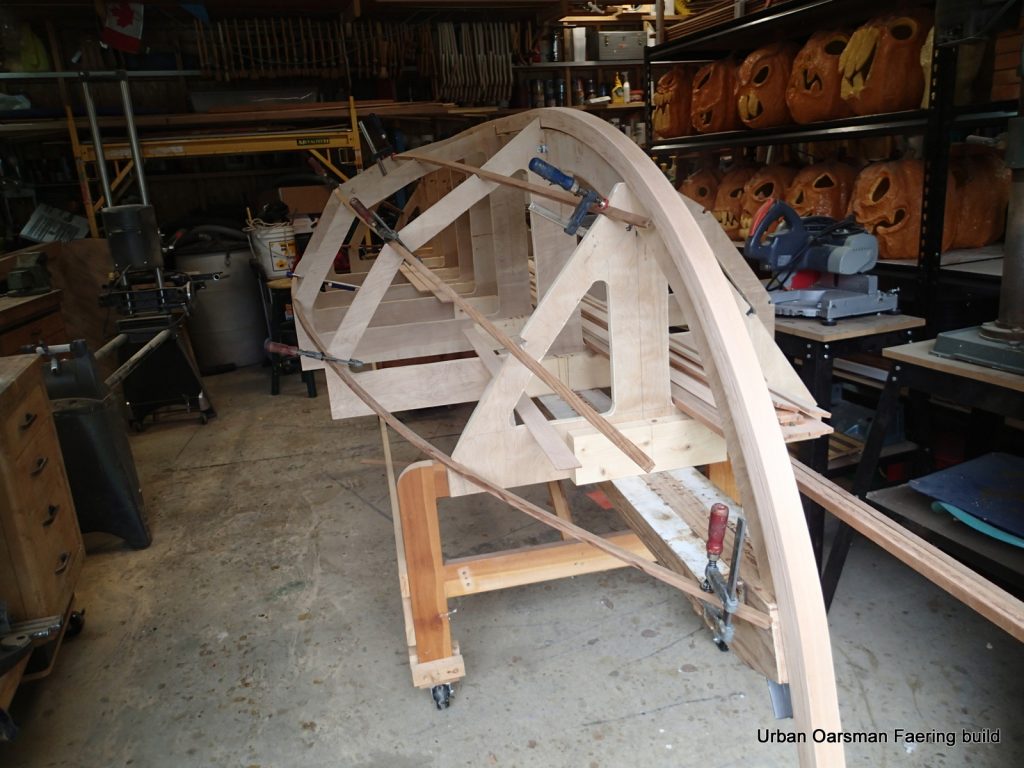
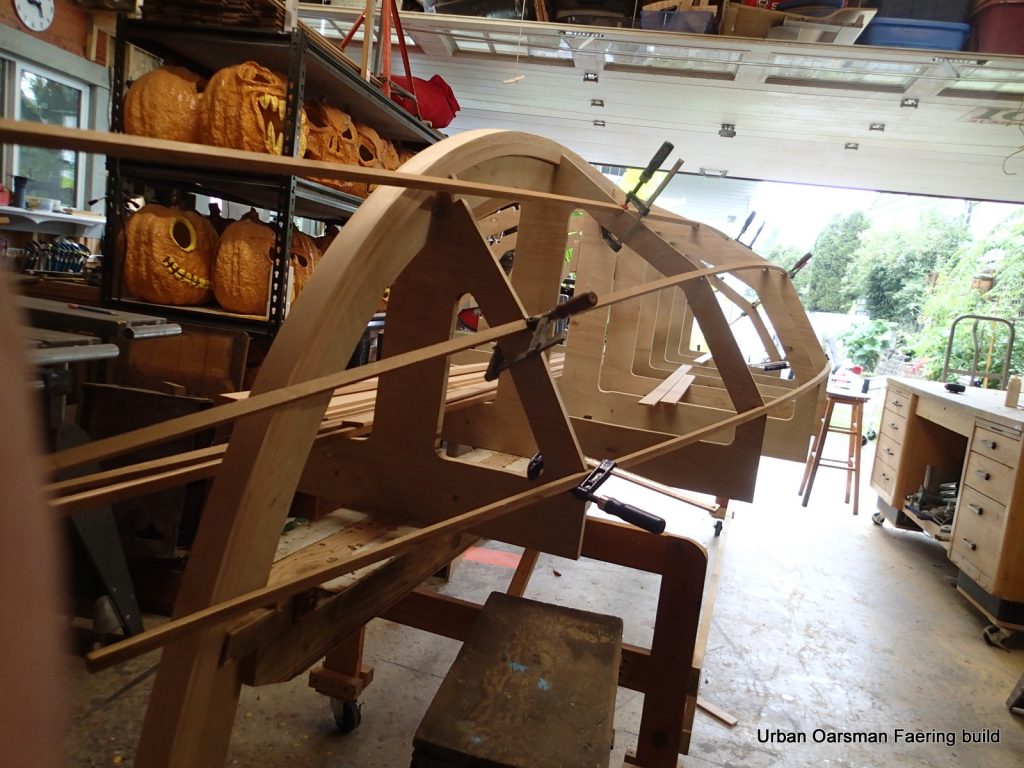
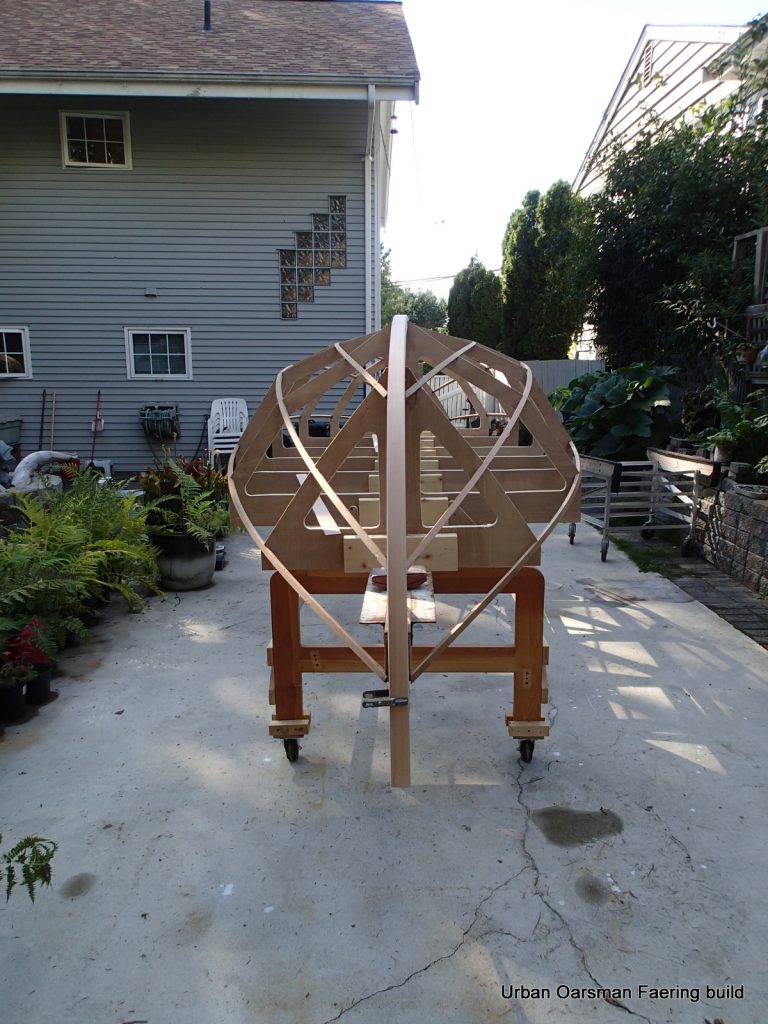
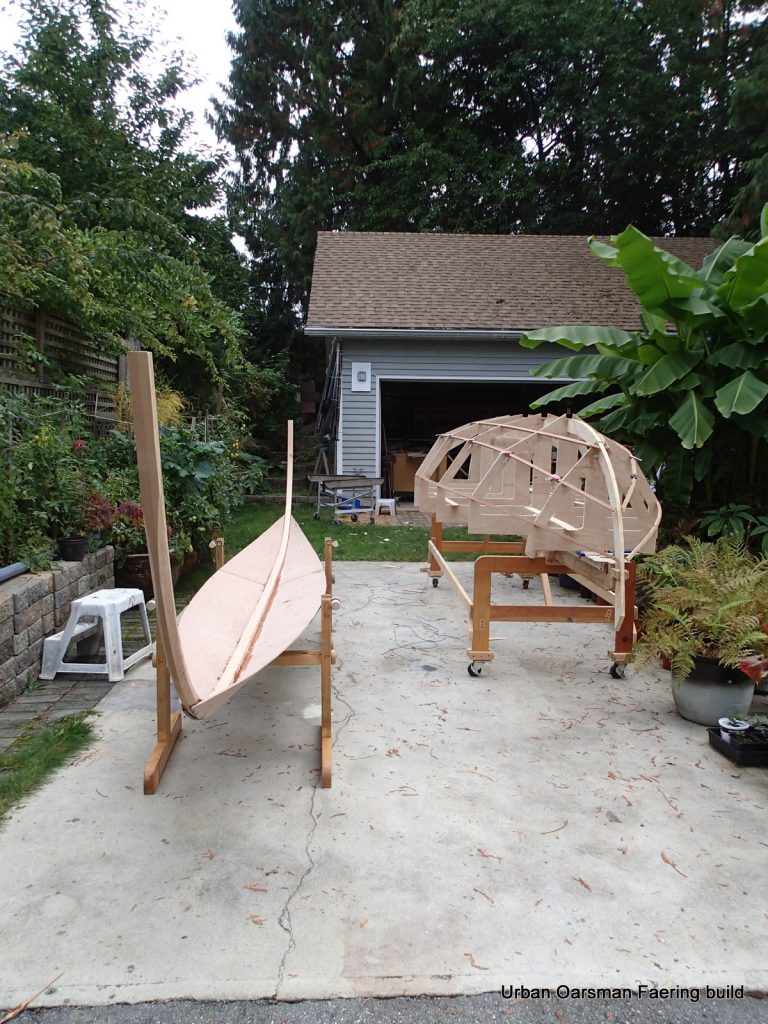
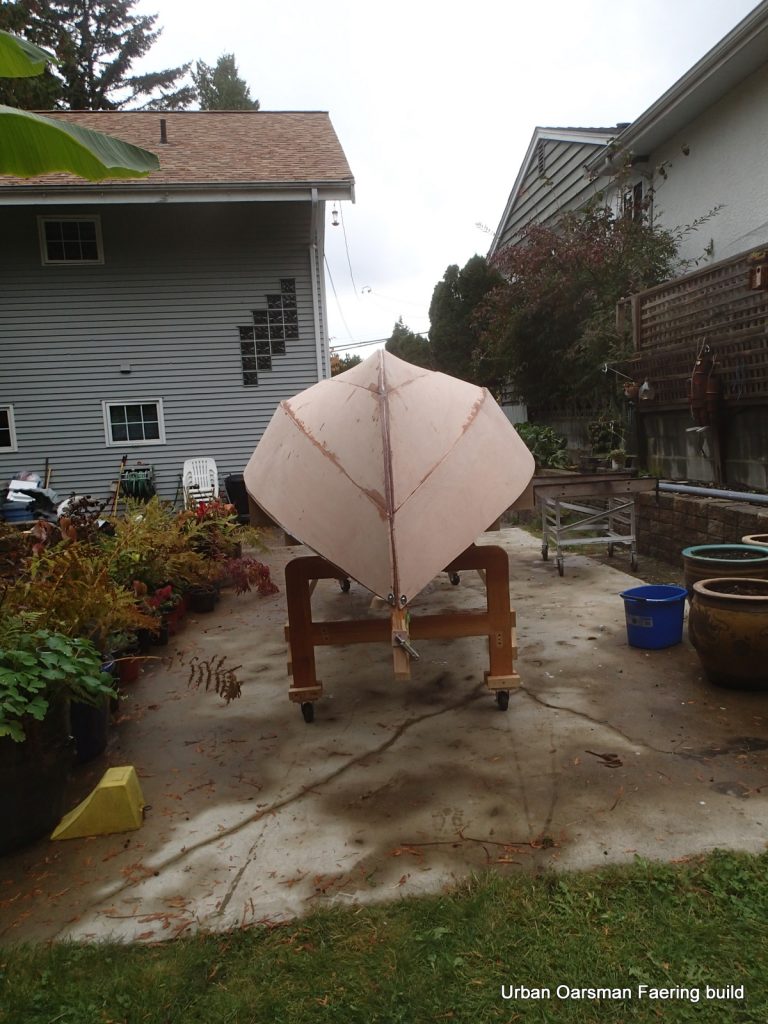
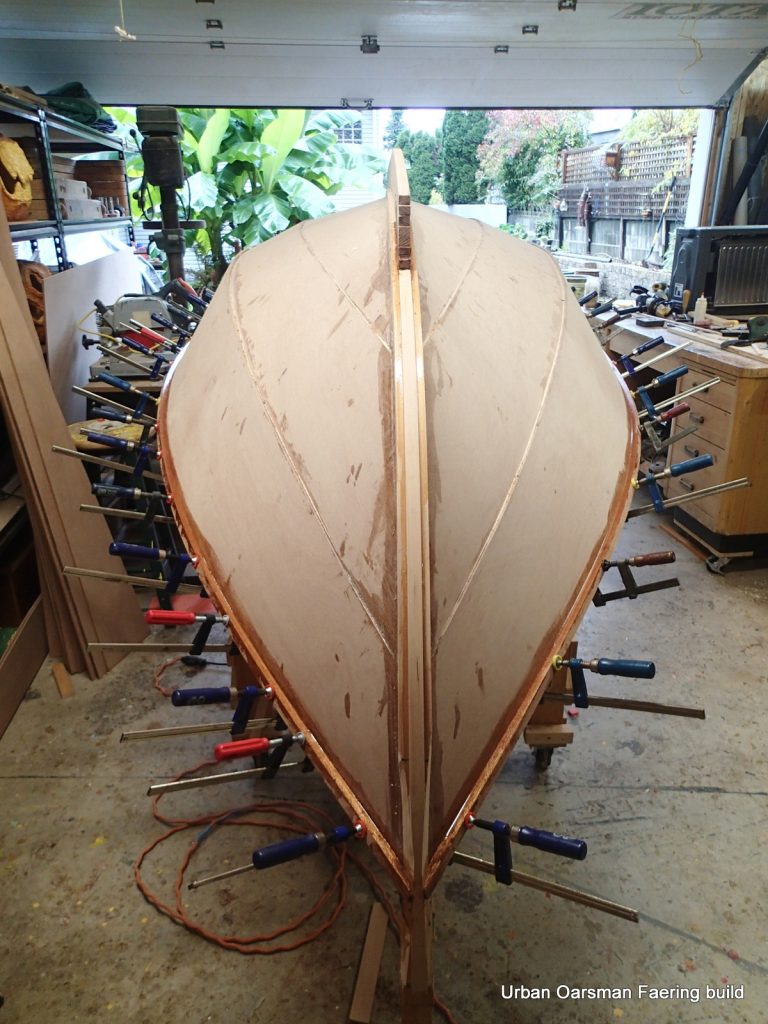
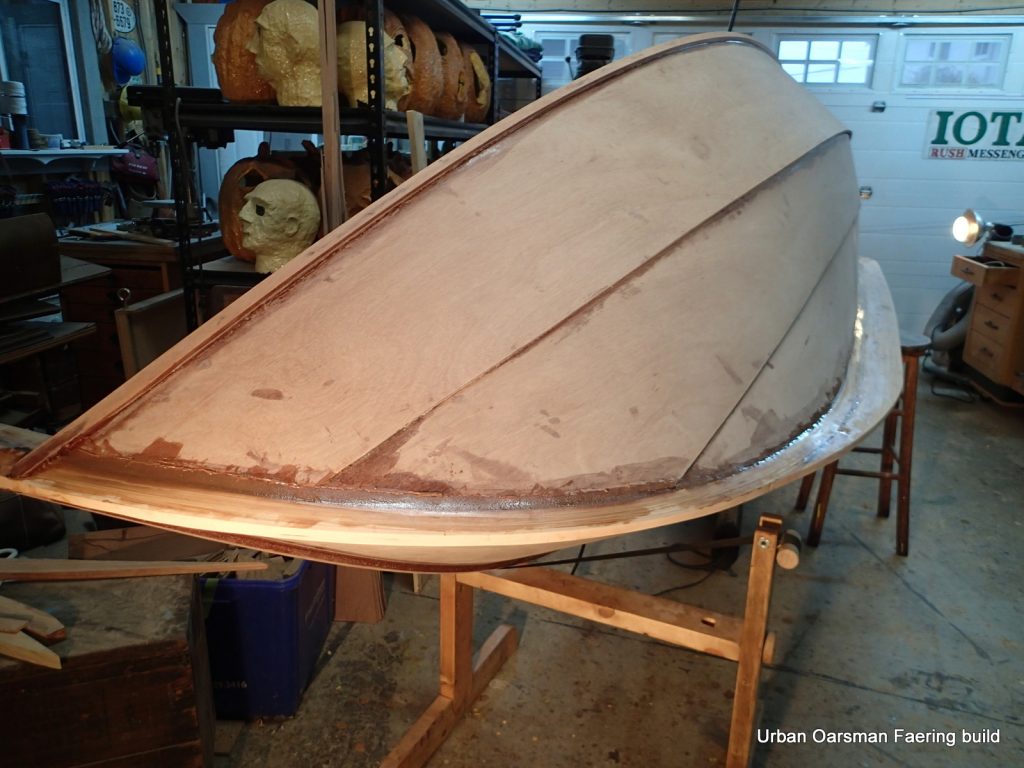
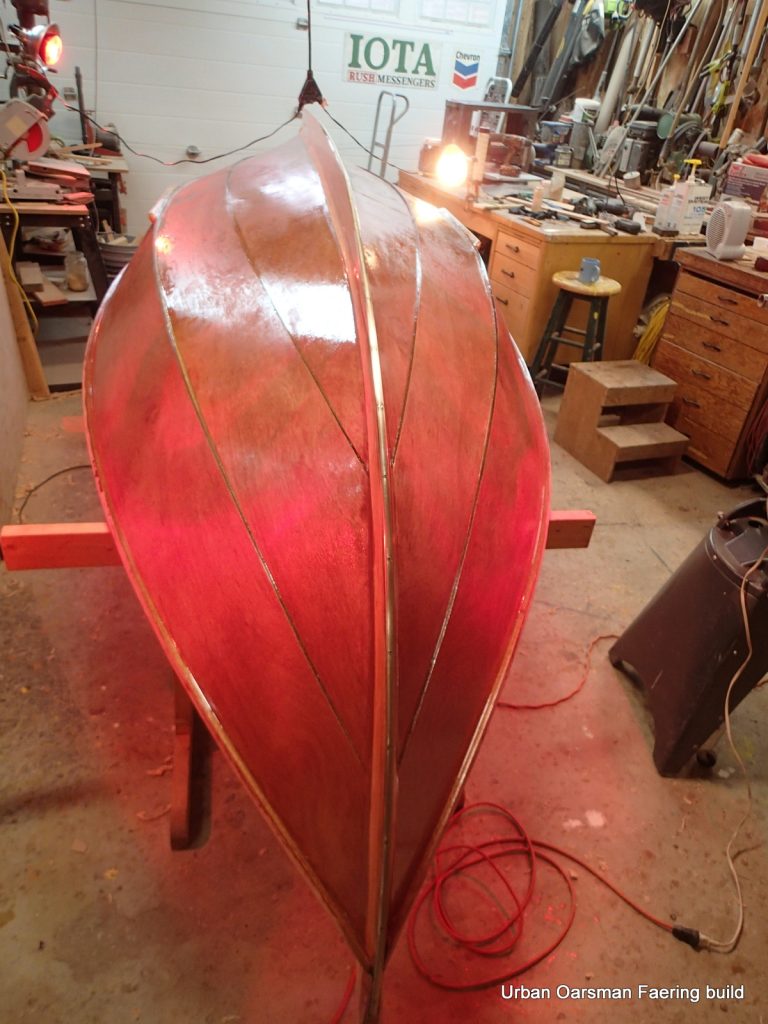
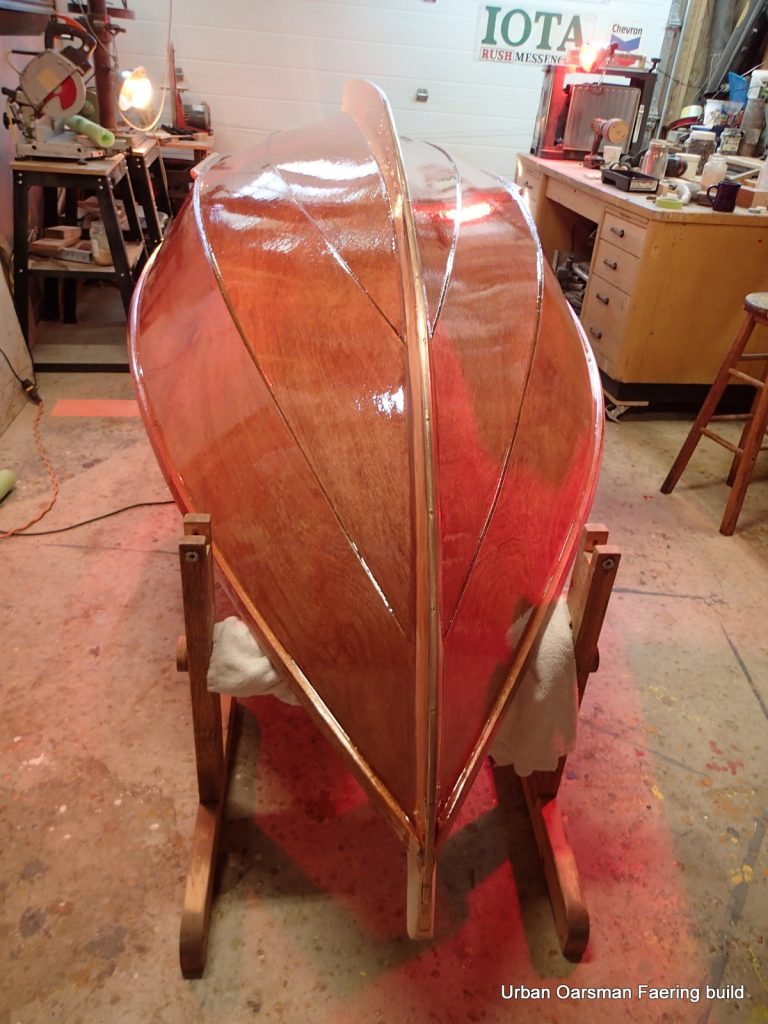
Keel roughly shaped, with the outer gunnels glued on to help keep the shape, it is time to take the boat off of the molds. She came off easily.

With the faering off of the molds, I dissemble the strong back. She has done her job very well.
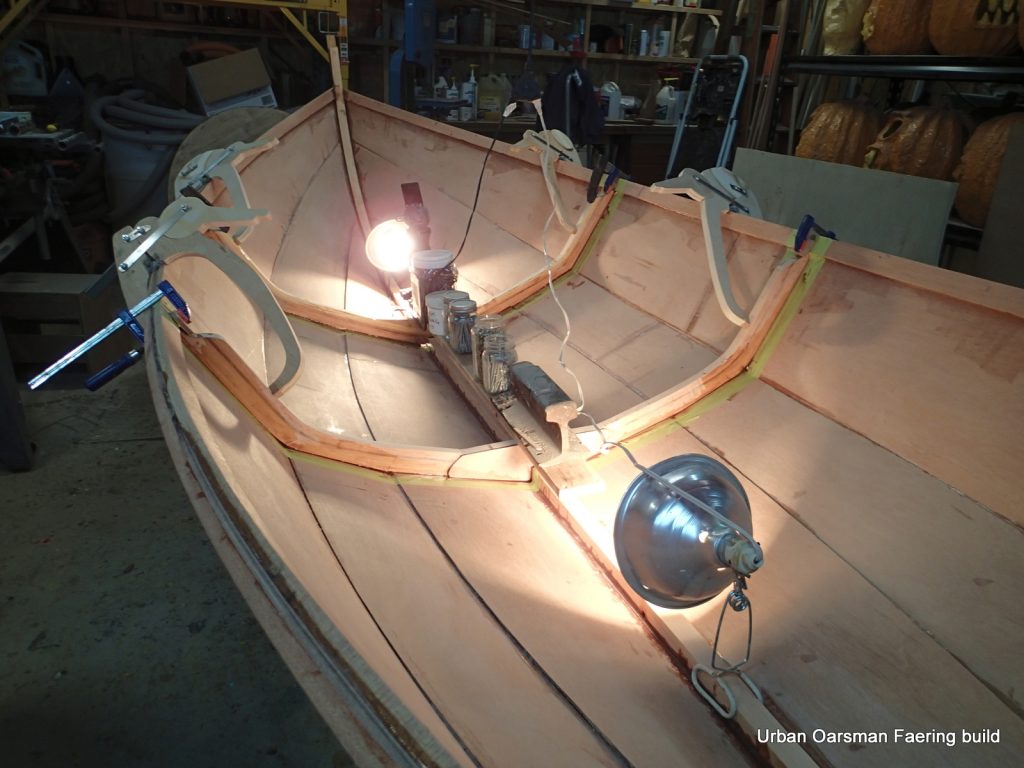
Epoxying on the inner gunnels. There was a lot of wiping up of epoxy from the planks.

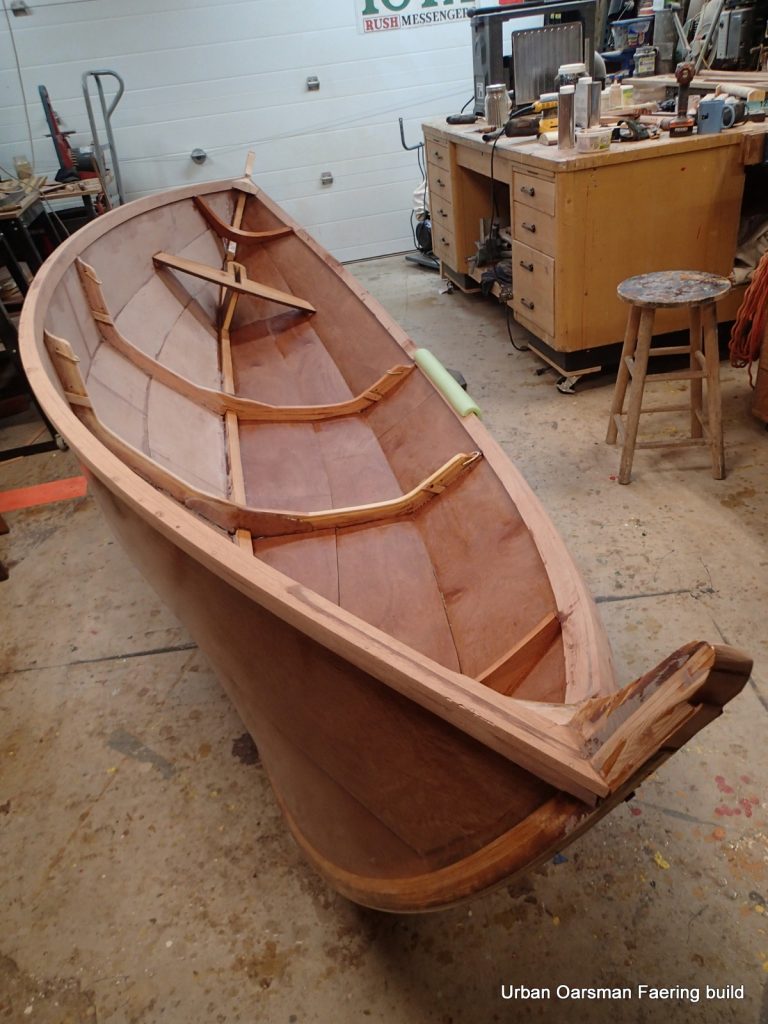
The faering has two frames in the midsection of the boat, at stations with the centre (station 5) and forward (station 3) two rowing thwarts. I took the two station molds and used them as forms to laminate up the two frames.
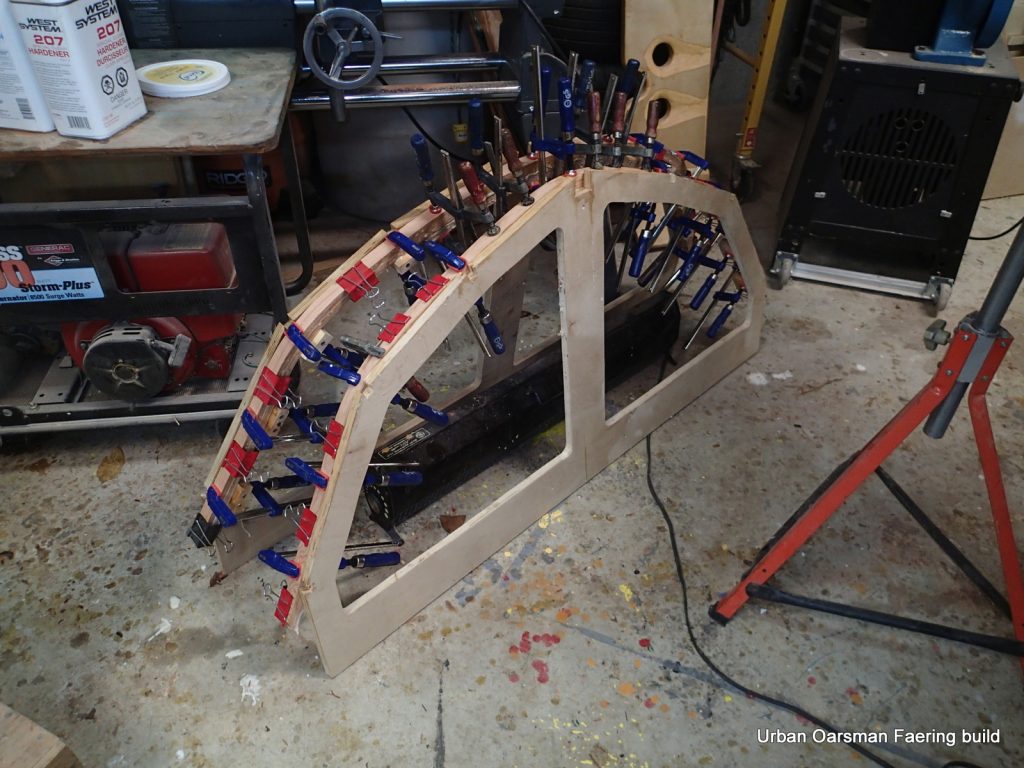
Using the two mold stations as forms for the laminated frames.
The two frames did not fit…The hull shape changed too much when removed from the strongback that I could not use them.
I ended up using some scrap to make a new form for the frames. The two forms are in this photo with the resulting frames.
The new form. It consists of blocks, covered with tape on a 3/4″ plywood frame.
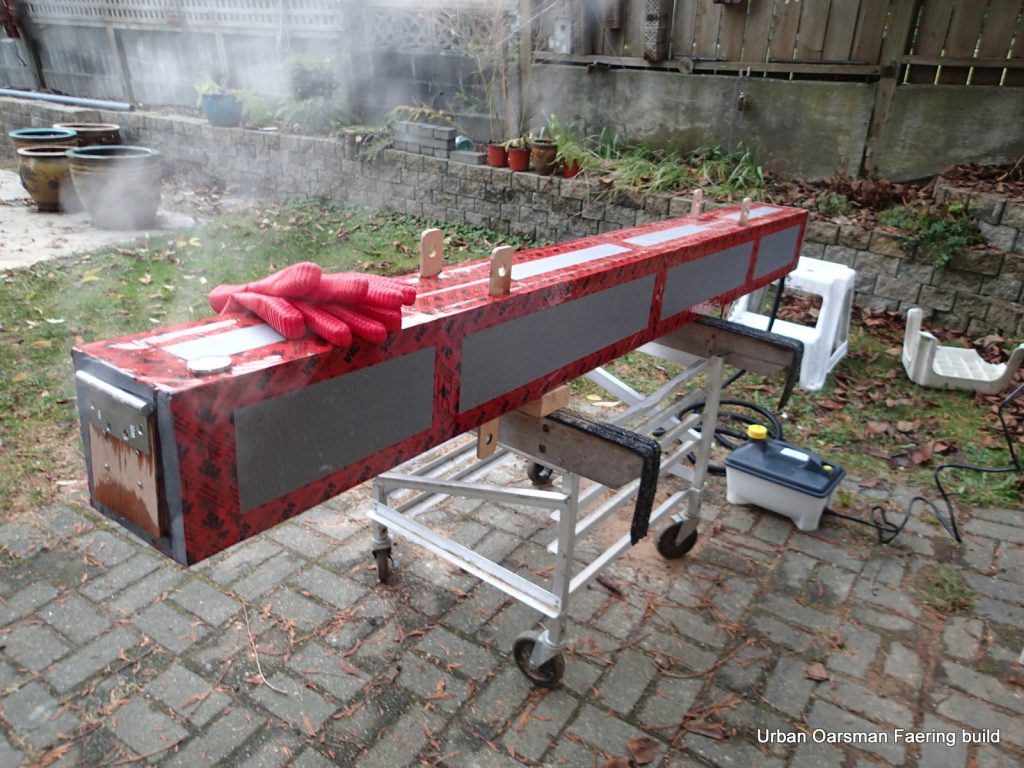
My steam-box in action. The “steamer” is from Lee Valley.
Patterns for the rangs (forward and after diagonal frames).
Making the form to laminate up the rangs…there are two forms, the rangs are different at each end.
Test fitting the rangs.
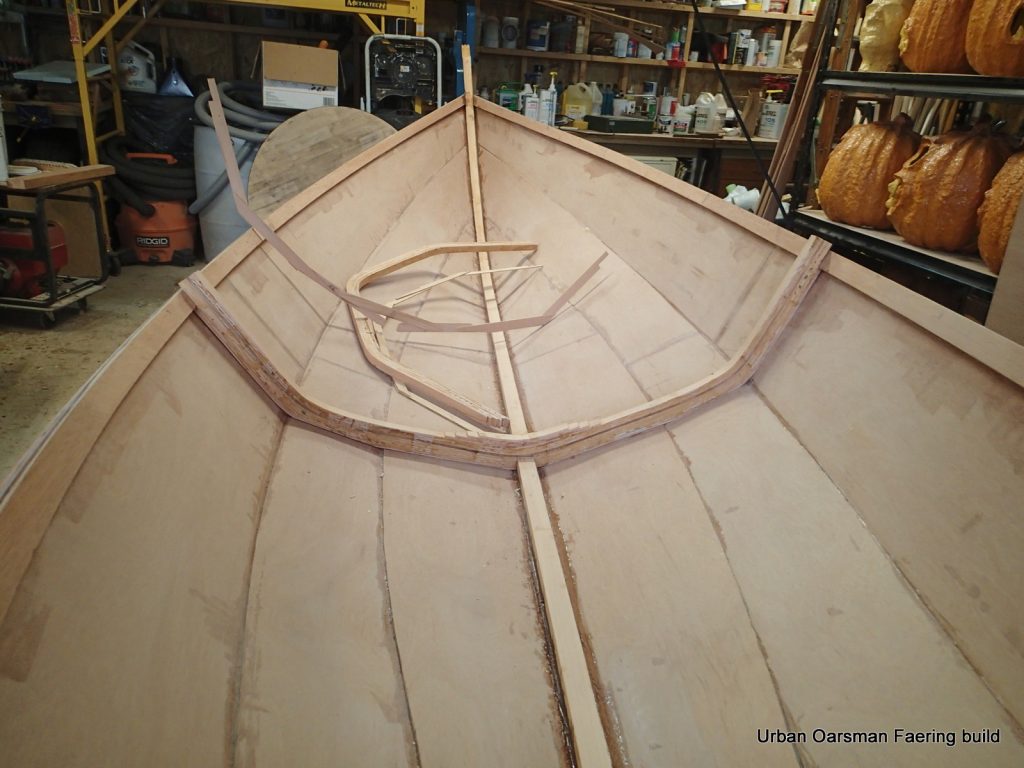
Epoxying in the rowing thwart frames.
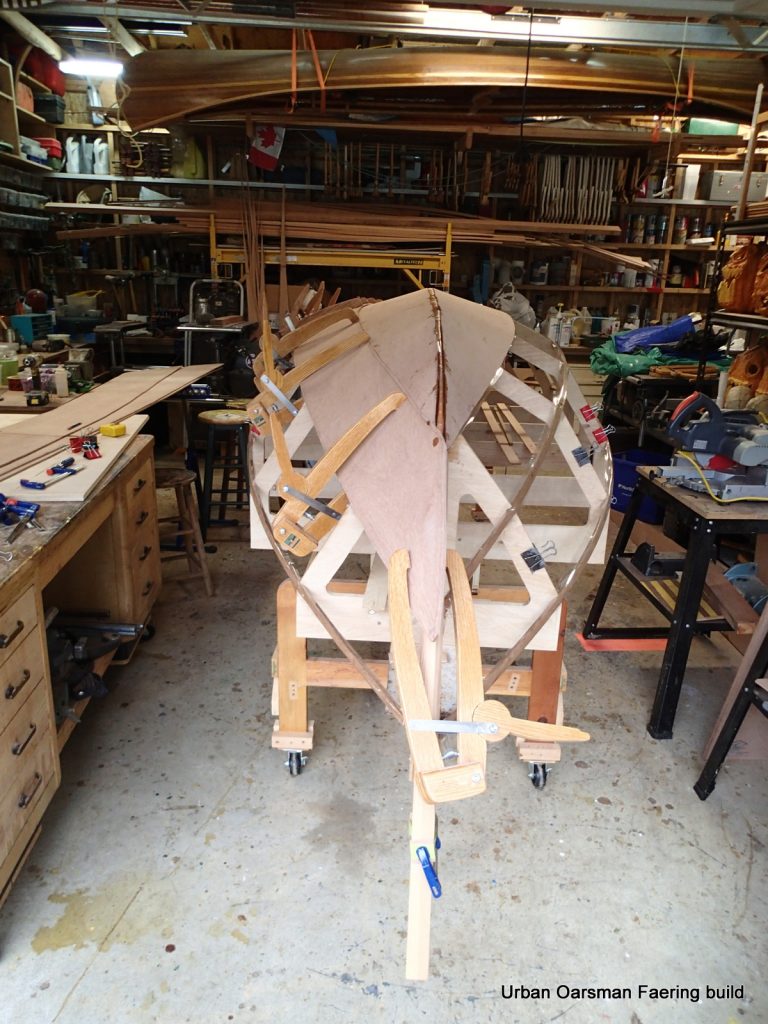
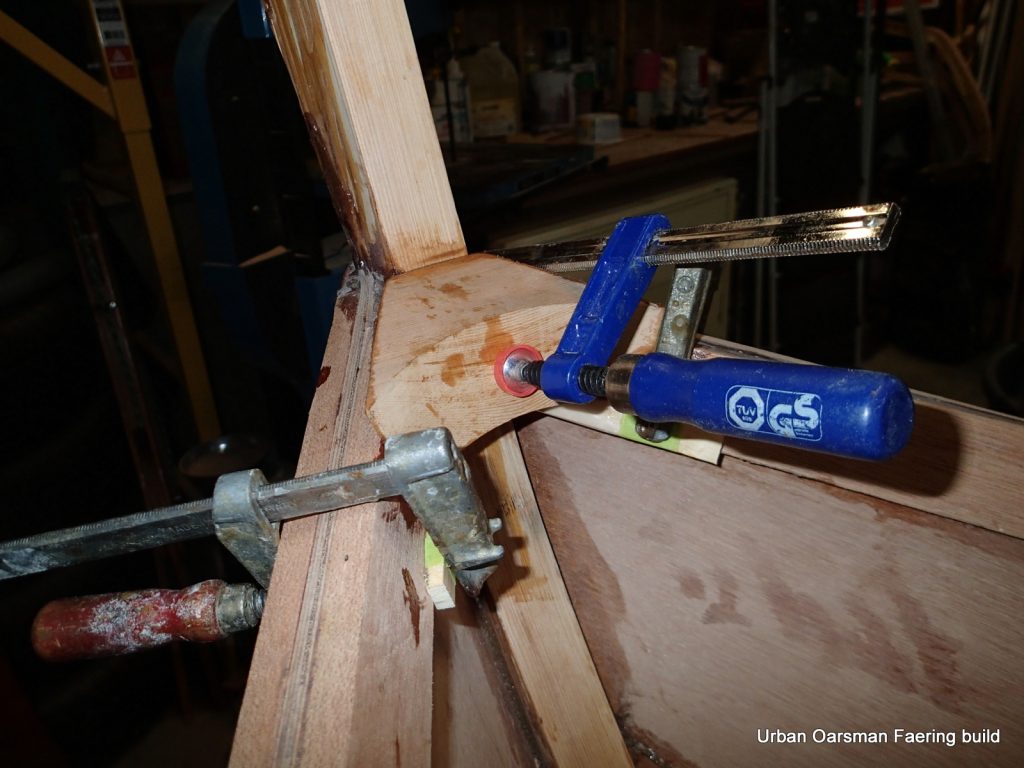
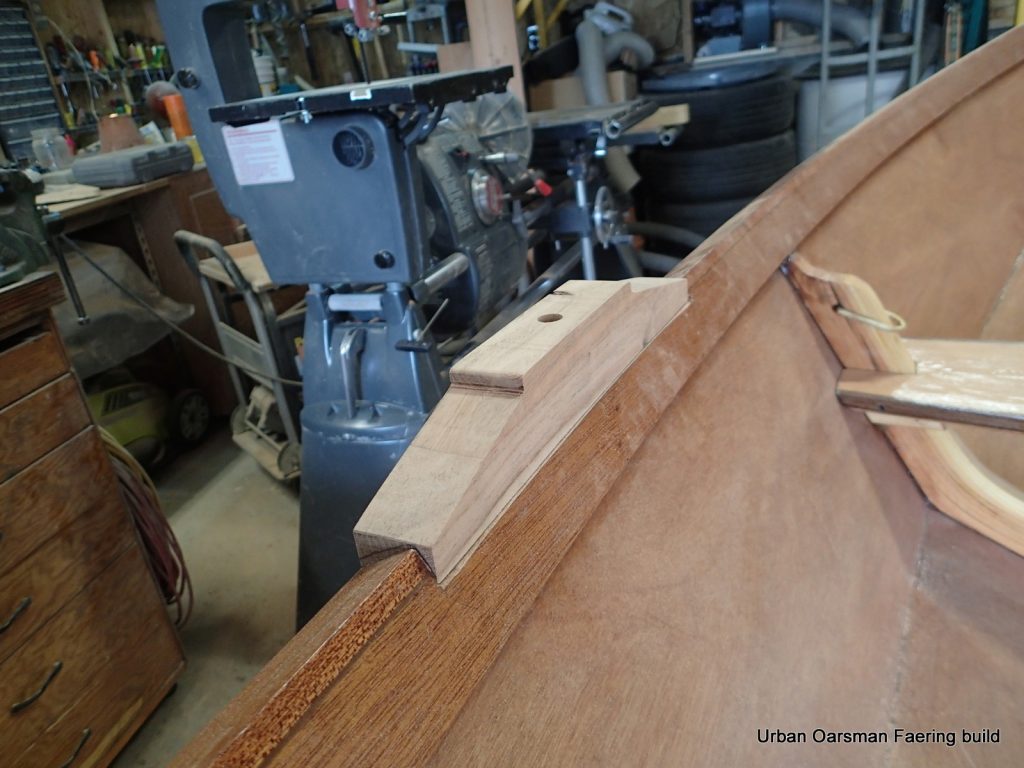
Rangs epoxied in, using cardboard to make a template for the forward (and after) breasthooks.
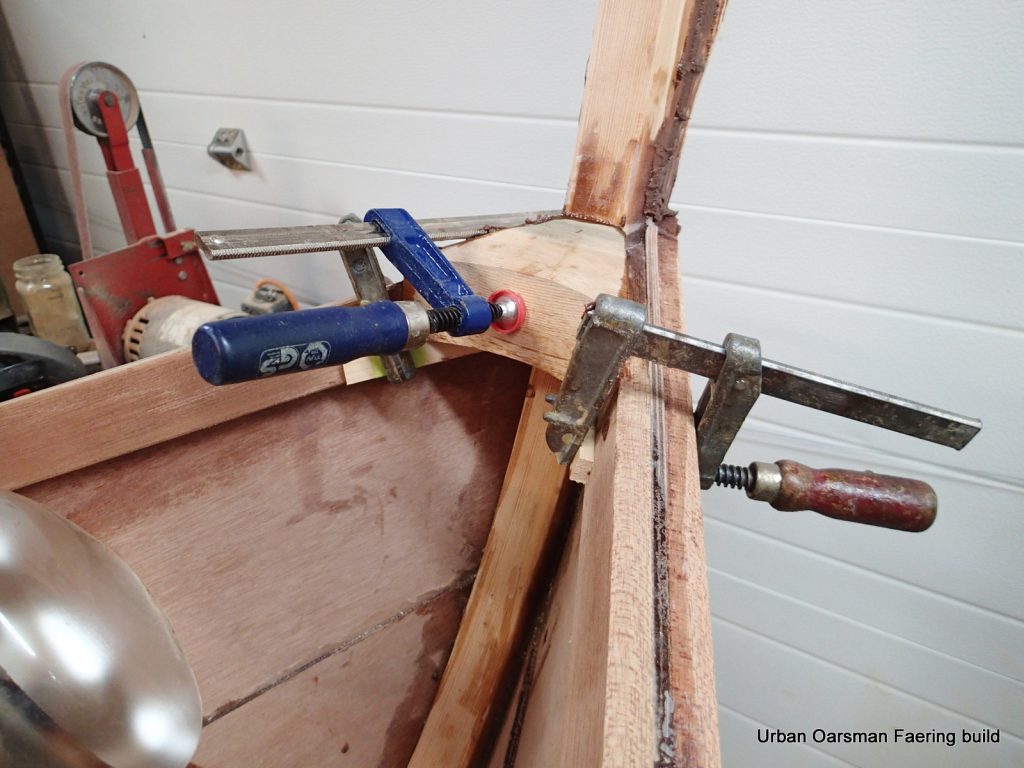
Forward breasthook.
After breasthook.

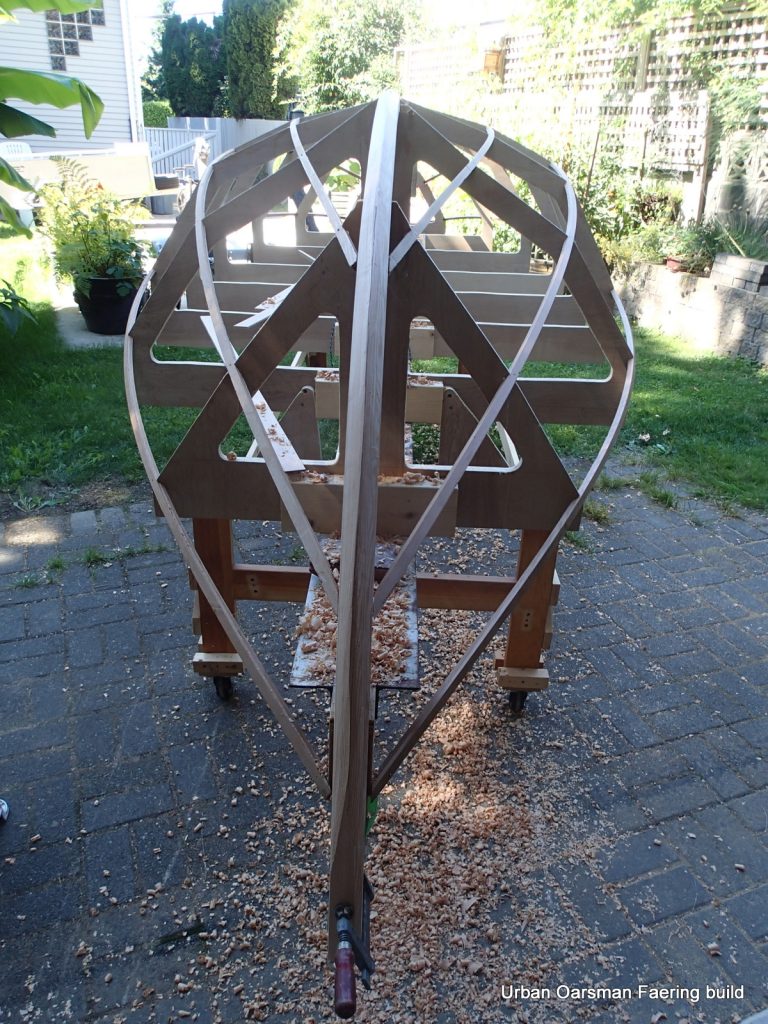
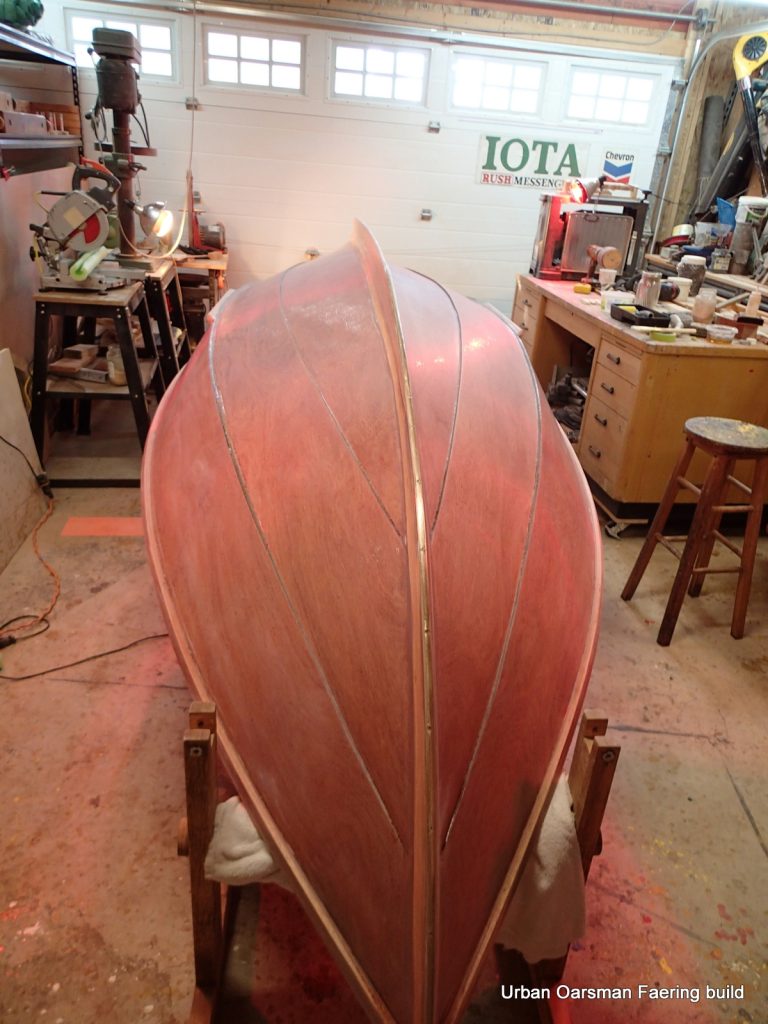
On her side for shaping the keel.

I have had this plane for 50+ years. It was a gift to me by My Big Brother (Big Brother Organization) Brian.
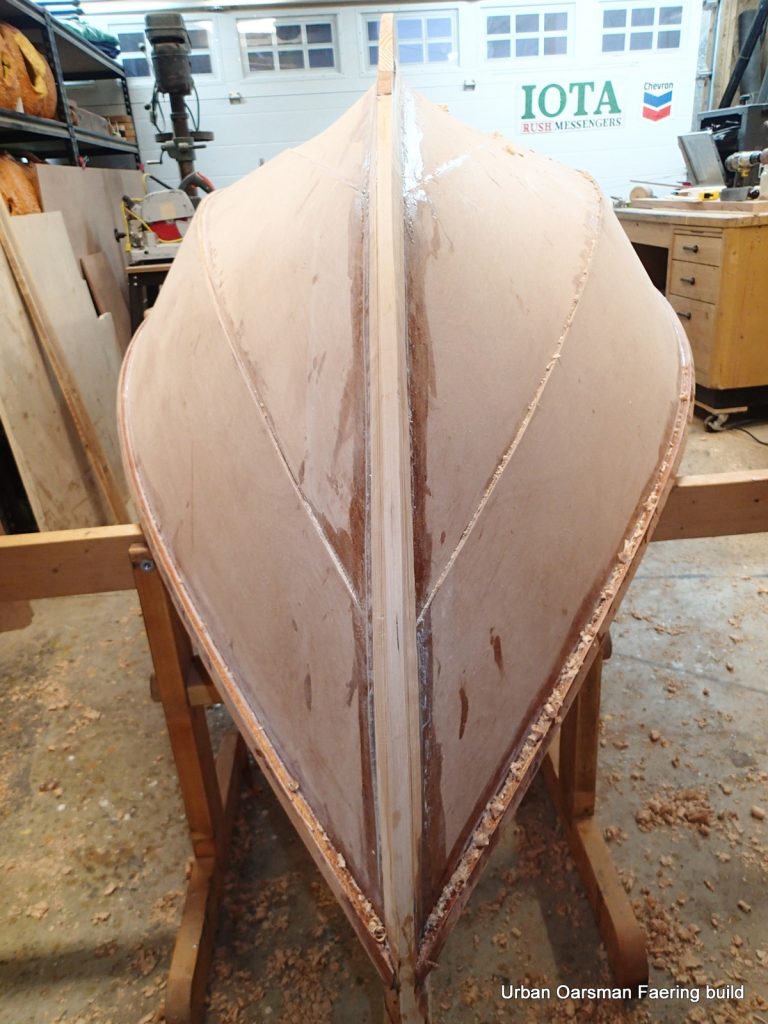
I leave a flat spot to attach the brass keel band to.
A bit of fairing is needed…but not too much.
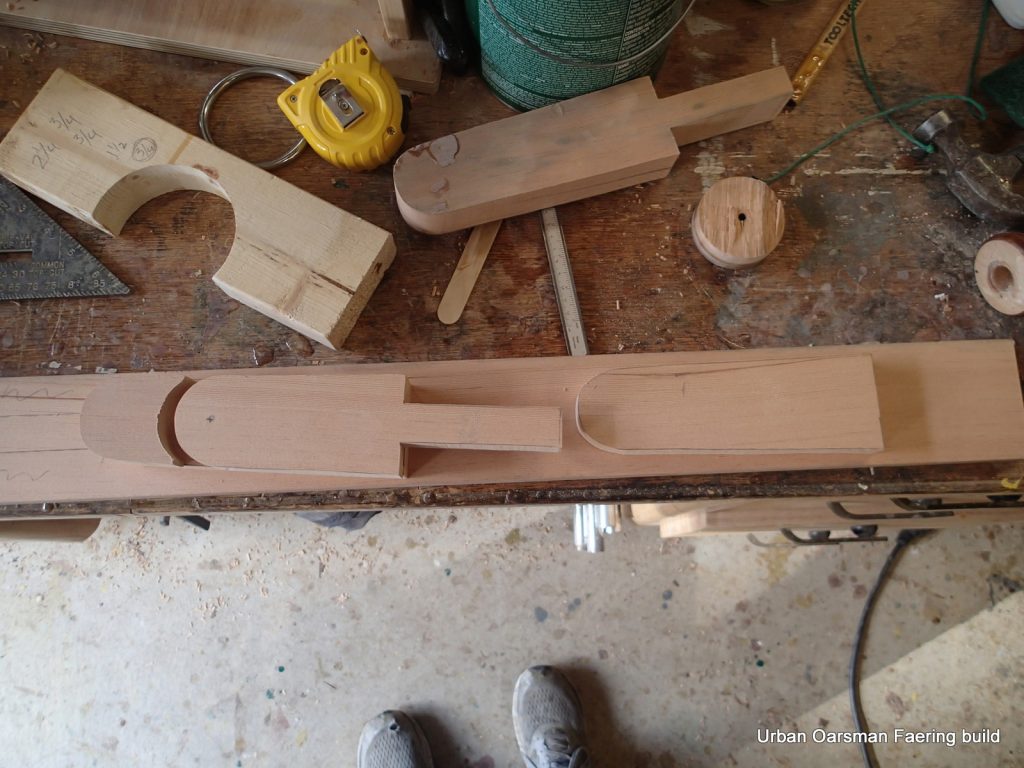
I am going to have an inboard rudder. At the Hollyburn Sailing Club, where I will keep her, we do beach landings. I believe that having a stern hung runner according to the plans will be too awkward to bring up (and let down when leaving) when beaching. there is not a lot of buoyancy in Elf’s shapely ends.

The rudder blank.
Rudder shaft dry-fit.

The glue-up.
Letting the epoxy cure.
Rudder frame (Left) and rudder (right).
Building up the rudder cassette.
The rudder cassette.
Test fitting the rudder. Next step will be to cut the hole for the rudder cassette.
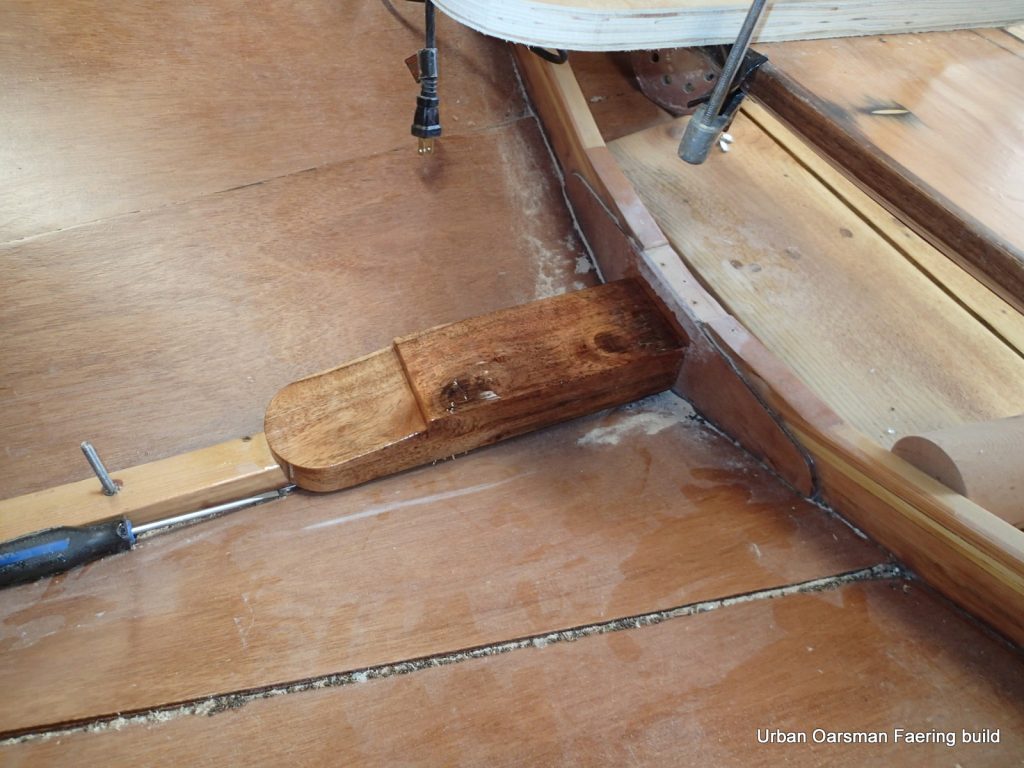
Test fitting the rudder cassette. I used my oscillating tool to cut the slot.
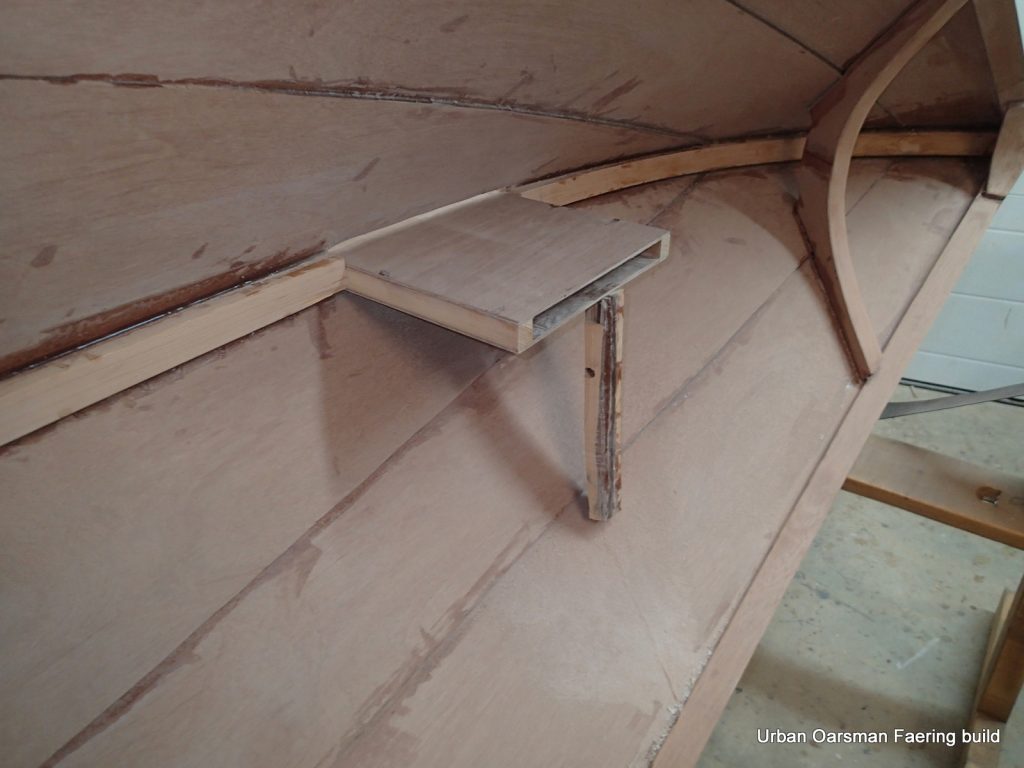
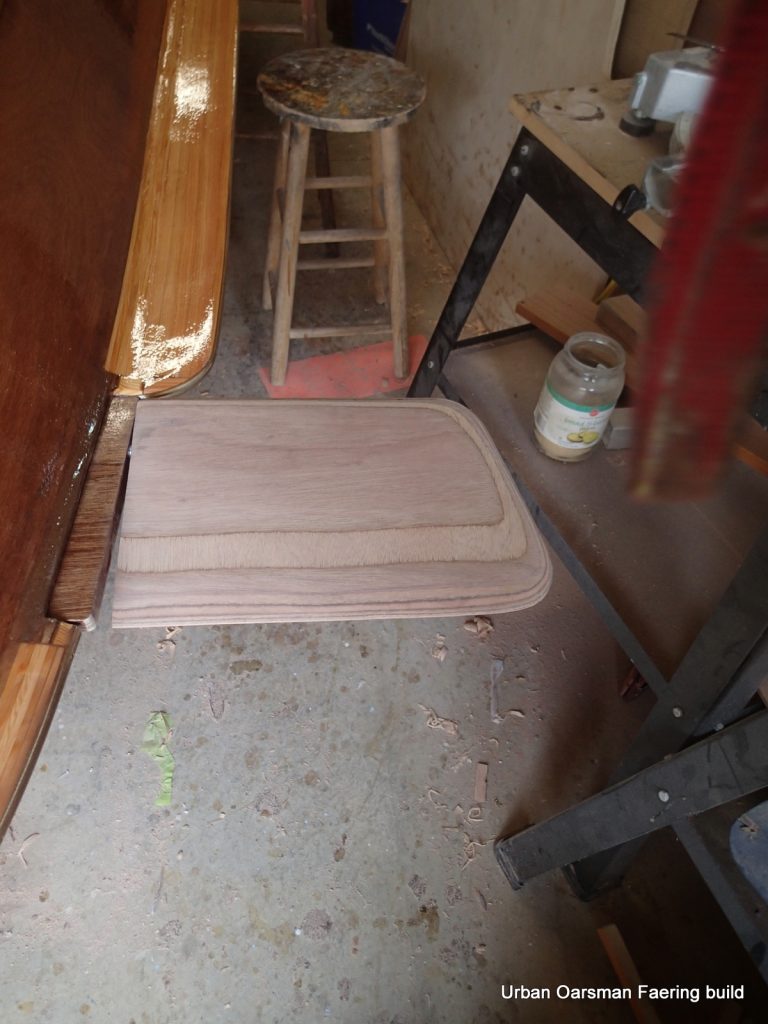
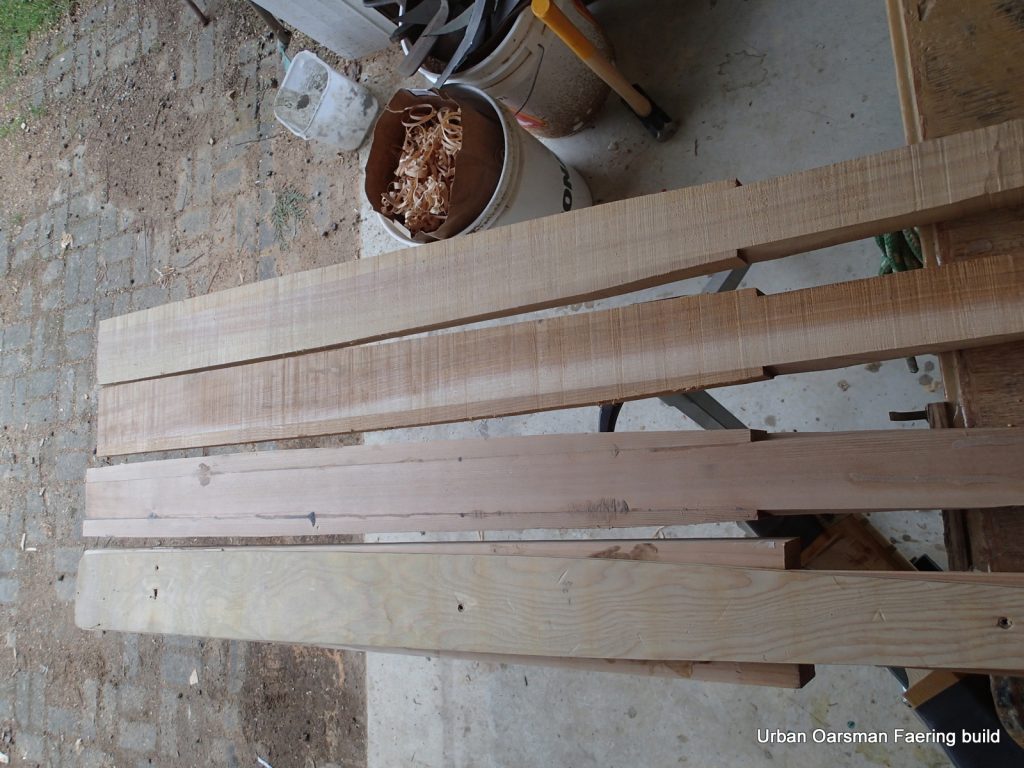
I have some salvaged 2 by 10’s from Dan’s old carport to make the thwarts out of.
Rough fit of the thwarts and rudder cassette. Note that the rudder cassette protrudes above the rear thwart.
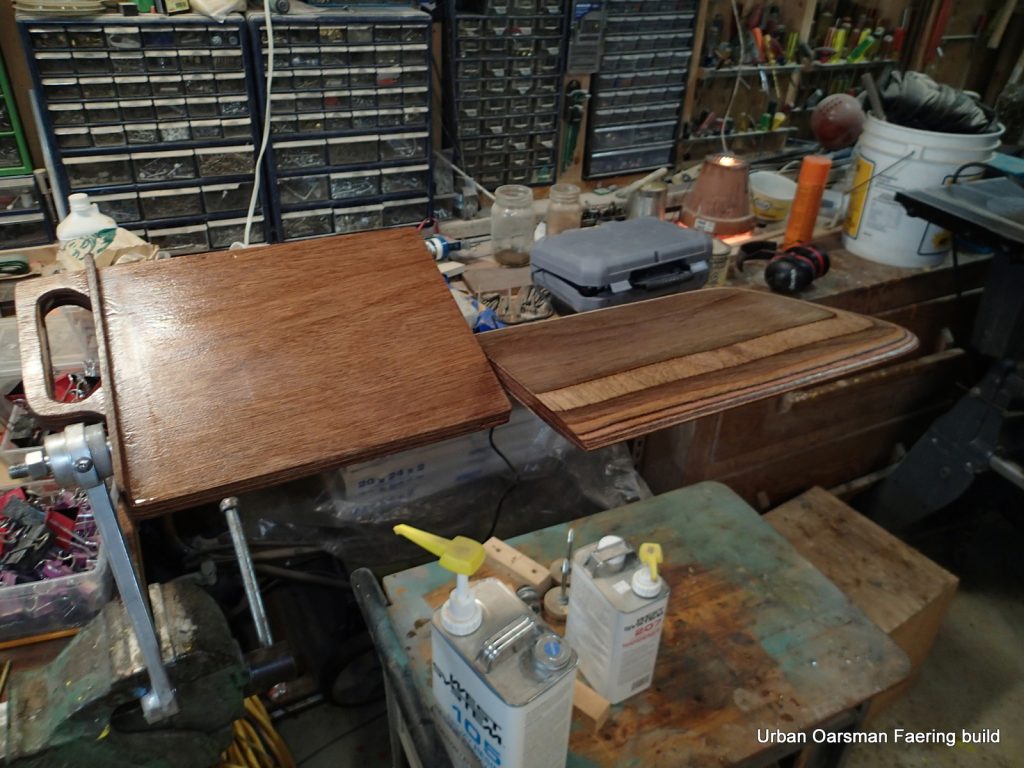
Leveling everything out. Note the “legs” to keep the faering level. Rudder cassette cut flush and sides attached. I made them out of salvaged walnut flooring.
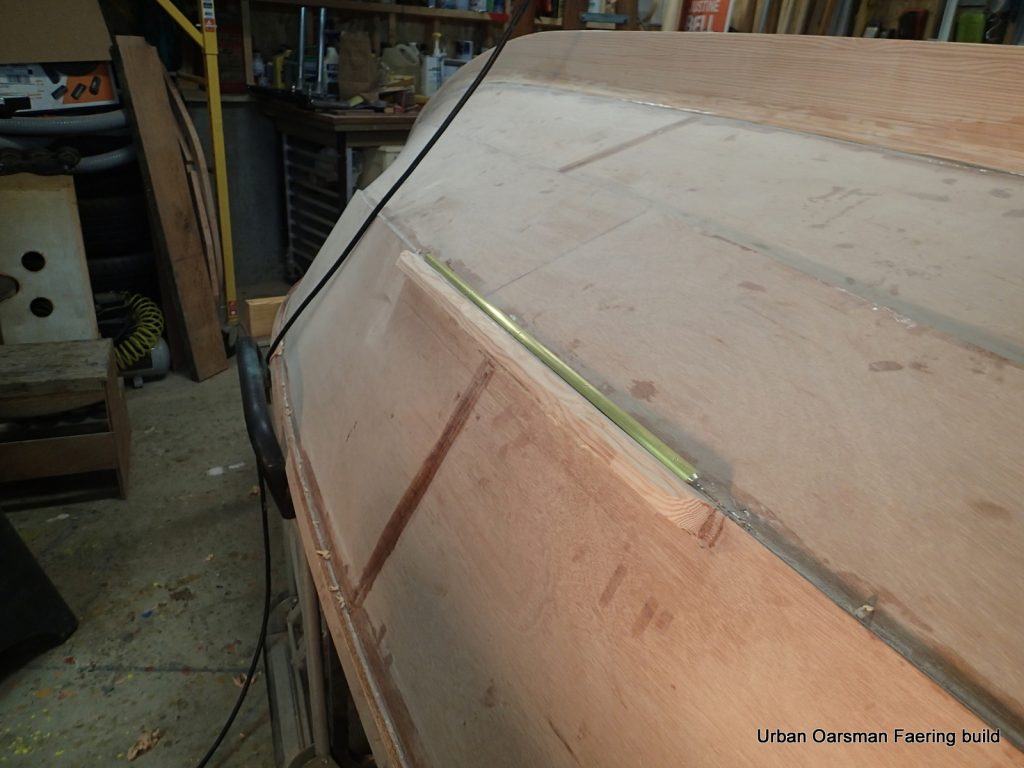
The rubbing strip and brass half-round.
The flaws in the thwarts are dealt with.
Brass half-round being installed.
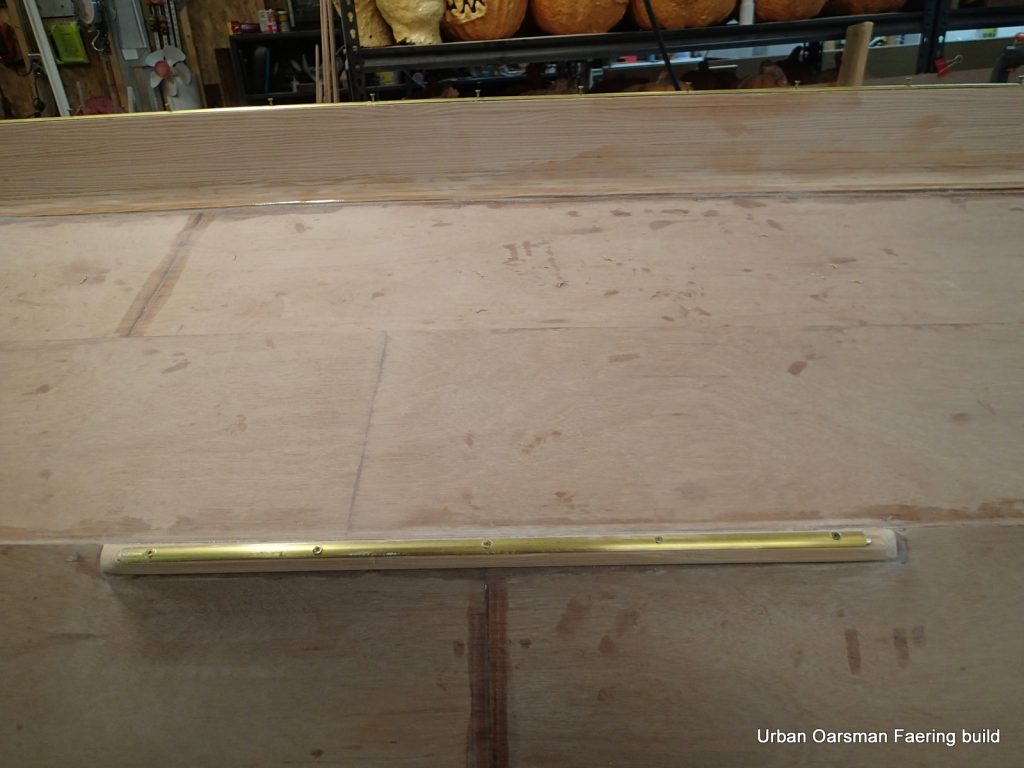
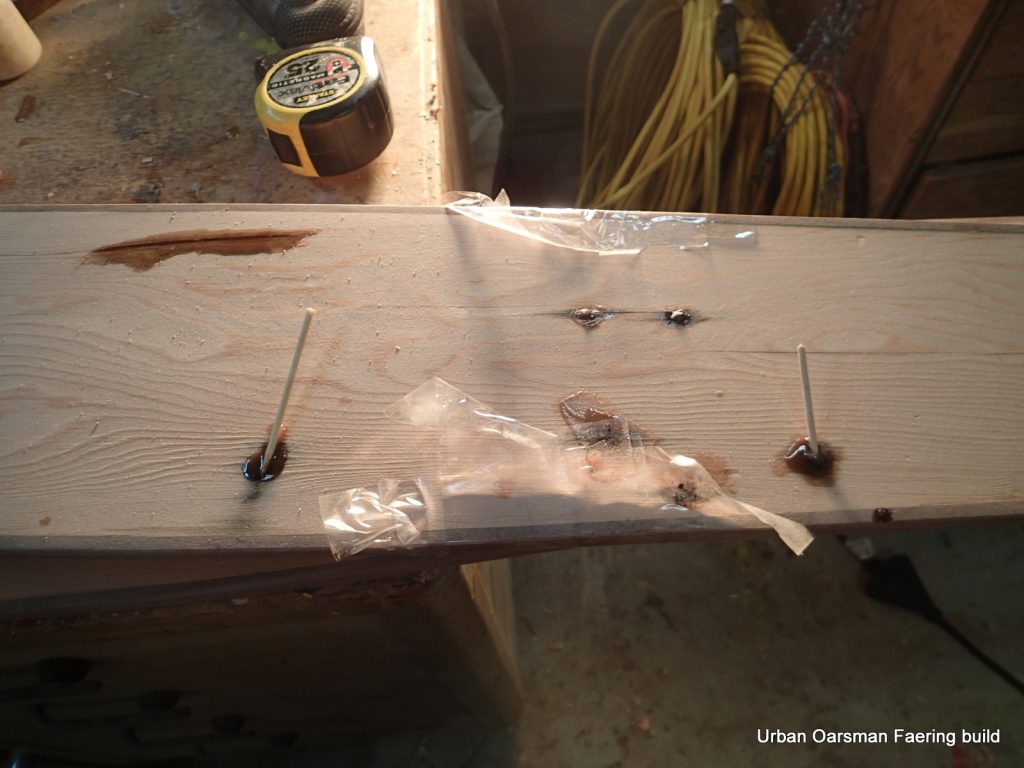
The rub strip. I have not yet screwed in all of the screws on the keel strip. I had to pre-drill every screw.
A little epoxy will seal the deal.
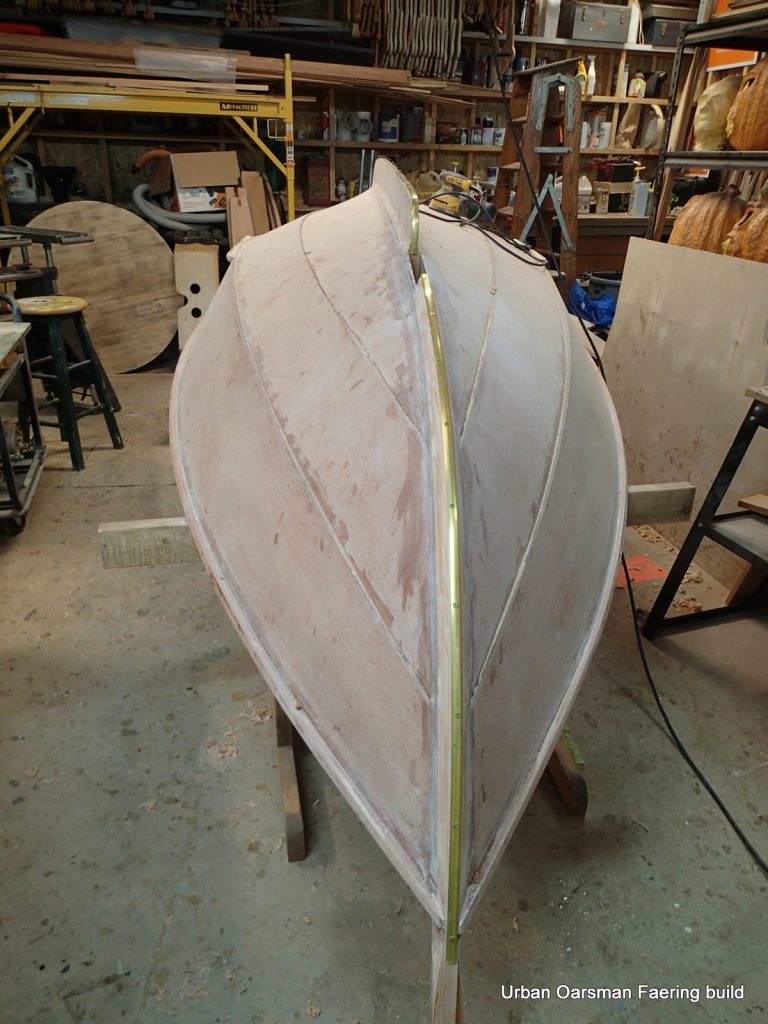
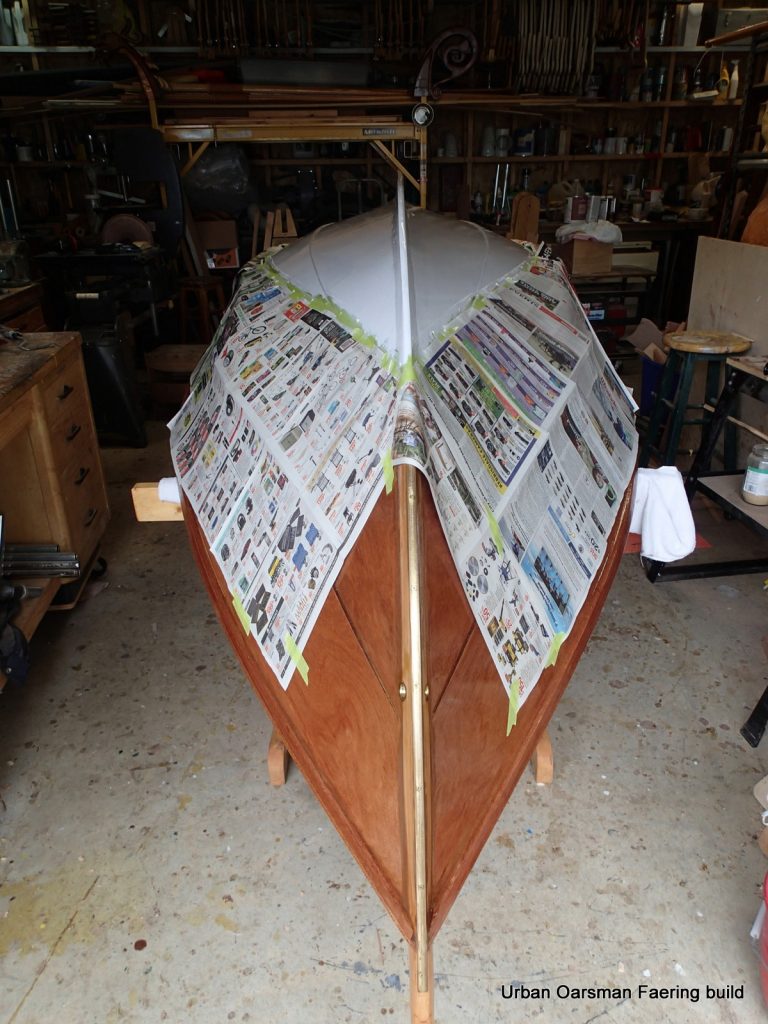
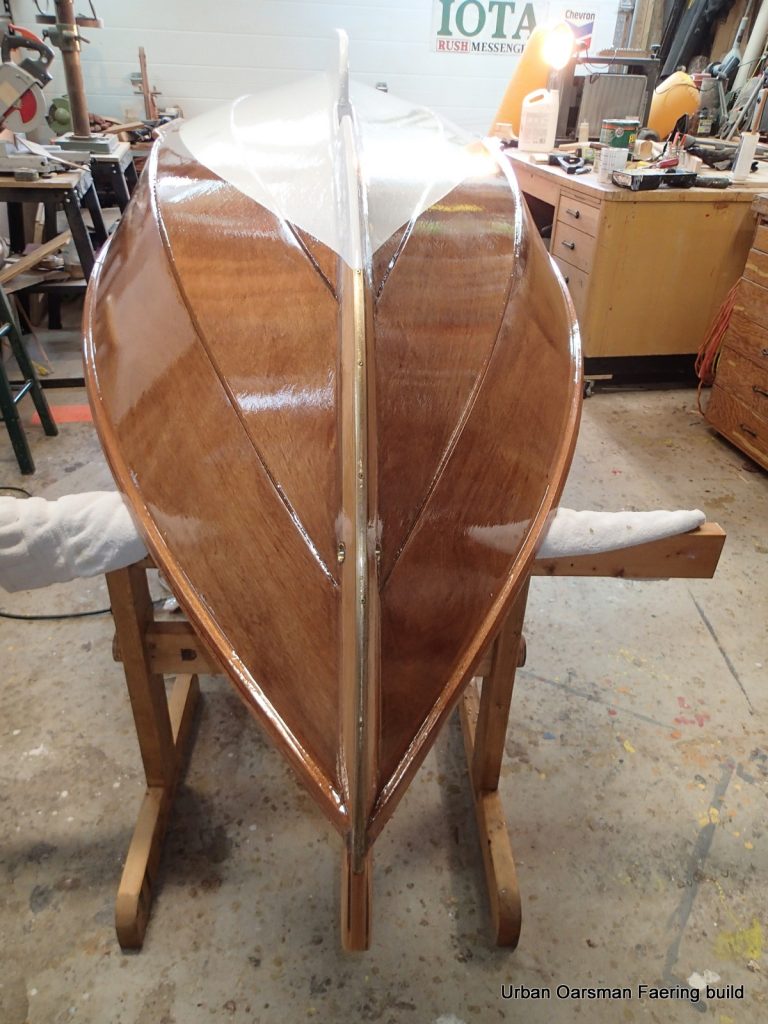
The entire outside of the hull gets a coat of epoxy resin.
Checking the rudder fit into the cassette.
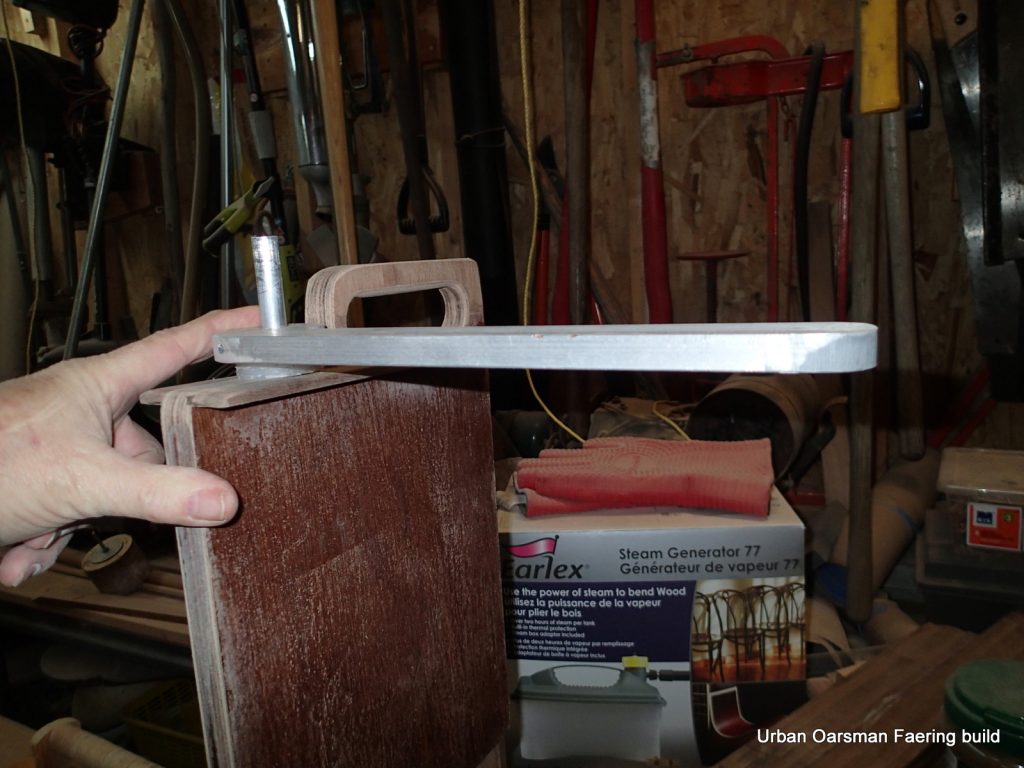
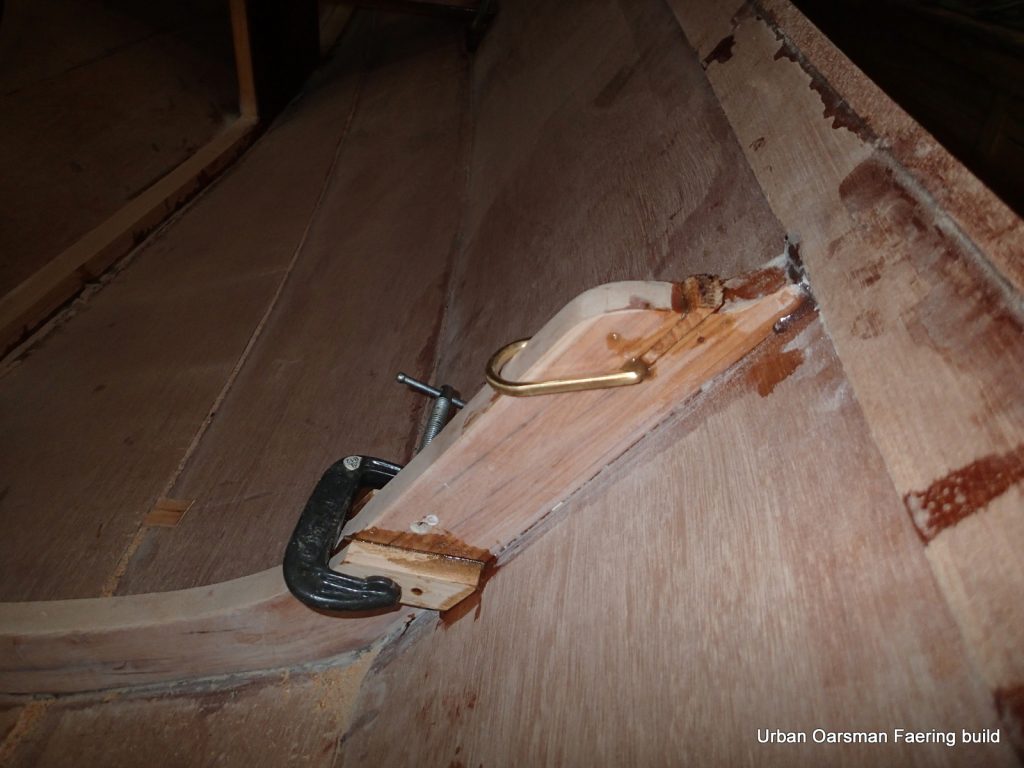
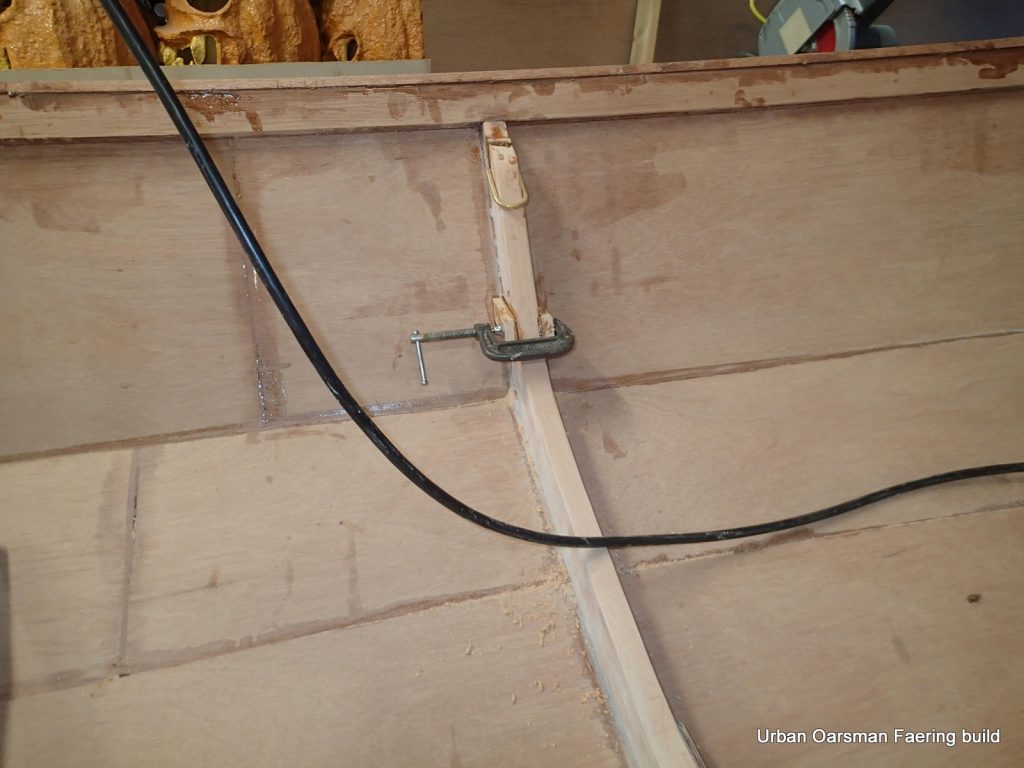
The rudder frame in the rudder cassette. The top of the frame has a handle. When the frame is out of the cassette, the rudder is high enough in the cassette to beach the faering without it hitting. It will be a push-pull tiller, similar as designed.
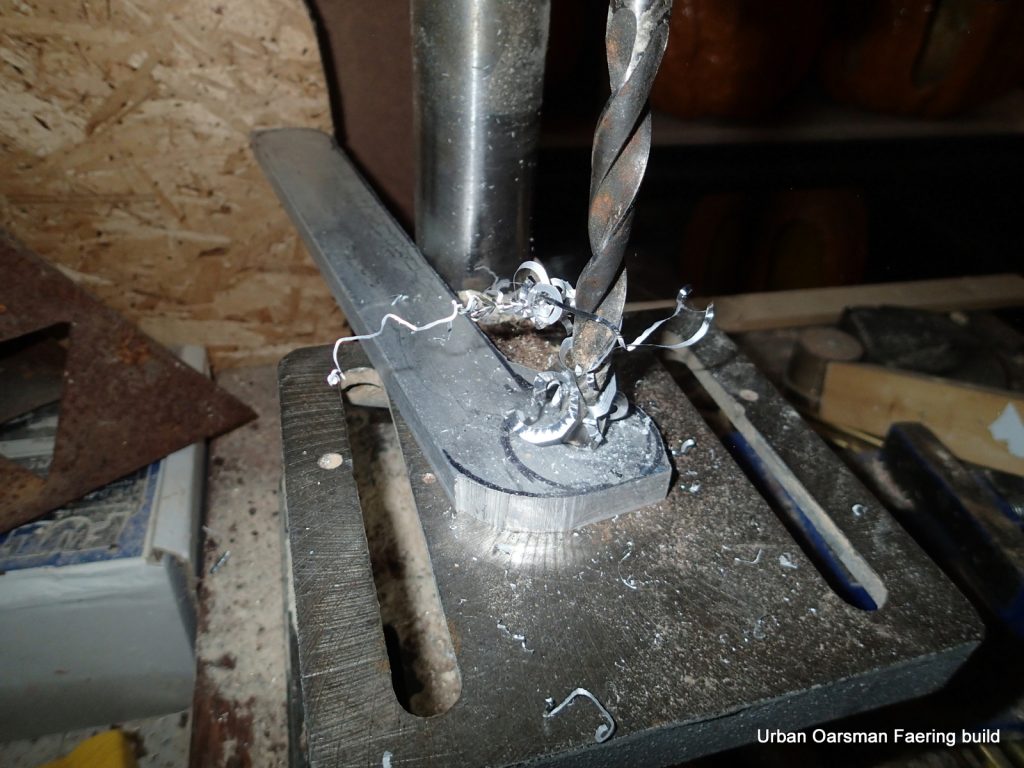
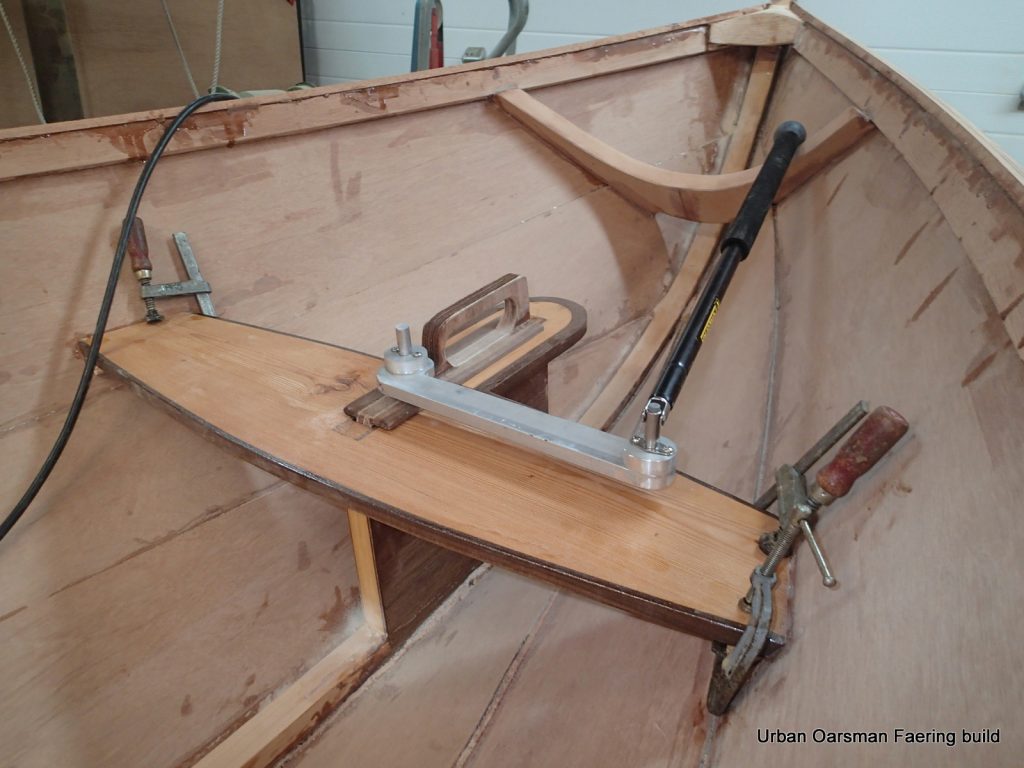
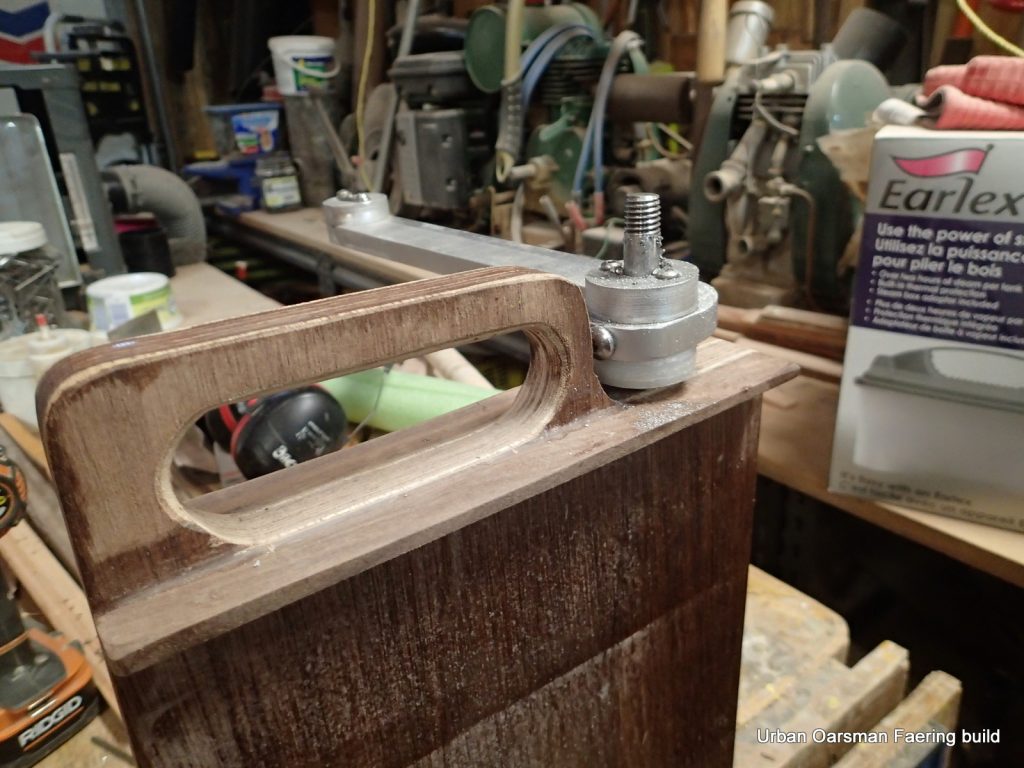
Making the rudder arm.
Rudder arm on the rudder shaft. There is a drilled and tapped hole through the arm and rudder shaft.

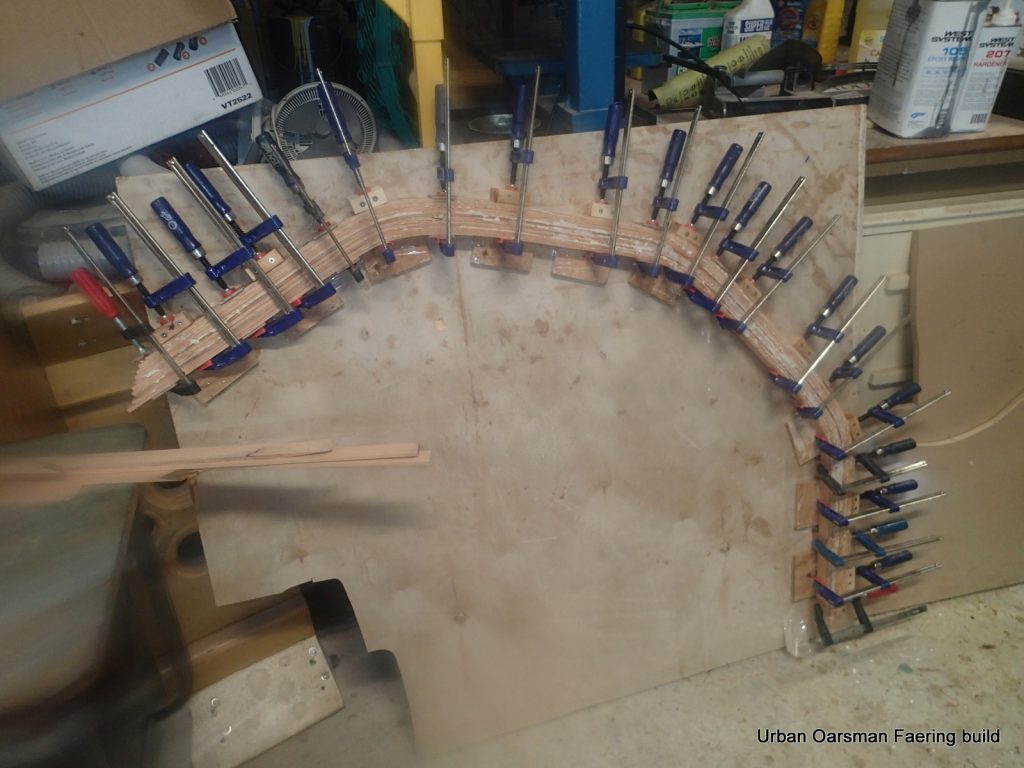
Gunnel cap going on. Due to the bend, it will be a three piece lamination. The pegs hold the first strip in place while the epoxy cures.
The gunnel cap rail epoxied into place. Note that two of the thwarts are not installed yet. Only the after one with the cassette rudder case.
Rudder & frame in. A tiller extension will fit into the arm (on the right in this photo)
Matt cut me these “D” rings.
Thwart supports epoxied in.
Stern seat supports epoxied in. Tiller extension on. Top of rudder shaft still needs work.
Top of rudder shaft is threaded to take an acorn nut.
Inside gets a coat of resin. I am using pool noodles to cushion gunnels (etc.) when handling the faering.
Rudder frame and rudder get an epoxy coat, as do the thwarts.
Starting on the flooring.
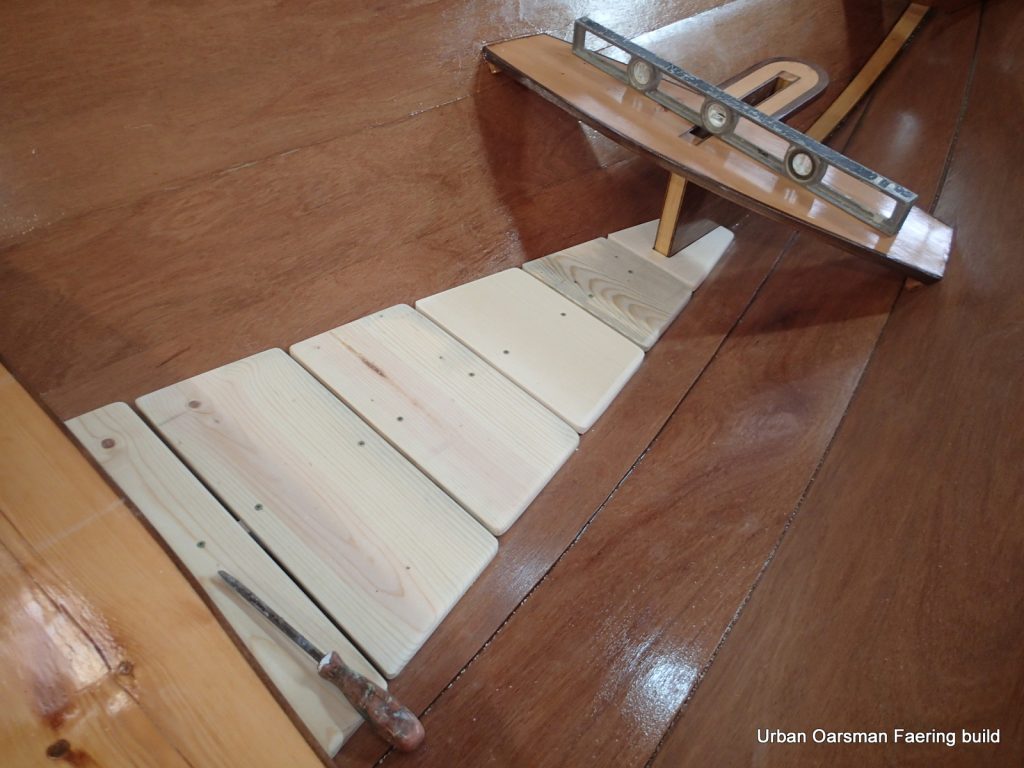
After floor.
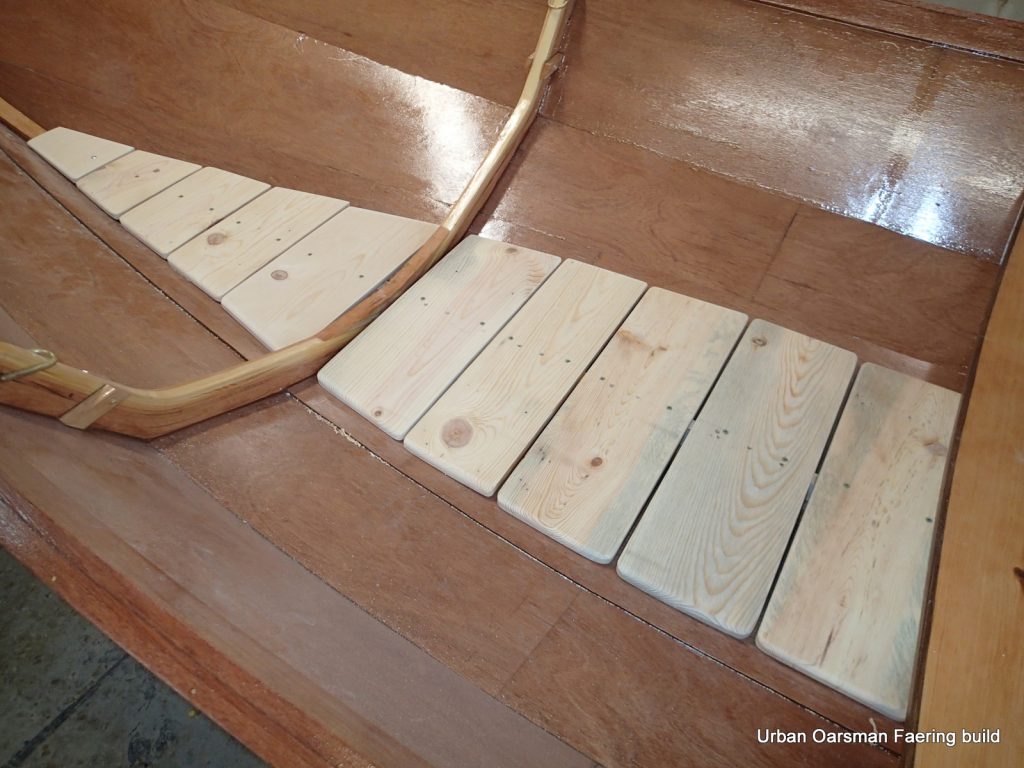
Forward and midships flooring.
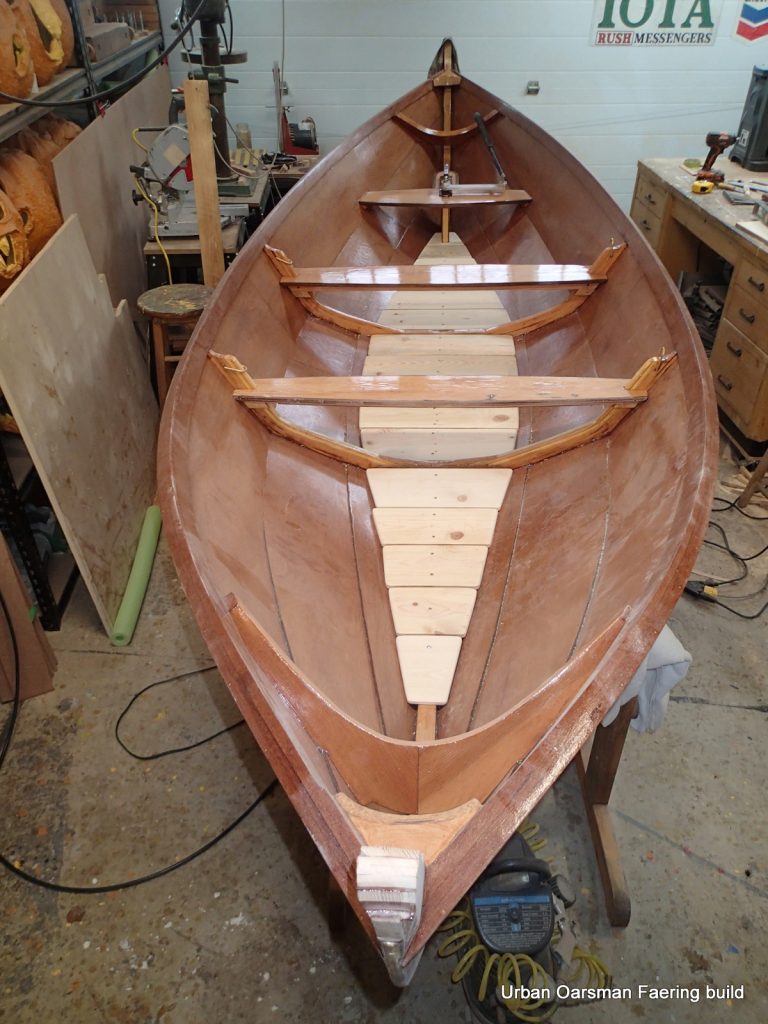
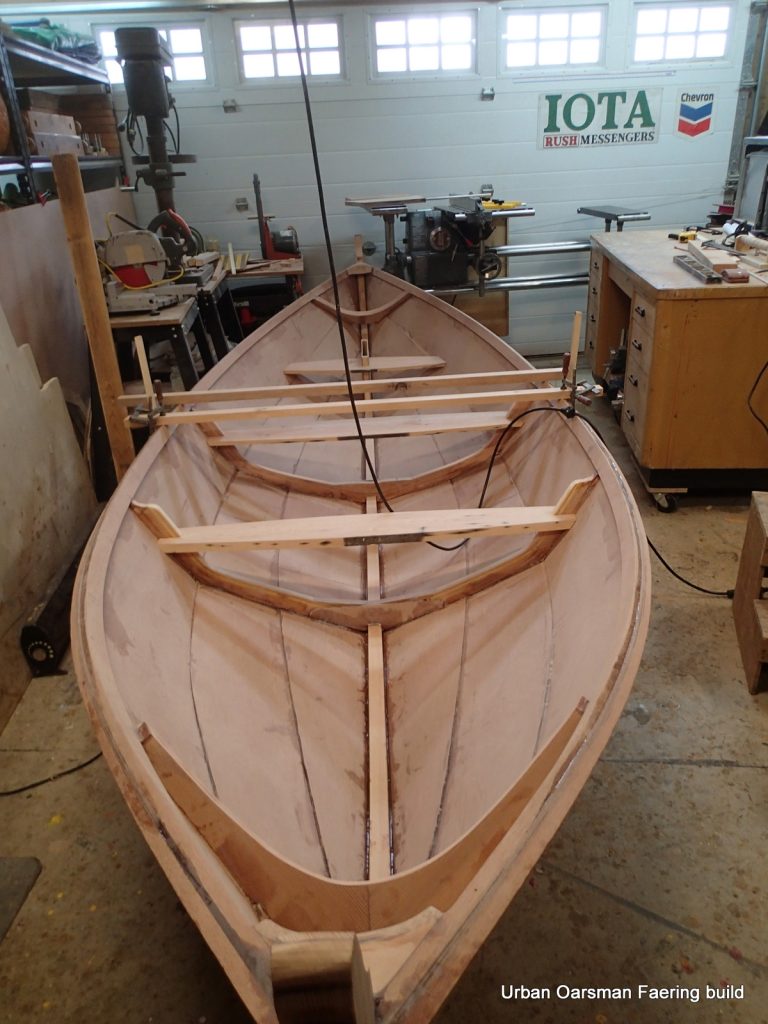
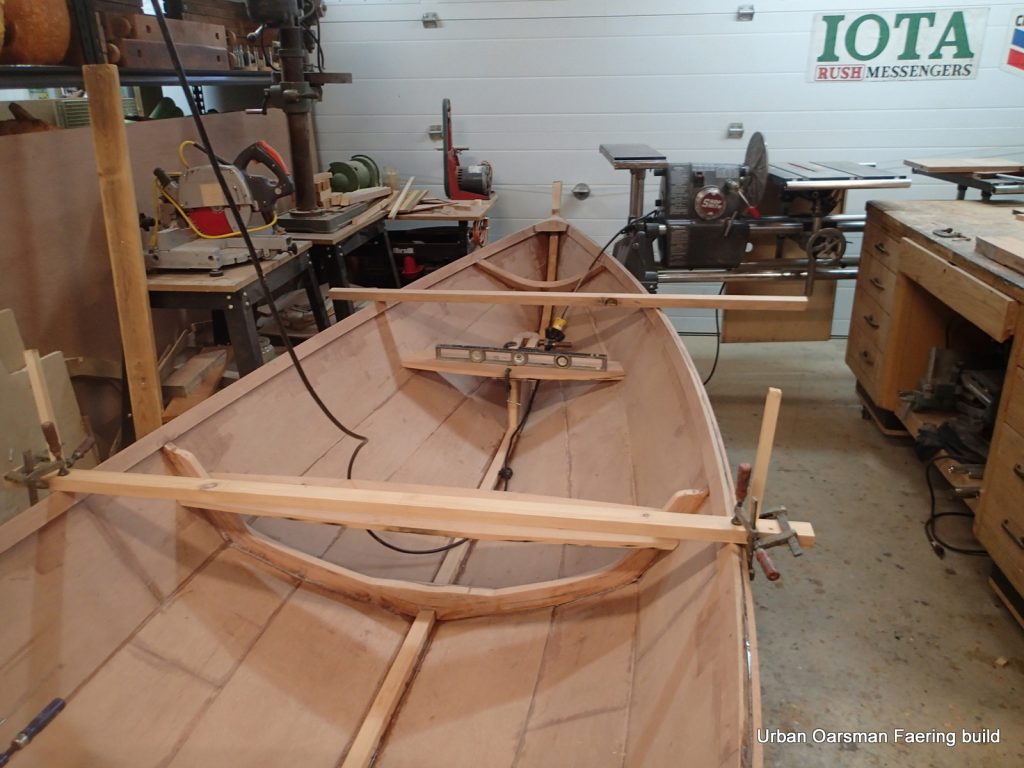
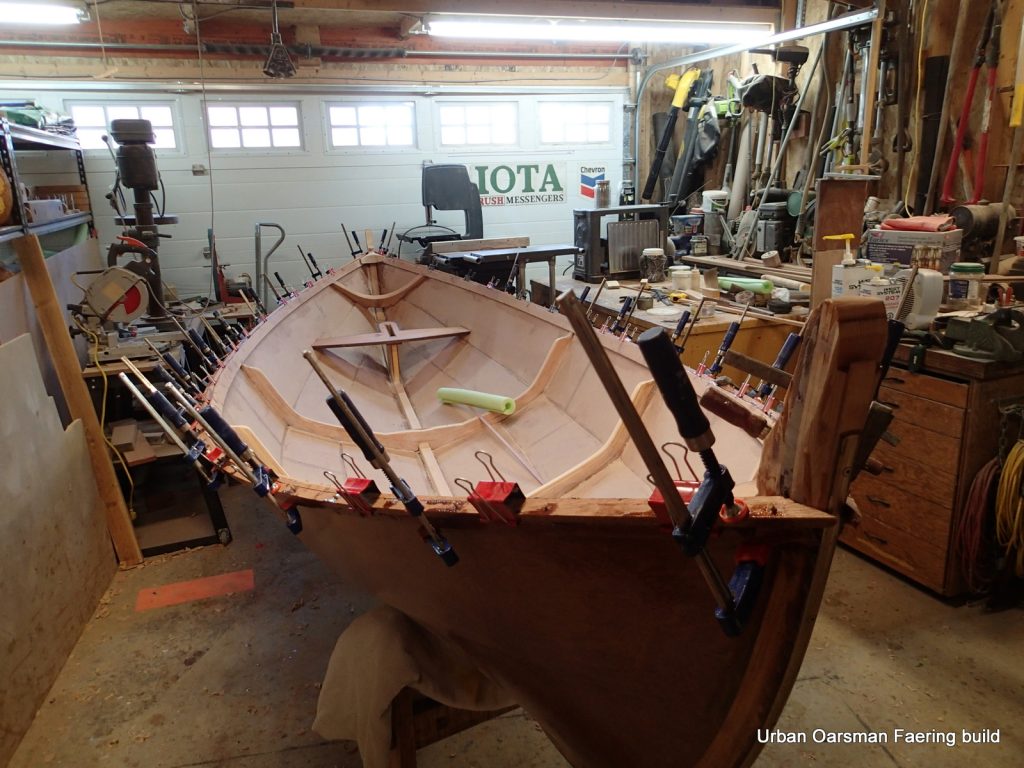
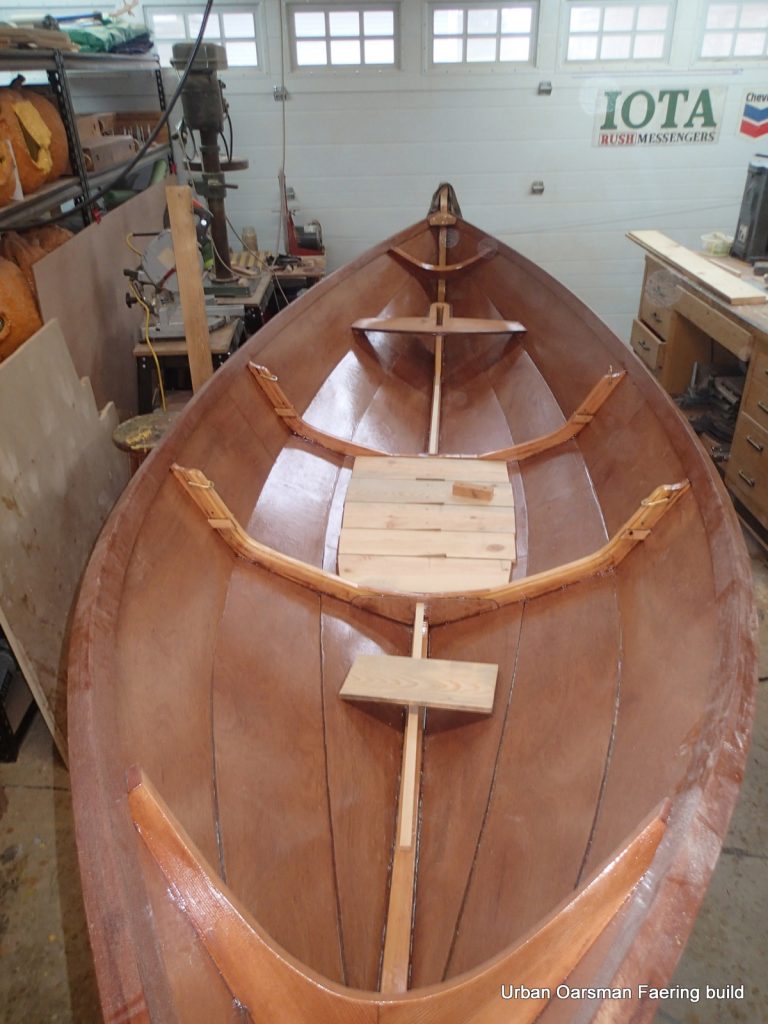
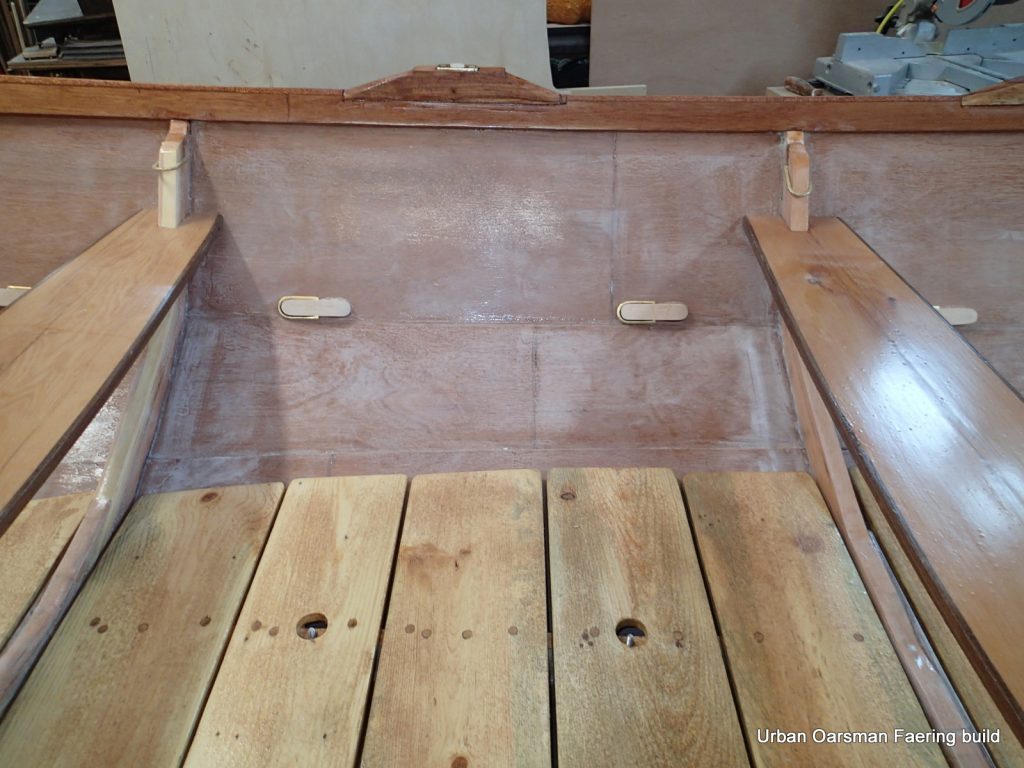
Looking really good. Flooring in, Thwarts in (Centre thwart is removable for sleeping in the faering), and ready for sanding.

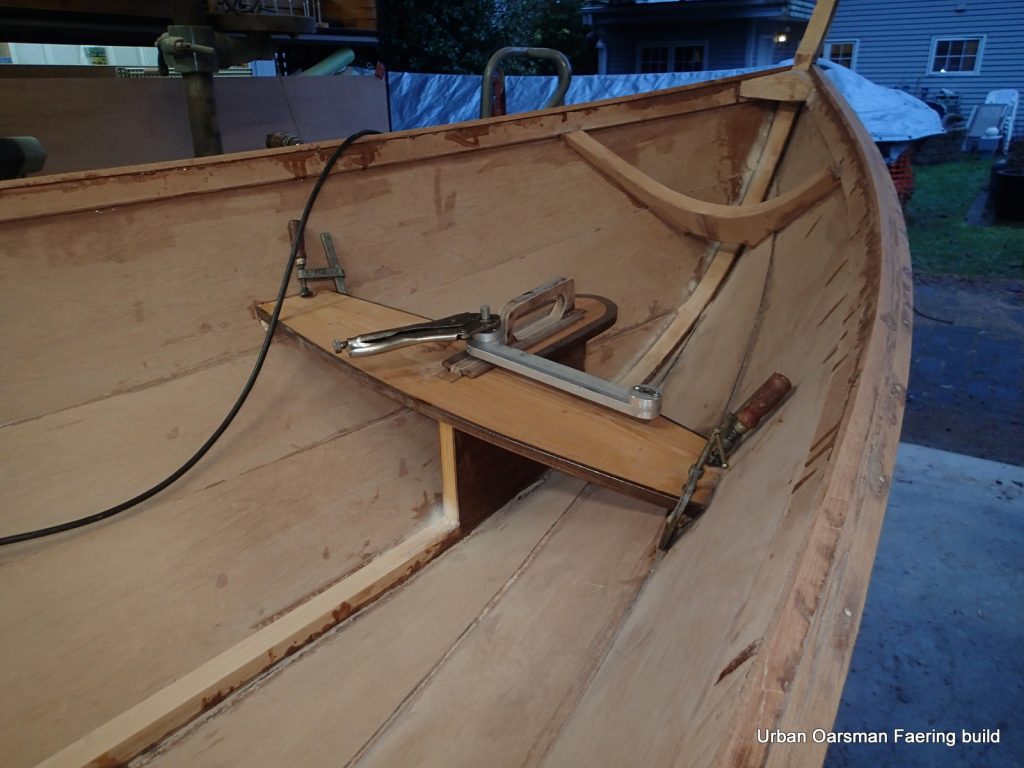
Cassette rudder in the beaching position.
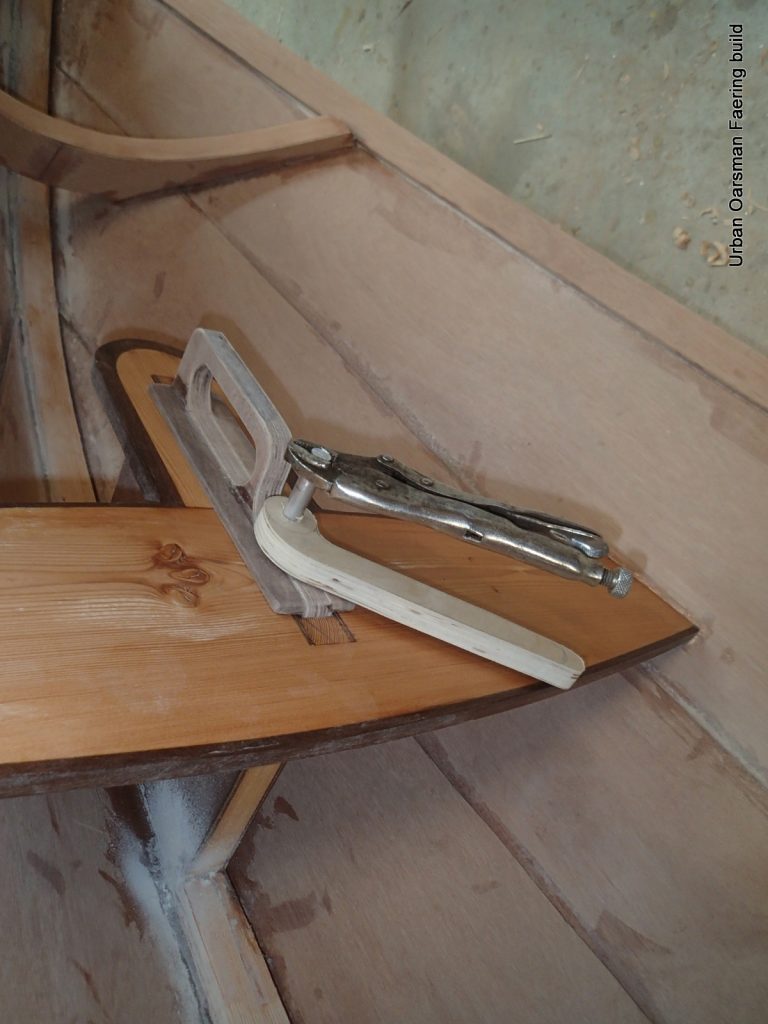
Fitting the oarlock pads.
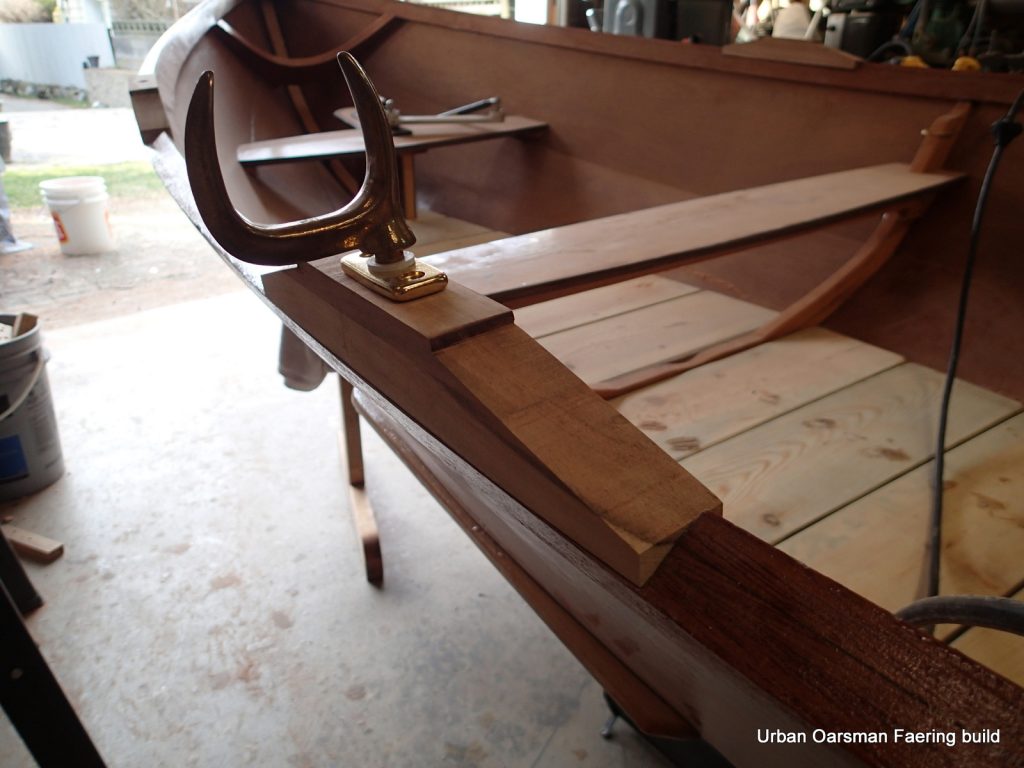
Oarlock dry-fit.
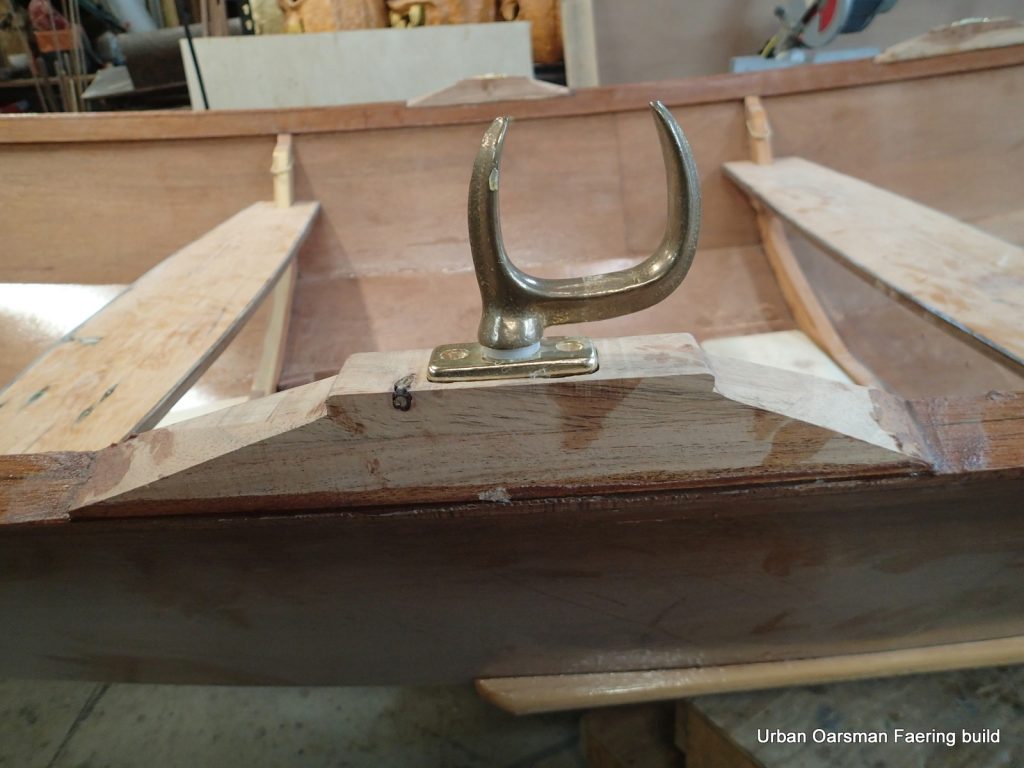
Oarlock pads epoxied in.
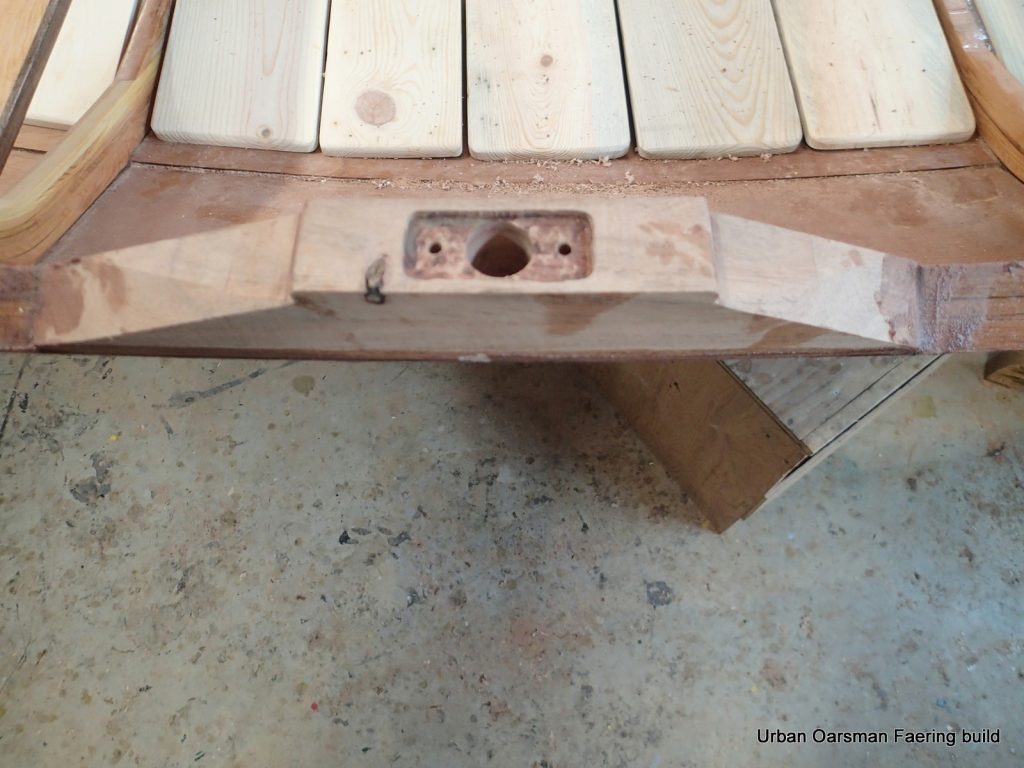
Cutting the recesses for the oarlock sockets.
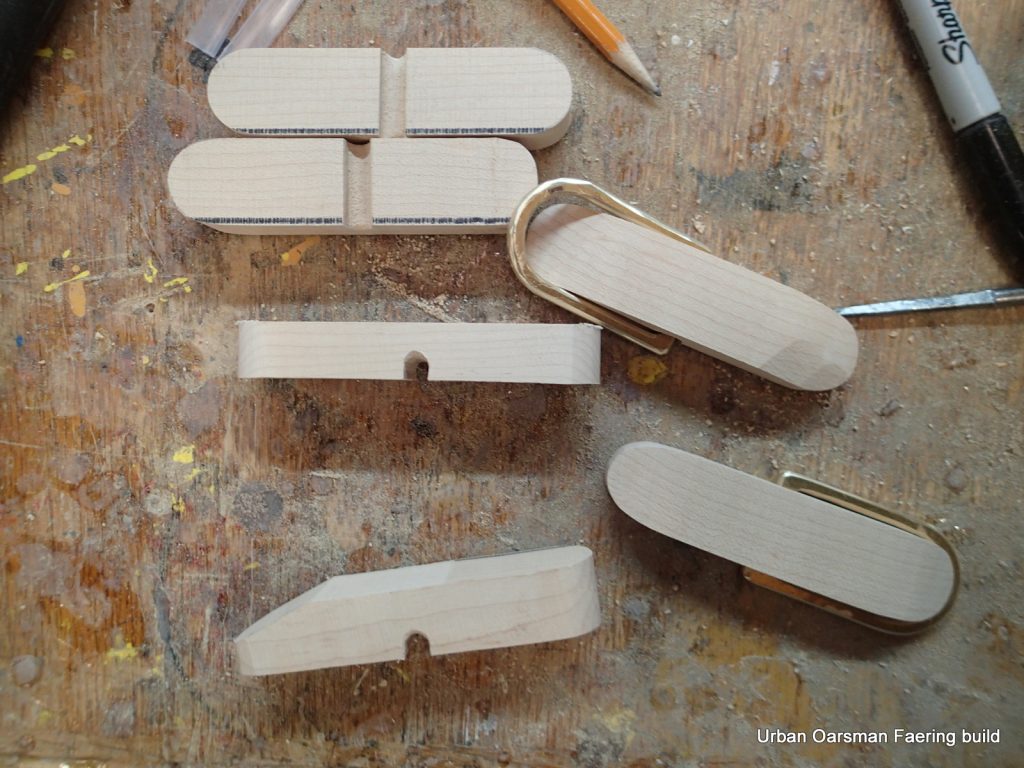
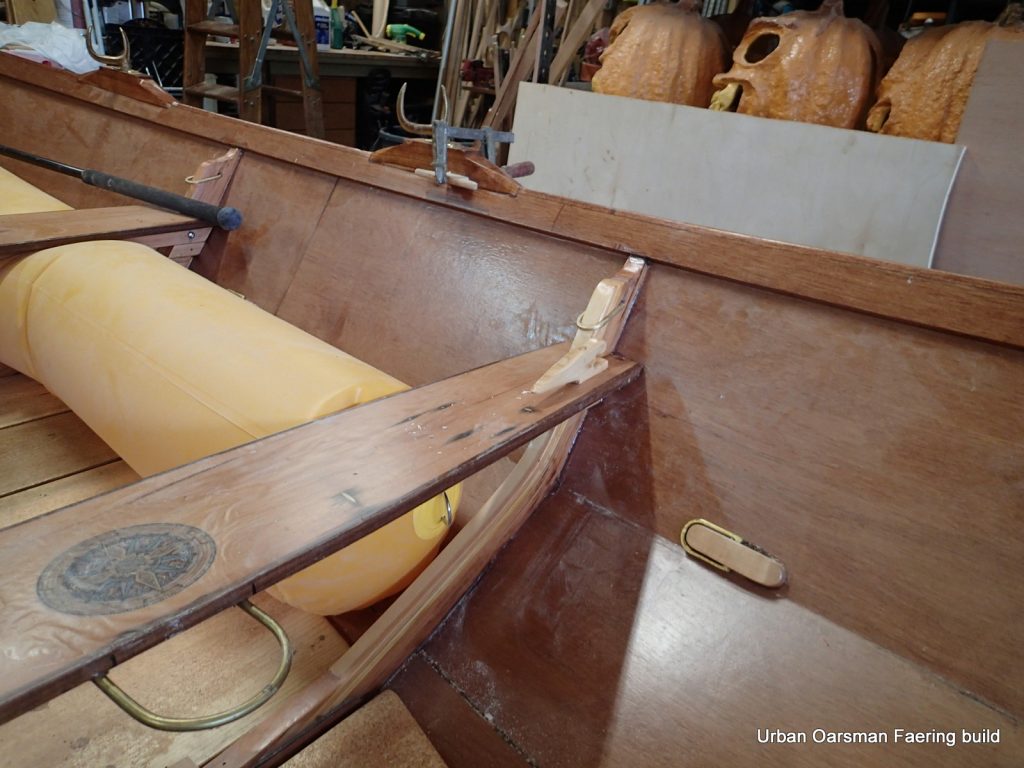
Since this will be a row/sail/camp cruiser, cargo tie-down are needed.

The tie-downs are maple blocks with 2″ brass “D” rings.
The sanding starts.
Varnishing is right behind…eight coats.
The floor boards get varnished too, with non-slip (ground walnuts) on the topsides. The floor boards are held in by stainless steel wingnuts.
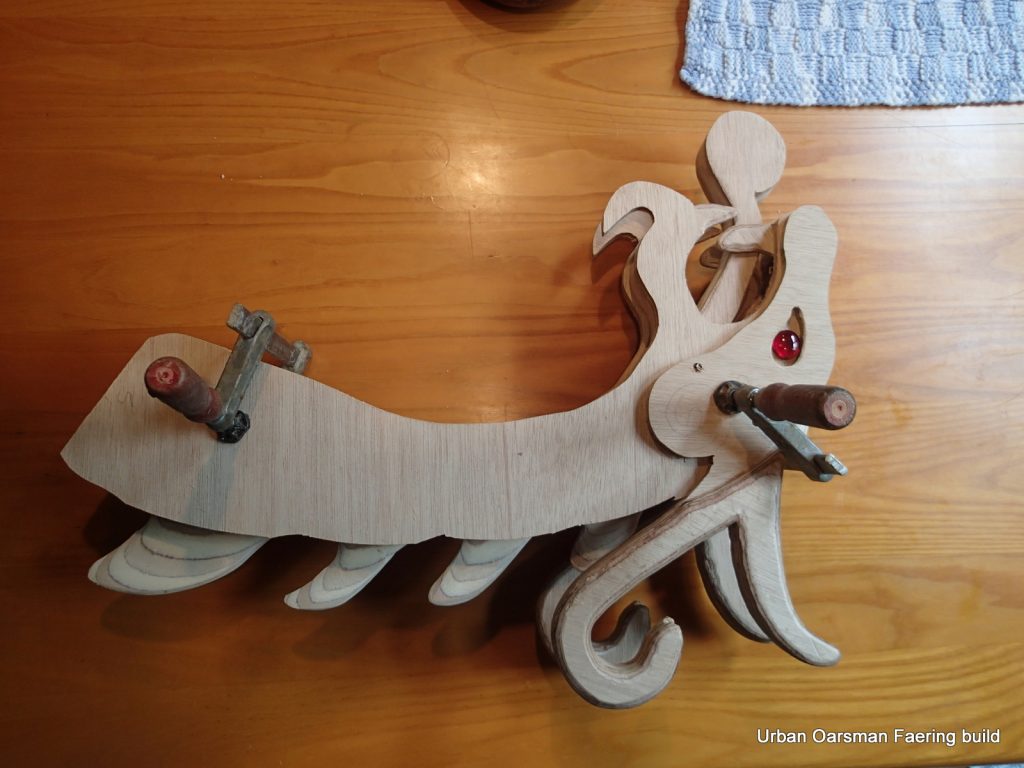
Because the faering is a Norse design, and I am making the boat for the 2022 Barefoot Raid, a frightening figure head (and tail) is required.
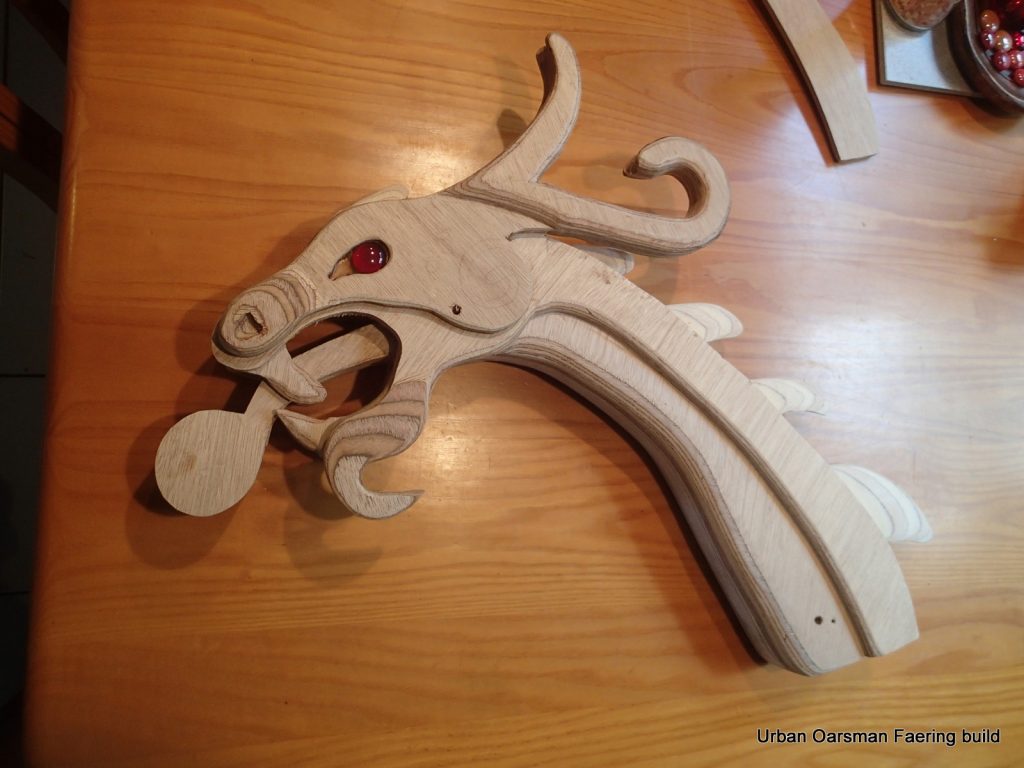
My dragon head is made up of laminated pieces of plywood.
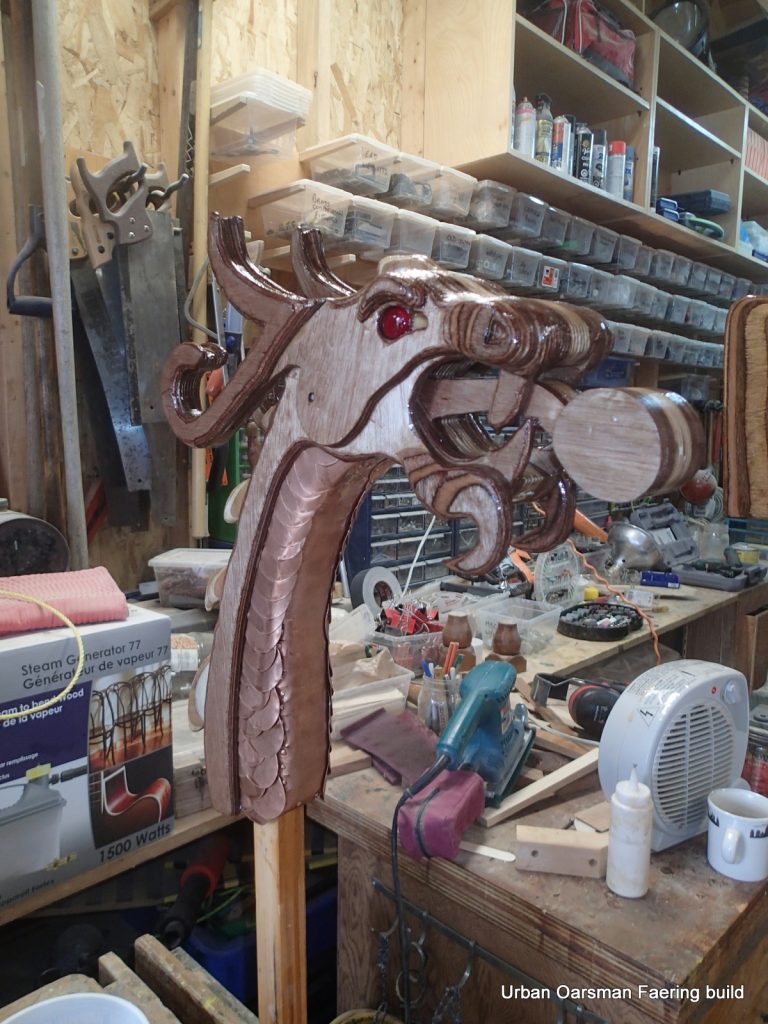
The figurehead gets copper scales.

The dragon head, tail and template.
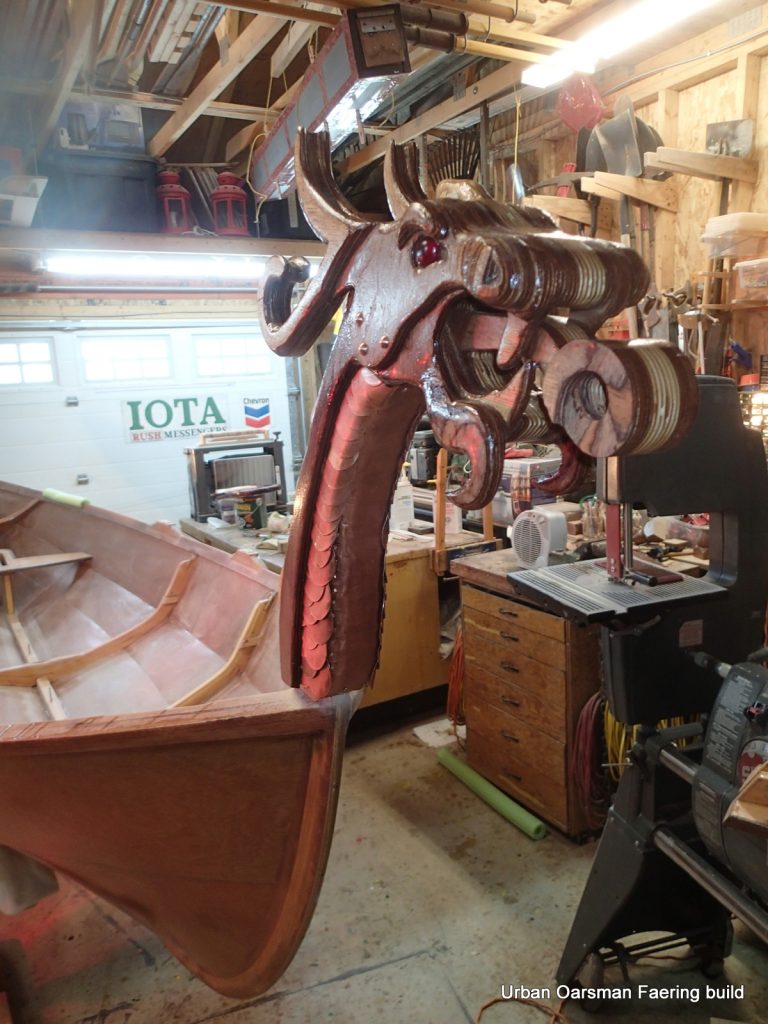
The figure head and the tail fit onto the bow and stem of the faering…they are removable so as not to scare the friendly land spirits when you come home.
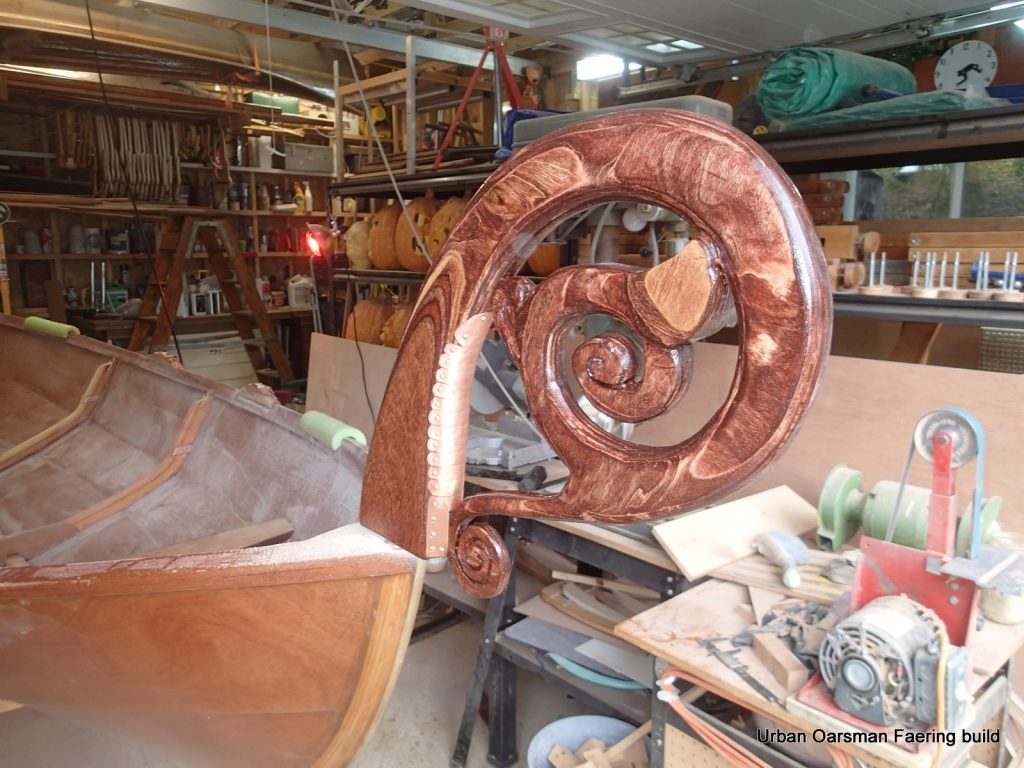
The faering’s tail piece.
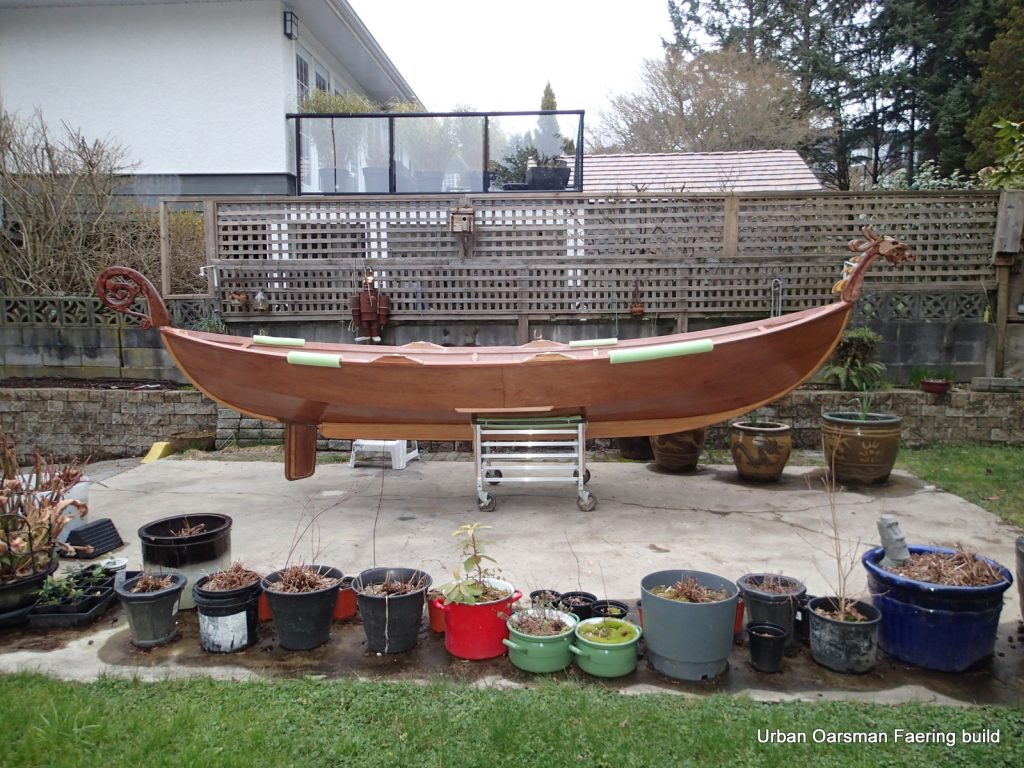
Side view of the “Elf” faering.
The interior is sanded and the cargo tie-downs are in. You can see the bolts that hold the floors in place.
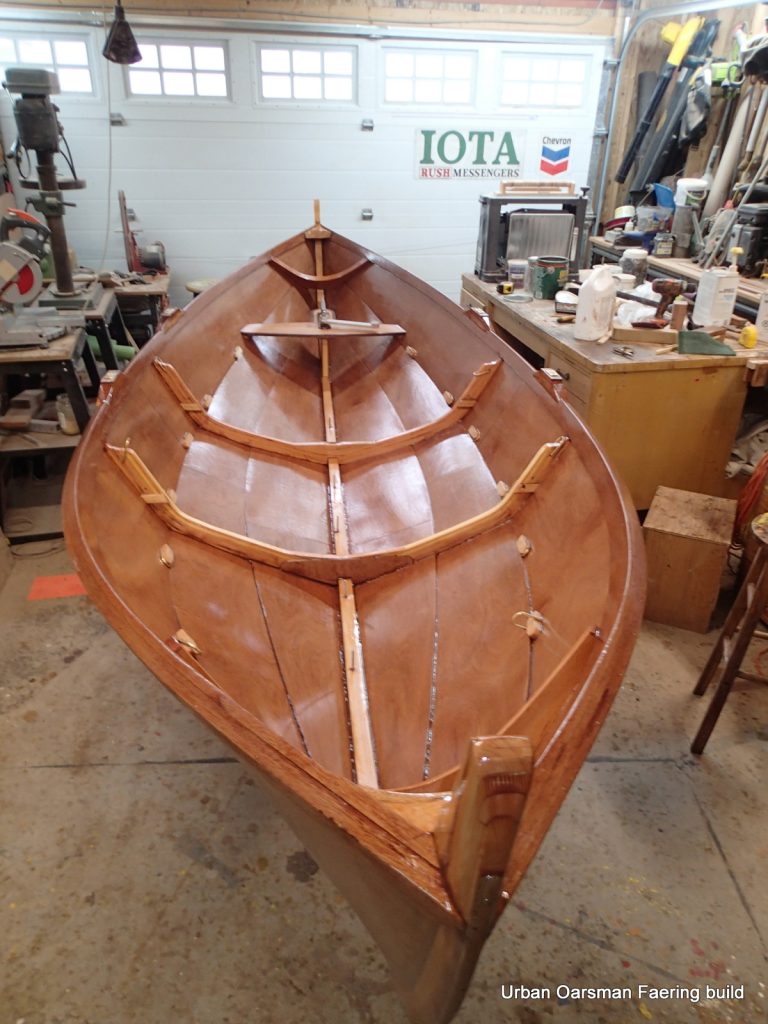
The interior varnishing begins…Eight coats later…

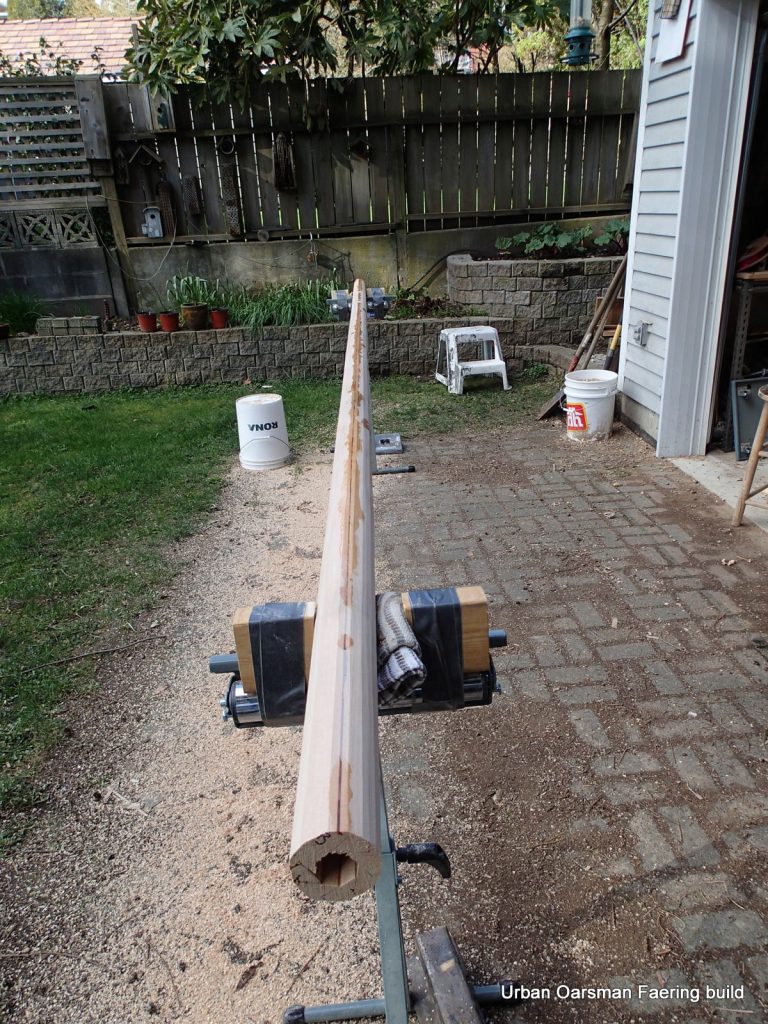
I am cutting up some spruce to make a bird’s mouth mast for her sailing rig.
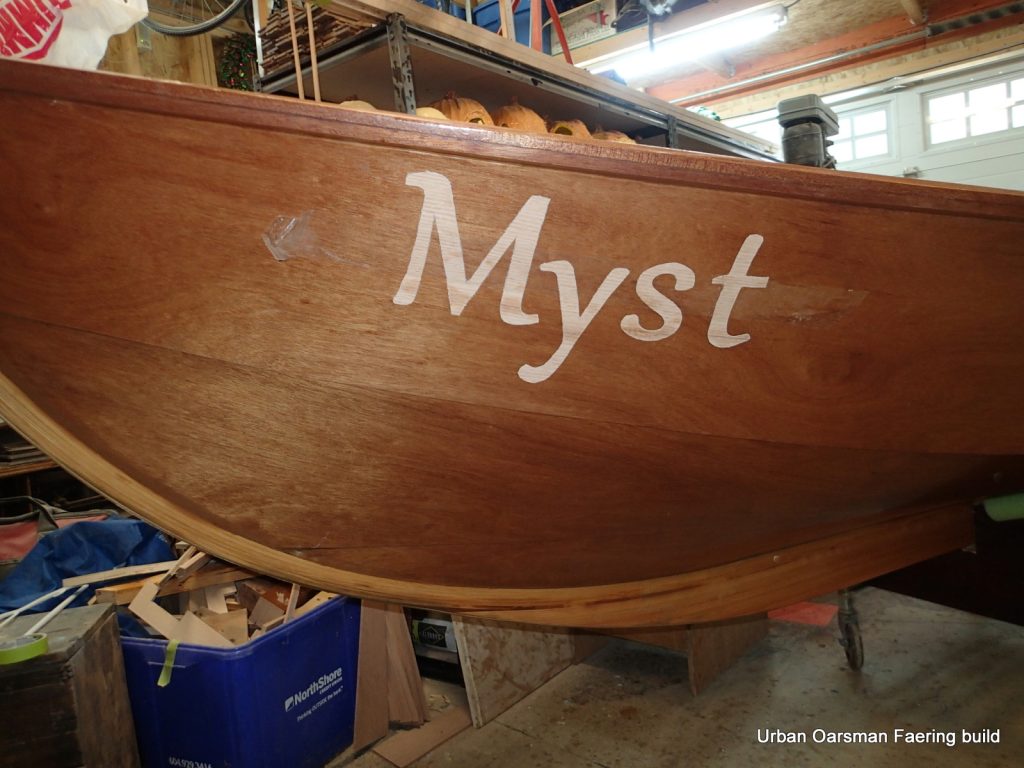
All boats deserve a name, and my faering is named “MYST”. Her name is oak veneer epoxied onto her hull. This is the test fitting using packing tape.
Glue Myst’s name on.
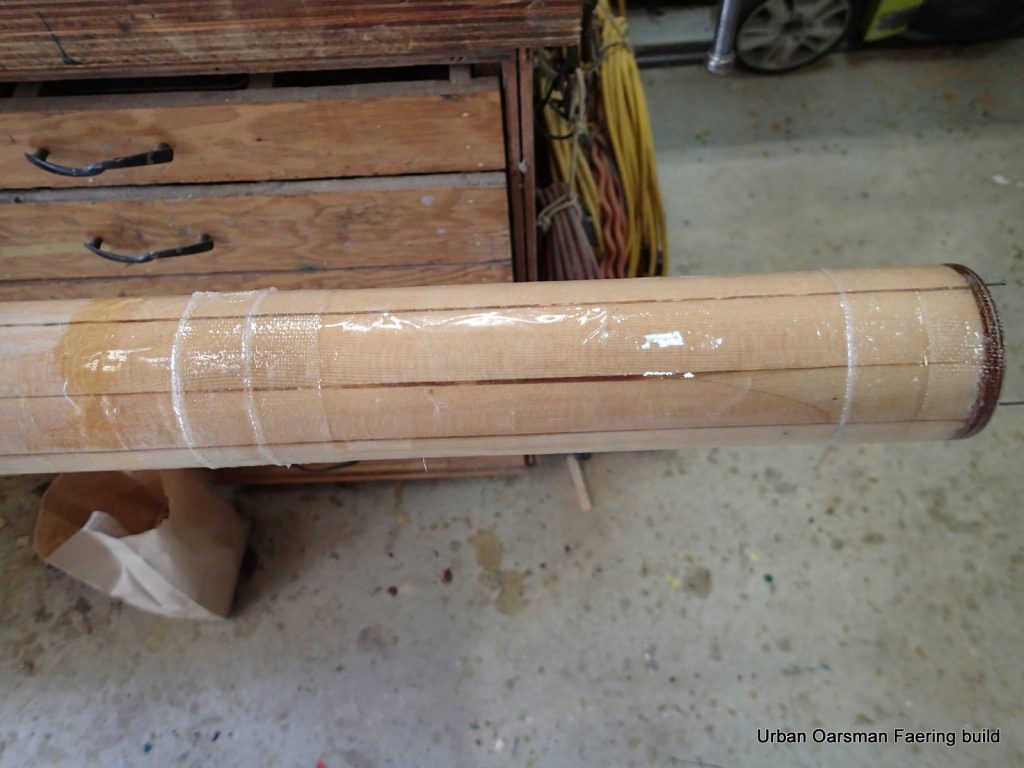
Glueing up spruce strips for the bird’s mouth mast.
The scarfs in the mast strips.
Cutting the birds mouths.
Mast dry-fit.
Strips ready for epoxy
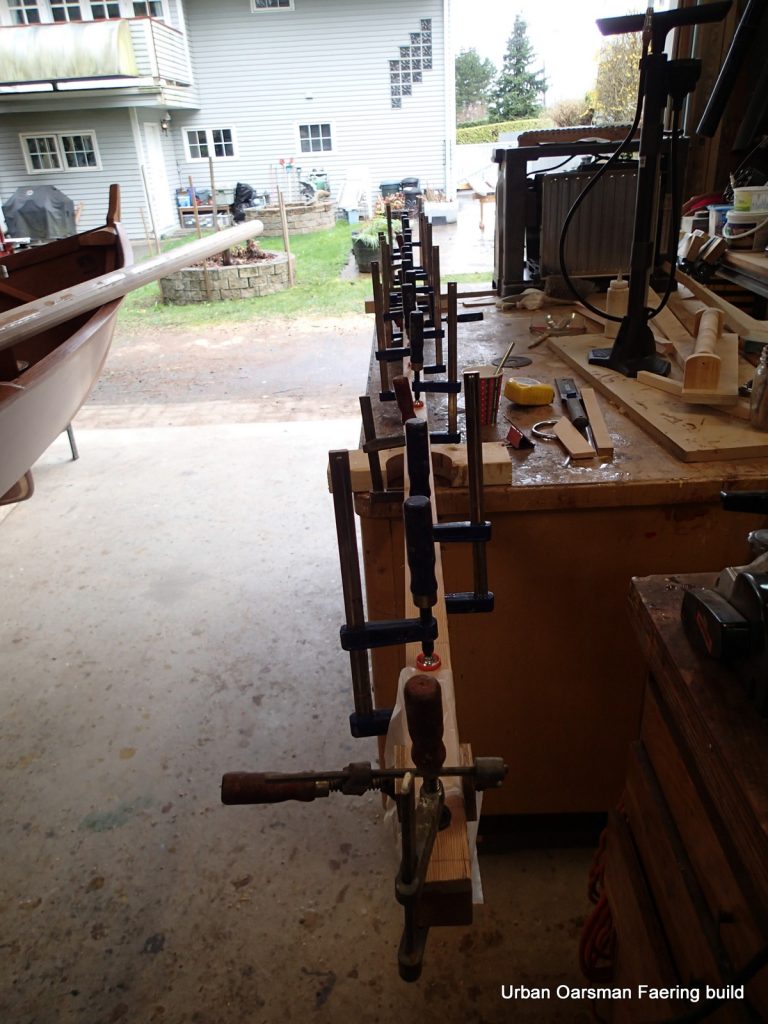
Bird’s mouth mast assembled and clamped up. It is important to keep the mast level.
I decided that I am not happy with the oars I had made, so I am making up another two pairs.
Oar blanks with the pattern.
Marking the curve for the blades.
Cutting out the oars.
Rounding out the hollow mast.
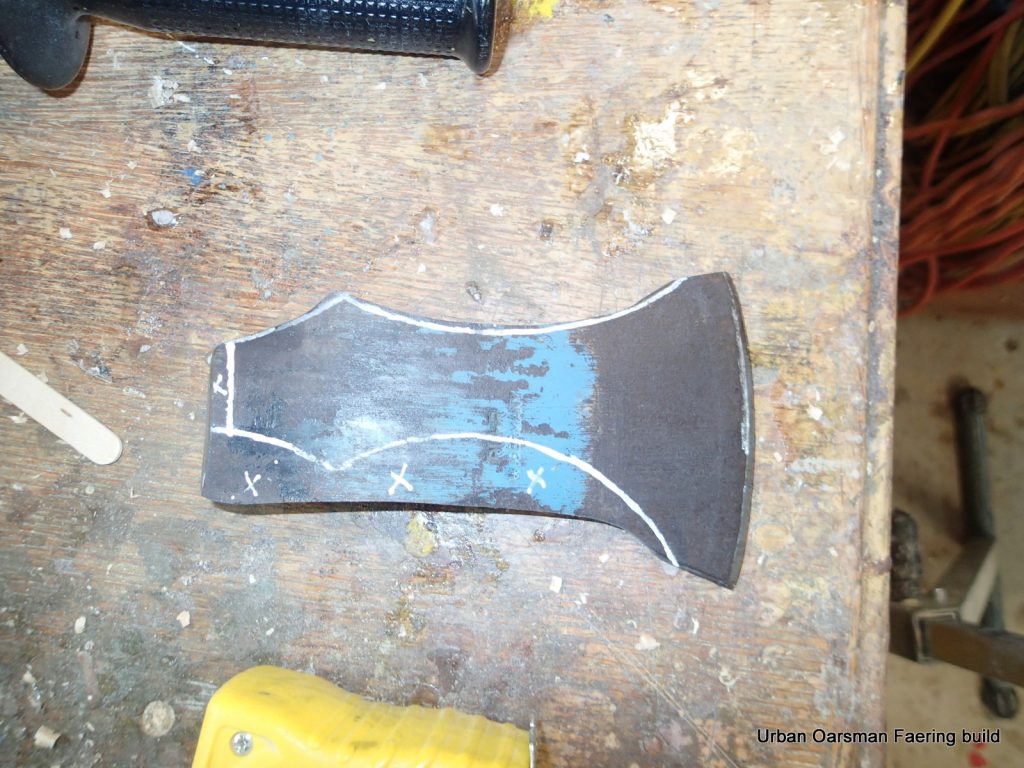
And what does every Norse inspired boat require? Why a bearded axe of course!
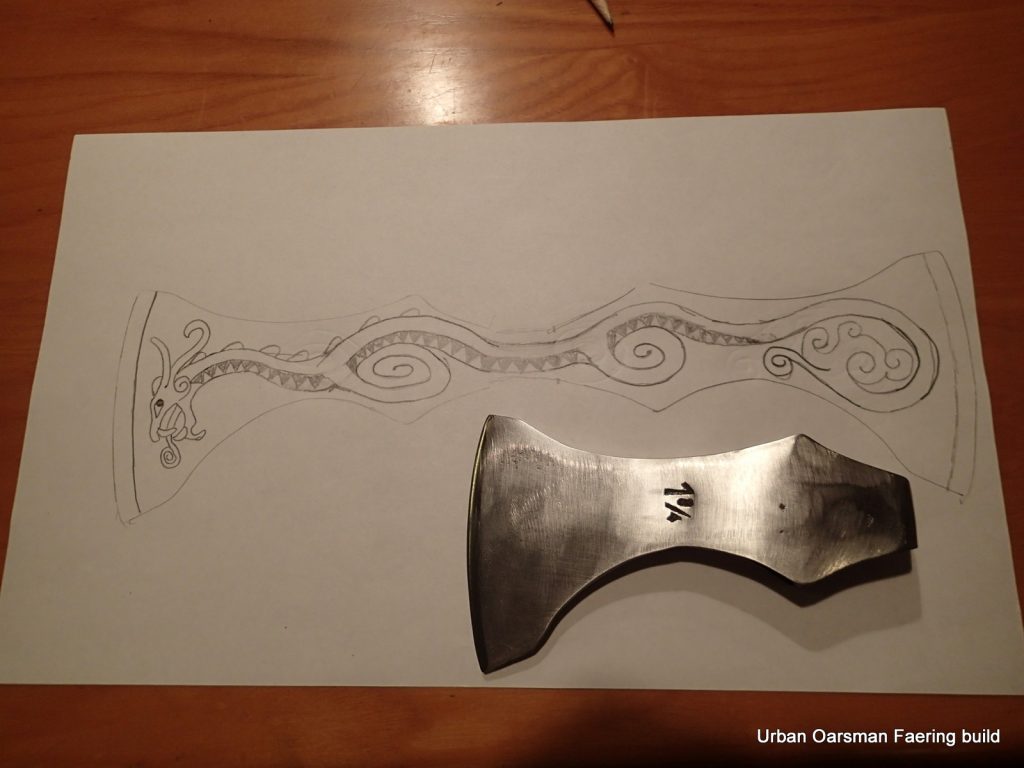
Axe head shaped on the pattern that I will etch into it.
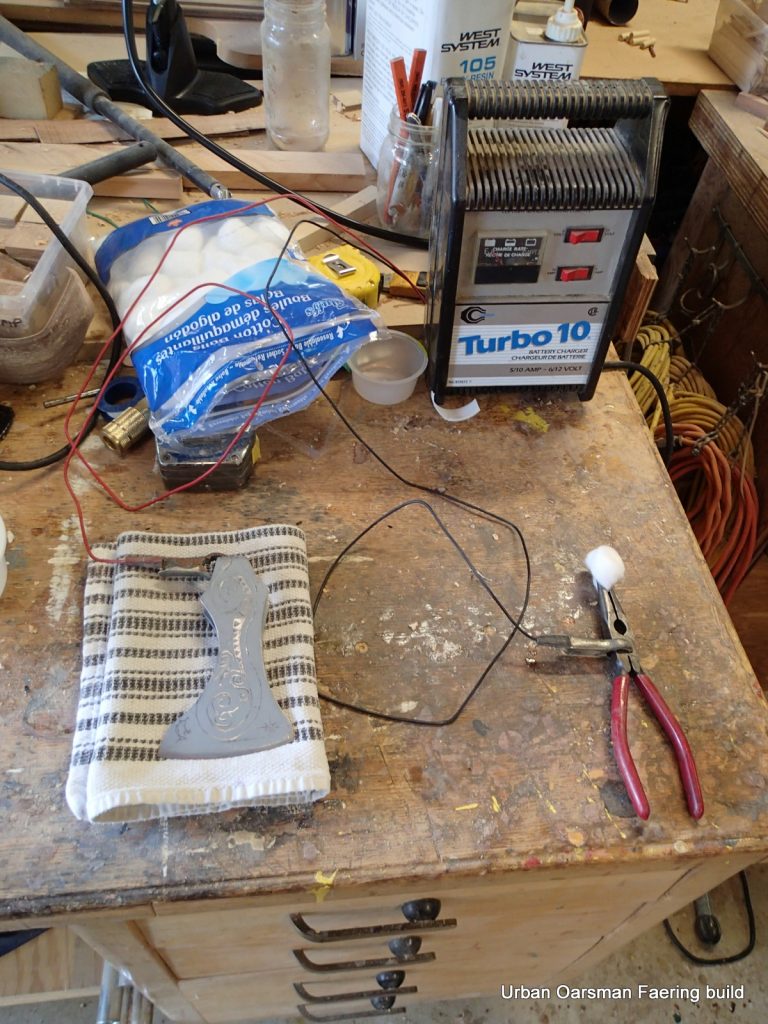
My etching equipment…a battery charger, salt solution, pliers, cotton balls and the axe head with a coating where I do not want it etched.
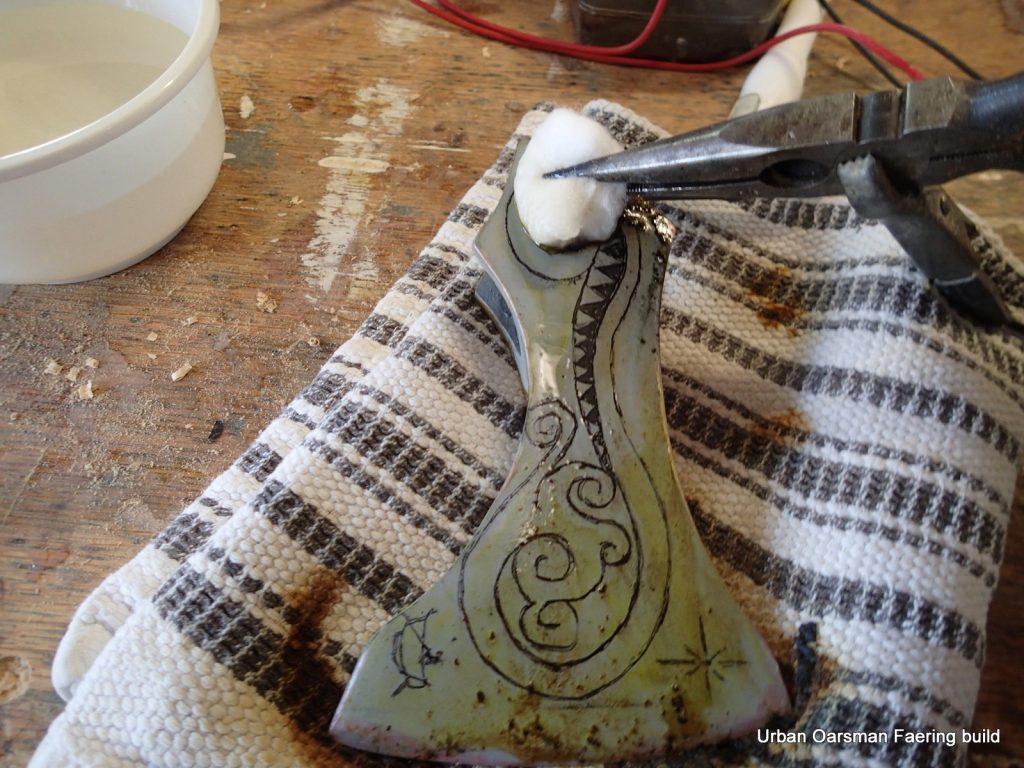
This is how I did it. attach the negative wire to the pliers. Attach the positive wire to the axe head. Pick up a cotton ball with the pliers. Dip the cotton ball into the salt solution. Turn on the battery charger. Rub the axe head with the cotton ball.
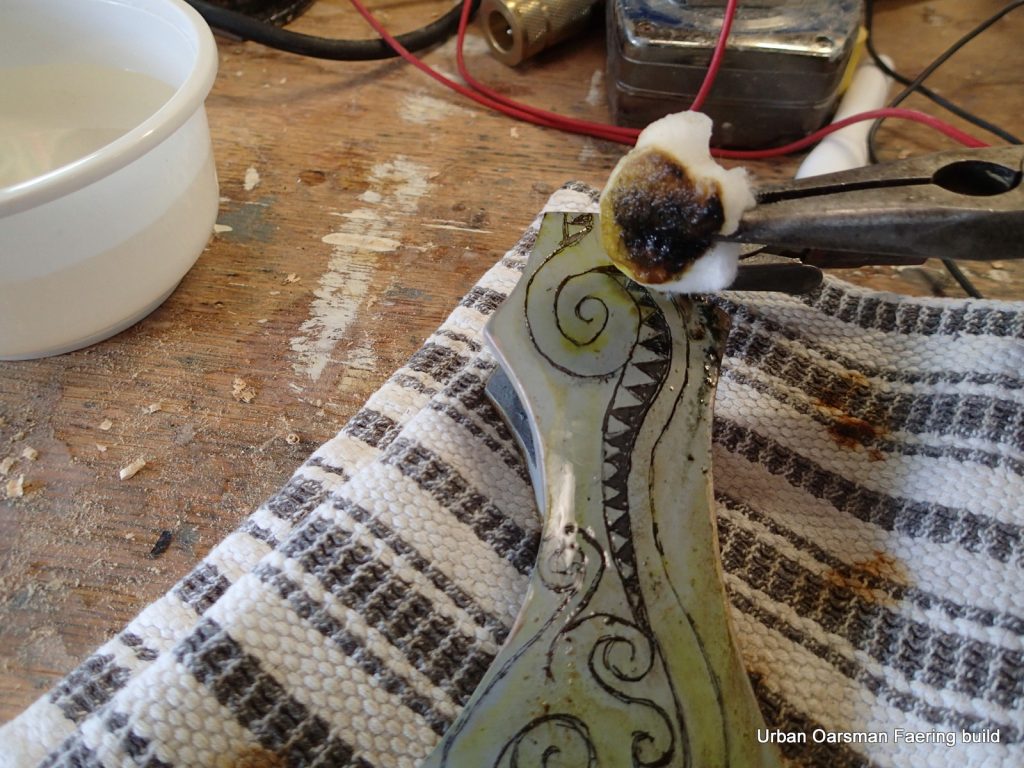
Under the cotton ball, the axe head is etched. I went through quite a few cotton balls.
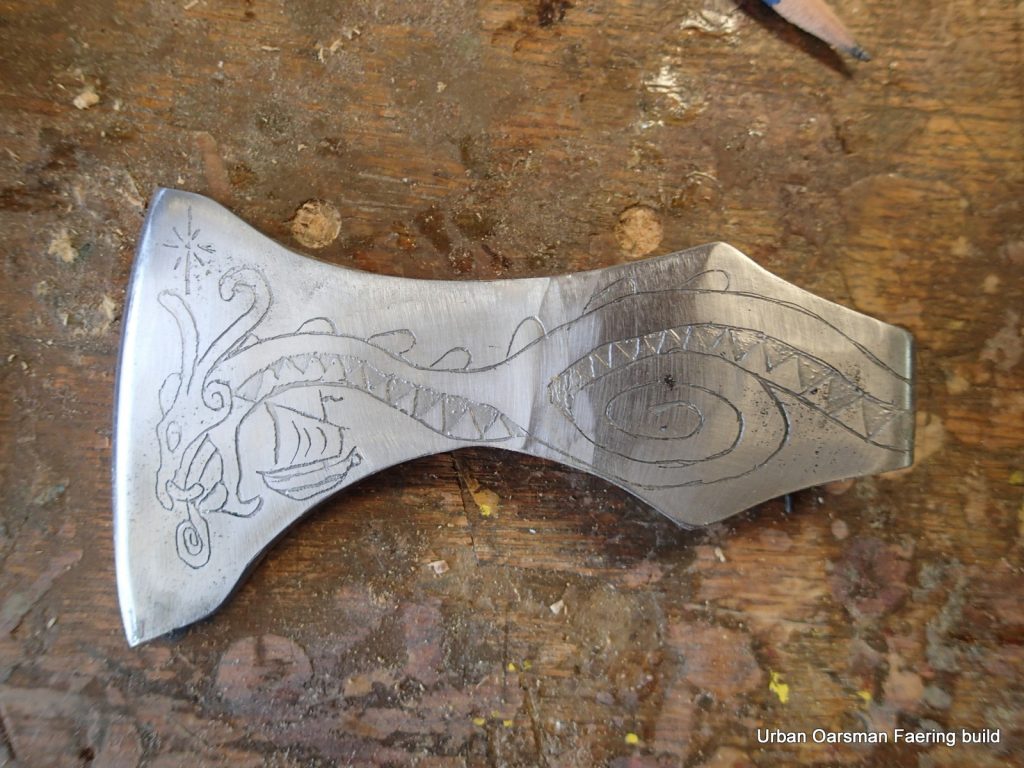
Side one of the axe head when cleaned up.

Side two.
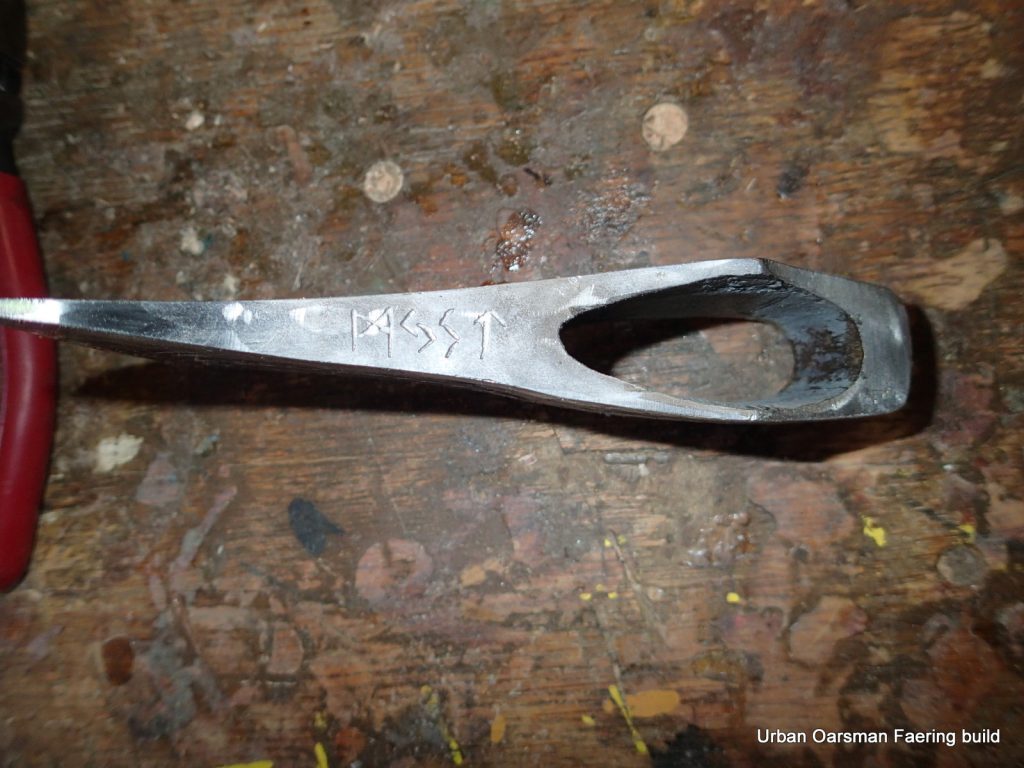
The top of the bearded axe says “MYST” in runes.

Fitting the handle.

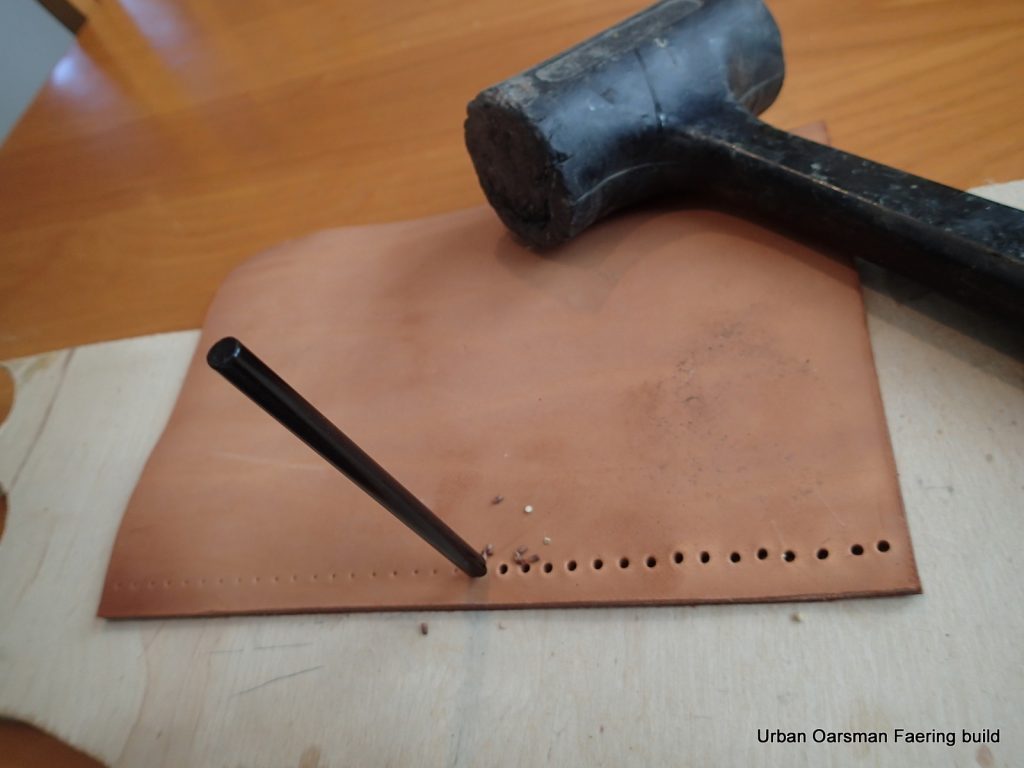
Every axe needs a sheath.
Mast gets the final shaping.
Gluing up the boom and the lug spar.
Myst with the new oars, mast, boom and lug spar.
Final shaping of the oars…handles, blades, shaft, etc.
Leathering the oars.
Test fitting the sail.
Making up the top of the mast section. It will have a dumb sheave for the halyard.
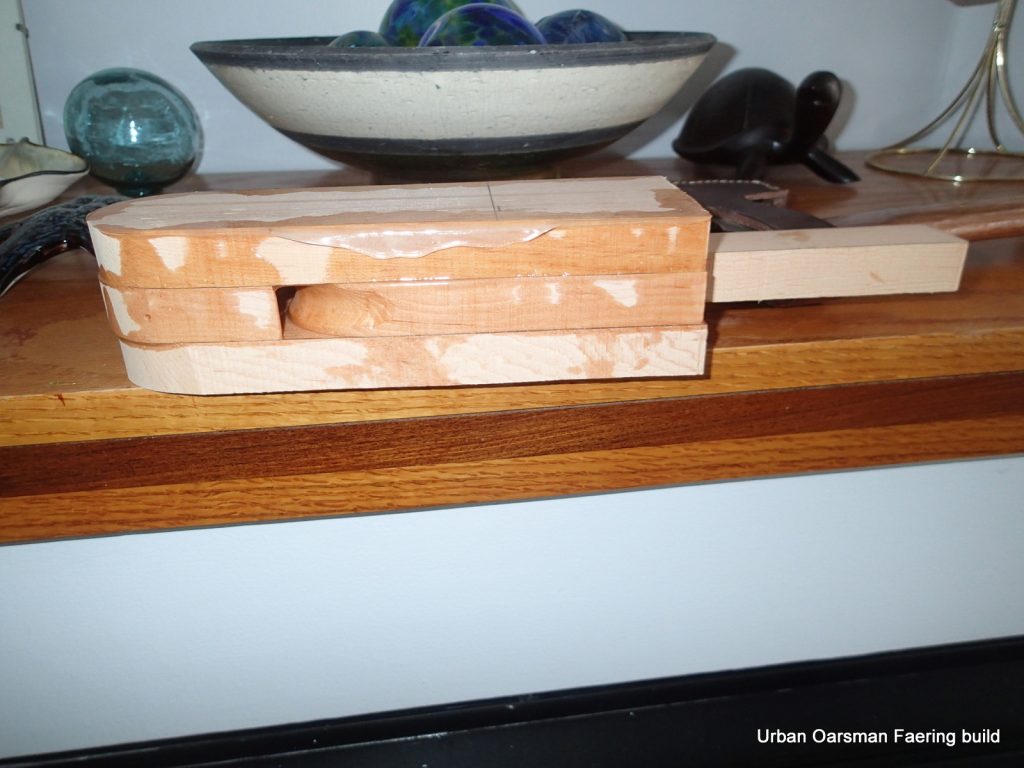
Mast top on the fireplace mantle to cure the epoxy.

Top fitted, shaped and epoxied into place. I stood the mast upside down while the epoxy cured so all of the epoxy would stay at the joint.
More test fitting…the mast seems a little high.
I shortened the mast for a better fit.
Making up the mast step.
I wrapped the base of the mast with epoxy and cloth where it will be stepped.
I threaded the mast partner so it will hold better when it is epoxied into the forward seat.
Mast partner epoxied into the forward thwart.
I decided to paint the hull white below the waterline. You can see the brass pipe that makes the forward painter tie point has not been shaped yet.
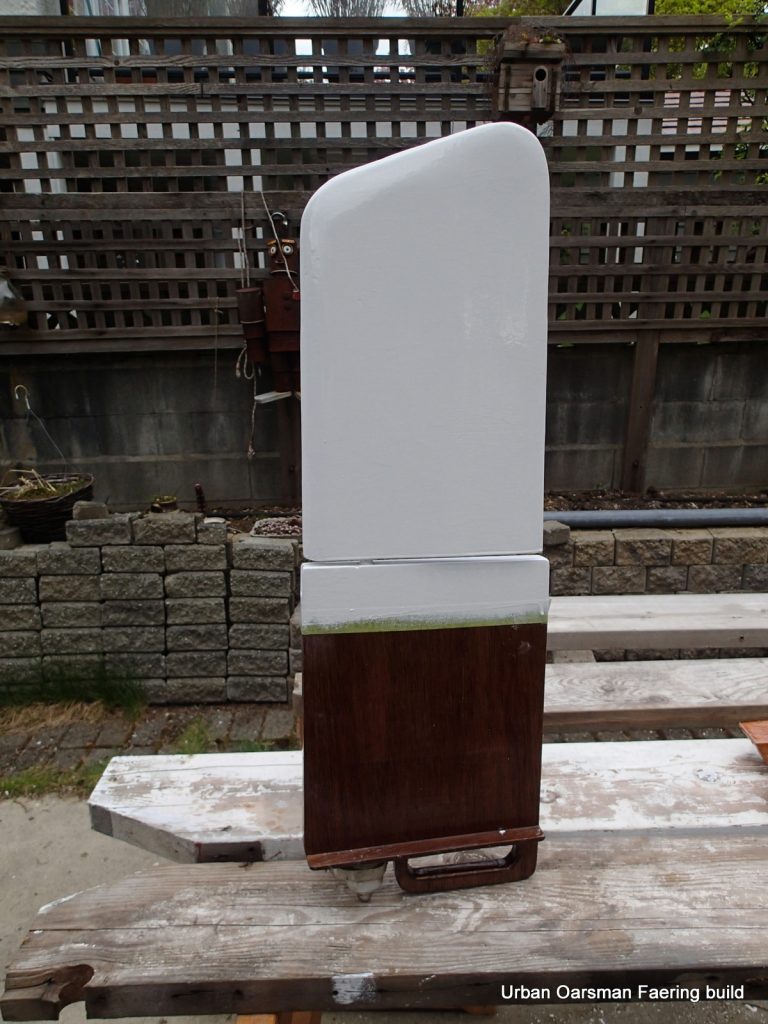
Rudder too.
I think that she looks great (Three coats)
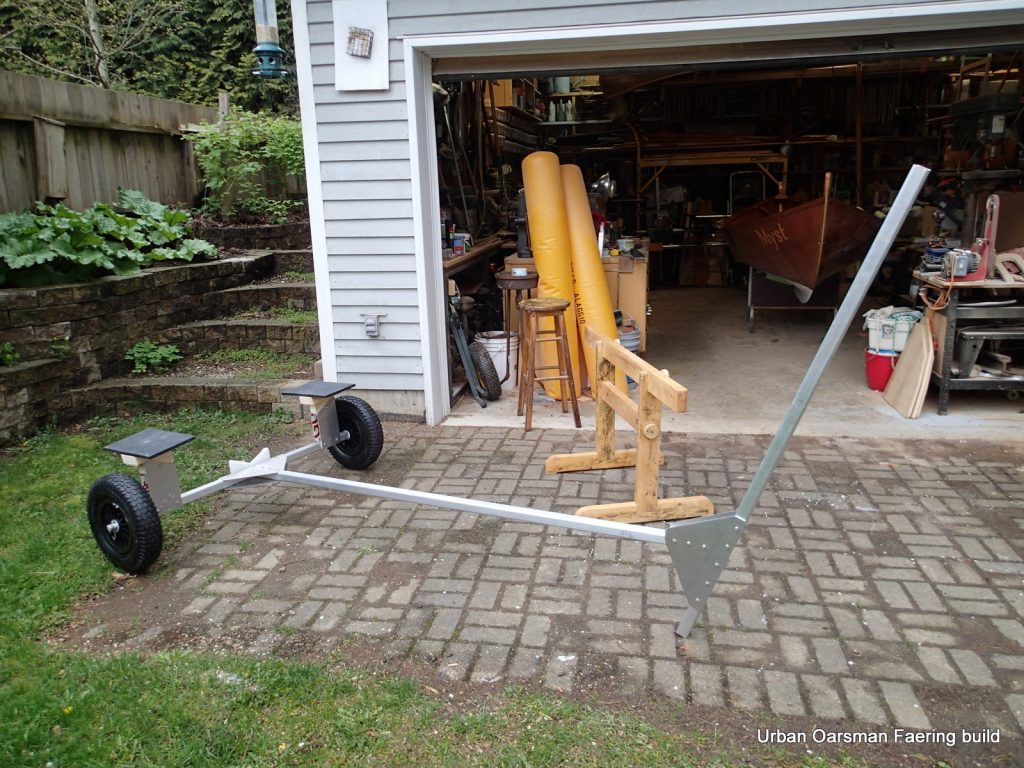
Myst gets her custom launching dolly. Two beach rollers (Myst’s floatation) are in the background.
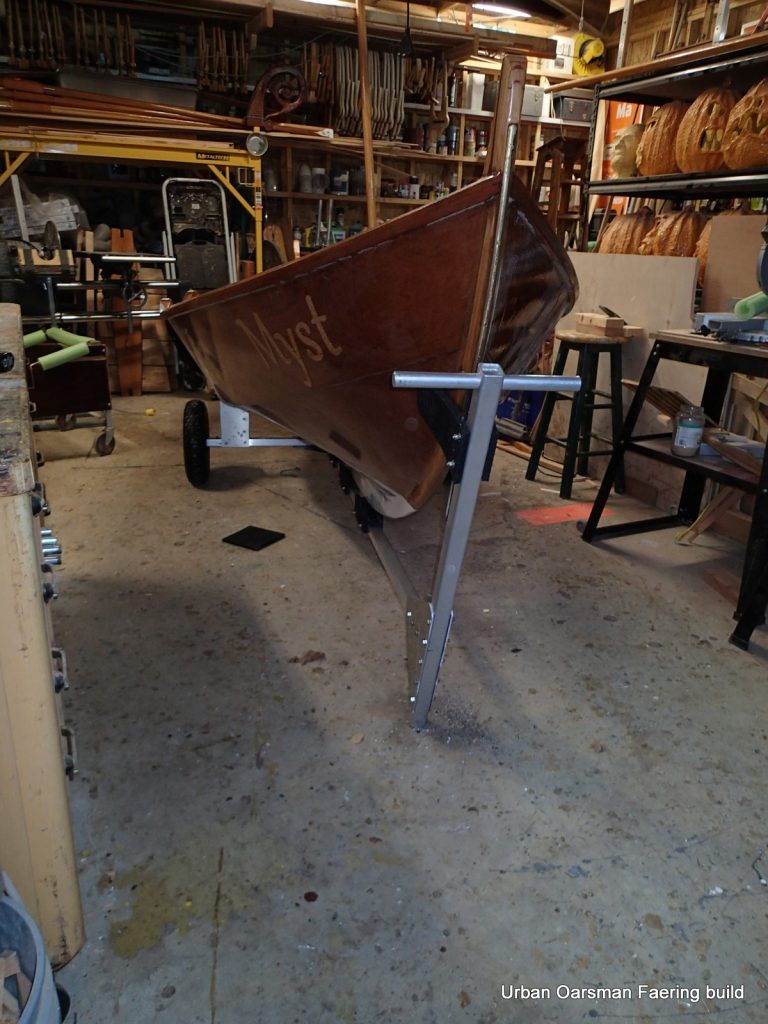
Myst on her launching dolly.
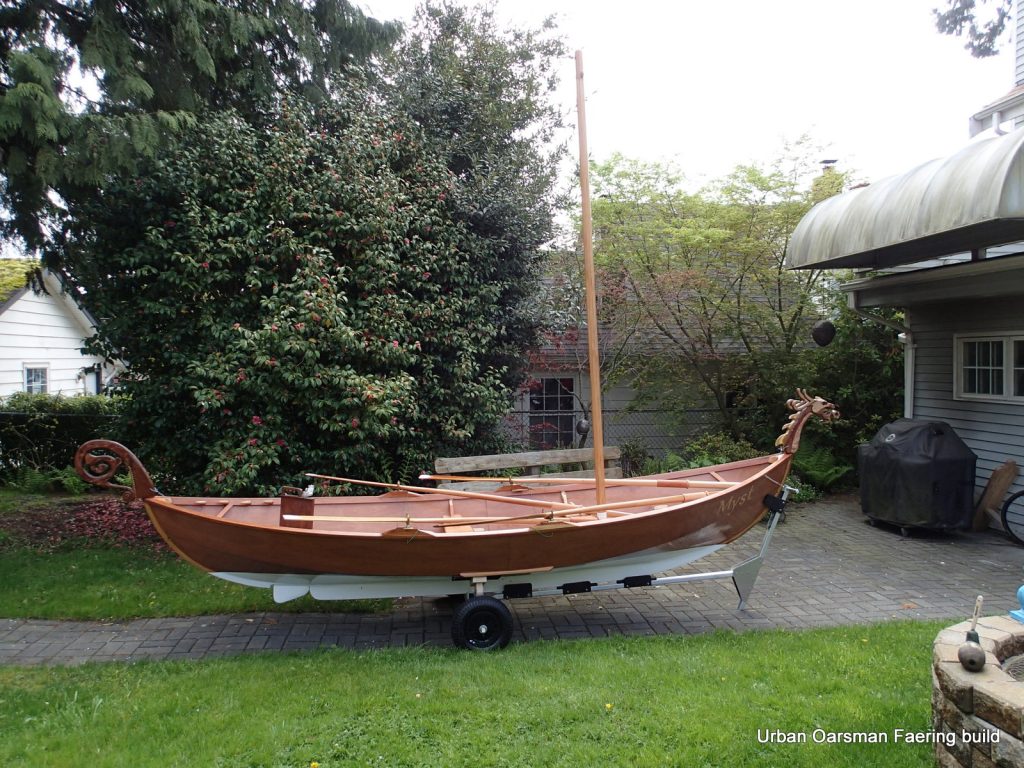
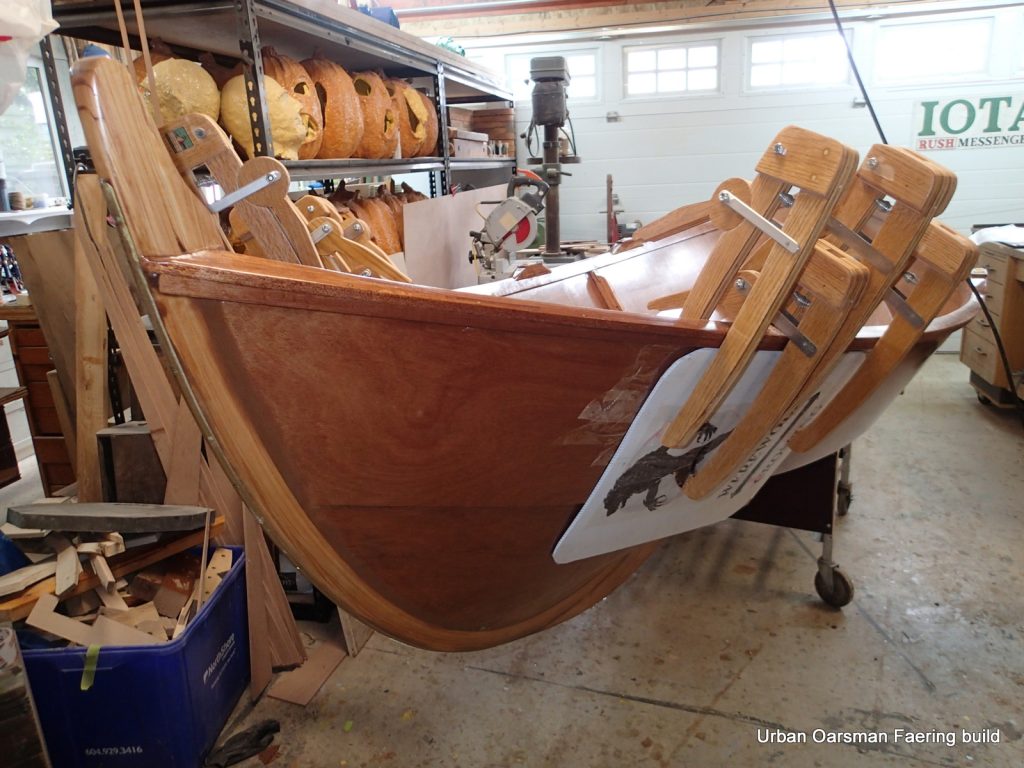
Myst, side view, with mast, spars and oars. You cannot see them, but, the beach rollers are inflated and under the thwarts for floatation.
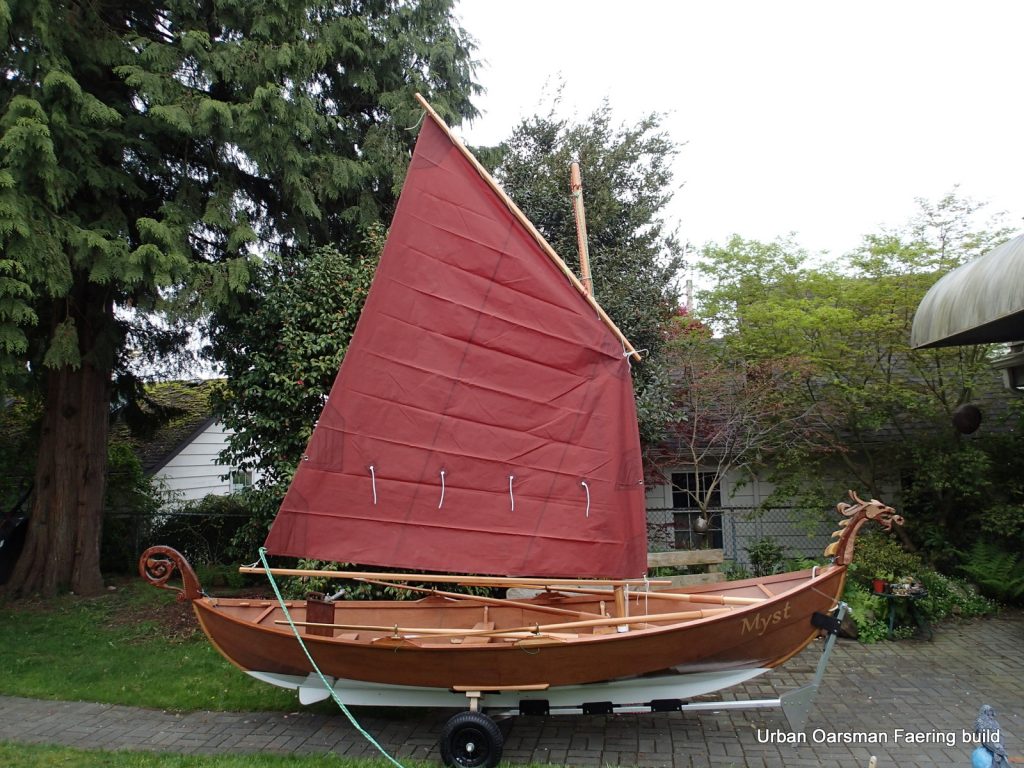
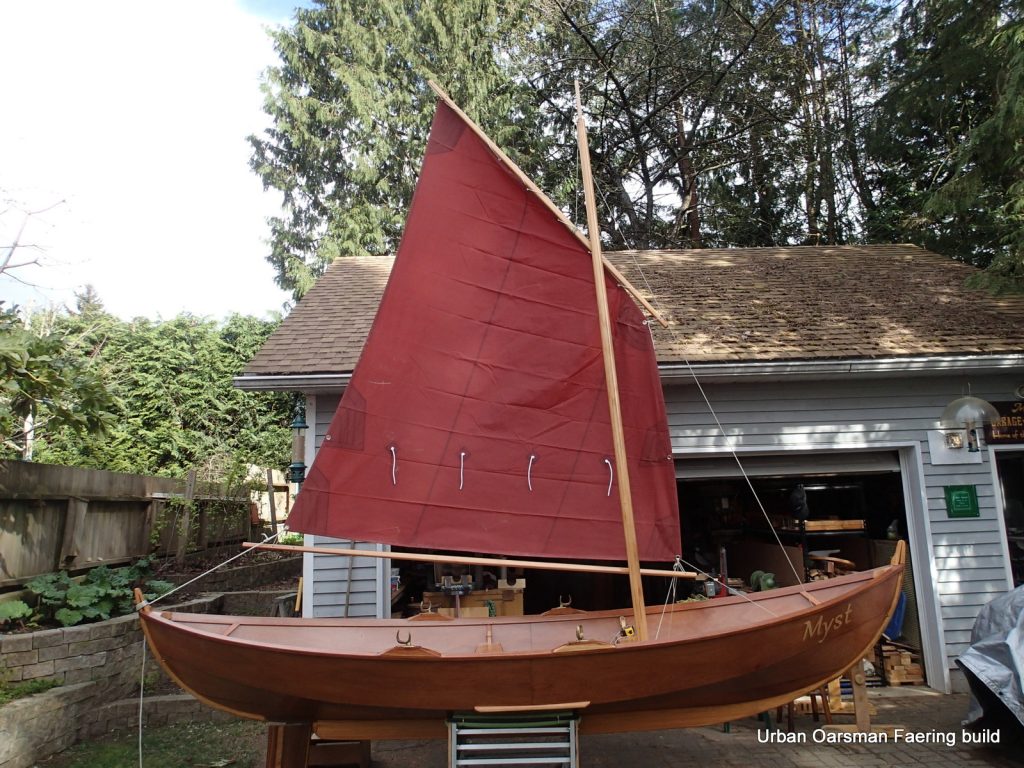
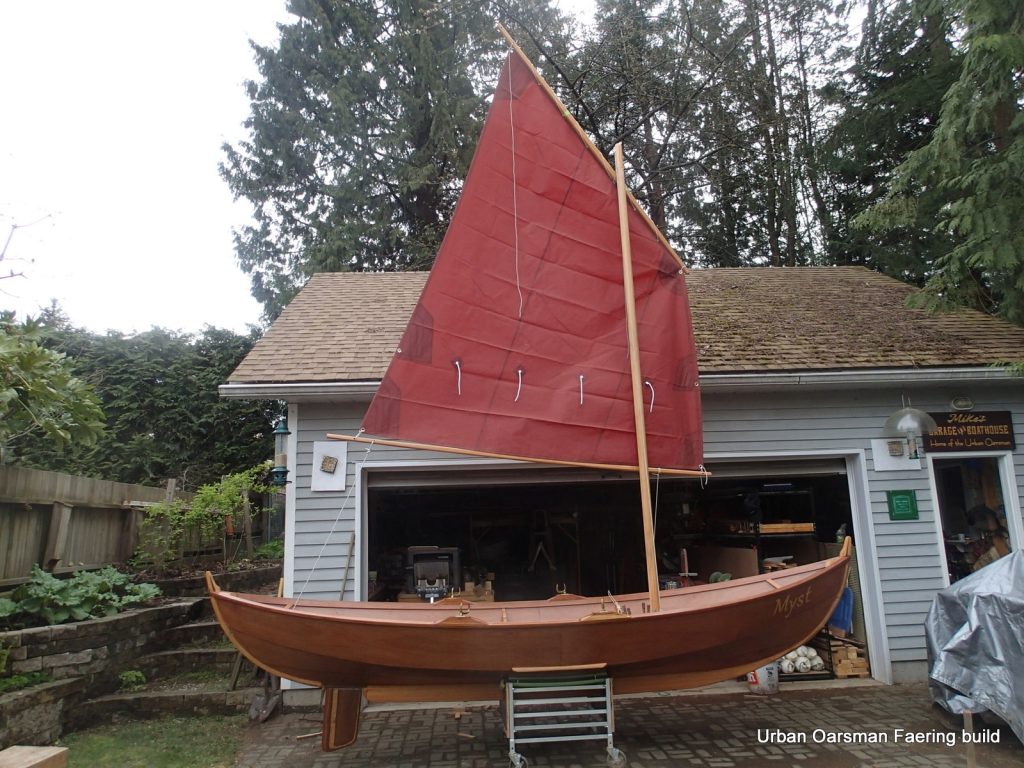
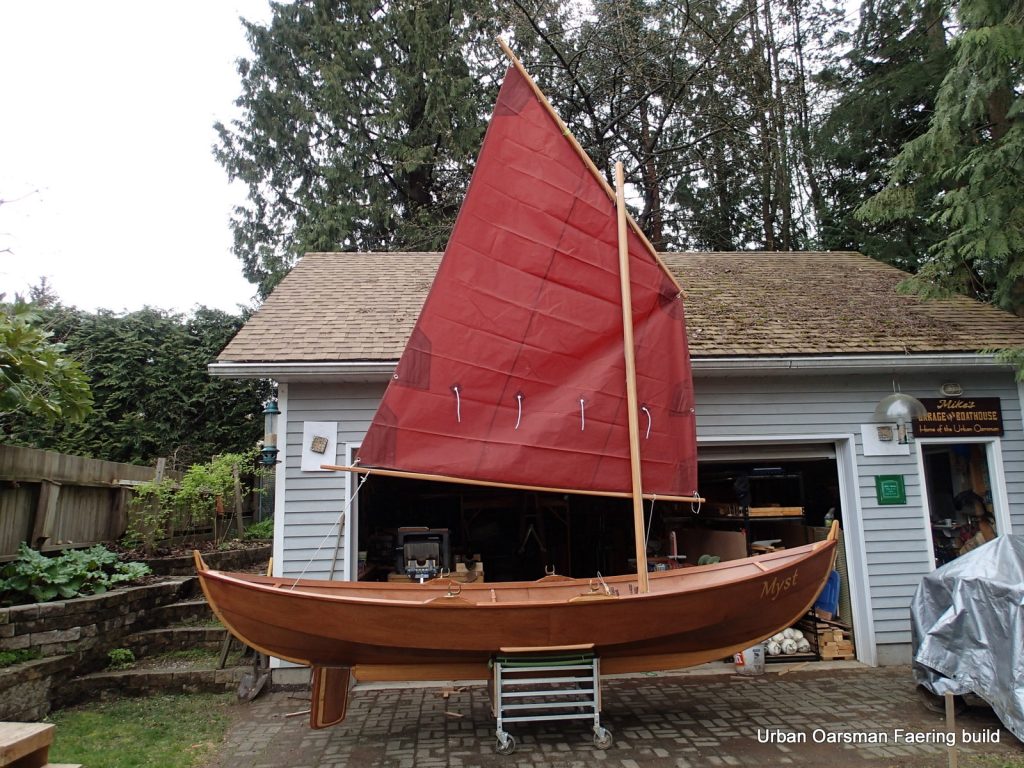
Myst with her sail raised.
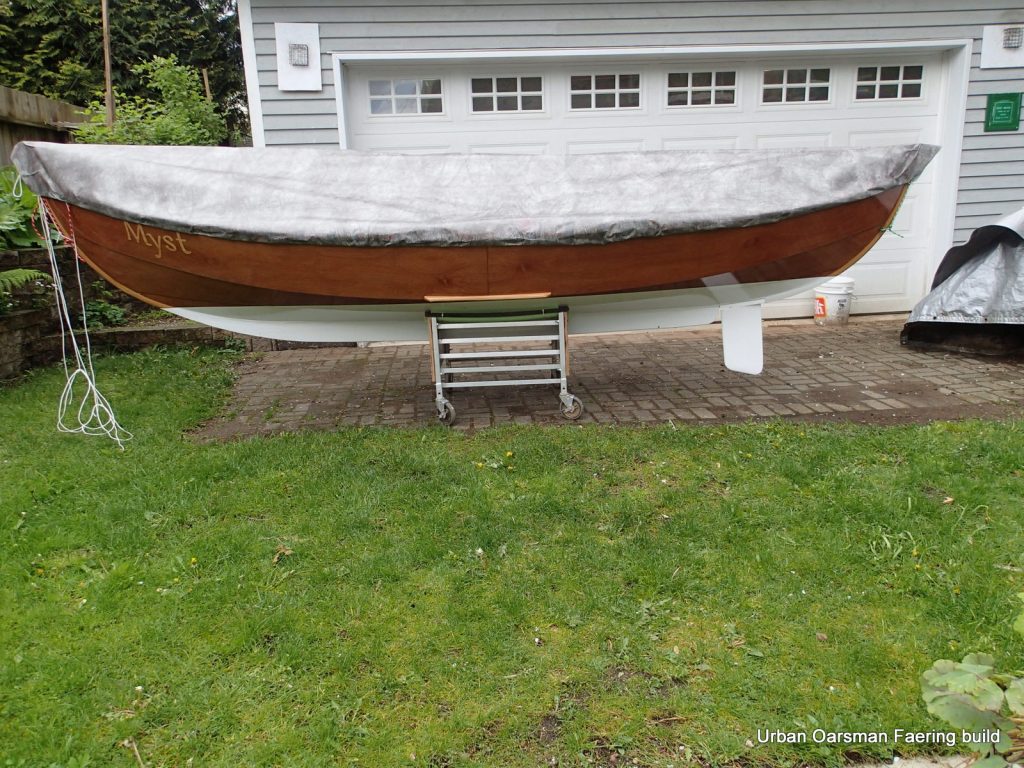
Myst’s rain cover.
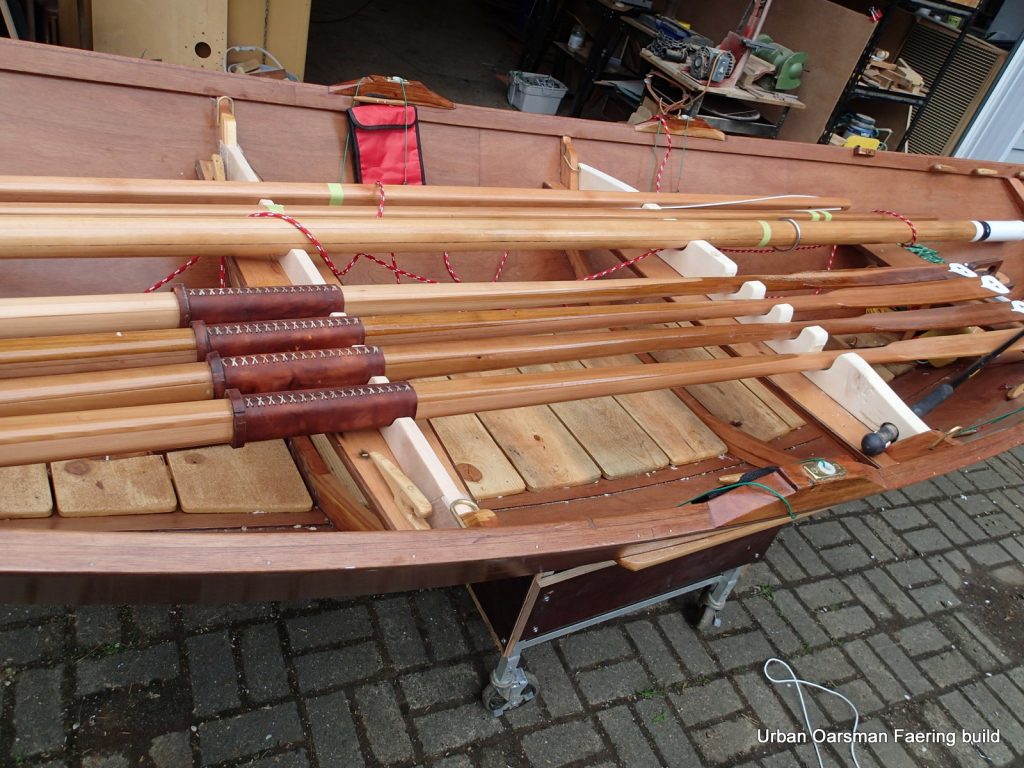
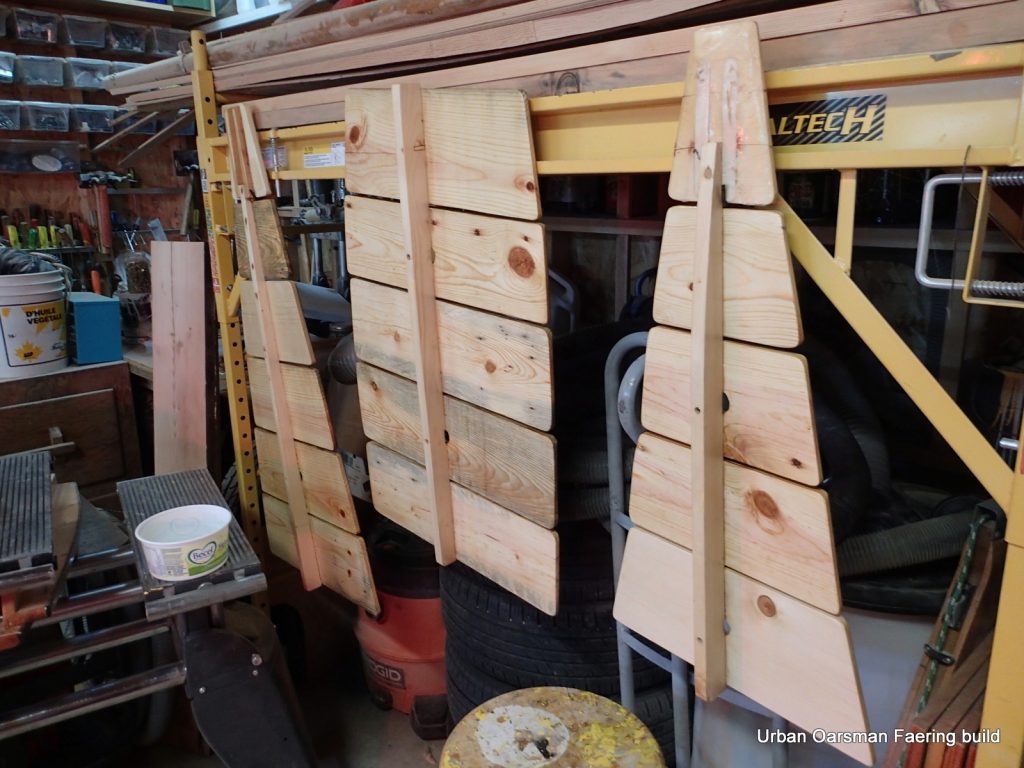
Racks to hold her mast, spars and oars. Note the “dragon’s eye” symbol on the oar tips.
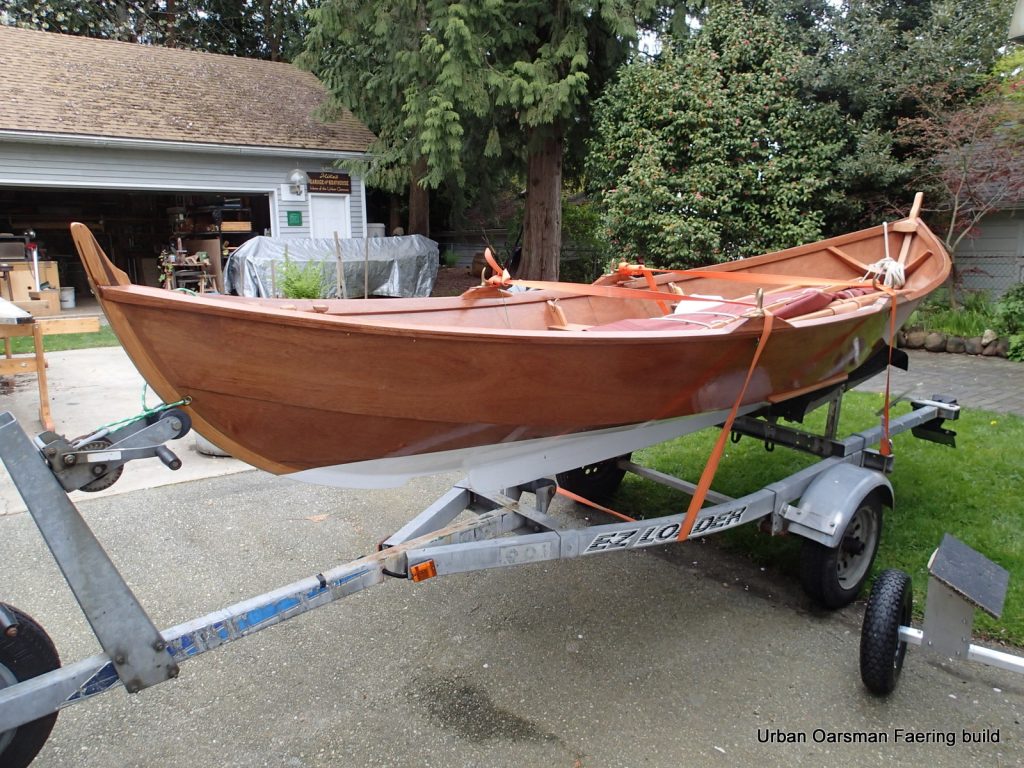
On the road trailer, ready to go down to Hollyburn Sailing Club.
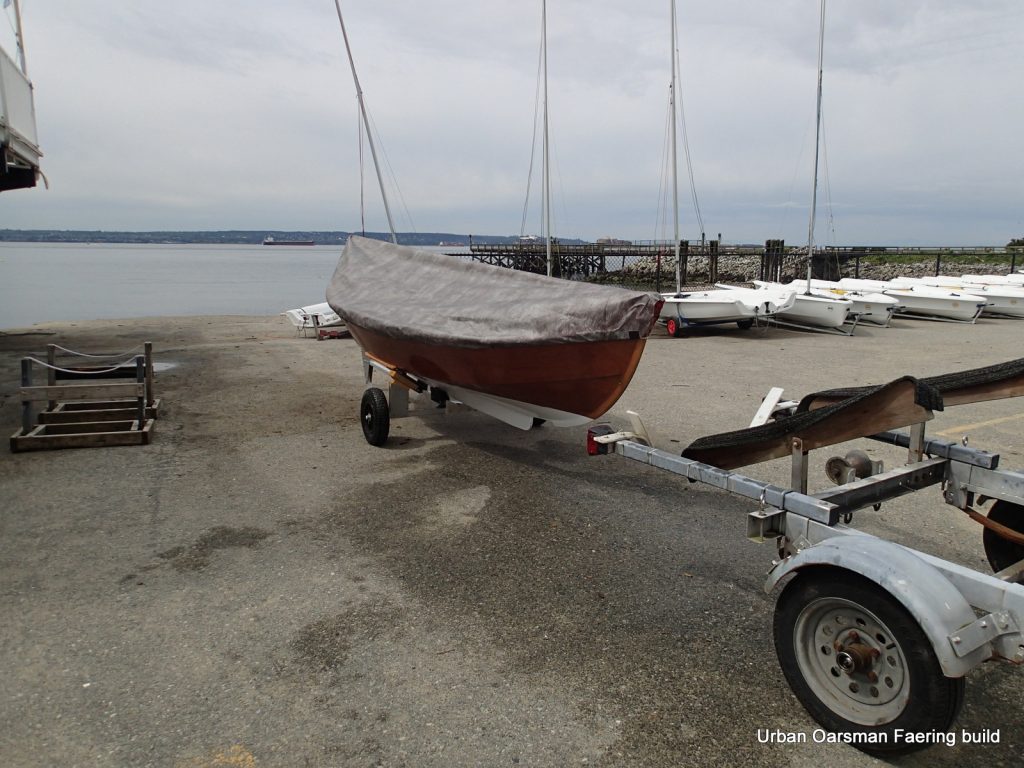
May 26th, 2022. Delivering Myst to the Sailing Club. Her official launch will be at the 2022 HSC Sailpast.
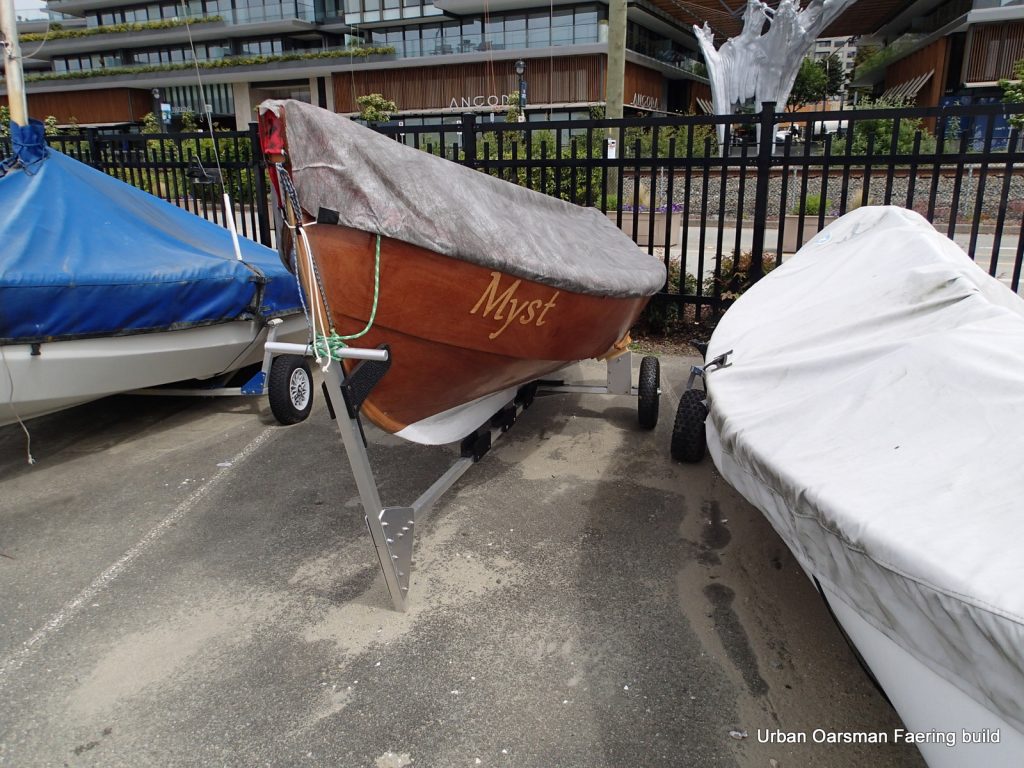
Myst on her dolly, with her rain cover, in her spot at the Hollyburn Sailing Club, ready for her launching at the Club Sailpast.
There will be more posts about Myst…Her launching on Sailpast day and her sailing to the 2022 Barefoot Raid around Cortes Island.