
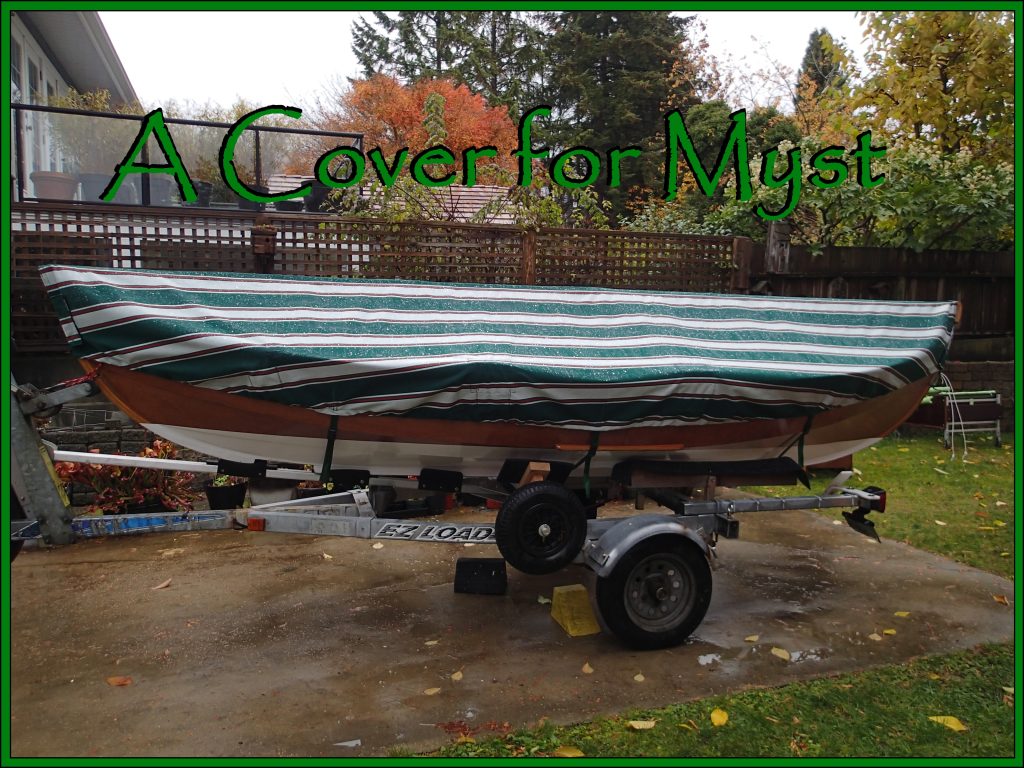
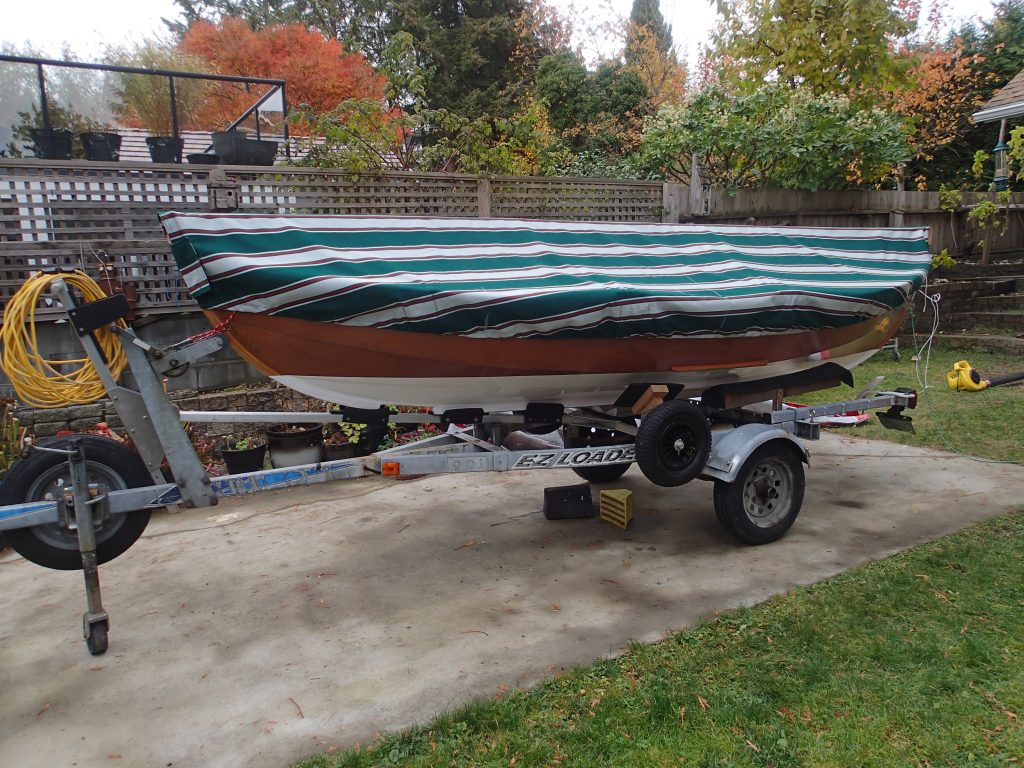
As you might imagine, we get a lot of rain in North Vancouver. We usually average two metres of rain per year at the house. I have not put a drain plug into Myst, so a cover is essential.
To make the cover, I purchased ten plus metres of Sunbrella fabric. It was on sale at Fanny’s Fabrics. I bought what was left on the roll, about thirty five feet. The roll was four feet wide.
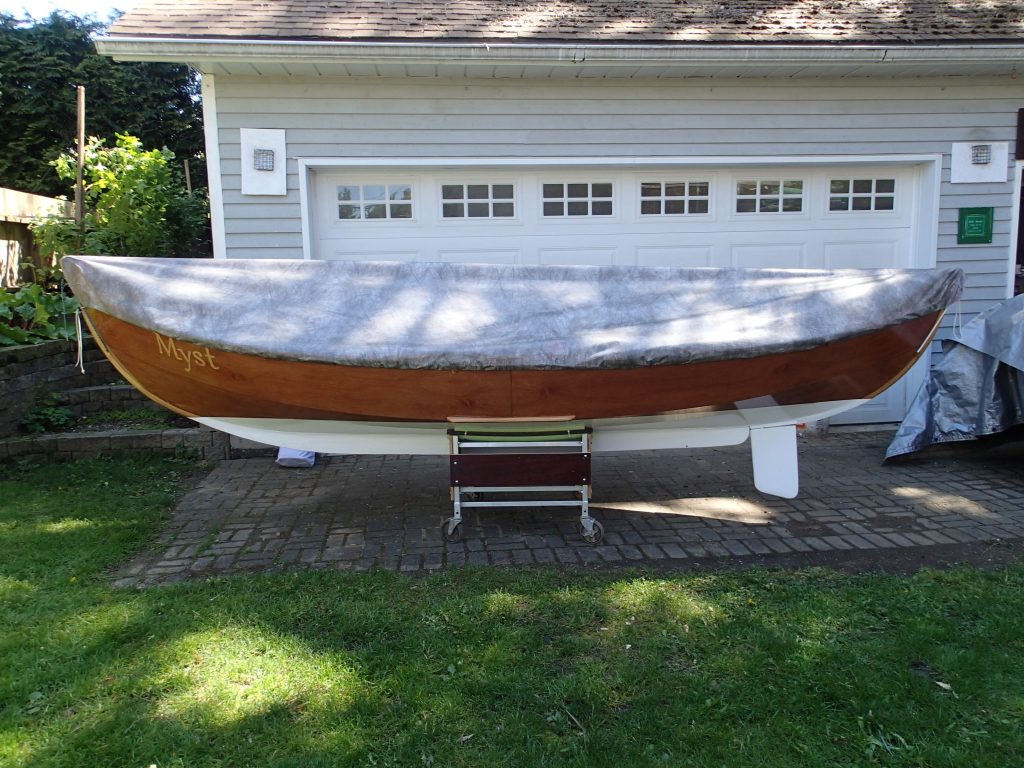
Before I used the “good” fabric, I made a temporary cover using some left-over Tyvek from my garage build. Tyvek is easy to cut, does not fray and can be easily taped up using the tac-tape. No Sewing required.
A piece of webbing, with “D” rings sewed in both ends, goes from bow to stern, held in place by a bow and stern “cap” that fits over the bow and stern stems. By using the webbing, I will not need to rely on a mast to keep the cover “up”. The sailing rig can be stored in my garage for the winter if I am not going to use it.
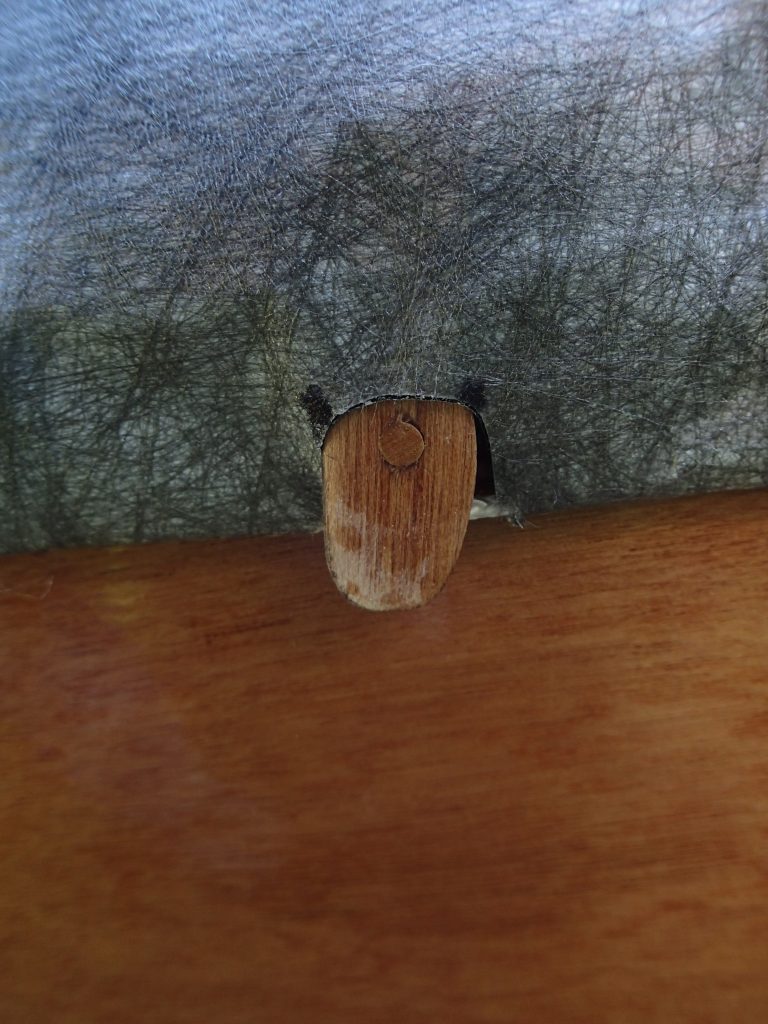
Using some left over plywood, I made up some wooden clips to hold the cover in place. The drawstring will hold the cover tight.
The overall width I needed was about six feet, so I sewed the two pieces together to get the needed width. I am using my trusty Elna Supermatic sewing machine. I did a number of trials with some scrap pieces to get the tension right.
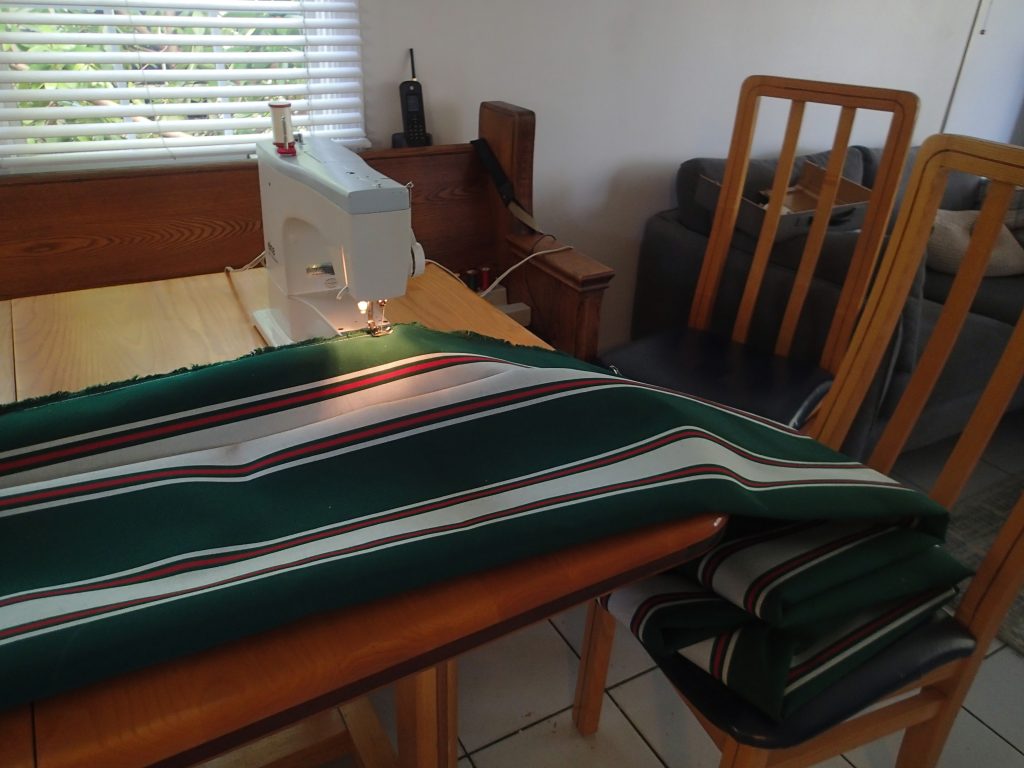
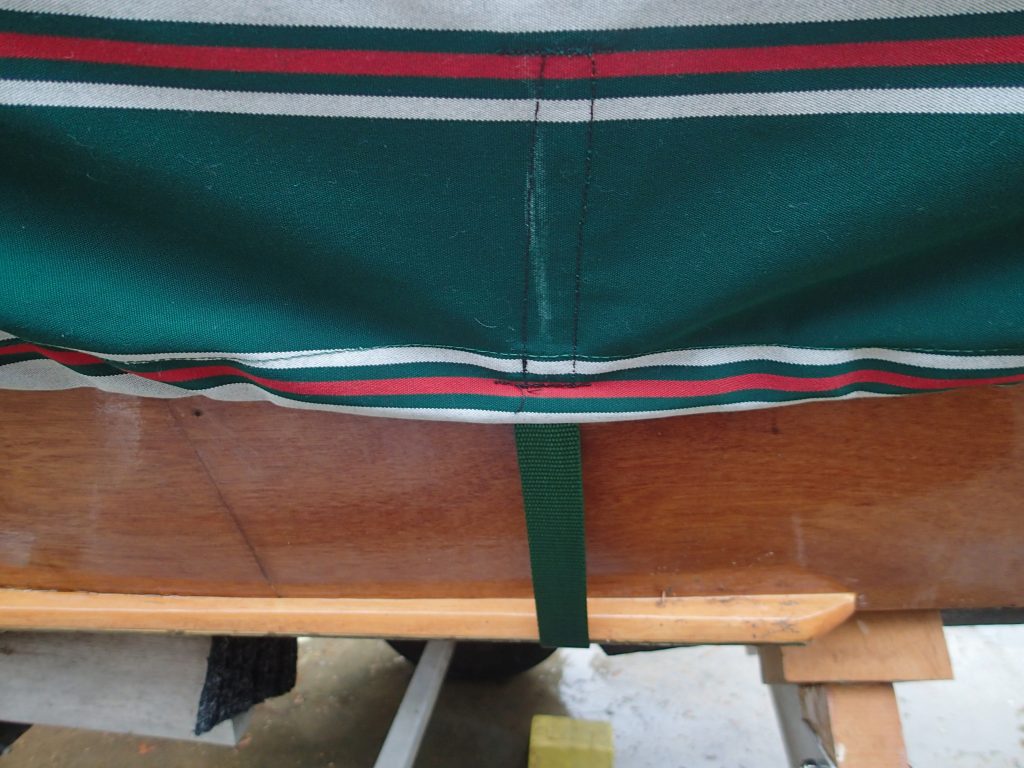
I stitched the two pieces together, running along the frayed edge. I then turned the seam over one-half inch and sewed it again (going through four layers of fabric). I turned this seam over and sewed it again (going through five layers of fabric). This hid the unhemmed edge inside a hem…My Elna struggled a bit going through the layers. To run the fabric through, I had to roll up both sides so one side would fit under the arm, between the needle and the upright arm. This put the seam on the inside of the cover and sewed the bow to stern strap over it.
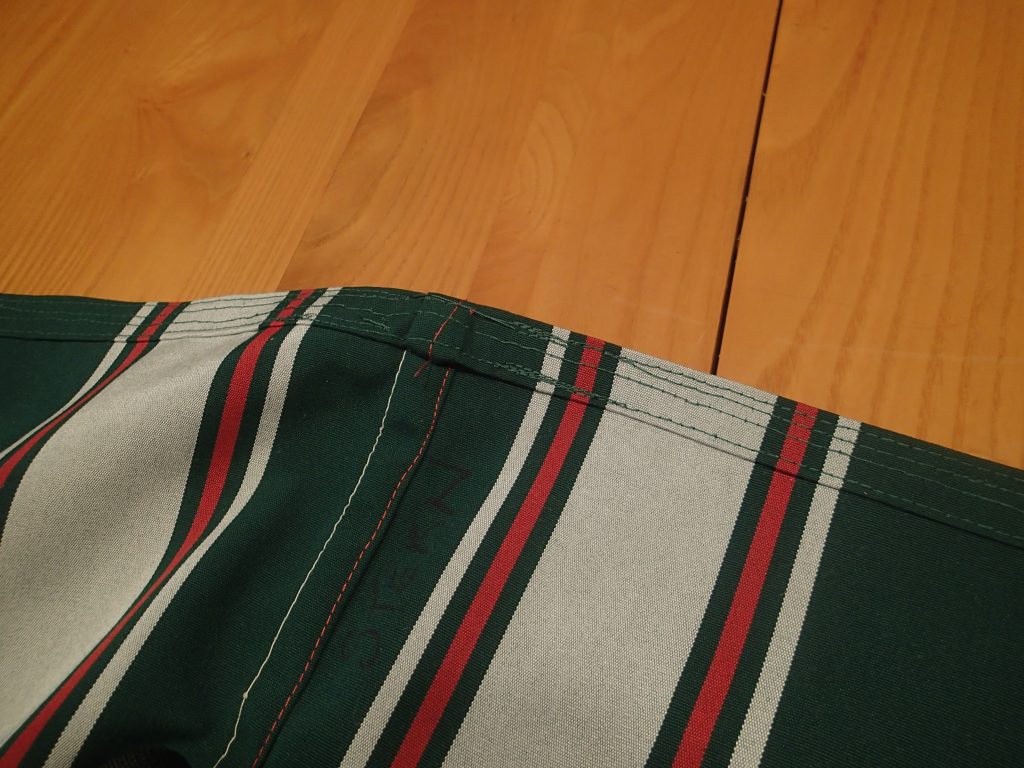
The webbing will cover the seam so there will be no abrasion to the seam from the mast when the cover is on.
Here I am marking where to cut the cover, using the gunnel as a guide. I used a scrap piece of wood (6″) to measure the overlap from the gunnel. One of the problems I have had in the past is that there is not enough overlap so I am insuring that this cover will go over the gunnels and down the sides of Myst. I am also making sure that the webbing that runs from bow to stern will fit properly on the stem caps.

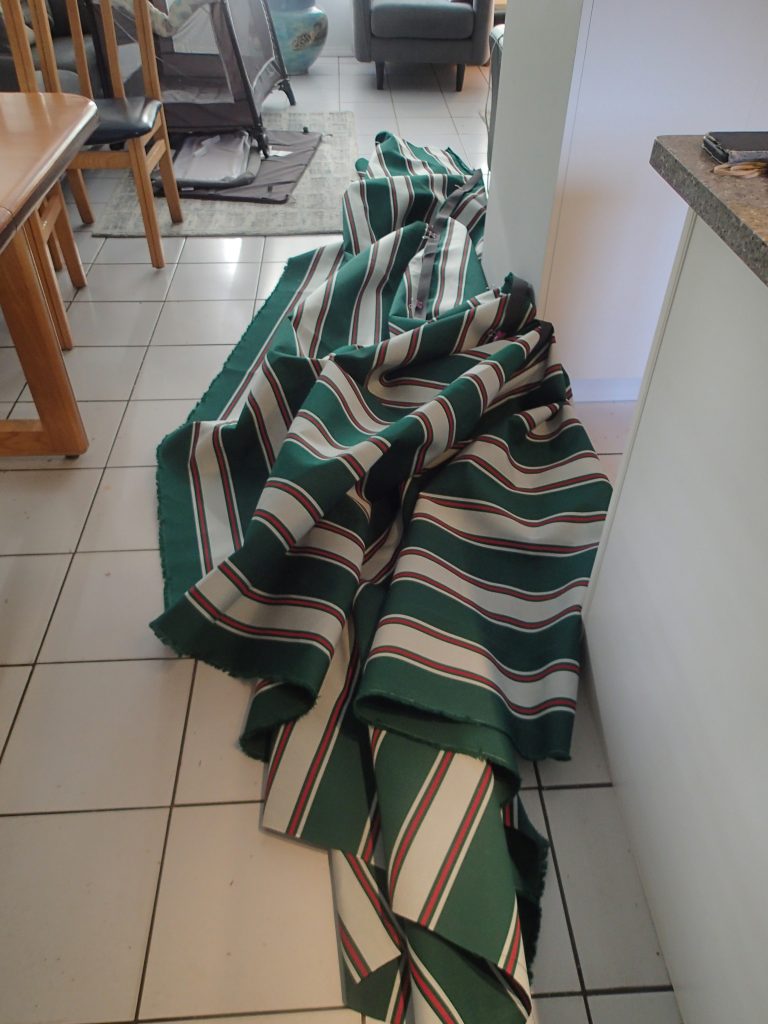
With the cover cut to shape, I make the hems. I sew the bow and stern hems first. Again, I turn over the edge about one-half inch and sew. I turn the edge over again, this time about one inch. I found that ironing the seams flat before sewing works the best. I set the iron to “Rayon” and flattened the hems.
I used up four bobbins of thread with this cover. Each edge is over sixteen feet long, probably over forty feet each time around.
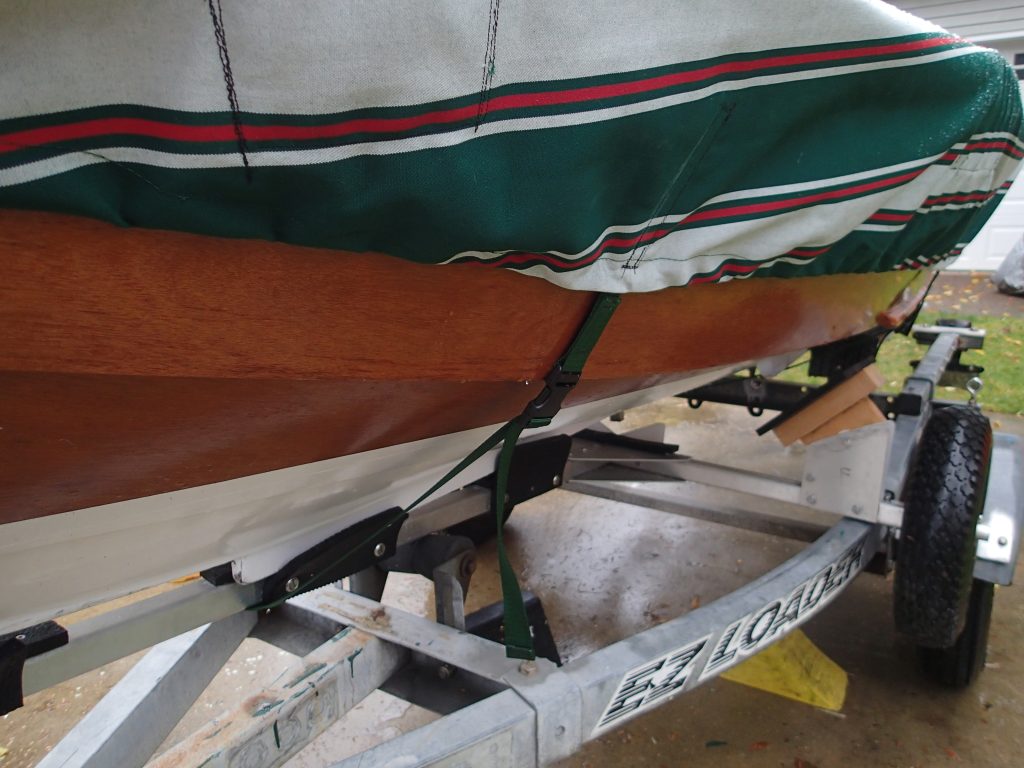
I have run into a real problem. I cannot make the clips work with the cover. I had intended to use the button hole function on the Elna to make the holes for the drawstring to go through to engage the hooks. The problem is the unfinished button hole edge. It will fray unless I can hem it. The Elna will not make a button hole (thereby hemming the hole for the clip) in the sunbrella fabric. In my test pieces, it keeps jamming up, the thread balling up under the needle plate of the machine. Making button holes is a no-go. I tried making “pockets” that the clips would fit into, but the fabric is not stretchy enough for that idea to work. I have sewn paracord onto sunbrella before, so I tried to sew some shock cord loops onto the sunbrella for the clips to hook onto, but, the Elna would not sew through the shock cord. I decided to just use webbing straps to hold the cover down and tight. The clips will stay on the boat and the pockets on the cover…I will just not use them.
Quick trip to MEC to buy twenty feet of one inch webbing (green) and three male and female clips. All of the female clips go onto the Port side. The male clips are on straps that come from the Starboard side. I have three straps, After, Midships and Forward. The Forward and Midships straps will go around the dolly and help keep Myst on her dolly.
I am going to sew a “flap” that will go around the bow and stern. Velcro will secure the flaps.
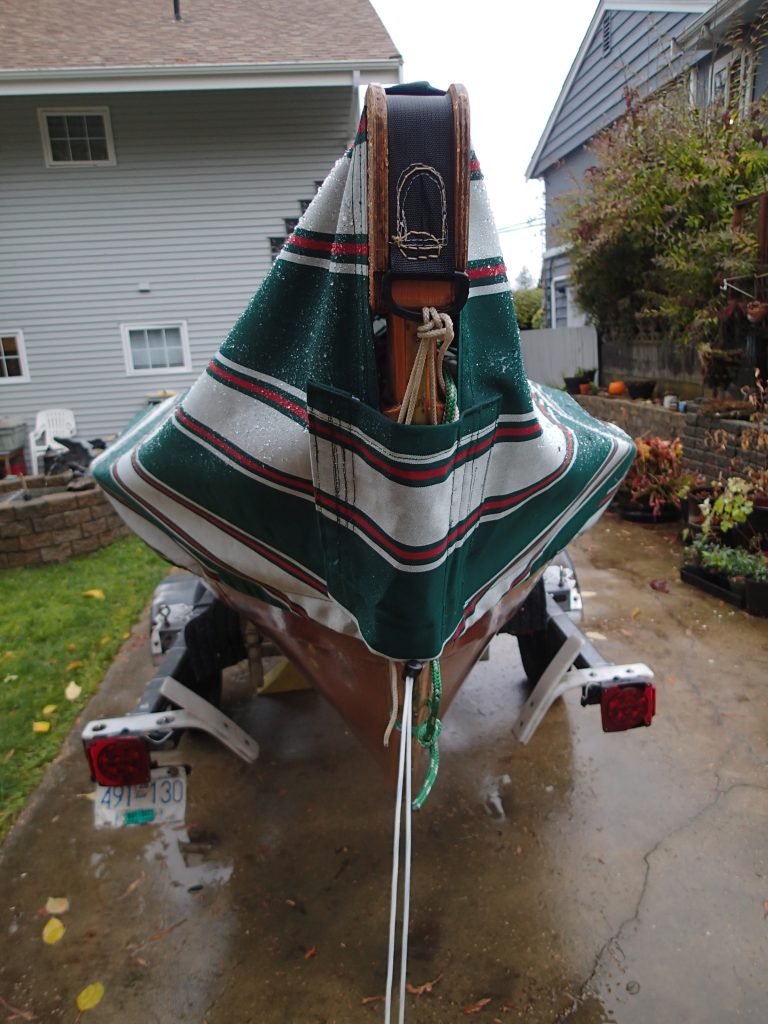
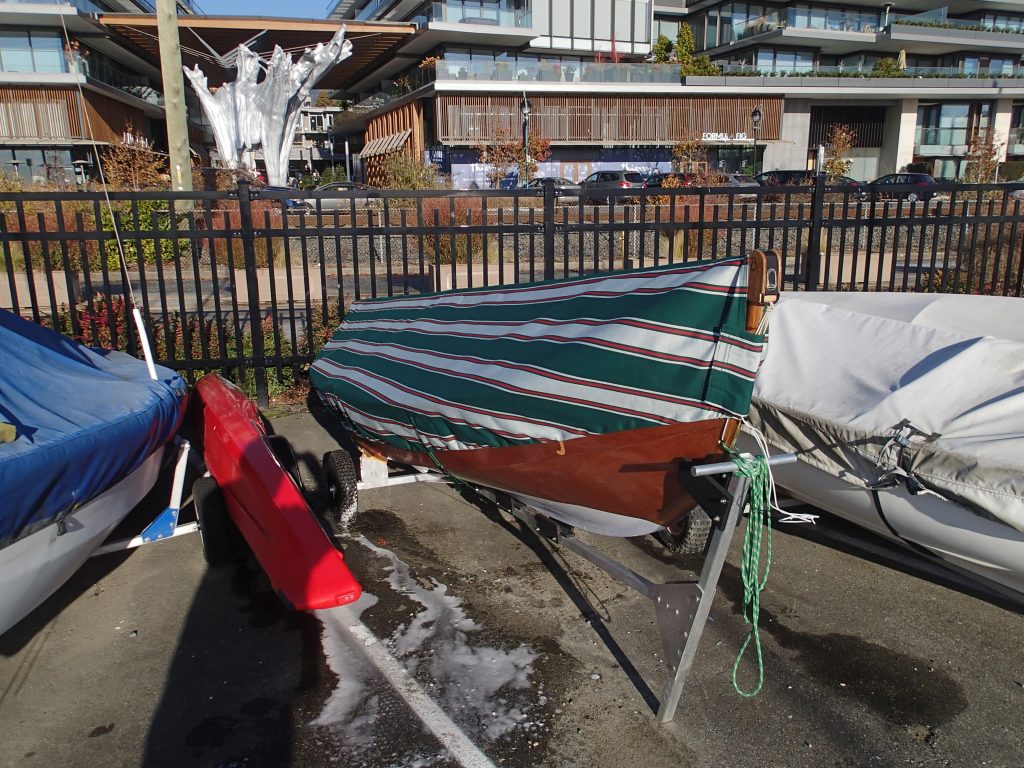
This photo shows all of the details. The end cap that holds the webbing in place. The end caps have a notch cut into them for the “D” rings. You can see the draw cord and the cord lock. Amazingly I managed to get the pattern to “line-up” on this end of the cover.
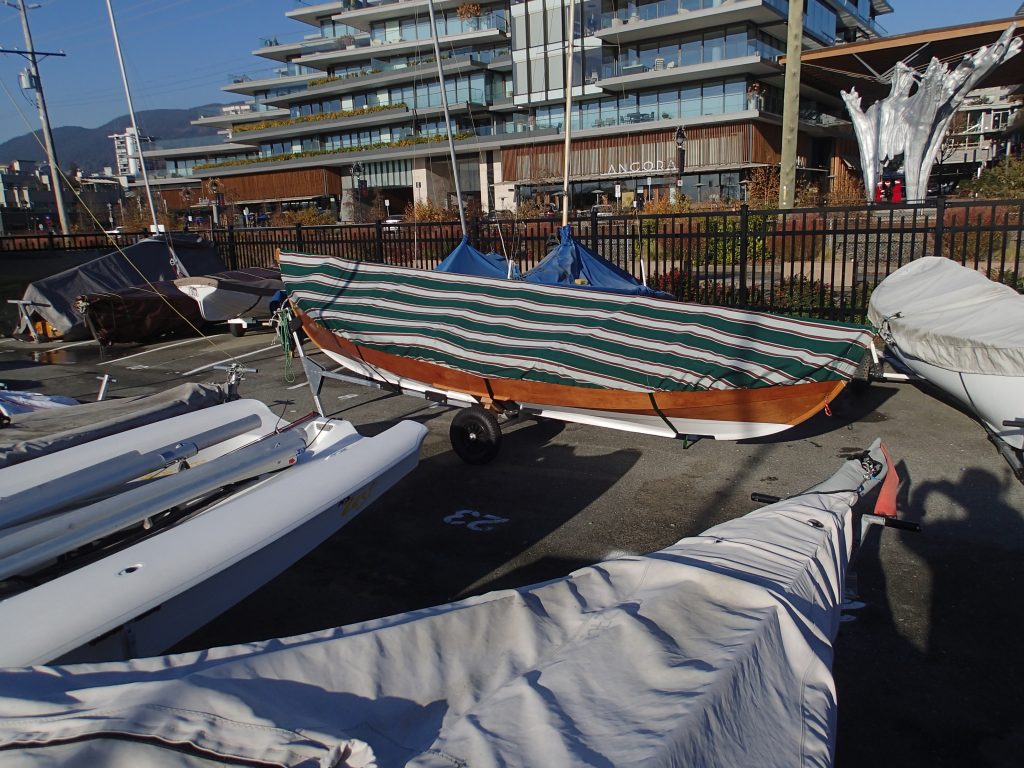
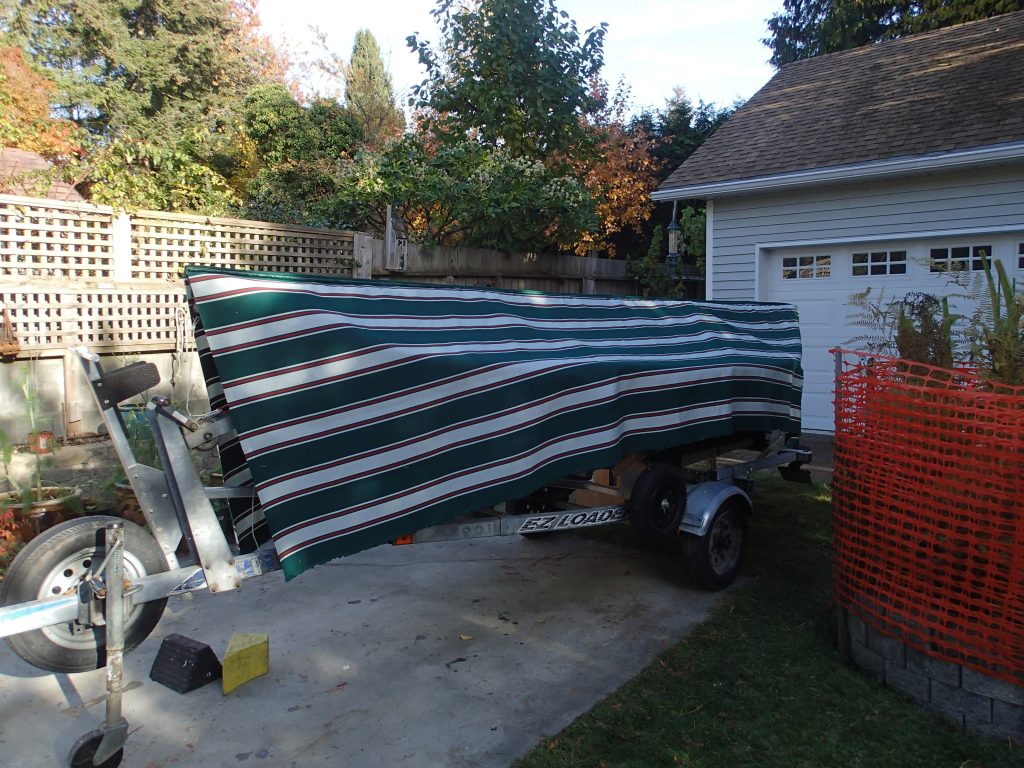
Myst with her cover at the sailing club. The forward two straps go under the tongue of the launching dolly and hold Myst to the dolly. After a week of rain and snow, she is dry on the inside.
The cover is finished. Seems to be working well. On to the next project.

Re buttonhole: sewing machines are grand, but sometimes old ways are easier. Might be time to break out a palm and needle to re-enforce the hole the same way you do a grommet. Obviously, webbing works too.
John
Hello John,
Webbing was easier and more adjustable for when the cover shrinks (very dry) or expands (when wet).
Mike