The Urban Oarsman makes wood & leather bailers
I have made bailers before, out of plastic four litre/one gallon jugs. The plastic jugs only last so long before sunlight degrades the plastic and they break. All the bailers that I had have made met this untimely, vampiric death…I have decided to make some Wood & Leather bailers more suited to a wooden boat. I did like the way the jug bailers worked, as the forward lip of the bailer conformed to the bottom of the boat and they felt balanced when bailing.
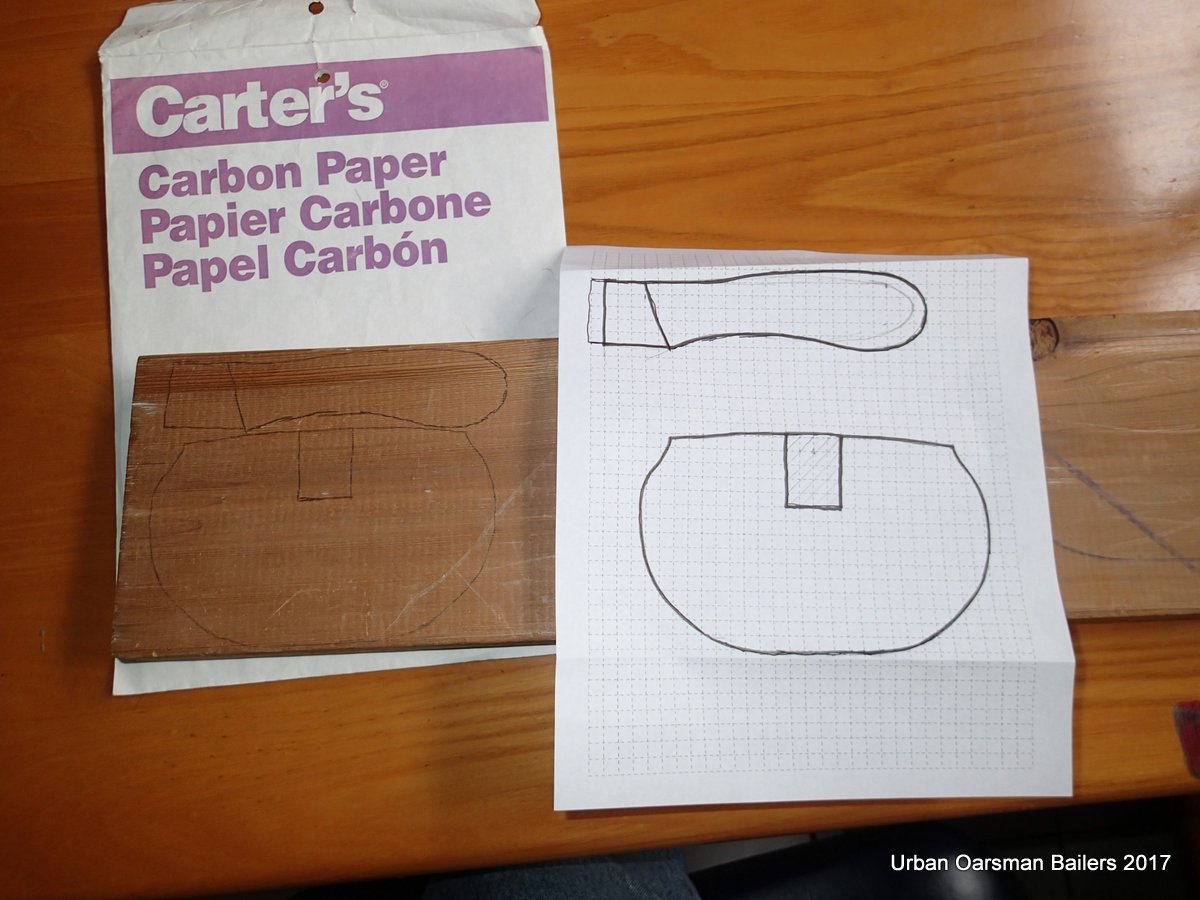
Rose midsection and handle plan transferred to the plank using carbon paper
A Philip C. Bolger fan, I decided to use the mid-section of his sailing ship, “Rose” as the pattern for the bailer base. I decided that the bailer should be about the same size as the plastic ones.
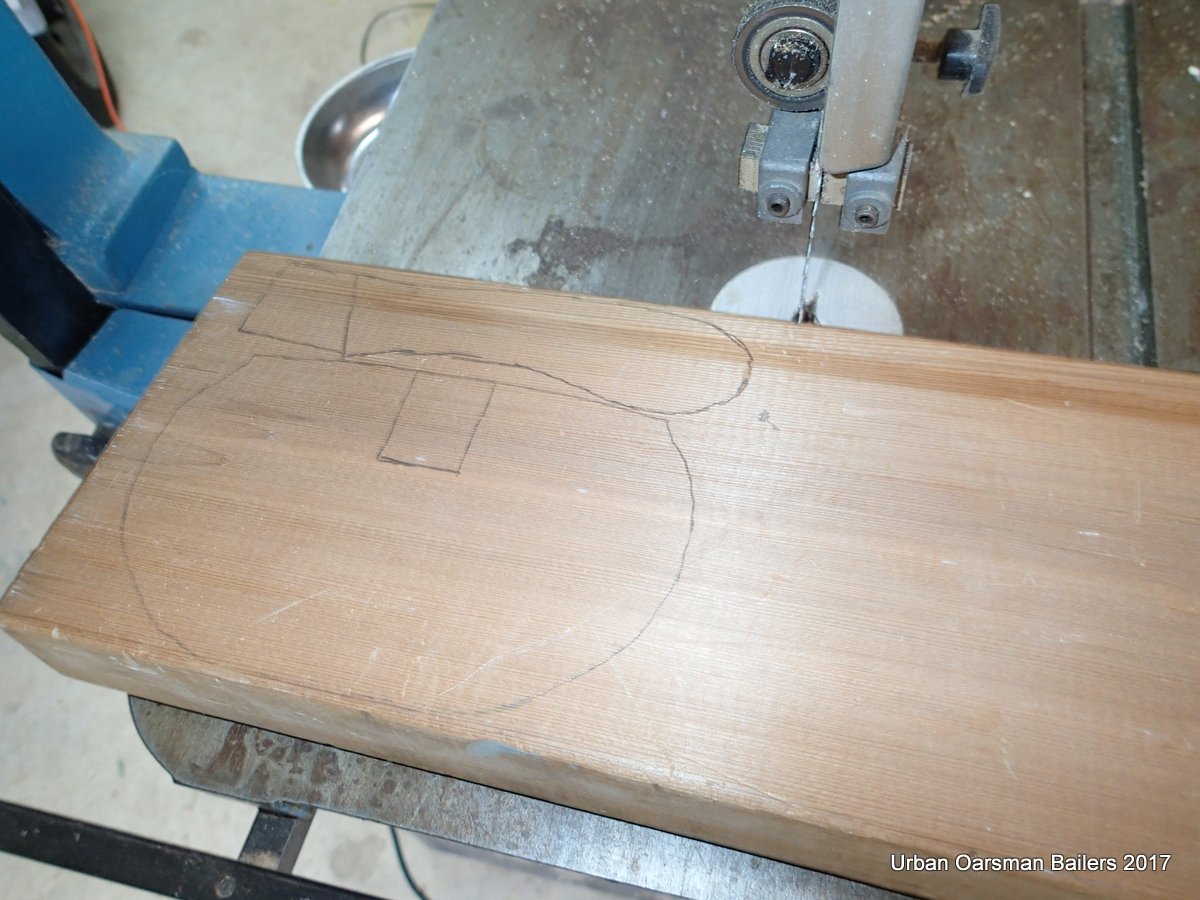
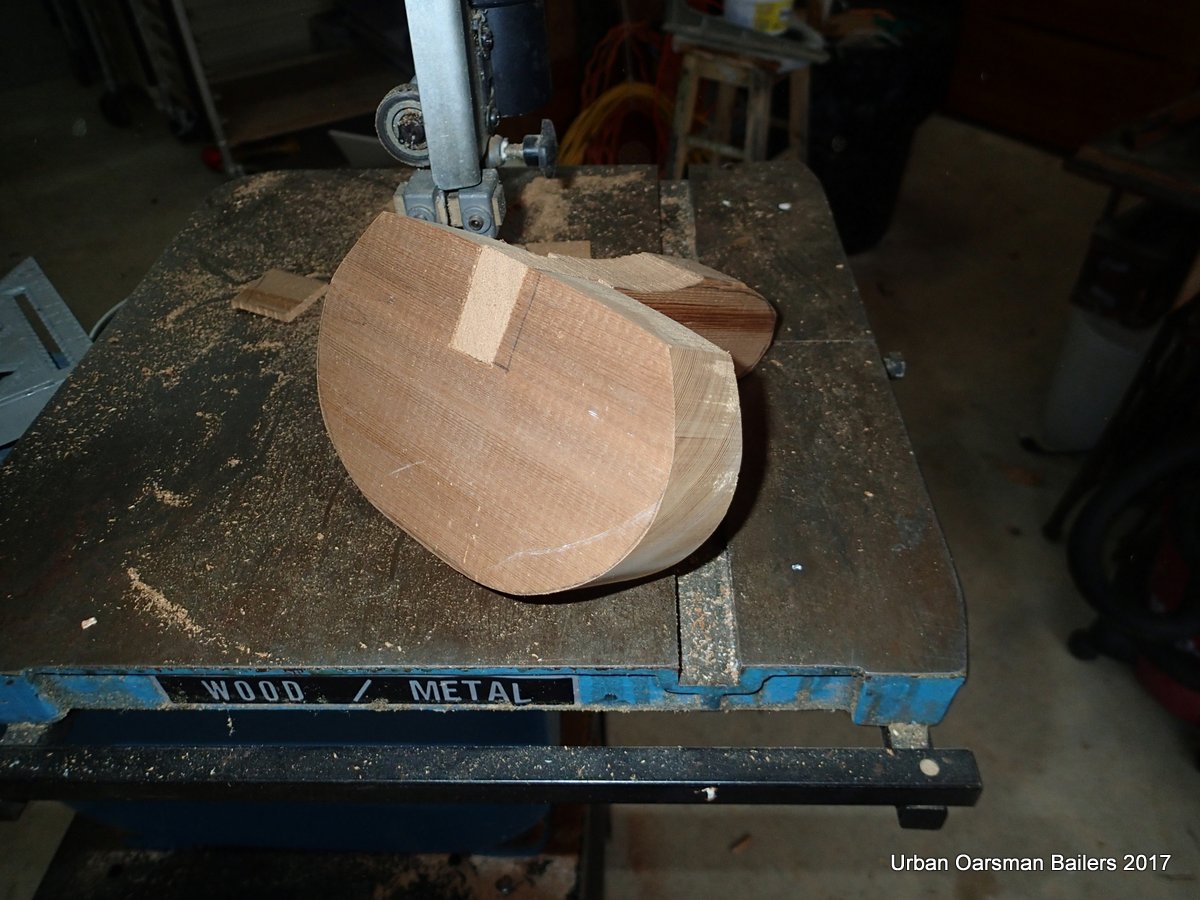
Cutting out on the bandsaw
I had an old piece of cedar door sill hanging around the shop so I used it. I cut out the base and the handle.
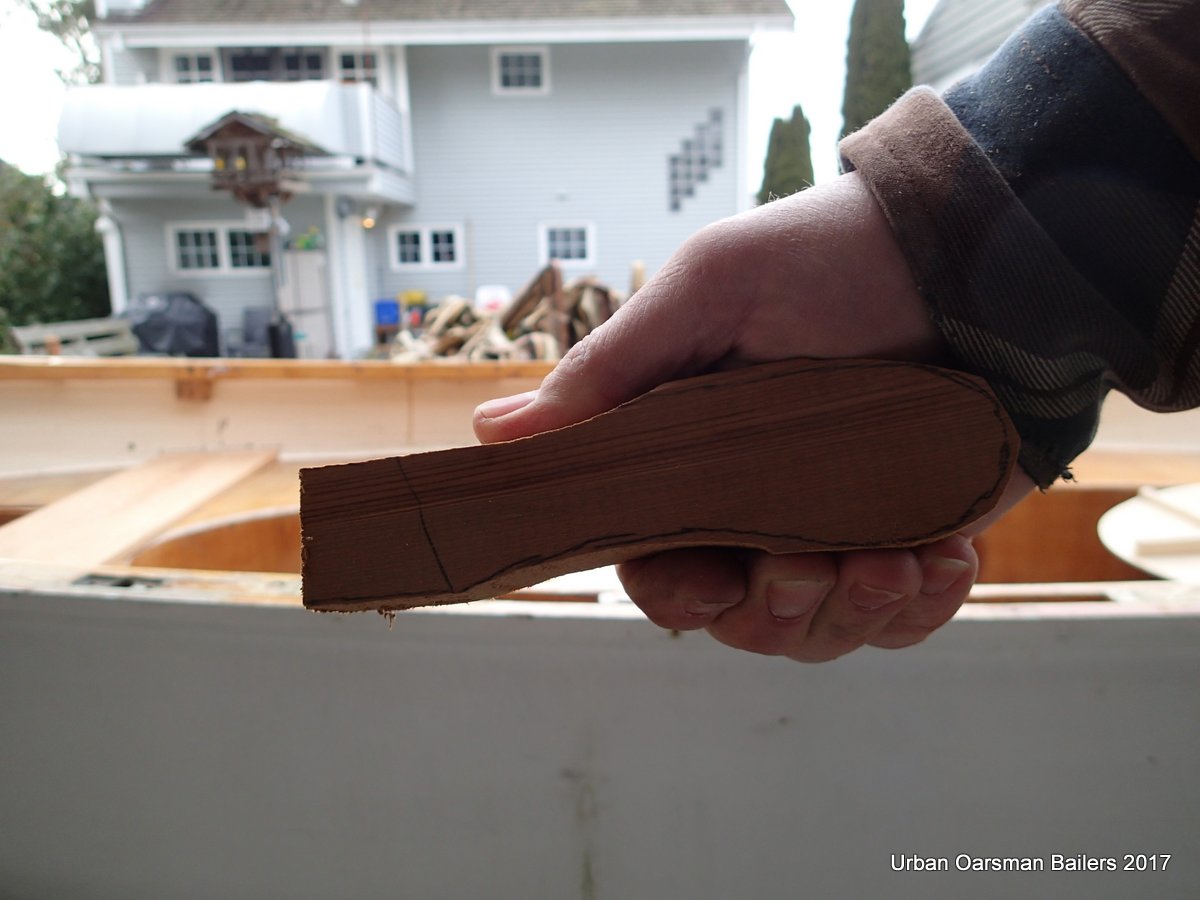
The roughed-out handle
I then cut a notch in the base and attached the handle.
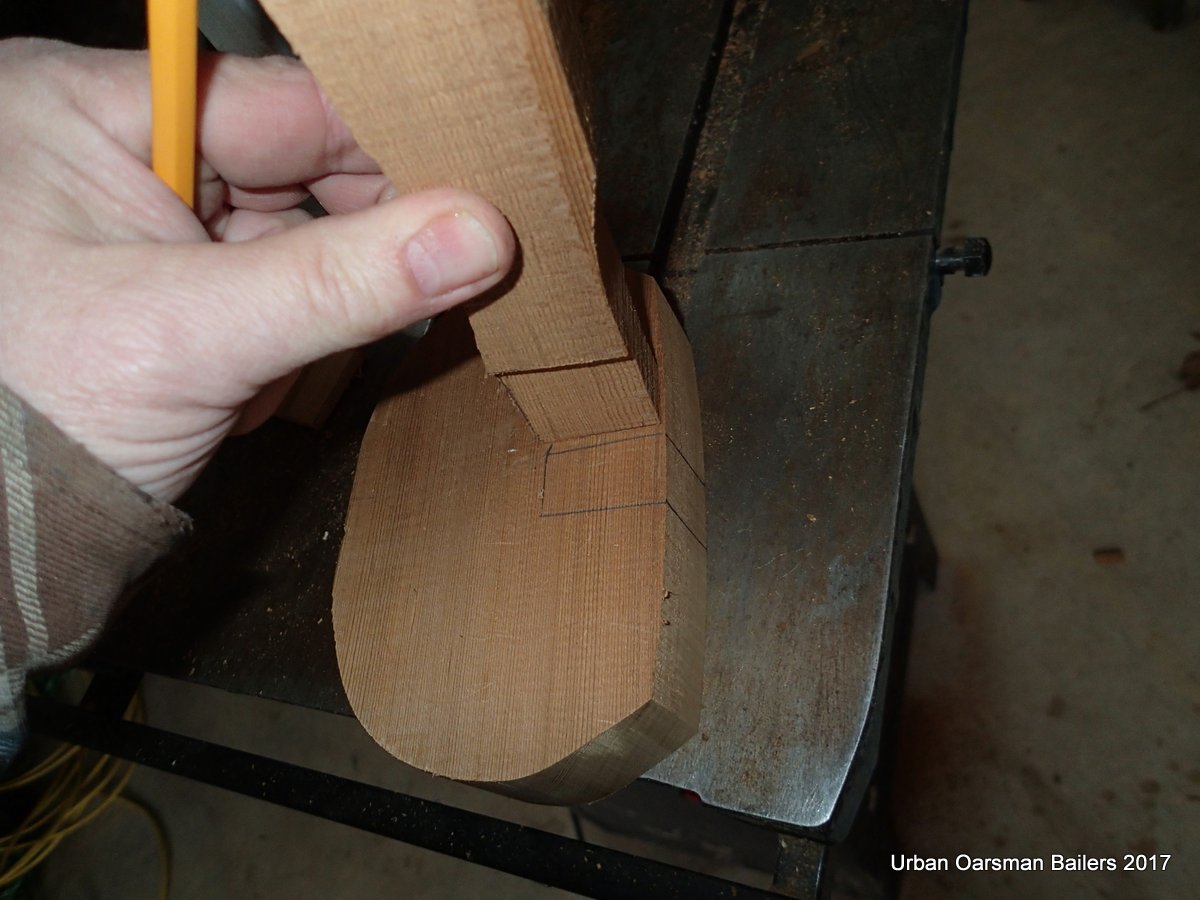
Marking the notch
Cutting the notch
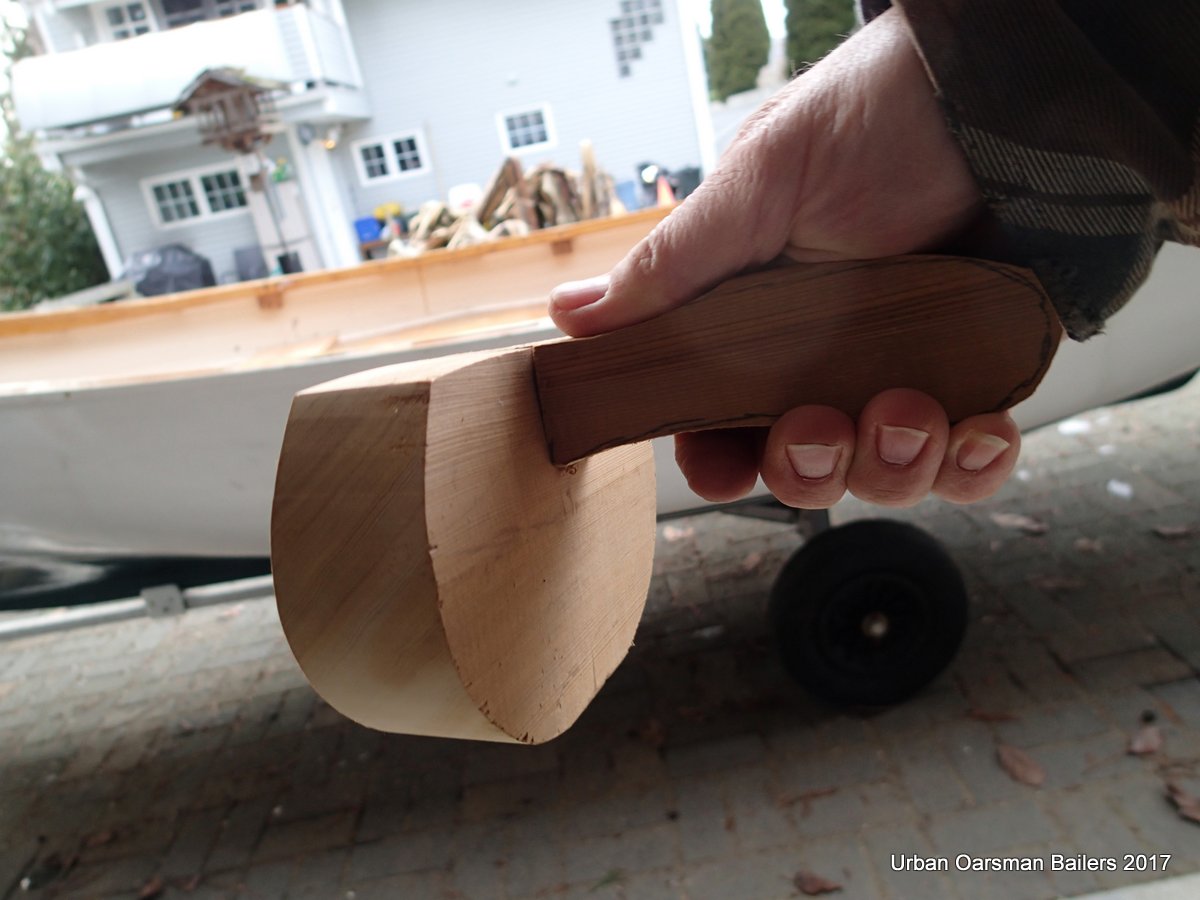
Handle fitted.
Rough fitting done…time to sand and shape.
I used the top wheel on my 1″ belt sander to shape and sand the handle.
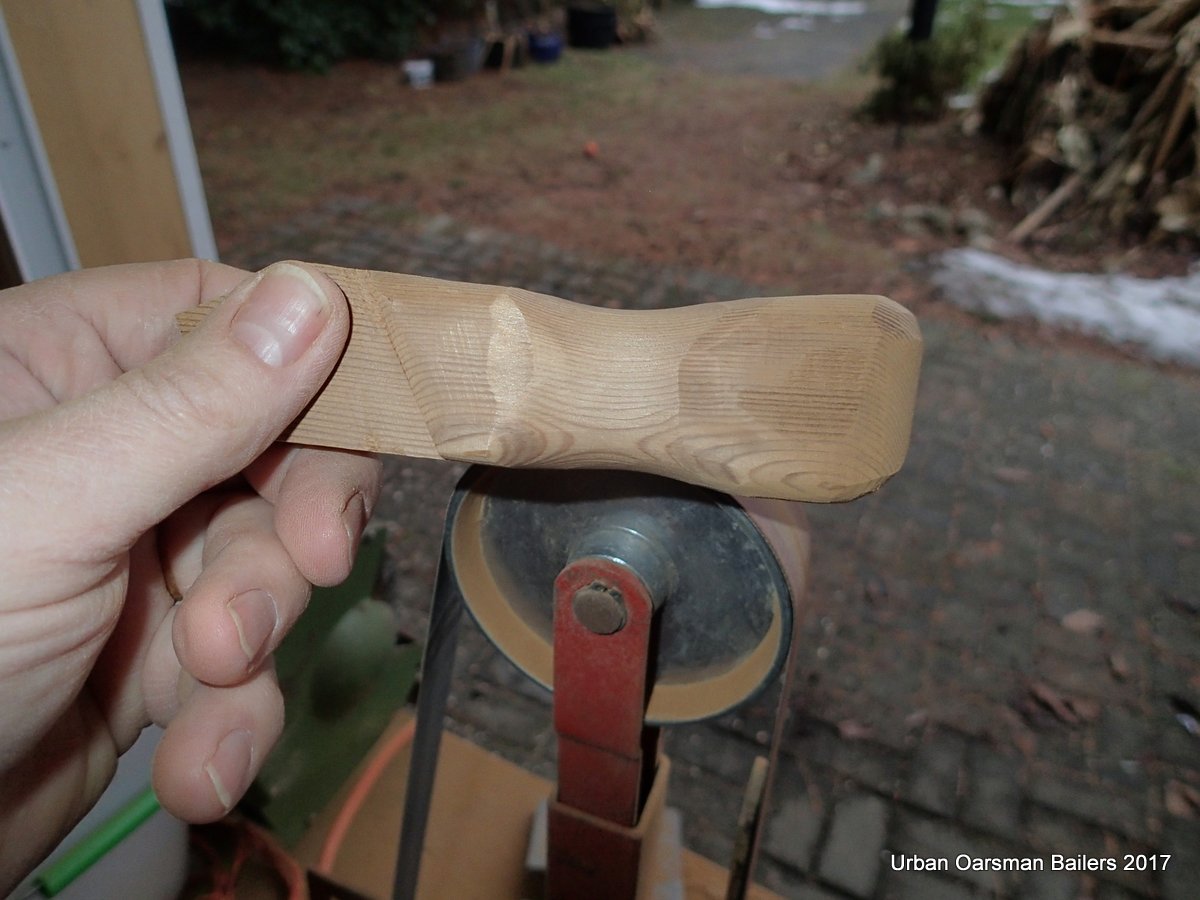
Getting a good fit for my hand
I cut a slot into the handle to put a wedge in to help keep the handle in the base.
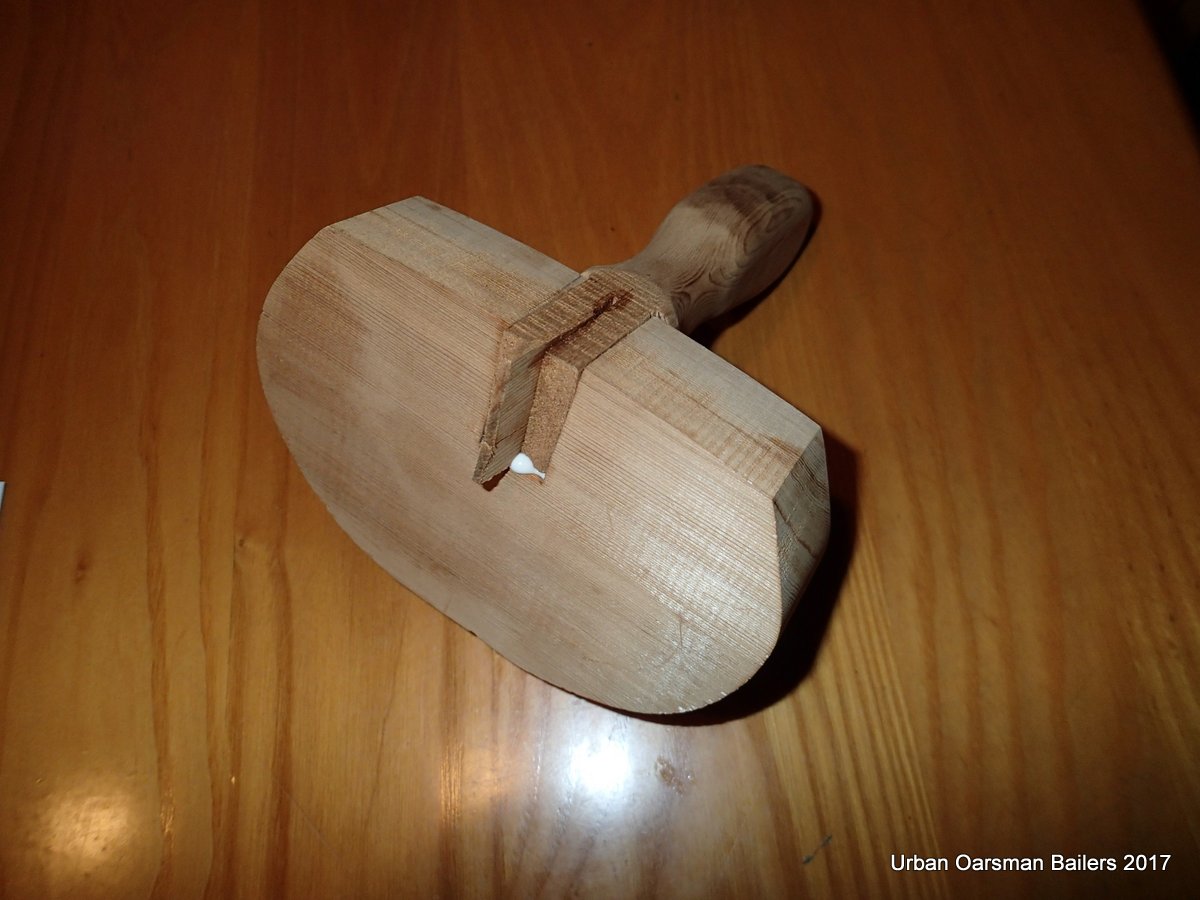
Glued up, wedge in
When the glue was dry, I sanded and shaped the handle and base to fit my right hand (I am right handed and bail with my right hand). I took off all the sharp edges.
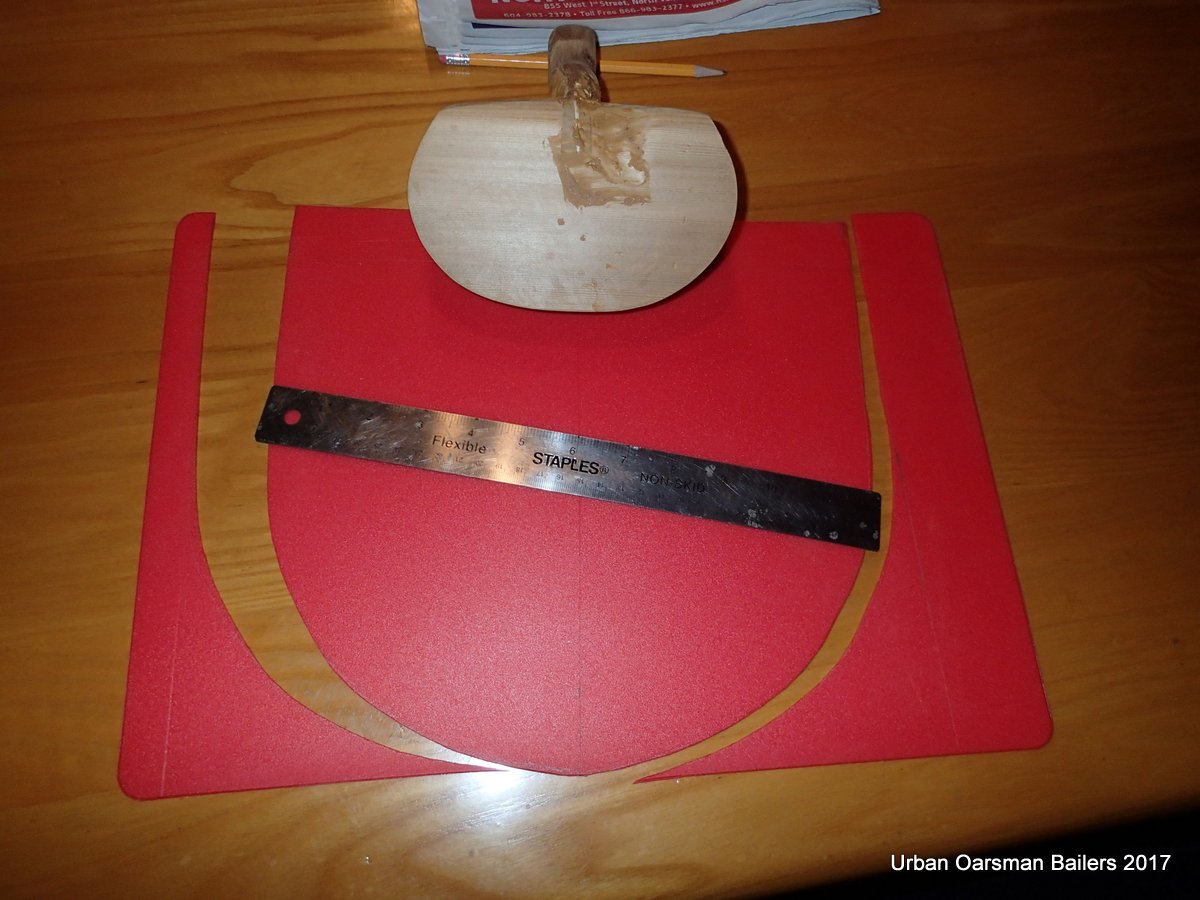
I next marked out the leather scoop/lip on a leftover oar-leathering piece.
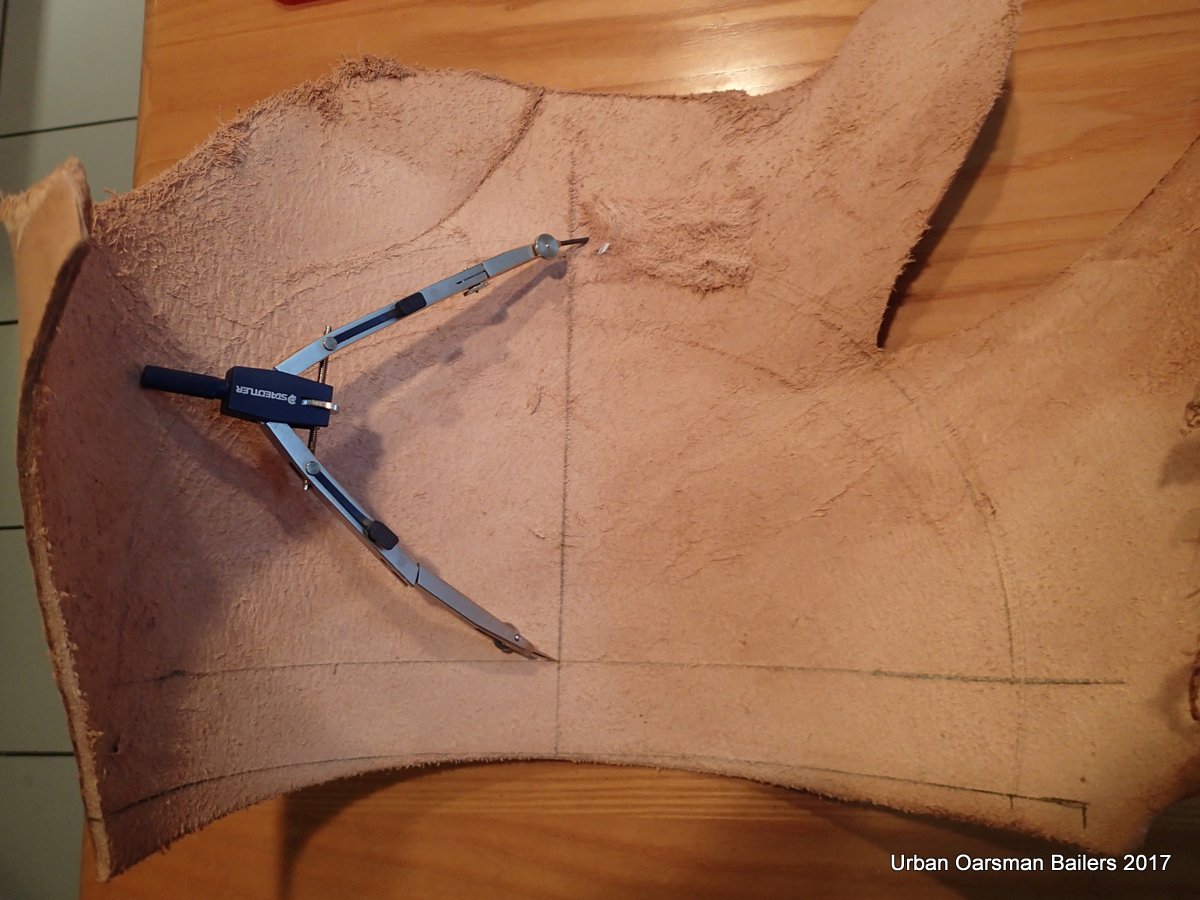
Marking out
I determined the width by measuring the distance from the gunnels of the base using a tape measure. I wanted to insure that the scoop/lip would go come up a little on the base, imitating the plastic bailers shape. I used sharp scissors to make the cut.
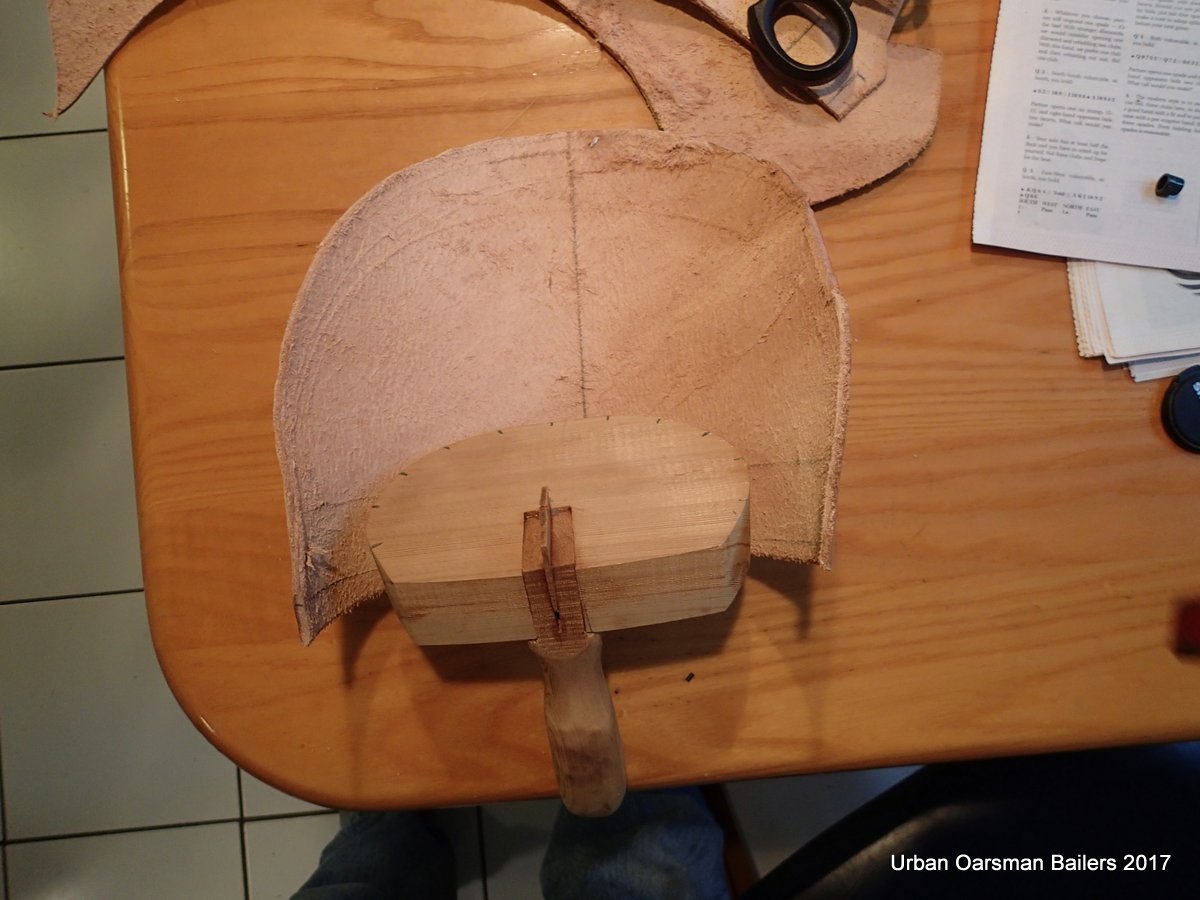
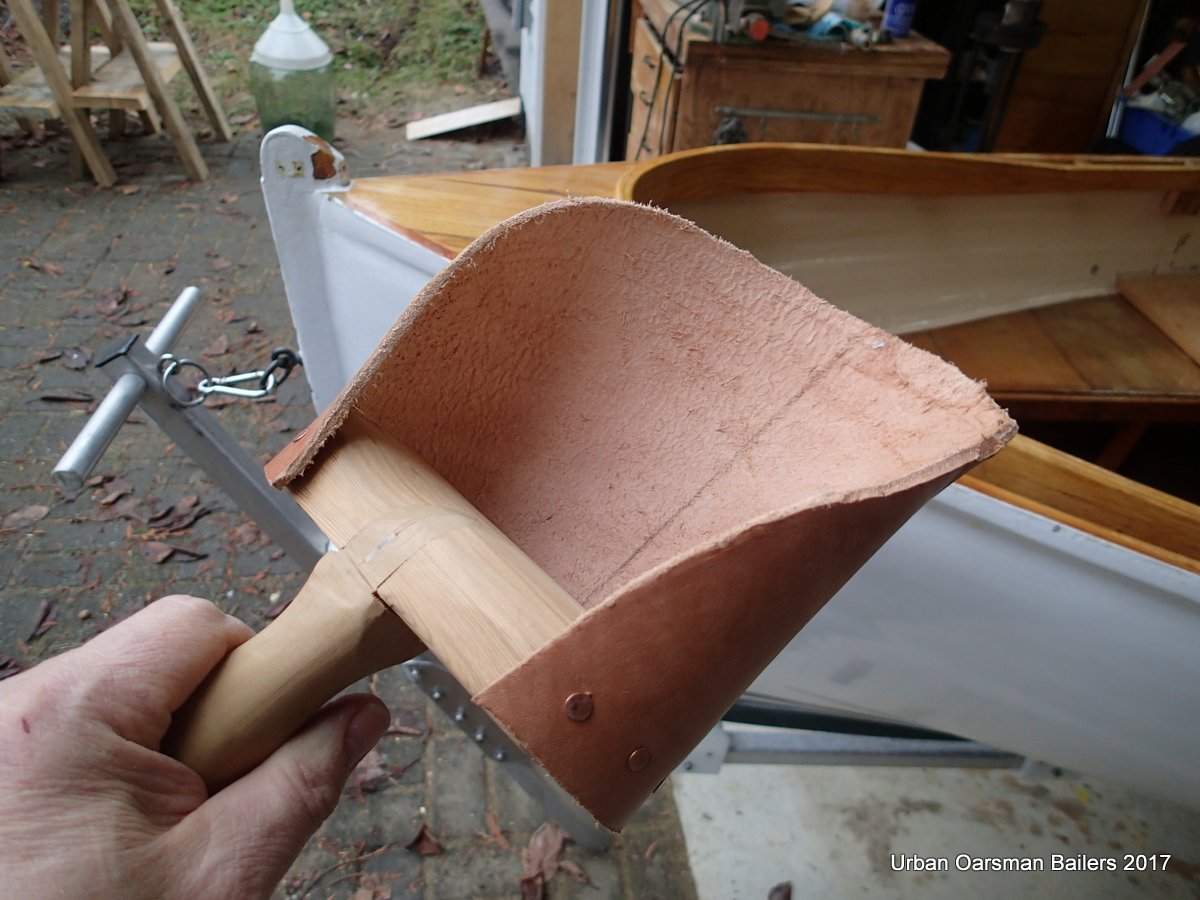
Dry fit
With all the pieces assembled, I final sanded the base/handle to fit my hand and did a final dry fit.
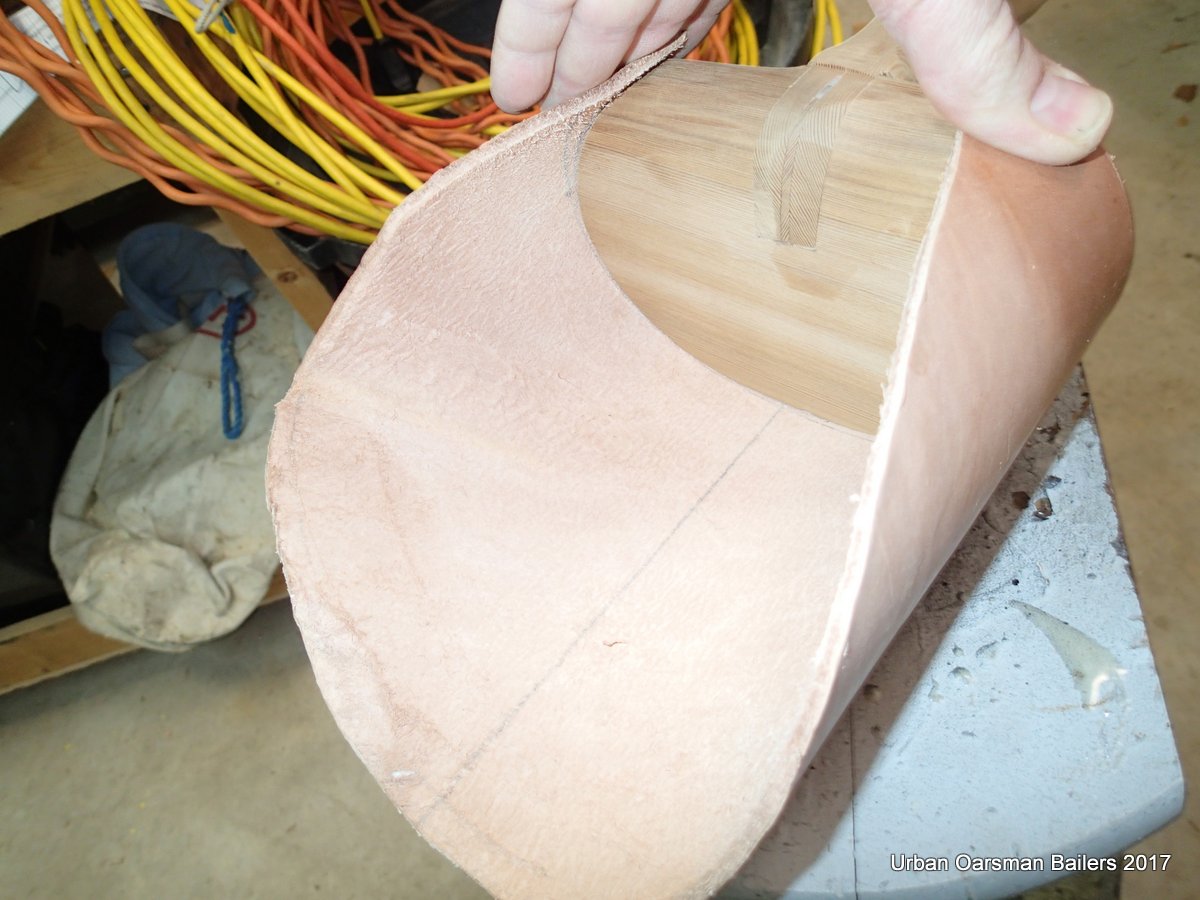
Final test fit
I marked and pre-drilled the holes in the leather.
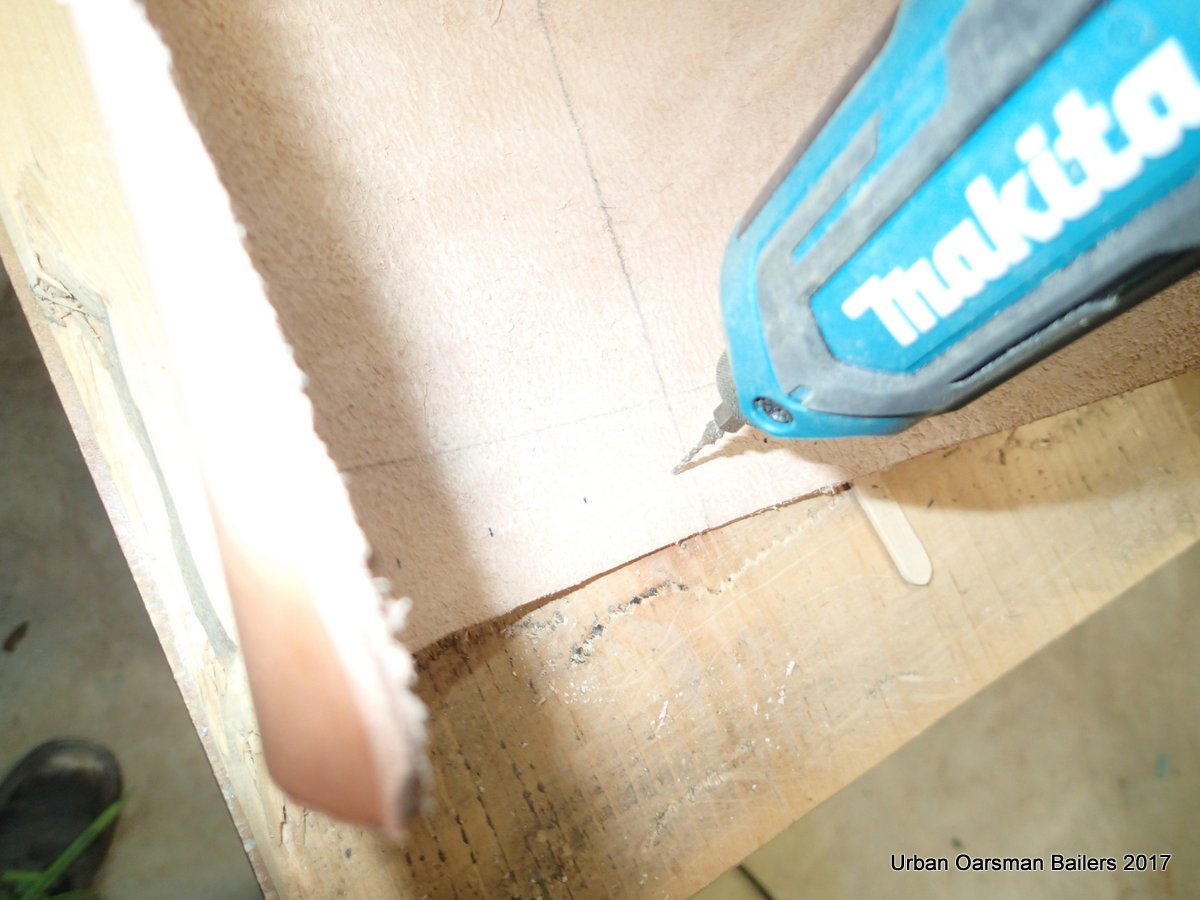
Drilling
The holes are drilled, time to put the leather on.
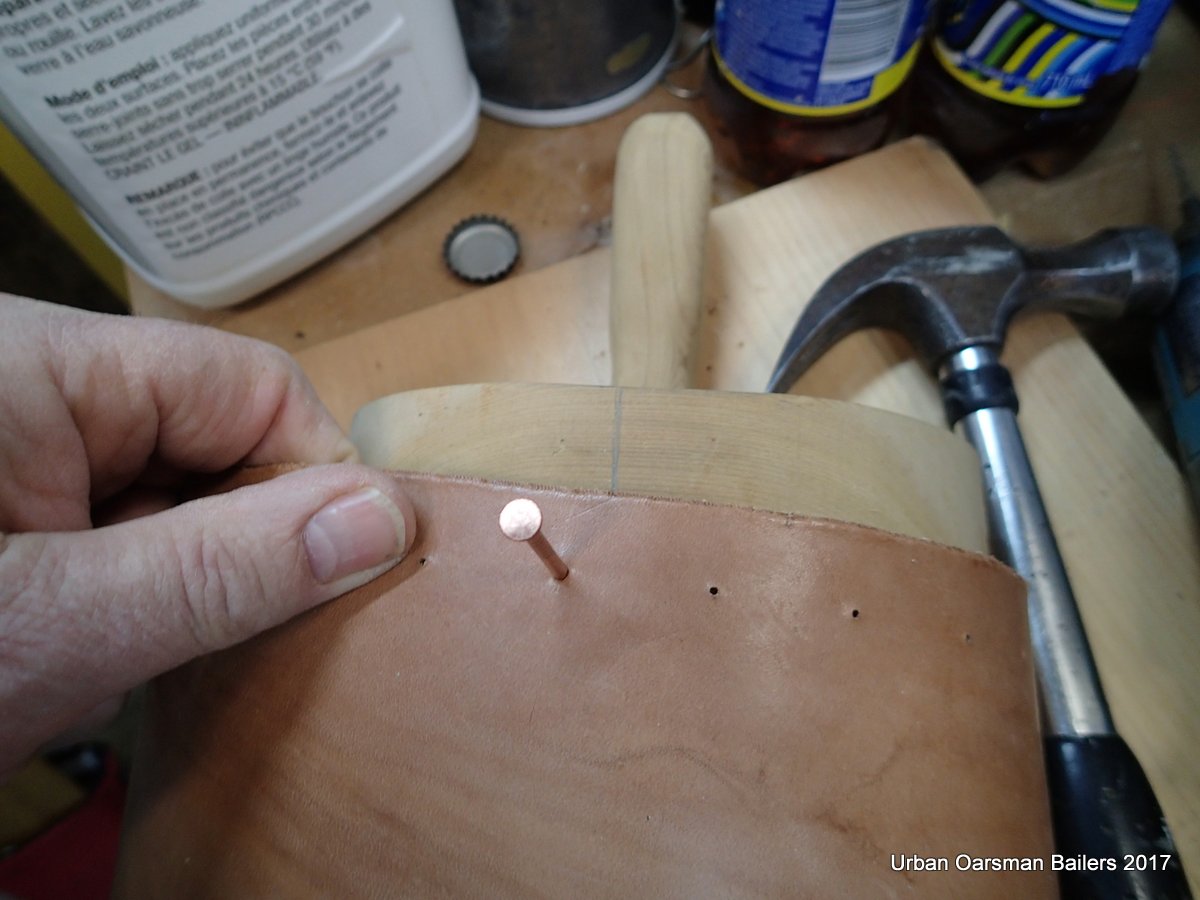
Lining up the first copper nail
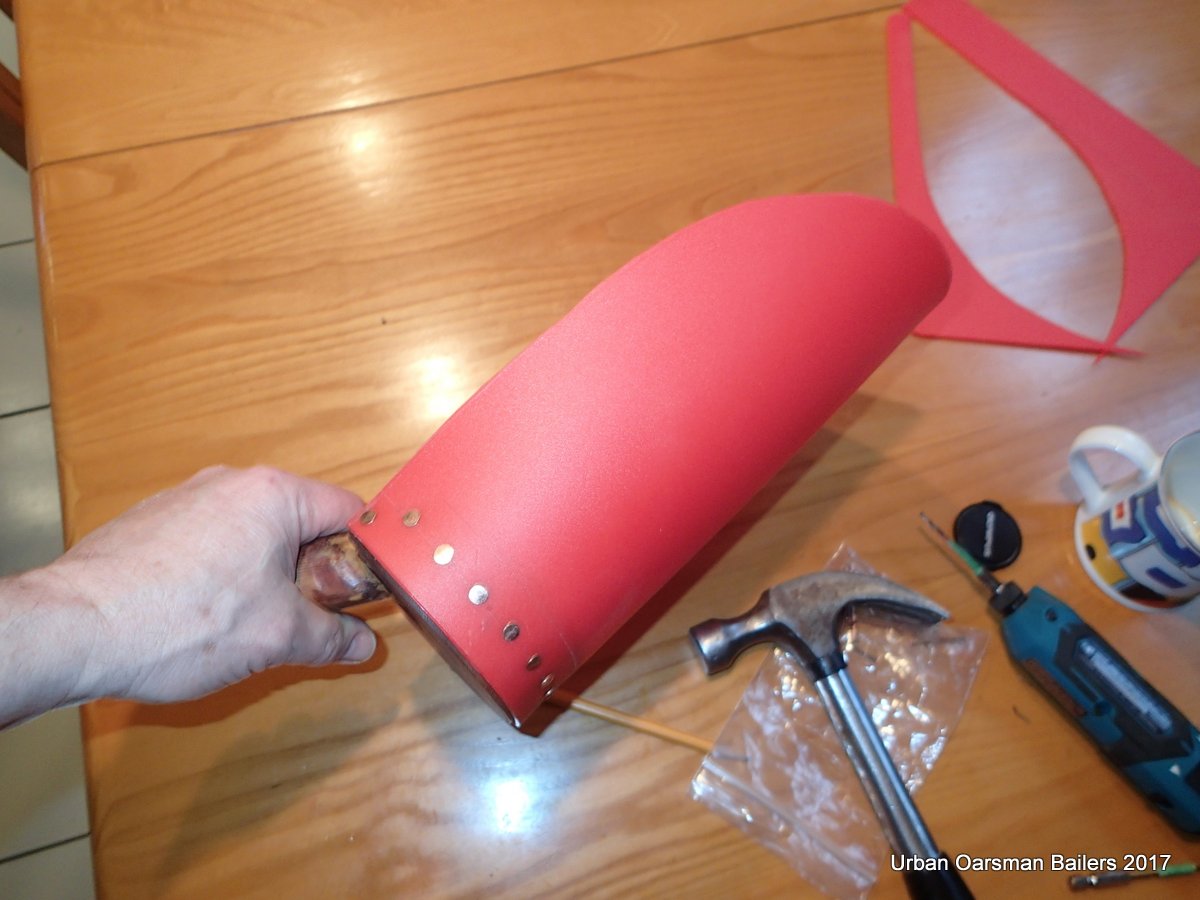
All the nails are in, time to seal the leather.
Leather attached
I use “Snowguard” on my oar leathers so I decided to use it here too.
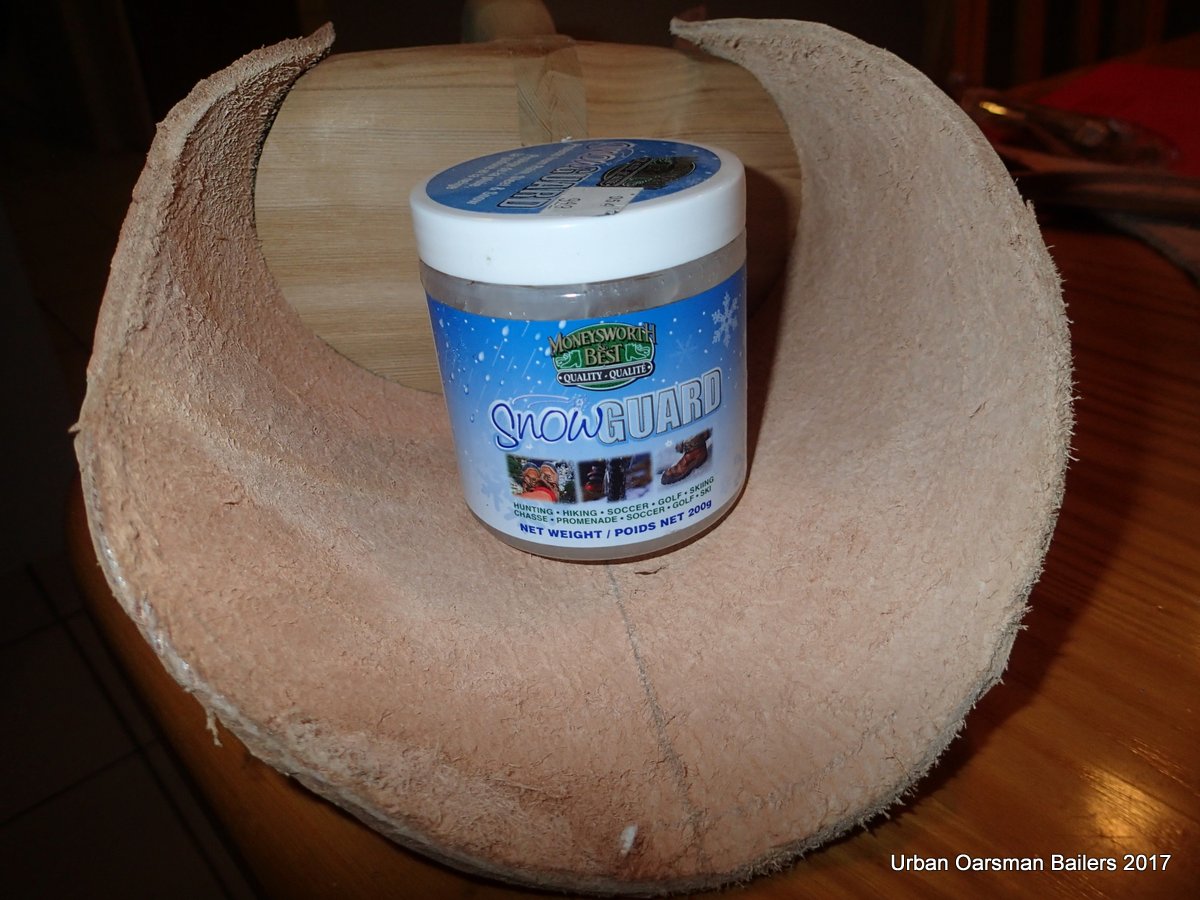
Ready to seal
The leather turns much darker after you put the leather seal on. I put the bailer in the oven on 200° to melt the sealer into the leather and wood.
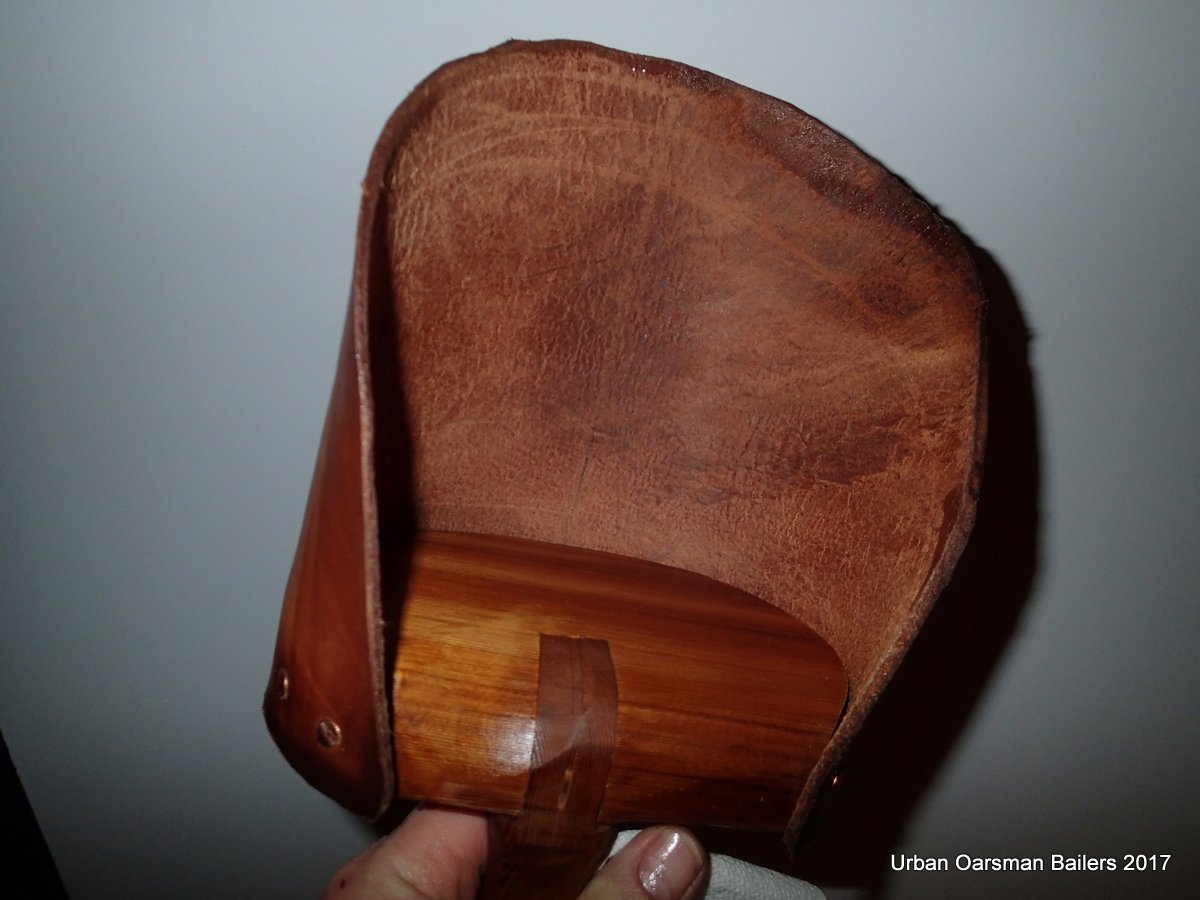
Fresh out of the oven
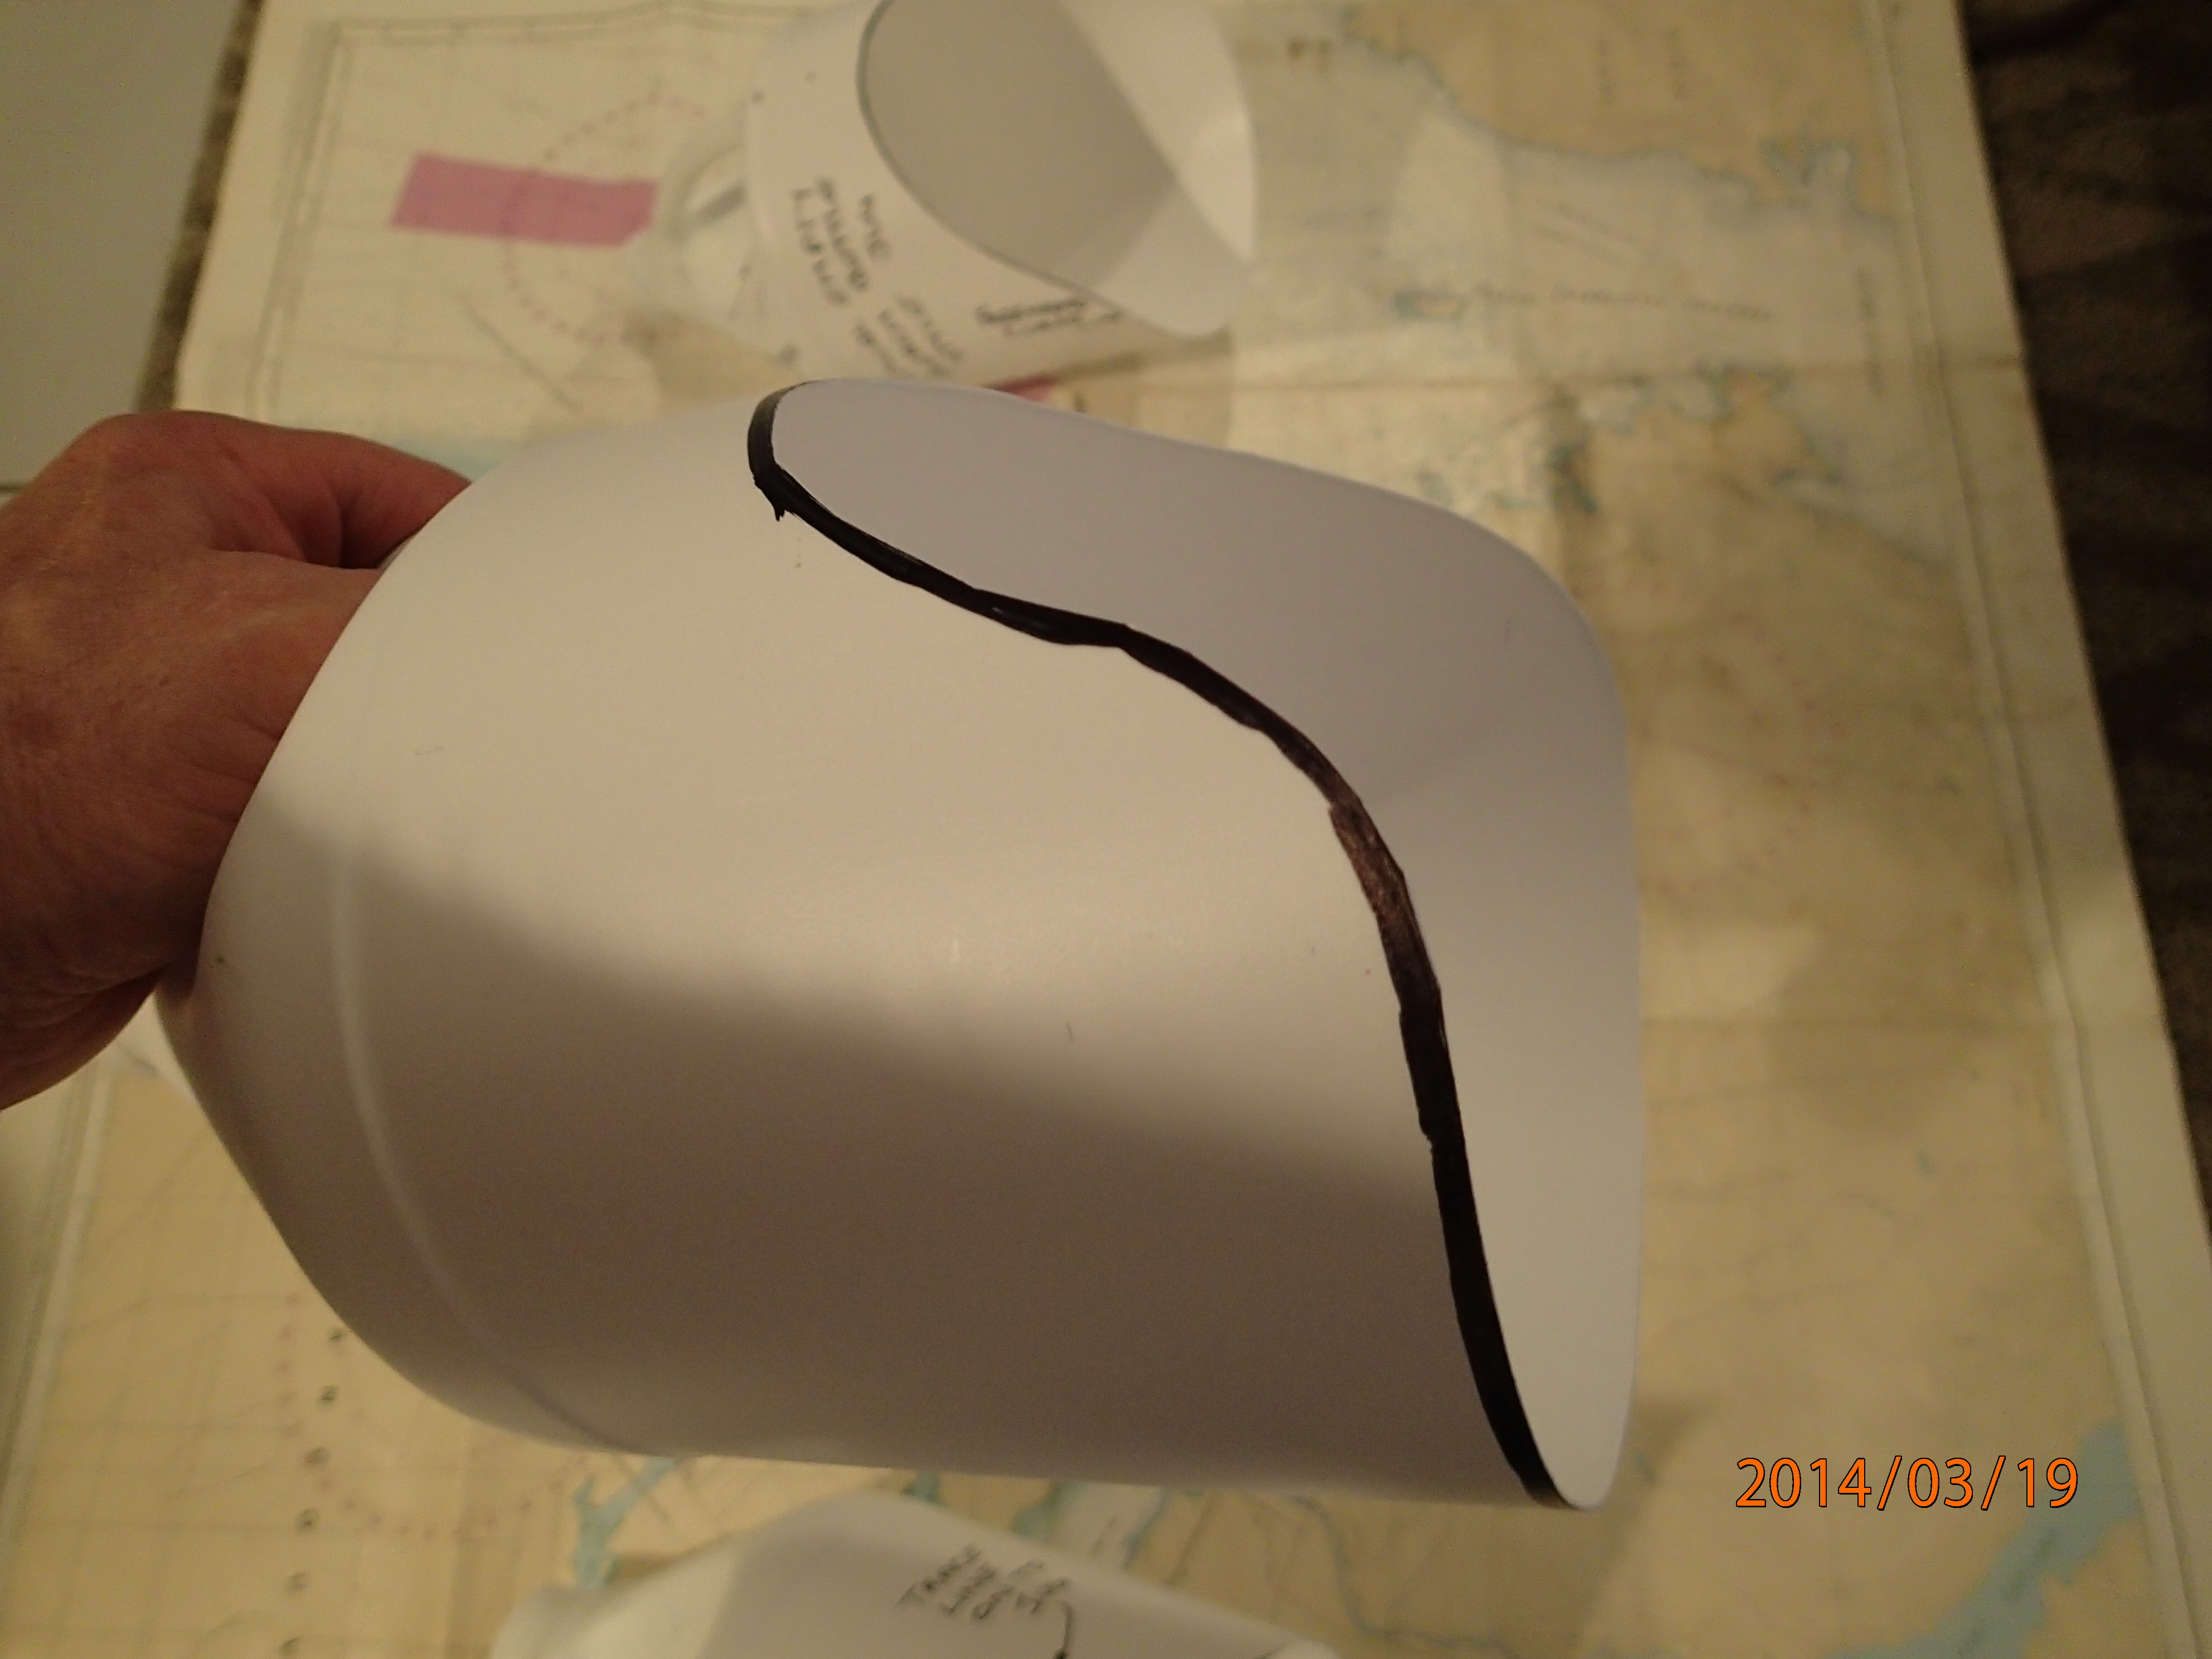
Because it is hard to source leather, I made another bailer using an Ikea cutting matt instead of leather using the same techniques I used to make the leather one. The cutting mats are easy to find. I did pre-drill the holes in the cutting mat.
Wood & Ikea cutting mat bailer
Finished product:
Finished wood & Ikea cutting mat bailer
I took the bailers and the plastic jug one down to the sailing club and bailed out all of the boats. The plastic jug bailer performed as expected. Good balance, lip conforms to boat’s bottom and no spillage.
The “Standard” bailing jug
The scoop on the Ikea cutting mat bailer is too long…the water in the scoop tends to slop over the handle while scooping, wetting the hand of the person bailing. The scoop/lip did conform to the boat’s bottom, but the leverage of the long scoop made the bailer feel unbalanced. The plastic cutting board cracked along the nail line. I guess the Ikea cutting board is not the right material for the job.
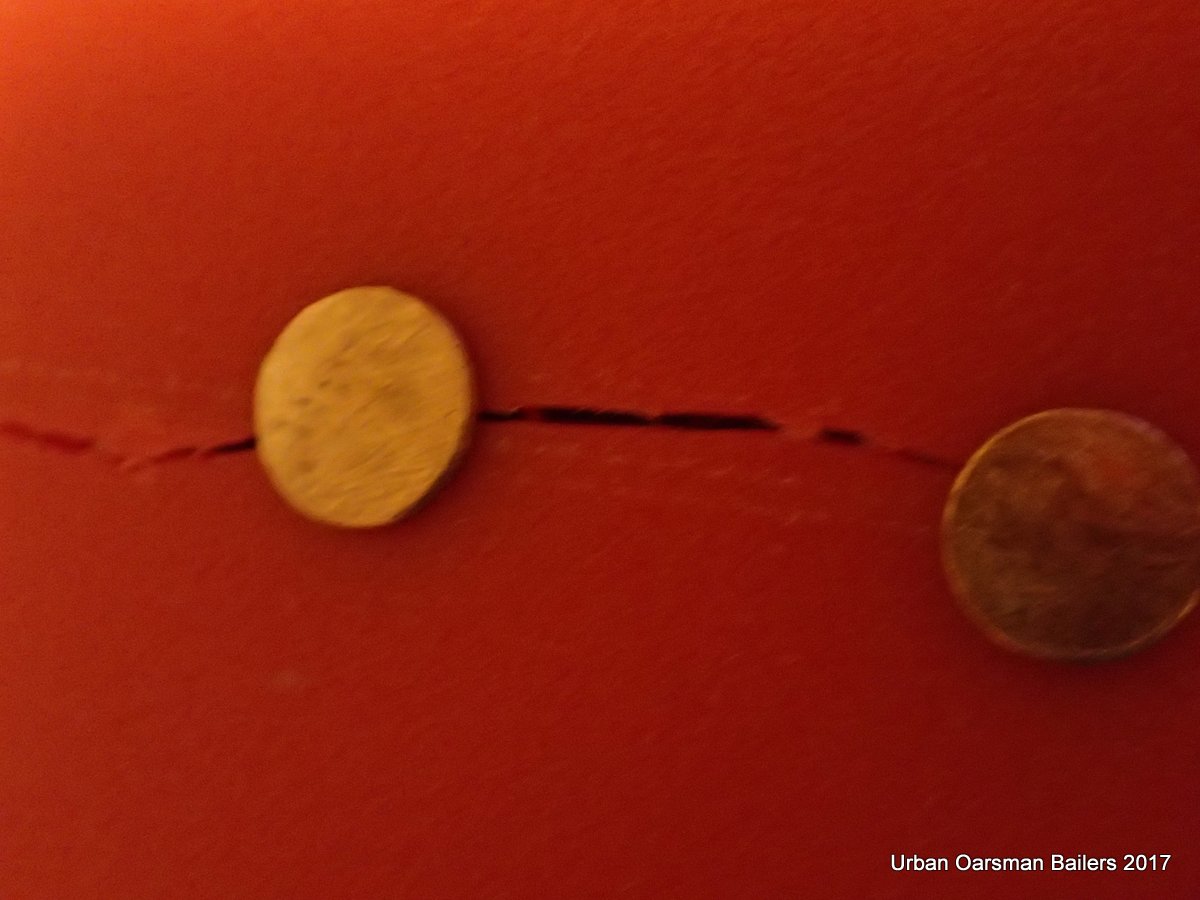
Cracks in the cutting board material
The Wood & Leather bailer worked well. I found that it was easier to bail when I put my thumb over the base of the bailer.

Best hand position
The Wood & Leather bailer did not scoop as much water as the plastic jug one, but in all other respects it performed just as well. Good balance, the leather lip did conform to the boats bottom and very little spillage. I am going to use the Wood & Leather bailer and see how long it lasts.
It does look much better than the plastic jug one.
Dry rowing,
Mike