Black goop is dry, time to take off the tape.
The black goop is dry. Time to take the tape off and trim any excess black goop.
Paul trims off any black goop “flash” and tape.
We give the hull a wipe down with Varsol, to remove any black goop stains or spots.
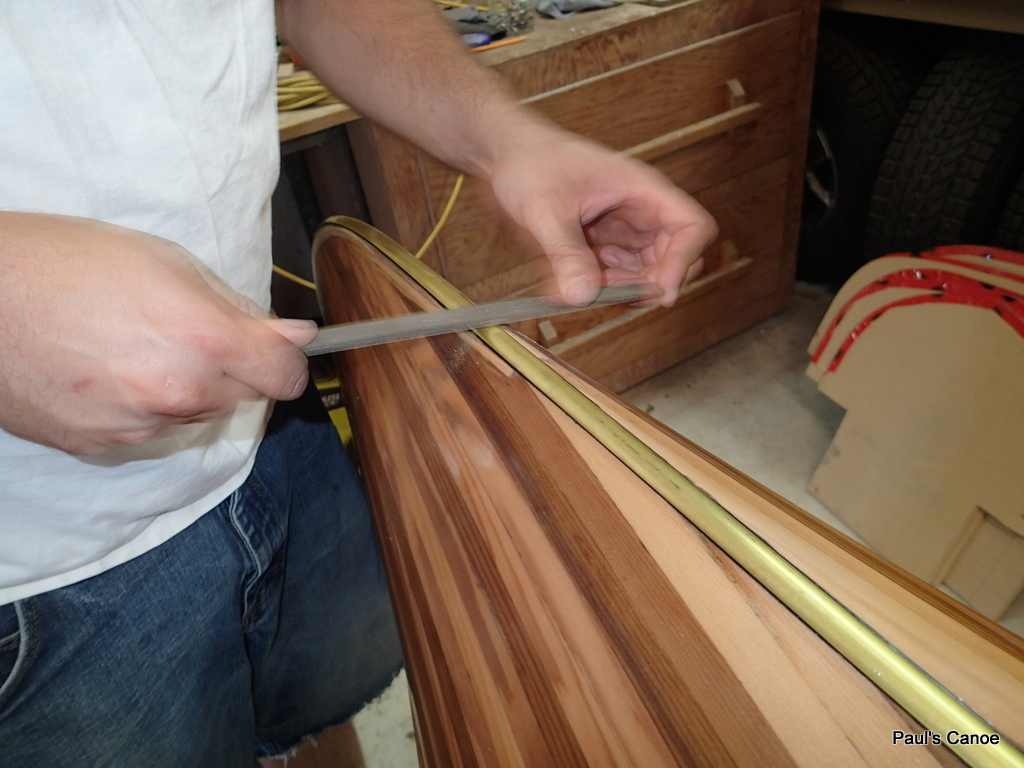
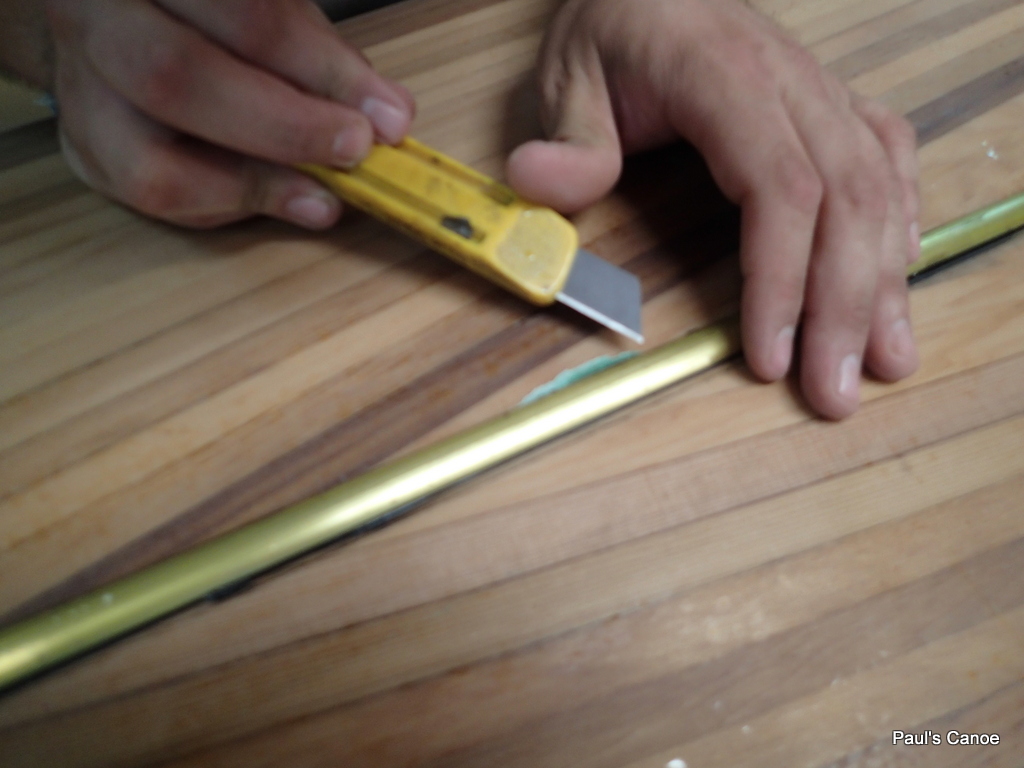
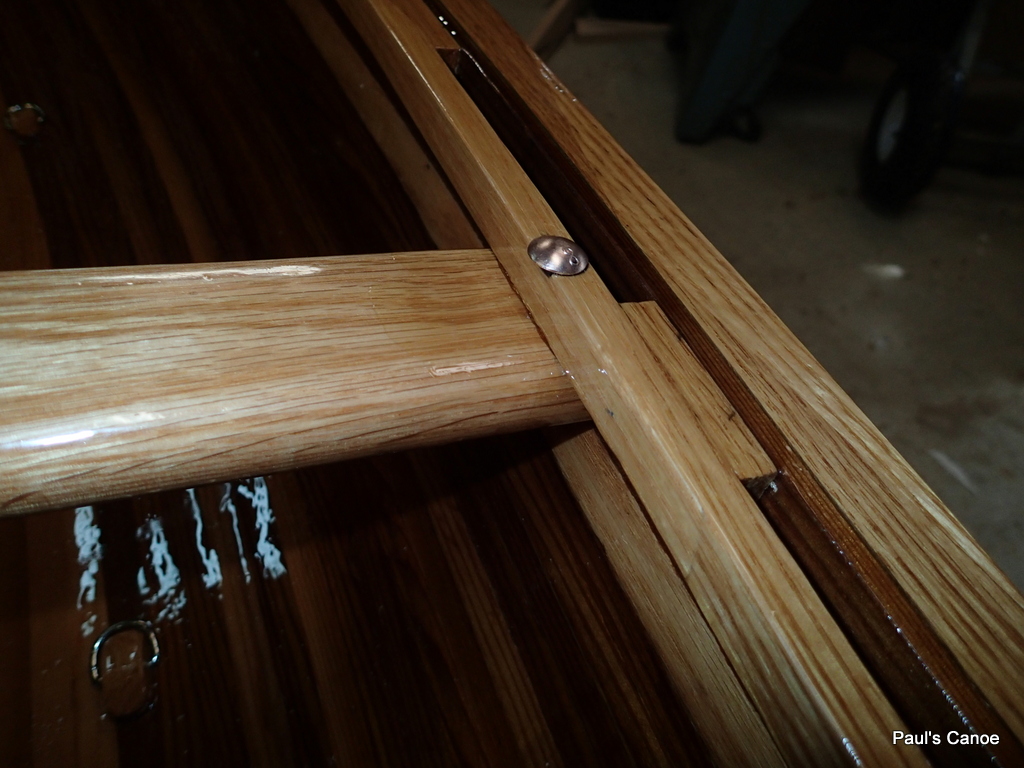
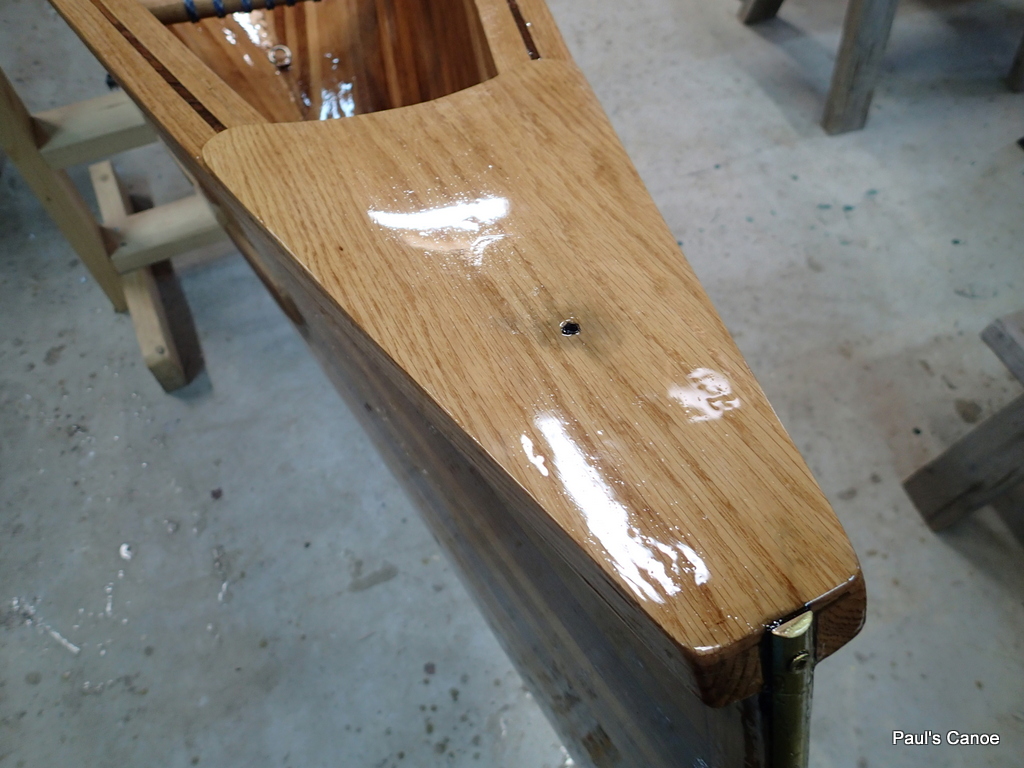
Filing the screw flush.
Paul files the attaching screws more flush with the brass strip.
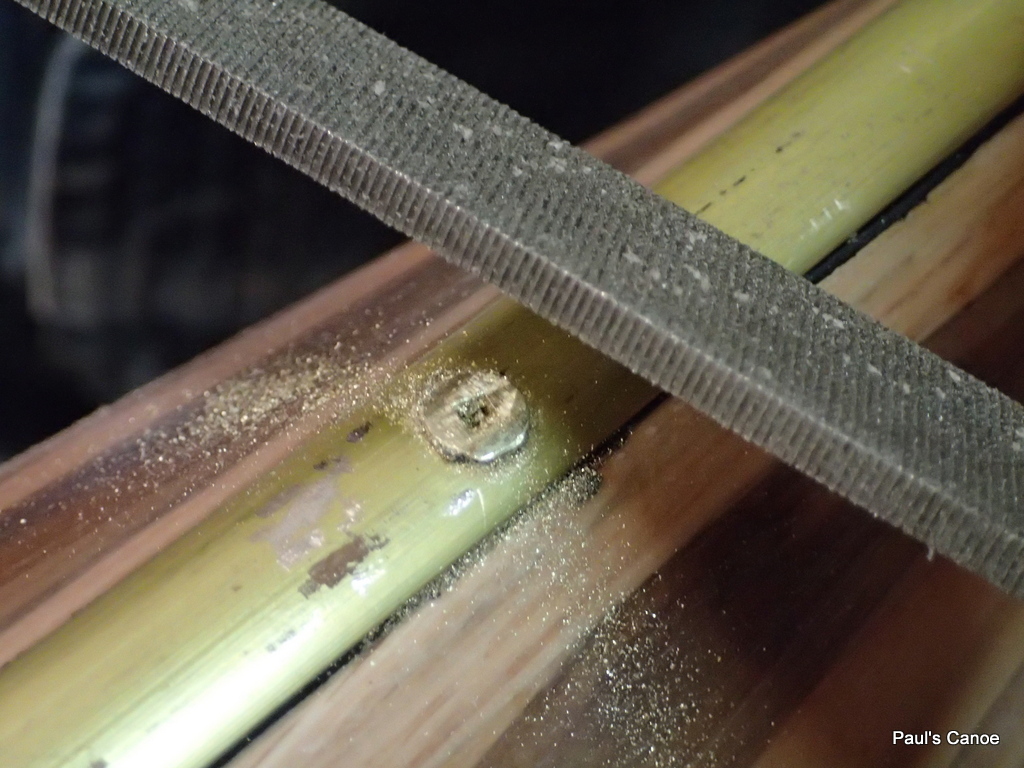
Almost done filing.
After Paul has filed the screws flush, we vacuum the hull and wipe it with a tack cloth and then give the hull a wipe with the Varsol.
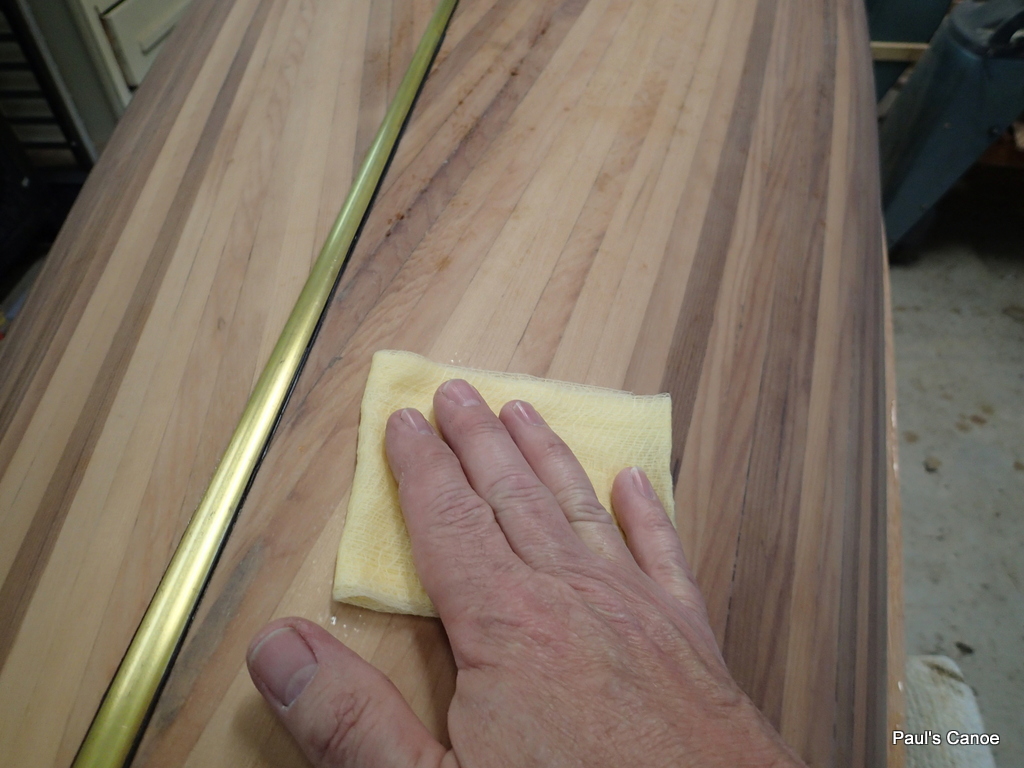
Tack cloth wipe.
We are trying to get as good a finish as we can without going too crazy about it.
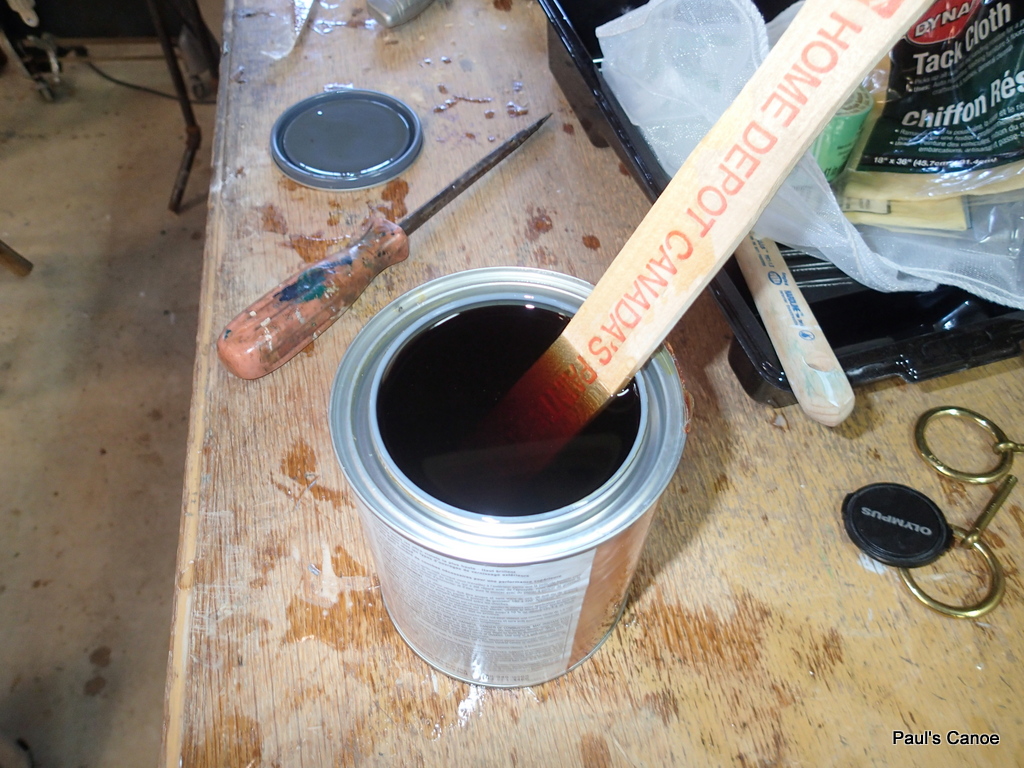
Stir that varnish!
We add a little Pettit solvent and stir. We will roll on the varnish and follow by brushing it out.
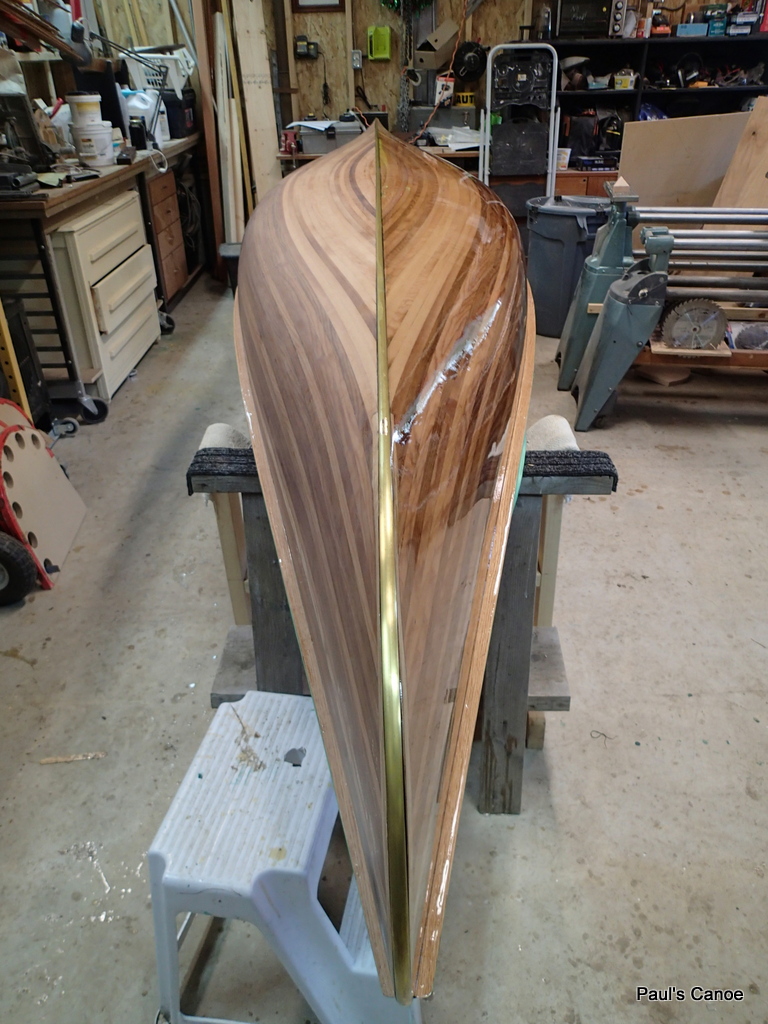
Half way there.
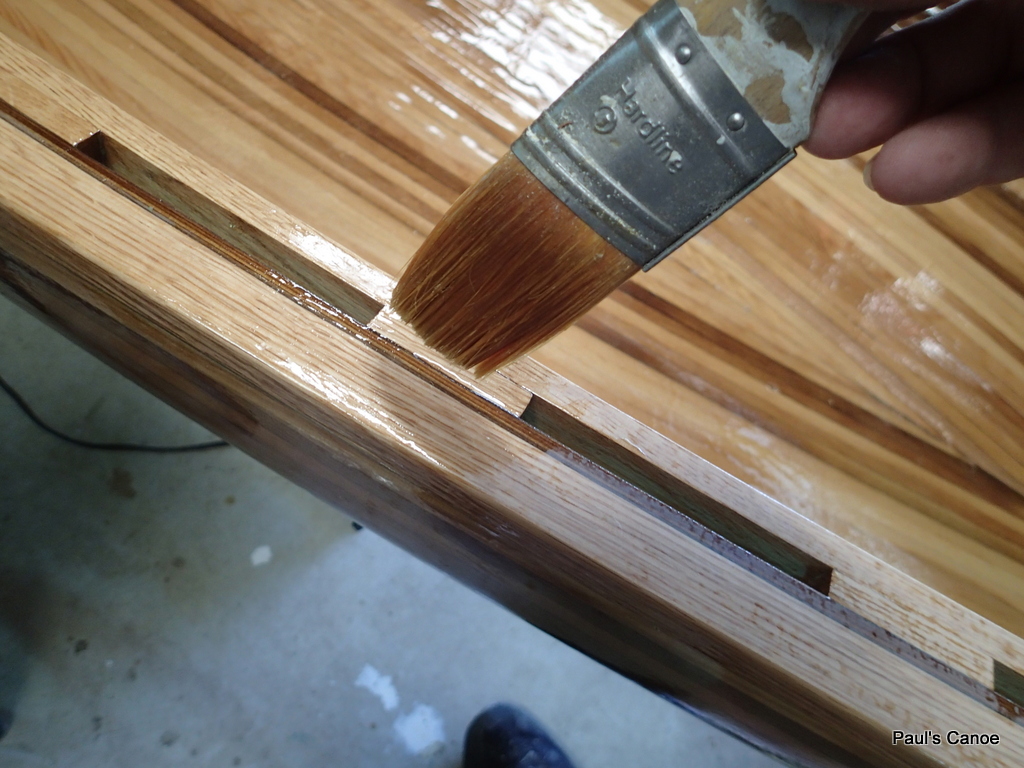
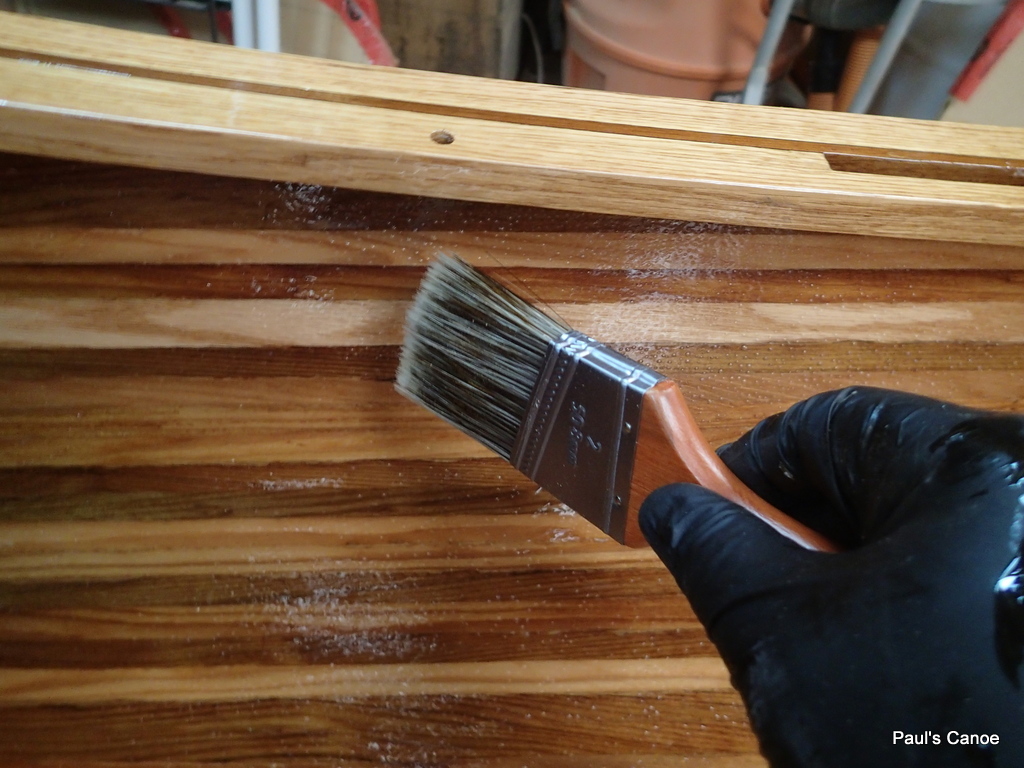
We roll and brush out the varnish. Fun, fun, fun.
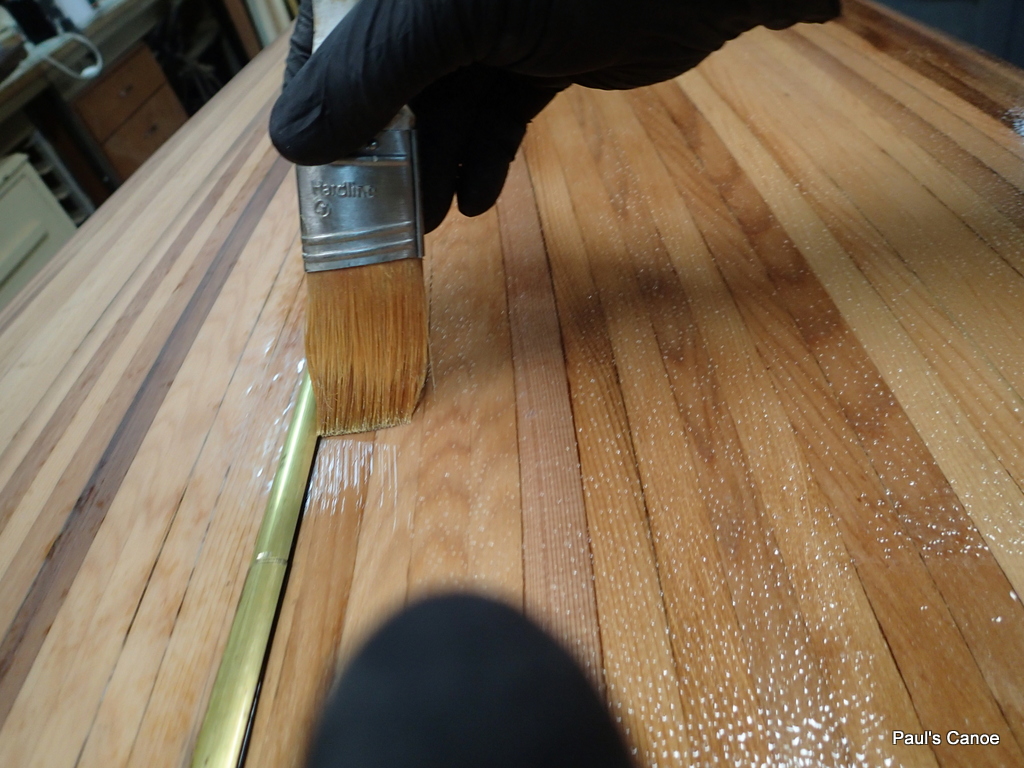
Brushing out the varnish.
When you are brushing out the varnish, you can feel the brush “drag” where there is a holiday. We re-roll out that piece again.
We spend the next half hour looking for “holidays” and runs.
When the outside hull has dried, we attach the stem rings. They are brass cotter pins with a brass ring. We drill a hole in the deck piece, squirt in some black goop and put in the cotter pins and ring assembly.
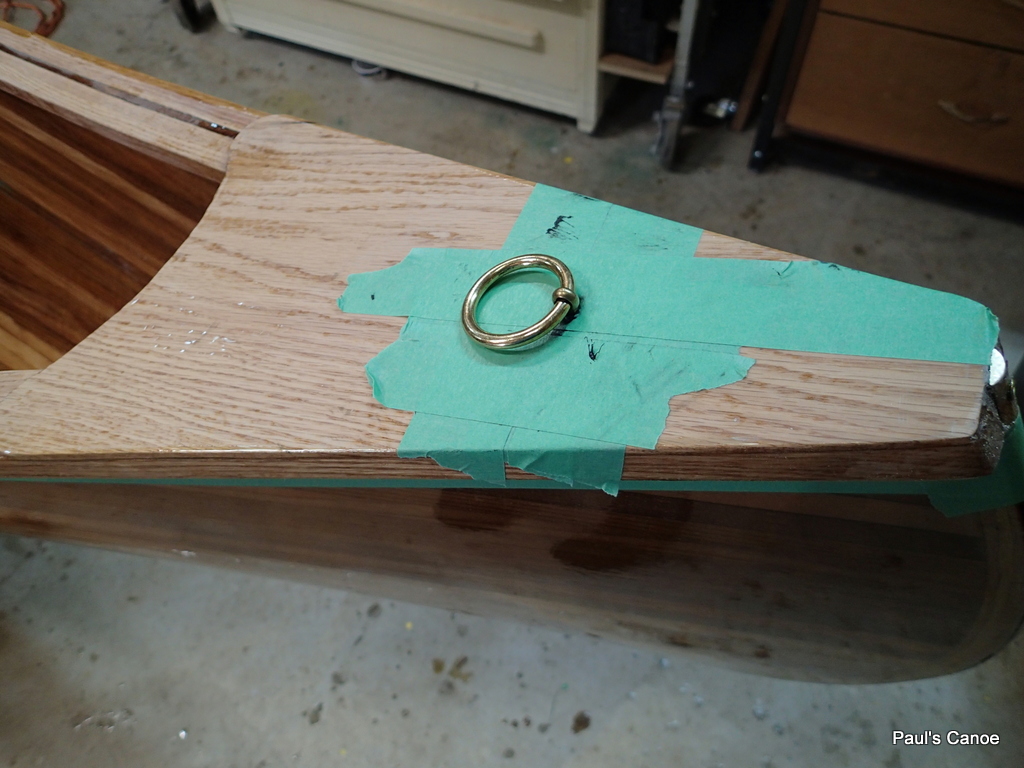
Stem rings glued in. The tape protects the deck.
When the black goop is dry, I remove the painters tape and install the seats. This way, all the holes I drill for the seats will be varnished on the inside.

Seat placement, marked with tape.
I have used the formula to place the seats, trying for about 200lbs balanced off by 160lbs.

Ready to varnish the gunnels…also eyeballing the seat placement.
Cutting the seats.
Fitting the seats.
I mark all the seats and cut them to fit.
Temporary placement.
I will have to cut the “riser blocks” to hang the seats from the inside gunnels.
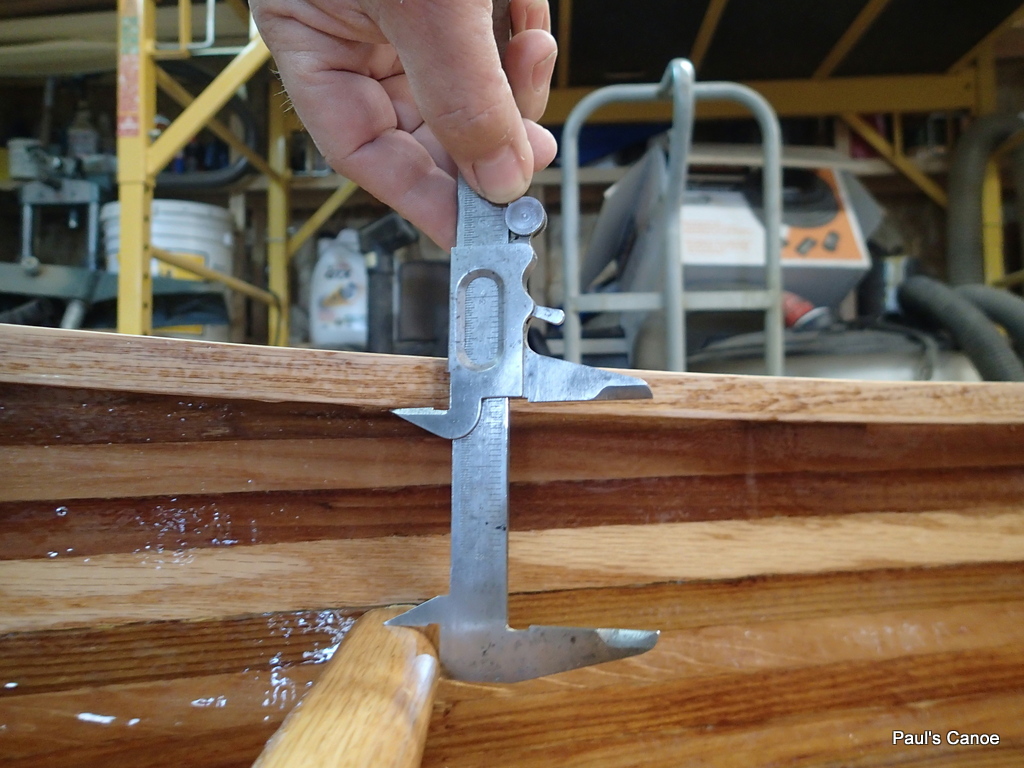
Measuring for the riser blocks.
Six of the blocks are the same length, two of the blocks are longer, I cut them out of some left-over oak.
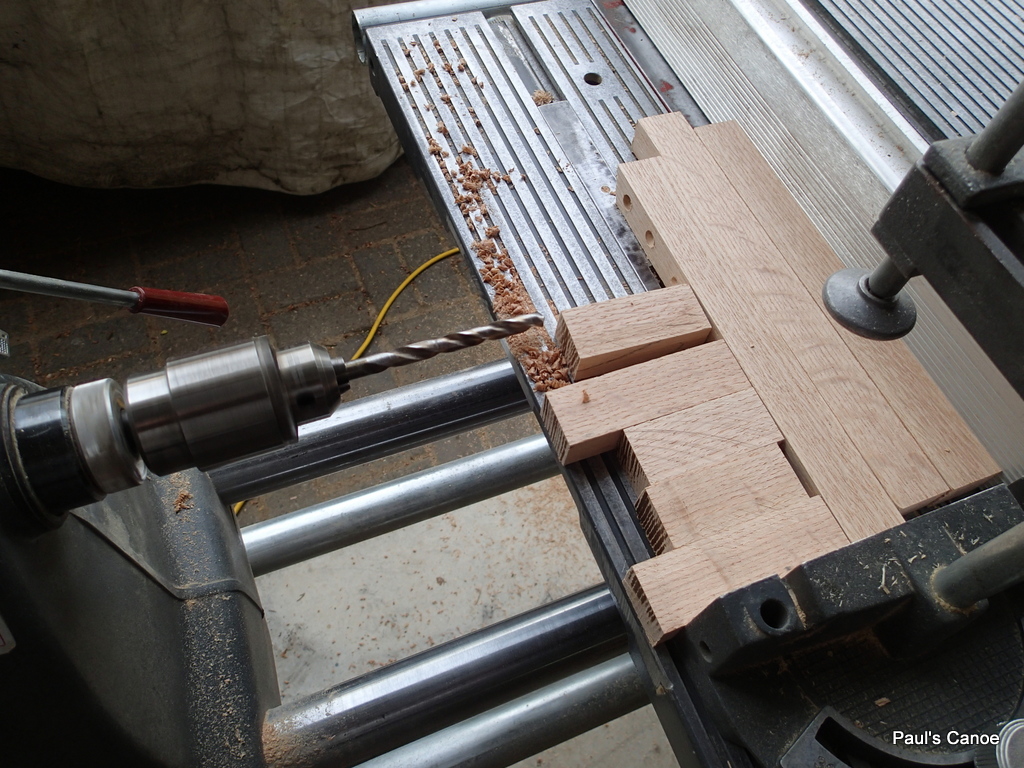
Horizontally boring the holes to hang the seats.
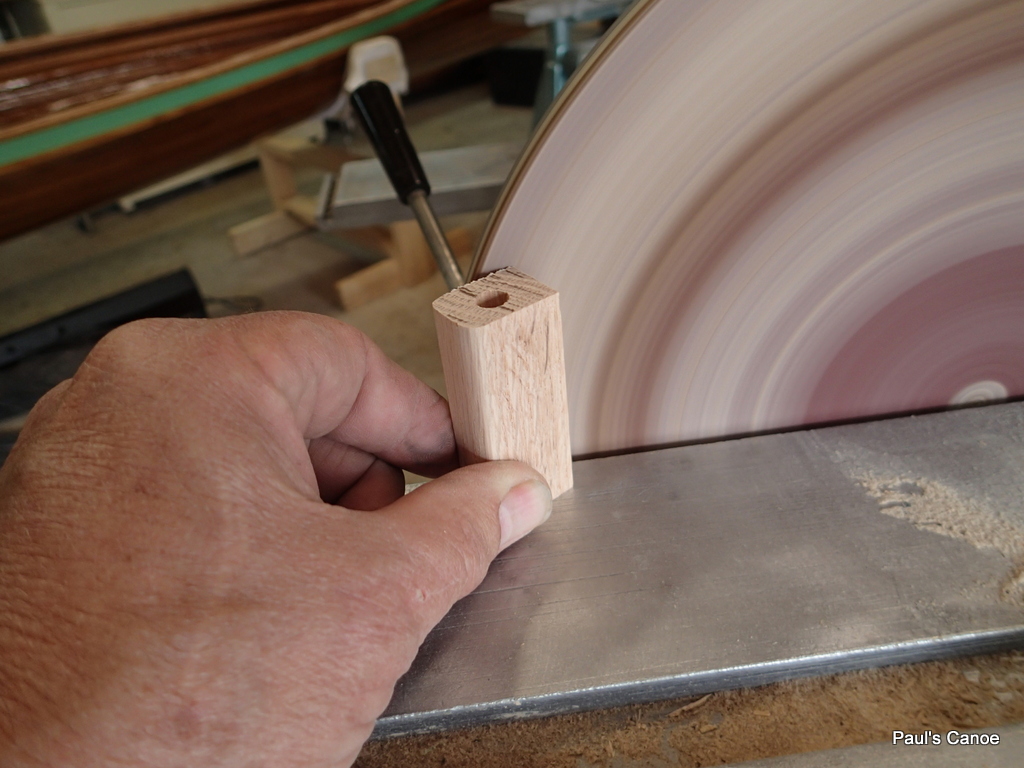
I use the Shopsmith disk sander to shape the blocks.
The colour more matches the seat frames.
I dip them in the varnish four times.
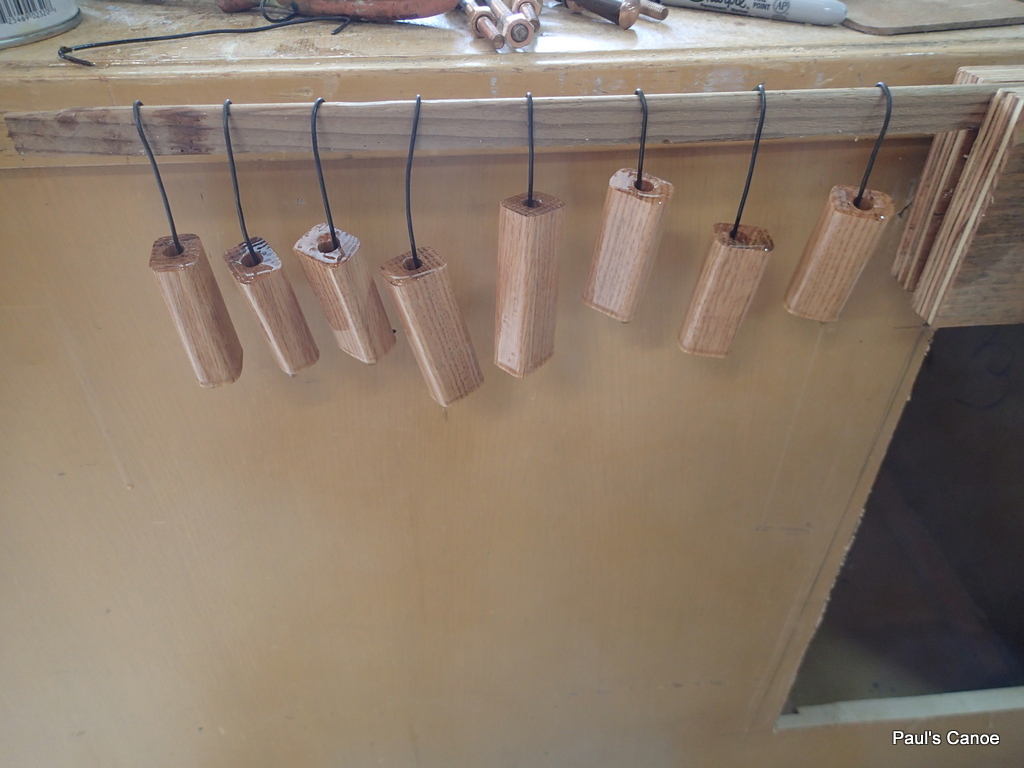
…jus’ hanging around.
The two longer blocks have an angled top.
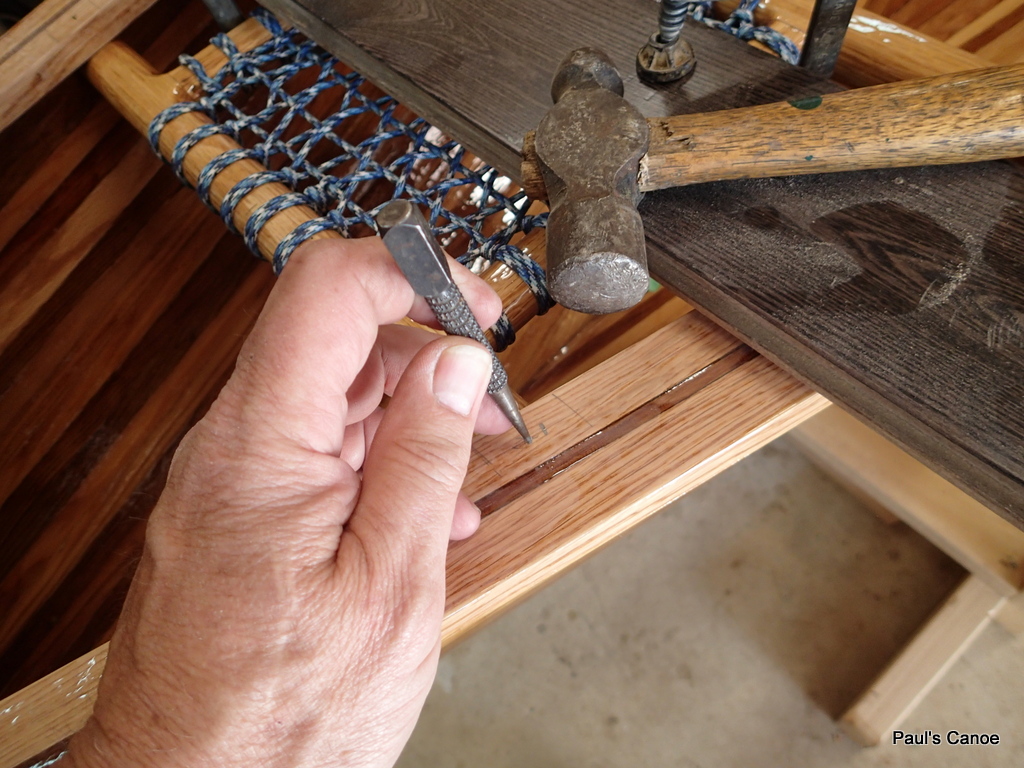
I use a nail set as a punch for each hanger hole.

Clamping the seats into position for drilling the hanger bolts.
I have a long ¼” drill bit for the hanger holes. I want there to be some wiggle” room to hang the seats. It will be a tight fit.
I cut all of the hanger bolts to length and thread the ends.
After we have temporary fitted the seats and thwart, we remove them for the hull interior varnishing.
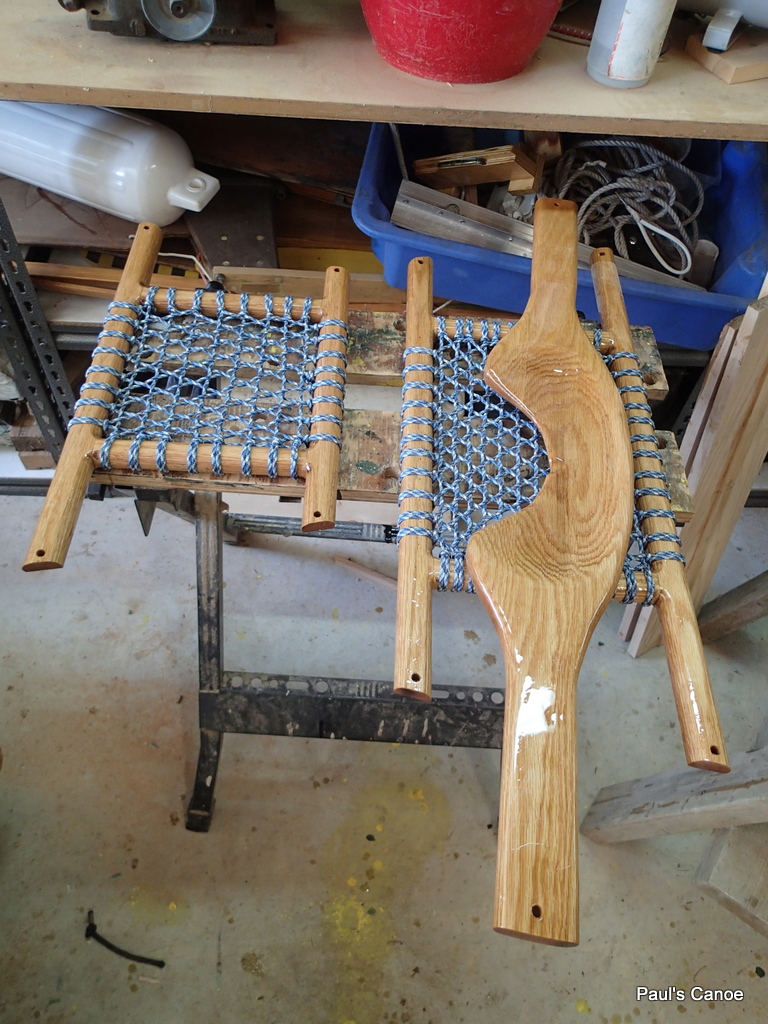
I put the seat and thwart to one side.
I have put painters tap along the underside of the gunnel (inside and outside) to catch any drips. You can see them a lot better against the painters tape than the varnished hull.
I start by using a q-tip to varnish the scuppers.
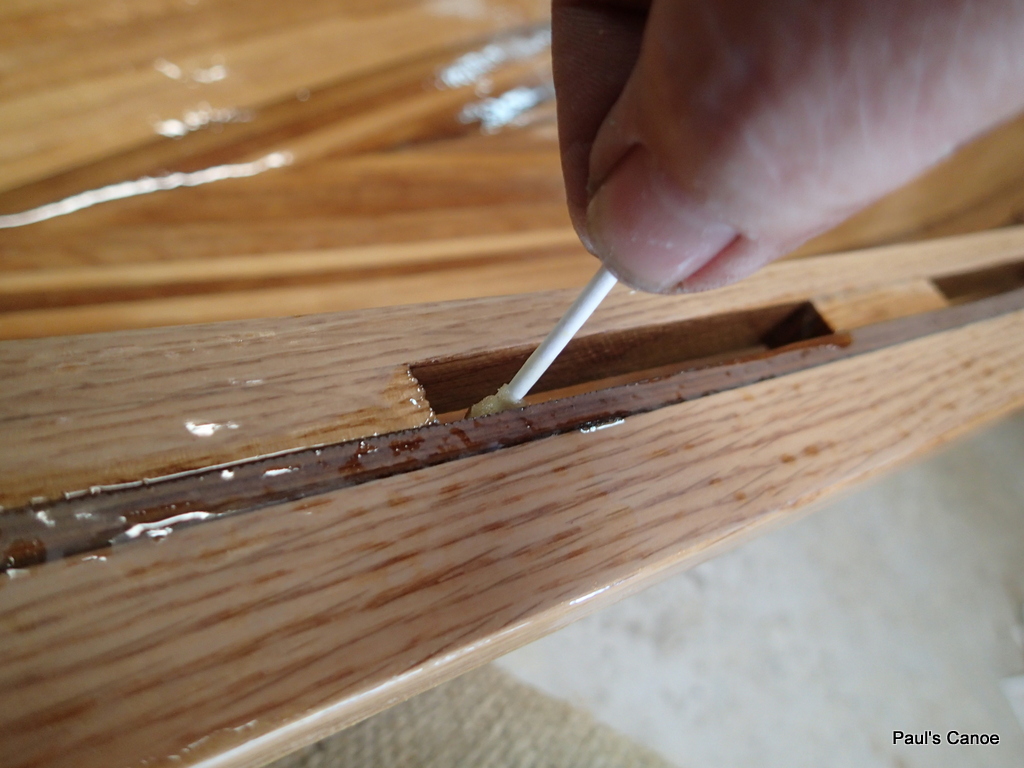
Scuppers varnished.
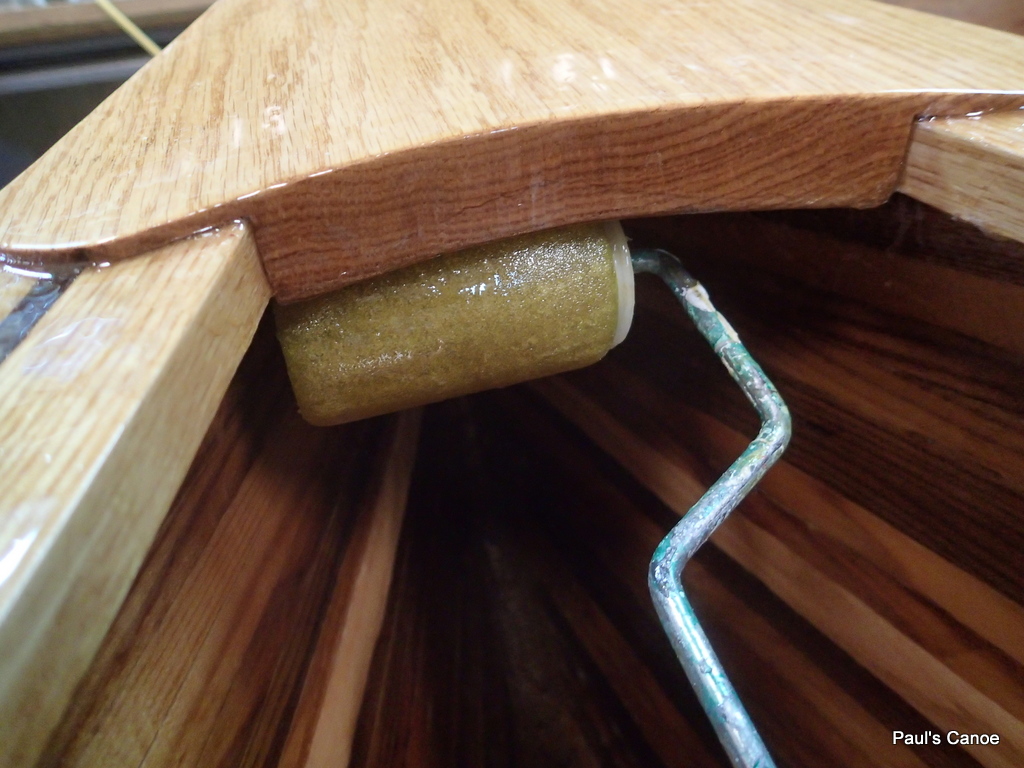
Q-tips are cheap, and I use two of them a side. I roll on the varnish and brush it out on the flat part of the gunnels.
Six coats of varnish for the gunnels.
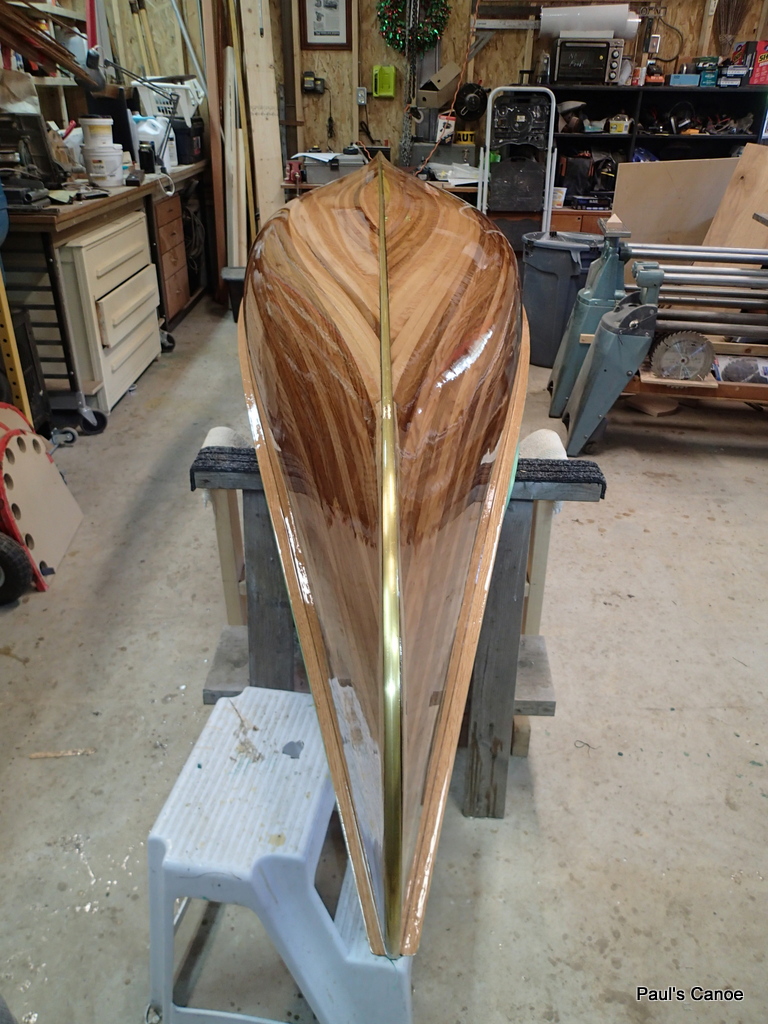
The next step is to varnish the inside of the hull…Five coats.
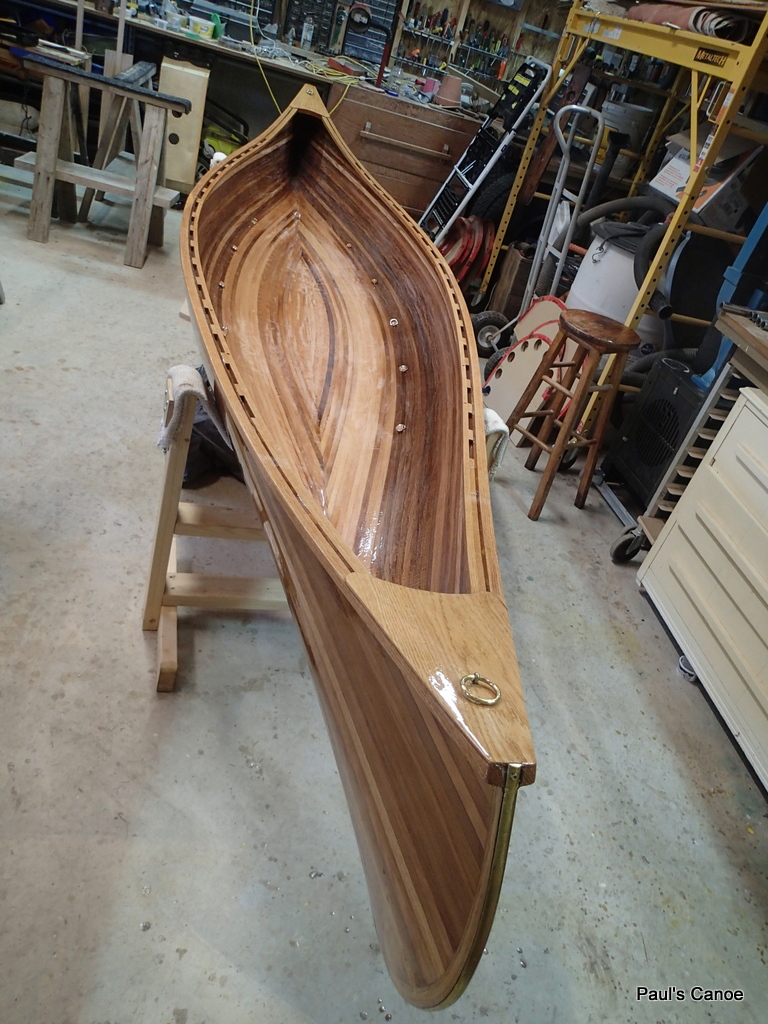
Ready to varnish the inside…Sanded, tack clothed and washed with Varsol.
Paul and I will roll out the varnish and then brush it out….
Under the deck.
Rolling out the sides.
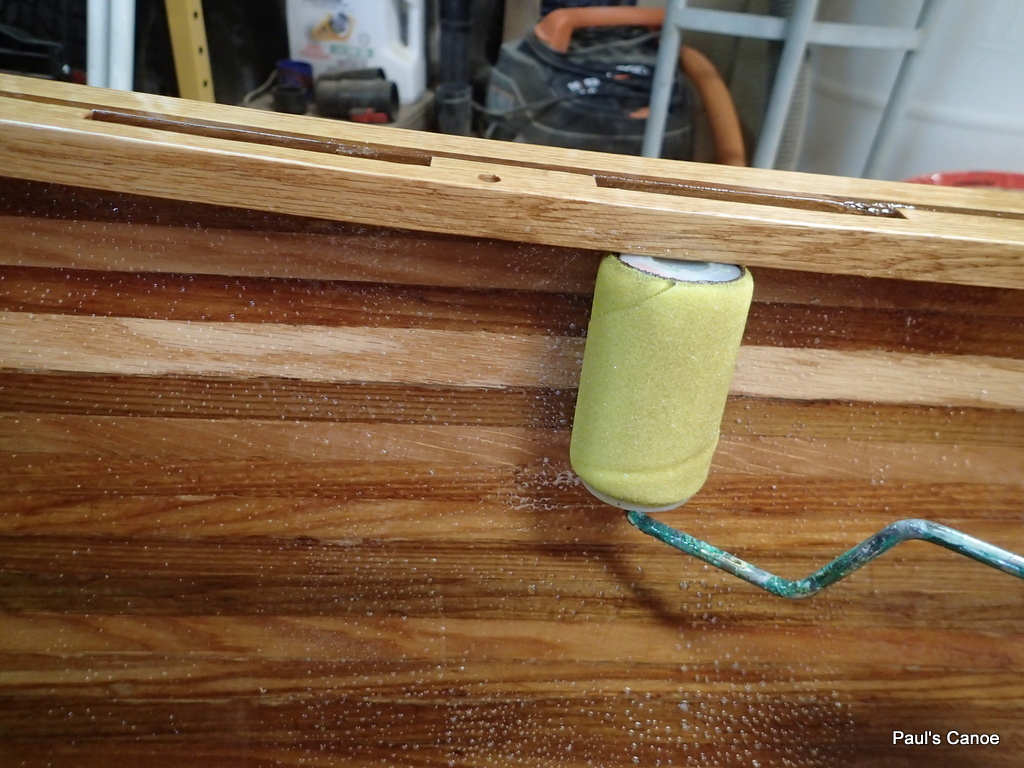
Rolling out. The roller leaves bubbles, but and overall even coat.
Brushing out the bubbles.
The brush takes care of the bubbles.
Dry, varnish, repeat five times.
Final coat. (at last!!)
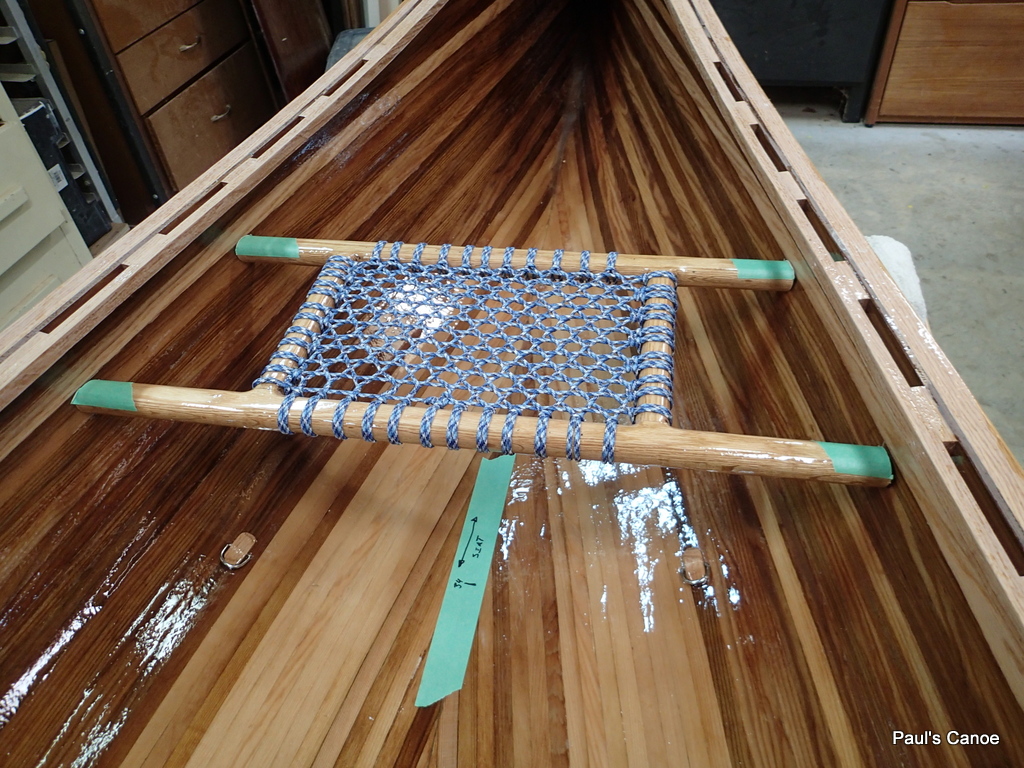
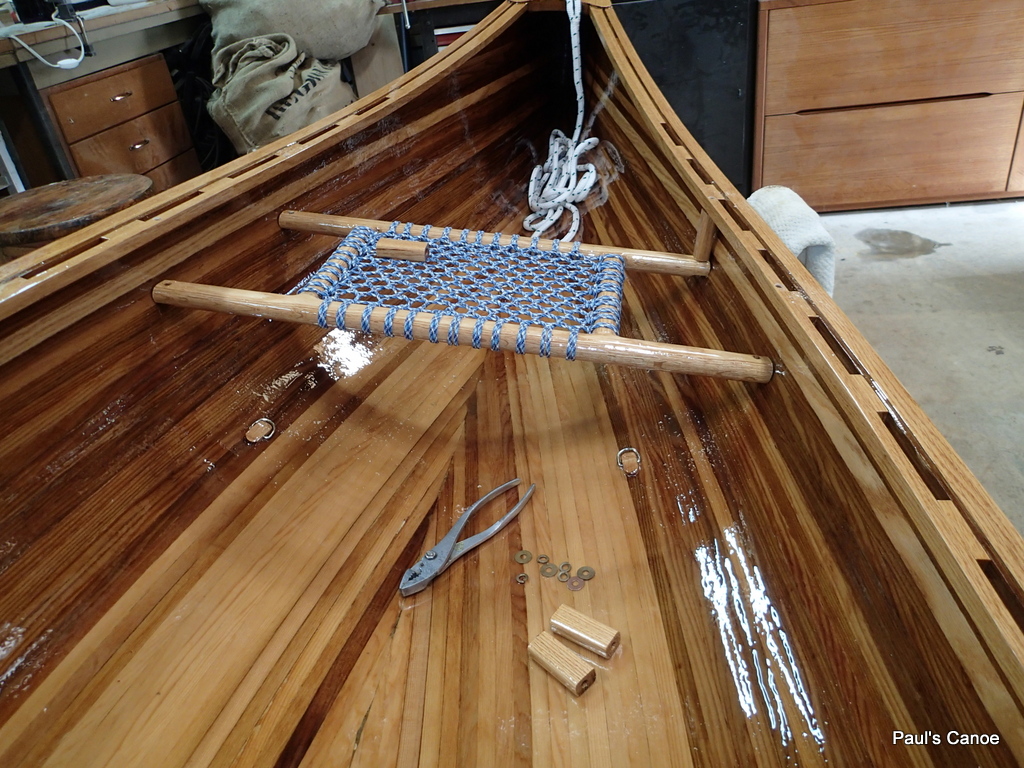
When the last coat is dry, Paul and I install the thwart and seats.
We roll the canoe on its side. Thwart goes in first.
We put a dab of the black goop to stick the seats to the hull…put a little less stress on the hanger bolts and gunnel when it is dry and we are using the canoe.
Thwart is in.
We give the bolts a wipe with Varsol to remove any excess black goop.
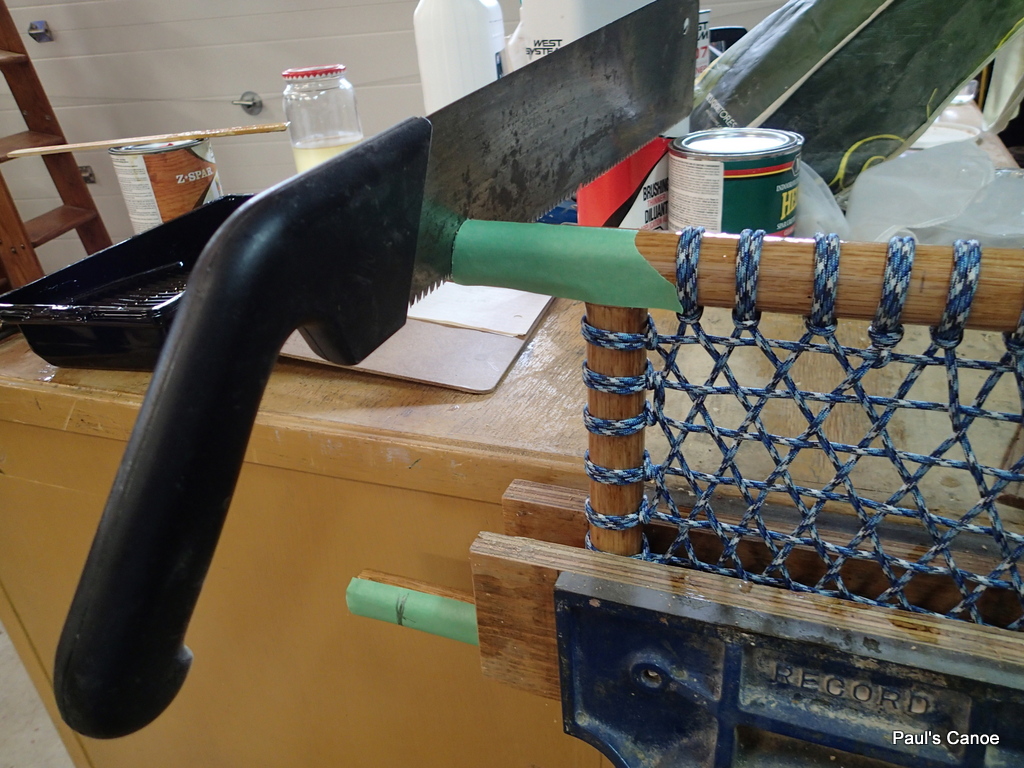
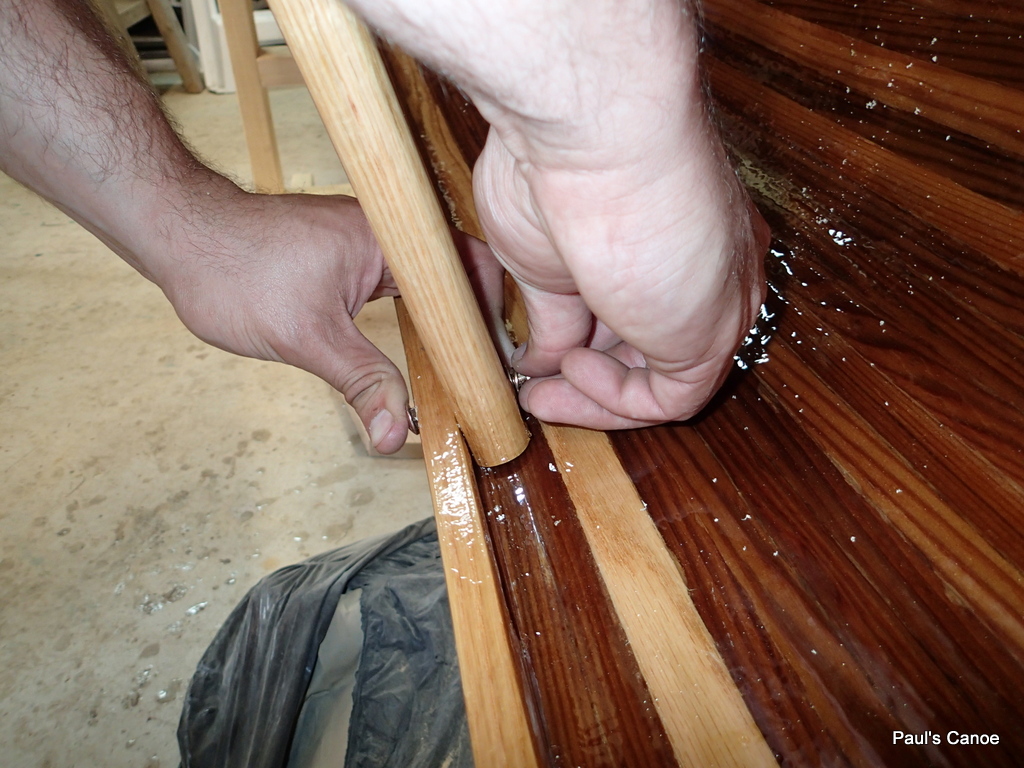
We slowly work the hanger bolts in, cutting them to fit.
It is a tight fit. We use dabs of black goop as a thread locker.
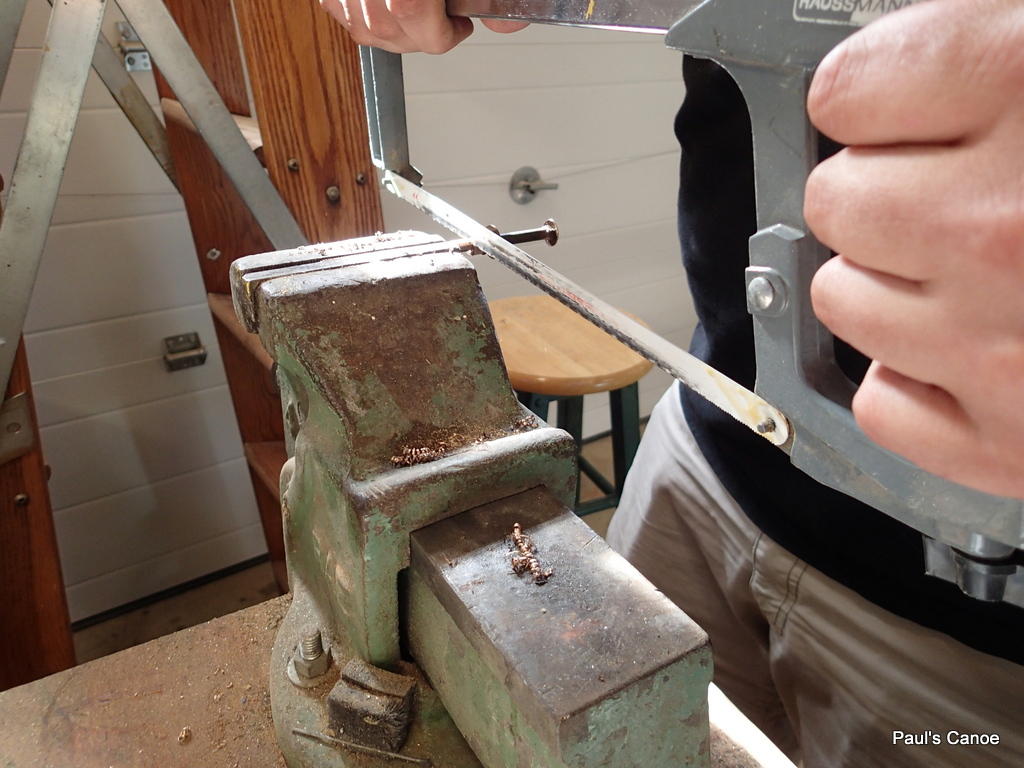
Cutting the hanger bolts to fit.
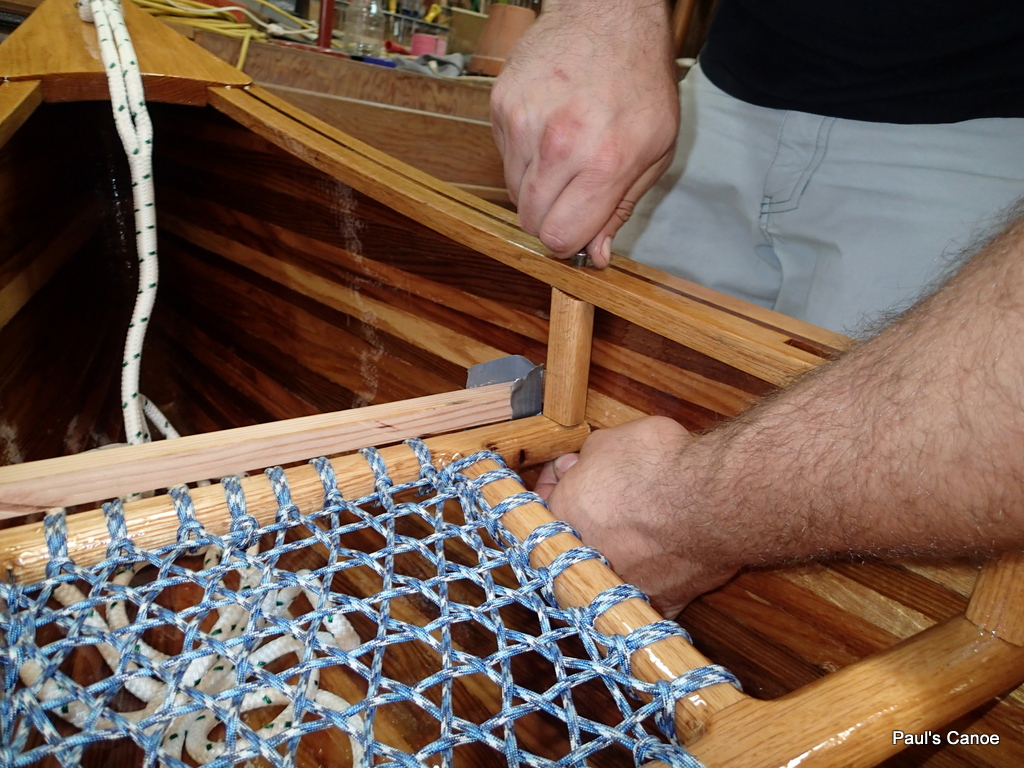
It is very tight for the seat. We use a piece of wood to push the canoe sides apart to get the nuts on.
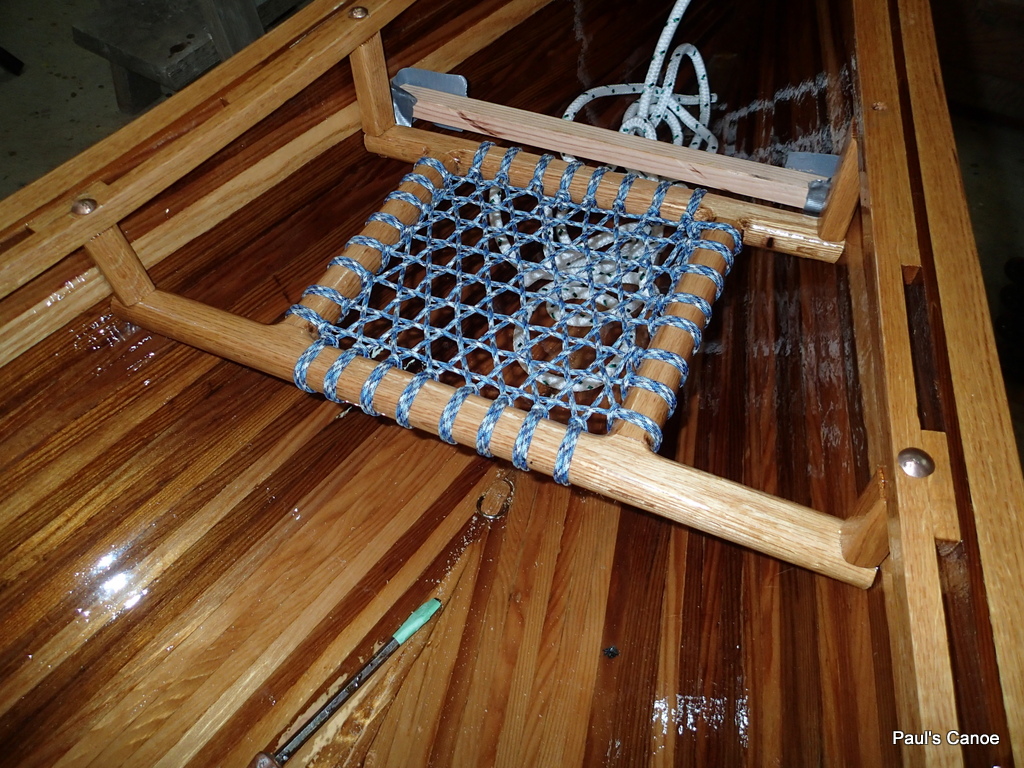
Note the tape on the screwdriver and the piece of wood…do not want to mark the canoe.
This is slow painful work..It is a very tight fit for the seats. Next canoe will have wider inside Gunnels and no scupper where the seats will go.
Last hanger bolt goes in.
We give the bolt heads a wash with Varsol. Time to let everything dry. The canoe is done.
Ooops!
Paul and I have an Ooops. We hang the canoe by the stem rings to weigh her and the rings pull out. I buy new brass cotter pins, put the rings in them and solder them up.

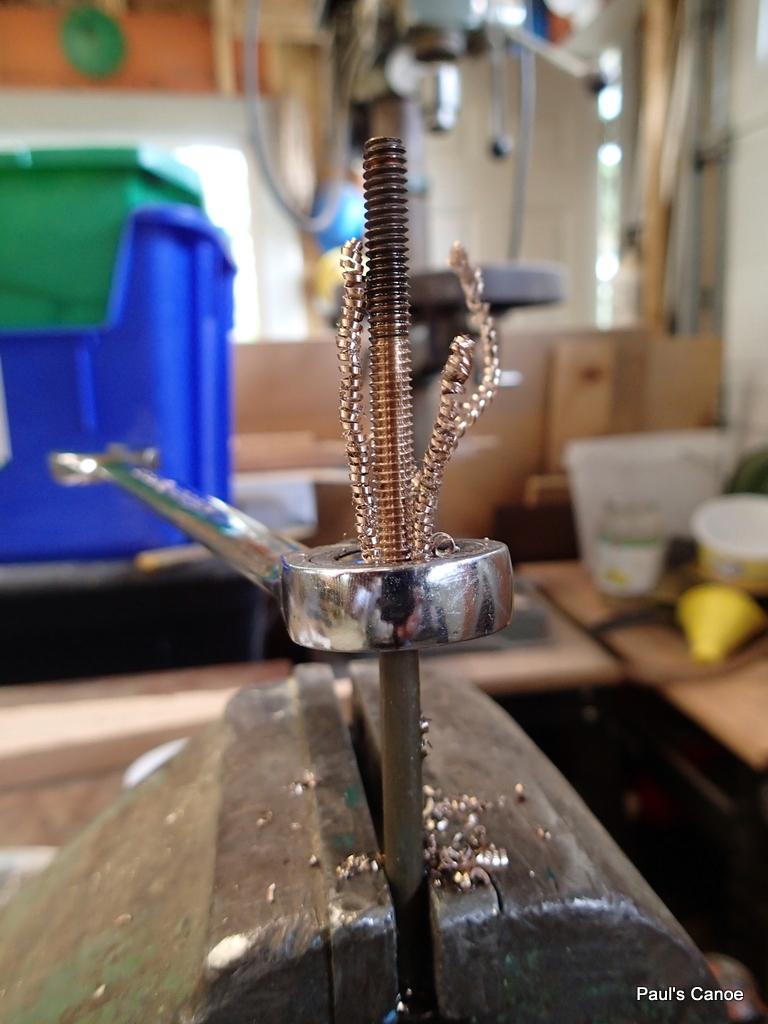
Threading the new brass cotter pins.
I thread the new cotter pin assemblies (brass ring, cotter pin soldered and threaded, brass washer, brass washer, brass nut), we drill the old holes through and bolt the new stem ring assemblies in. No coming out now!
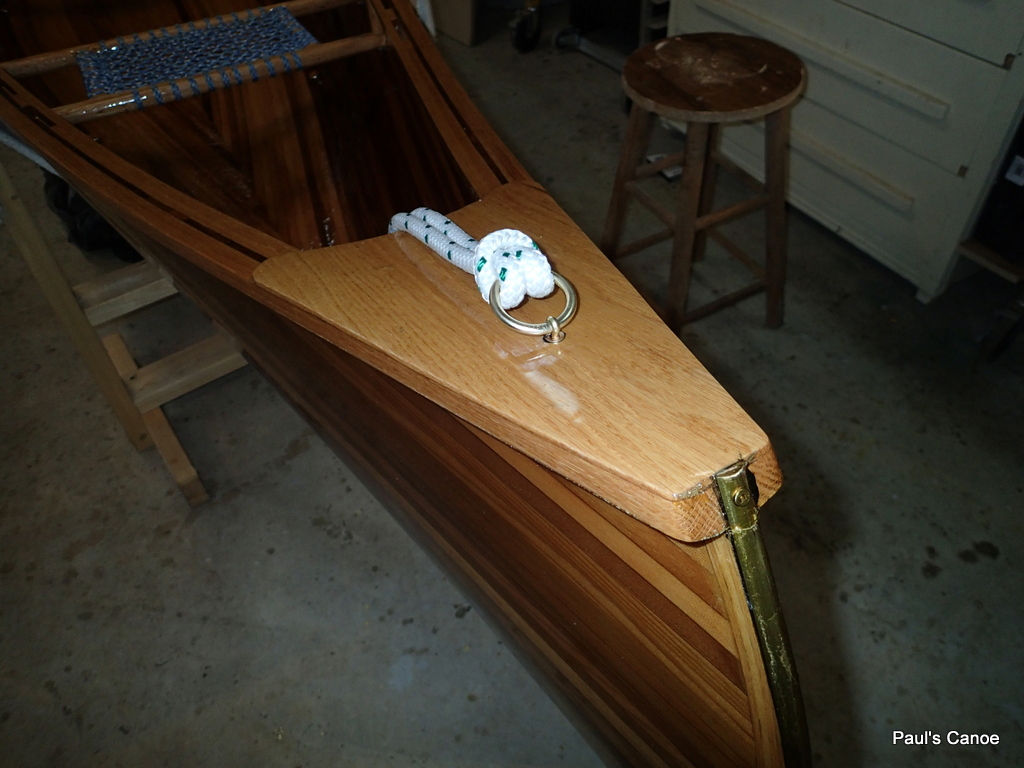
New stem ring assembly installed.
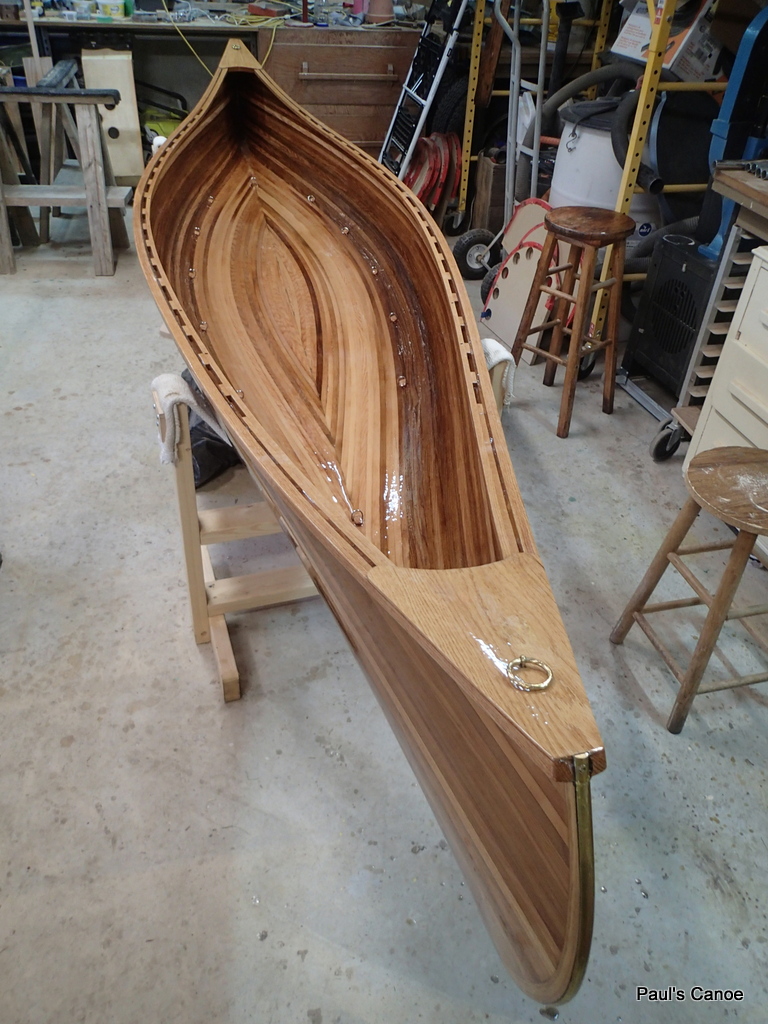
The canoe is now finished! Final weight, just under 60 lbs. Time to get those paddles done.
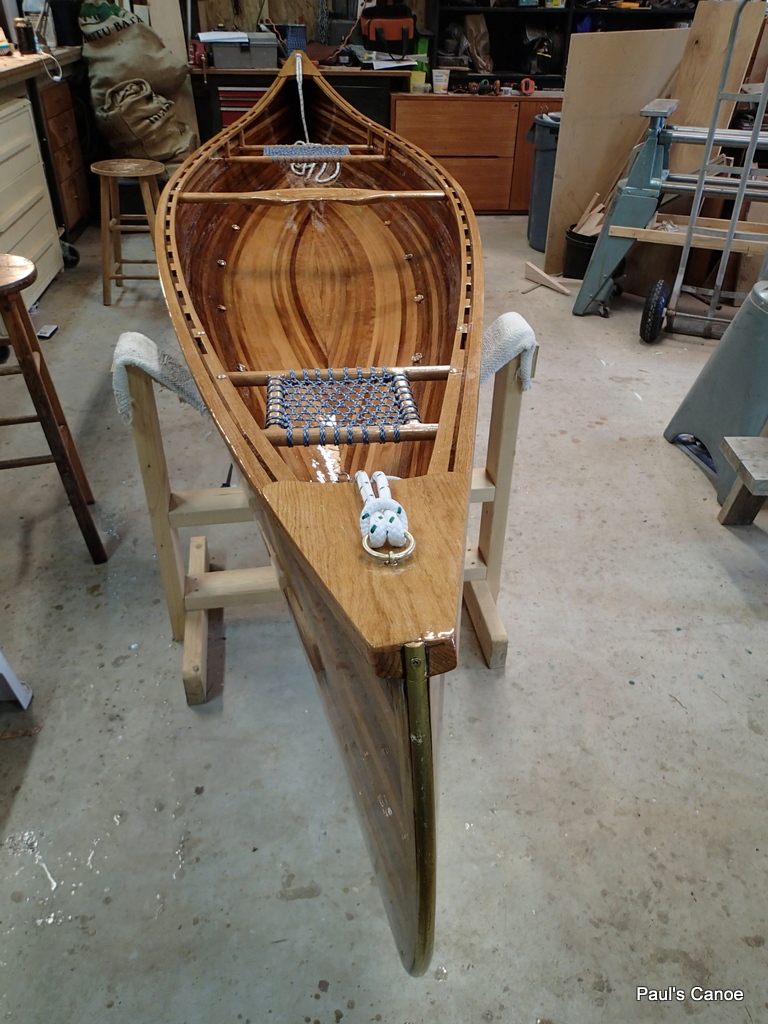
Paul’s Canoe.