
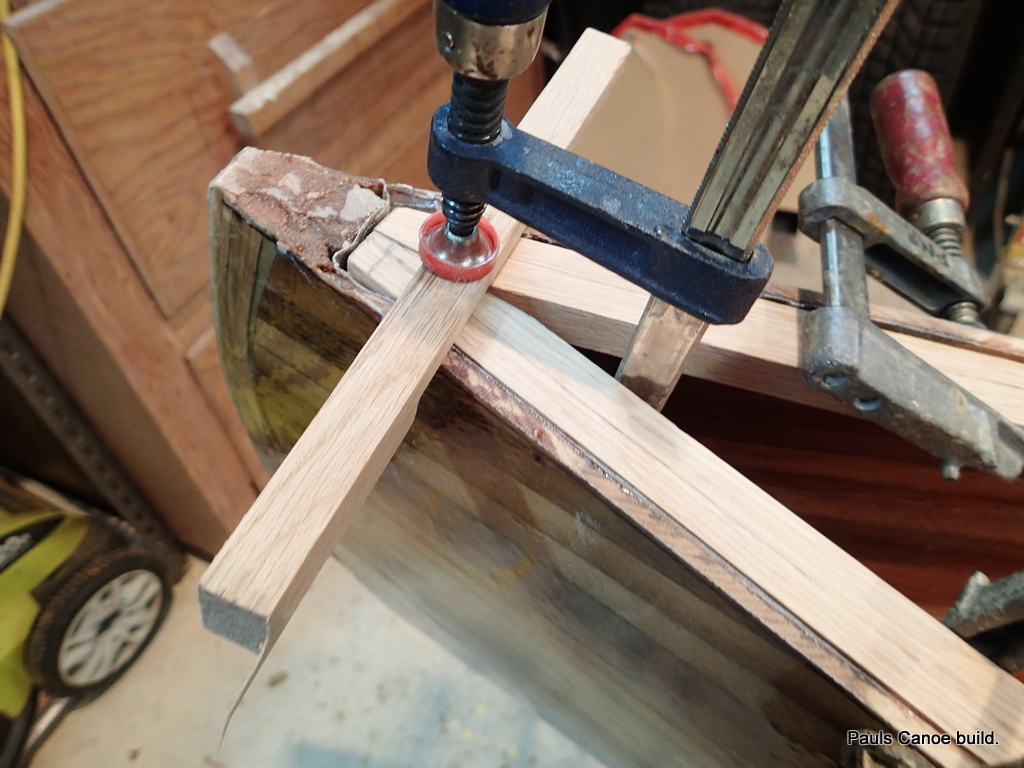
Paul has decided to “Scupper” the inside gunnels. We cut up the 8′ oak plank to get 16′ lengths for the gunnels. We will use a “half-clothespin” splice to get the length.

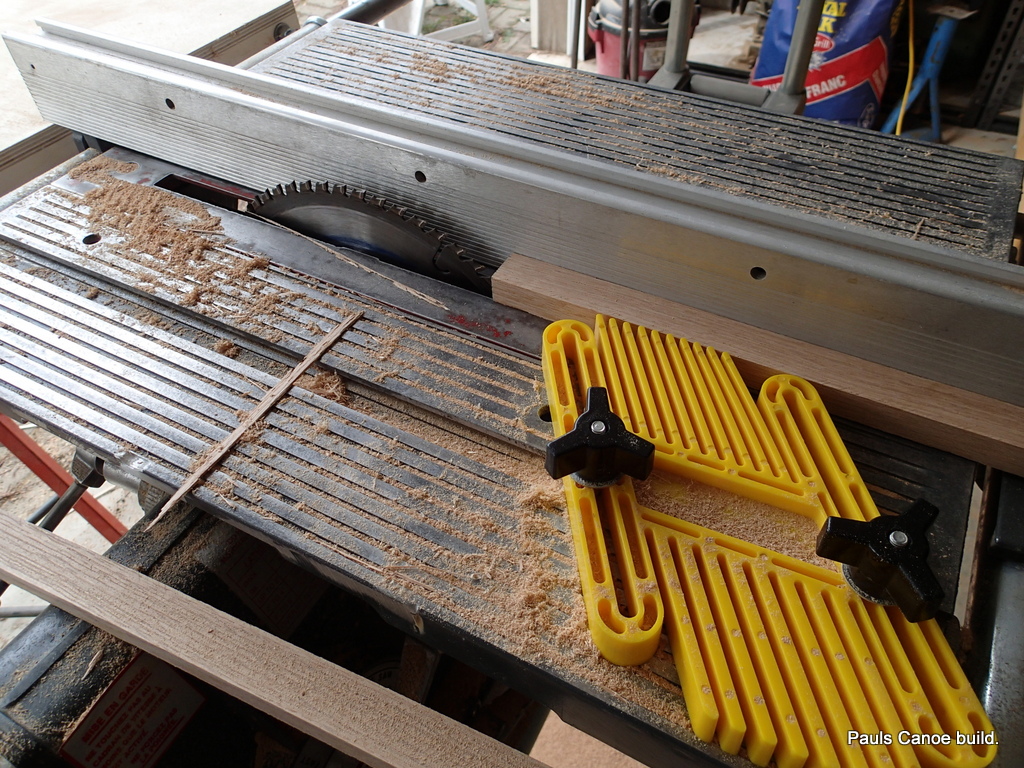
Making a scarphing jig.
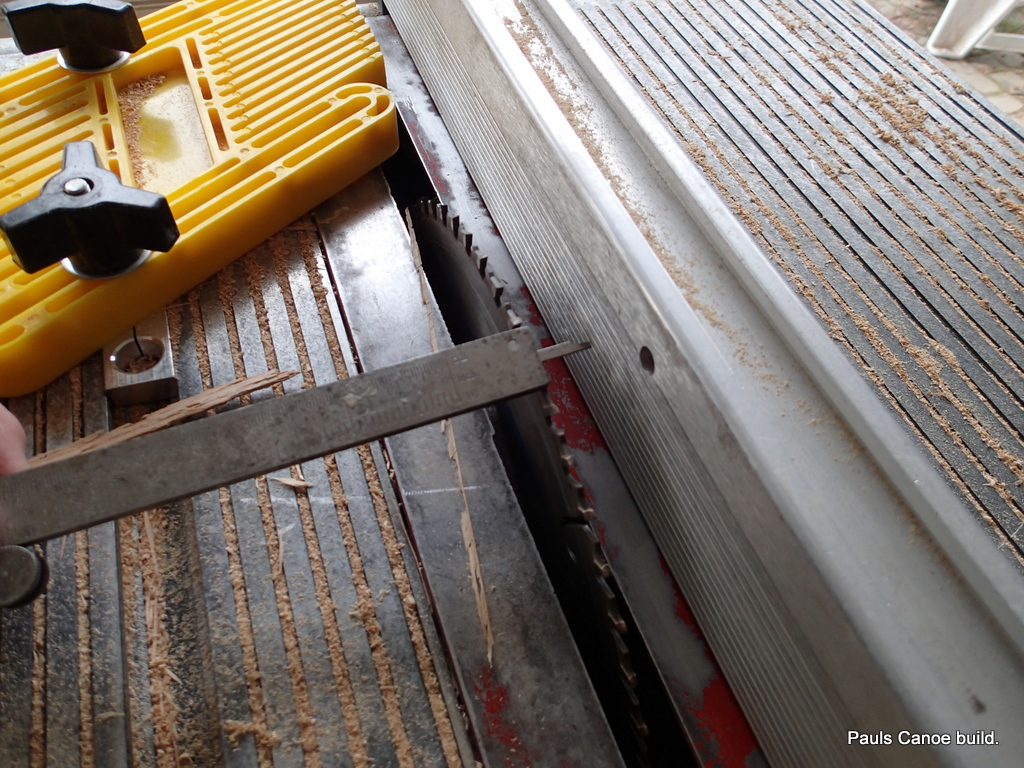
With this jig, I will be able to get a consistent angle for the scarph.
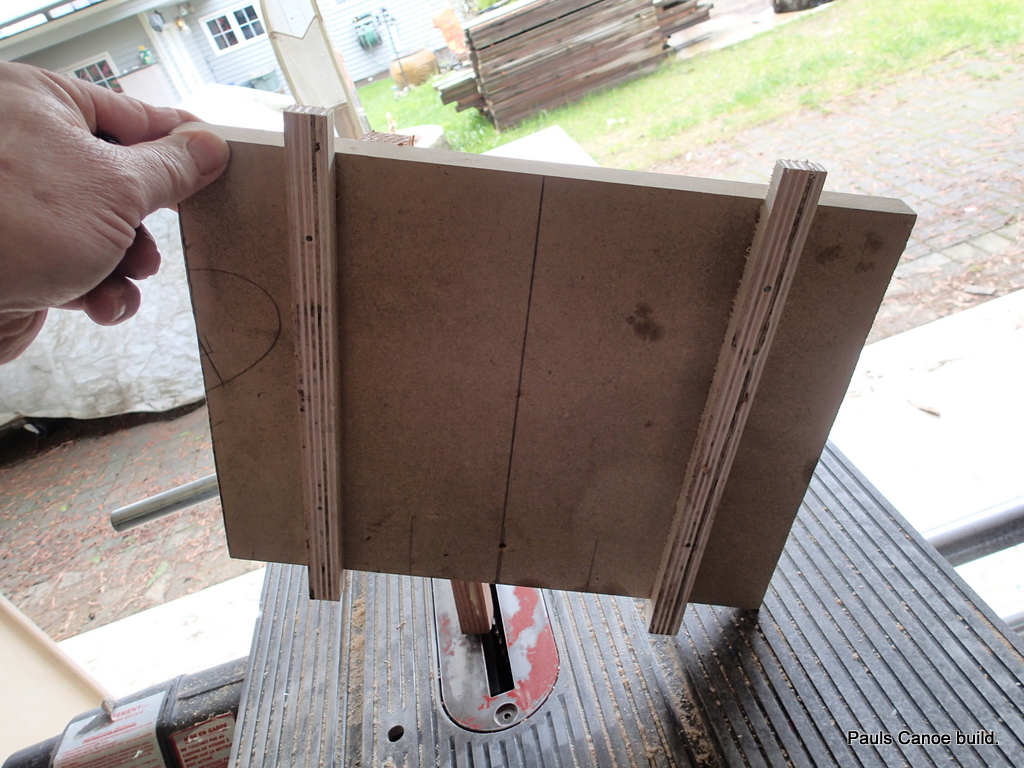
The runners are the same with as the table slots.
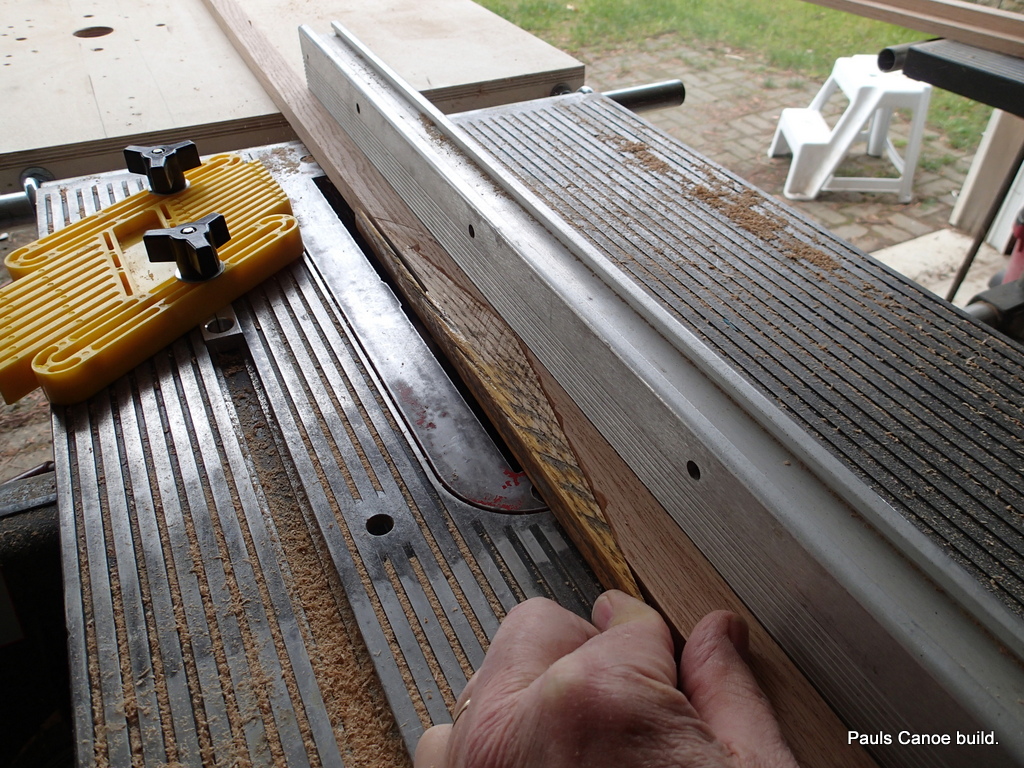
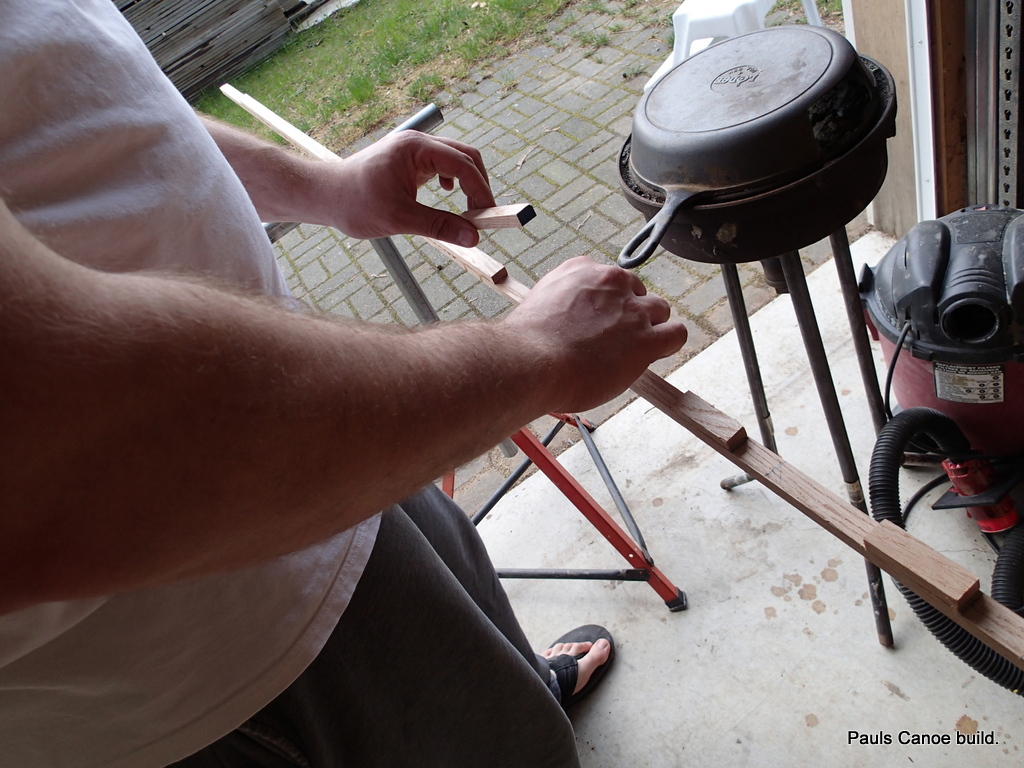
I will have to cut a scarph in each end of the gunnel pieces and in the “half-clothespin” part.
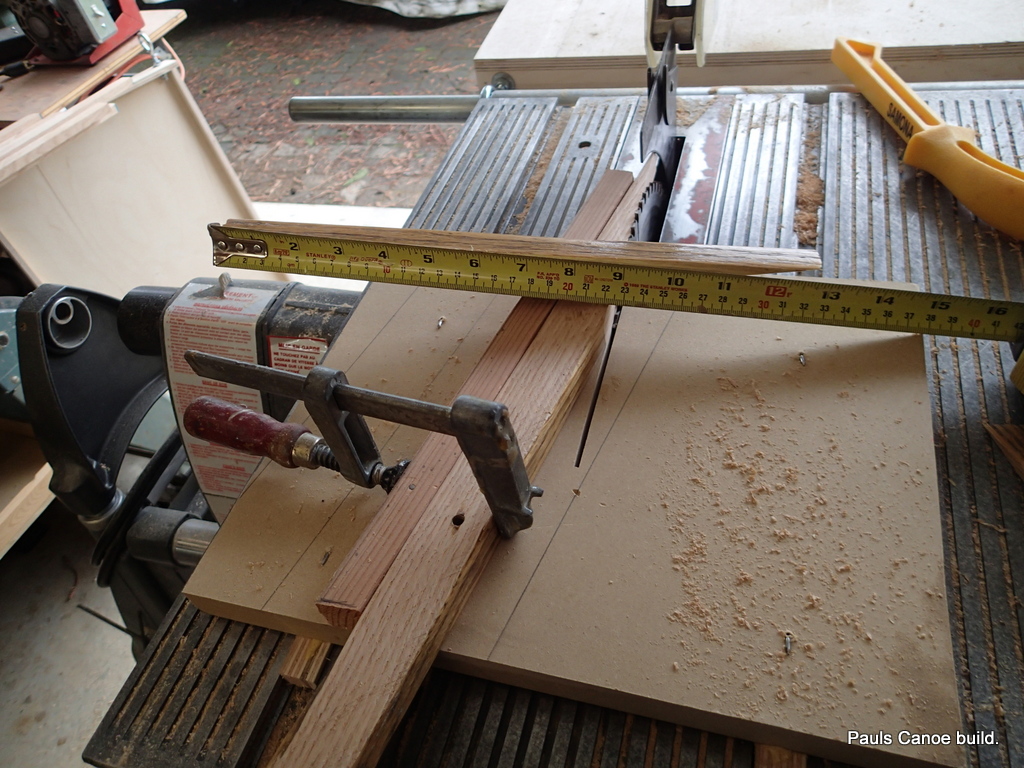
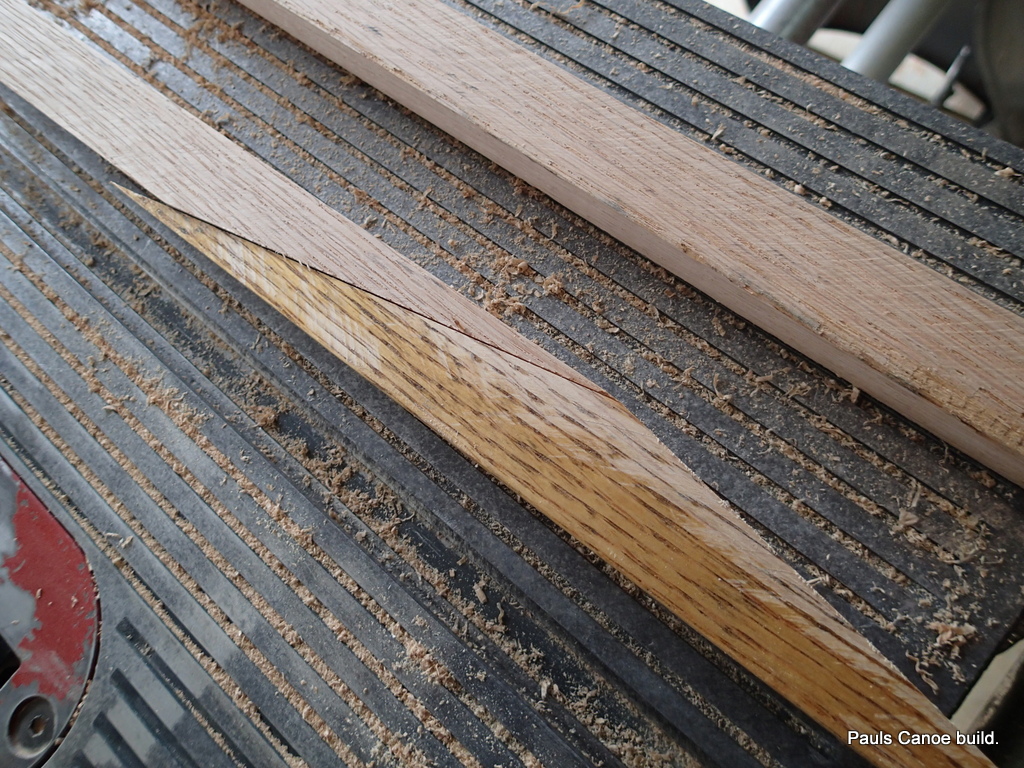
Cutting the “half-clothespin” scarph piece.
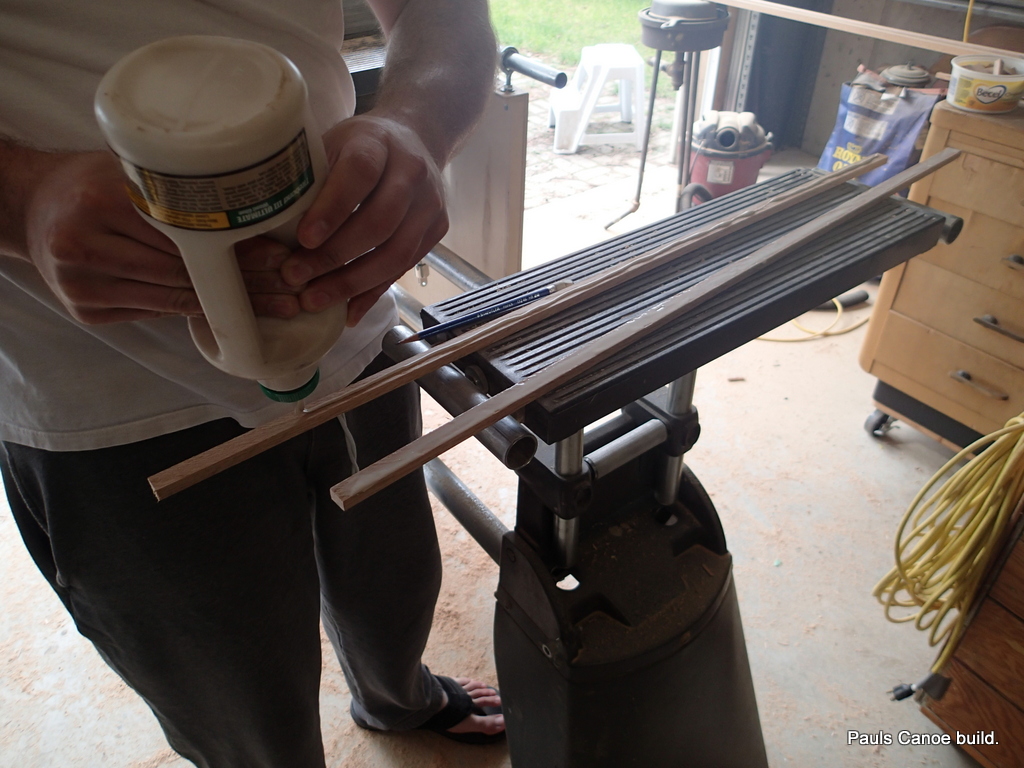
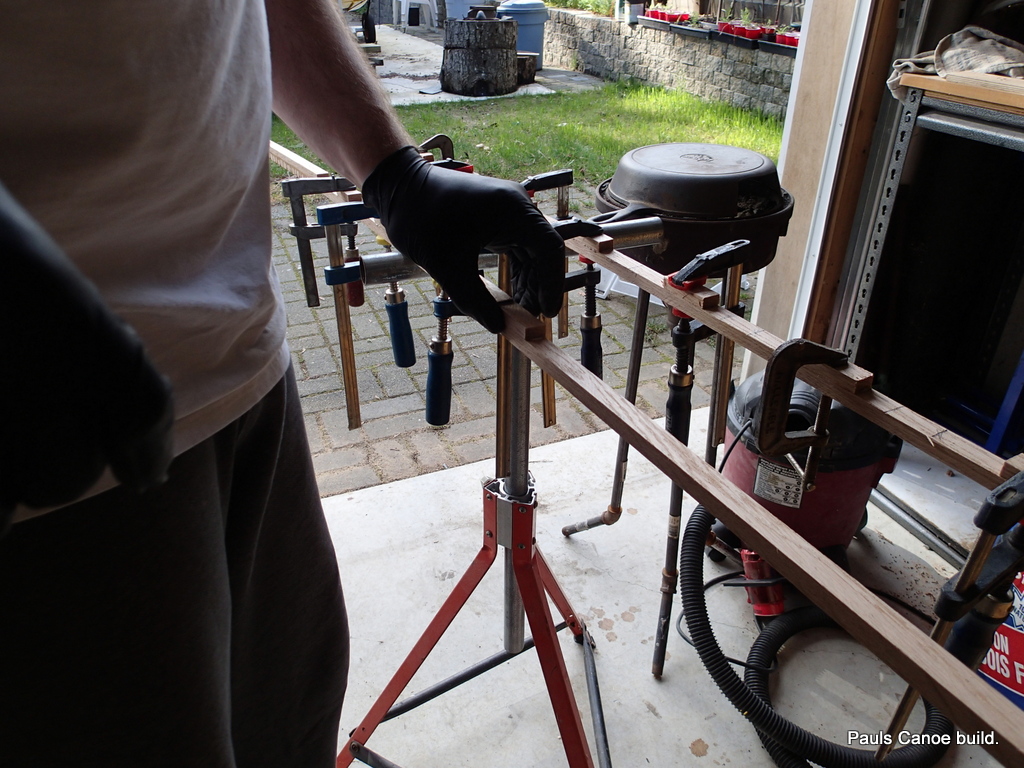
Glueing up the pieces:
I used Titebond II glue.
A few photos of the glue-up:
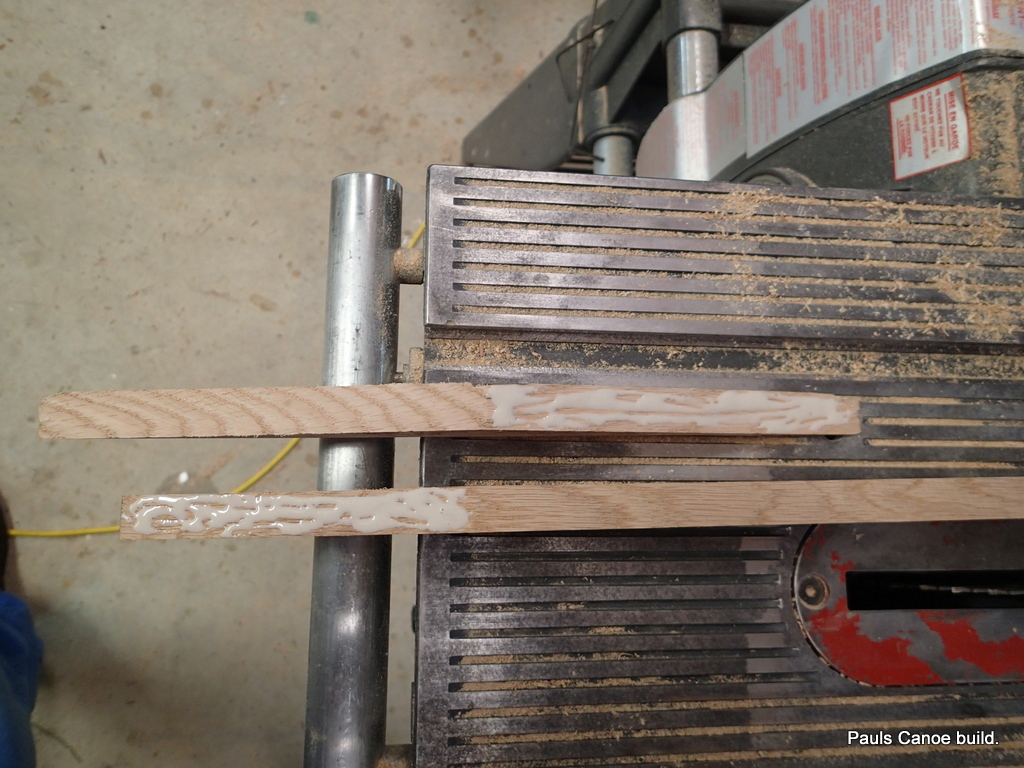
Spread the glue.
Clamp the pieces.
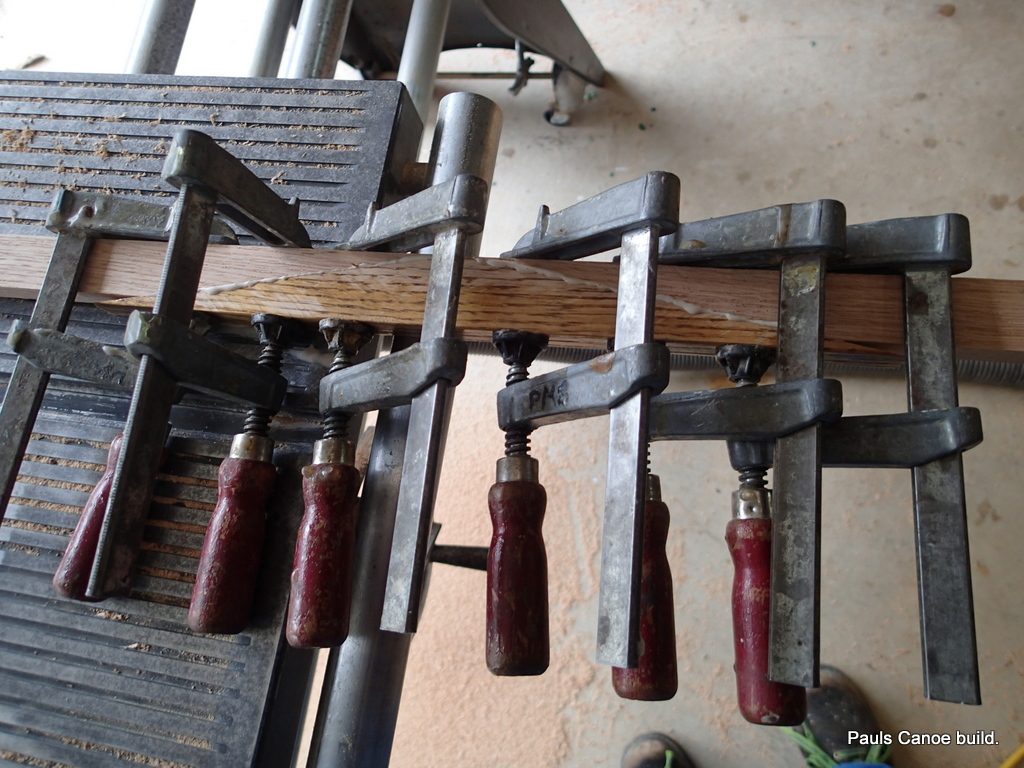
Clamp o’mania.
All Clamped up:
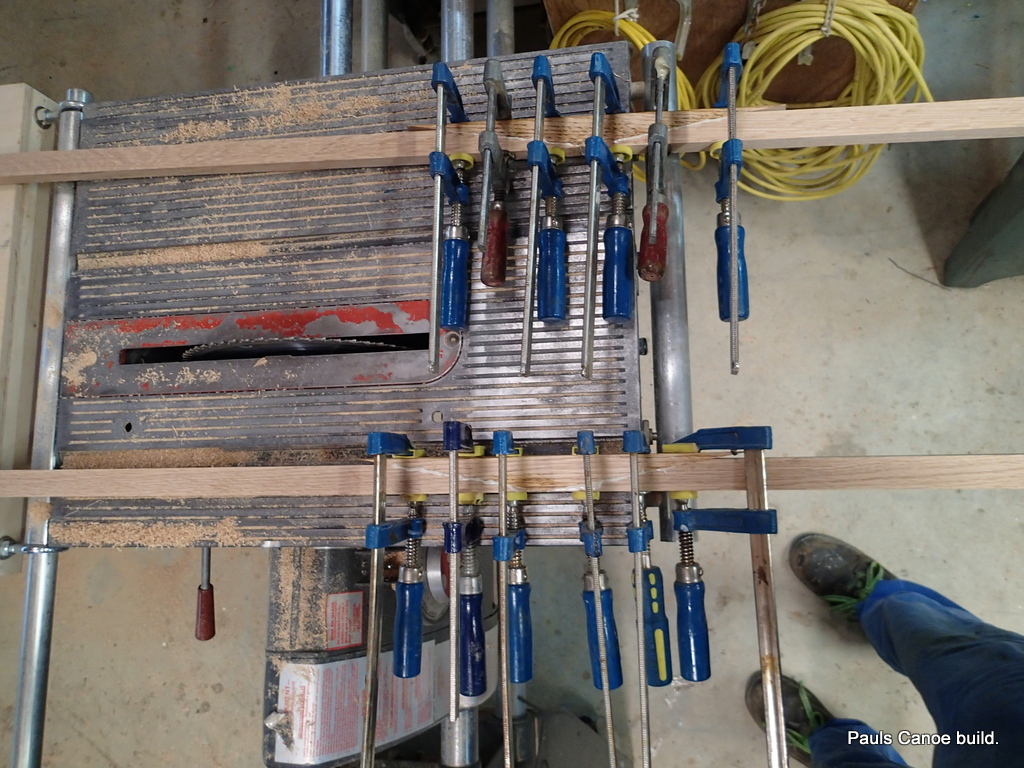
I used the Shopsmith table and adjustable stands to get the two pieces level.
Carefully, we set the gunnel pieces aside to dry:
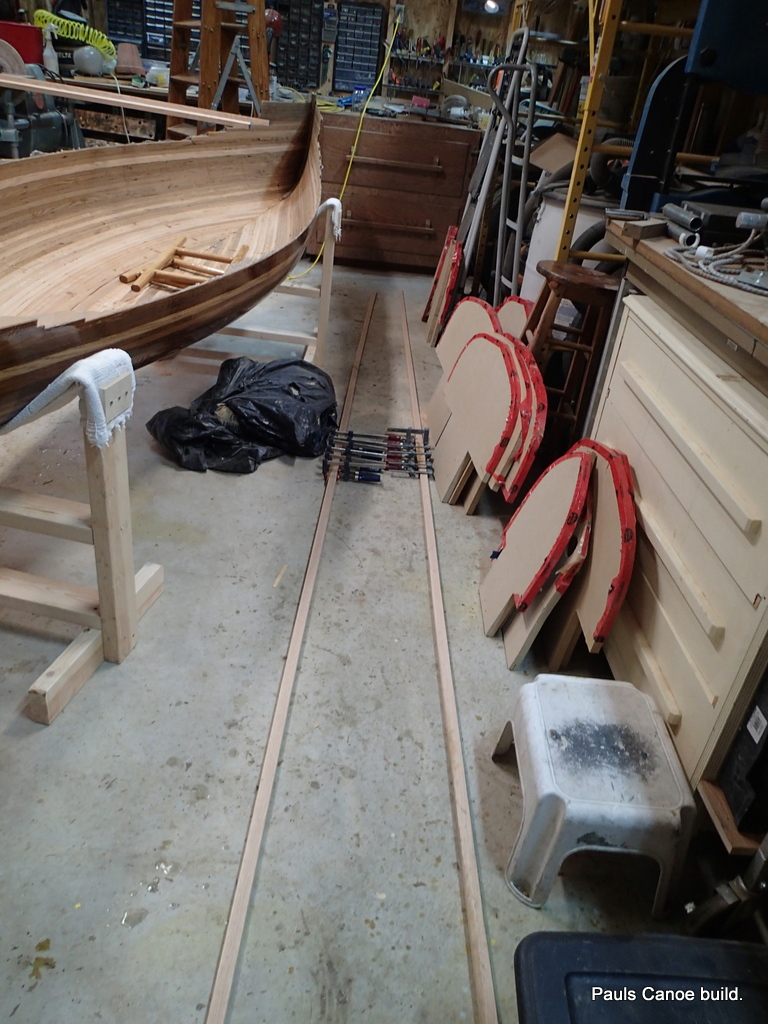
Set aside to dry.
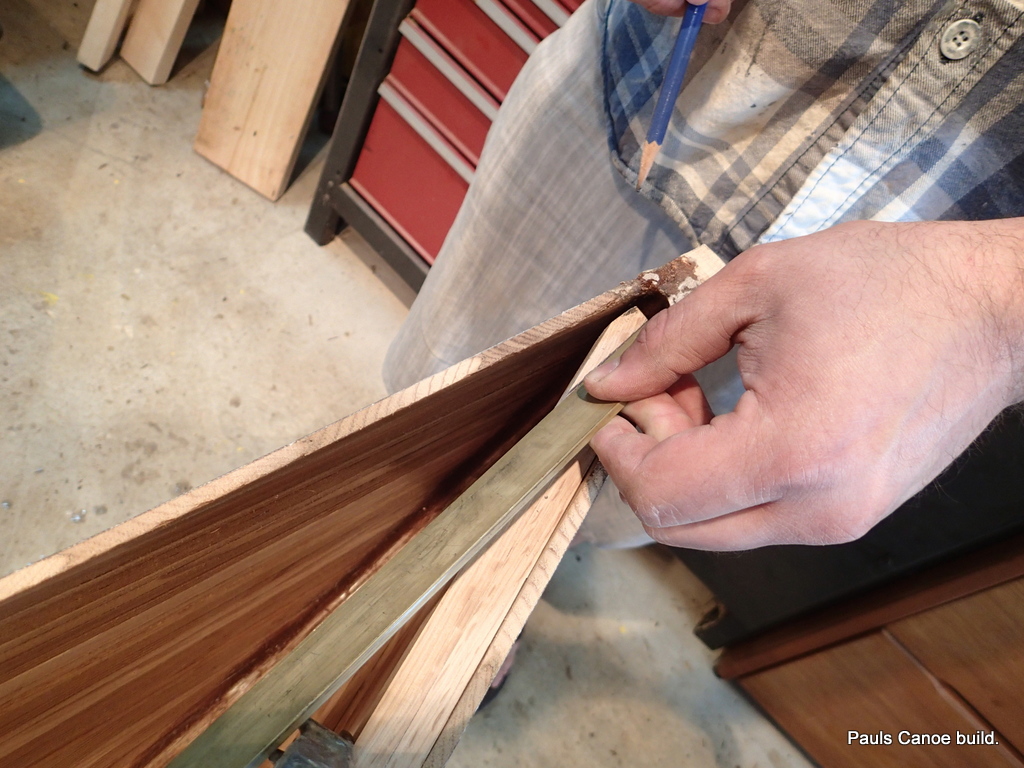
While the glue sets, Paul and I use a cedar strip to mark the shear line.
Batten clamped in place.
Other end too! A lot of “eyeballing” to get this right.
Other end.
Paul uses a sharpie to mark the line.
Inking in the line.
Finished line…We mark both sides.
Shear line looks pretty good.
I rough cut the shear line.
Rough cutting the shear line.
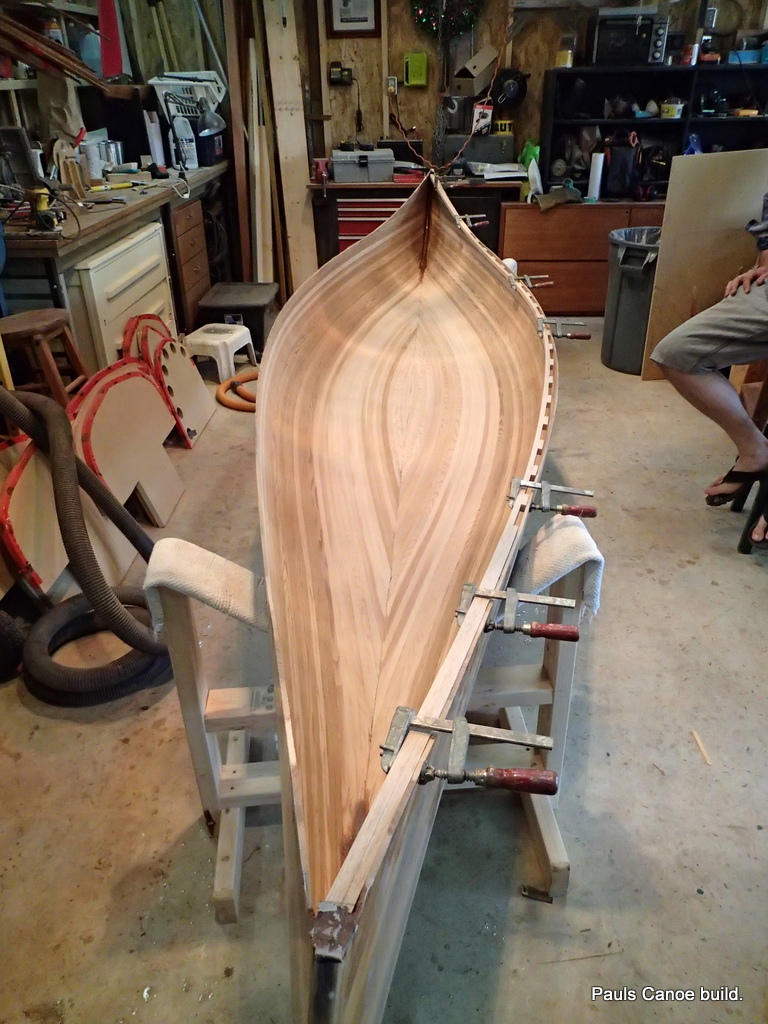
The canoe now really looks like a canoe!
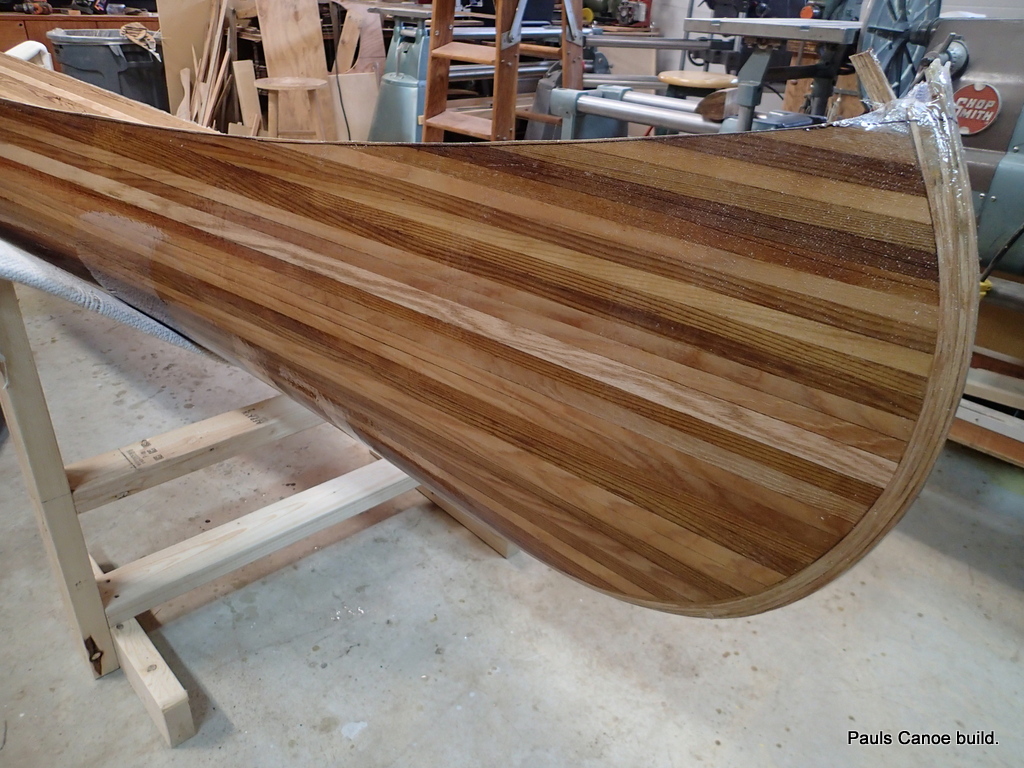
Lookin’ good!
When the glue is dry, I rip the gunnels to trim the 1/2 clothespin splices:
Trimming the scarphs.
With the gunnel pieces a consistent width and height, we cut an outer and an inner one.
Setting up the Shopsmith for the inside gunnels.
Testing the width:
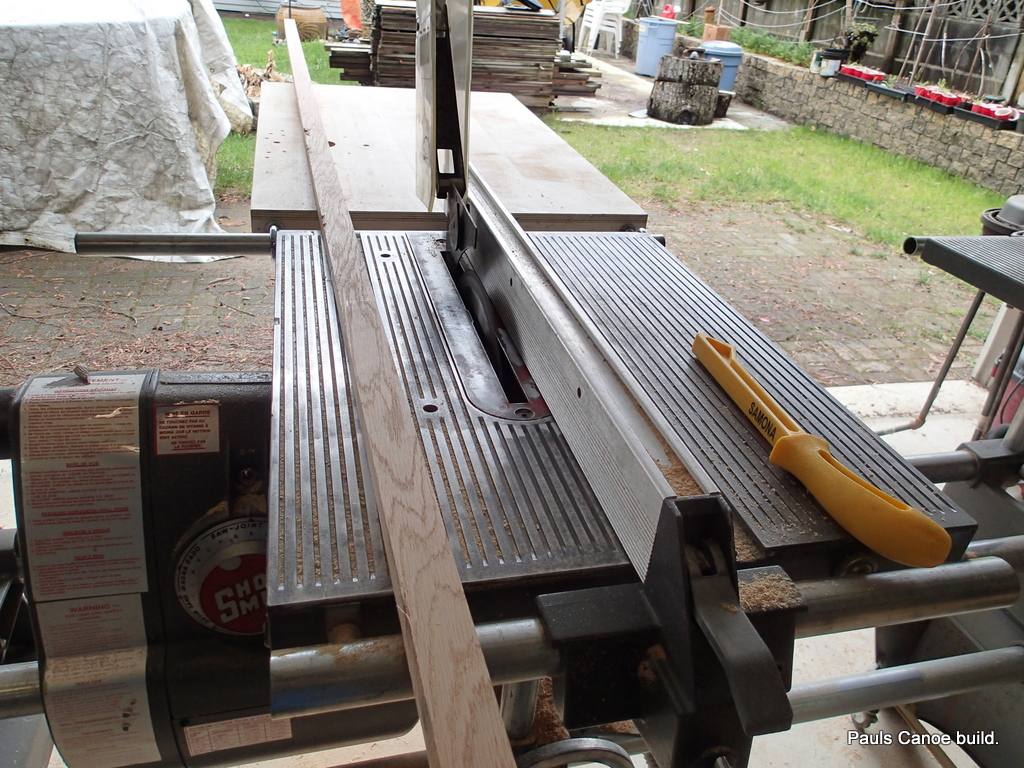
I have two gunnel strips.
Saw guard removed for clarity.
I end up with two outer gunnel strips, each about 7/8″ by 3/4″ and Three inner gunnel strips 1/2″ by 3/4″.
Paul and I cut one of the 1/2″ by 3/4″ into blocks and four 3′ long pieces for the bow and stern, where the inner gunnel is not scuppered.
The scuppers begin about 3′ from the stems.
Spreading the glue:

Glueing.
We cut blocks to glue to the inside of the inside gunnels:
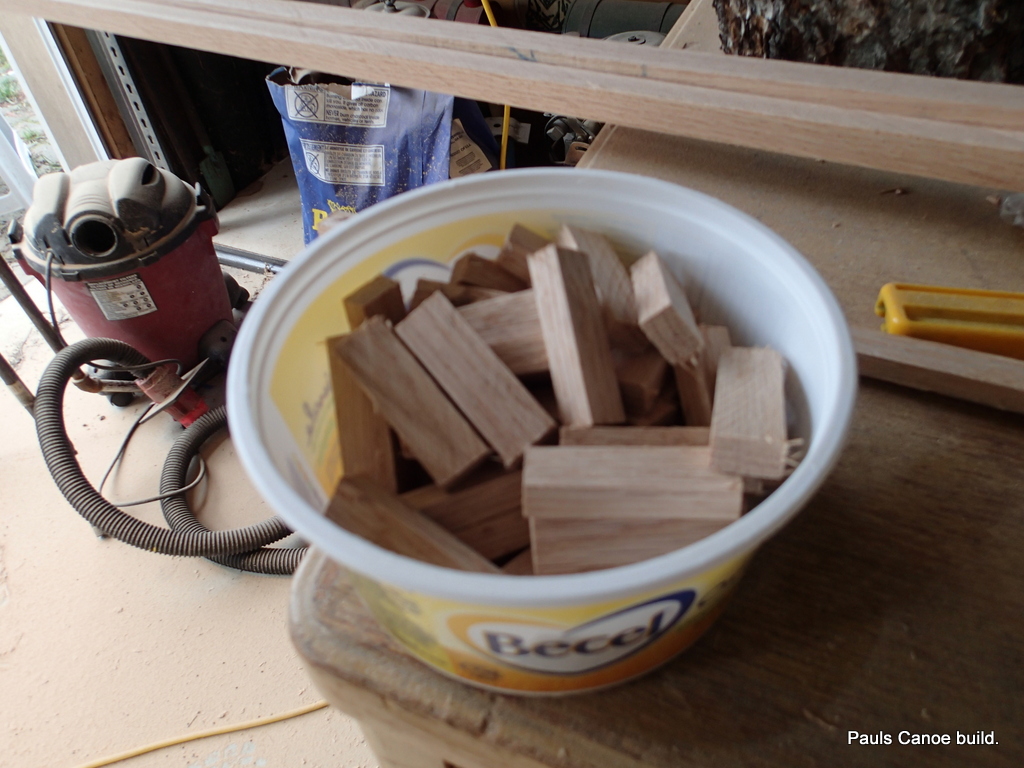
Scupper blocks.
Time to glue them up:
We measure, evenly space the block and them glue them in.
We are using Titebond II.
Need a lot of clamps.
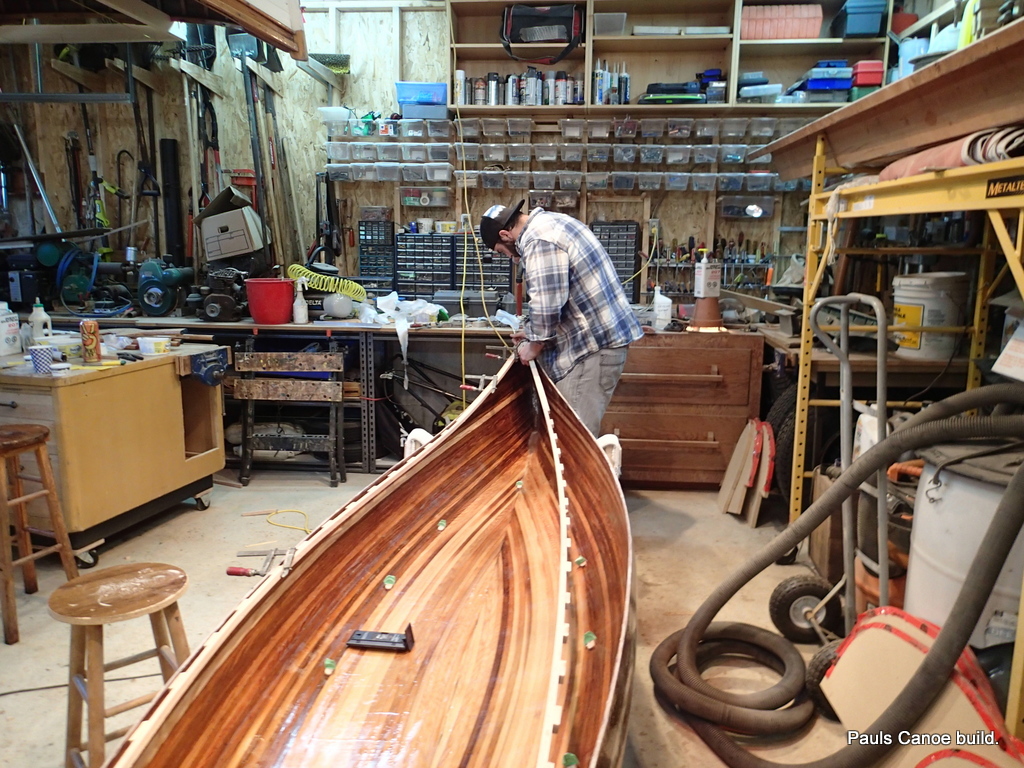
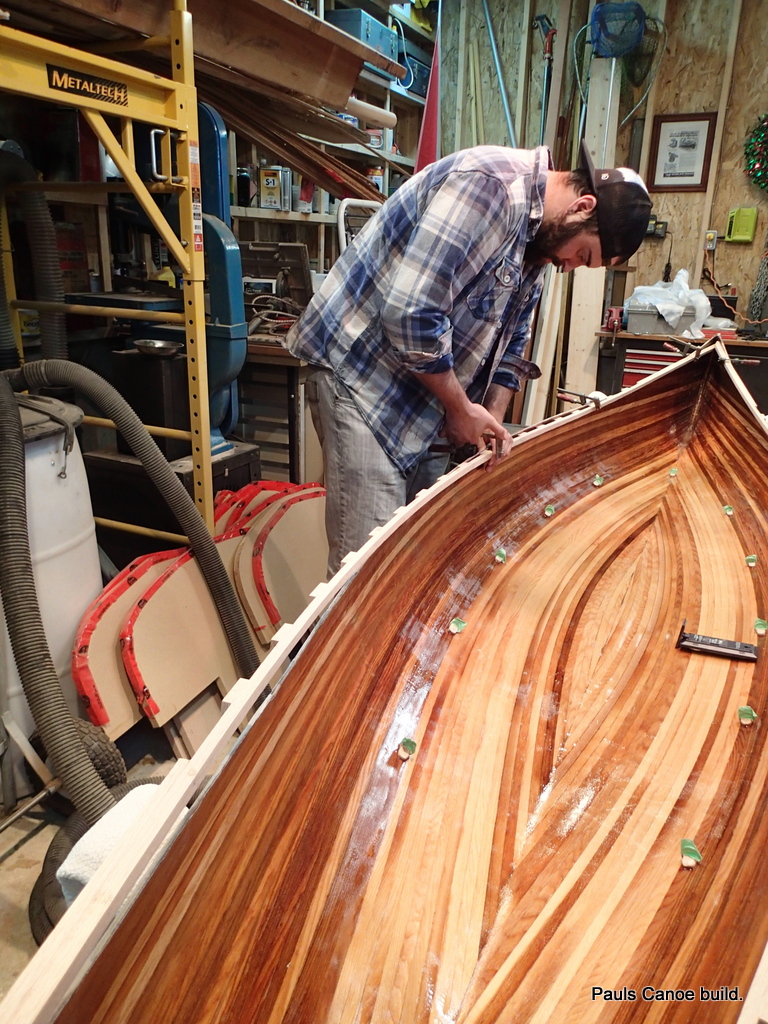
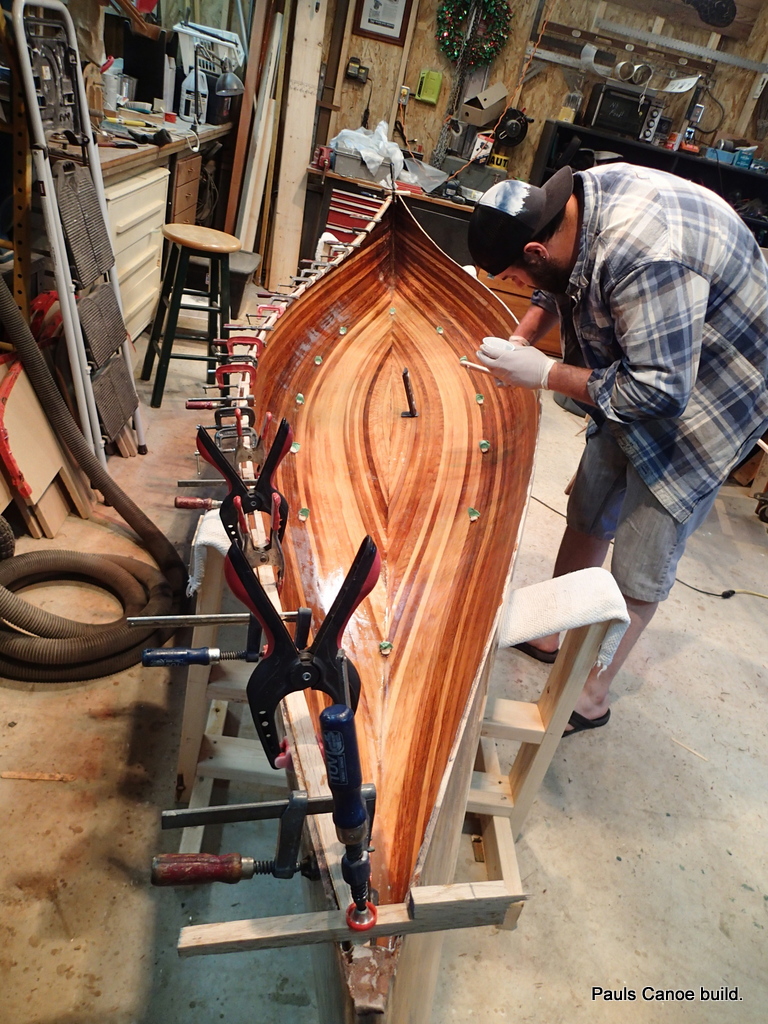
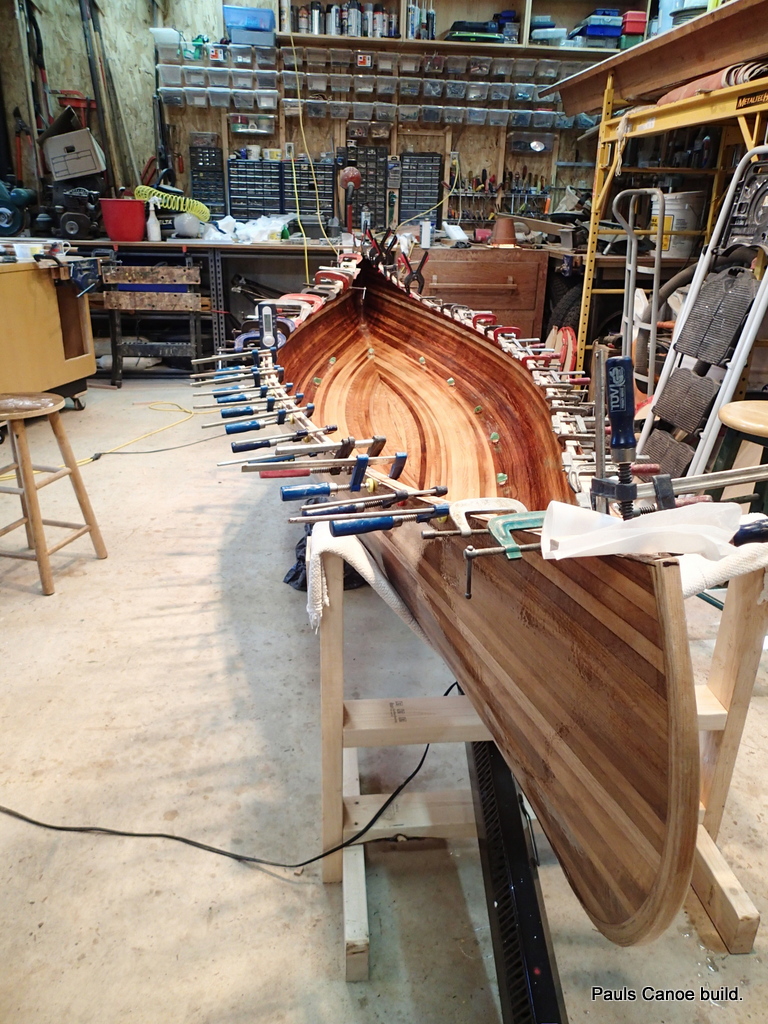
When the glue is dry, we test fit the inner gunnels into the hull before we put the epoxy and cloth in.
Dry fitting the inner gunnels.
Paul and I dry fit the inner gunnels, cutting them to get a close fit….
We use the Shopsmith Disk sander…
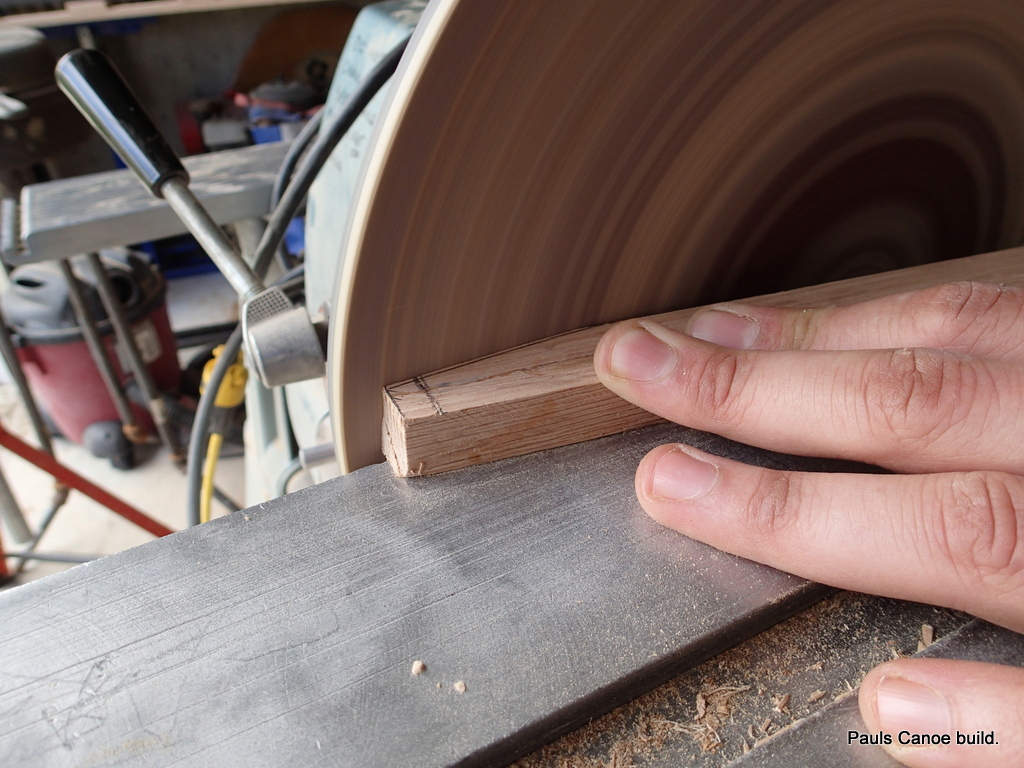
Shopsmith disk sander makes quick work of the fitting.
We are satisfied with a “Rough” fit, the dimensions will change once we put the epoxy and cloth on the inside.
We heat up the canoe using the heat lamps. At the start, the hull is at 15 degrees.
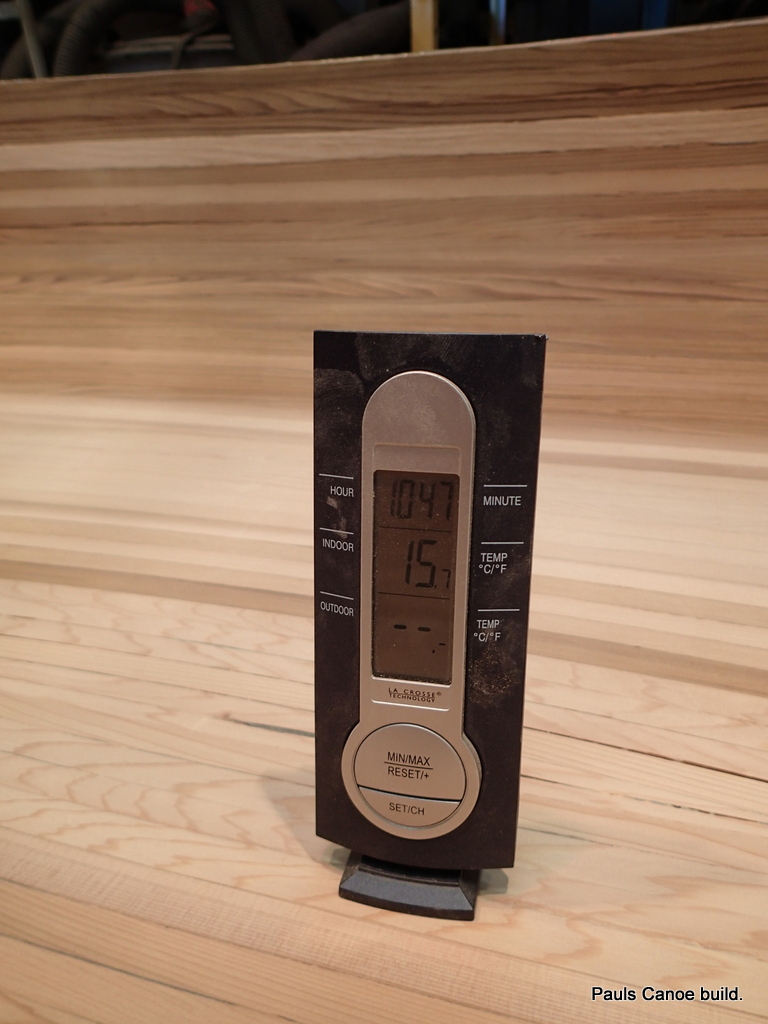
We got the temperature up to 20 degrees Celsius.
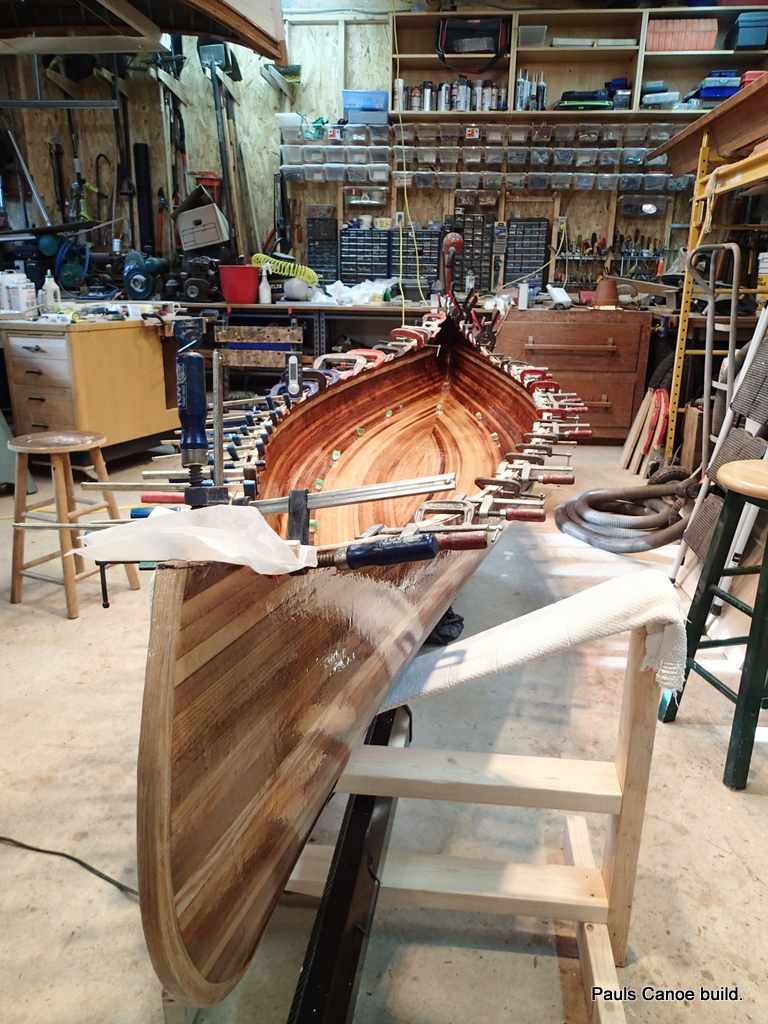
Paul and I drape the cloth in the canoe and add resin.
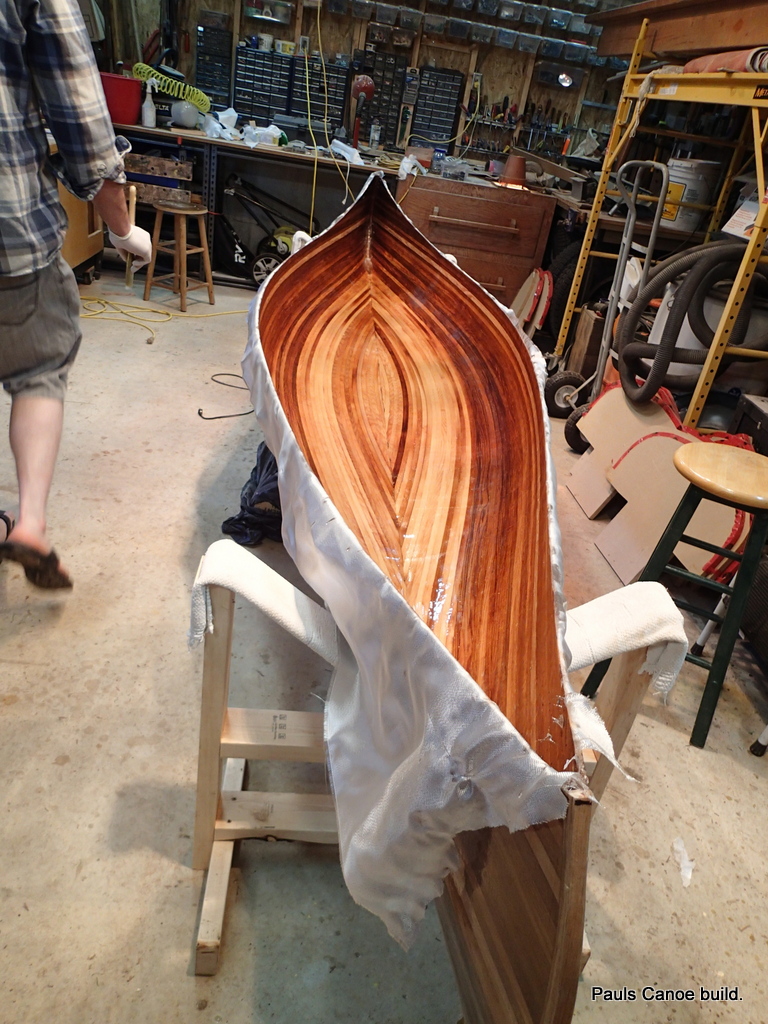
We have to work quickly, We do 5 “Pumps” of resin/hardener at a time.
We do eight cups of resin/hardener.
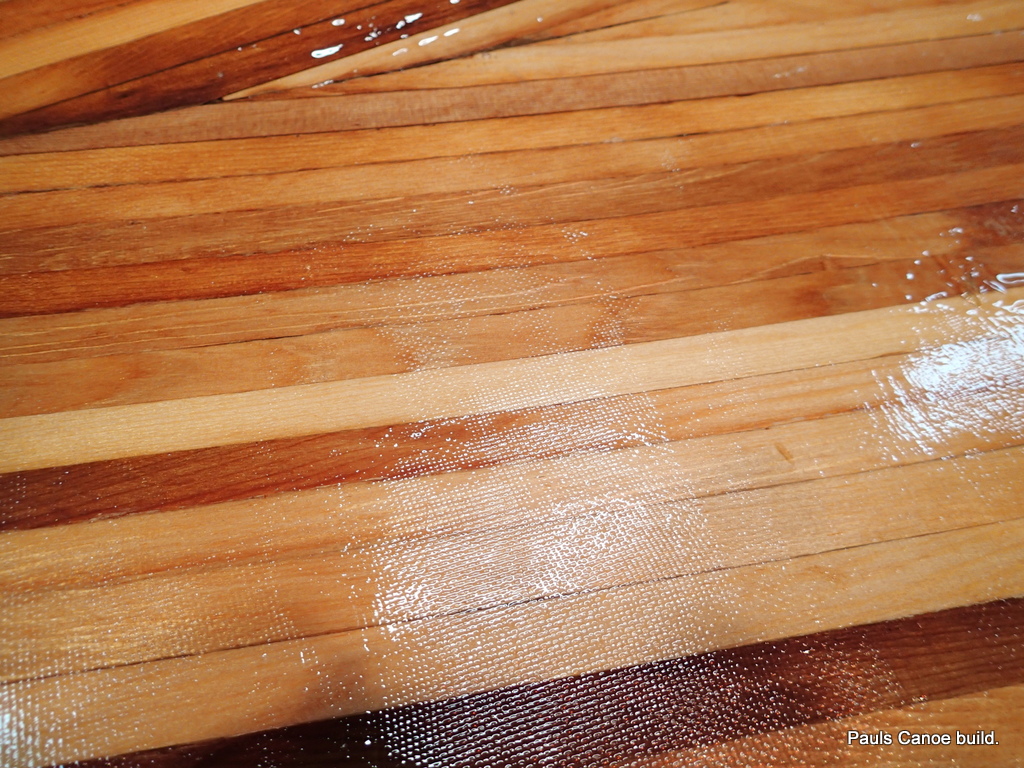
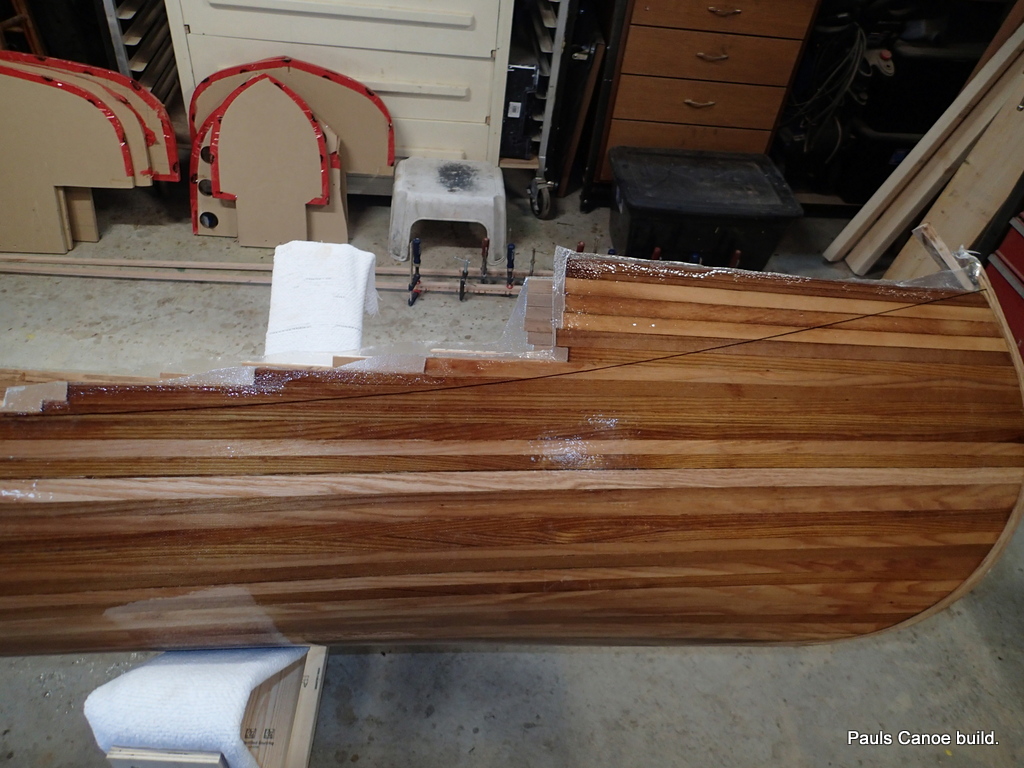
As we did on the outside, we scrape off the excess resin to reveal the “weave”.
We reduce the heating in the garage and boatshop…trying to minimise the “off-gassing” and have the resin be drawn into the wood.
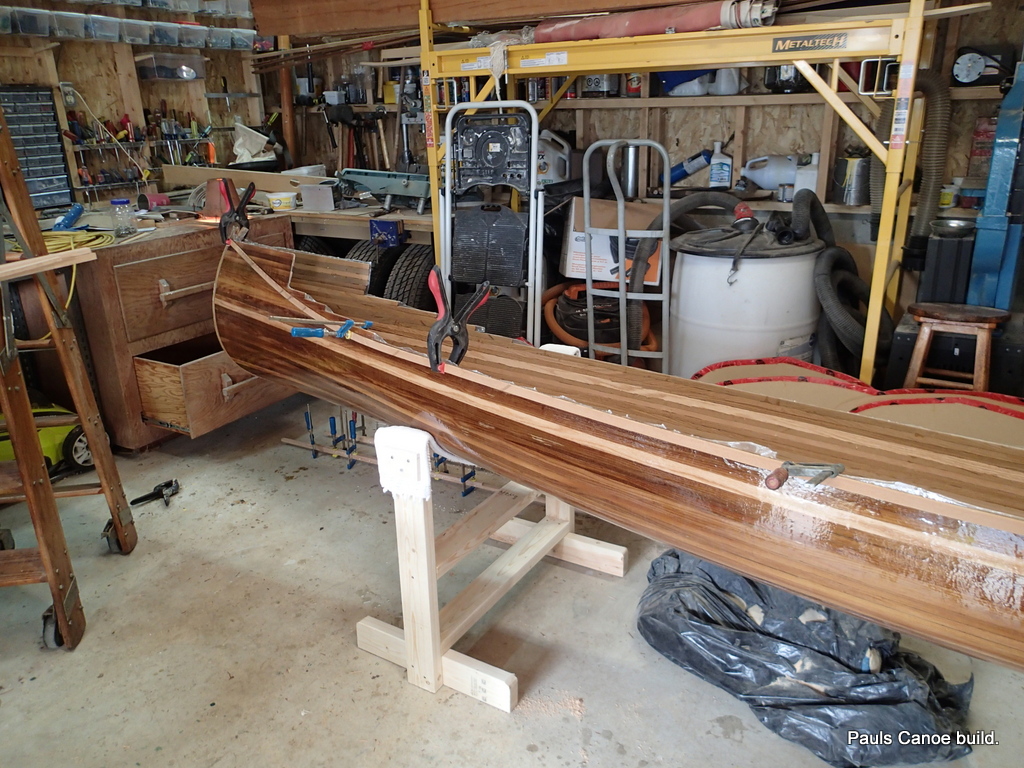
We put on the cargo tie-downs on.

Cargo tie-downs in.
We let the canoe cure overnight. Weighs 37 lbs! The next day we put on the first fill coat and glue on the inside gunnels while the resin is still “green”.
Dry fit West side first, then East side.
We dry fit both gunnels.
Measuring.
Paul fits the two gunnels.
Paul clamping for the dry fit.
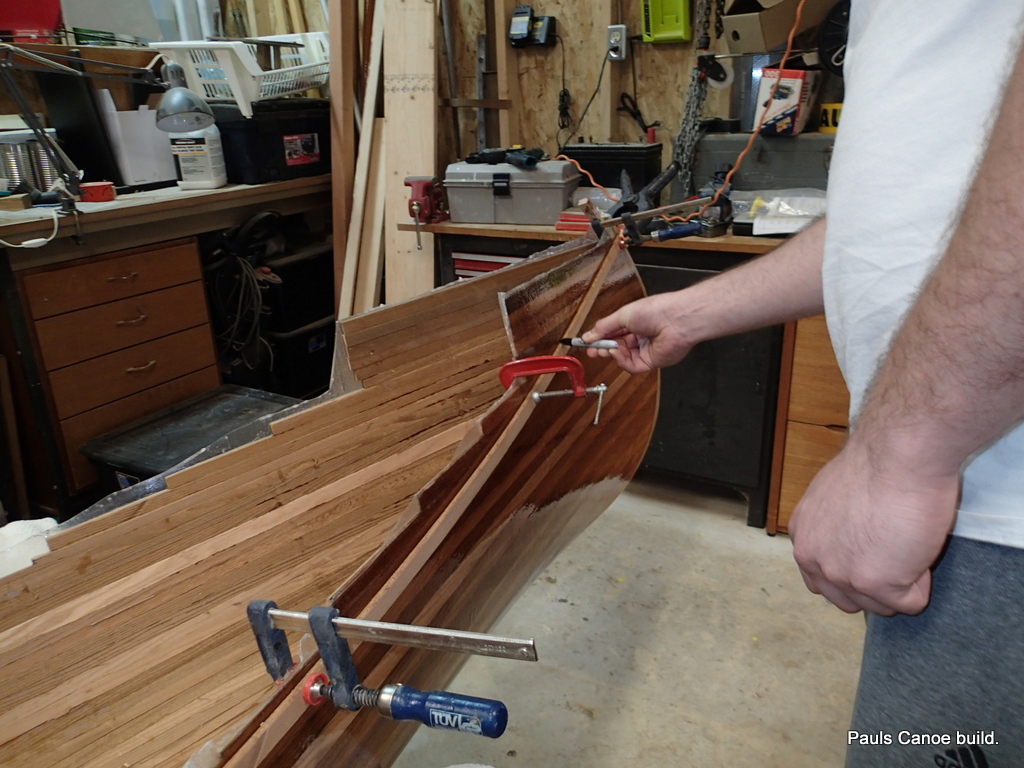
When both gunnels fit, Paul mixes a batch of resin, and coats the gunnel blocks and then the top two inches of the East side of the hull.
We put in the East inner gunnel.
We have to clamp the gunnel at every scupper block. We aim to see a little resin “squeeze out”.
One side clamped up, painting resin on the West side for the gunnel.
Dry fit photo of how we got the stems even with the gunnels:
Using a clamp to get the gunnels even, much the same way we used clamps to keep the hull strips even.
A lot of clamps. Then finishing putting on the 1st fill coat.
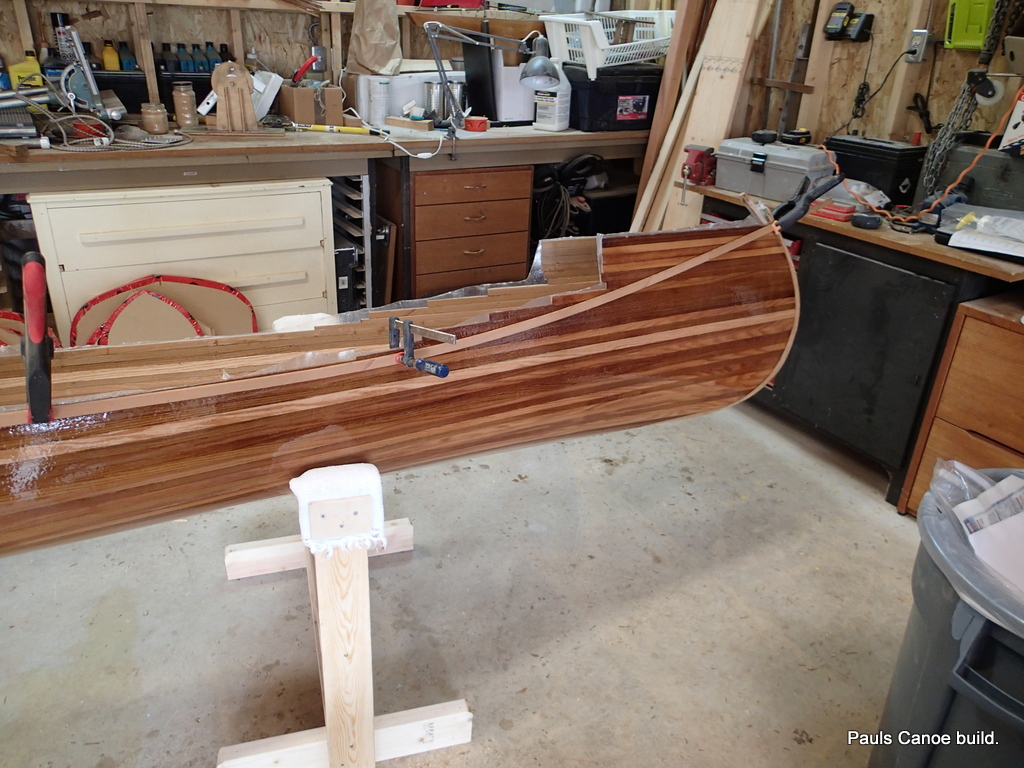
Both gunnels clamped on, rolling on the first fill coat. Note the wax paper at the stems.
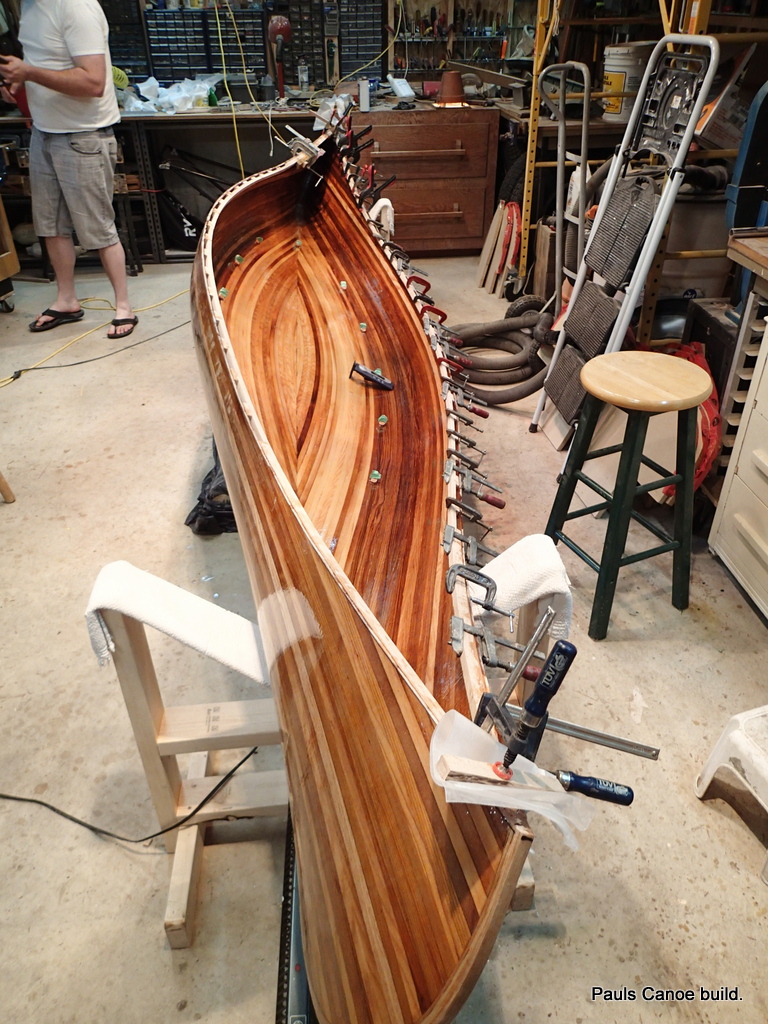
After chasing bubbles and dry spots, it is time to walk away and let the epoxy cure:
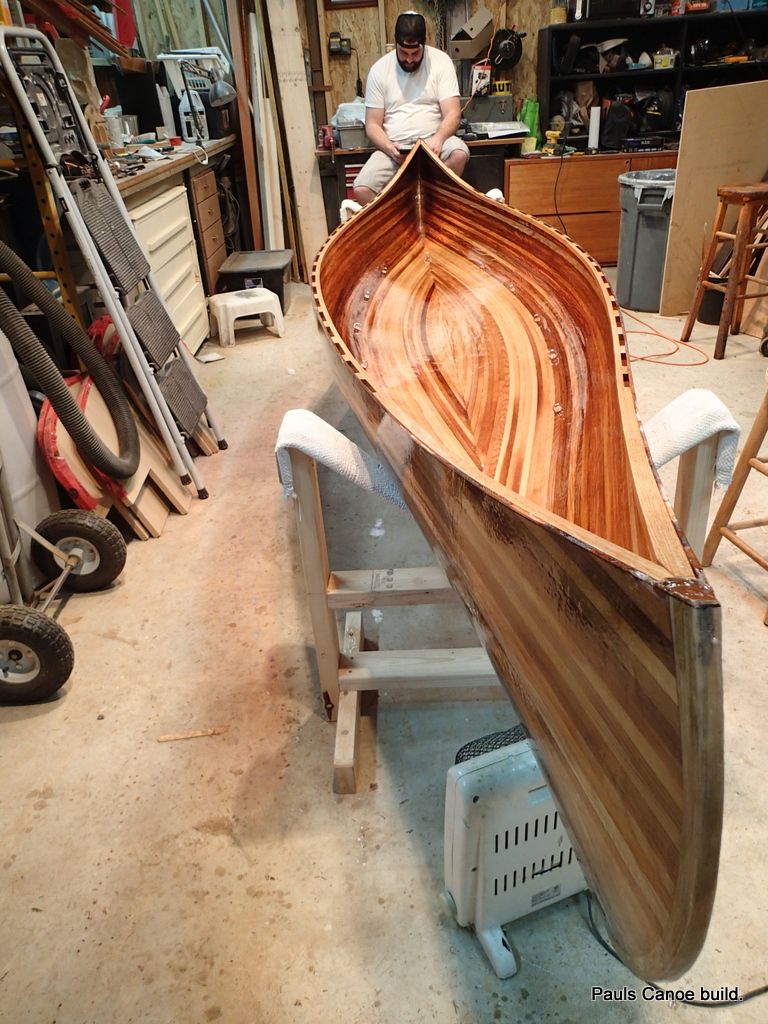
West side.
Looks more and more like a canoe every day.
East side.
Time for tea… Might be able to get another fill coat on today, if not then tomorrow. The critical factor is insuring that the inner gunnel epoxy is cured enough so they do not come away from the hull. It would be good to have the clamps out of the way for the second coat.
Well, Tonight’s the night! The second fill coat
Clamps off West side of the canoe.
We take off all of the clamps.
Clamp off!
That clamp was on a little tight!
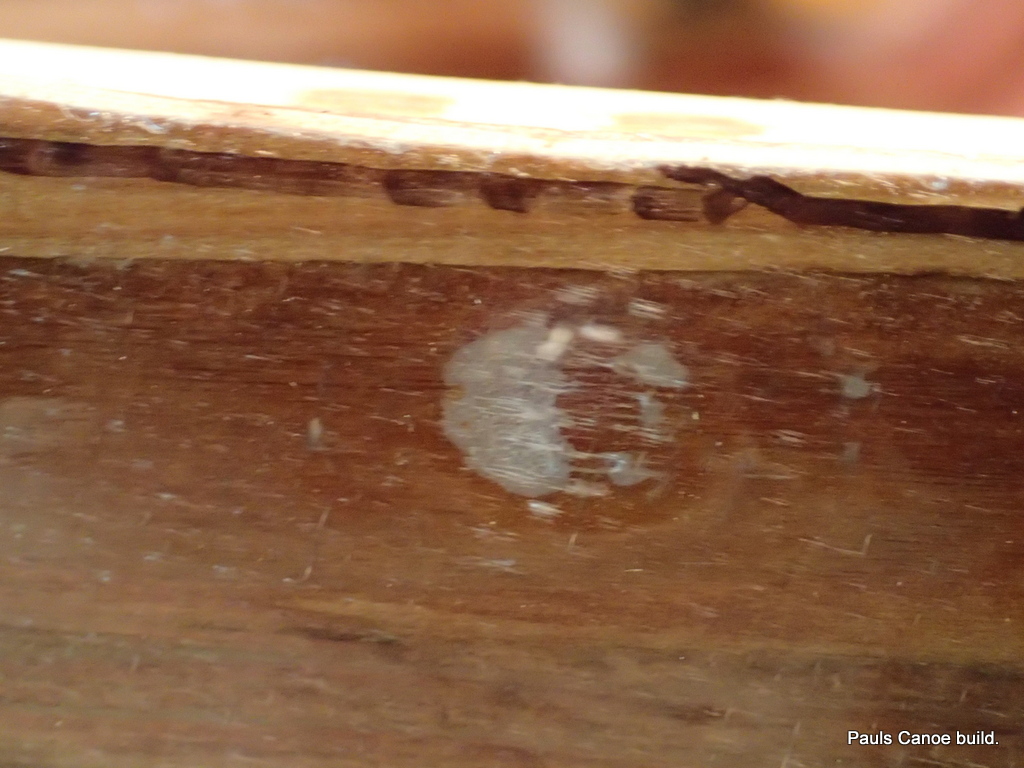
Damage caused by too tight a clamp…It will be covered by the outer gunnel.
We give the gunnels a quick sanding and vacuum the hull.
Quick sanding to remove clamp marks.
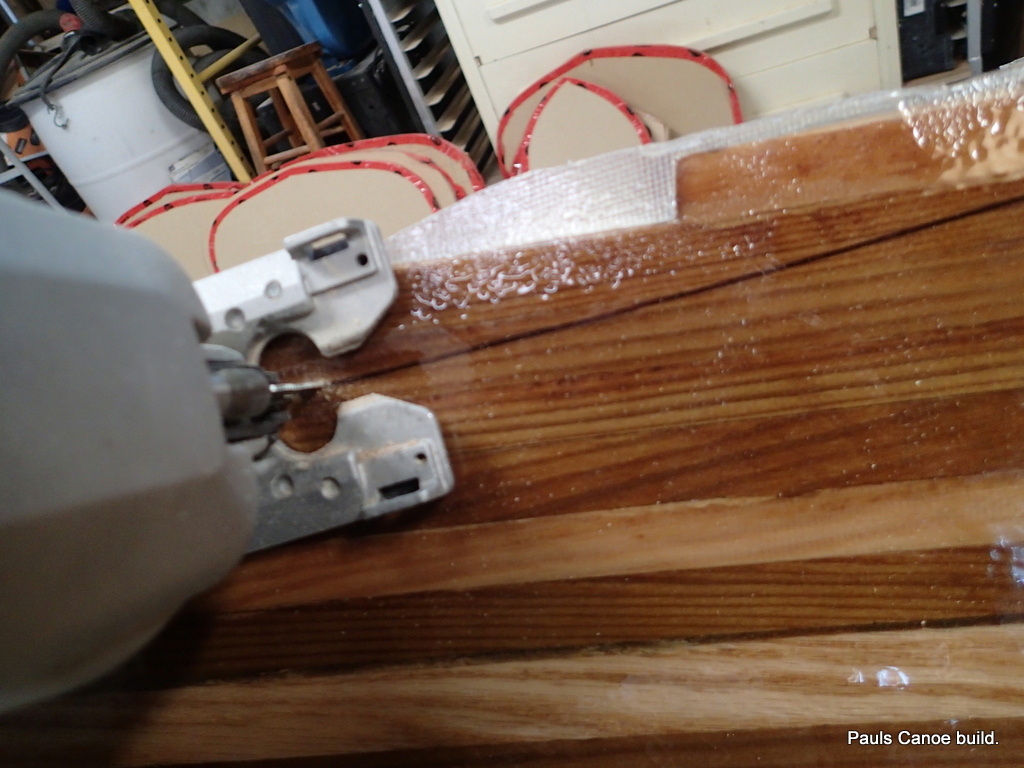
Paul and I remove all the green tape from the cargo tie-downs.
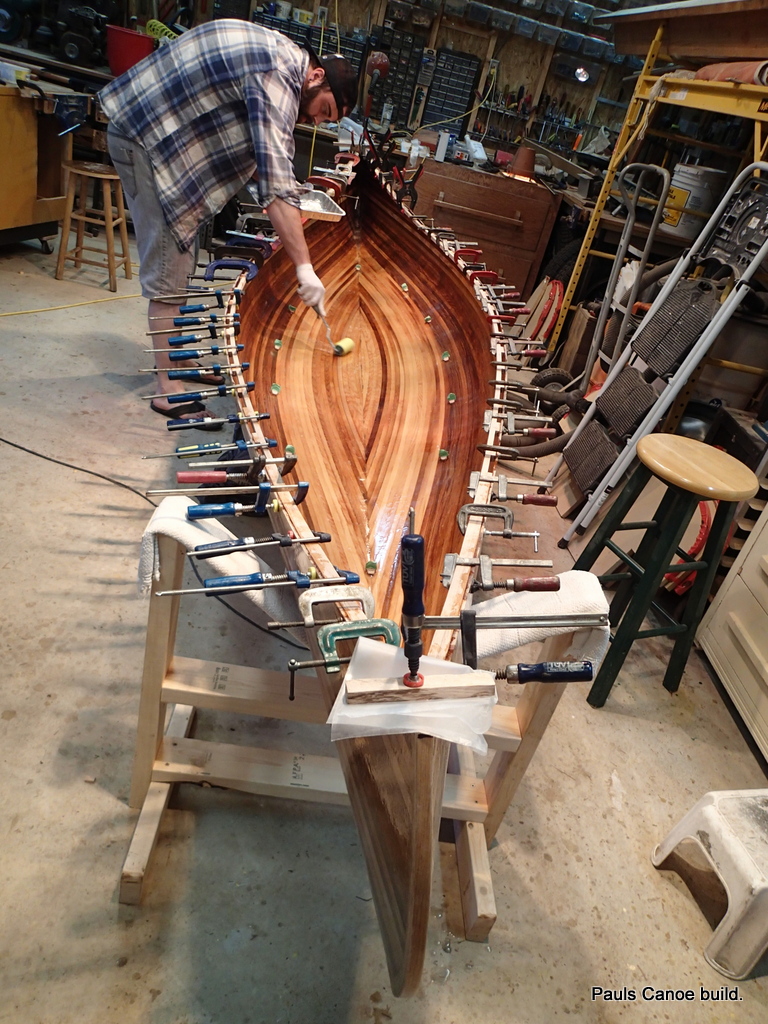
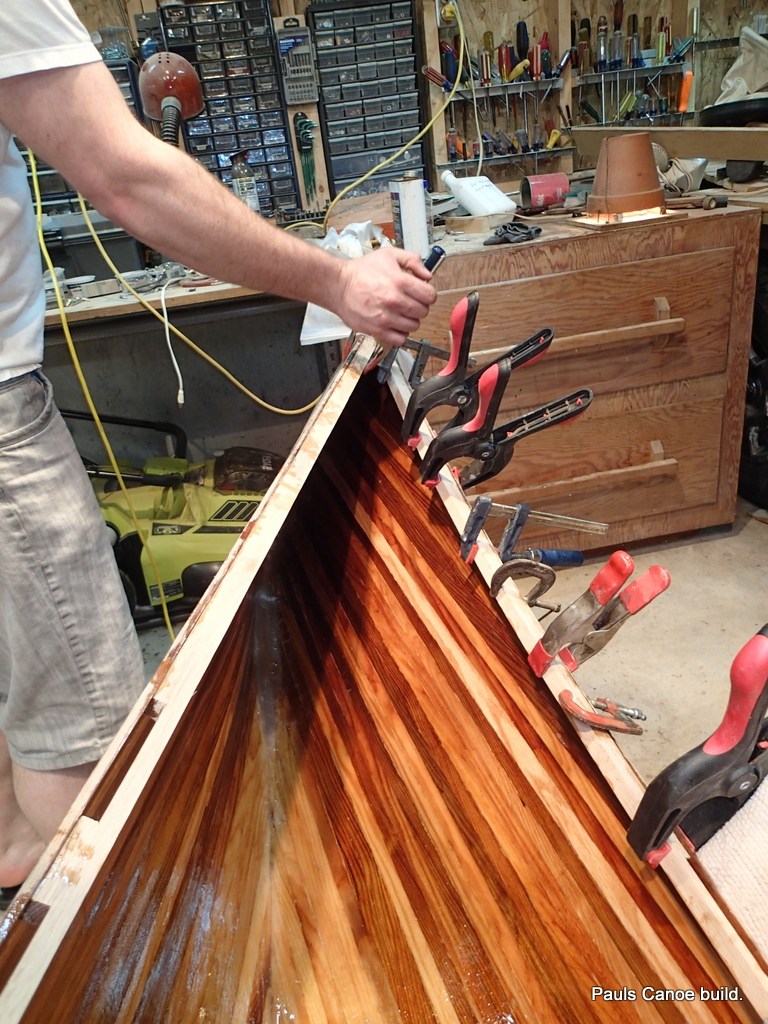
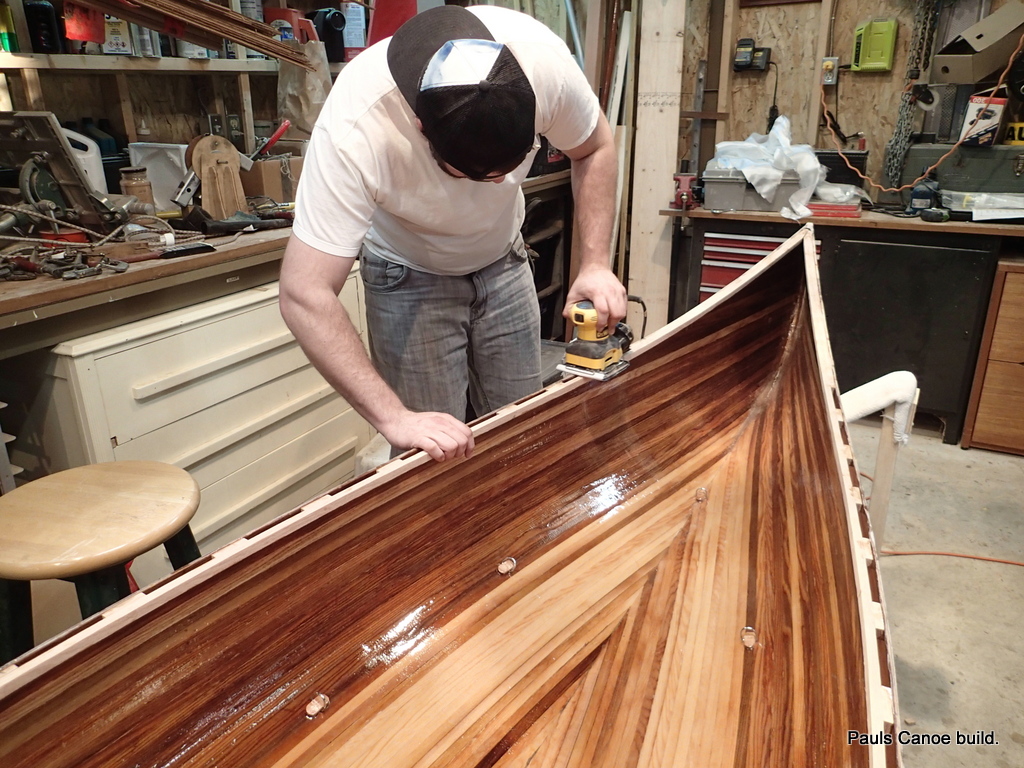
I brush resin into the scupper holes and he rolls out the hull. We both roll out resin for half an hour, trying to get an even coat. You can only do that for sooooo long.
Second fill coat on and rolled out.
Time for a cure.
The third fill coat went on just like the last one, but with more rolling out.
Cheers,
Mike
