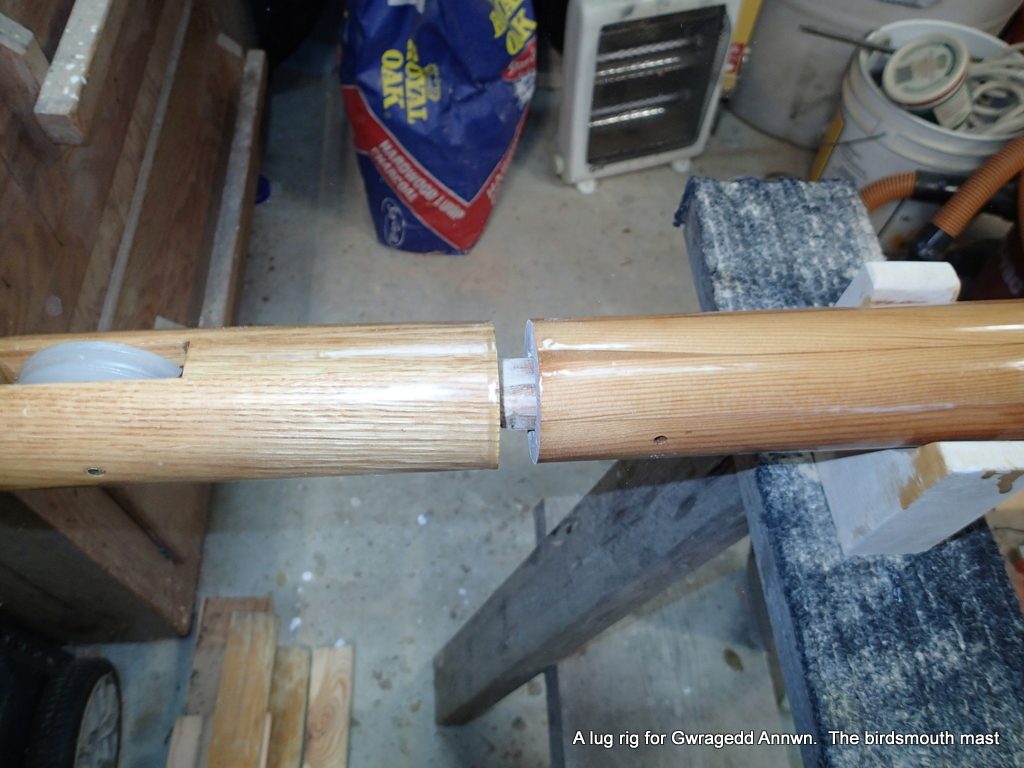
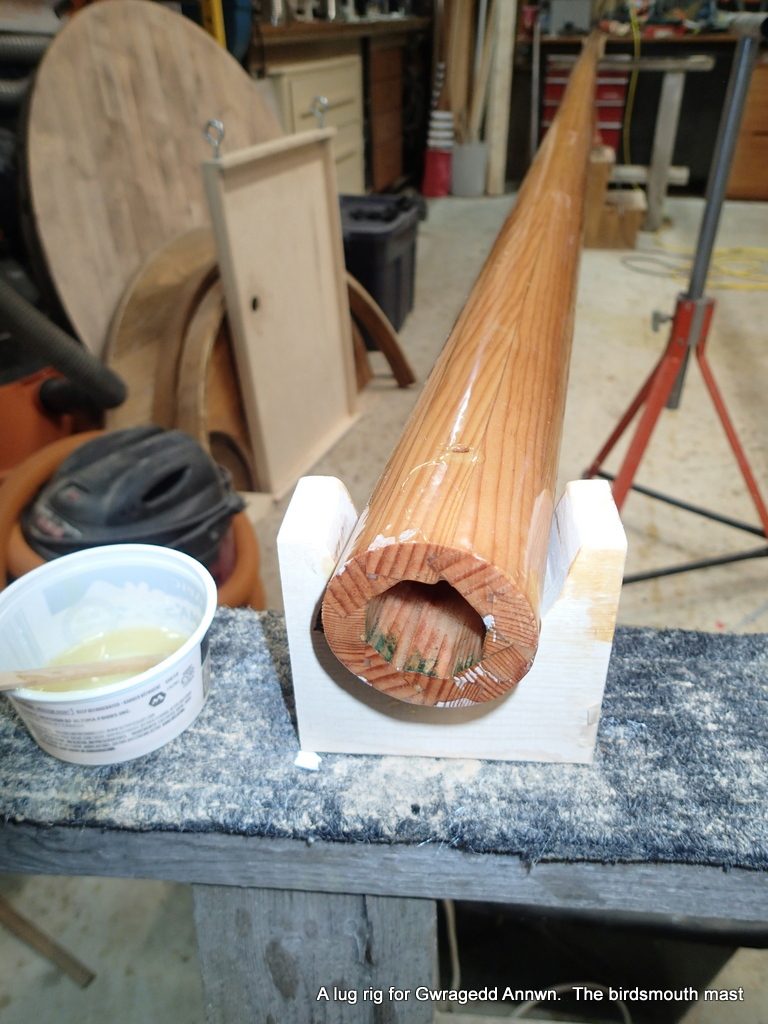
The epoxy has cured on the base of the mast reinforcing. I used 6oz. cloth, left over from Paul’s Canoe build.

I get out the wet/dry 350 grit sandpaper & bucket of warm water with a little soap again. I sand smooth the joint where the cloth meets and where I did a little filling.
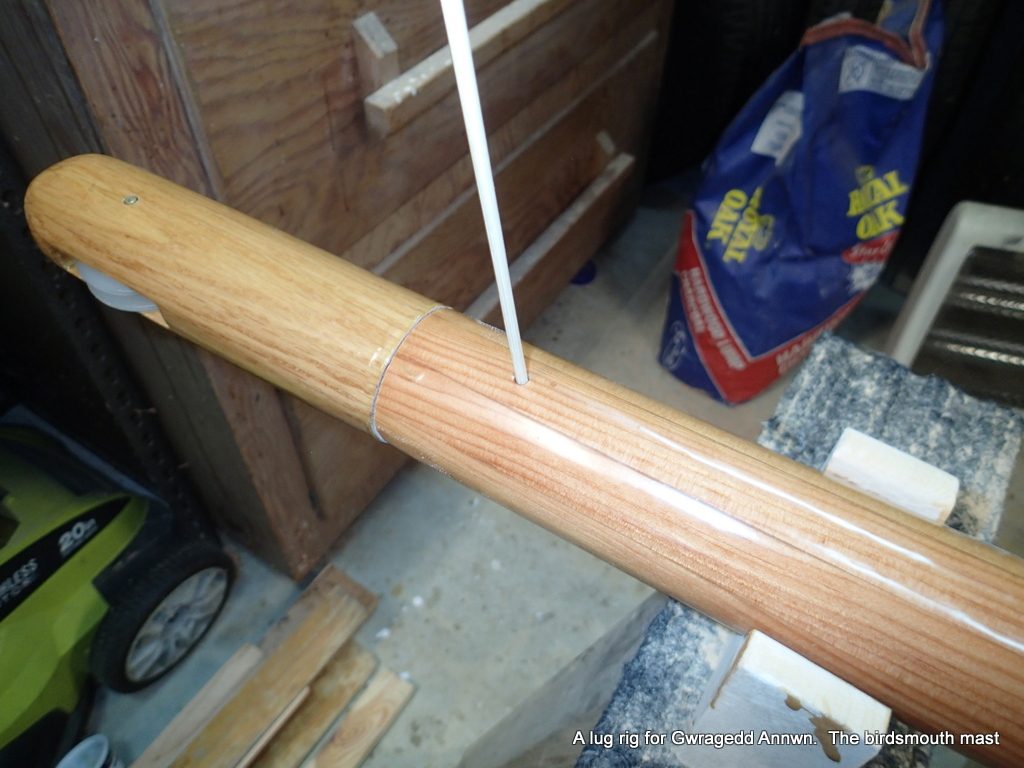
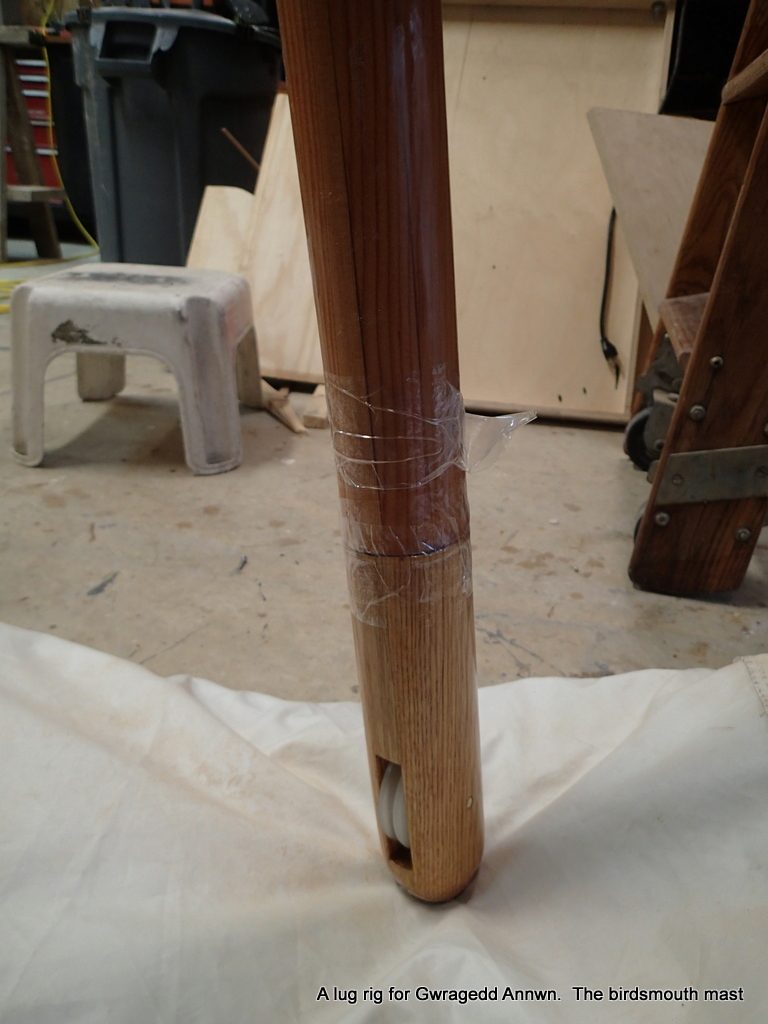
The varnishing consists of: a coat of varnish, rotating the mast every 30 minutes for two hours to minimise drips, let dry, repeat. It is the same method I used to epoxy coat the mast, just more coats of varnish (8!)
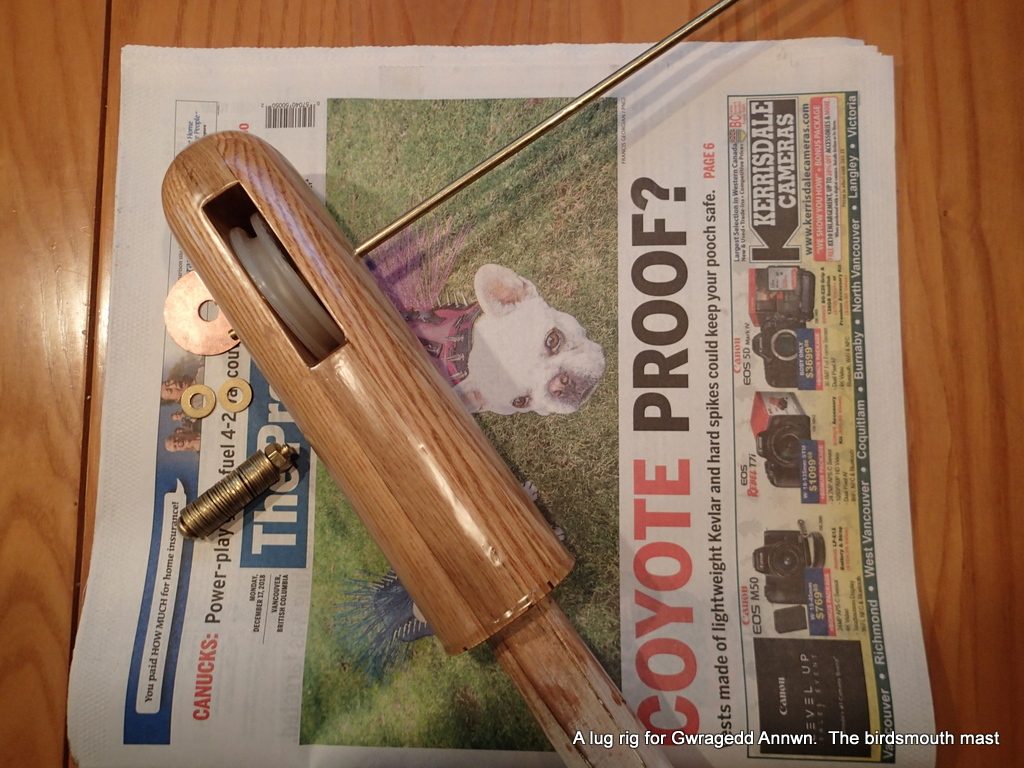
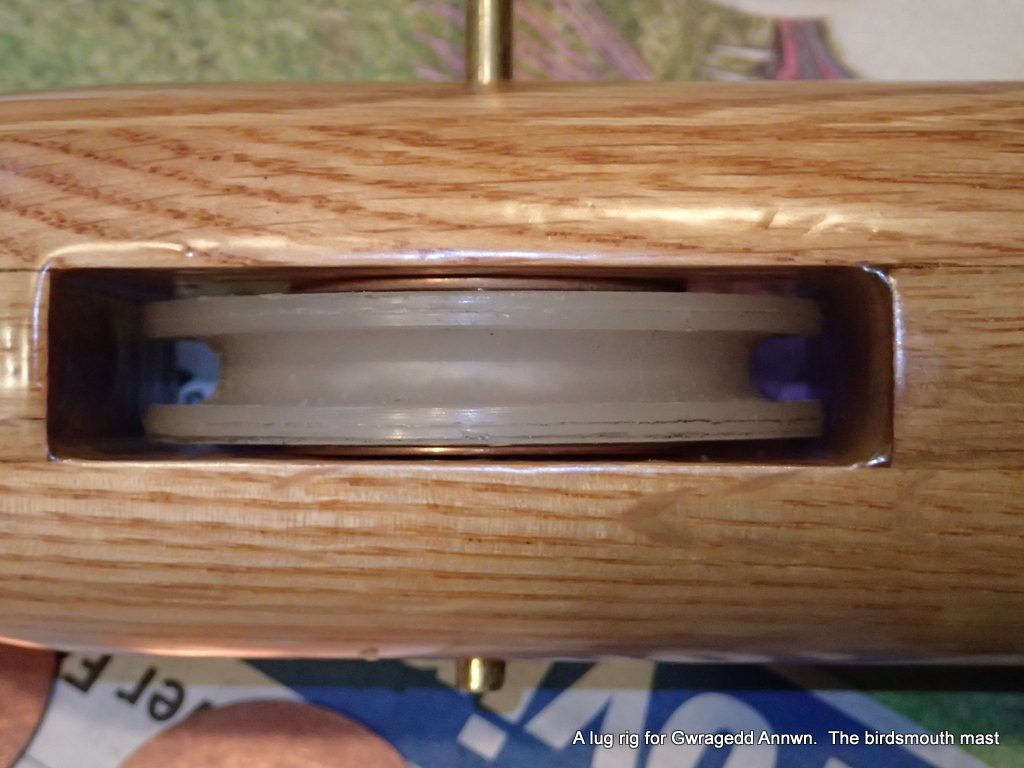
I take the Masthead Sheave plug assembly into the house to fit the sheave, washers and pin. The pin is 3/16″ brass rod. I got the brass washers from Roy.
After I cut the pin to size, I file the edges smooth. Ready to epoxy the plug into place.

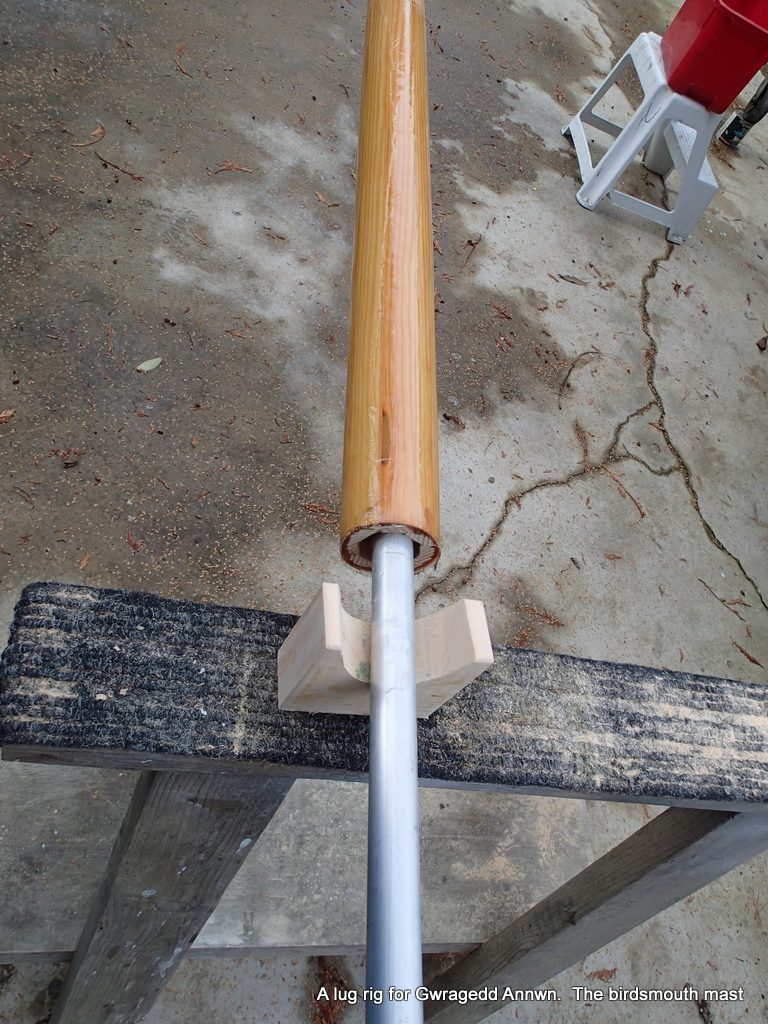
Both the plug and the masthead are sanded down to bare wood. I set up the mast stand and then mix-up the epoxy. Two hundred stirs.
All is good.
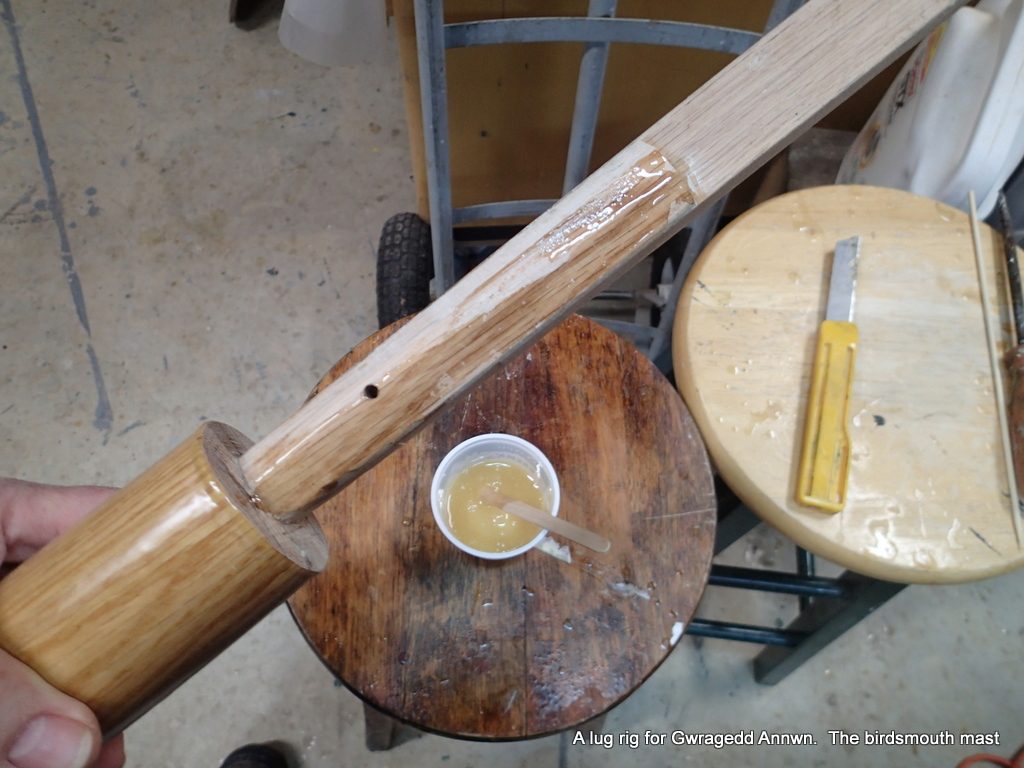
After I have coated all the bare wood with the straight epoxy, I add wood dust to thicken the epoxy. I put the base of the mast on the floor, angling the mast up towards the top so the epoxy will, if anything, run down into the mast. I fill the mast head with the thickened epoxy mixture.
I insert the Masthead Sheave plug, the bamboo pin and then wrap the joint and pin ends with packing tape to prevent the epoxy from leaking out.
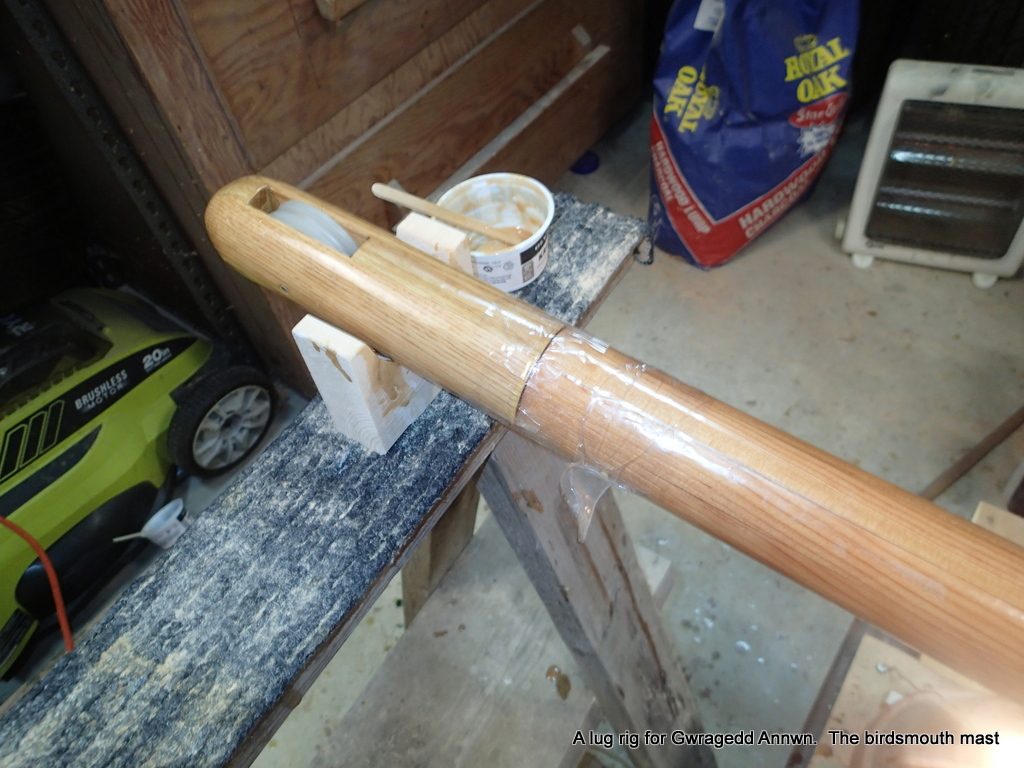
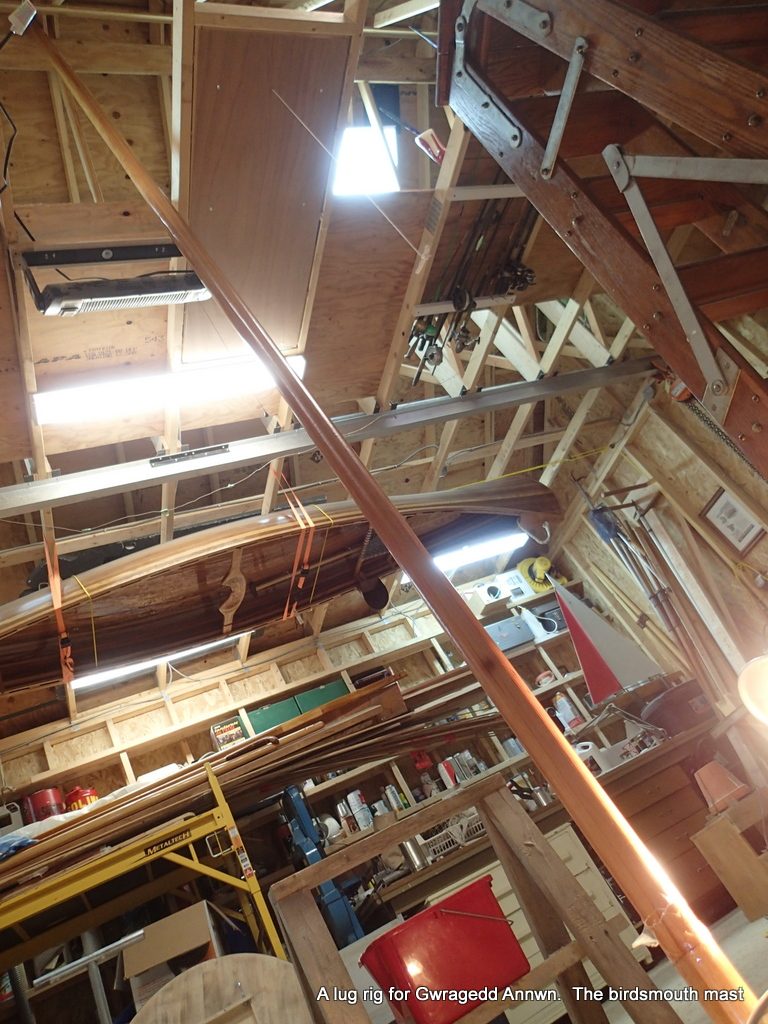
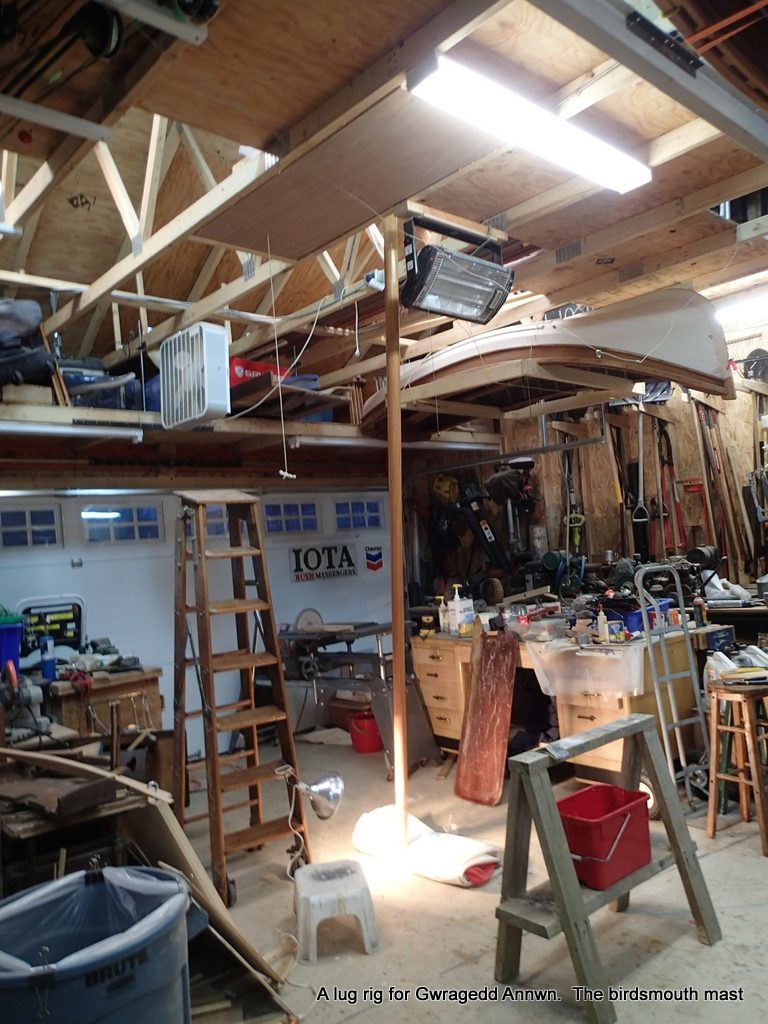
To have all of the epoxy settle around the Masthead Sheave plug, I place the mast upside down in the centre of my garage. Gravity will make the epoxy flow down and around the plug stem.

Heat lamp is shining on the joint. I rotate the mast every 30 minutes so the epoxy will settle evenly.
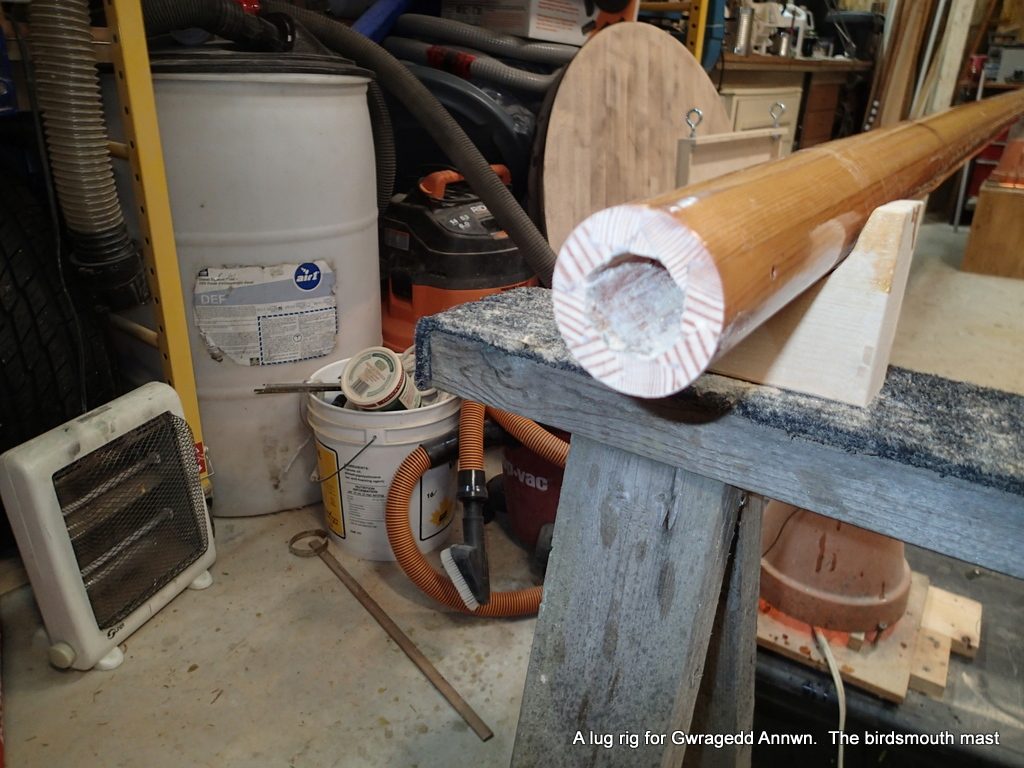
The distance to the inside peak of my roof is just a little over 17″. The mast barely fits!!!
Next step is to make the mast base plug. I have a piece that I will fit into the base. Tomorrow’s job….the mast is almost finished!
Good rowing to you,
Mike

Small correction. The large washers are bronze.