The initial epoxy & cloth coat is “cured”. No longer sticky to the touch. This is a “green” cure, the epoxy is still soft. We will get a chemical and mechanical bond to the first coat. I trim off all of the overhanging cloth. We will put on another coat to begin to “fill the weave”.

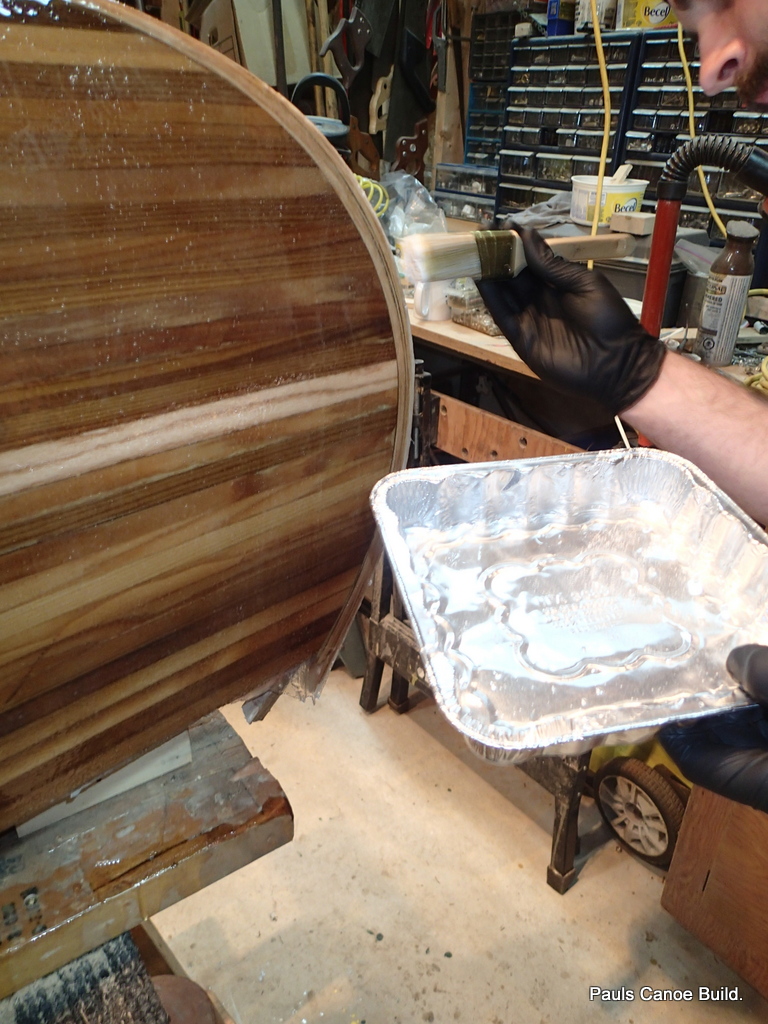
Pie Pan.
We each mix up a ten-pump cup of resin, stir it two hundred times and pour it into a pie pan. The greater area of the pie pan helps keep the resin from “Flashing-Off”, that is as the chemical reaction between the resin and the hardener happens it produces heat. As the resin and hardener warm up, getting hotter, the reaction speeds up, producing more heat which again speeds up the reaction. I have seen resin burst into flames from “Flashing-Off”.
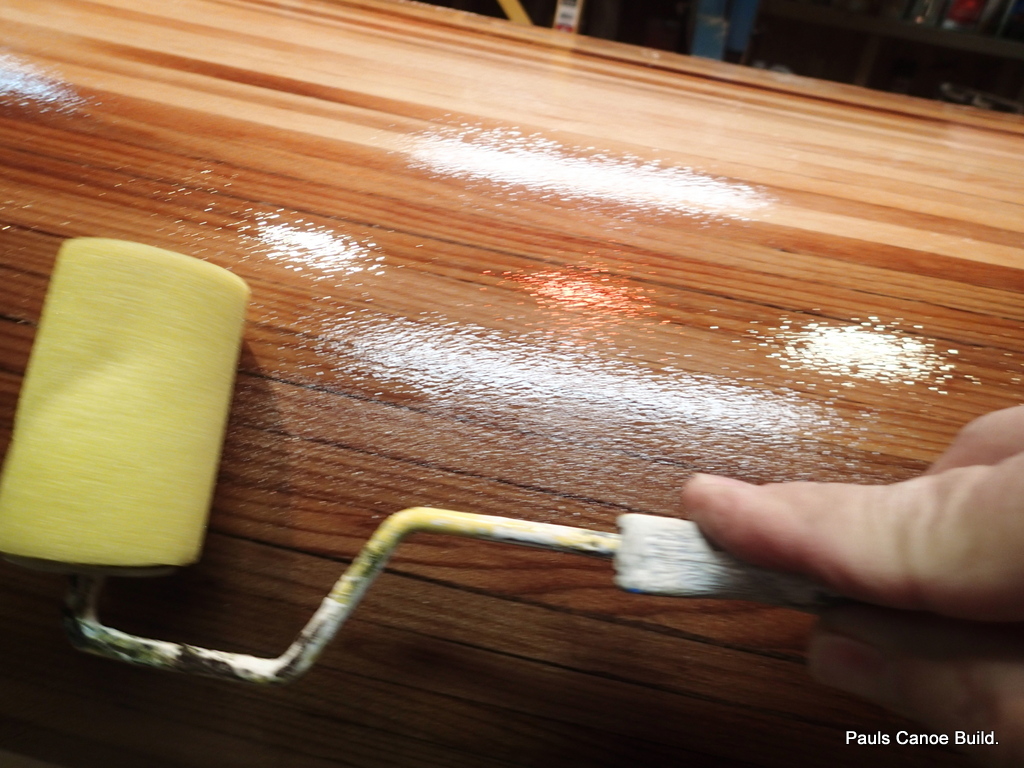
Filling the weave.
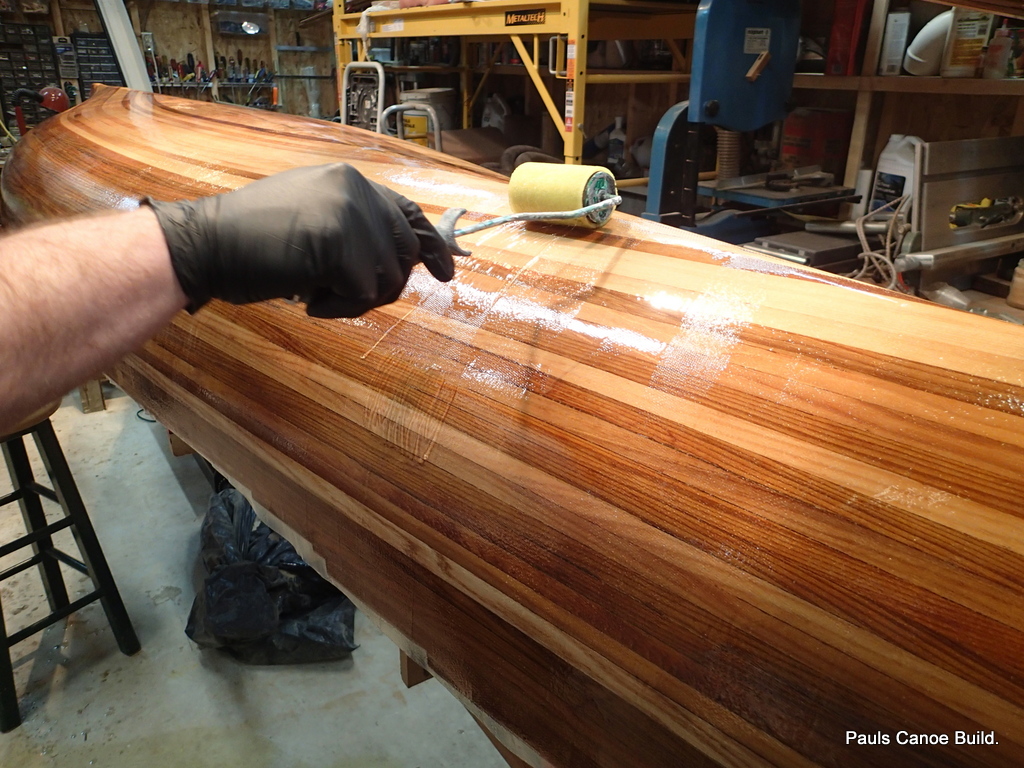
Paul and I both roll on the resin. These foam rollers do not seem to leave bubbles (Yea!).
Both sides coated.
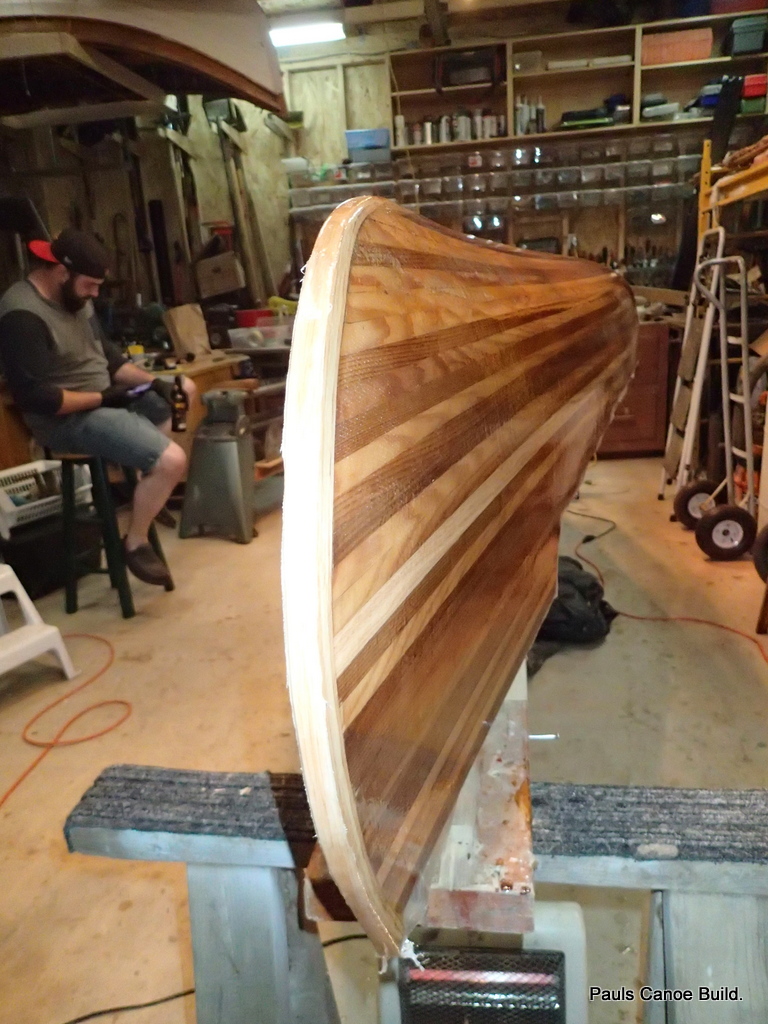
What Paul and I have done is to roll on the epoxy, each of us following the other to get an even coat. We probably spent more than half of our time just rolling the hull, trying to get the coat even over the entire hull.. The weave does seem to be more filled.
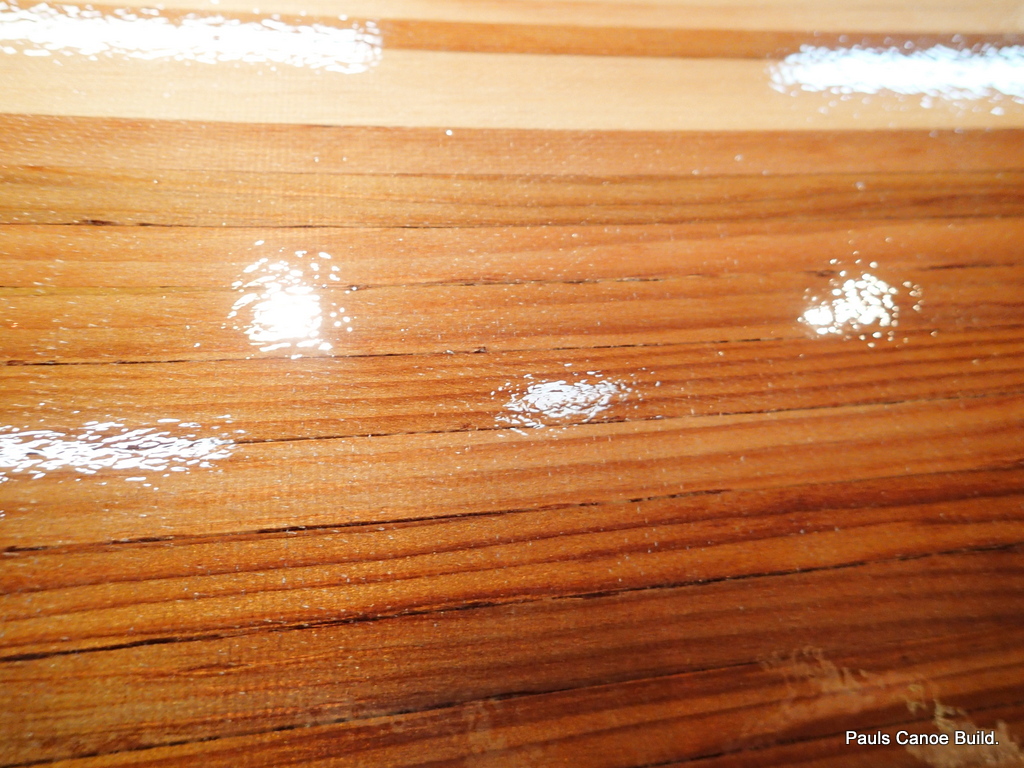
Close-up.
You can still see the weave in the upper right-hand part of the picture.
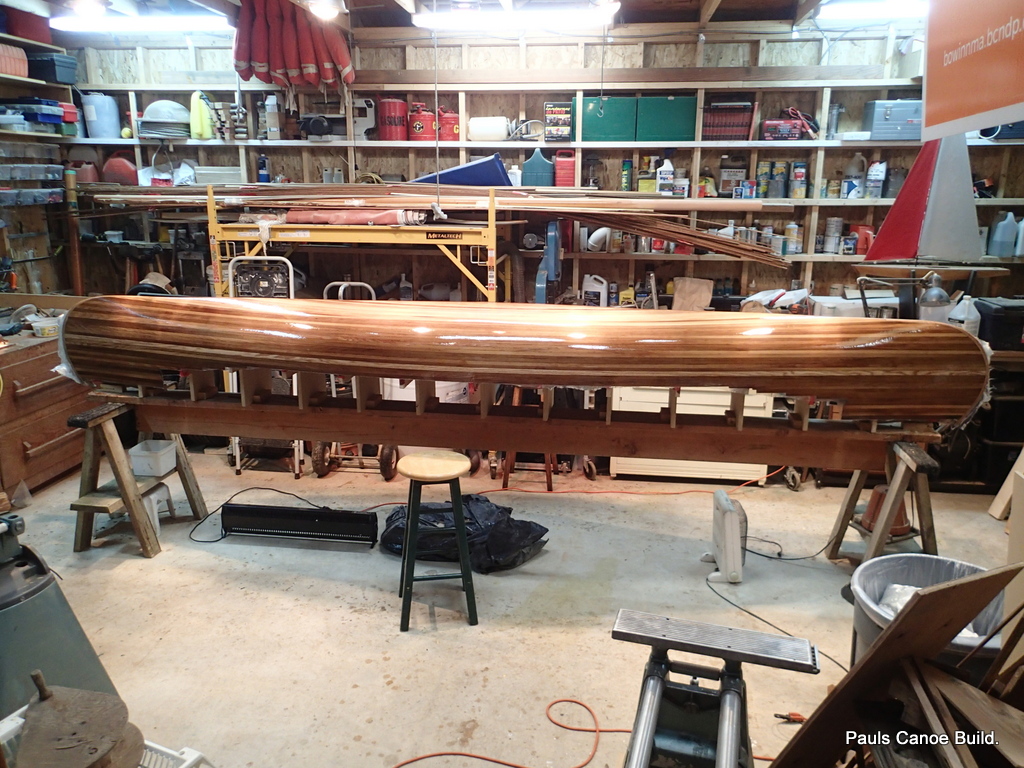
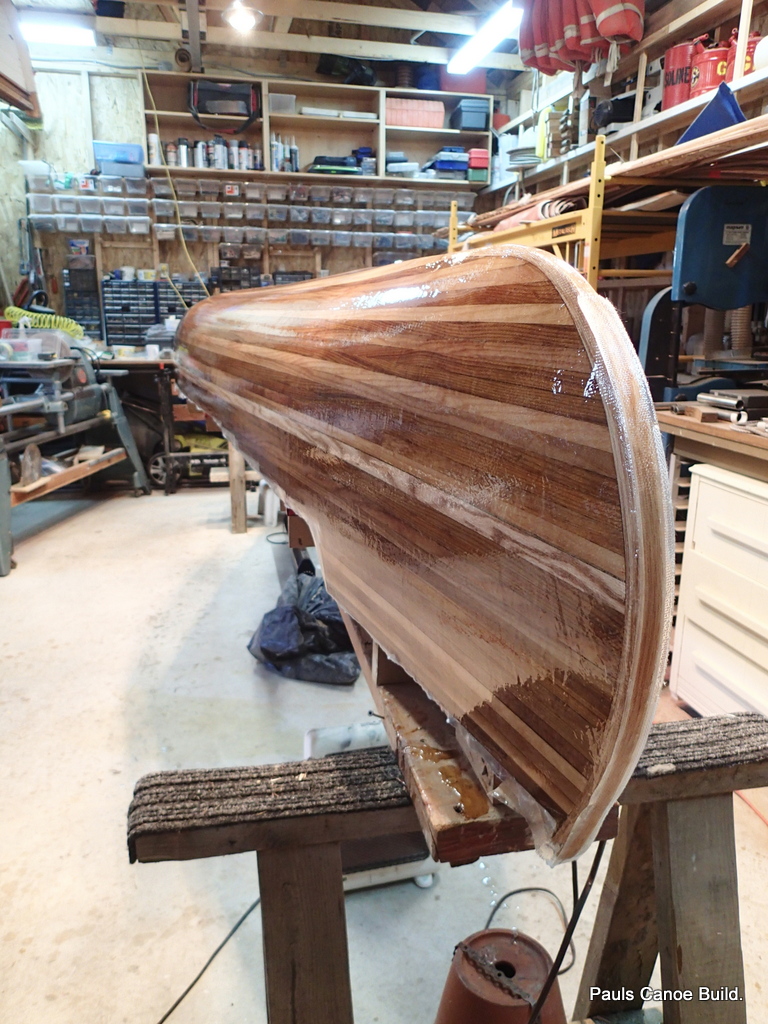
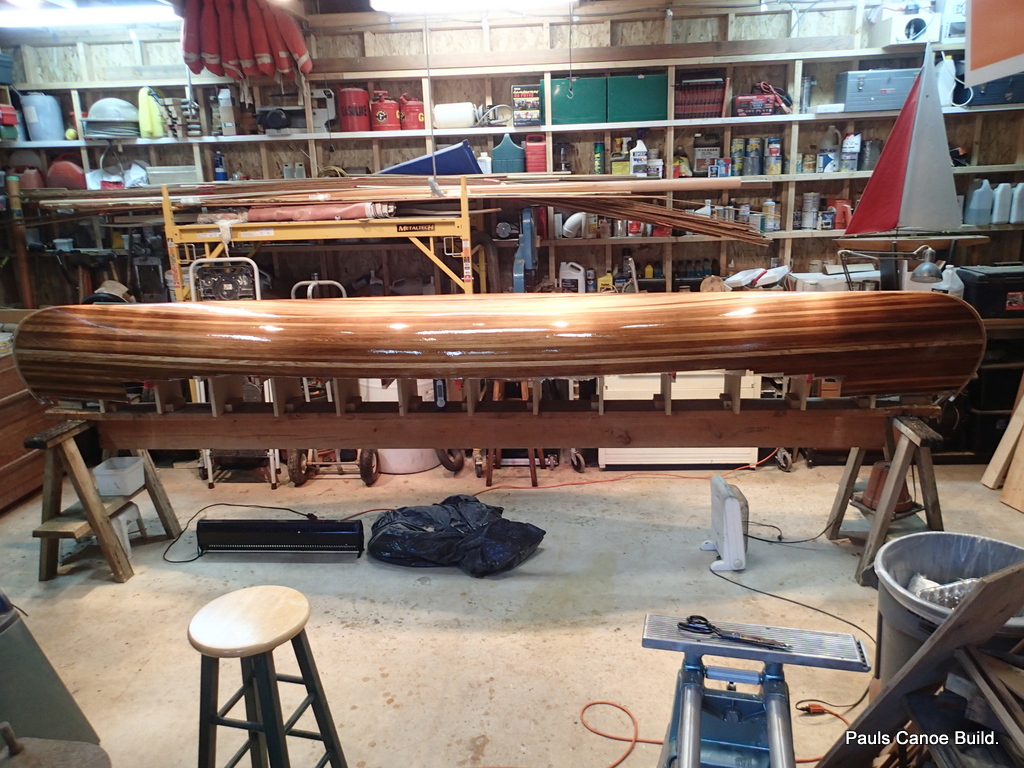
Fill coat one done.
We will leave the heat lamps on overnight. Should be cured by tomorrow.
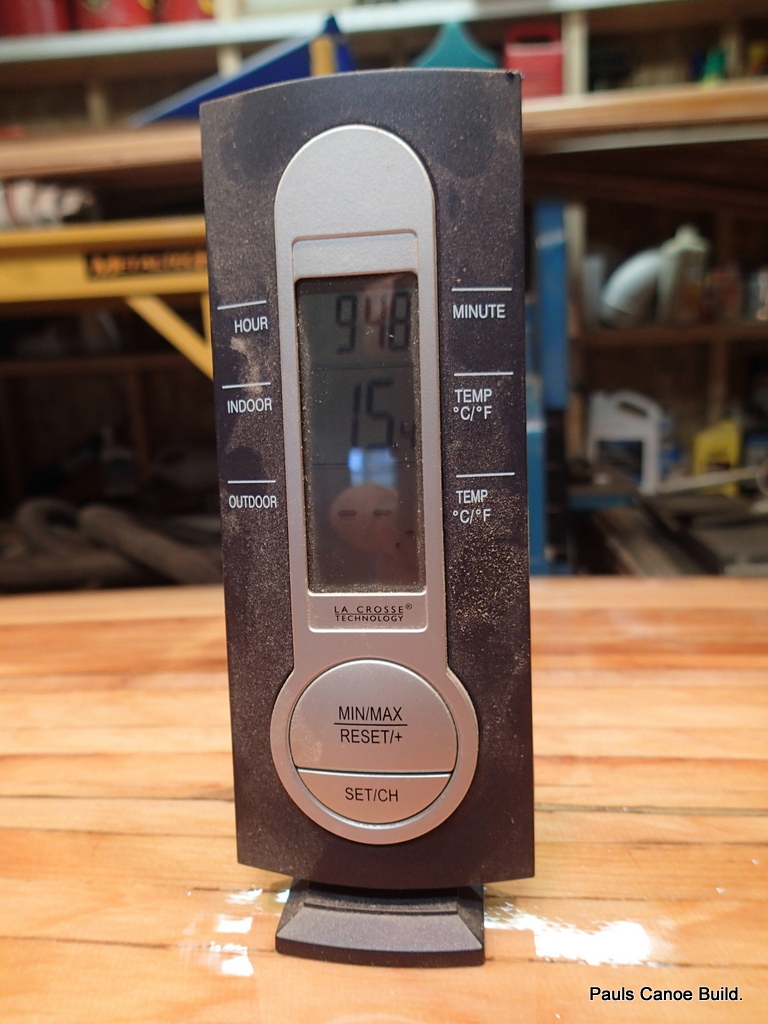
Hull temperature.
The next morning, Paul and I go to put on fill coat two. The heat lamps have kept the hull temperature over 15 degrees Celsius. Today we will put on the last of the cloth…Onto the stems.
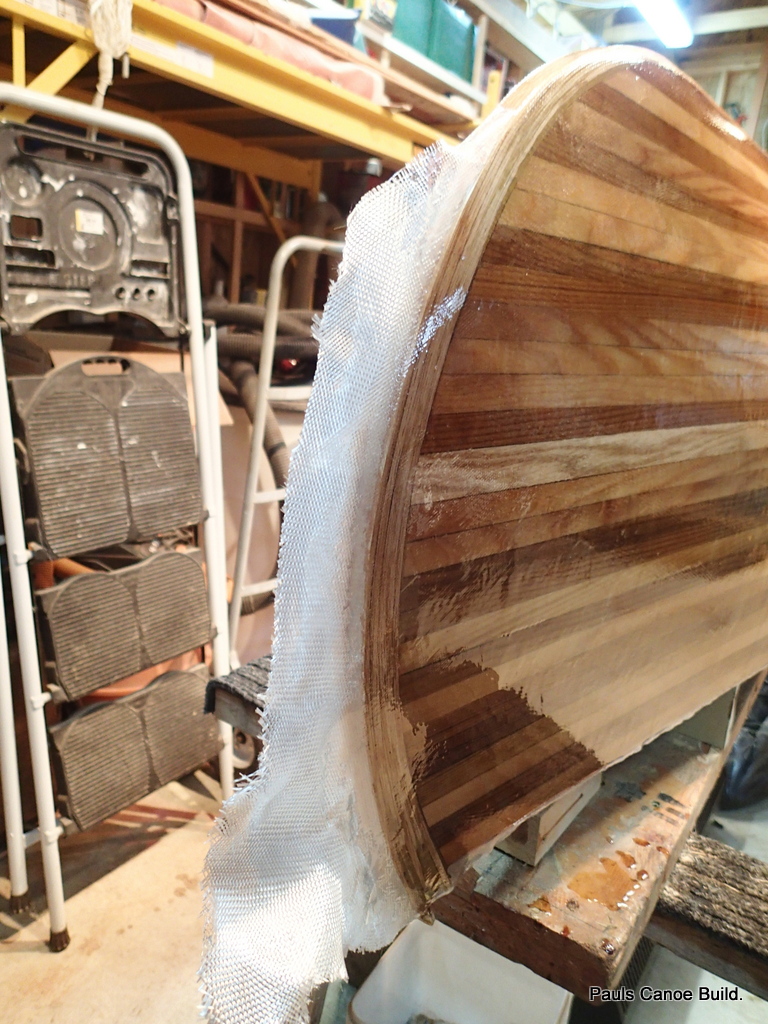
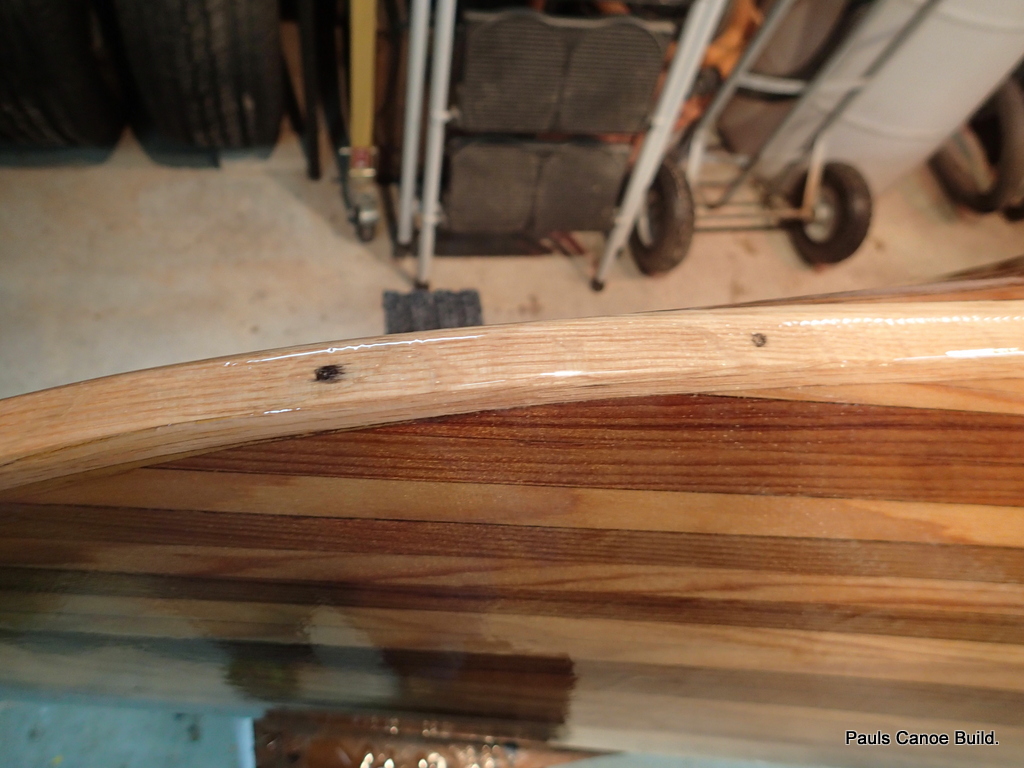
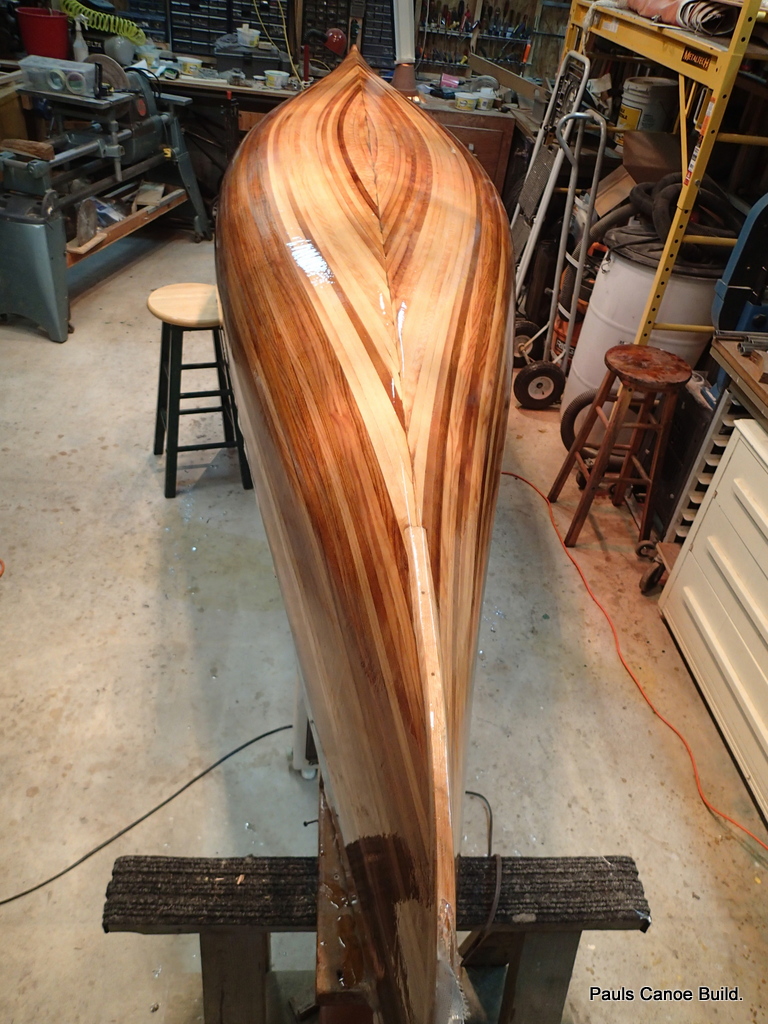
Stem piece cloth needs to be trimmed.
While the resin is still soft, I use a utility knife to trim off the excess cloth on the stems.
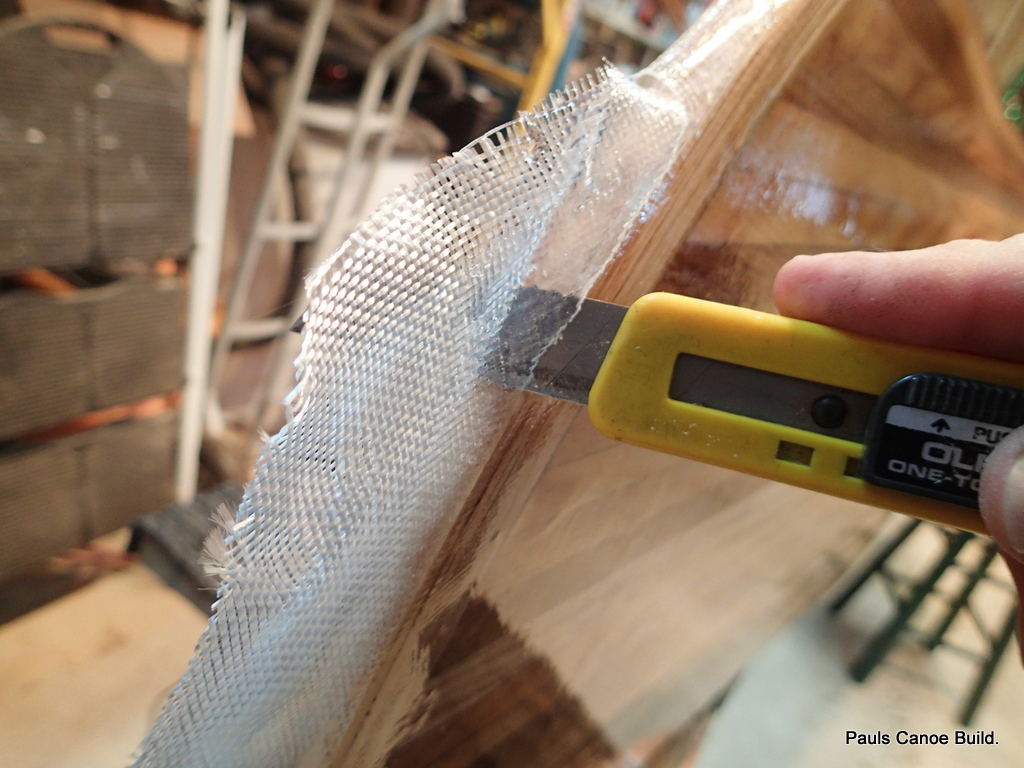
Trimming.
I use a new blade and a sawing motion to trim off the resin & cloth to the stem.
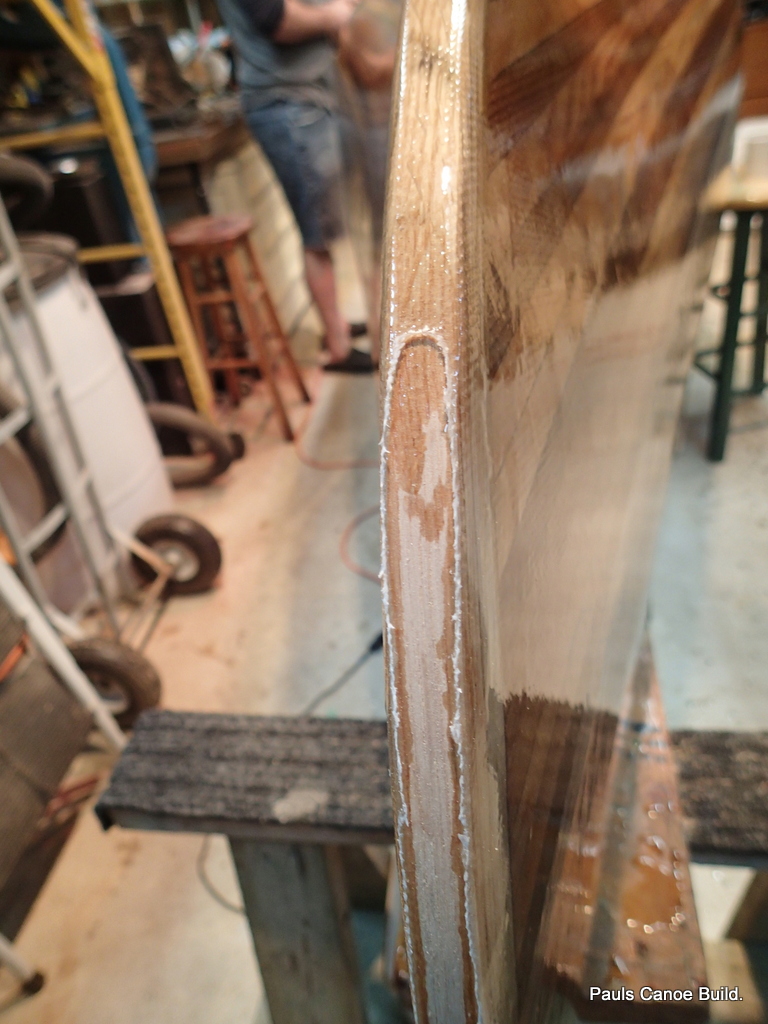
Prepping the stems.
I cut off all of the overhanging cloth and fair the stem where the cloth ends.
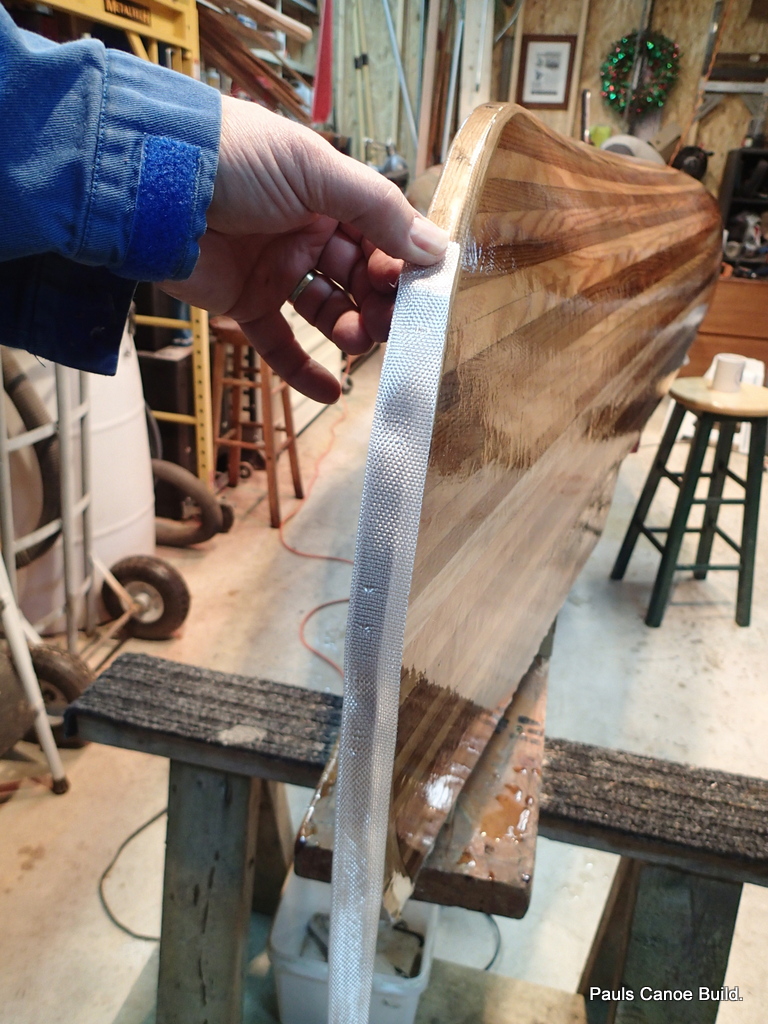
Stem piece fiberglass cloth tape.
We measure and cut a piece of fiberglass cloth tape for the stem pieces.
Stem piece “poxied” in.
When we get a “green” cure, we will trim the stem fiberglass tape to fit.
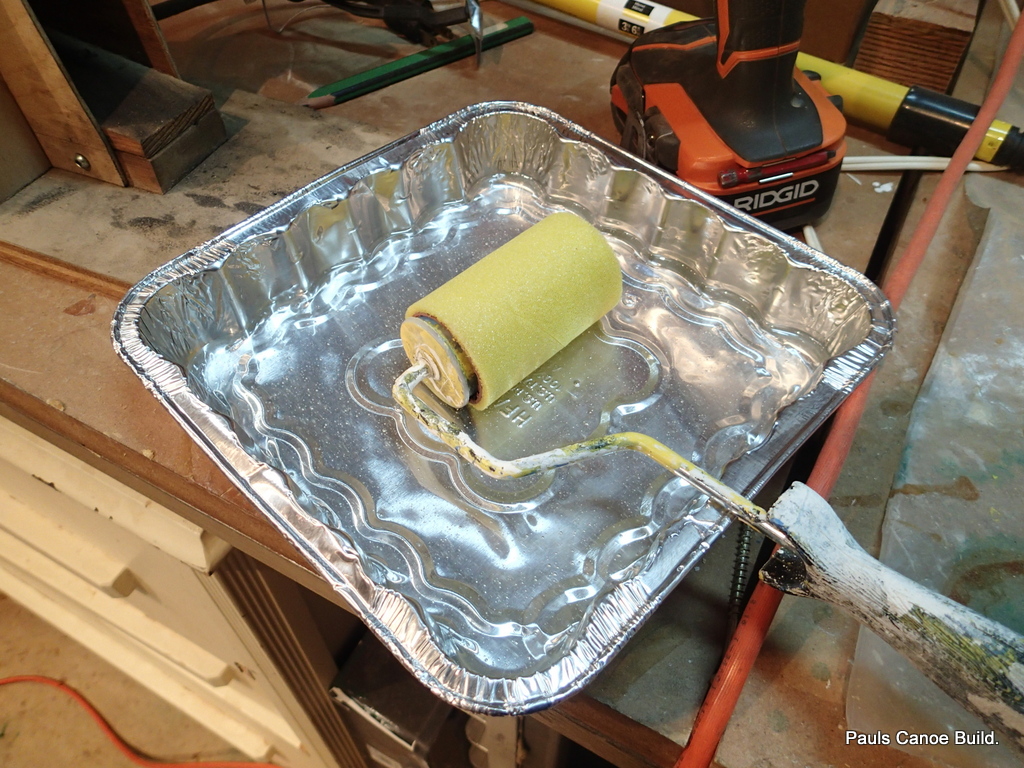
Pie pan again.
Paul puts ten pumps of resin and hardener into a cup, mixes by stirring two hundred times with a tongue depressor and pours the epoxy into this pie pan. The greater surface area of the pie pan helps keep the resin from getting too hot and “Flashing-Off”.
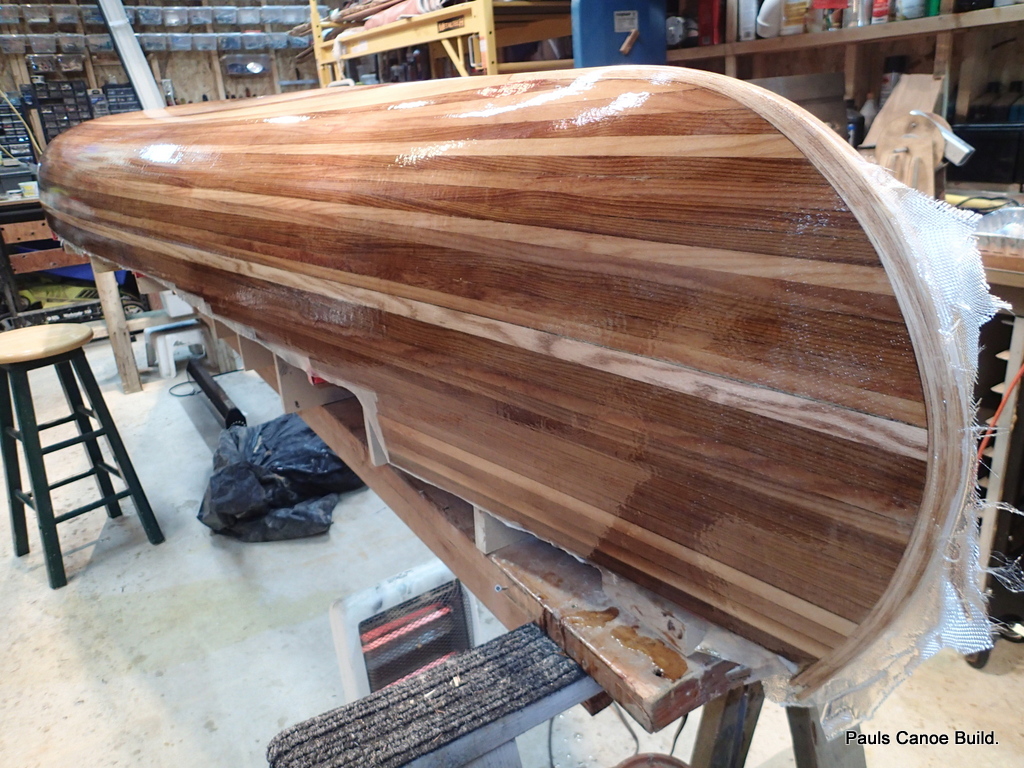
The idea here is to put a coat of epoxy resin evenly over the entire hull to “bury” the cloth so you cannot see the weave of the cloth. When you go to sand the hull smooth, you do not want to sand into the cloth….only the resin. If you sand into the cloth, you will see it as a white or grey area in the canoe. Not pretty. Because we are using rollers, which put on a thinner coat than brushes, Paul and I will be doing three fill coats.
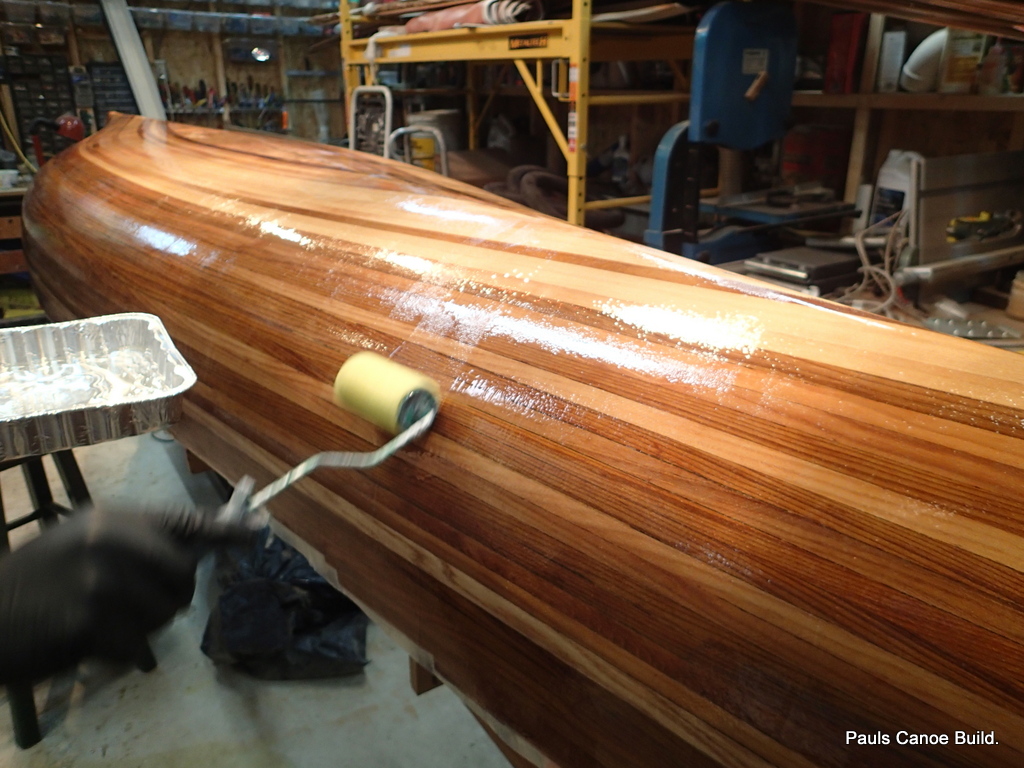
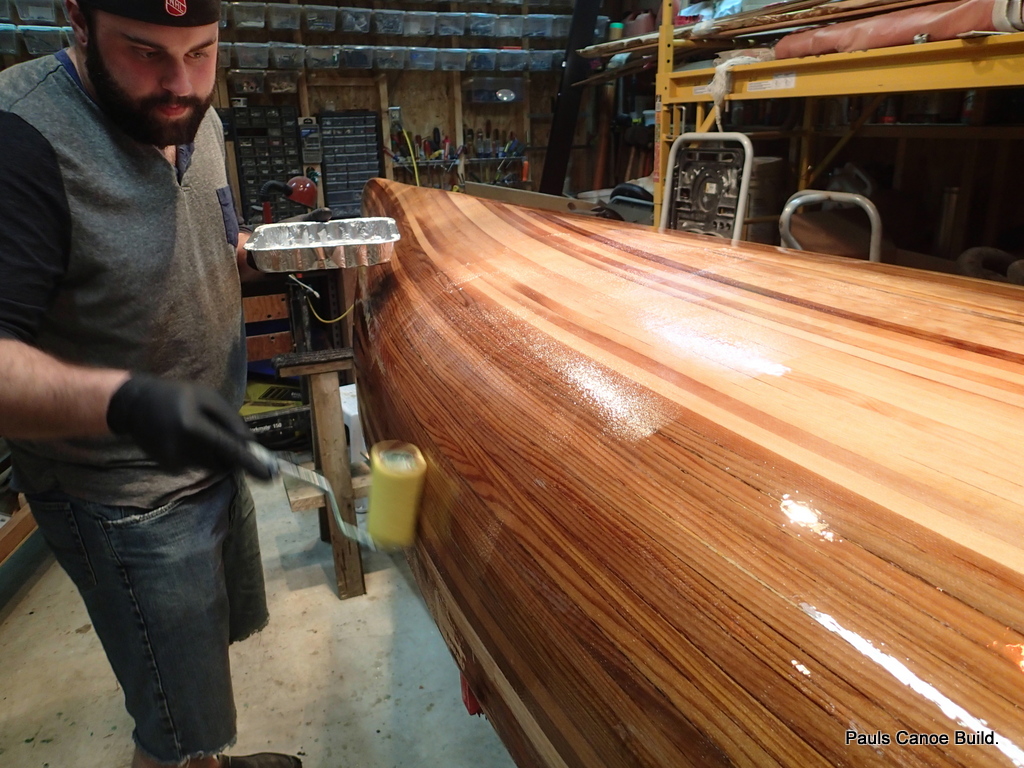
Rolling out the resin.
One of the advantages of working in a colder shop is that the working time of the resin is quite long…over an hour. We put Ten pumps on each side of the canoe. Again, trying to keep the canoe even, we both roll out the resin on both sides, one following the other. We finish with strokes following the lines of the planks.
Fill coat two done.
Another advantage of working in a cold shop is that there are no “bugs” to land on the wet epoxy.
Fill coat two done.
If the epoxy cures at the same rate today as it did yesterday, we should be able to get the final coat on this evening.
Well it is after supper and the canoe is “cured” enough to get the last coat on.

Stem cloth trimmed.
I trim the cloth on the stem pieces while Paul stirs the epoxy resin and hardener. The temperature of the hull is over 16 degrees Celsius.
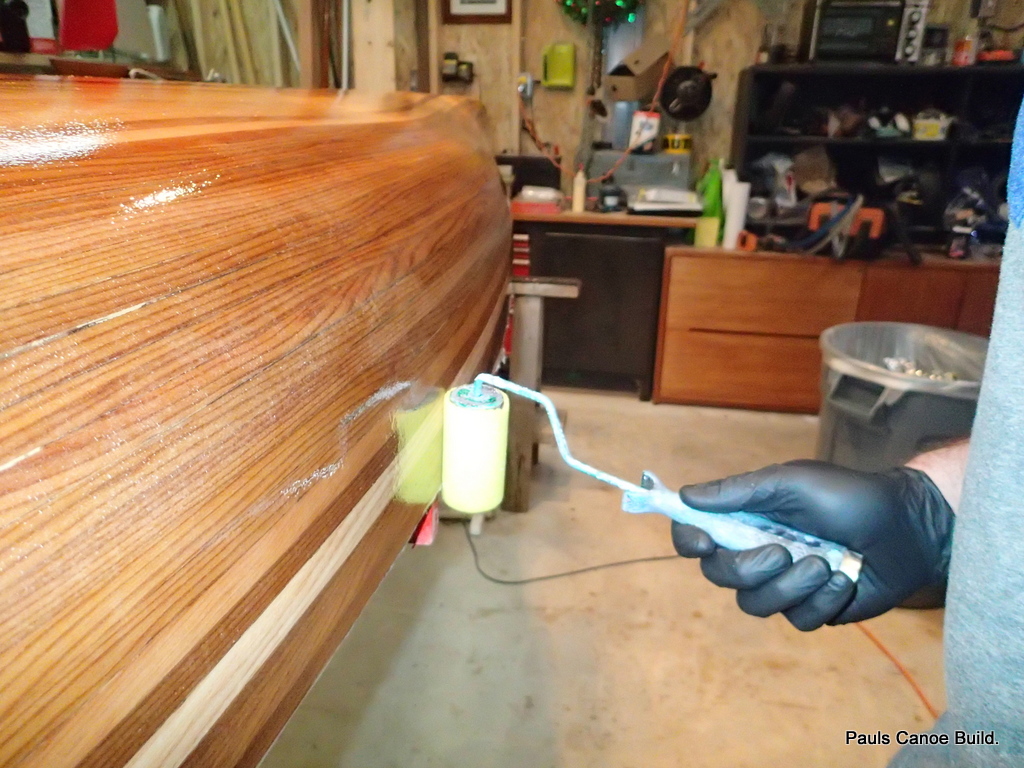
Rolling the epoxy on.
Paul starts rolling the third epoxy coat on. This coat seems more “bubbly” than the last one.
Filling the stem pieces of cloth.
You can see the bubbles in the resin on the canoe.
Rolling out the epoxy to get an even, thin coat.
Paul and I each put ten pumps of resin and hardener on each side of the canoe. We then go over the canoe three times rolling out the resin, with the grain.
Resin roller, Paul.
After we have rolled out the resin three times, I go over the canoe with a brush, taking out all of the bubbles that remain. Of course this leads to seeing a few “missed” spots, We roll on more resin, and then use the brush to remove any bubbles.
The canoe looks good.
It looks like we have gotten out all of the bubbles and have a smooth, even coat. We could keep doing this until the resin begins to set, but enough is enough. This is good enough.
Enough is enough, time to let the resin set.
We will leave the heat lamps and the heaters on. It will take four to eight days for the resin to cure completely. Our ‘Poxy weekend is over. Then we will take the canoe off of the moulds, and epoxy and cloth the inside.
Good rowing to you,