A lot has happened since the last post. I decided that rather than posting after every strip, I would post when we trimmed off the planks extending over the centre line part.
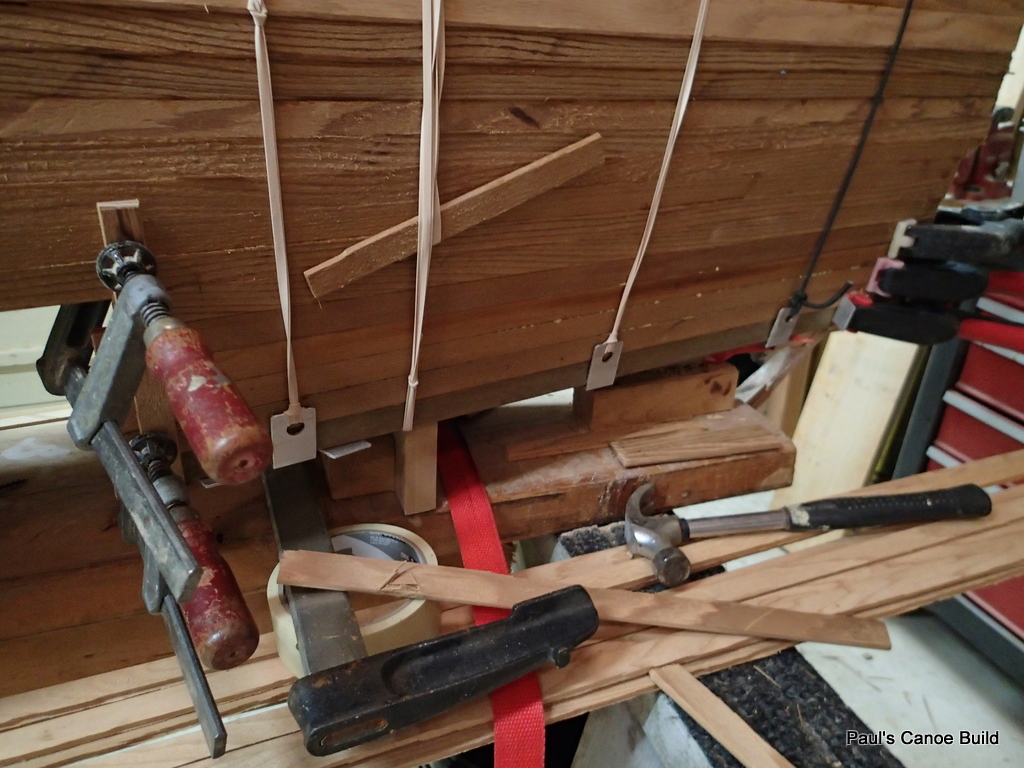
We have to start trimming the ends so we can fit two strips at a time:
Trimming the ends of the strips to fit two at a time.
We are getting to the point of having to fit the strips or try a different technique.
A lot of squinting is required to force the strips into alignment. Here, the strips look pretty even on the two sides. We are still putting strips on both sides at the same time. Strip 19 going on.
This is the last time we will put a strip on each side of the canoe at the same time.
The strips begin to overlap each other, so we trim to fit. The strip on the West side has been trimmed to allow the East side strip to fit.
The first of the East side strips goes on. Paul and I have numbered the strips on both sides to “bookmatch” the sides of the canoe.
A few quick photos of the strips going on:
Strip 1 on.
While I wait for Paul to finish work, I decide to glue in the bow and stern strips.
We begin to fill in the strips to the shear line at the bow and stern. Strip one is four feet long, strip two is three feet, then two feet and the last strips are 18” long so that they reach form 6 from the stem. Strip 1 is on the canoe, strips 2, 3, & 4 are on top of the canoe ready for glueing.
There are four strips of equal length to be glued onto the canoe for each ¾” of the recurve.
Recurve strip 2.
These strips are relatively easy to fit…there is no twist in the hull here.
Recurve strips 3 & 4.
At this point, I have to undo the screws holding the forms together….I will be unable to reach them later.
Screws out of the forms. The strips already on will hold the forms & stem pieces in place.
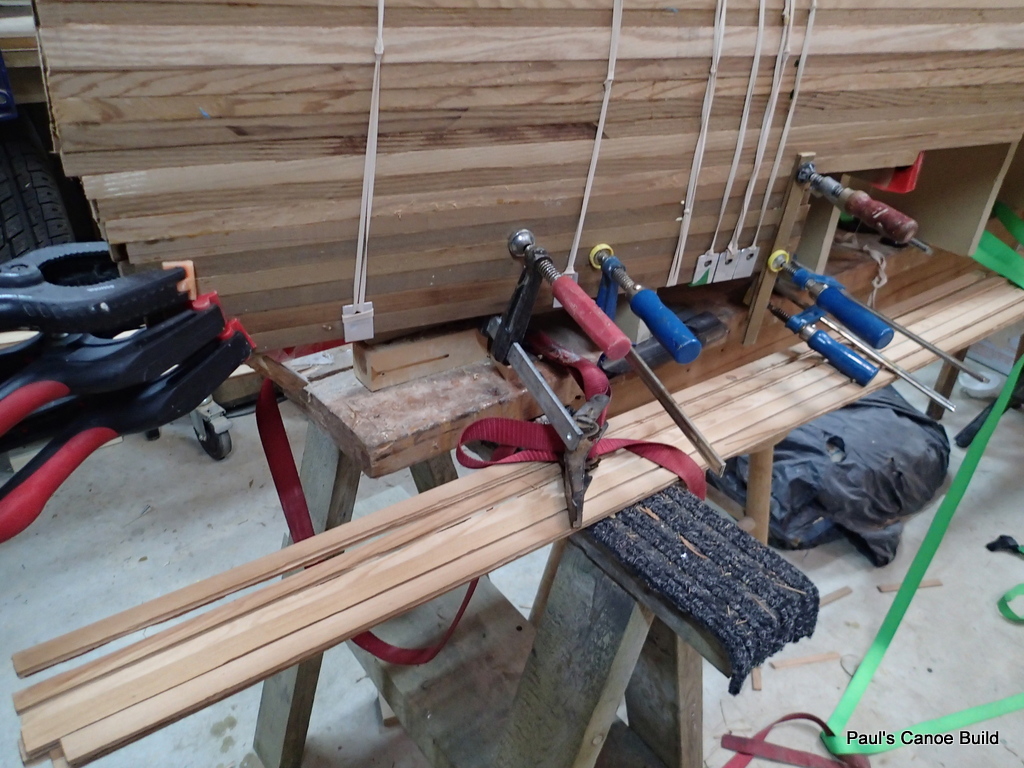
I continue to add strips.
Recurve strips 5&6.
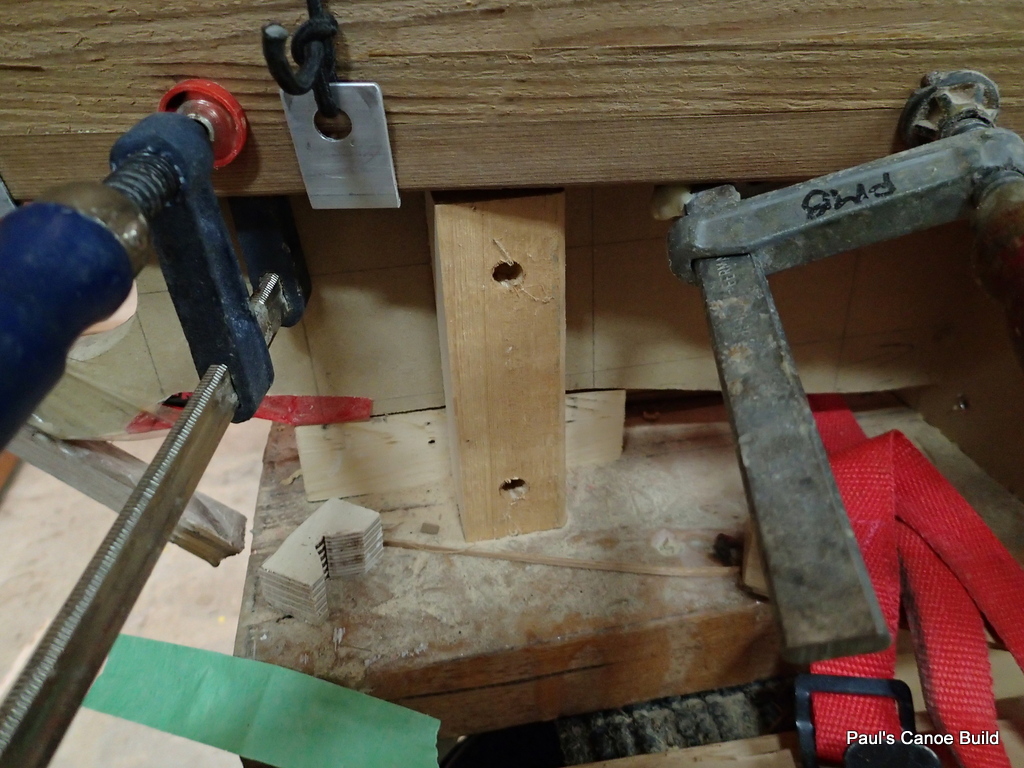
At this point, I decide to glue the strips together and then glue a block of four to the canoe.
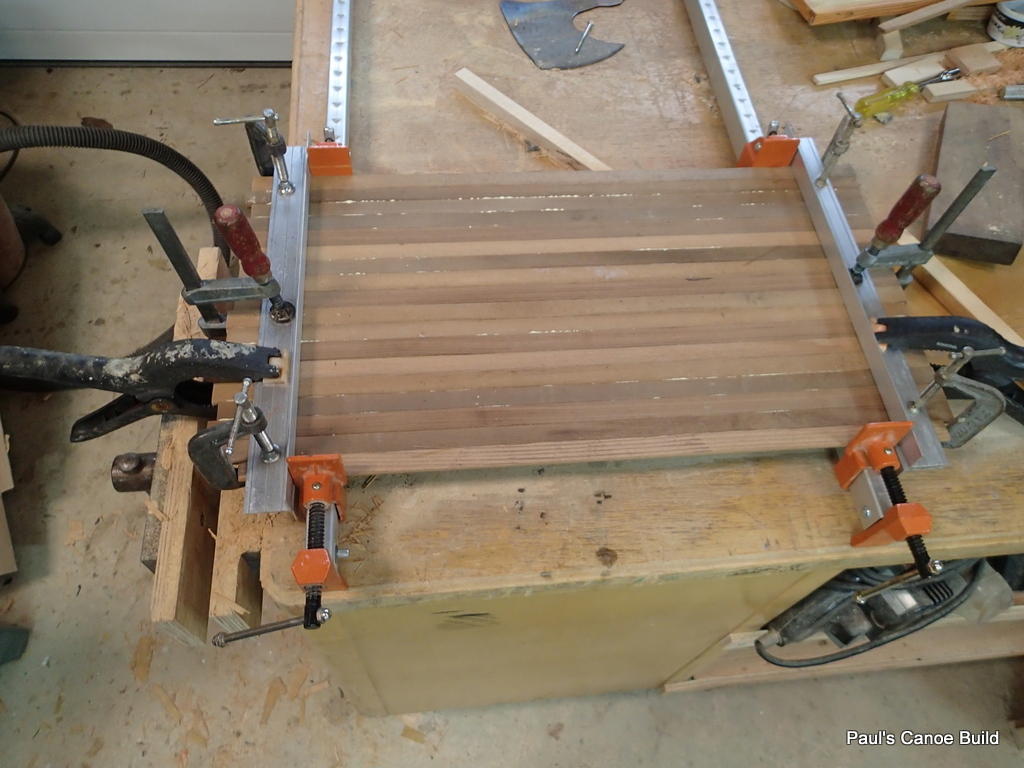
Four sets of four strips glueing up.
The block of four strips going on:
Block of four on North stem!
Glueing a block at a time is a lot quicker.
South end block of four.
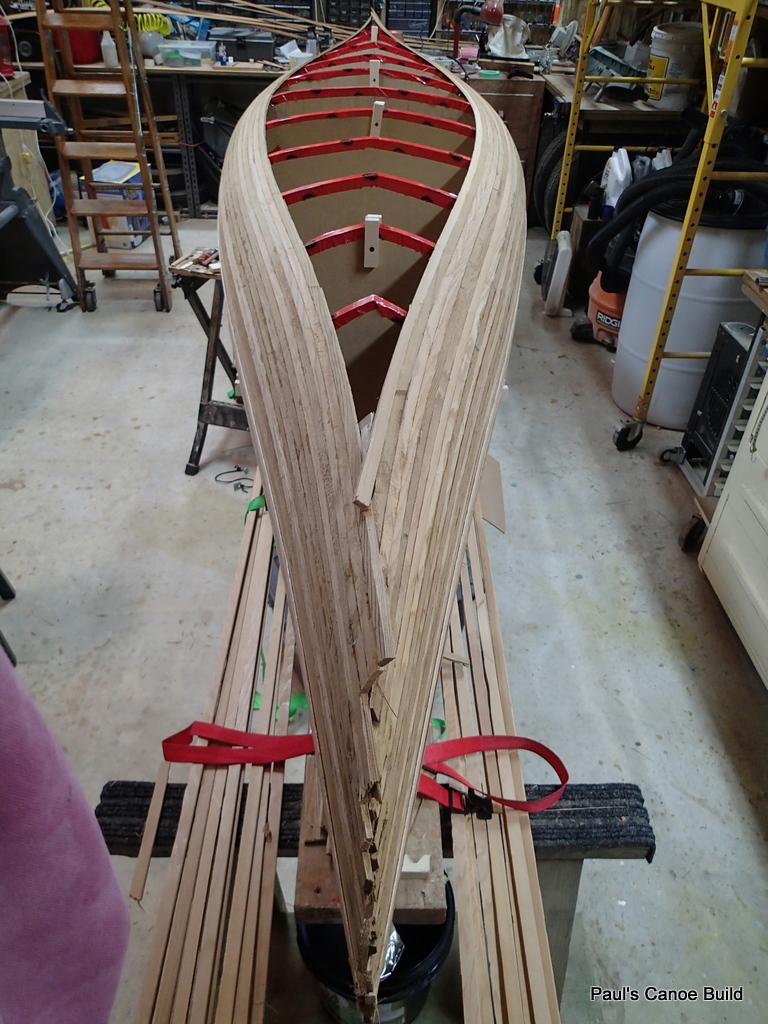
I used clamps and strips to keep the strips even. RECURVE FILLED!!!!
With that done, time for strip two, East side:
East side, strip 2.
I number the strips to keep track of them and insure that we can “Bookmatch” the West side of the canoe.
Strip 3 & 4.
Strips 5 & 6.
Strip 7.
Strip 8.
Strips 9 & 10.

Strip 11.
Strip 12.
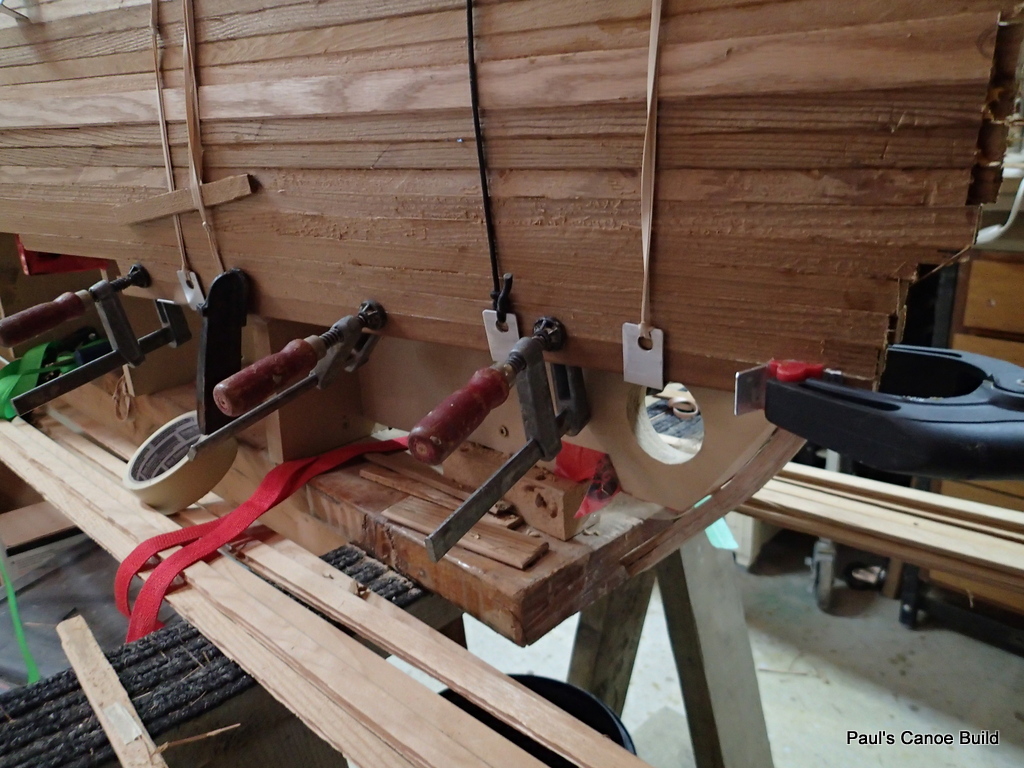
Strips 13, 14, 15, 16 & 17.
Strips 18, 19 &20.
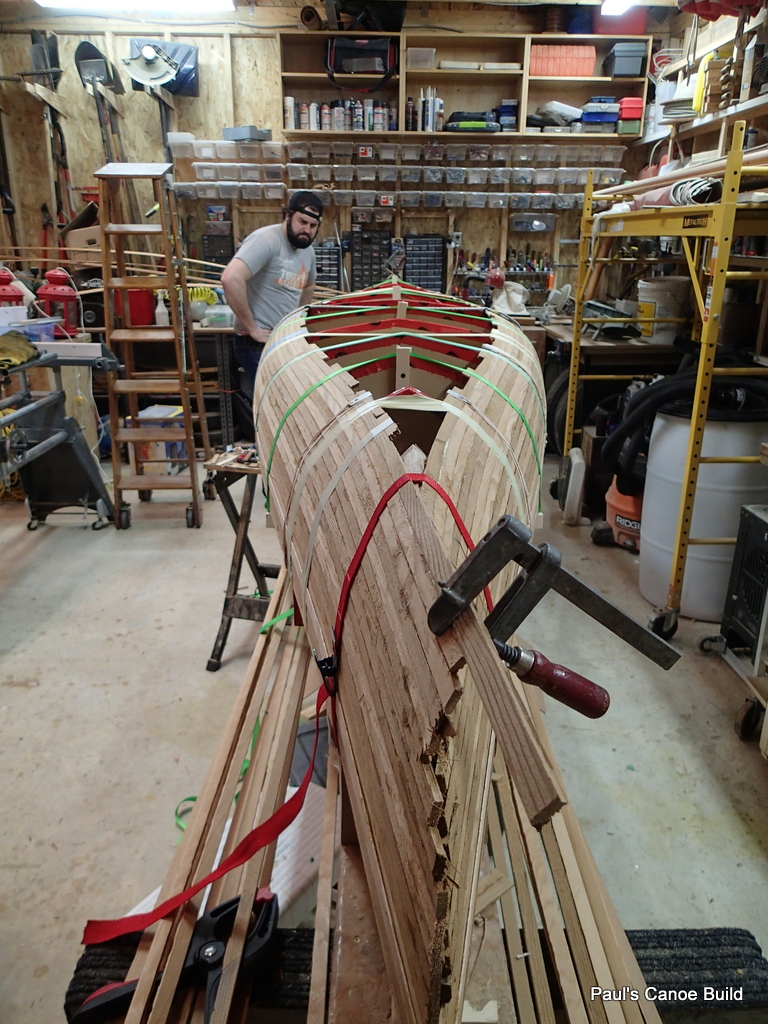
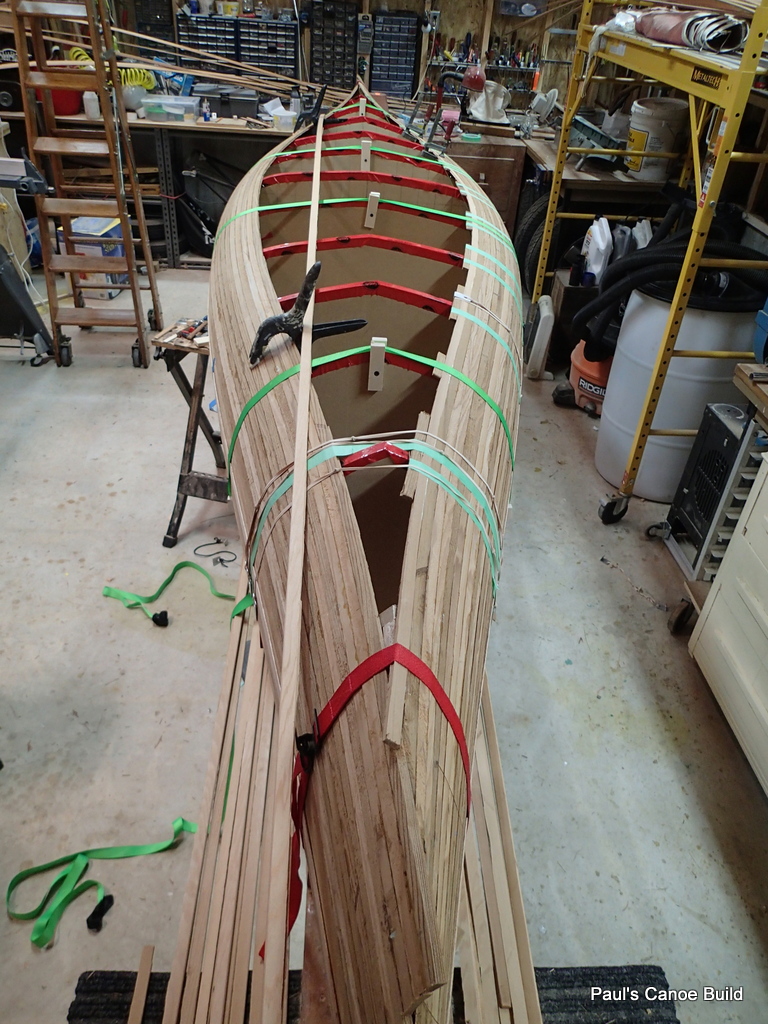
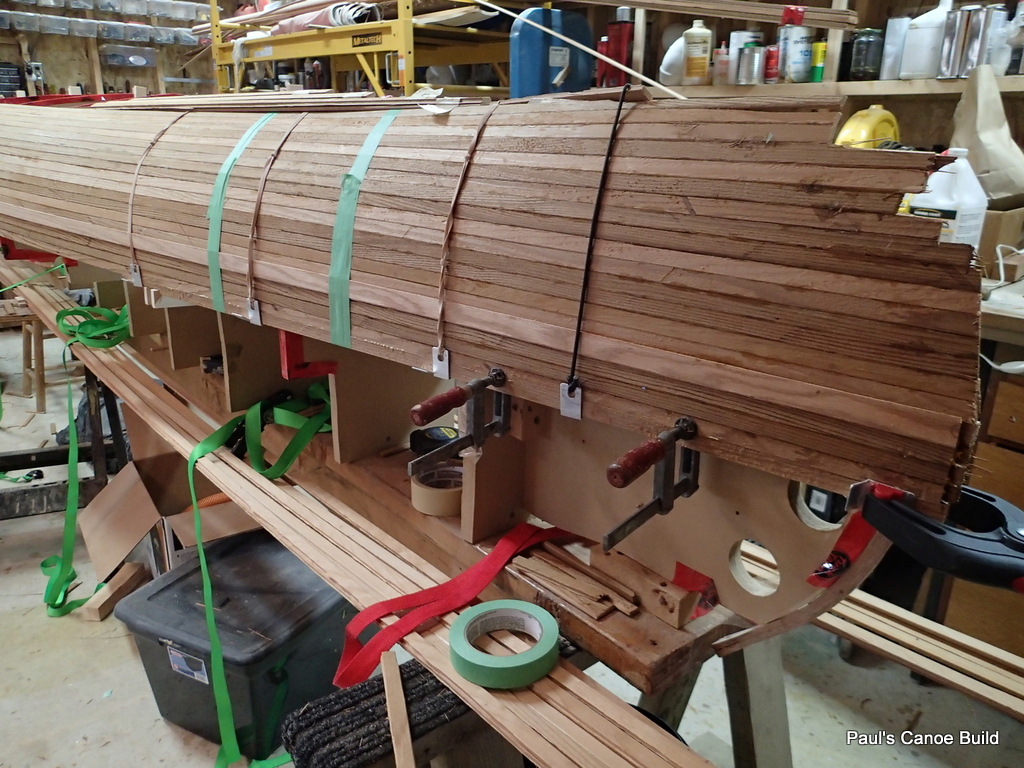
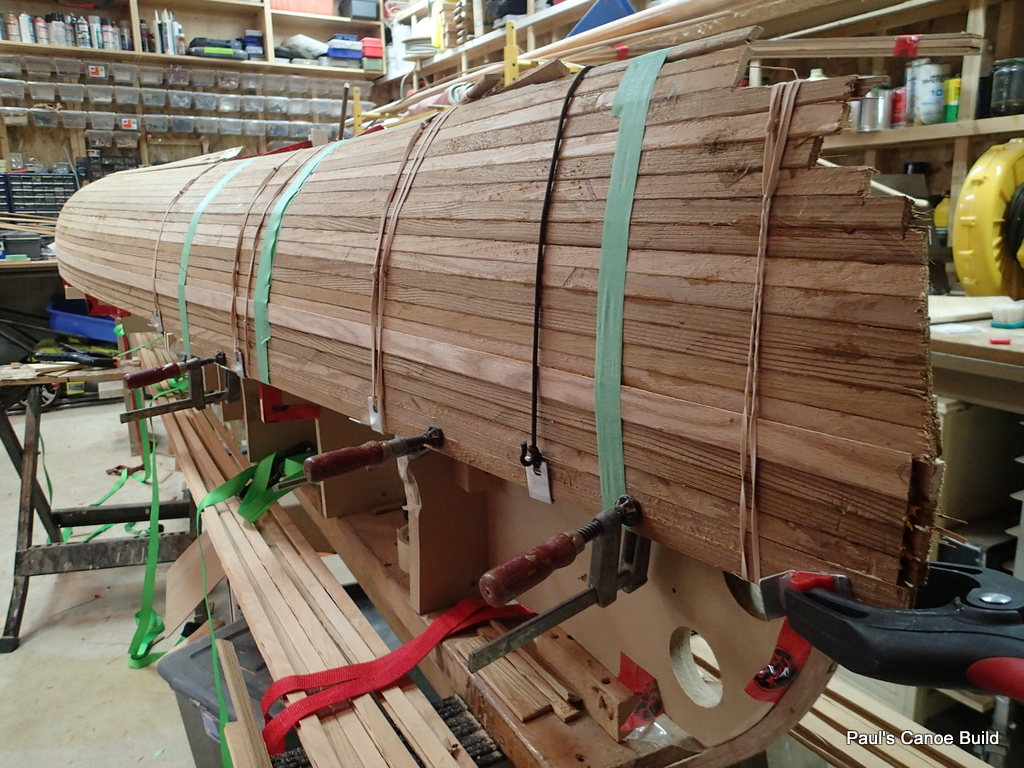
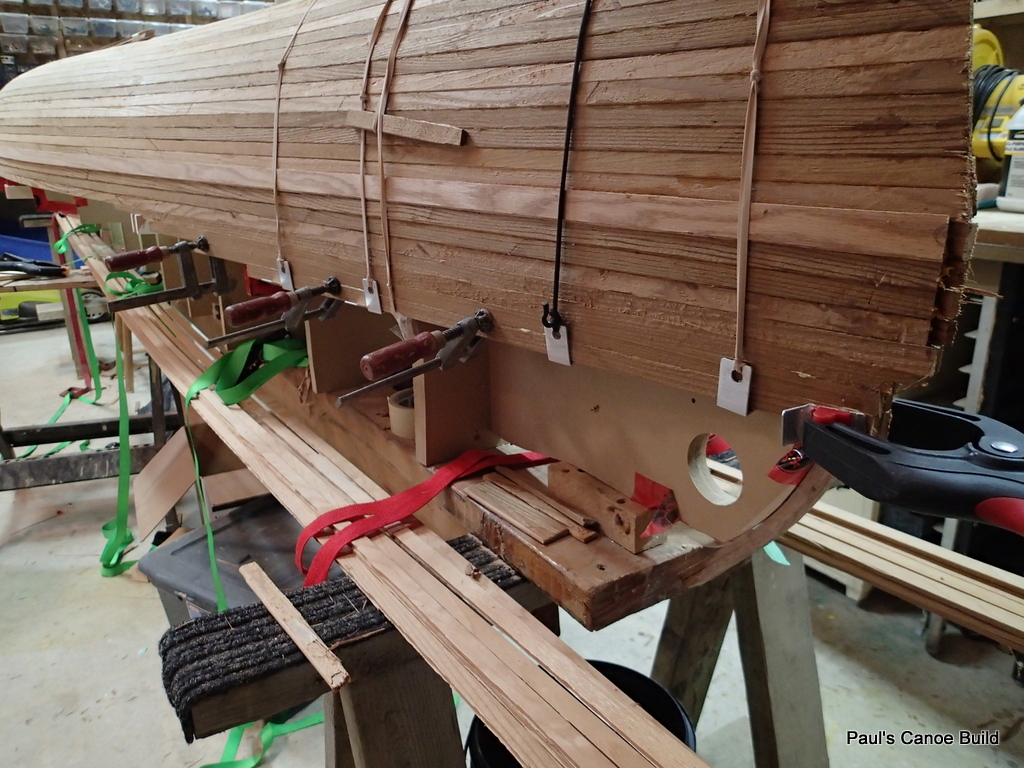
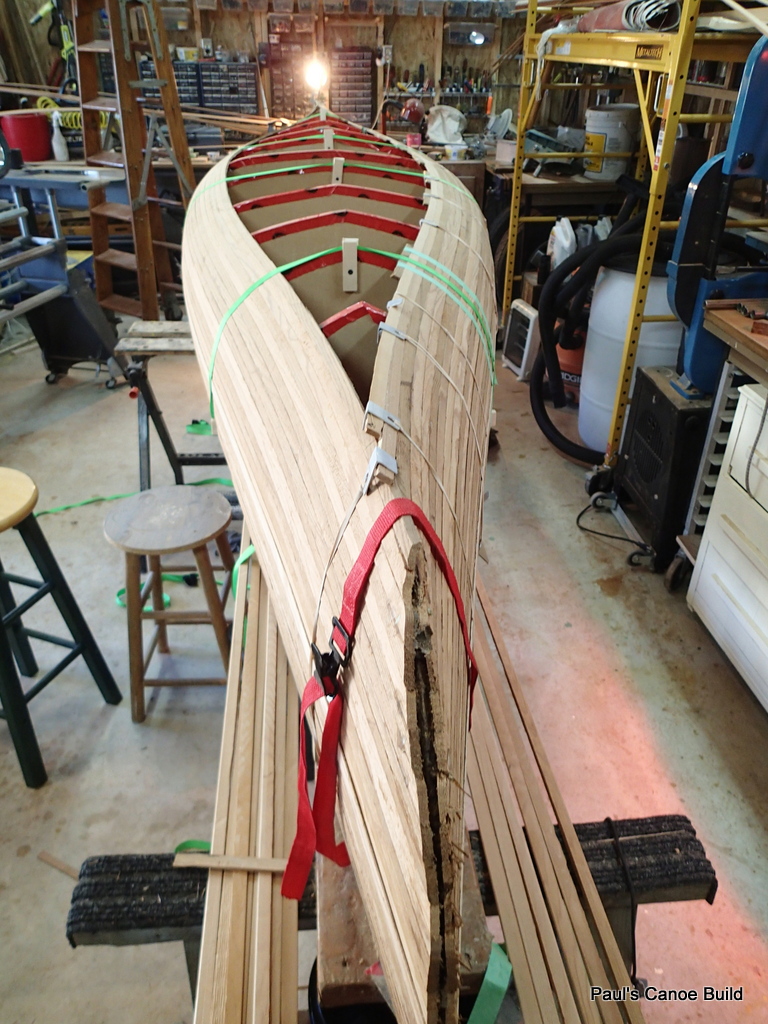
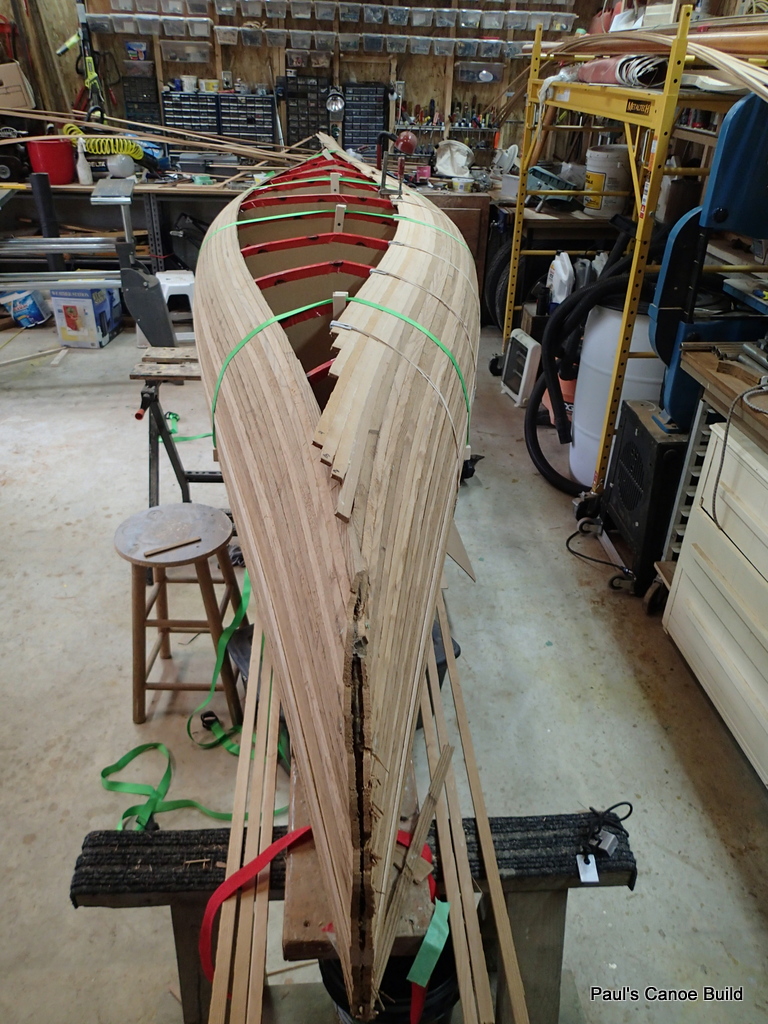
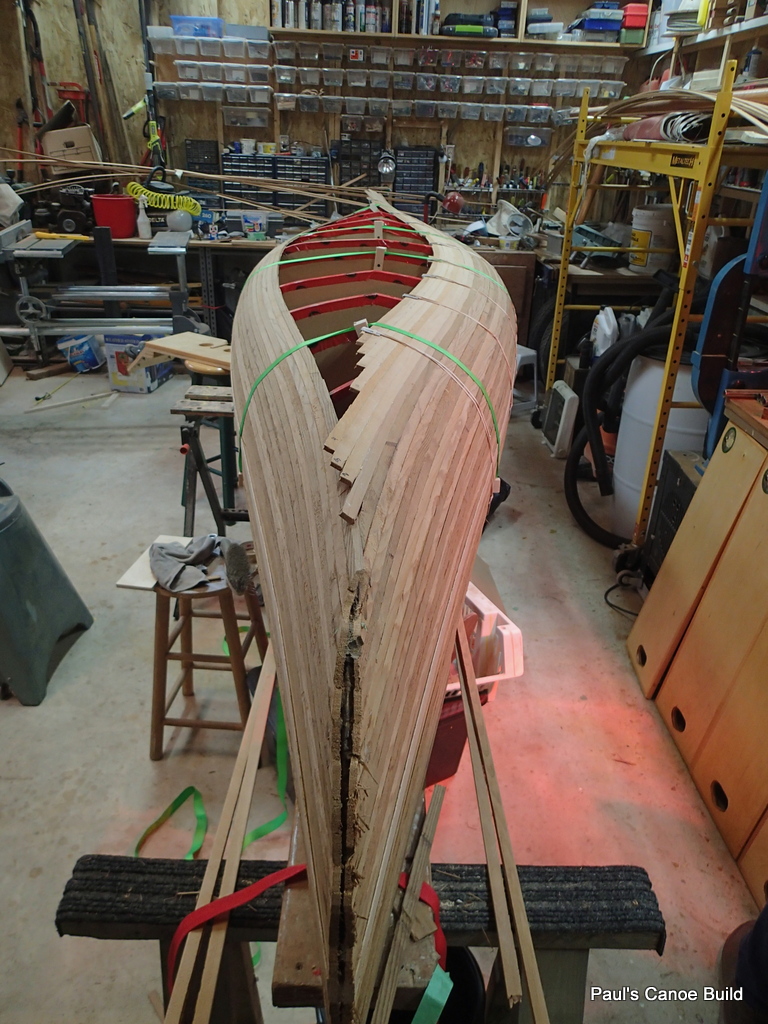
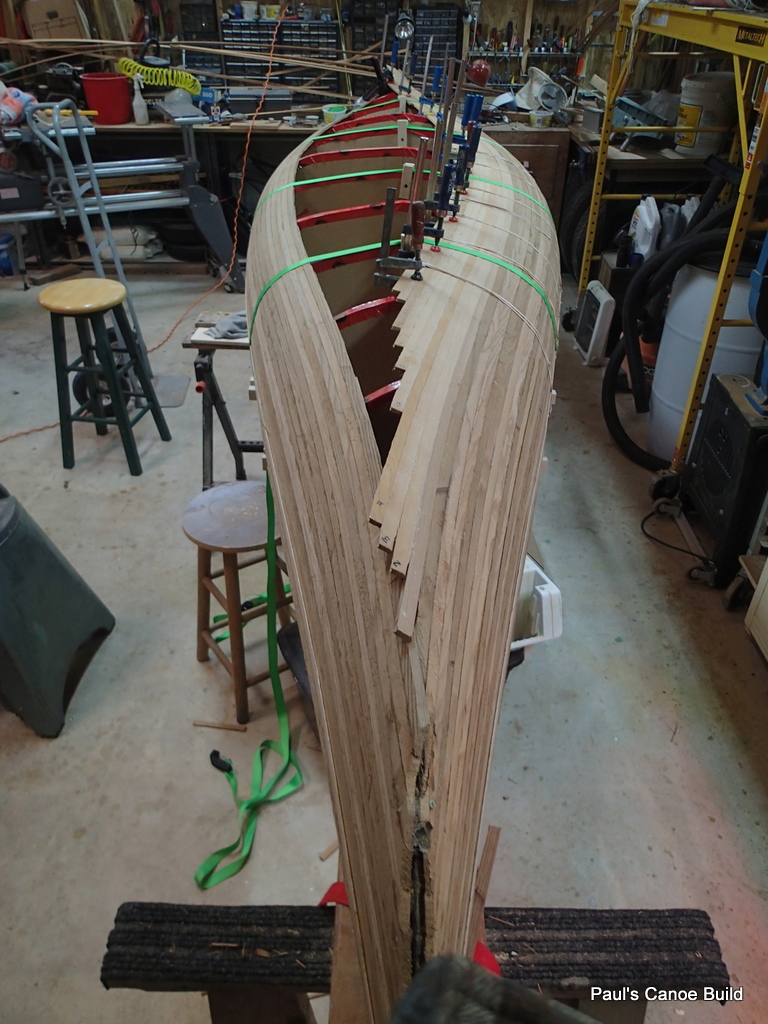
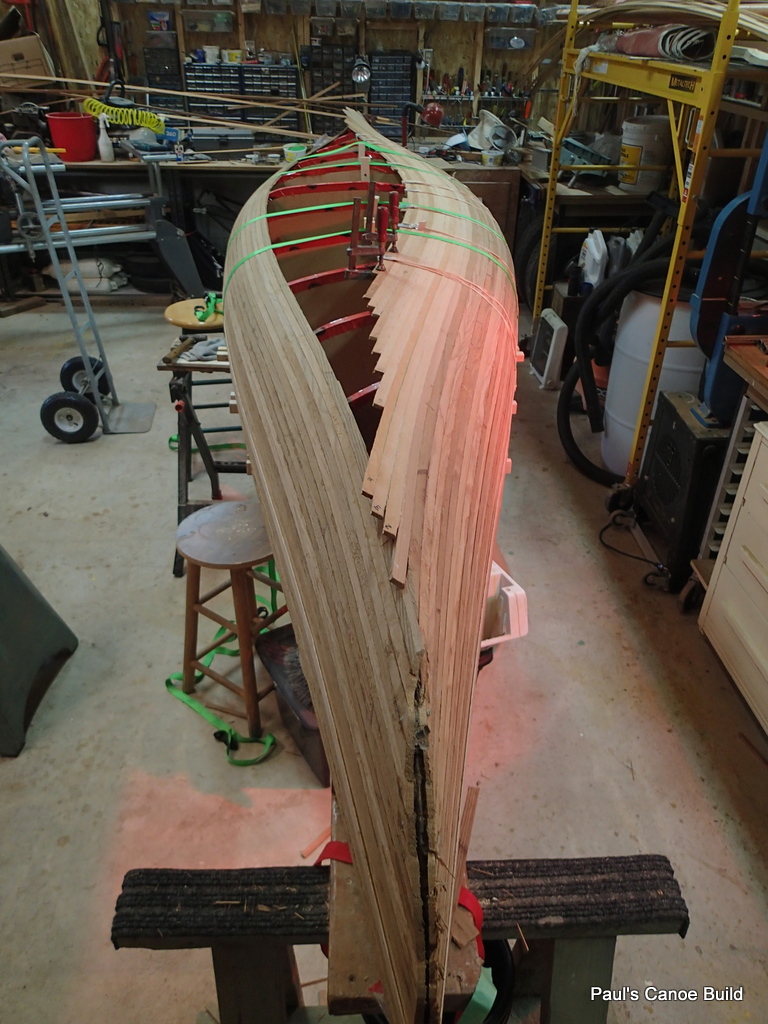
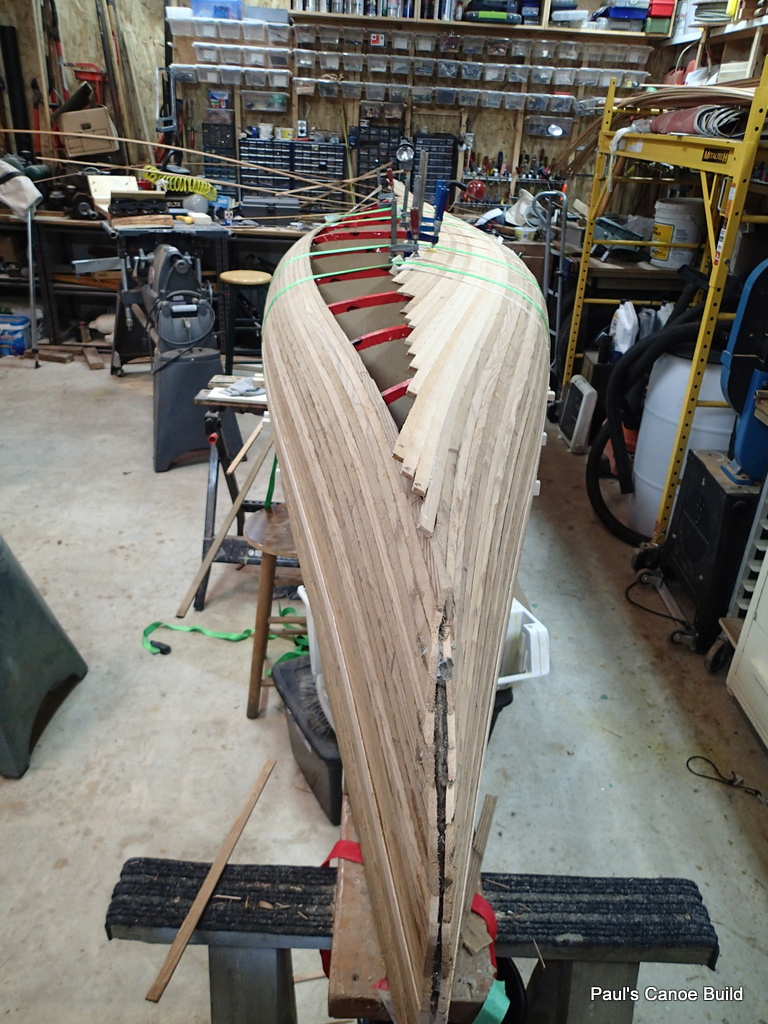
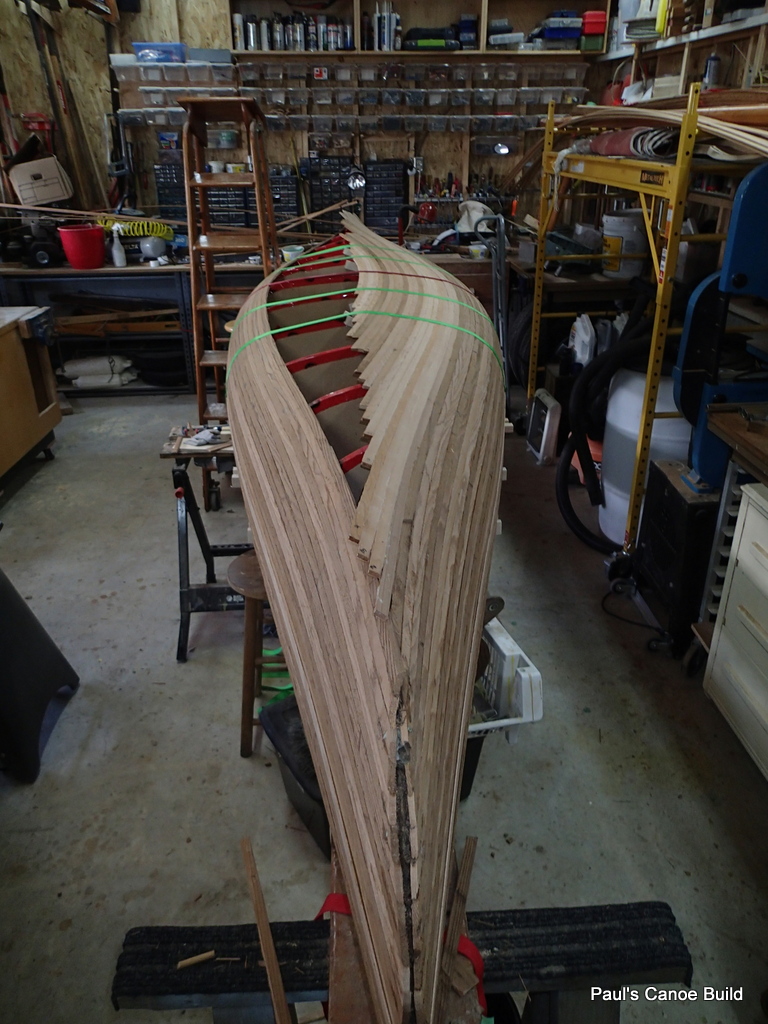
We have stripped the canoe over the keel line. Time to let the glue dry thoroughly.

Sanding in the bow and stern curves.
In order to find the centre line of the keel, Paul, using a 5o grit sanding belt, sands the stem pieces to shape so we can take a centre point from the bow and stern.
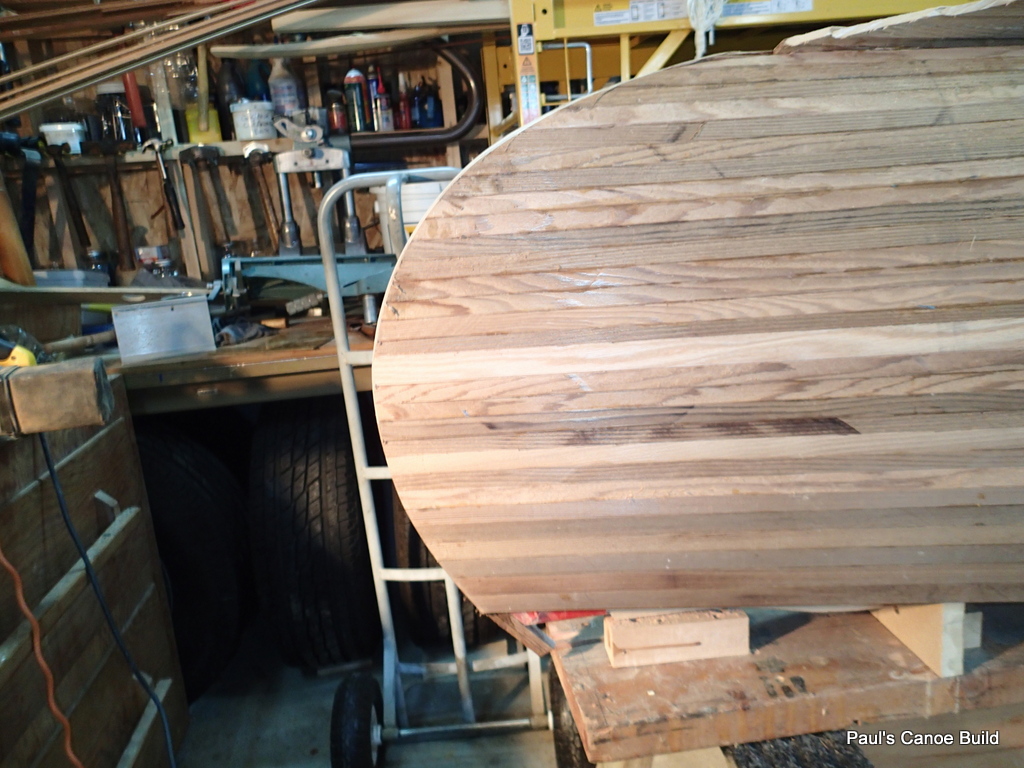
North Stem.
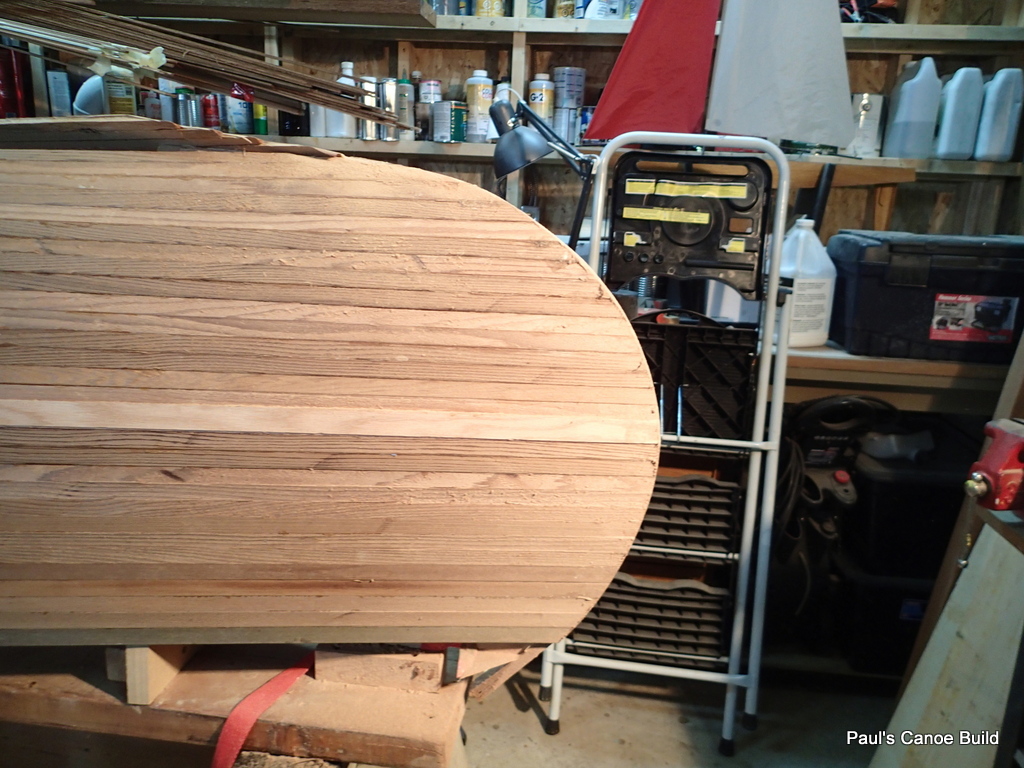
South stem.
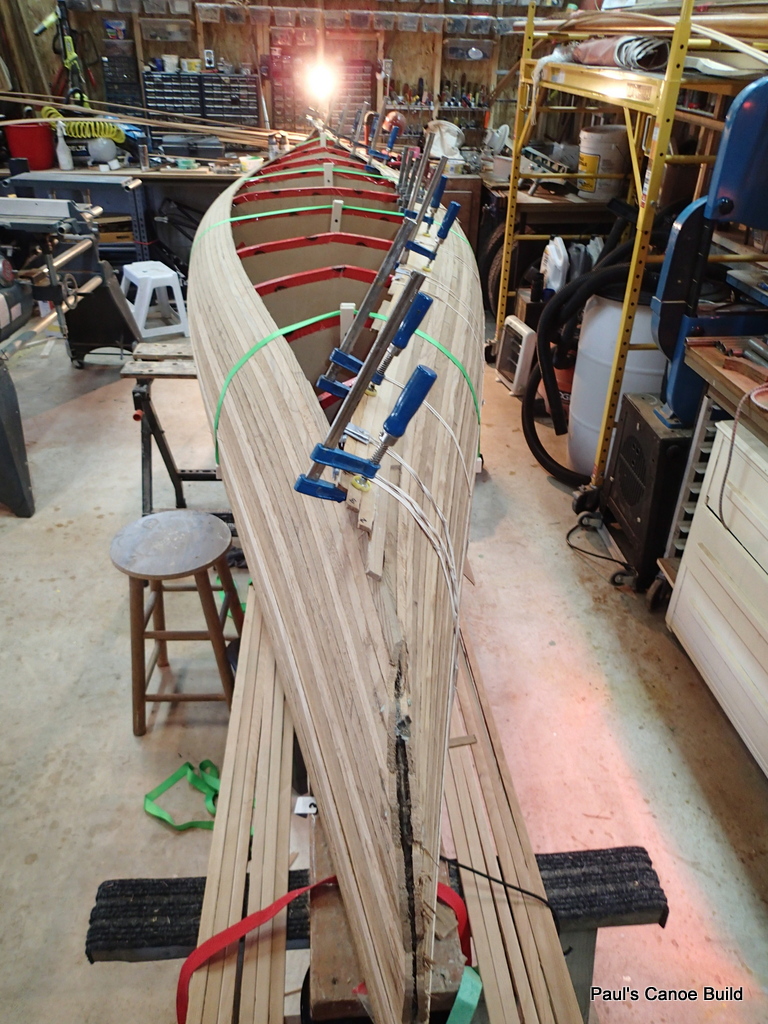
We stretch a string between two centred finishing nails.
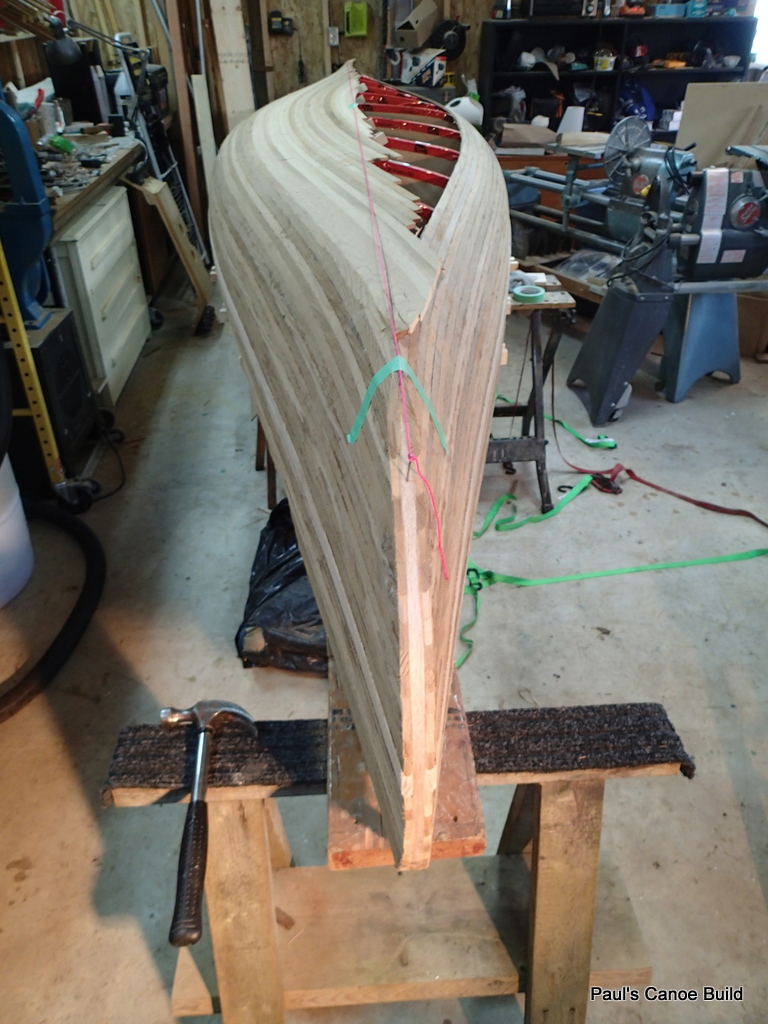
Finding the centre line. We sight down the line to insure that it is straight, using s piece of tape where necessary.
We use a ruler to transfer the line to the canoe.
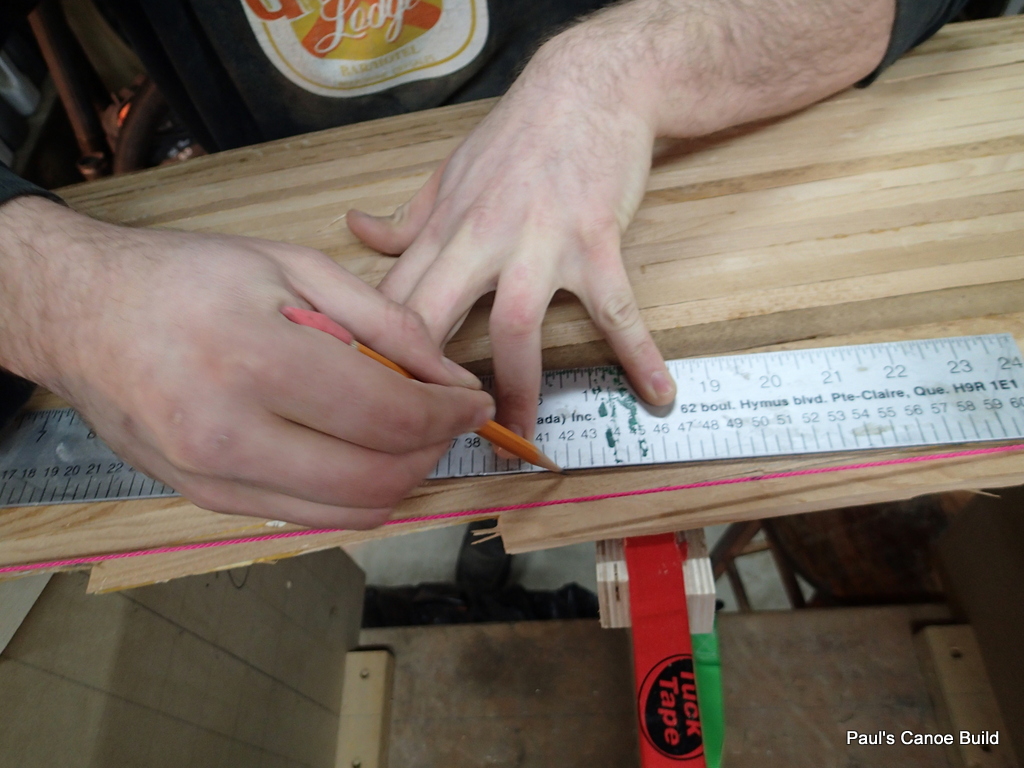
We align the string with the edge of the ruler, I then hold the string out of the way while Paul draws the line.
We are at a bit of a loss as how to trim the strips to the line, but, Paul decides to use the dremel tool with a cutting disk.
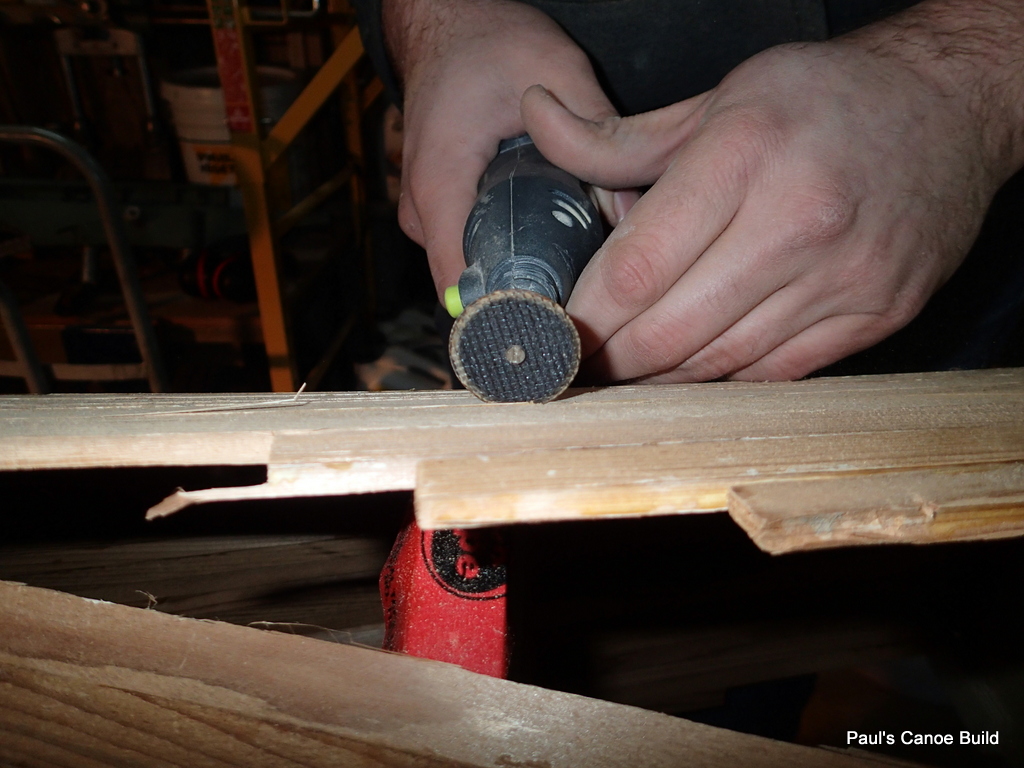
Cutting the line.
With a little skill and working slowly the end results are good.
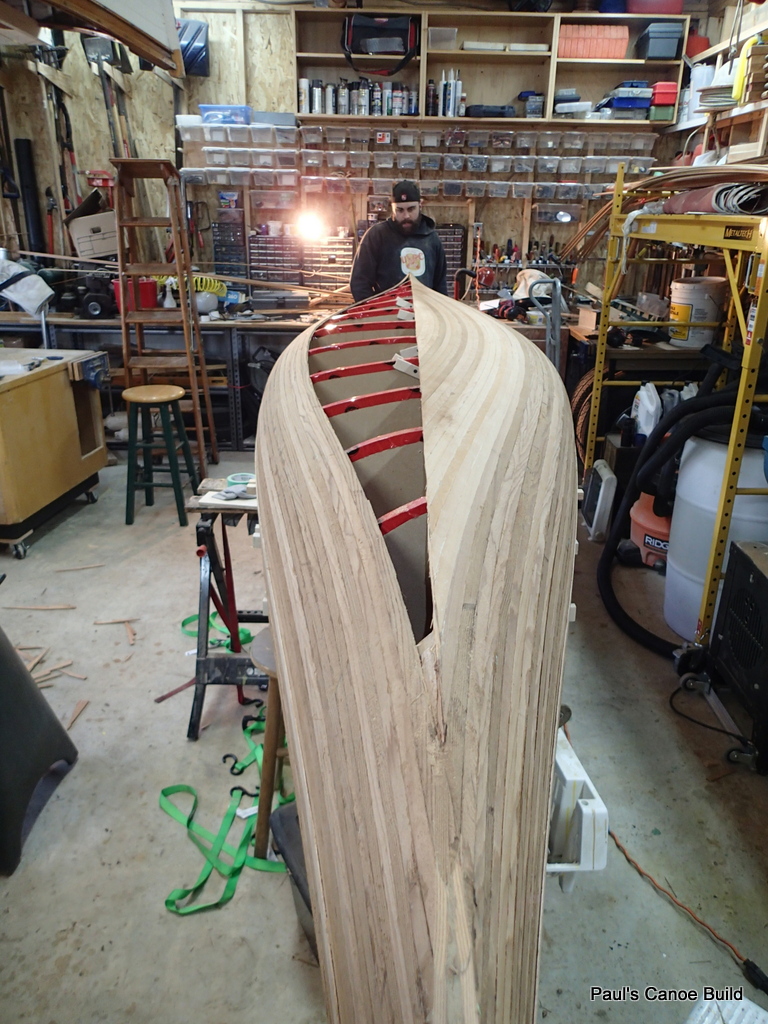
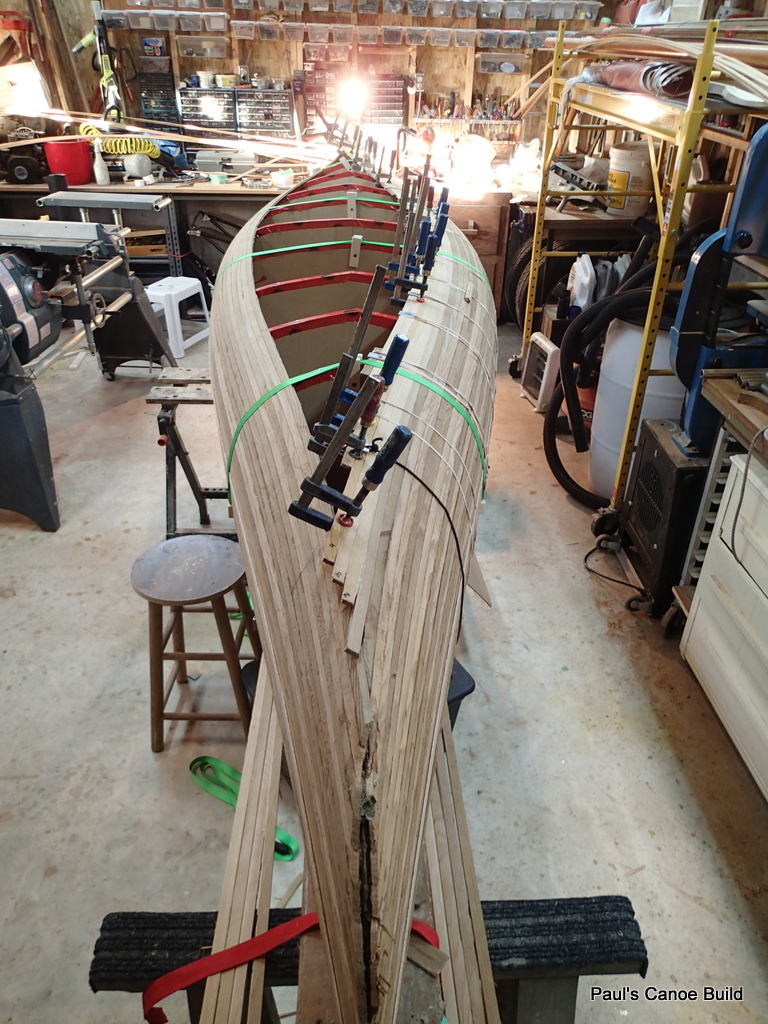
Ready to strip the West side of the canoe.
To Recap, 49 rows of strips a side. 20 strips left to go on the West side of the canoe.
Next steps? Strip out the West side. I will post again then.